The Lumix GX85 has been our camera of choice for product shots and recording video reviews since we bought it in 2016. Its compact design, intuitive interface, video quality and in-body stabilisation system work together to provide the ideal combination of features and portability.
Of course it isn’t without its flaws, which for me has more to do with things that used to be on its predecessor, the GX7, but were removed such as a better grip and the tilting EVF.
When the GX9 was announced, I was happy to see that some of the design characteristics I missed had made a reappearance. Although Panasonic officially considers the GX9 the successor to the larger GX8, we feel that the compact design makes it a more natural successor to the GX85 instead.
Does this new camera sport a sufficient number of upgrades for you to consider replacing the older model? I spent two weeks with both to find out.
Note: the GX85 is called GX80 in Europe and GX7 mark II in Asia. In this article I will refer to it as the GX85 for simplicity’s sake.
Ethics statement: We purchased the GX85 for our personal use whereas the GX9 was loaned to use for two weeks. We were not asked to write anything about these products, nor were we provided any other compensation of any kind. Within the article, there are affiliate links. If you buy something after clicking one of these links, we will receive a small commission. To know more about our ethics, you can visit our full disclosure page. Thank you!
[toc heading_levels=”2″]
Main Specs
GX9
- Sensor: 20 MP Four Thirds Live Mos
- Lens system: Micro Four Thirds
- Weatherproof: none
- Internal Stabilisation: Yes (5-axis)
- Autofocus: DfD contrast detection with 49 points
- Continuous shooting: 9 fps (w/o live view), 6 fps (with live view)
- ISO Sensitivity: 200 – 25600 ISO (pull 100)
- Shutter Speeds: 1/4000s to 60s, up to 1/16000s with electronic shutter
- Viewfinder: Field sequential LCD electronic viewfinder with 2.764k dots (equivalent), 17.5mm eyepoint and 0.70x magnification
- Rear monitor: tilting touch sensitive 3″ LCD screen (1240k dots)
- Movie recording: 4K up to 30fps, Full HD up to 60fps
- Built-in Flash: Yes
- Extra Features: WiFi, Panorama, Timelapse, Stop-Motion, 4K Photo, 4K Live Cropping, Focus bracket, Focus Stacking, Live composition, Sequence composition
- Dimensions: 124 x 72.1 x 46.8mm
- Weight: 450g (including battery and memory card)
- Firmware version: 1.10
GX85
- Sensor: 16 MP Four Thirds Live Mos
- Lens system: micro four thirds
- Weatherproof: None
- Internal Stabilisation: Yes (5 axis)
- Autofocus: DfD contrast detection AF with 49 areas
- Continuous shooting: 8 fps (w/o live view), 6 fps (with live view)
- ISO Sensitivity: 200 – 25600 ISO (Pull 100)
- Shutter Speeds: 1/4000 to 60 seconds, up to 1/16000s with electronic shutter
- Viewfinder: Field sequential LCD electronic viewfinder with 2.764k dots (equivalent), 17.5mm eyepoint and 0.70x magnification
- Rear monitor: tilting touch sensitive 3″ LCD screen (1040k dots)
- Movie recording: 4K up to 30fps, Full HD up to 60fps
- Built-in Flash: Yes
- Extra Features: WiFi, Panorama, Timelapse, Stop-Motion, 4K Photo, 4K Live Cropping, Focus bracket, Live composition,
- Dimensions: 122 x 70.6 x 43.9mm
- Weight: 426g (including battery and memory card)
- Firmware version: 1.20
Design and ease of use
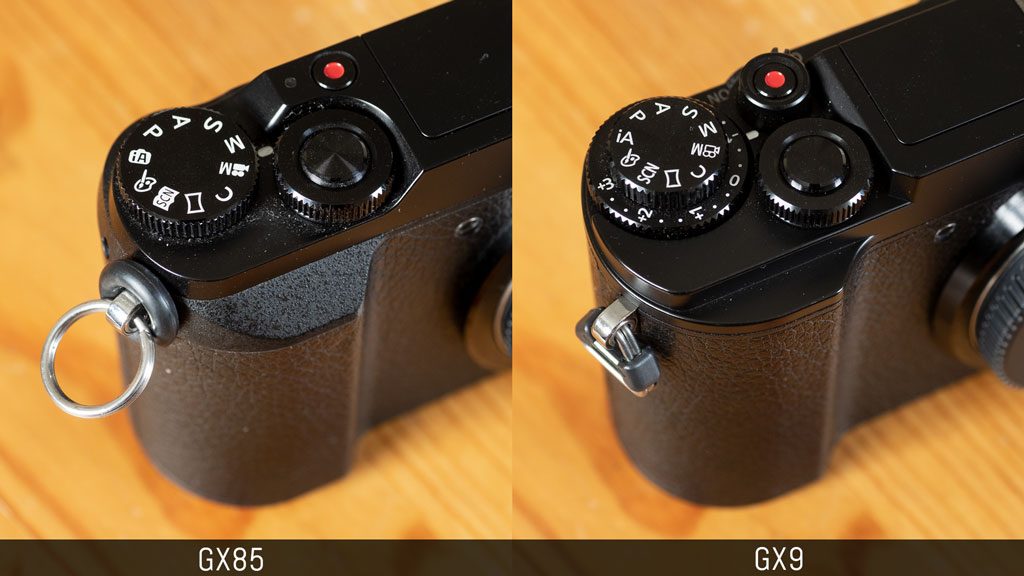
The GX85 and GX9 share a near-identical design, so it becomes very difficult to distinguish them if you don’t look at the camera name on the bottom. The other clue is that the new camera lacks the L logo (Lumix) on the front. If we look at the specifications, we can see that the GX9 is ever so slightly larger and heavier, but otherwise you won’t notice any differences.
Below: GX85 (left) and GX9 (right)
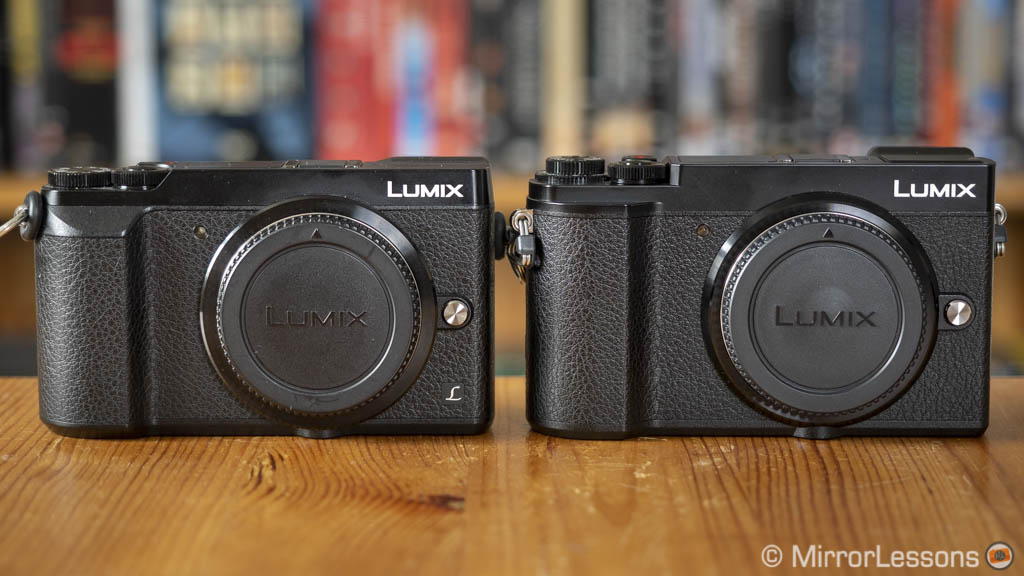

The GX85 can be bought in either silver or black, whereas the GX9 is only available in black.
Neither camera is weather sealed but the build quality is good despite being all-plastic. Our GX85 suffered a severe fall on concrete one year ago but with the exception of a few small scratches at the bottom, it wasn’t seriously damaged. I guess we were lucky!
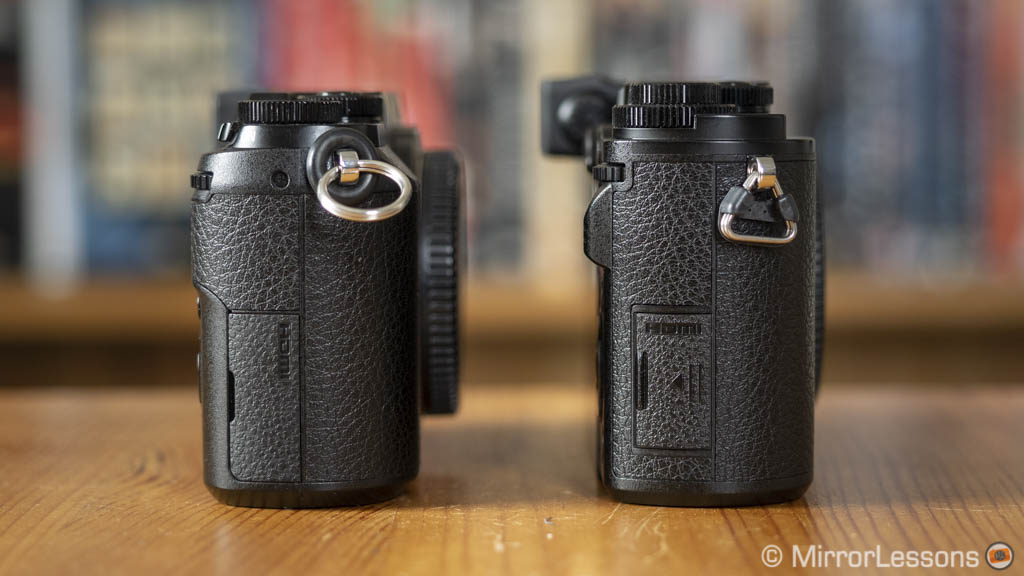
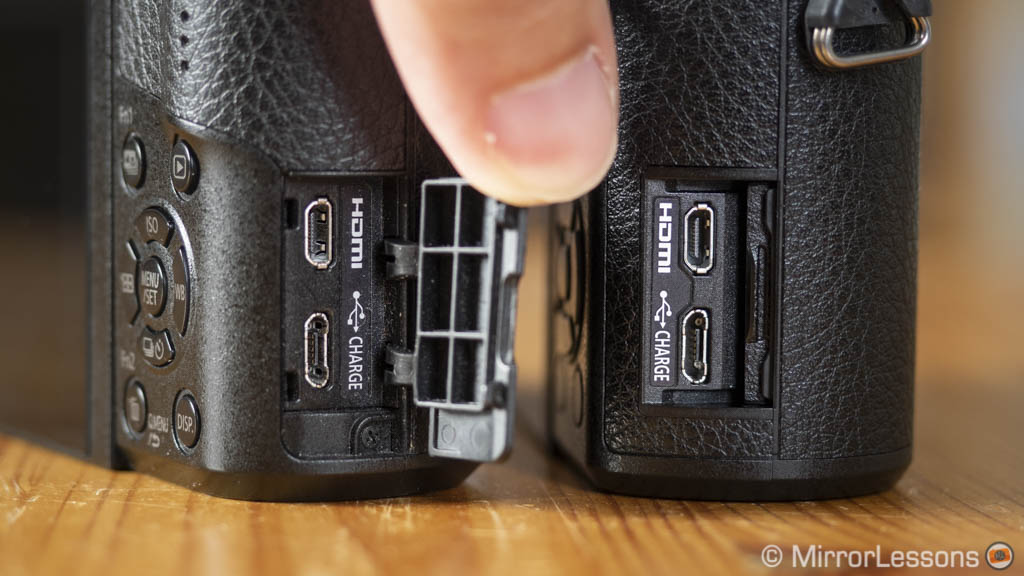
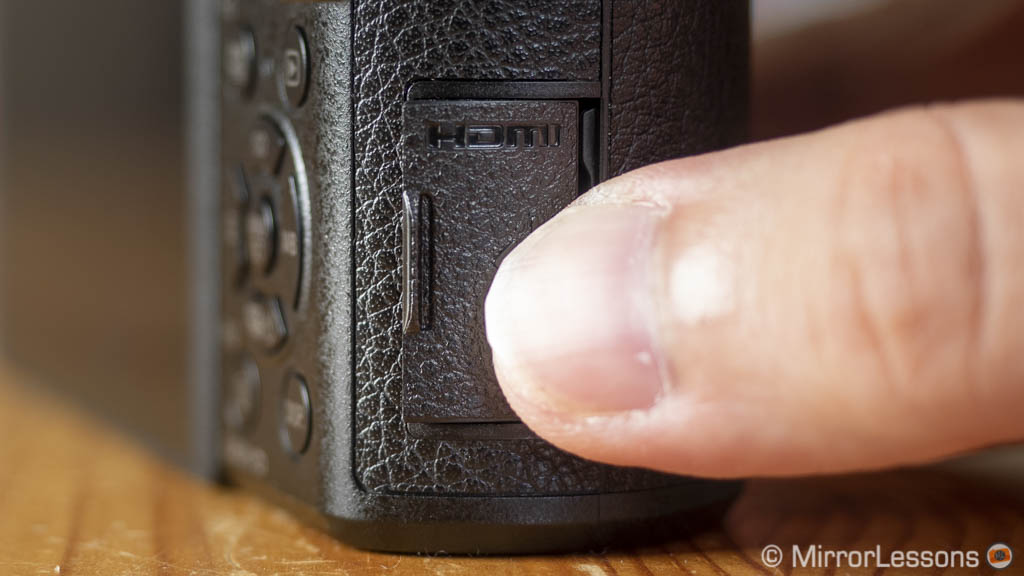
Panasonic has also improved the side cover that protects the USB and Micro HDMI connectors. You push and slide to open it, rather than pulling it out which was always annoying on the GX85.
The front grip is slightly wider but not as deep: the handling remains the same though, which isn’t bad if you mostly use small lenses. That said, I still miss the more rounded version of the Lumix GX7. On the rear the thumb grip is sharper on the GX9 and improves stability a little.
Note: if you want to improve the ergonomics on the GX9, Panasonic has designed an optional hand grip (DMW-HGR2) which is supposed to improved handling with telephoto or large-diameter lenses. Unfortunately I haven’t had the chance to try it.
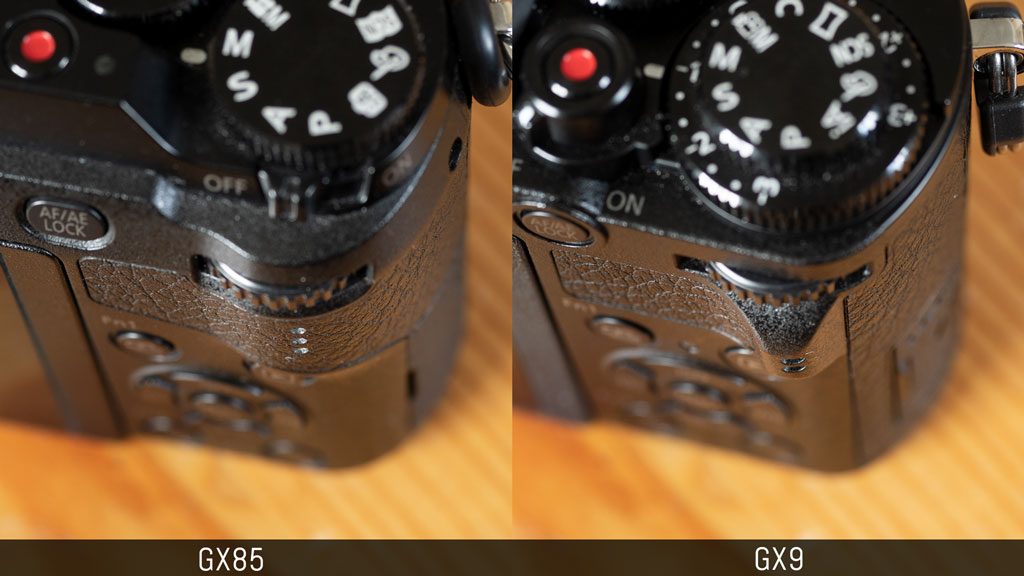
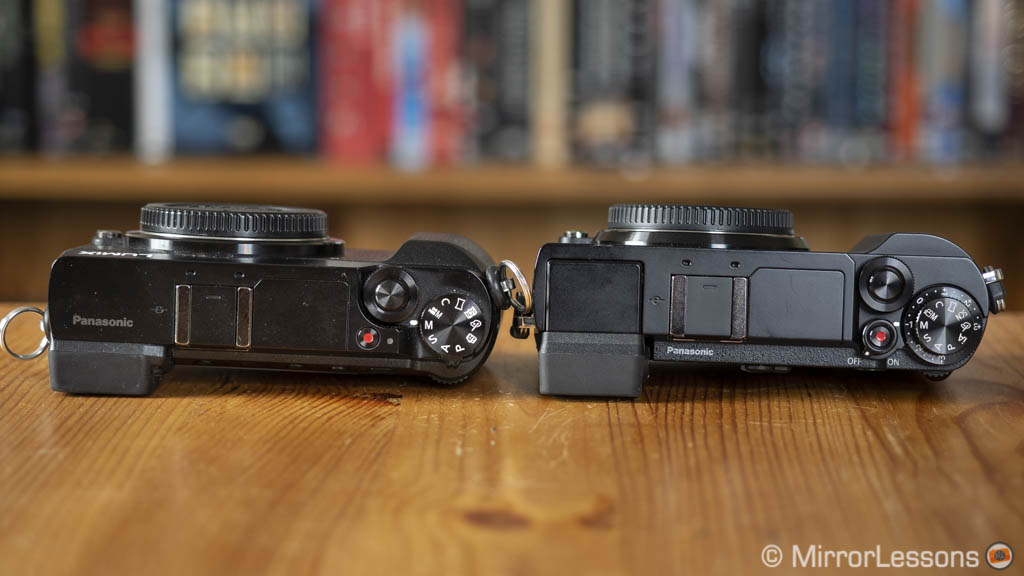
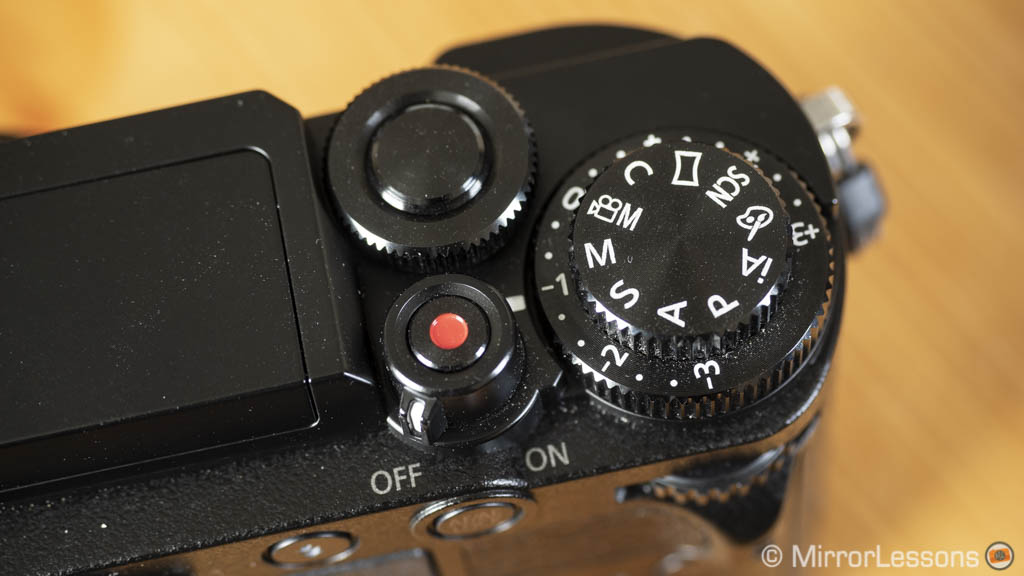
The button layout is similar but the GX9 gets a few upgrades. The On/Off switch is taller and easier to reach, and the movie recording button is also easier to press and locate than on the GX85. The new model has an additional exposure compensation dial under the main shooting mode dial on top. It offers ±3Ev in 1/3 steps. Alternatively it can be disabled, letting you use the rear dial up to ±5Ev.

On the rear, we come across the handy AF/MF selector. The buttons are flatter and slightly larger on the GX9 but they are easy to press on both cameras.
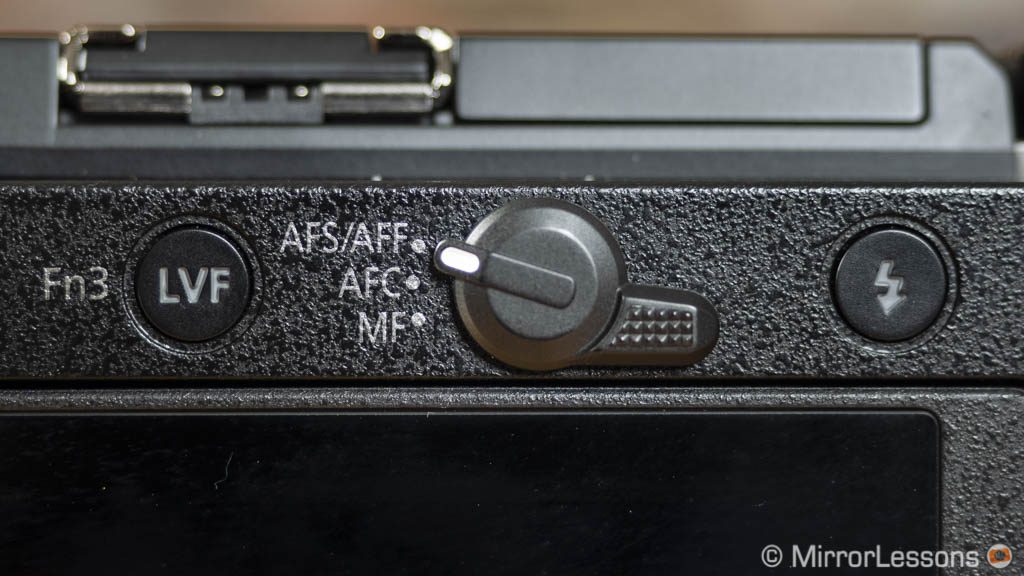
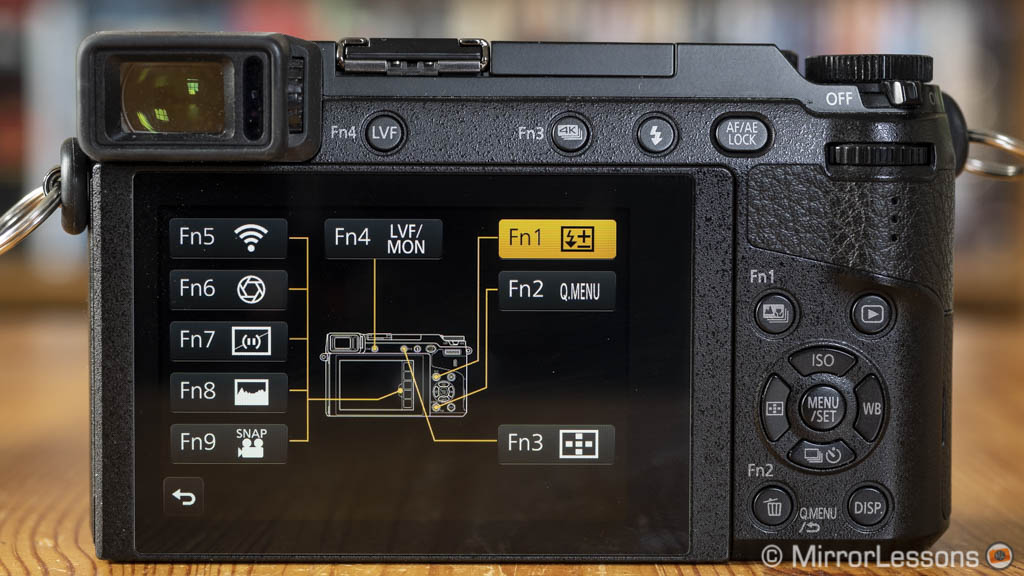
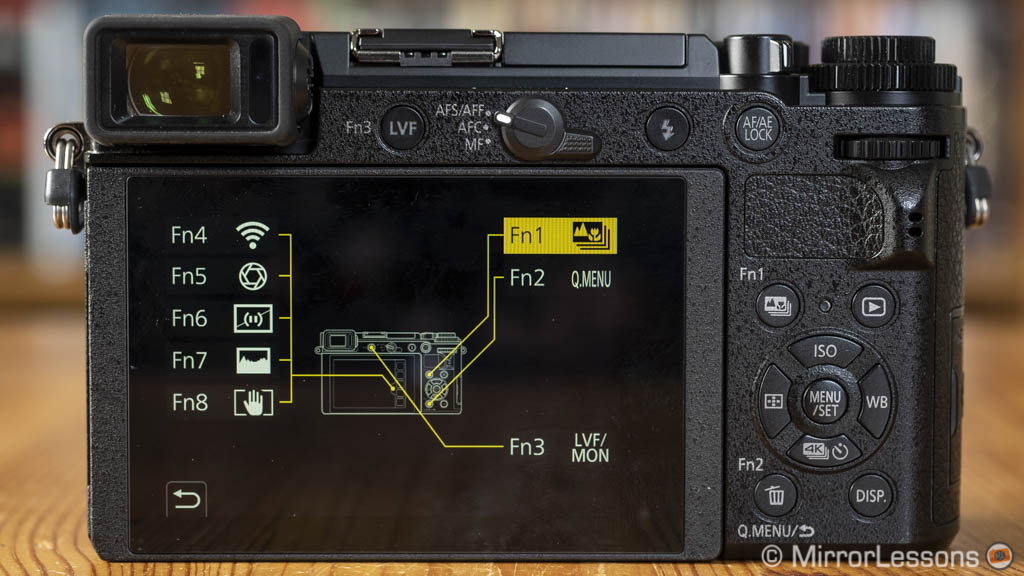
The focus selector on the rear of the GX9 takes the place of one of the physical function buttons. (There are three instead of four.) Five additional virtual buttons can be accessed on the right side of the touch screen on both cameras. The GX9 also offers the possibility to customise the Fn button found on select Olympus lenses.
Additional customisation possibilities include a custom mode that you can activate from the top dial (three different sets can be assigned), as well as the option to lock the touch screen and/or the 4-way pad on the rear to make sure you don’t change something by mistake.
To control the main exposure settings, you can use the top command dial that surrounds the shutter release button as well as the smaller command dial on the rear. These two dials can be used for additional parameters such as WB and ISO when they are assigned to a custom button.
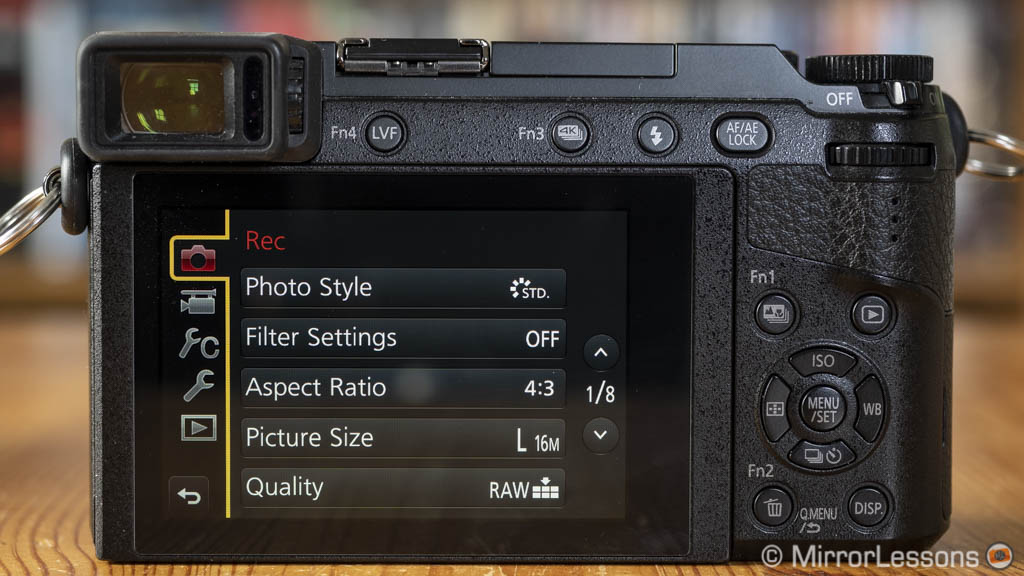
The GX9 inherits the latest version of Panasonic’s menu system. It has more entries per page, making the navigation quicker but the text is a bit smaller. It is better organised when it comes to the order of the settings and has an additional My Menu page where you can save your favourite options. The Custom Menu is divided into five sub-categories to facilitate navigation. You can also edit the folder and files names.
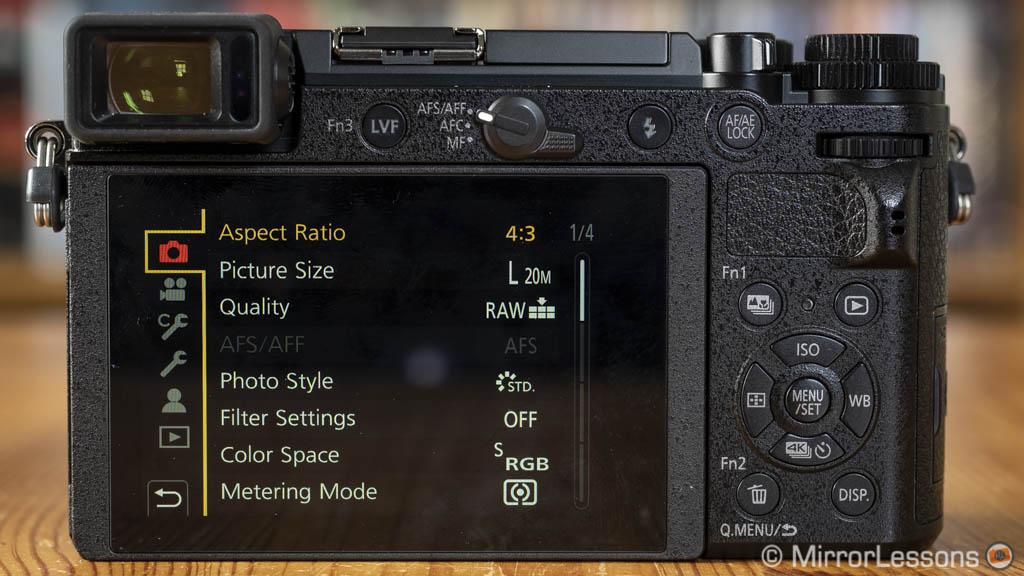
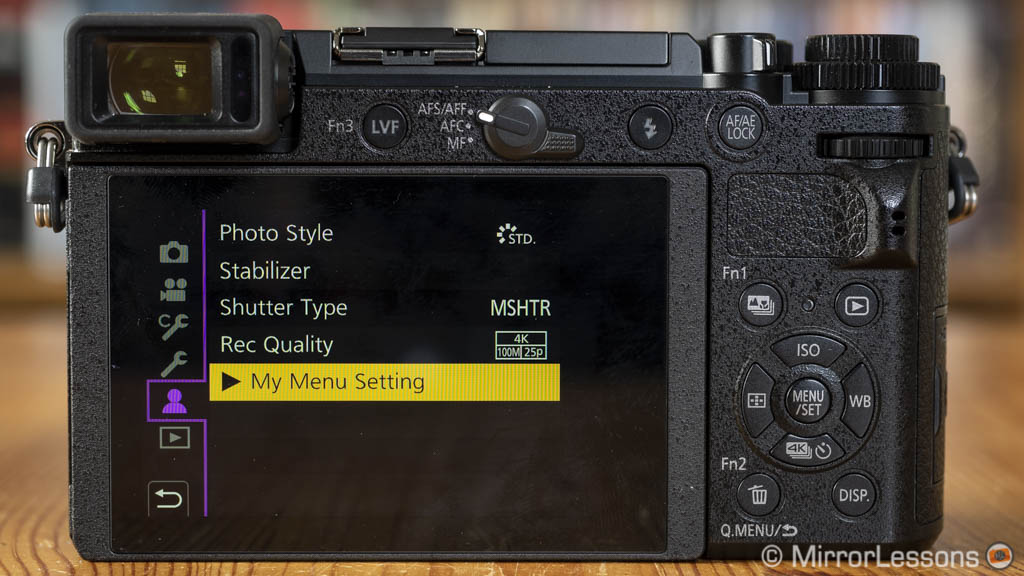
With the GX85 menu system, you can enable a quick description of each setting, choose to resume scrolling from where you left off, and even change the background colour!
EVF and LCD
The GX85 and GX9 share the same viewfinder. It is based on field sequential technology with a combined resolution of 2,764k dots and 0.7x magnification. When panning quickly it can produce a rainbow effect due to the fact that the red, blue and green channels are displayed one after the other.
The eye point is short so if you wear glasses you won’t see the edges of the LCD panel. That being said, with certain settings it is less of an issue because the EVF has a 16:9 aspect ratio, so when you take stills in 4:3 for example, the left and right edges of the EVF are not in use.
You can set the eye sensor sensitivity to low or high on both cameras but to be honest I didn’t notice a relevant difference between the two options.
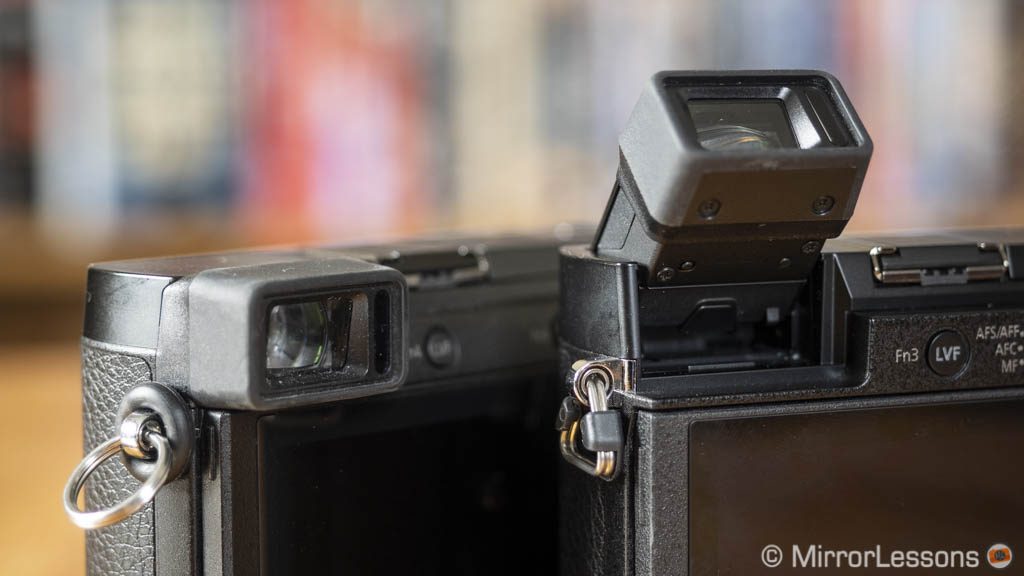
The major difference is that the viewfinder of the GX9 can be tilted up 90°, which is useful when composing from low angles. It’s a feature I really enjoyed on the GX7 and subsequently the GX8, but this time I admit I didn’t take advantage of it as much as I thought I would. It remains a very handy option nonetheless.
The rear monitor is also very similar except for the additional resolution of the GX9 (1,240k vs 1,040k dots). It is 3.0 inches large, can be tilted up or down and offers touch sensitivity on both cameras.

The touch screen can be used to navigate the menu and change settings, move the AF point and create custom AF groups, take a picture and move elements around the screen like the histogram. The GX85 also allows you to set the speed when scrolling back and forth in playback mode.
You can use the monitor as a touch AF pad when shooting with the EVF. It is very precise, although your nose can get in the way depending on which eye you use to compose.
Image Quality
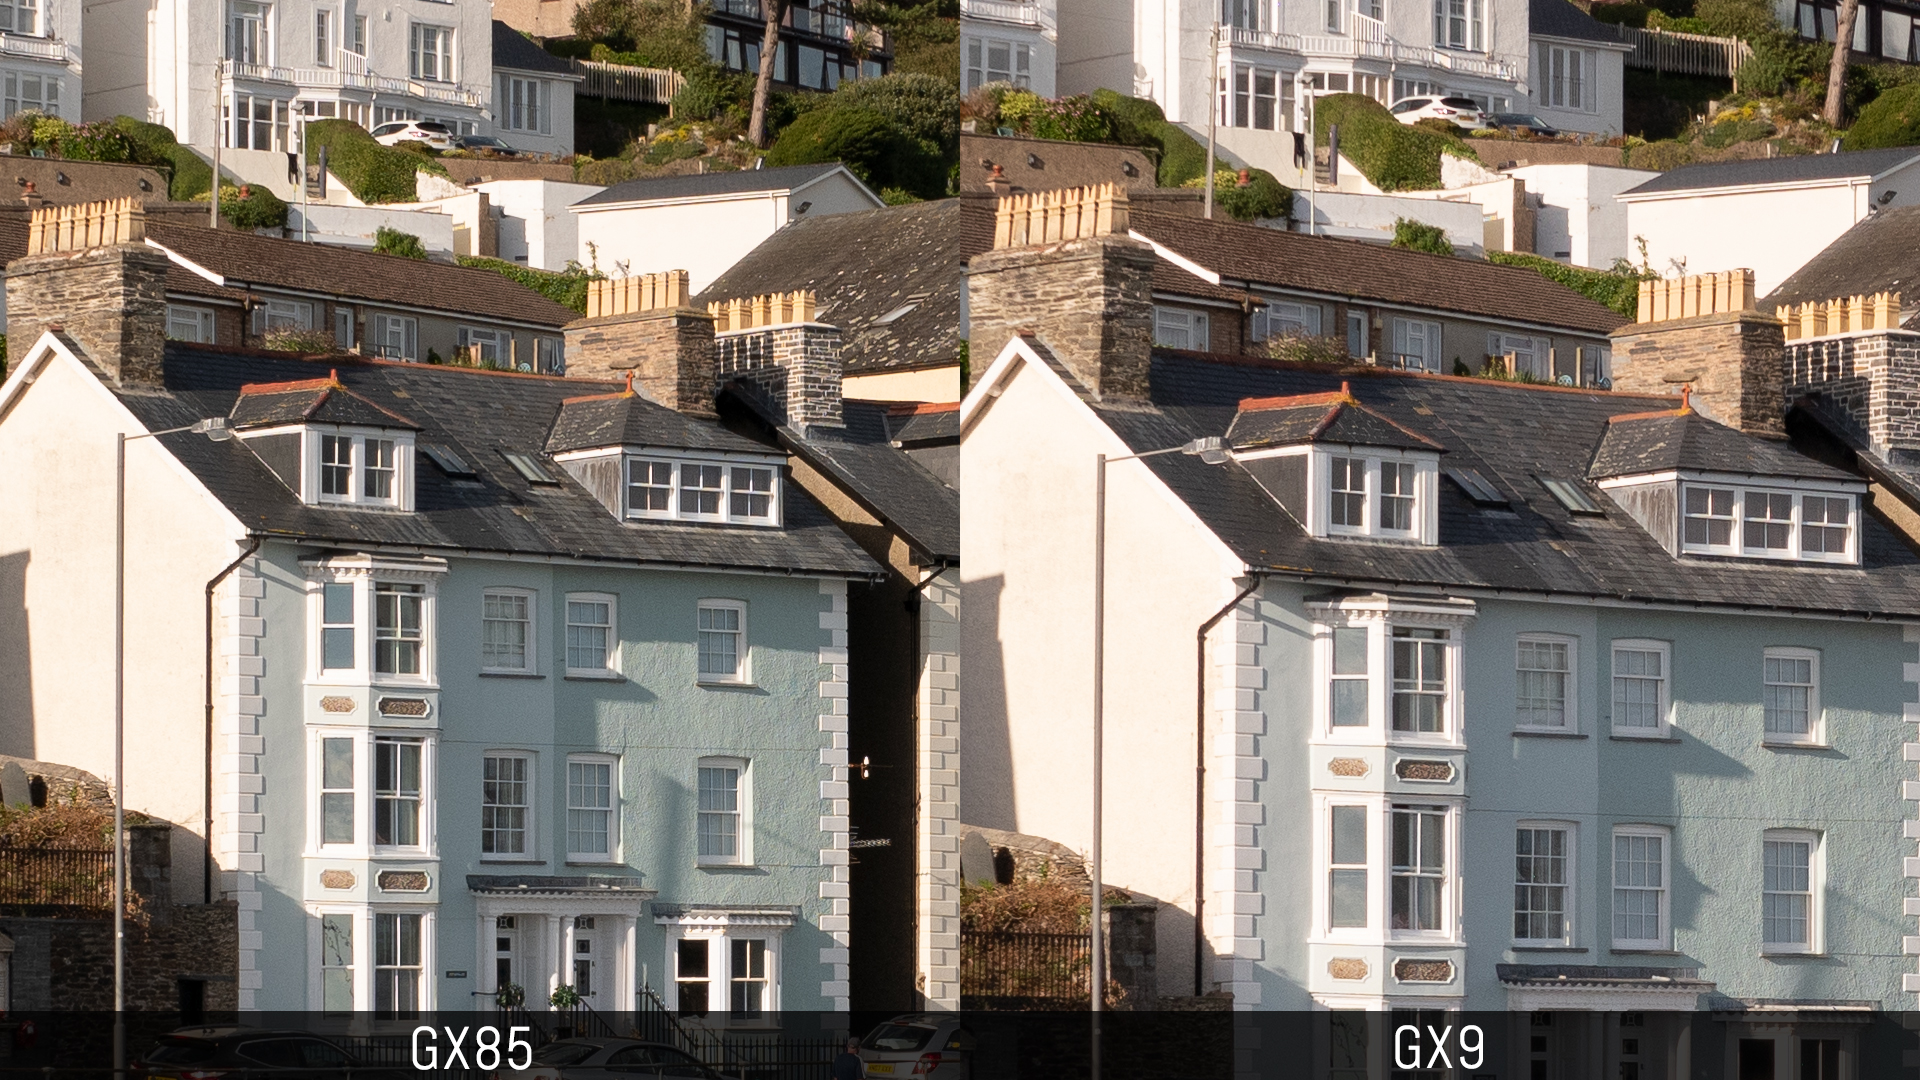
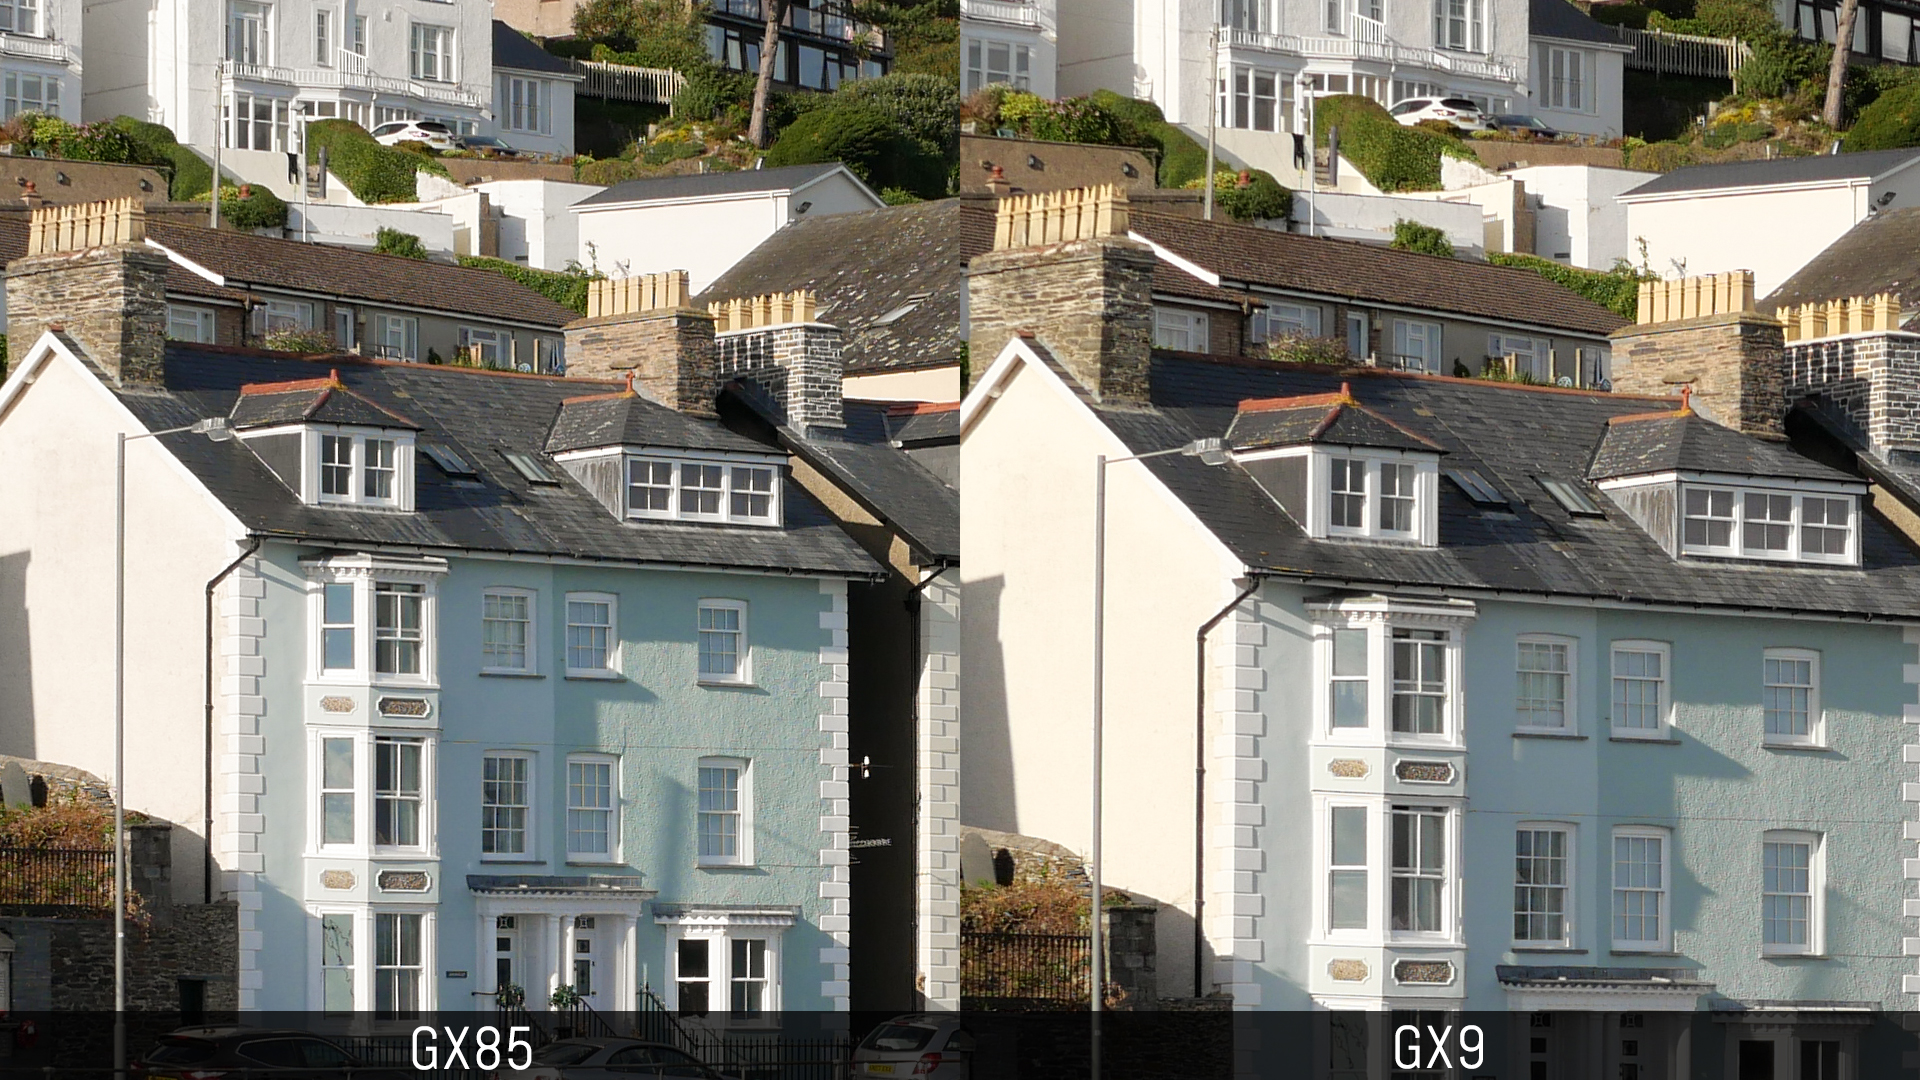
The GX85 features a 16MP sensor whereas the GX9 has a higher resolution of 20MP. Neither has an optical low pass filter which maximises sharpness.
The difference between 16 and 20 megapixels is minimal, with the only real advantage being that you can crop your images a little more with the new camera.

The two cameras produce nice SOOC JPGs. You can increase sharpness within the Photo Style or activate the i.Resolution option at three different levels but beware that the high setting starts to look unnatural. Both cameras allow you to choose three JPG sizes (20MP, 10MP, 5MP on the GX9 and 16MP, 8MP, 4MP on the GX85).
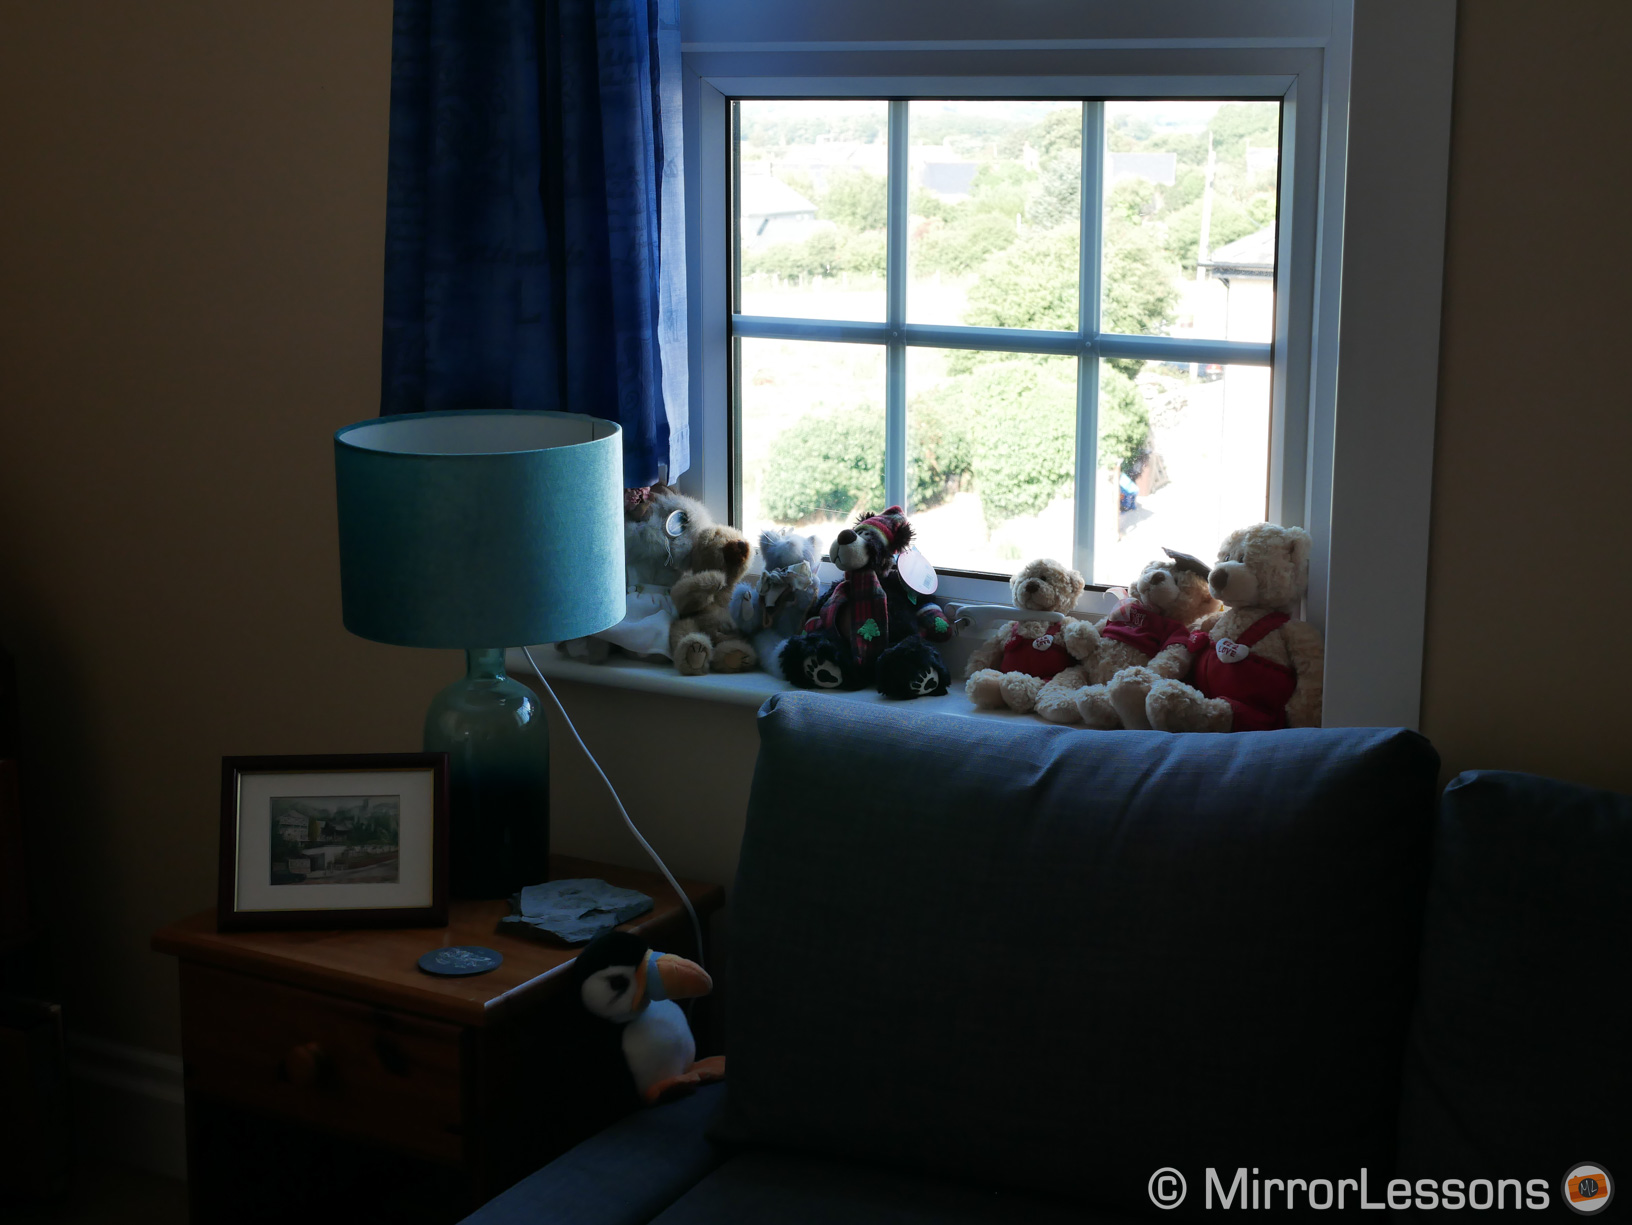
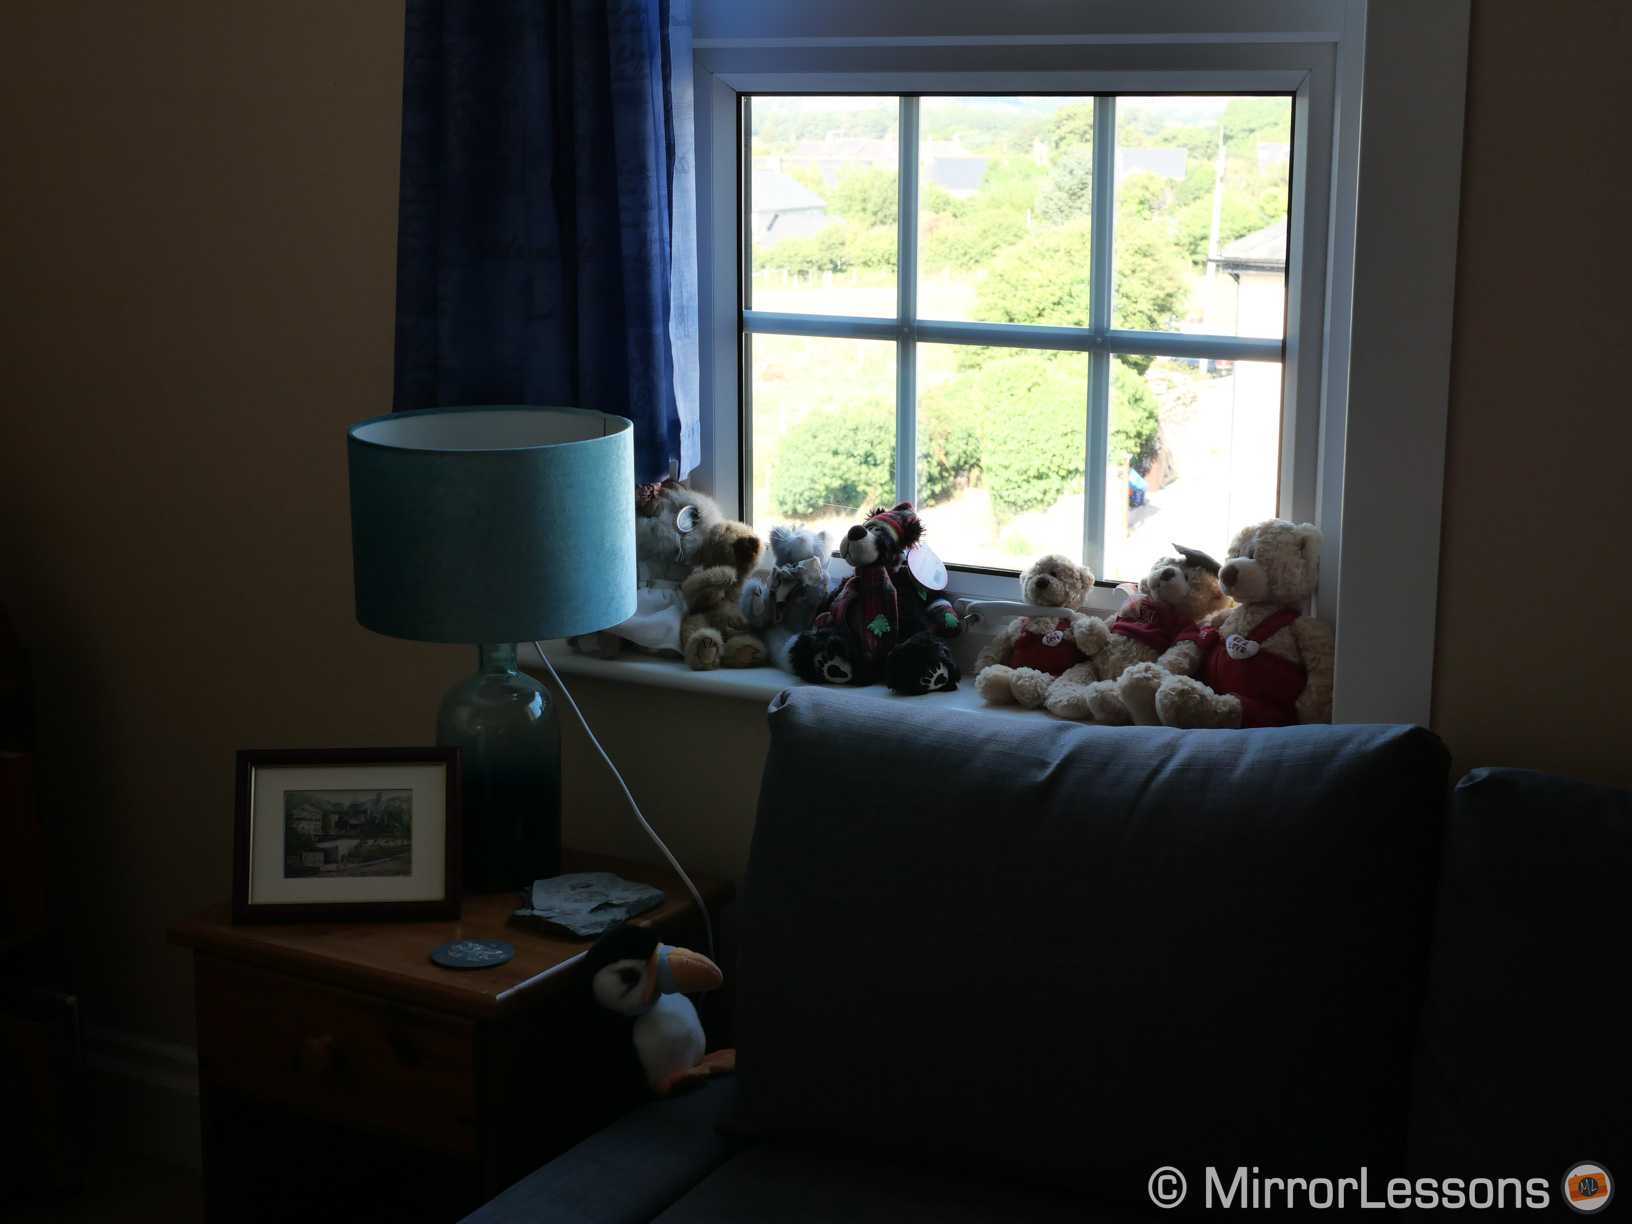
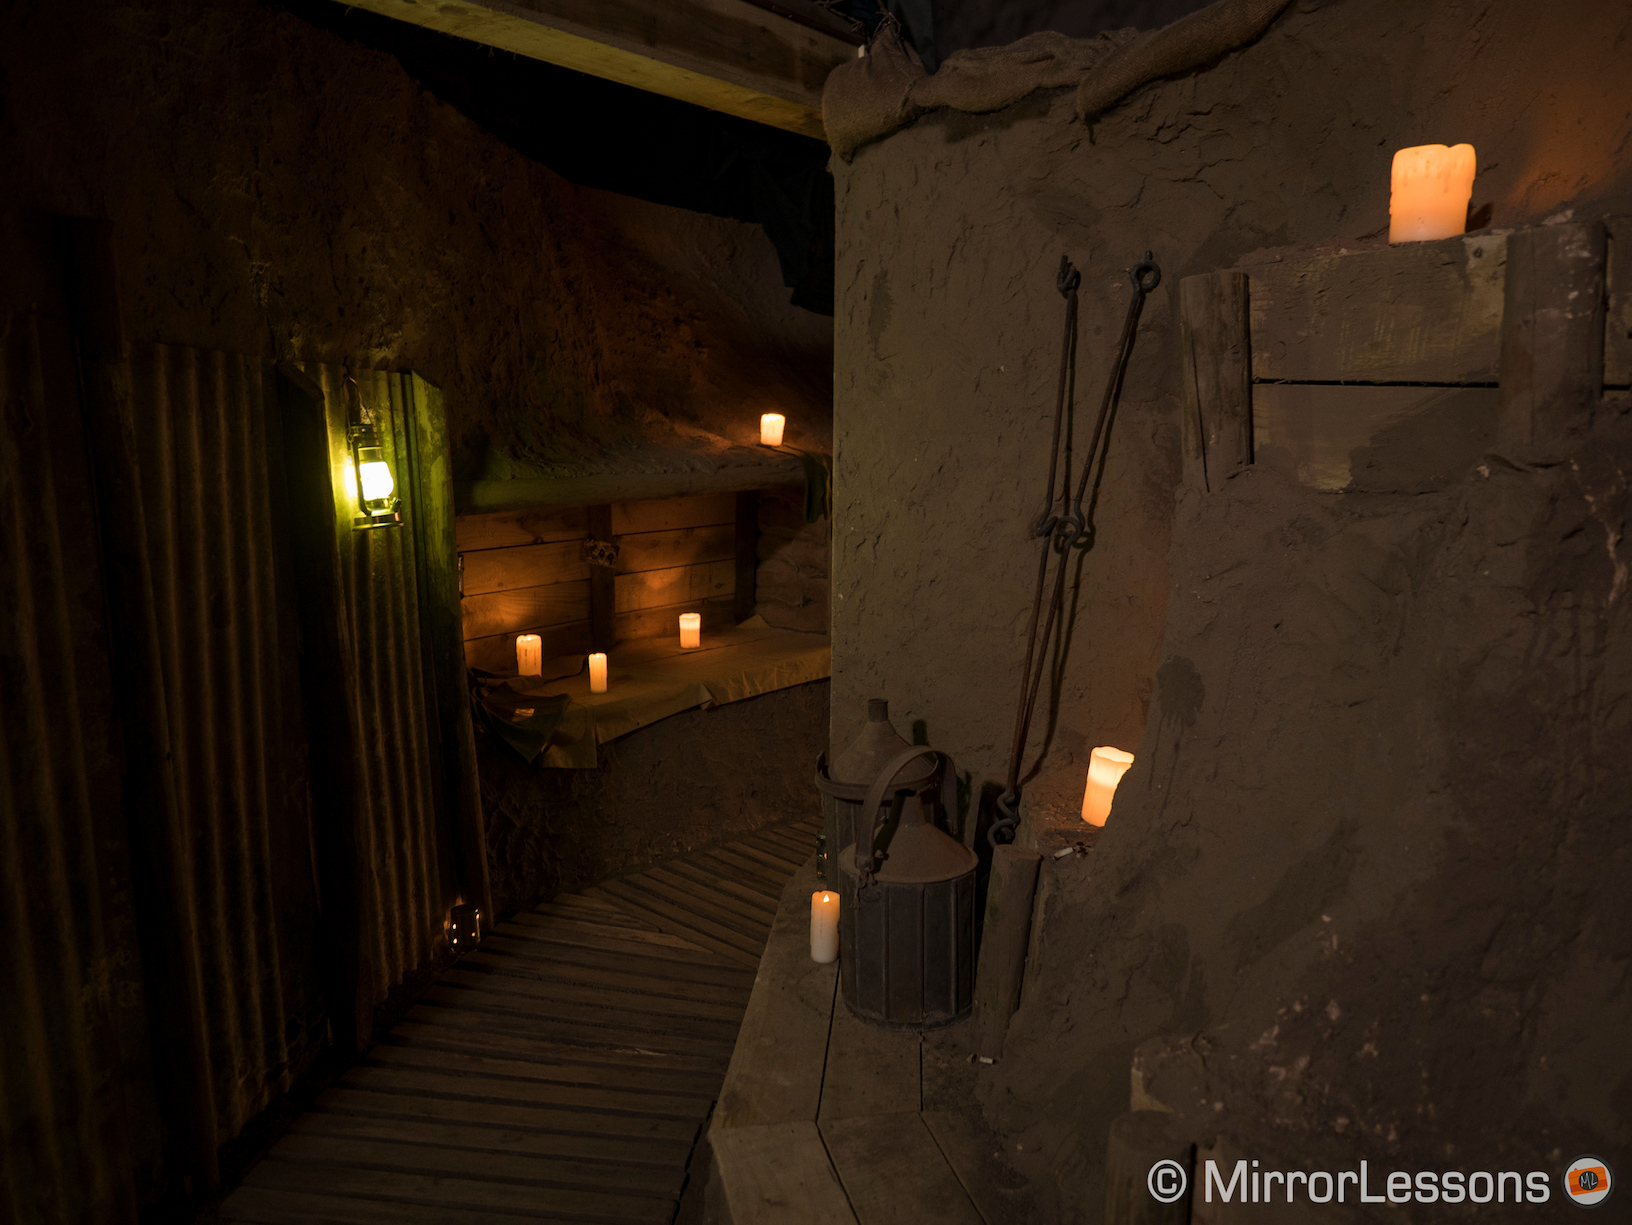
Concerning dynamic range, pushing up to 3 stops of exposure recovery gives similar results on both cameras when it comes to noise in the shadows, but the GX9 suffers from a severe magenta shift that isn’t easily eliminated. You can also spot a little bit of banding. The GX85 file remains more on the green side. Any attempt to recover more than 3 stops will produce unusable results.
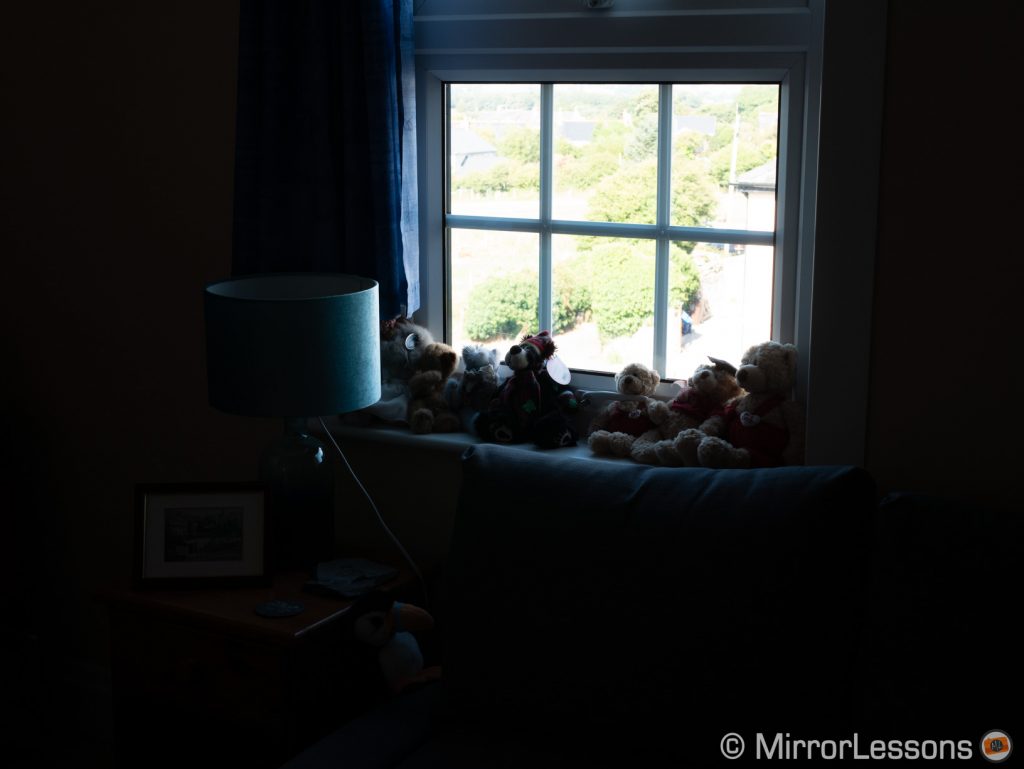

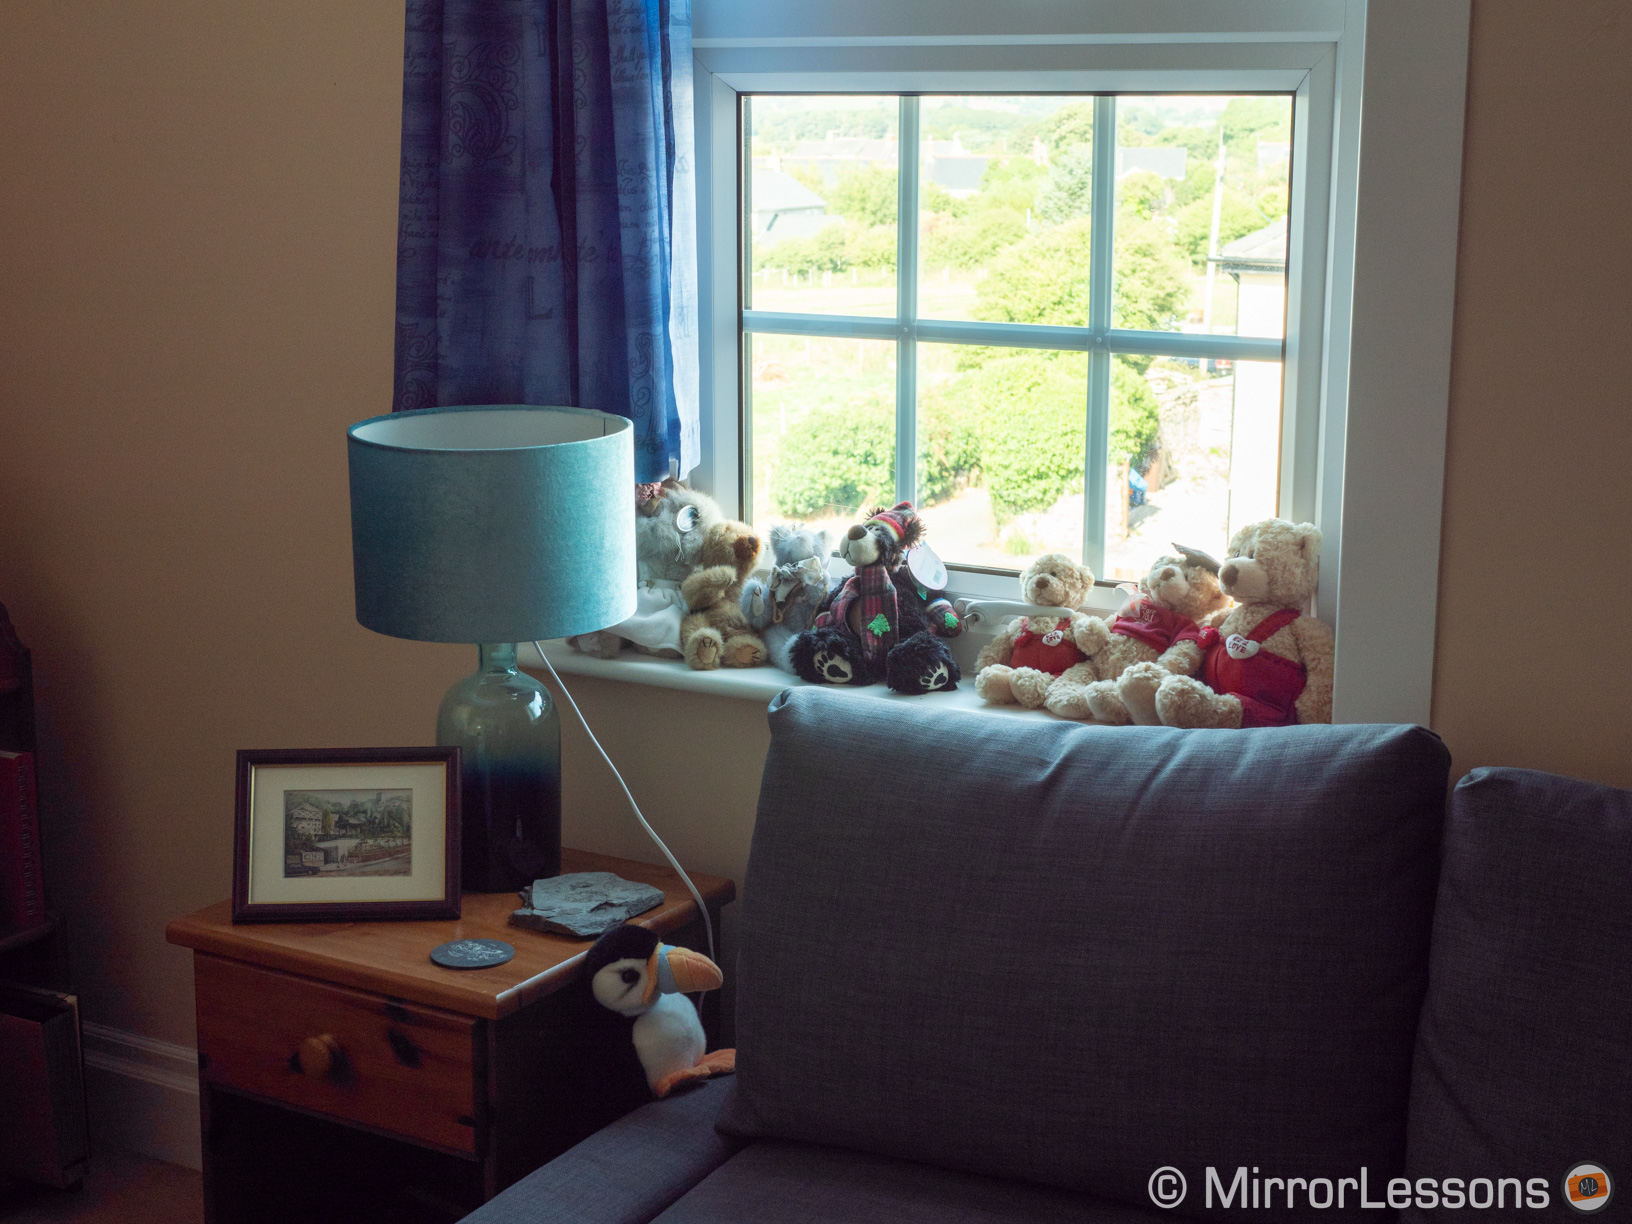
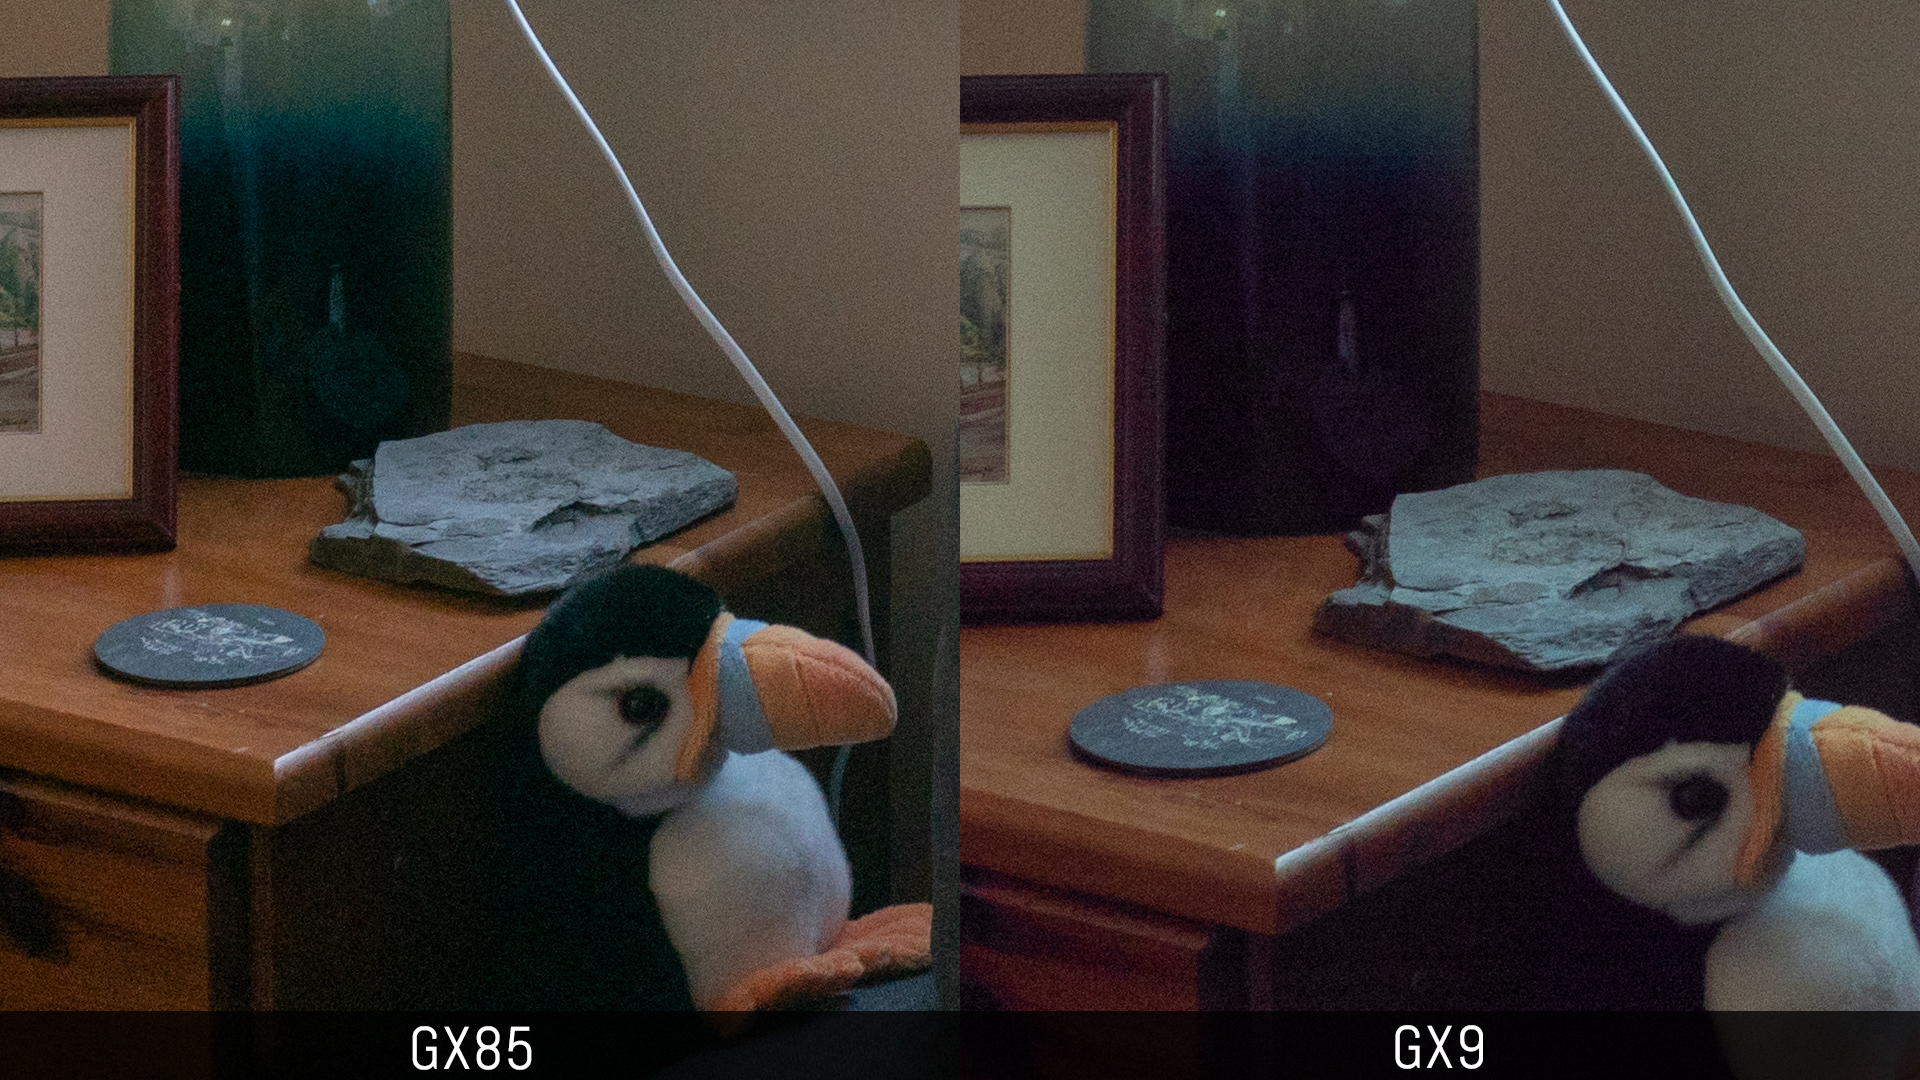
When it comes to highlight recovery however, it is the GX9 that retains more information than the GX85.
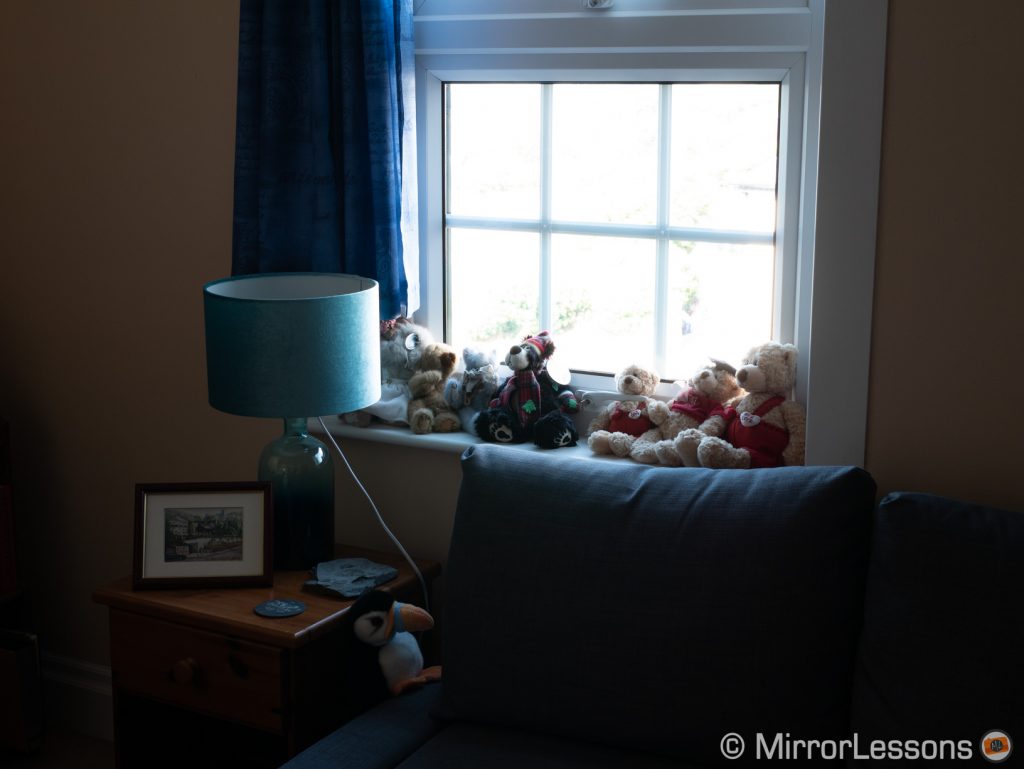
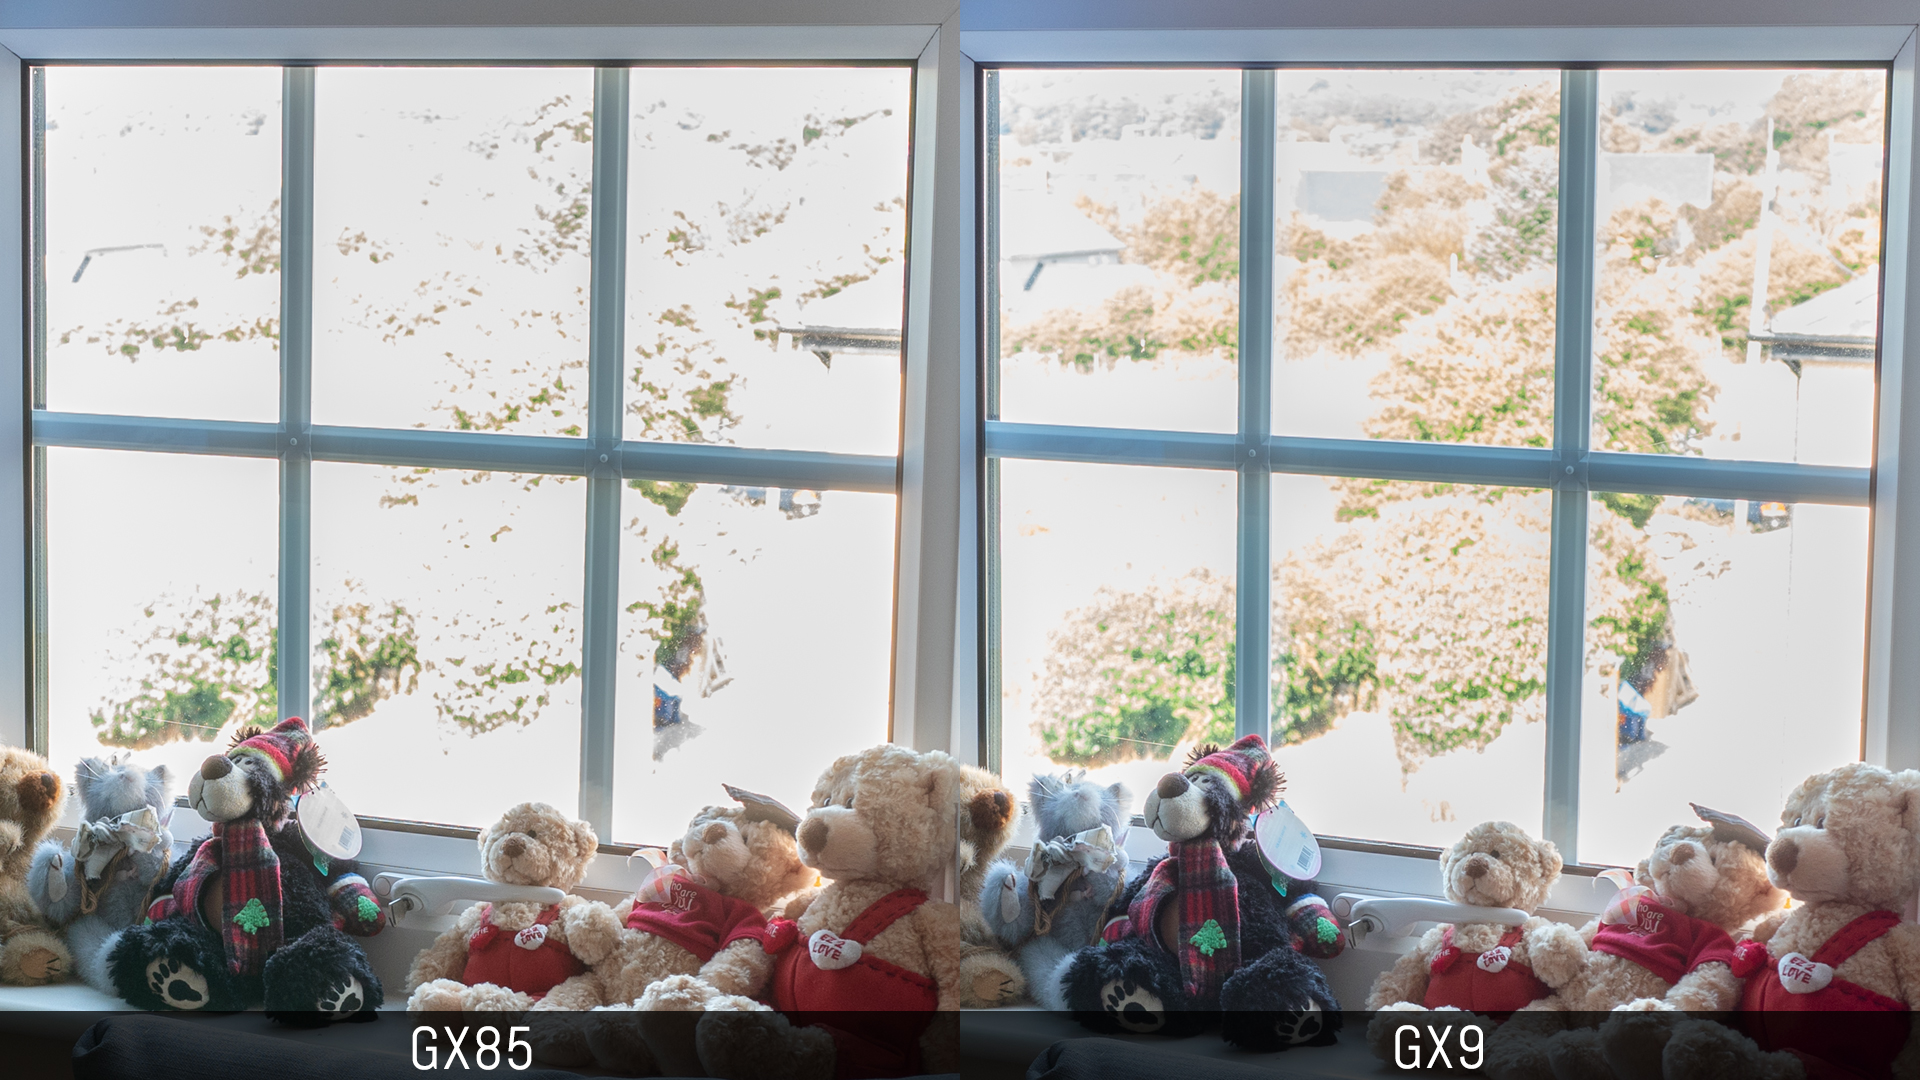
With the JPGs, you can tweak the highlight and shadow settings in-camera or use the i.Dynamic mode which tends to give better quality. The results are similar in the shadows but the GX9 retains more colours in the bright areas.
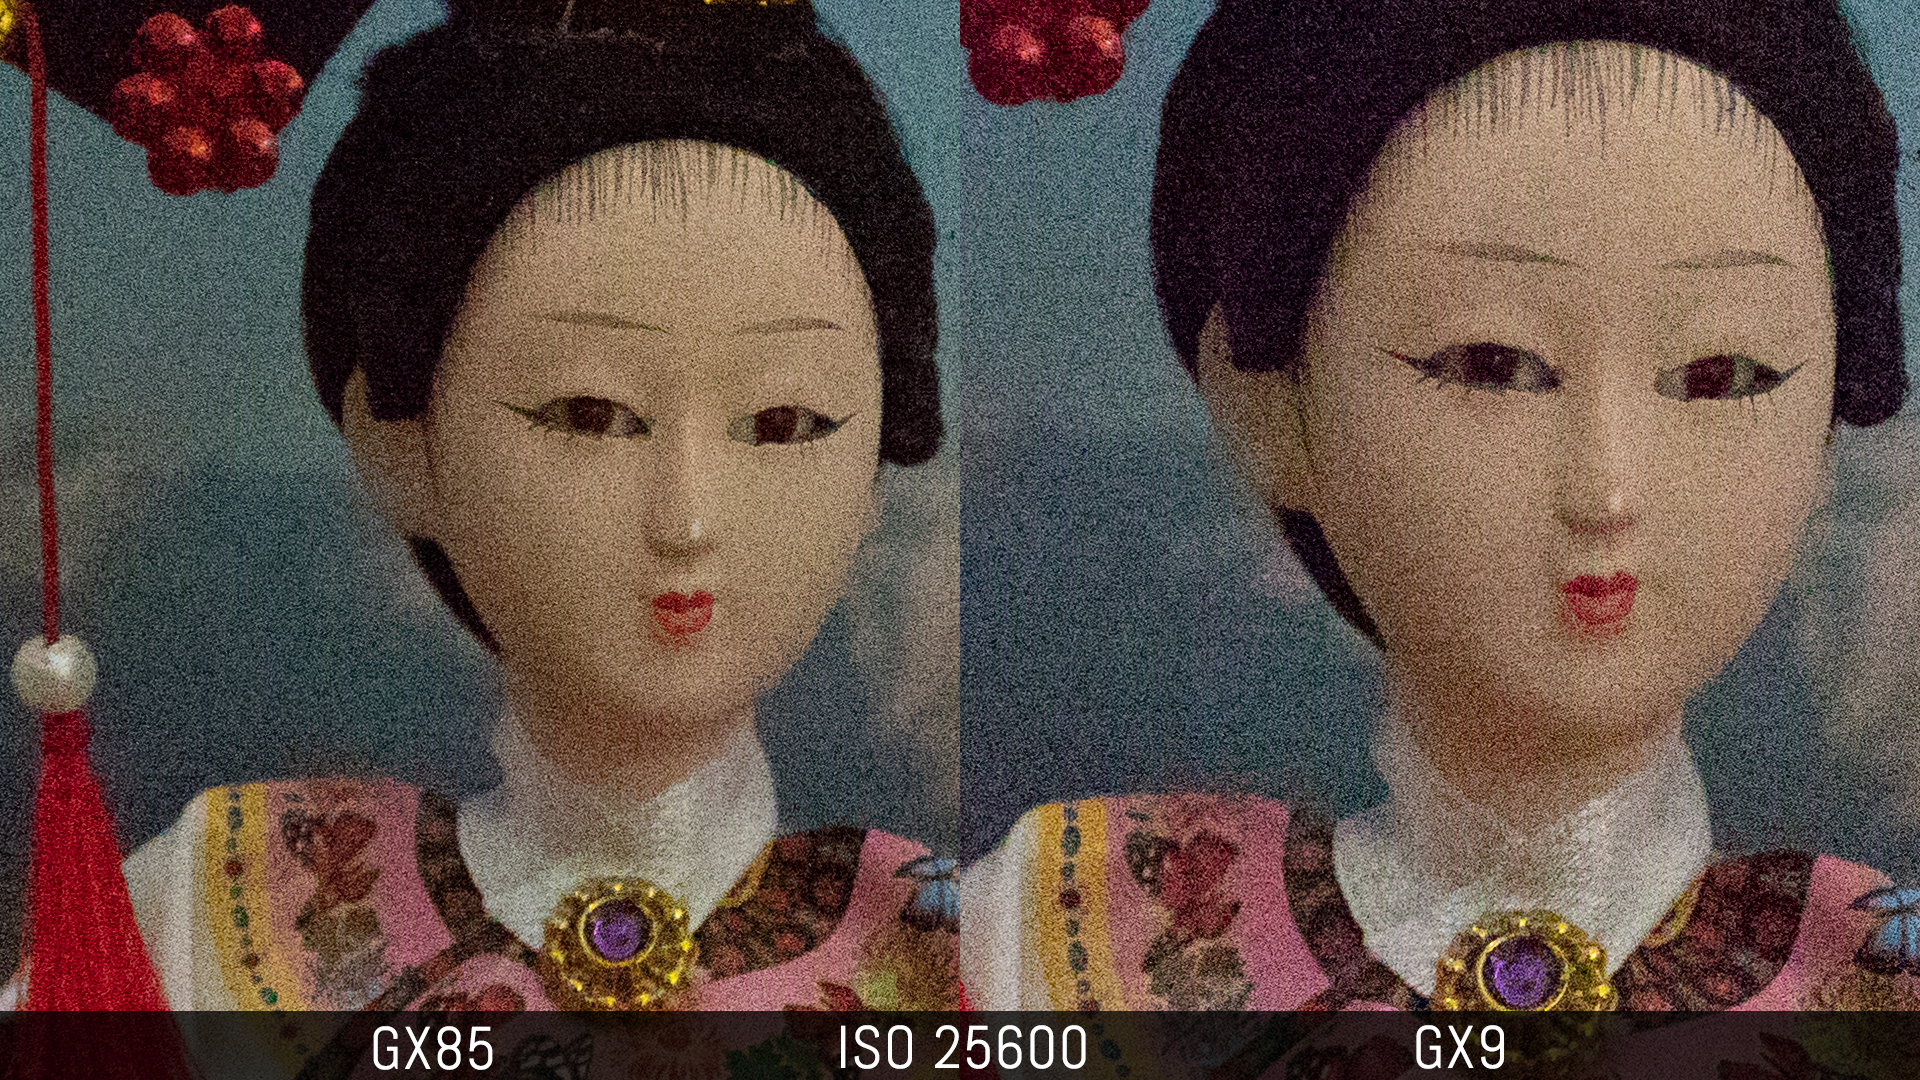
Next let’s take a look at the high ISO performance. Here there isn’t a lot to say concerning the RAW files. The two cameras deliver fine results up to 3200 but noise increases from 6400 onward.


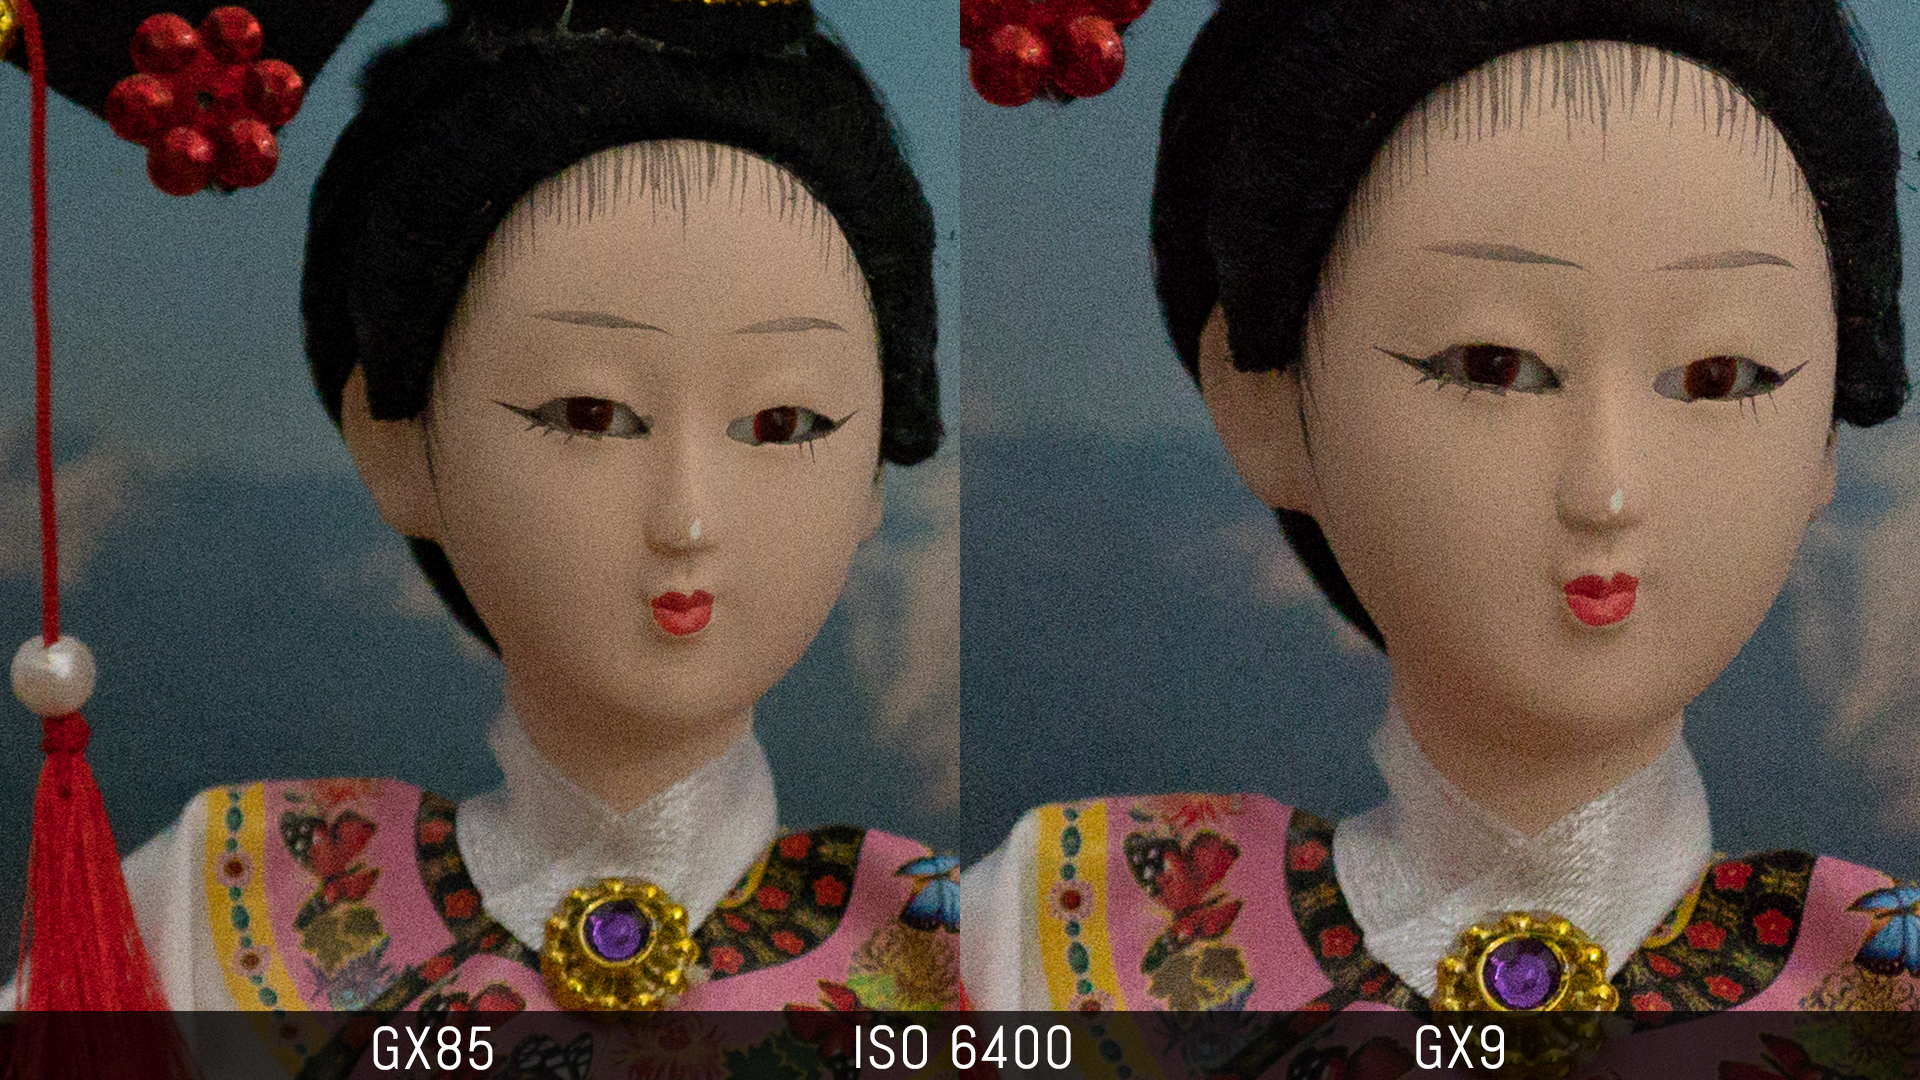

The highest value of 25600 is by far the worst and we can notice some magenta shift again in the dark areas of the GX9 files.
You can apply noise reduction to the JPGs by changing the settings found in the Photo Style. At the highest values there is a significant decrease in detail on both cameras with some watercolour effects past 6400 ISO. Even the lower values don’t produce outstanding results.
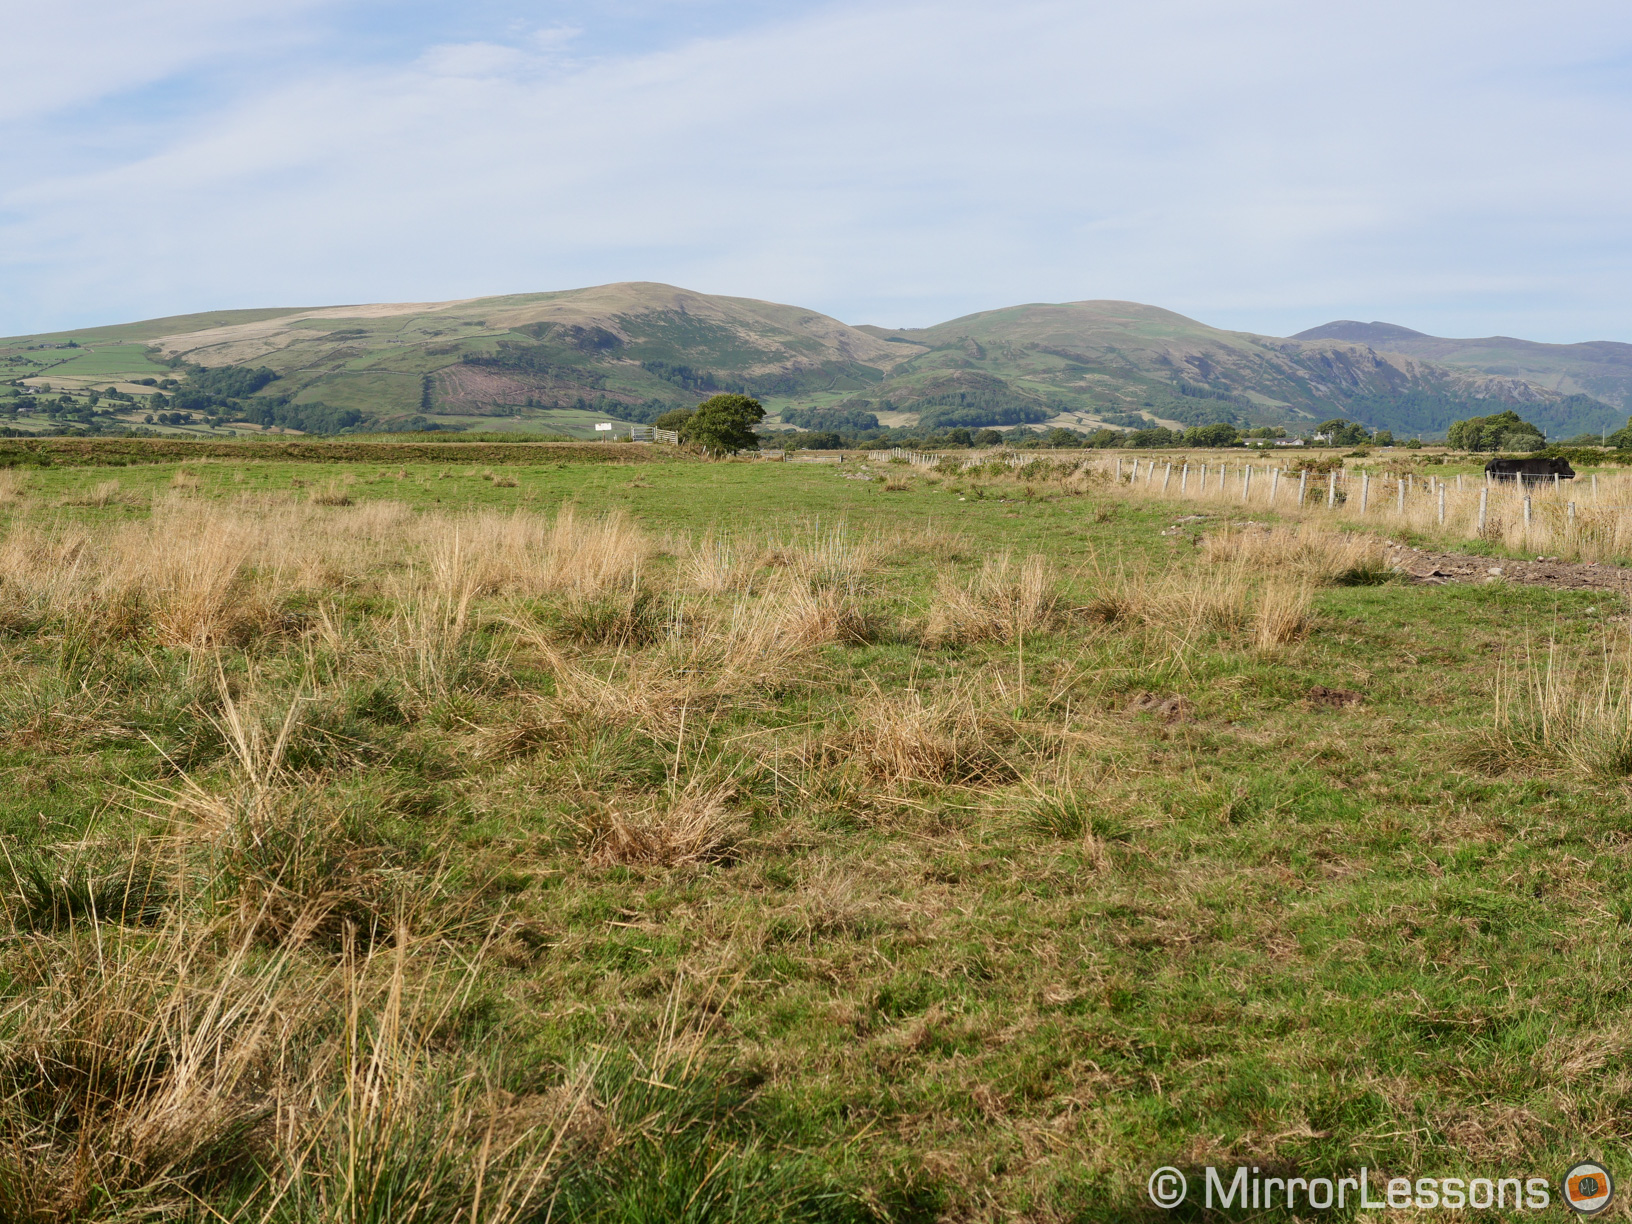
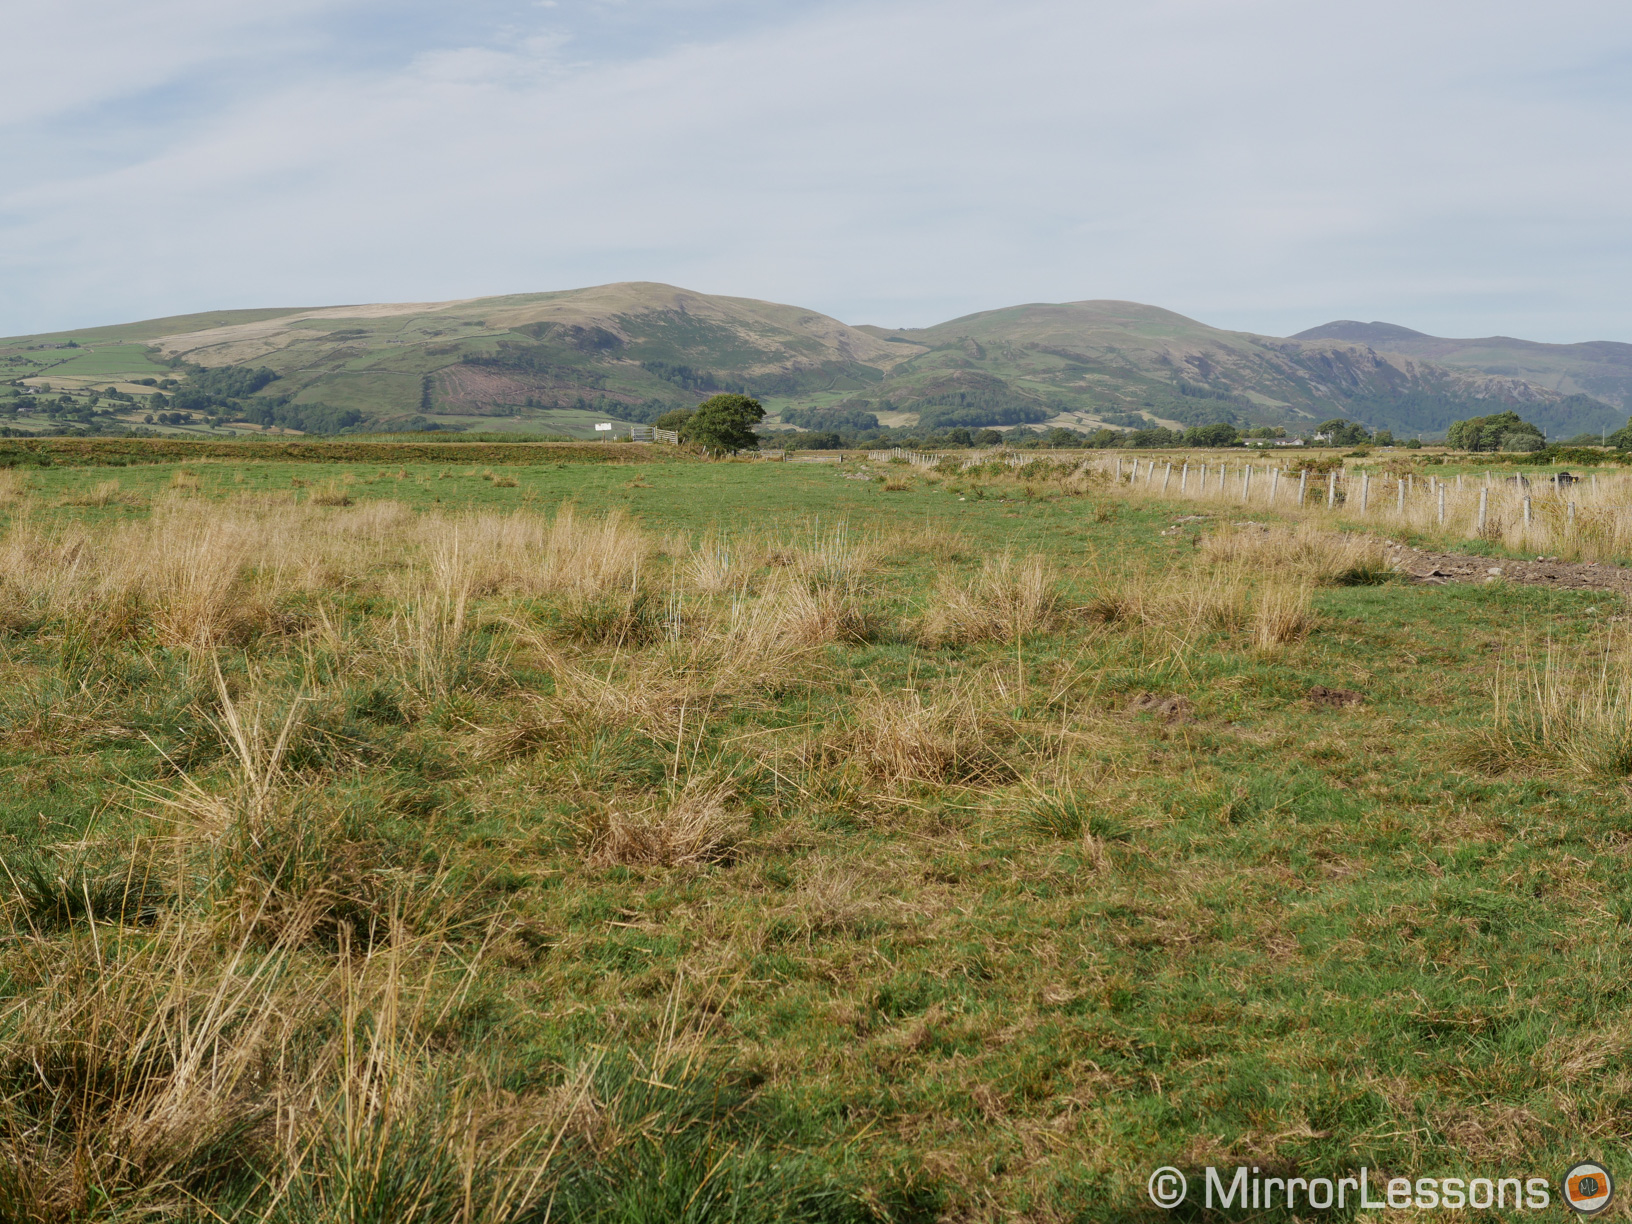
The colours in natural light are very similar if you work with the RAW files. With the Photo Styles and SOOC JPGs, the GX9 produces a warmer look when using both Auto and Manual White Balance. You can see an example below with the Vivid profile.

There are other colour modes including Standard, Scenery, Natural and Portrait. The GX9 has two extra colour profiles, Cine-Like D and Cine-Like V, which are designed for video. The former gives you a flat look which doesn’t really suit still photography but the V version is rather nice.
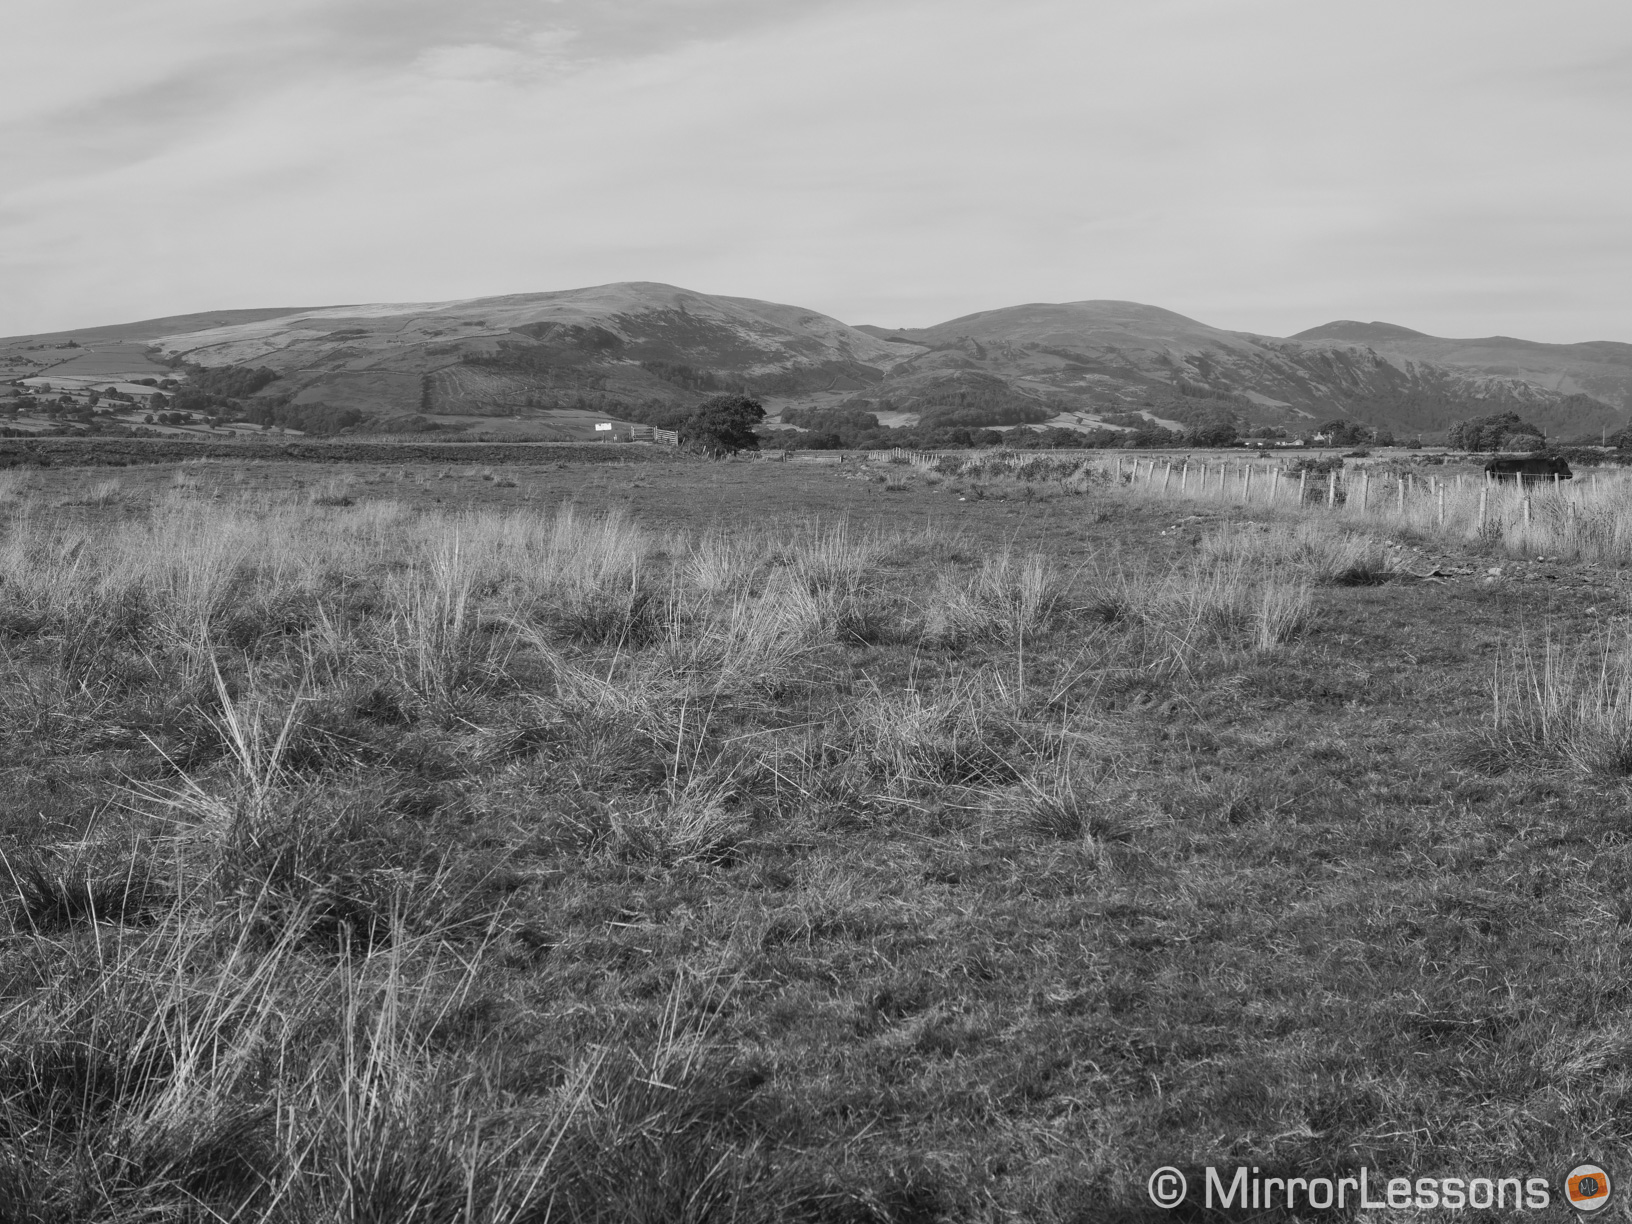
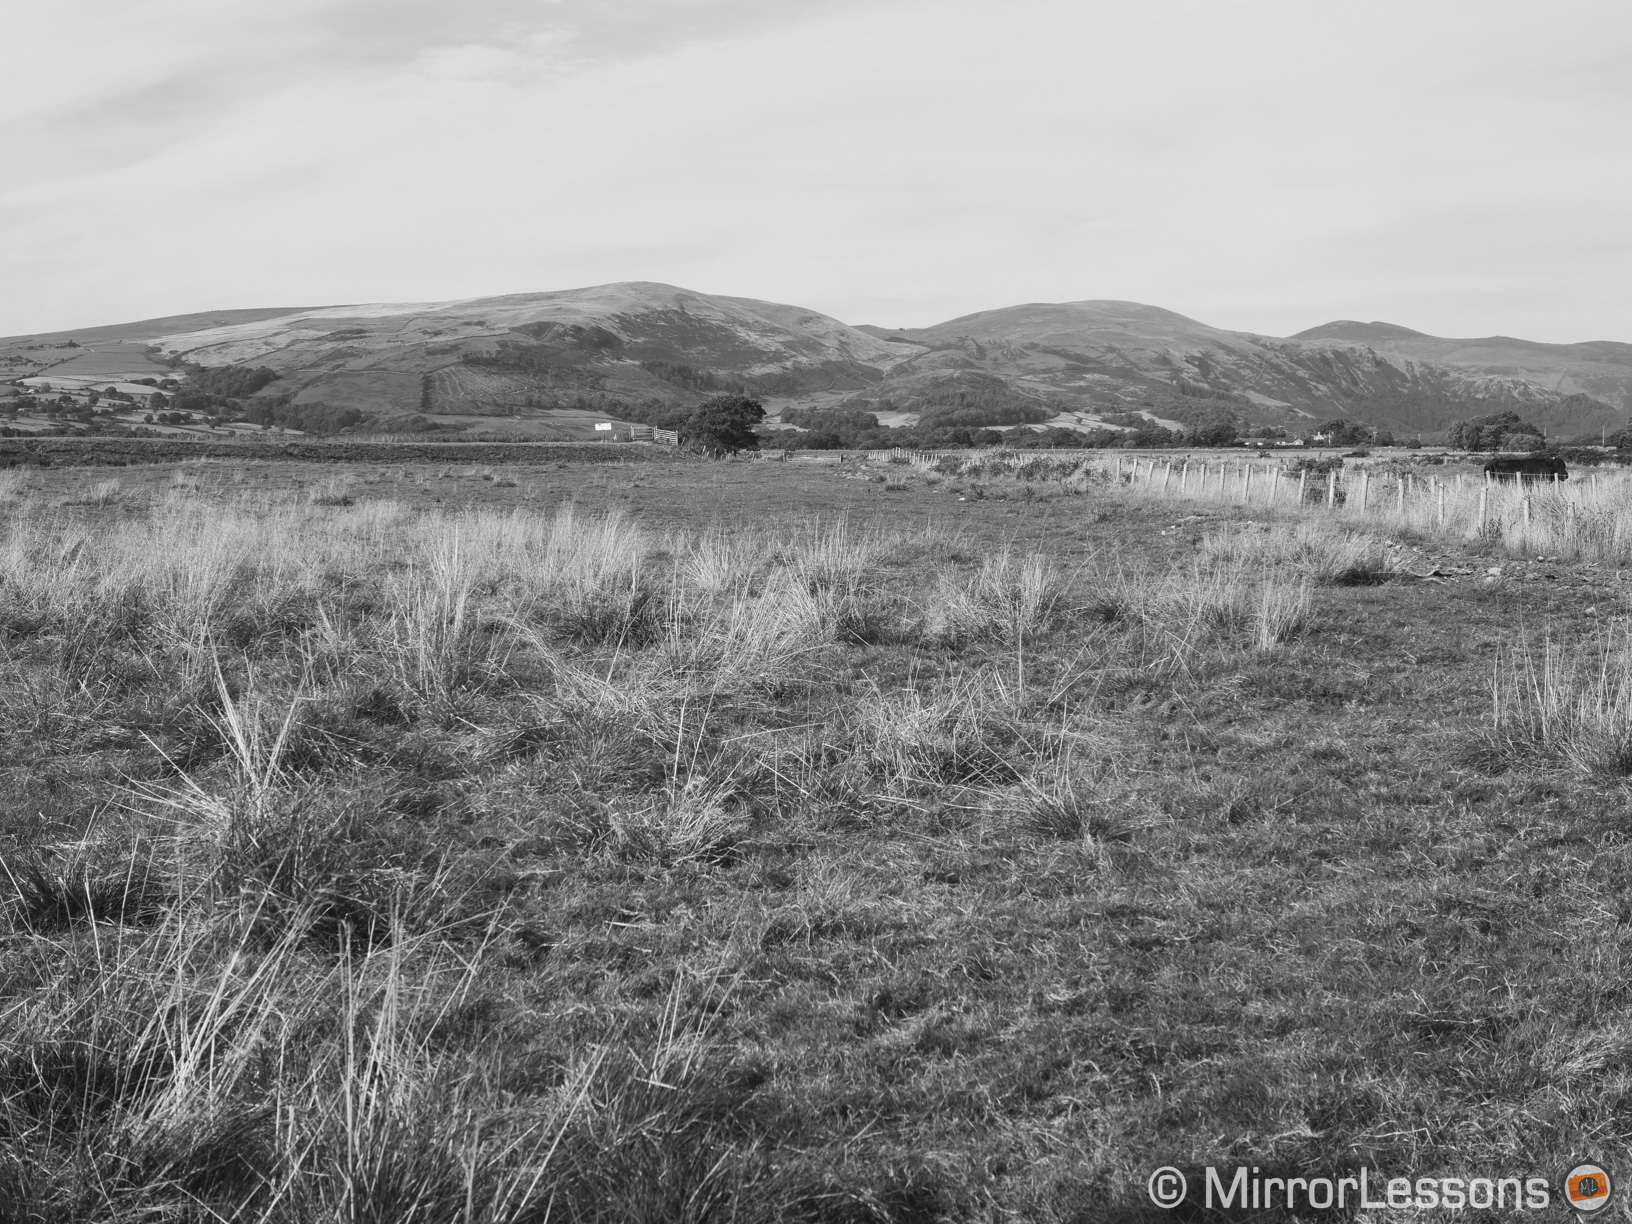
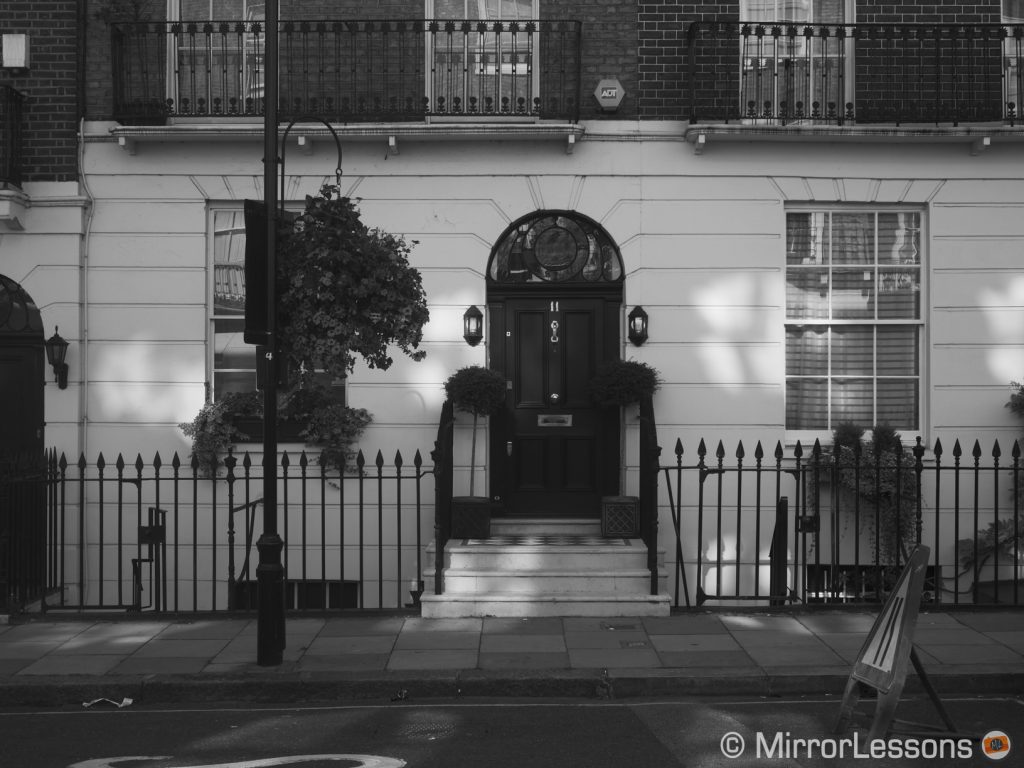
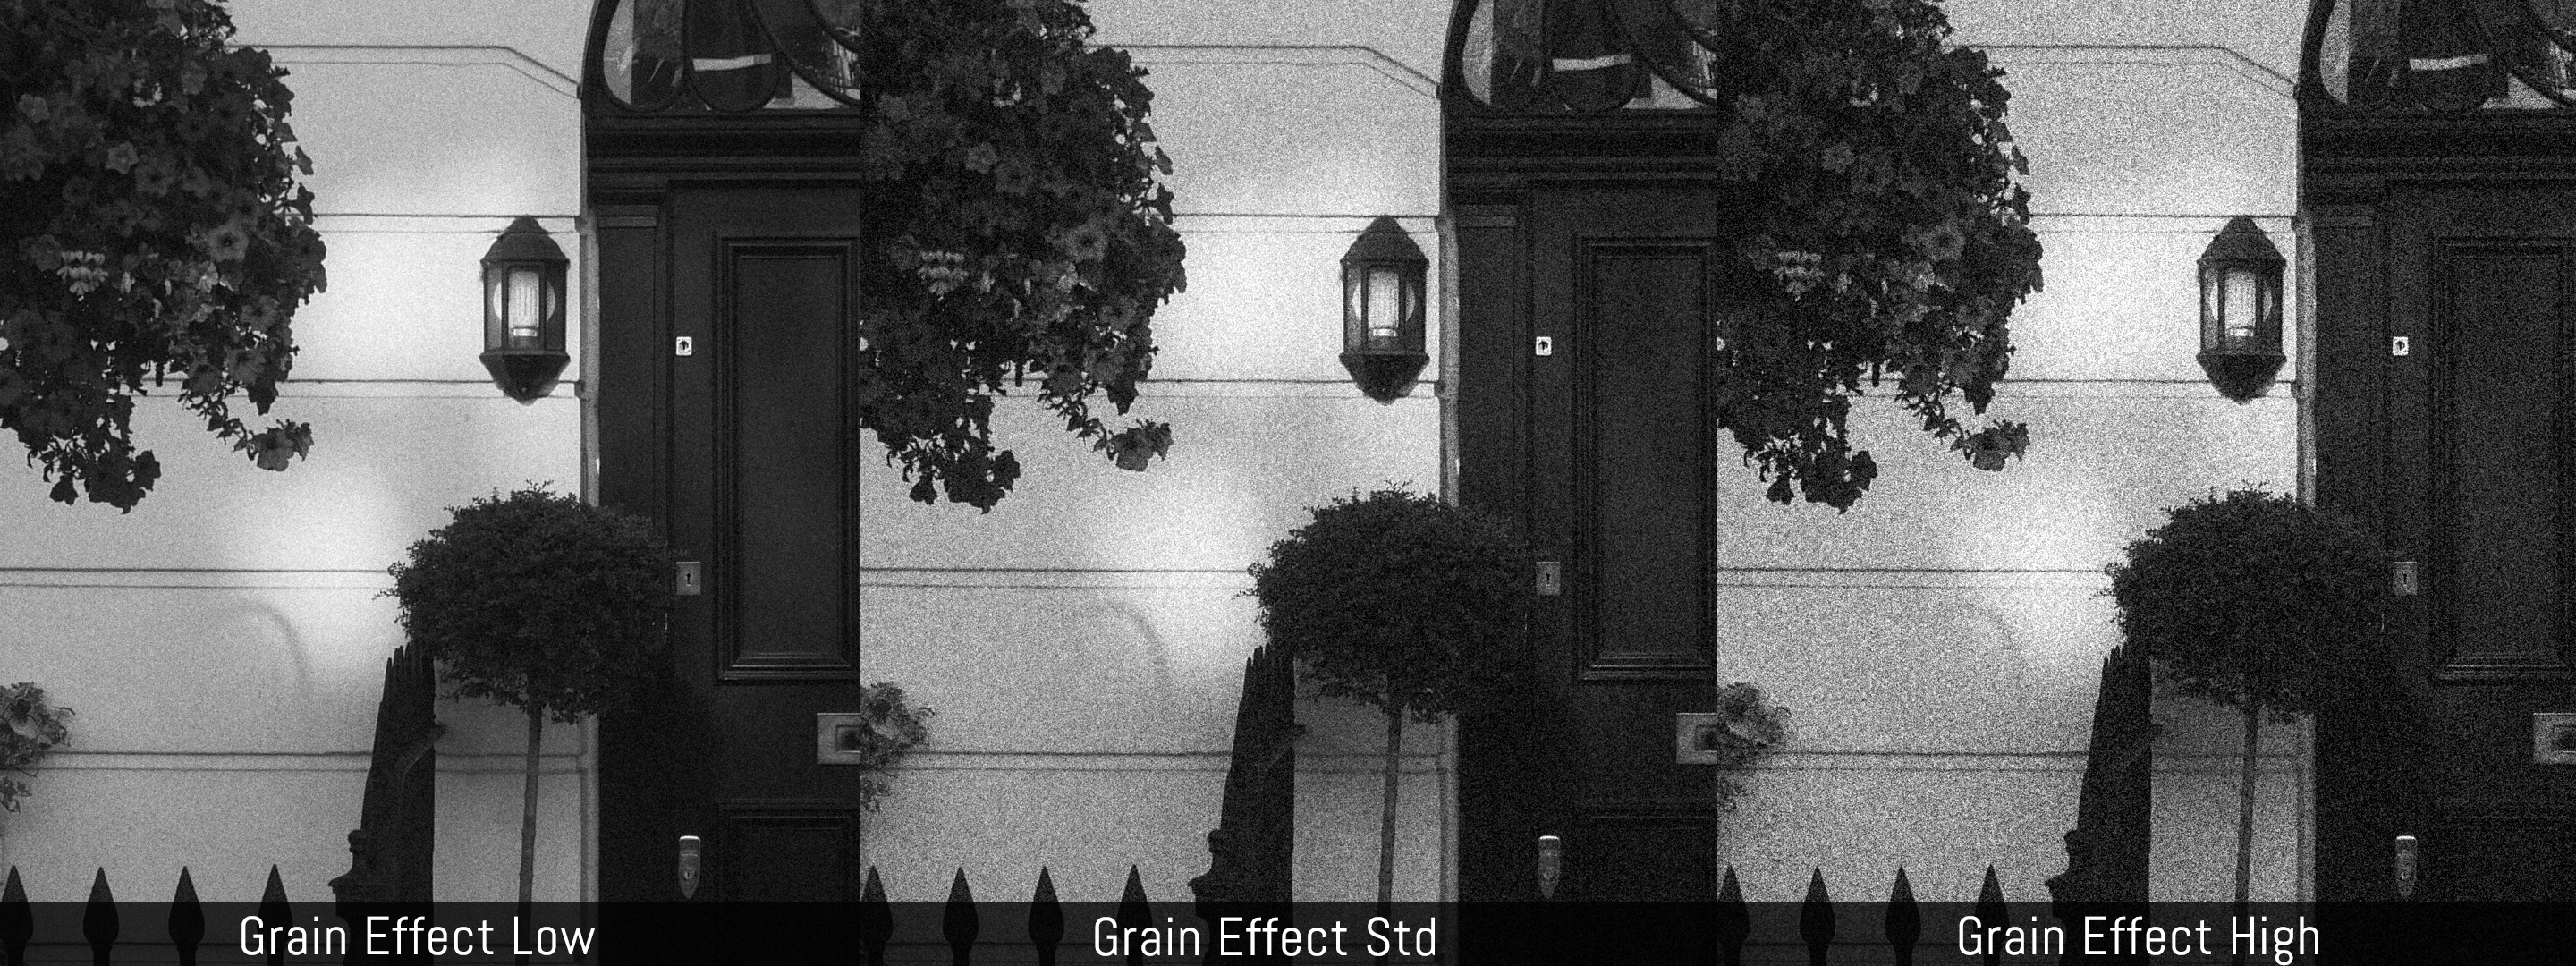
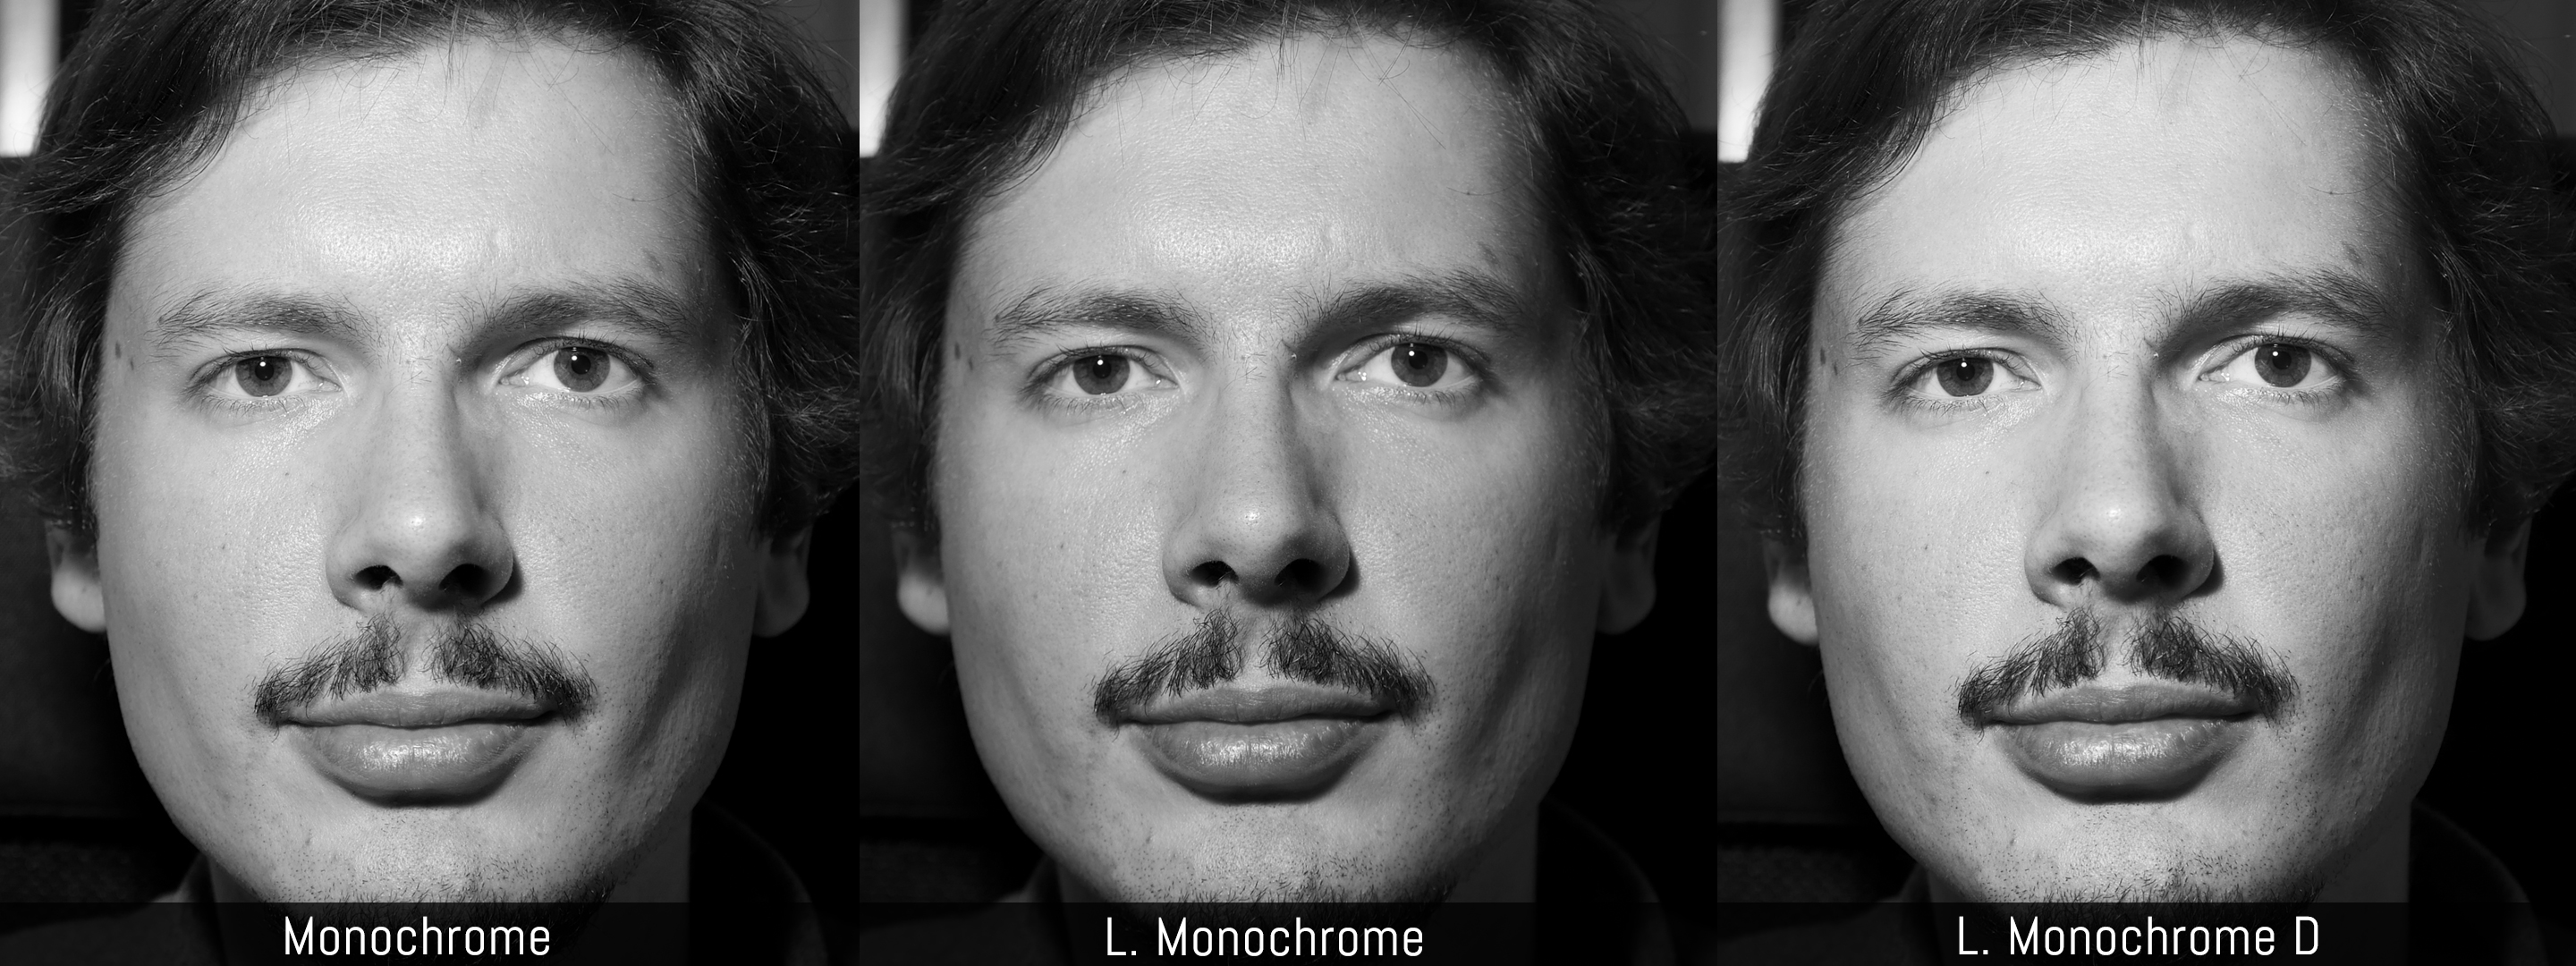
The GX9 has a new black and white profile that you won’t find on the GX85. In addition to Monochrome and L.Monochrome, the new L.Monochrome D style keeps the deep shadows but pushes the bright tones to give you more contrast in comparison to the other two modes. Note that for B&W stills you can also select a filter and grain effect, although the latter is only available on the GX9.

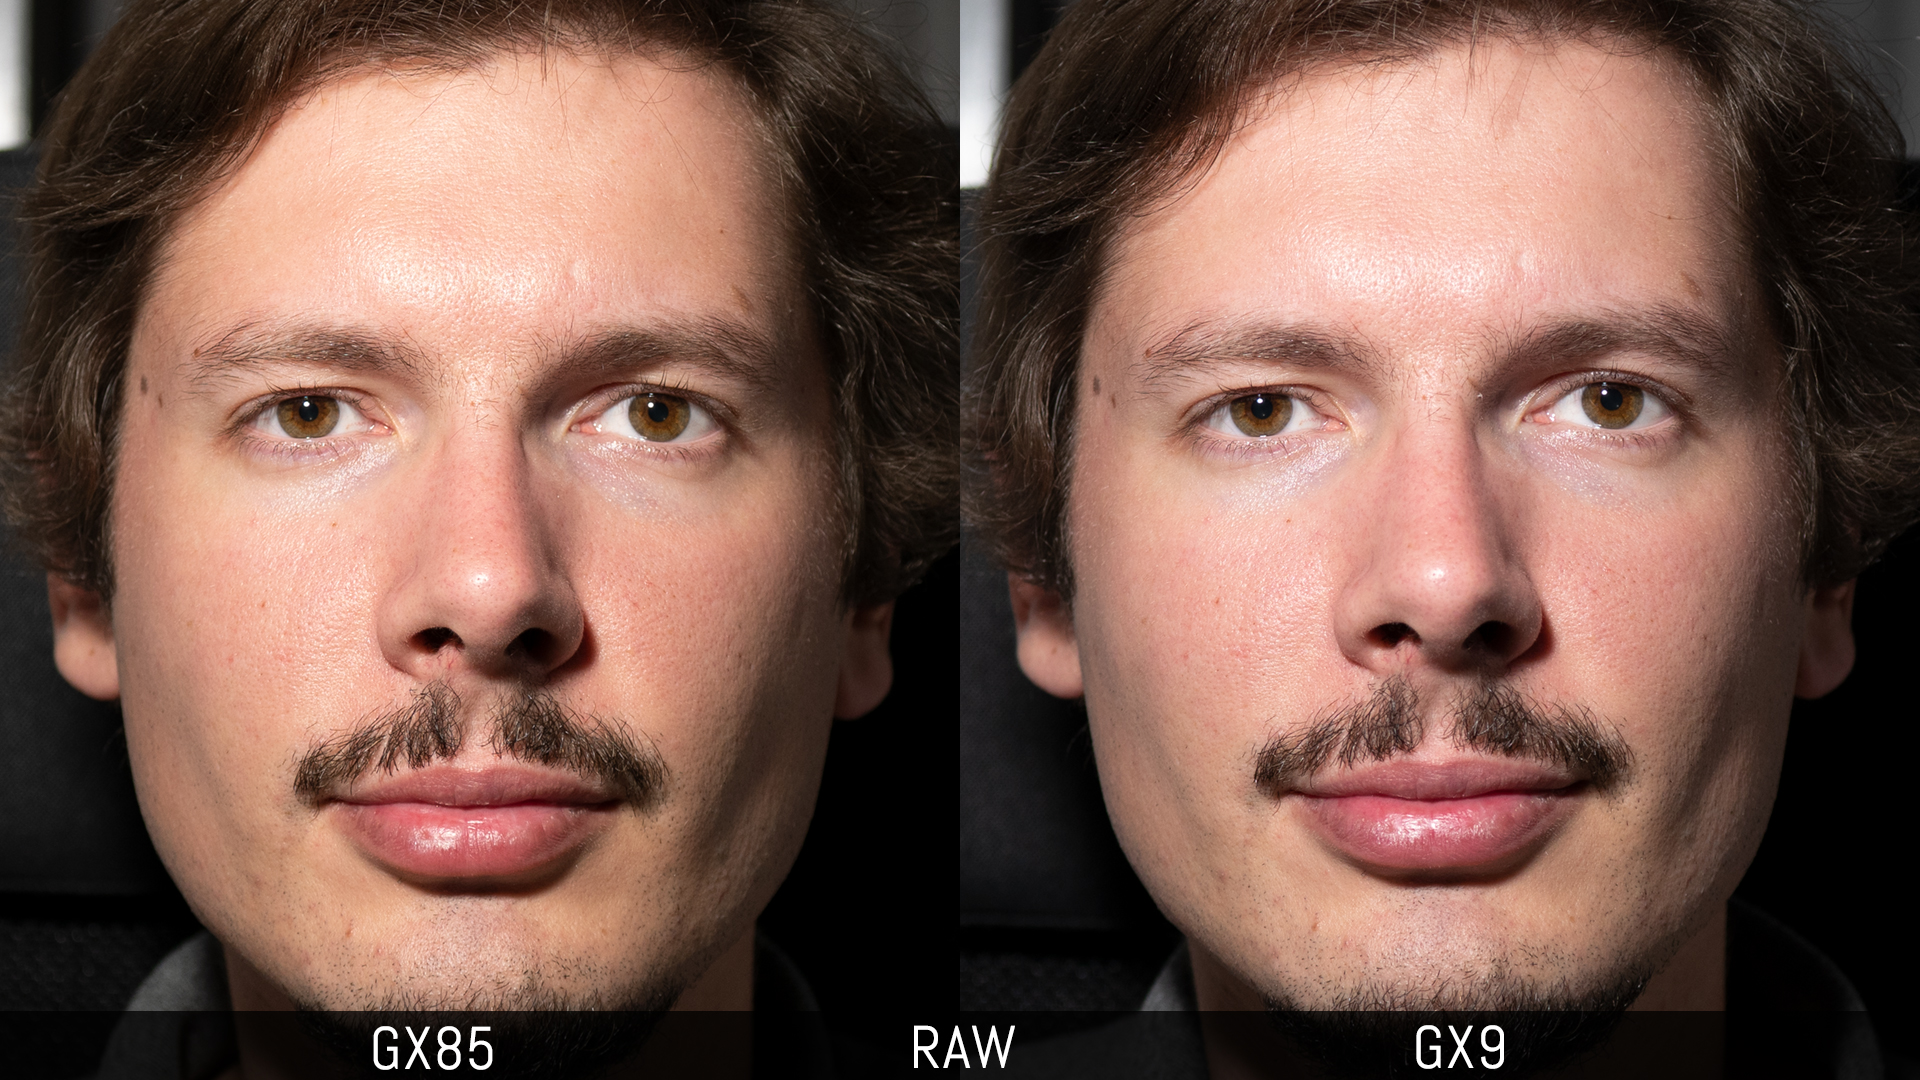
Skin tones have a different rendering if we open the RAW files with the same profile and settings. The GX9 appears more natural and uniform but it’s a small difference that can be minimised with a little bit of post processing.
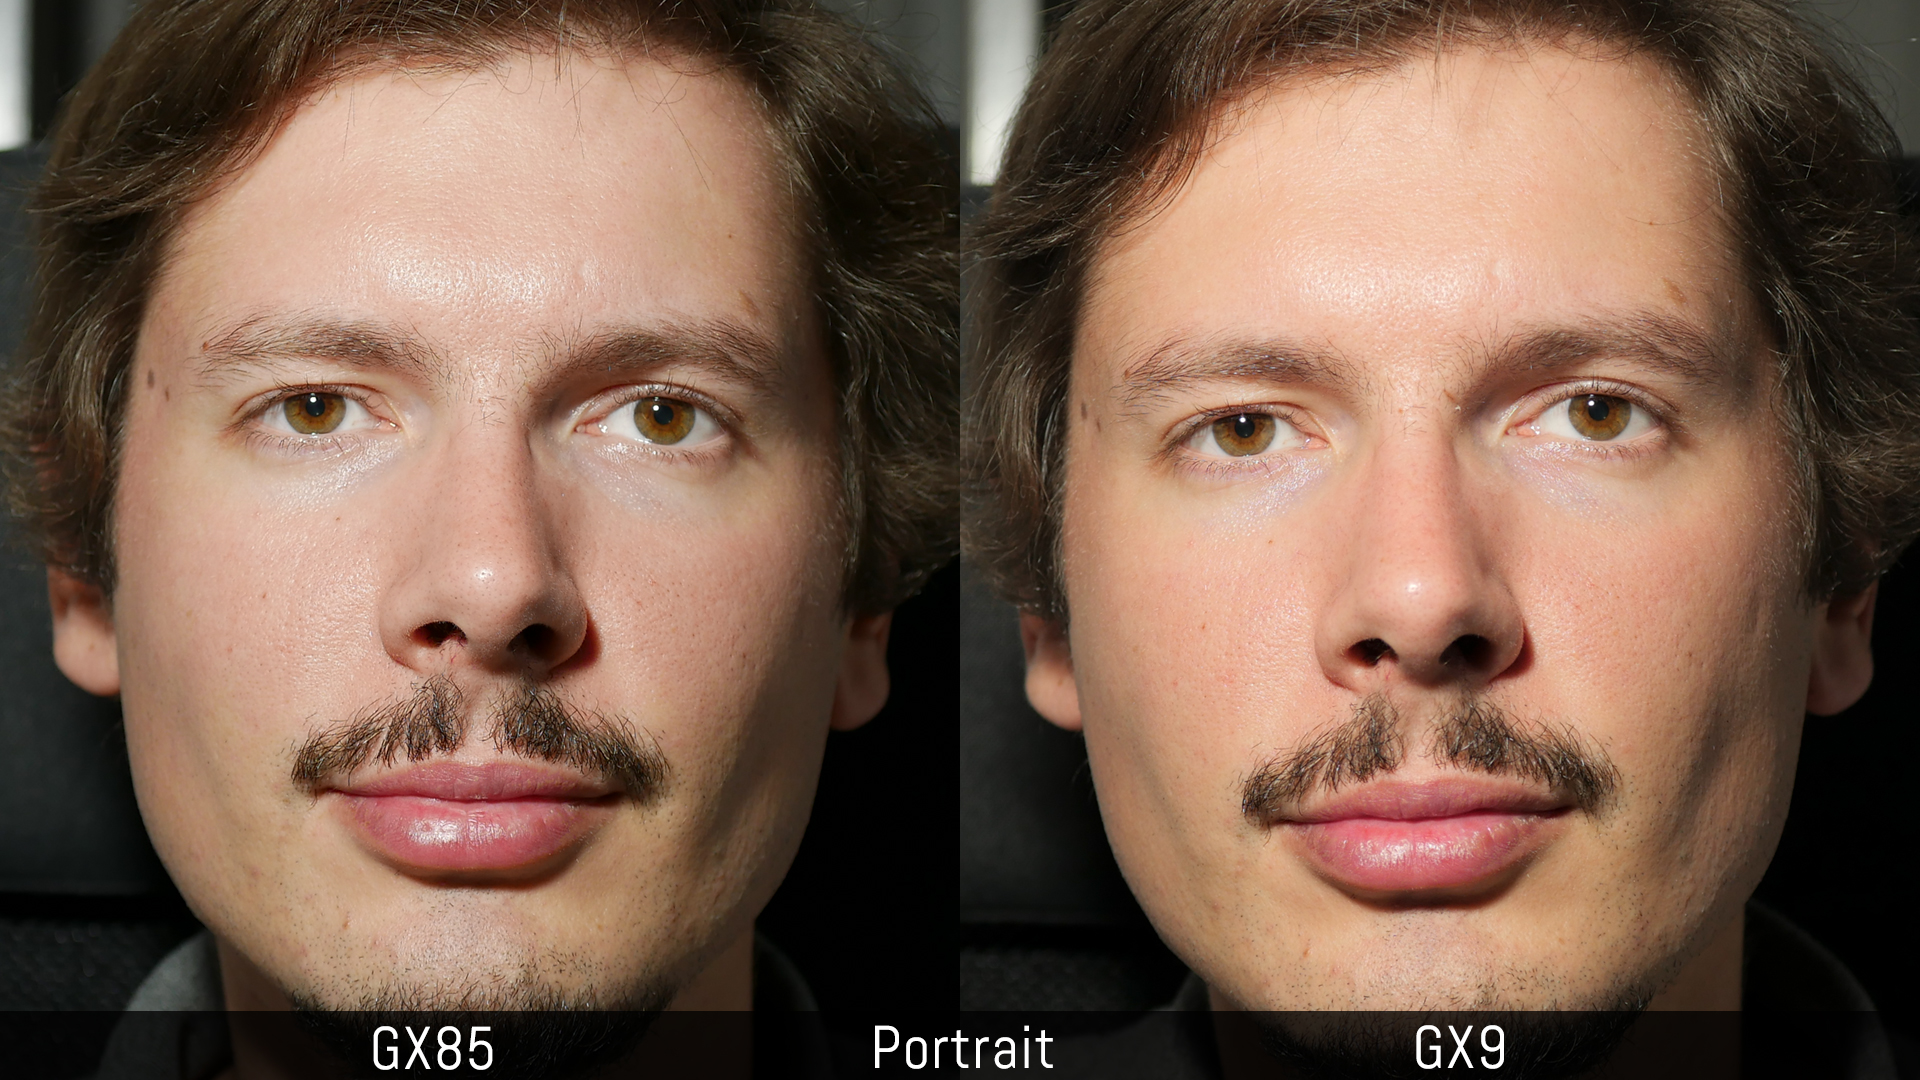
When using the photo profiles, once again the GX9 gives a warmer look than the GX85 which is especially noticeable with the Portrait style.
The results look quite similar for black and white, though I’d say that L.Monochrome D is the most distinctive of the three.
Concerning the white balance, the GX9 has an extra mode called AWBc that preserves natural colours under artificial light sources, which tend to produce a reddish look.
Finally, both cameras feature Creative Control effects such as Toy camera and Miniature if you want a funnier result straight out of camera.
Autofocus
The two cameras use the same autofocus system: a DfD (Depth from Defocus) contrast detection type with 49 areas. It is a generation behind the AF system of the flagships G9, GH5 and GH5s.
The are various AF modes you can select including 49 area, single area, pinpoint and custom multi. The latter allows you to create groups of different sizes and shapes depending on your needs. There is also tracking, Face/Eye detection and an AFF mode where the camera switches from single to continuous if it detects that the subject is moving. It is often not reactive enough so I rarely use it.
Unsurprisingly, the two products perform in a very similar manner. In single AF they are very fast at acquiring focus in good light conditions and the performance remains good in low light as long as there is sufficient contrast (the minimum sensitivity is of -4Ev).

Strong backlit situations can prompt the cameras to mis-focus or fail to lock altogether. Also be aware that with Olympus lenses the performance can decrease because DfD is not officially recognised as compatible with lenses other than those from Panasonic. This means that occasional mis-focusing can happen more often. The performance is usually worse with older M.Zuiko lenses than with the most recent ones (especially the Pro series).

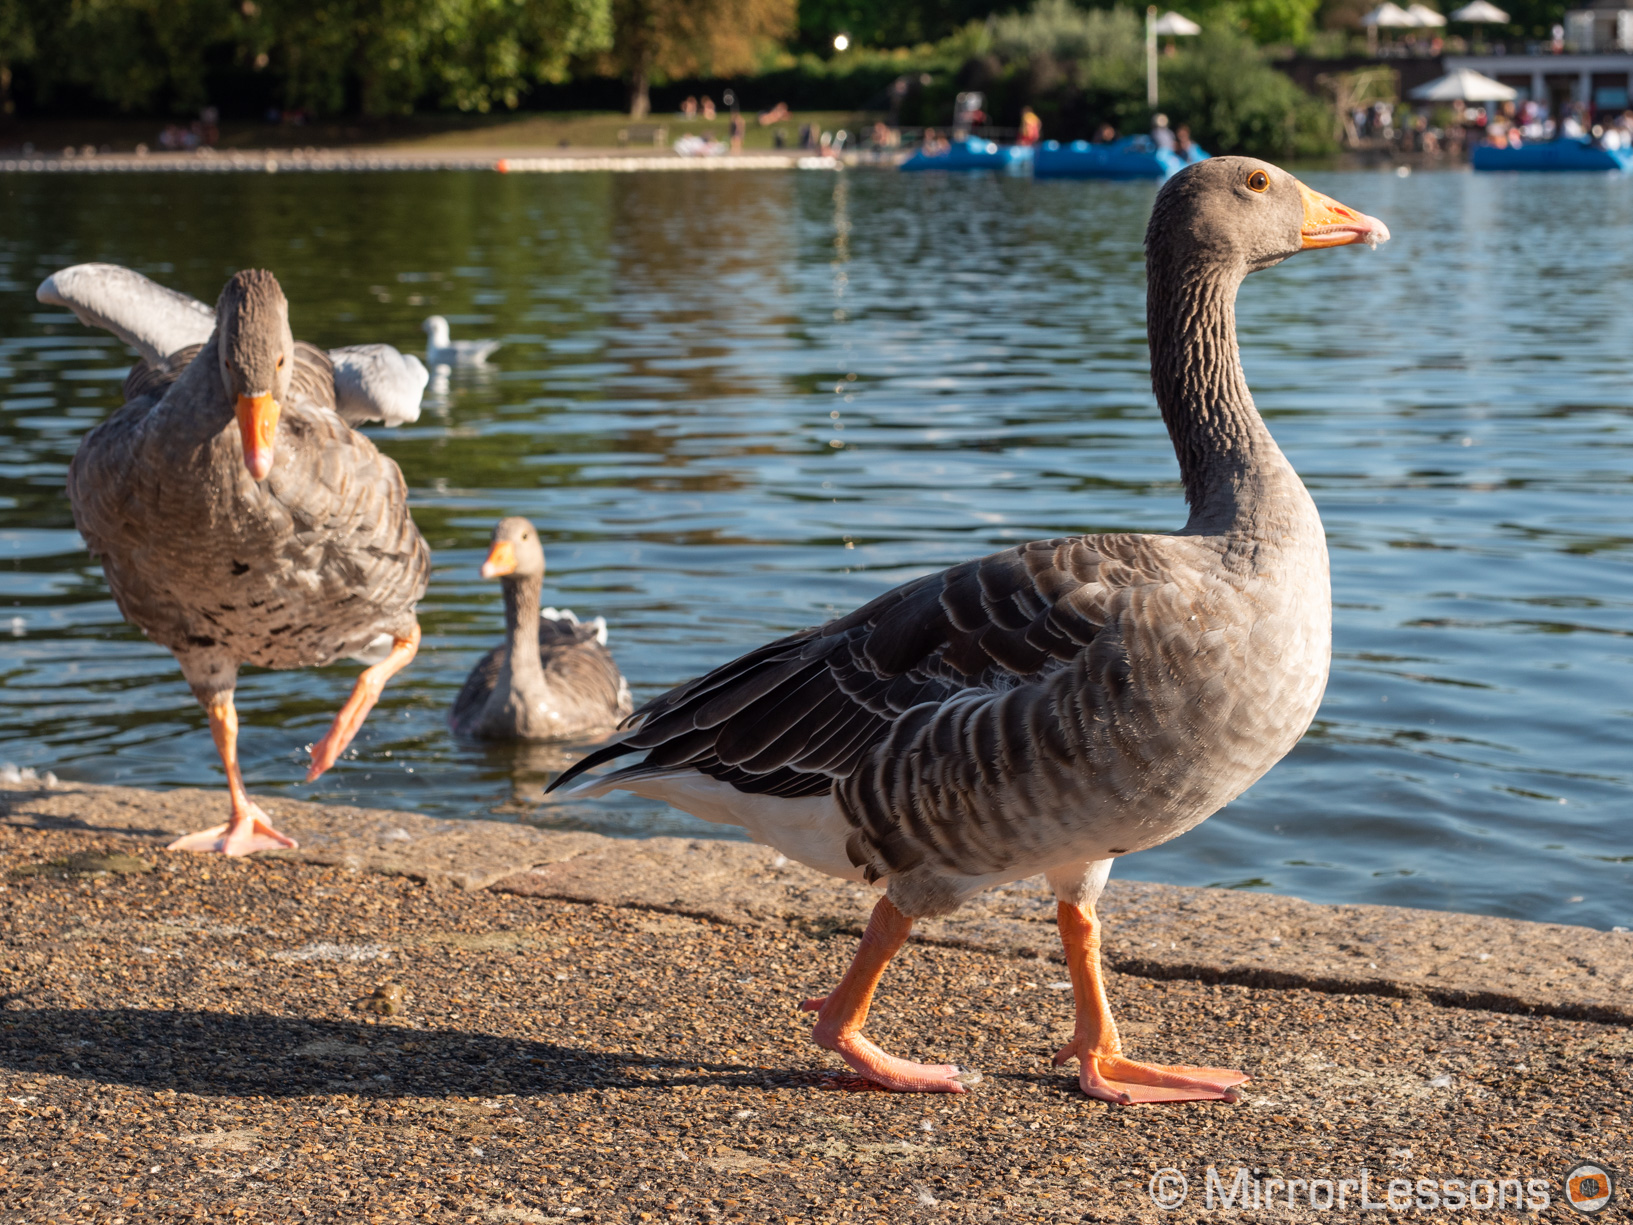
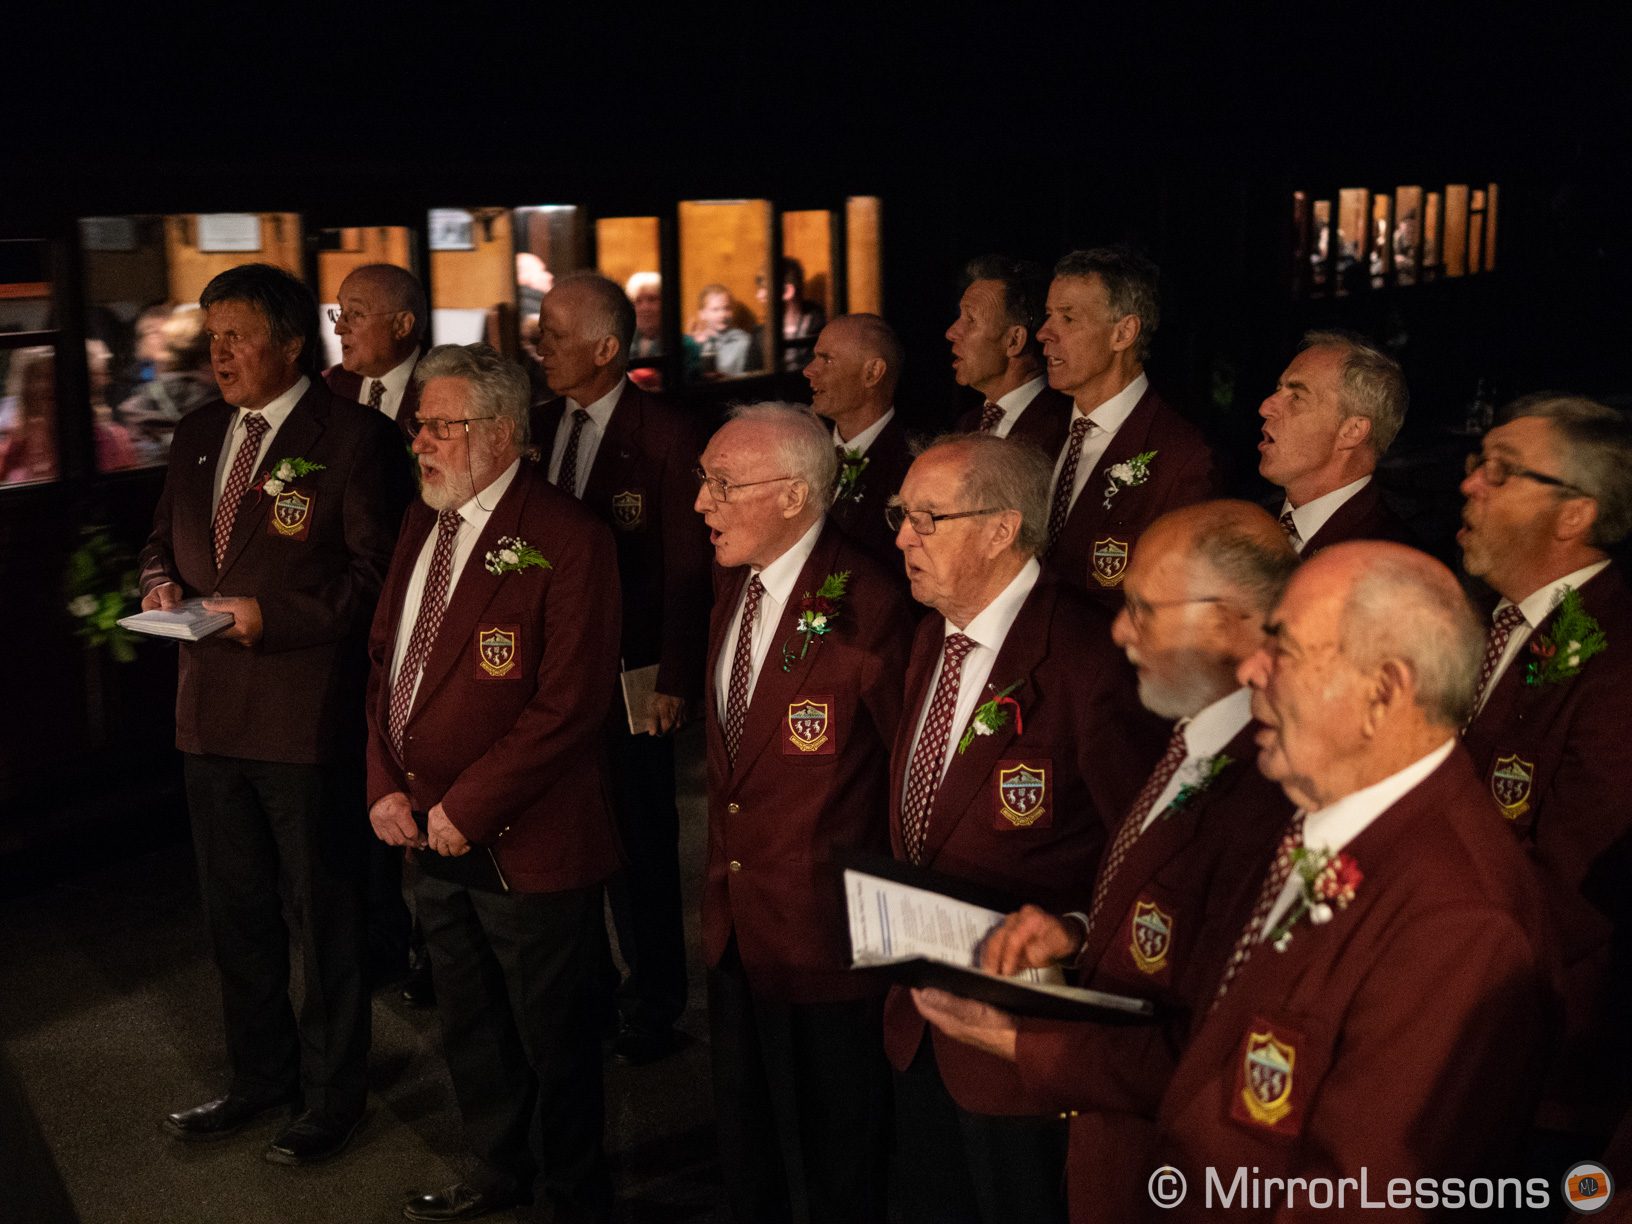
Face and eye detection aren’t bad but with a moving subject or in less than ideal light, both cameras can mis-focus when working in continuous AF. In single autofocus, there can be lack of sharpness on the eyes of the subject. Both cameras can memorise up to 6 peoples’ faces to give them priority in a group shot.
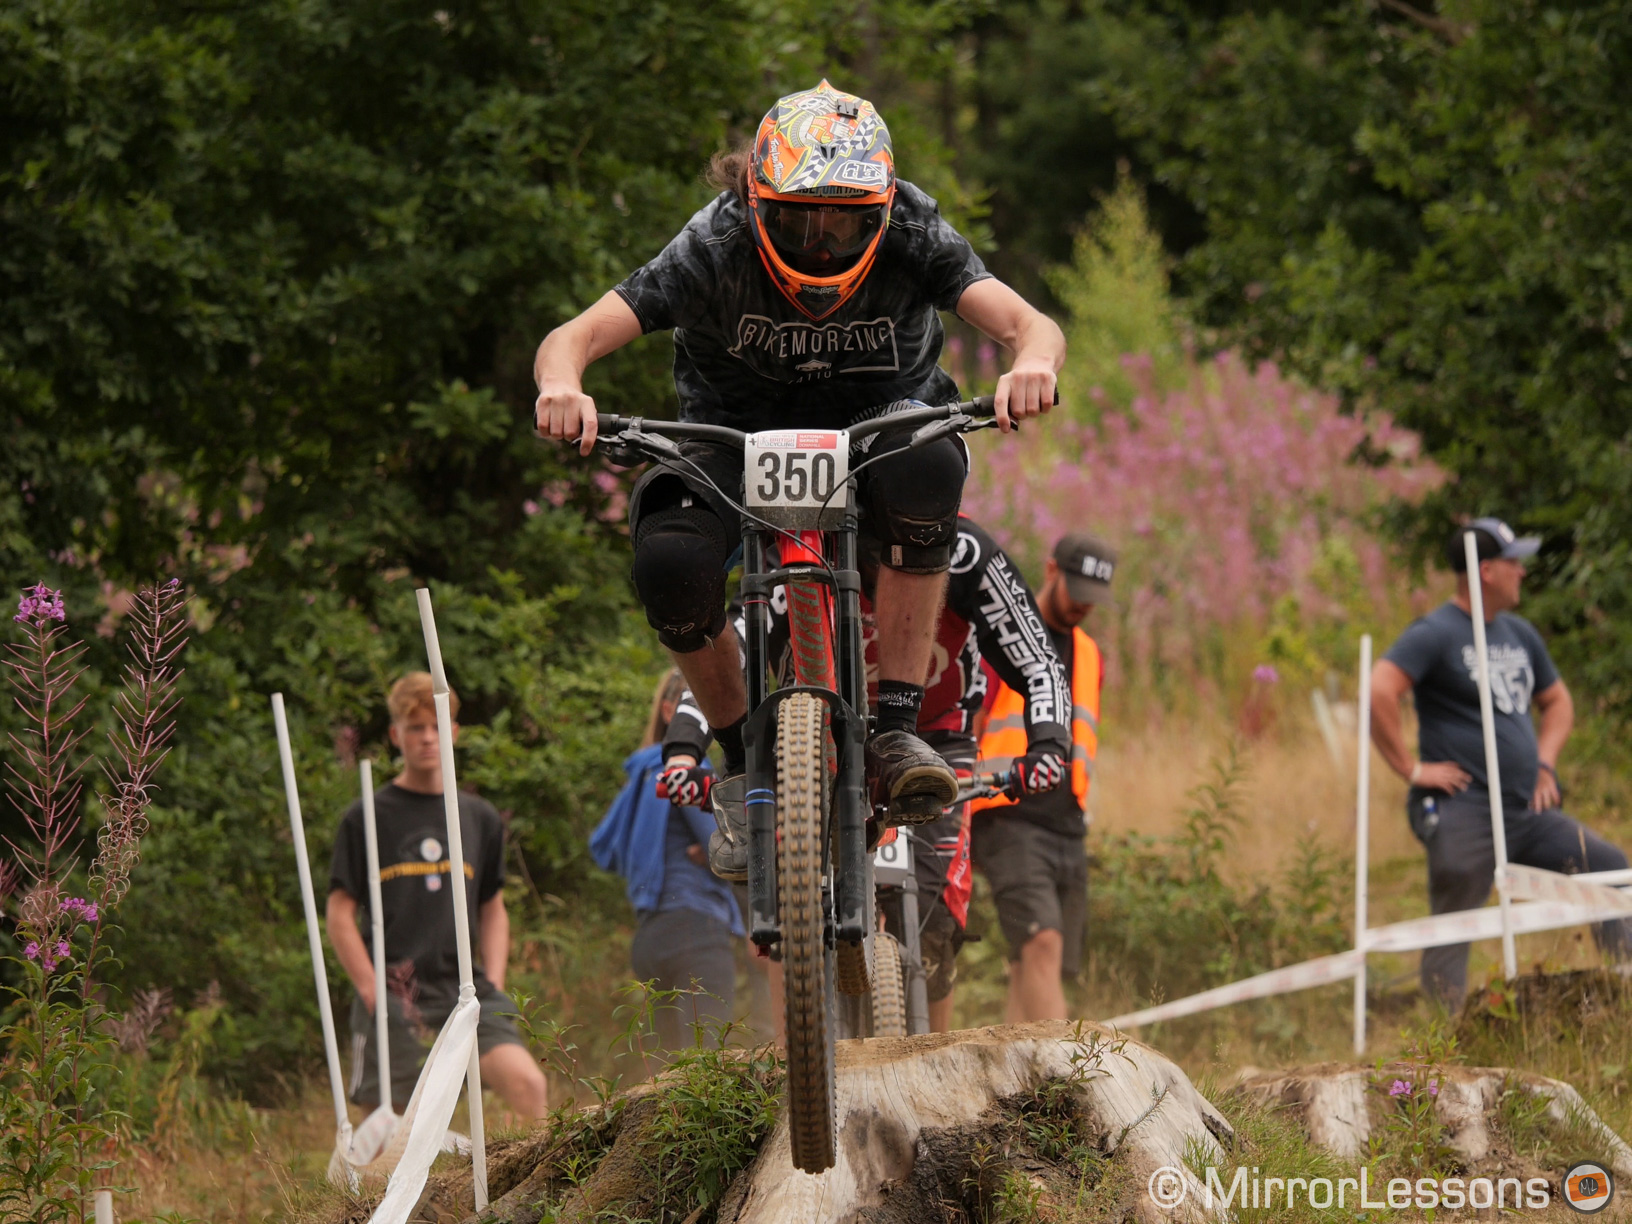
To test the continuous autofocus performance more seriously, I went to the practice of a national MTB race and used the two cameras with the same lens from the same position. Overall I ended up with a similar number of keepers (around 65/70%). The GX85 gave me more out-of-focus shots whereas the GX9 produced more images with the focus slightly off.

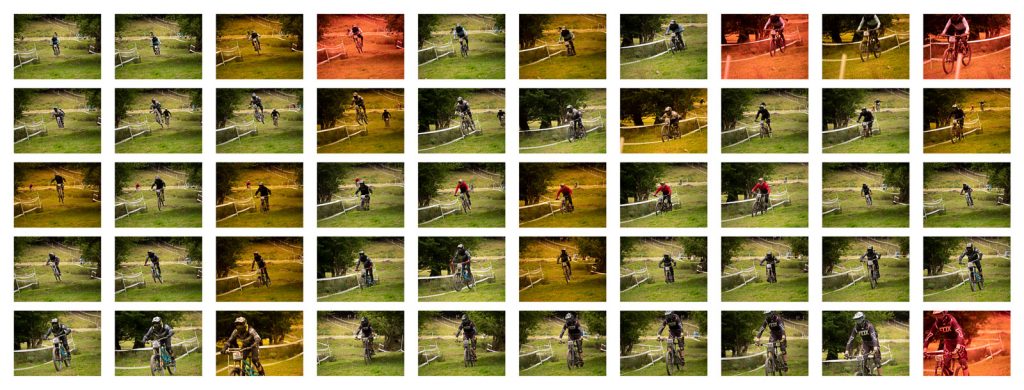
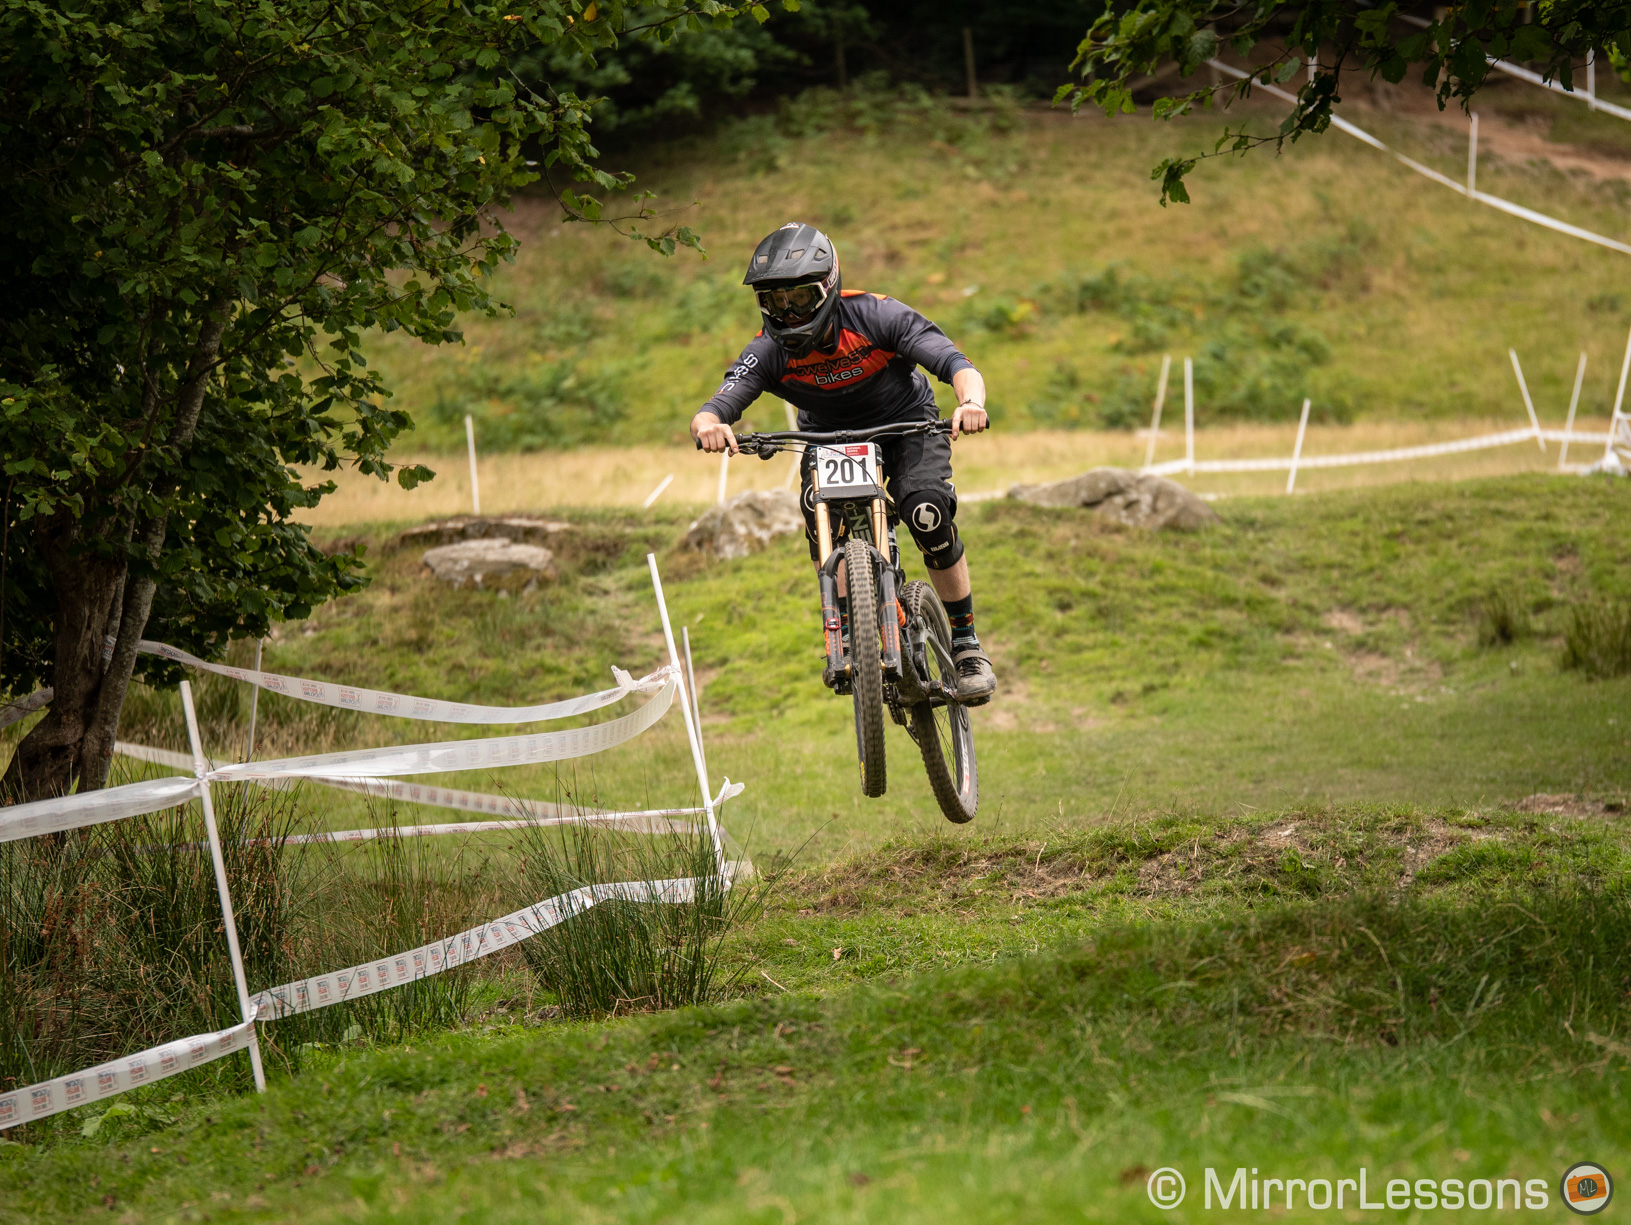
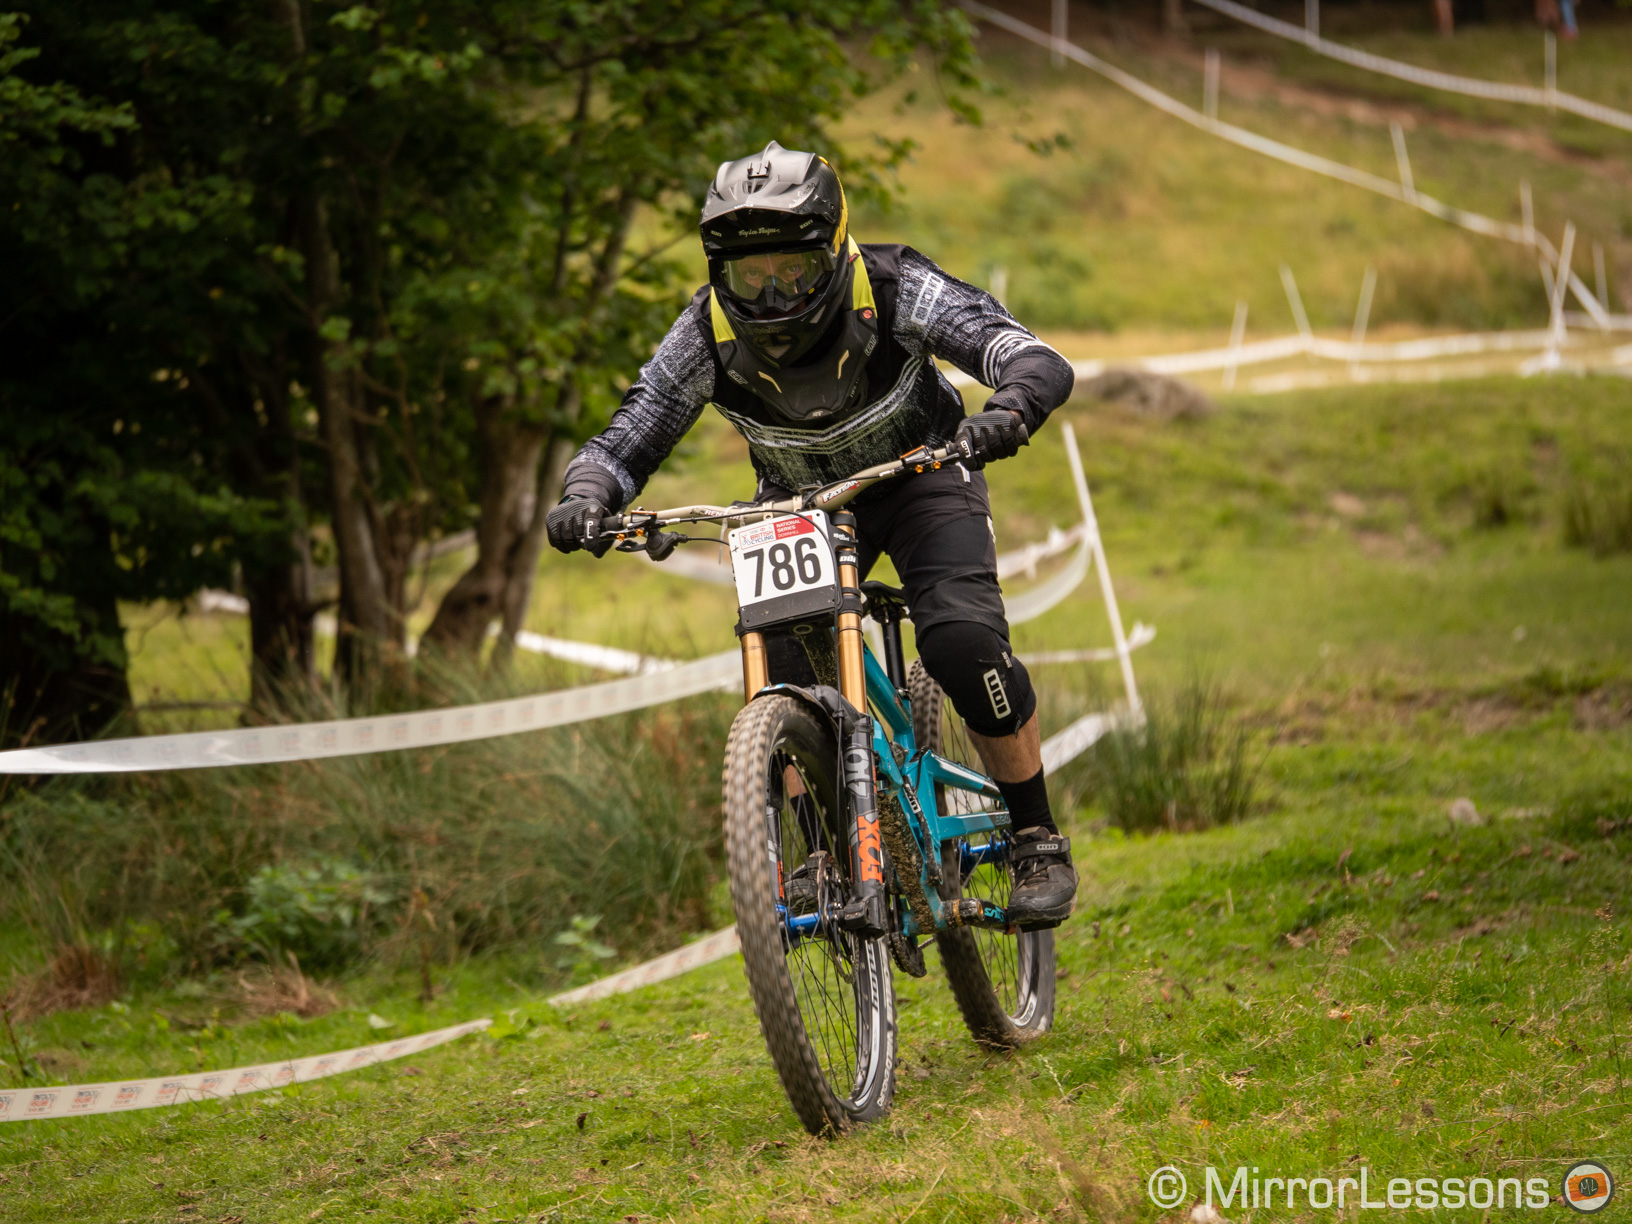
The tracking mode is often hit and miss, especially if you’re dealing with busy backgrounds or foregrounds.
The GX9 has a few extra options such as:
- keeping the 49 points displayed on the screen at all times or for a few seconds when using the 49 area mode
- set Focus / Release priority independently for AFS an AFC
- Focus Switching for Vert / Horiz which allows you to save a different focus position according to the orientation of the camera
- Loop Movement Focus Frame that allows you to move the focus point from one edge to the opposite edge in a loop (you don’t need to move it back).
Shutter, continuous shooting speeds and buffer
Here as well the differences between the two cameras are minimal. They share the same maximum shutter speed of 1/4000s and it can be extended to 1/16000s when the electronic shutter is enabled. There is also a Silent mode function but it can cause banding under fluorescent light sources and distortion when panning quickly. (Rolling shutter is similar on both cameras.)
One helpful setting that is missing on the GX85 is the possibility to set the minimum shutter speed when working in Auto ISO.
For the most part, the continuous shooting speeds are identical, with the GX9 being ever so slightly faster at 9fps (versus 8fps on the GX85). If you want continuous AF, both cameras drop to 6fps. The GX85 has an additional SH mode that records at 40fps and 3MP.
As for the buffer capabilities, both cameras do well with JPGs at their fastest speed, whereas with RAW files they slow down after approximately 7 seconds. However, the GX9 reduces the shooting speed less than the GX85.
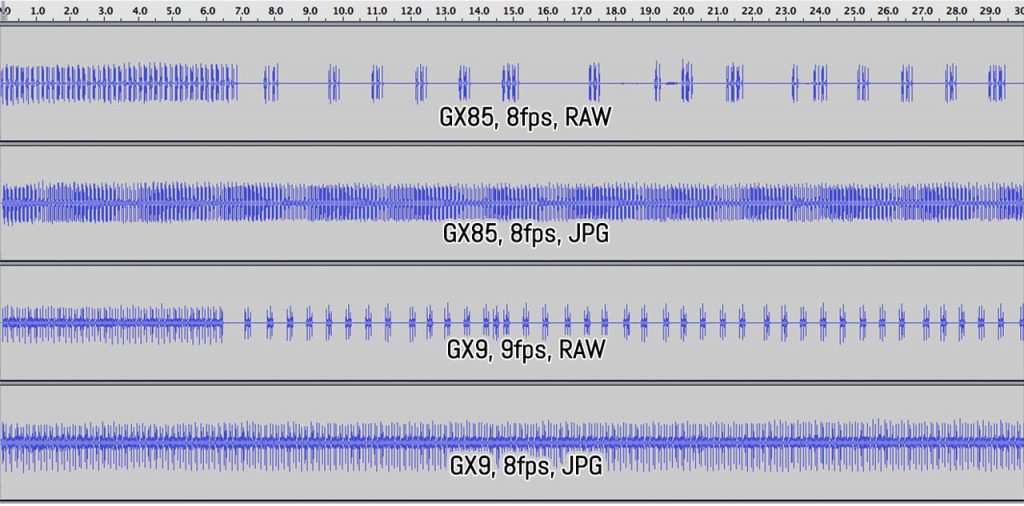
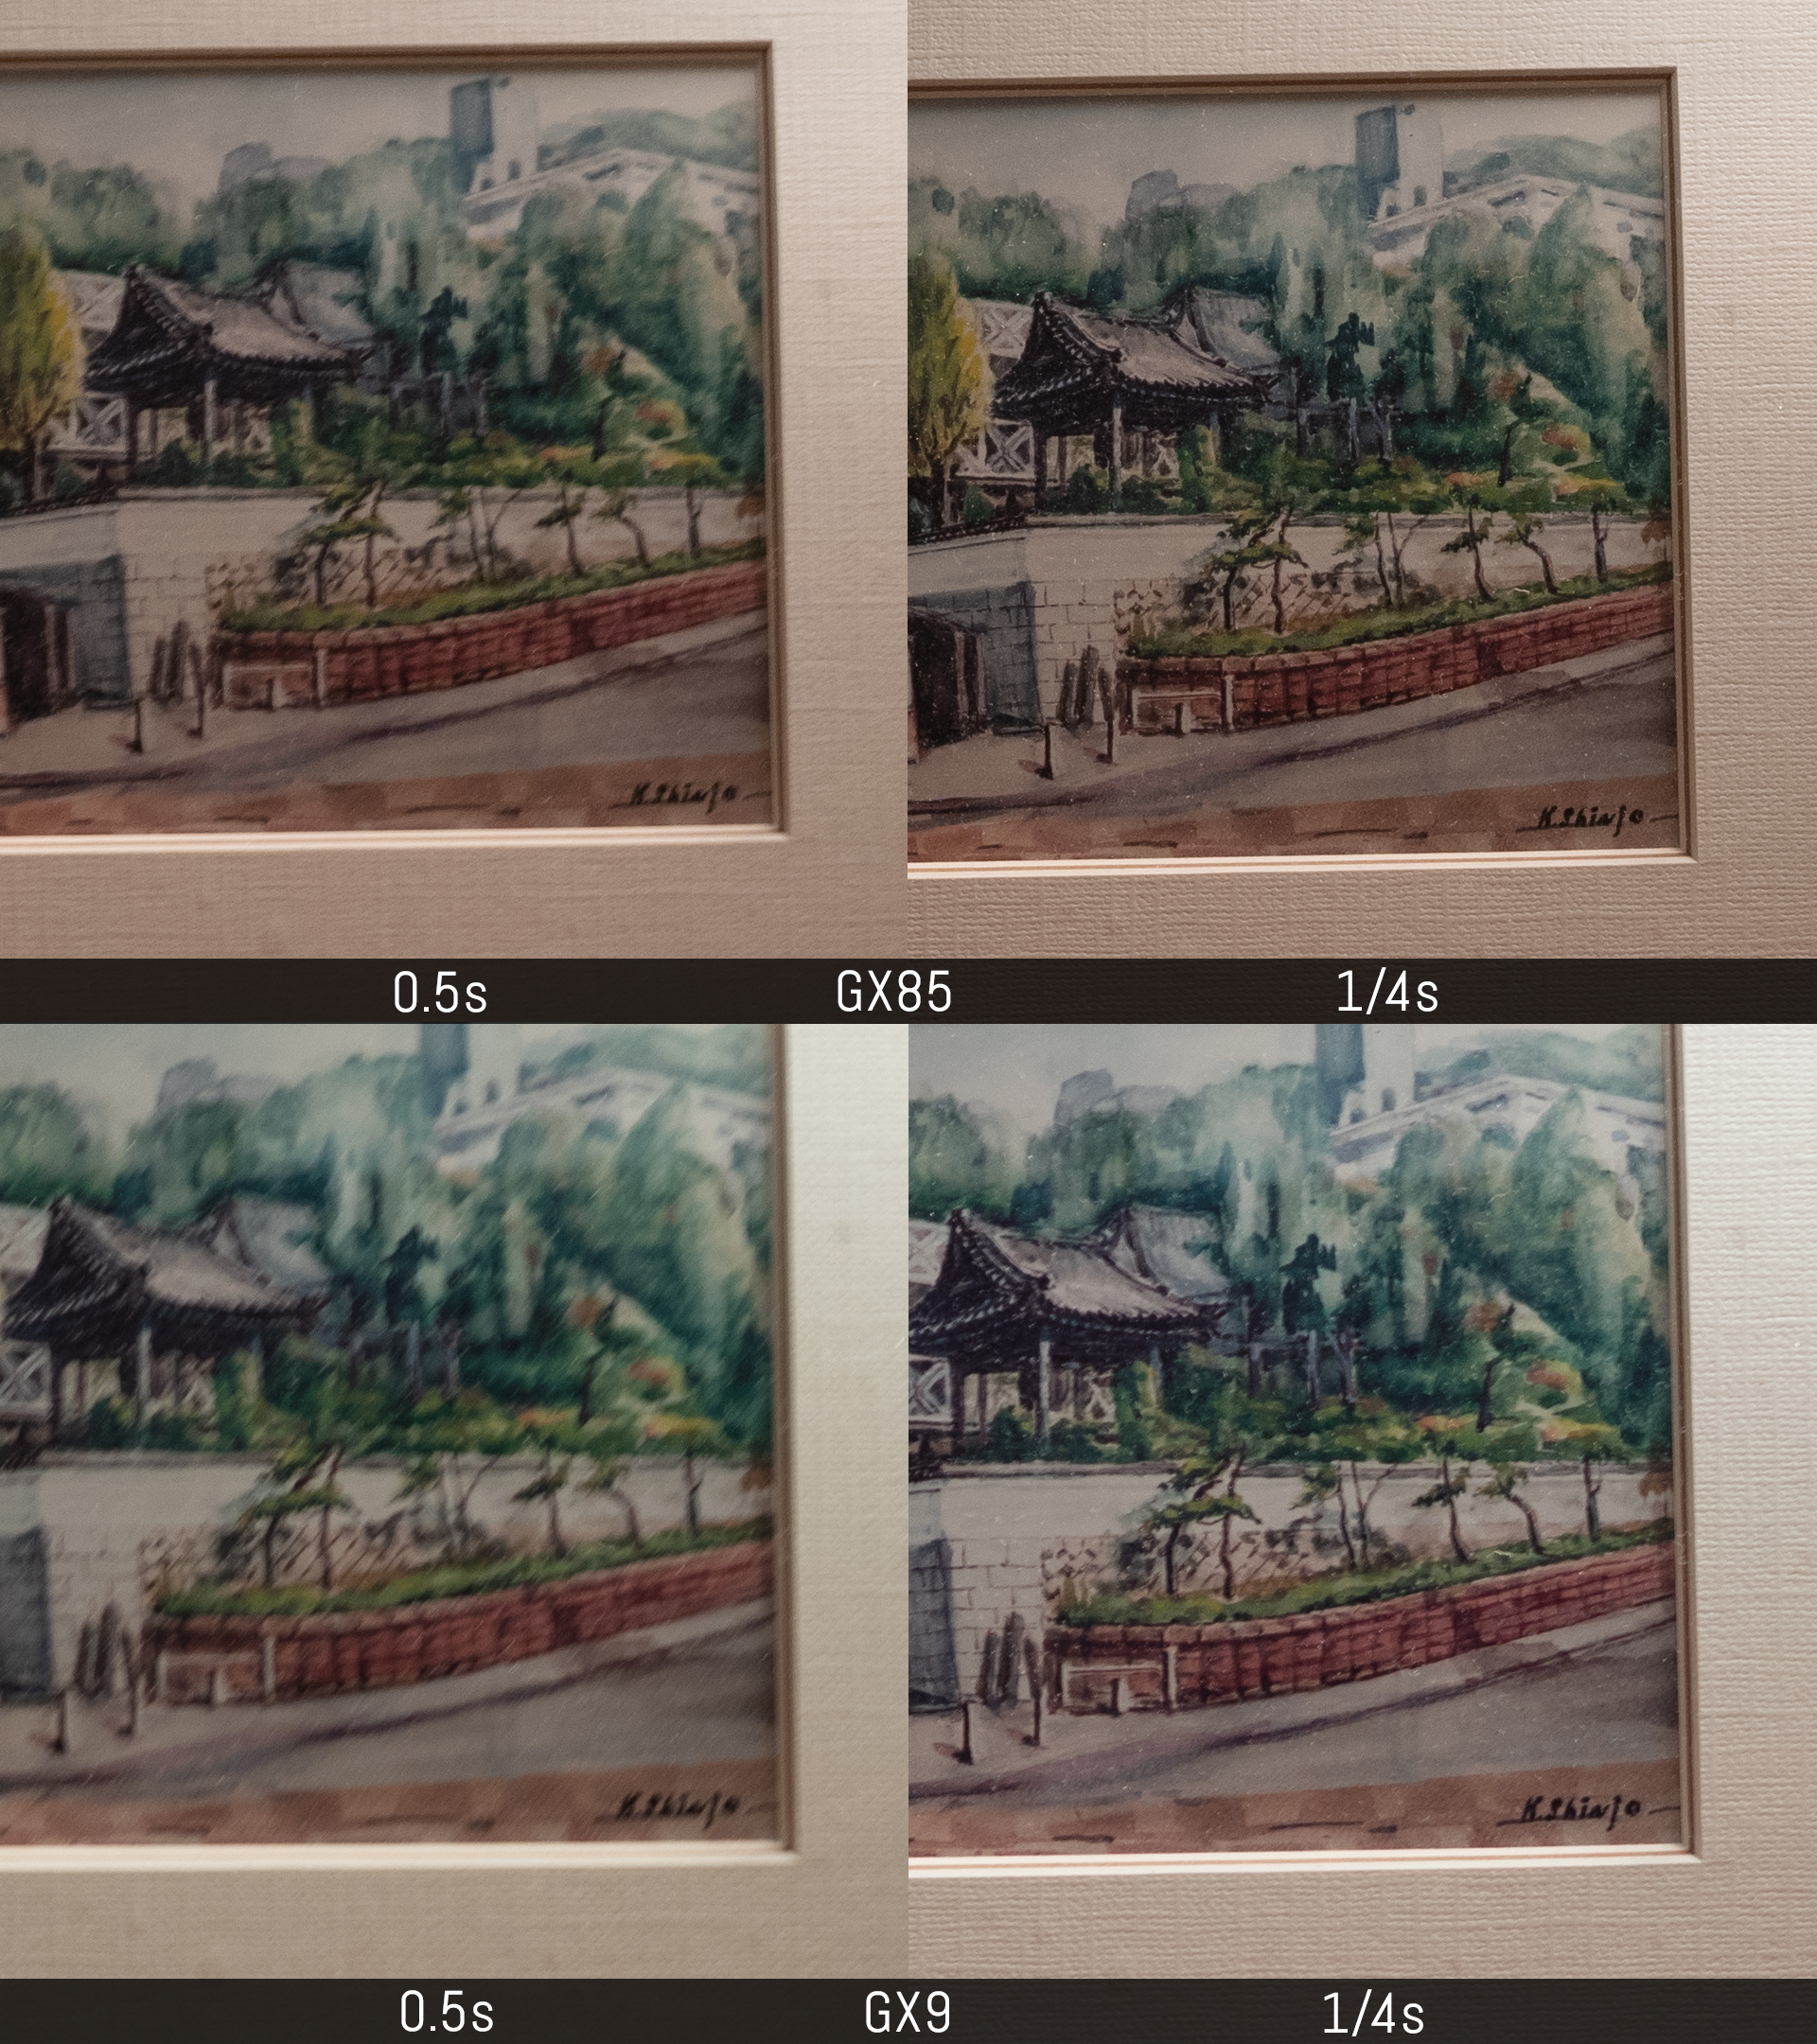
Image stabilisation
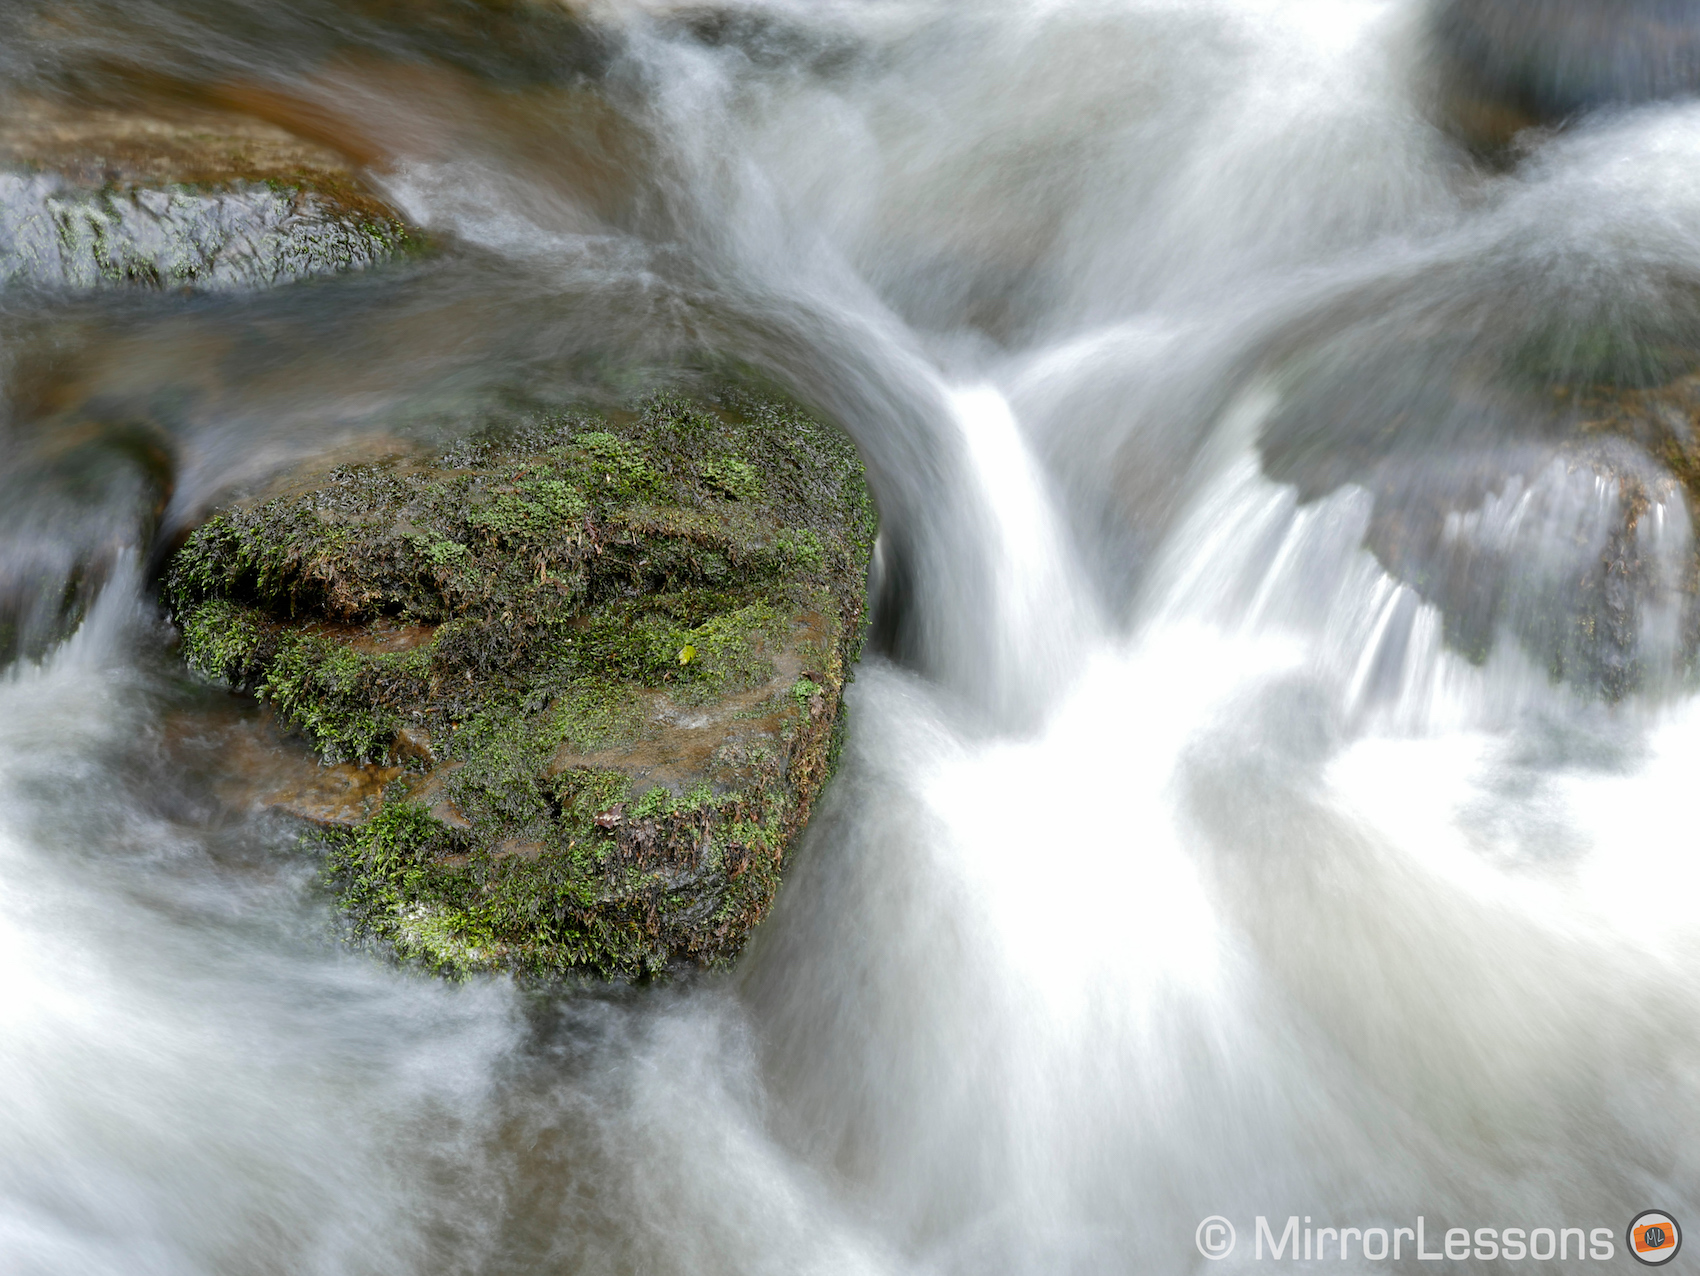
The GX85 was the first Panasonic camera to feature 5-axis stabilisation, as well as the worlds’s first Dual system capable of combining sensor and optical stabilisation for superior performance. Unsurprisingly GX9 has the very same capabilities.
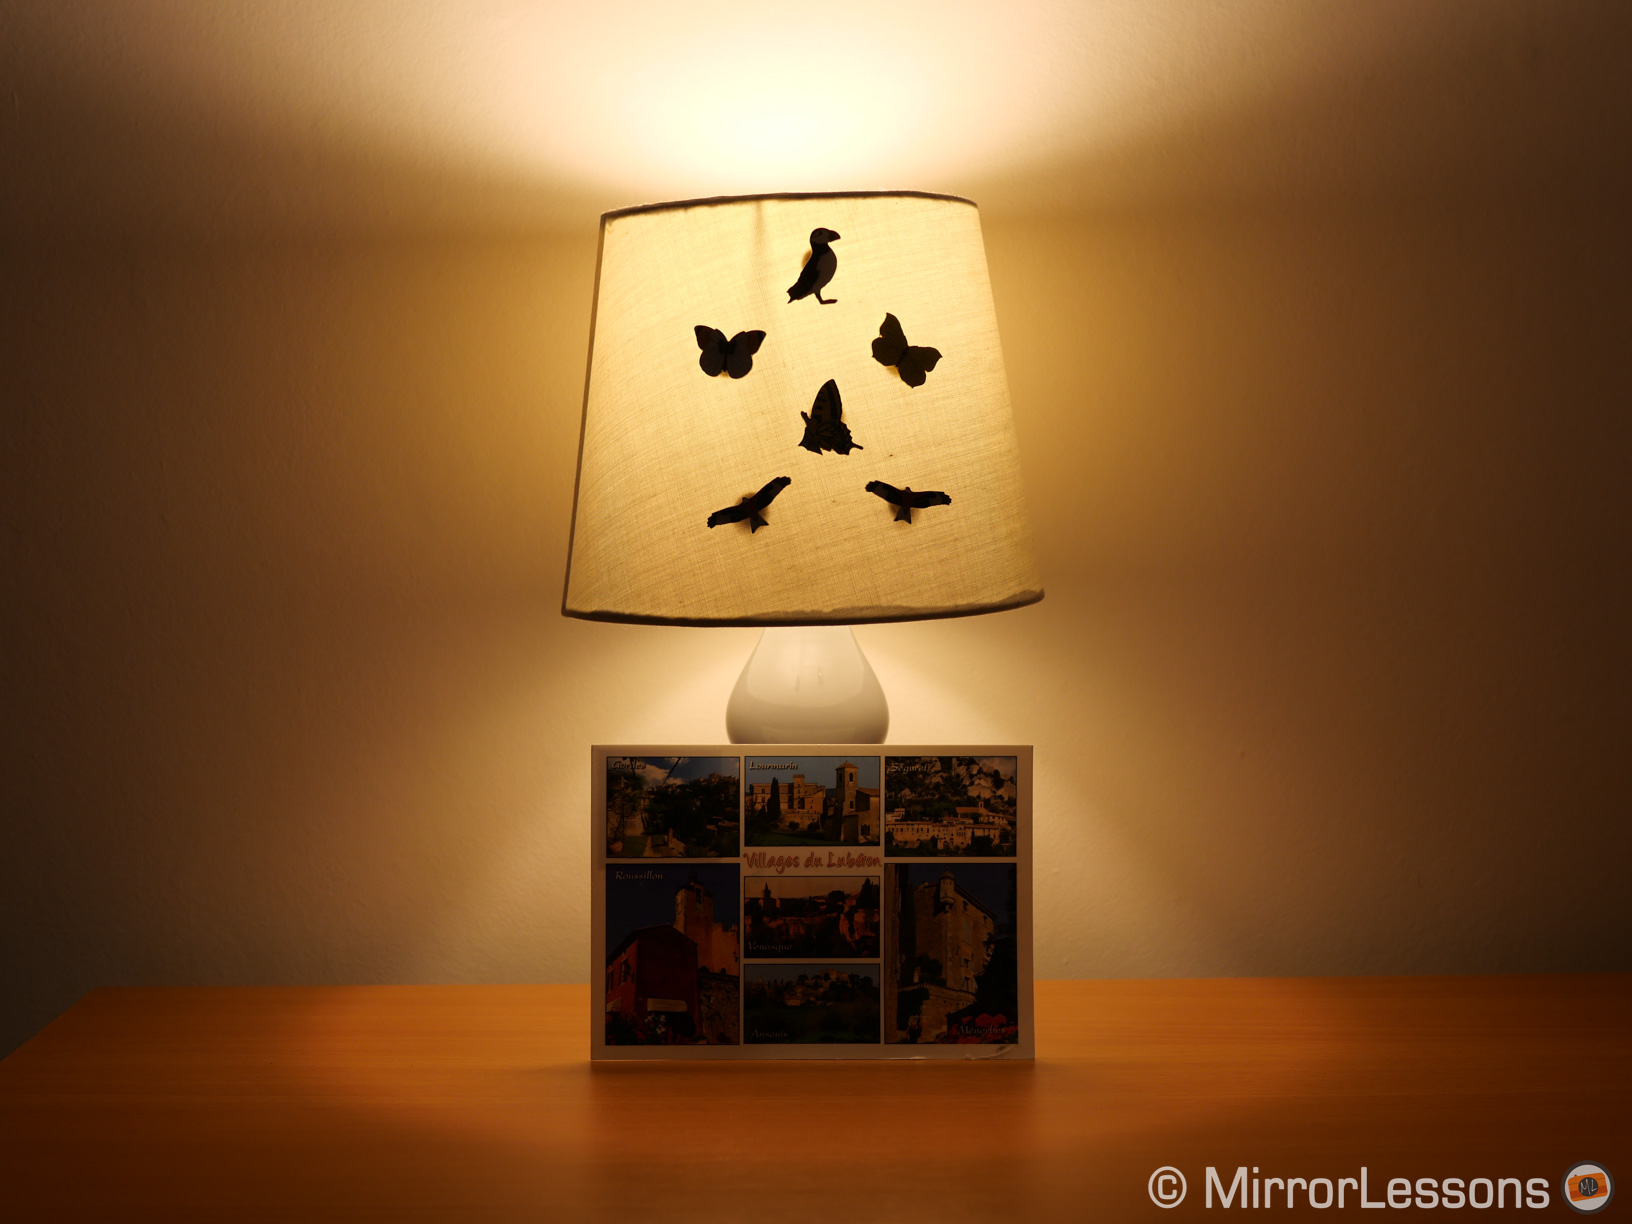
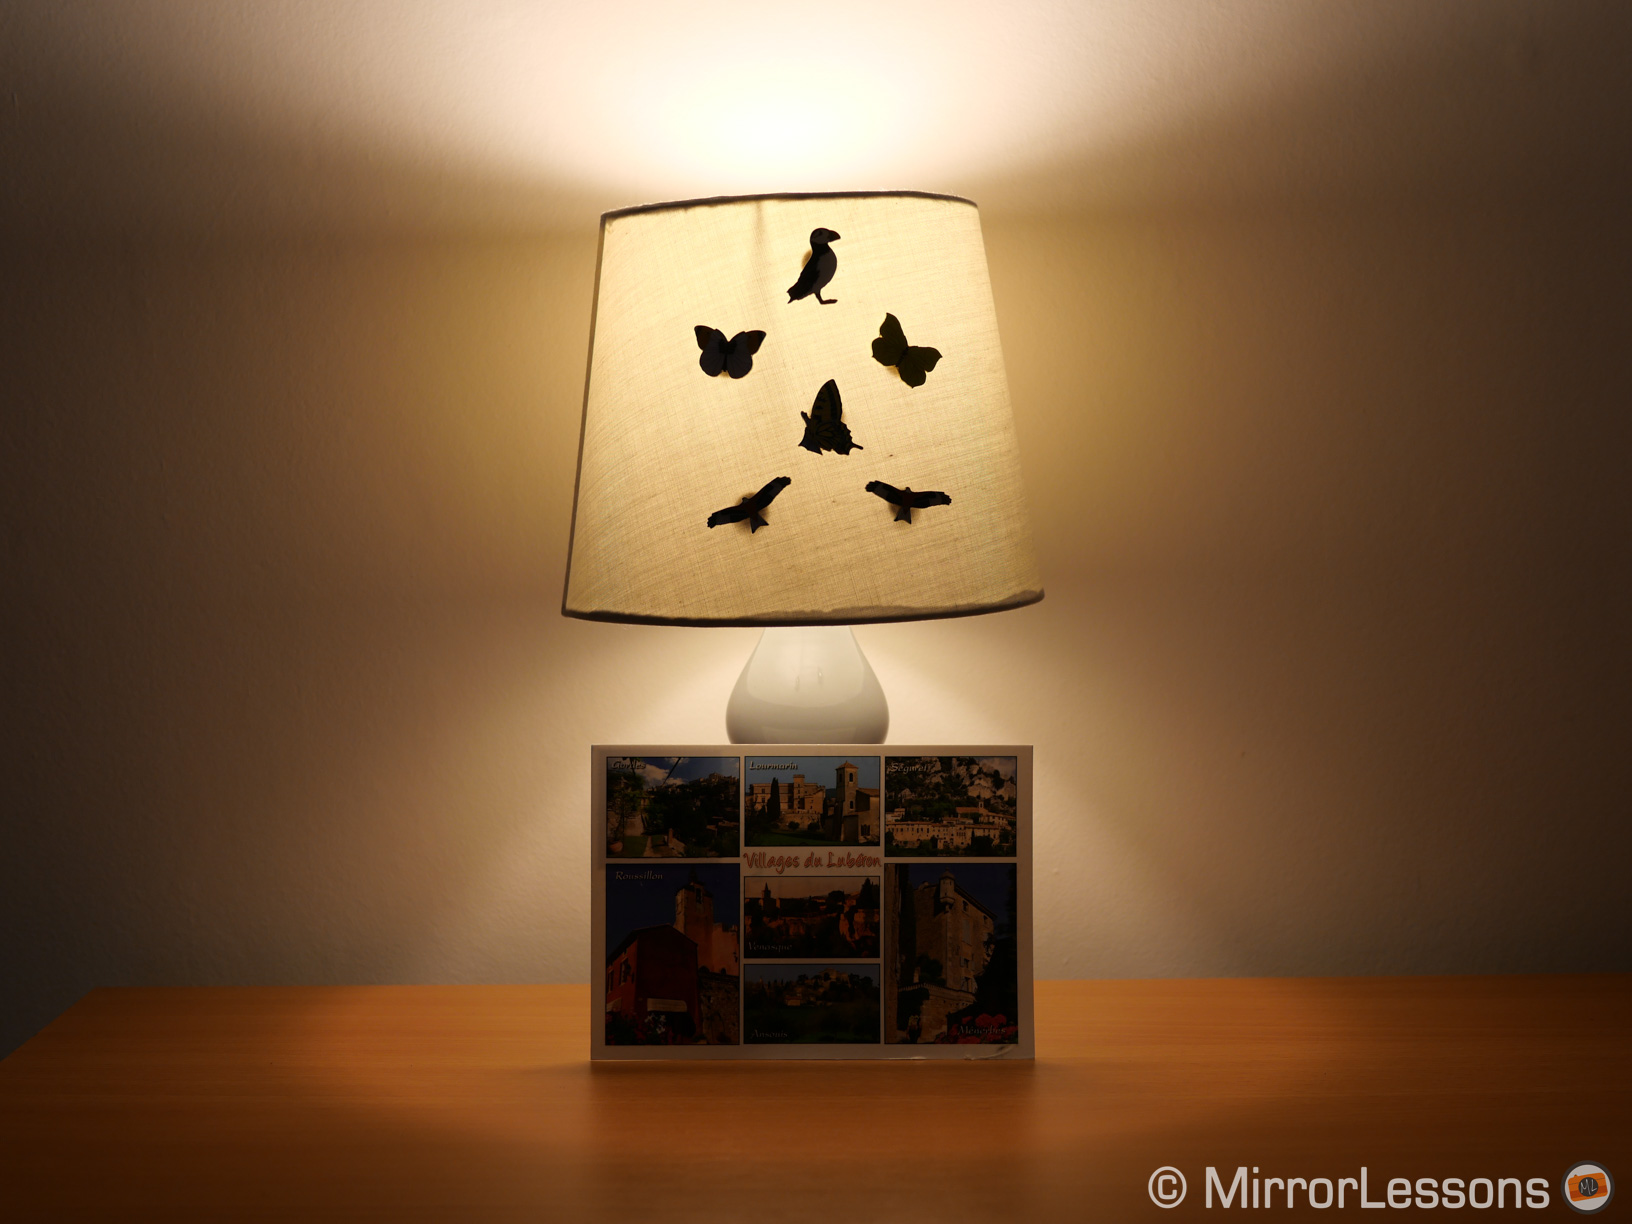
When I first tested the GX85 three years ago, I was surprised by how good the Dual IS combination could be, and I recall bringing home the following shot which I only managed to replicate a few times.
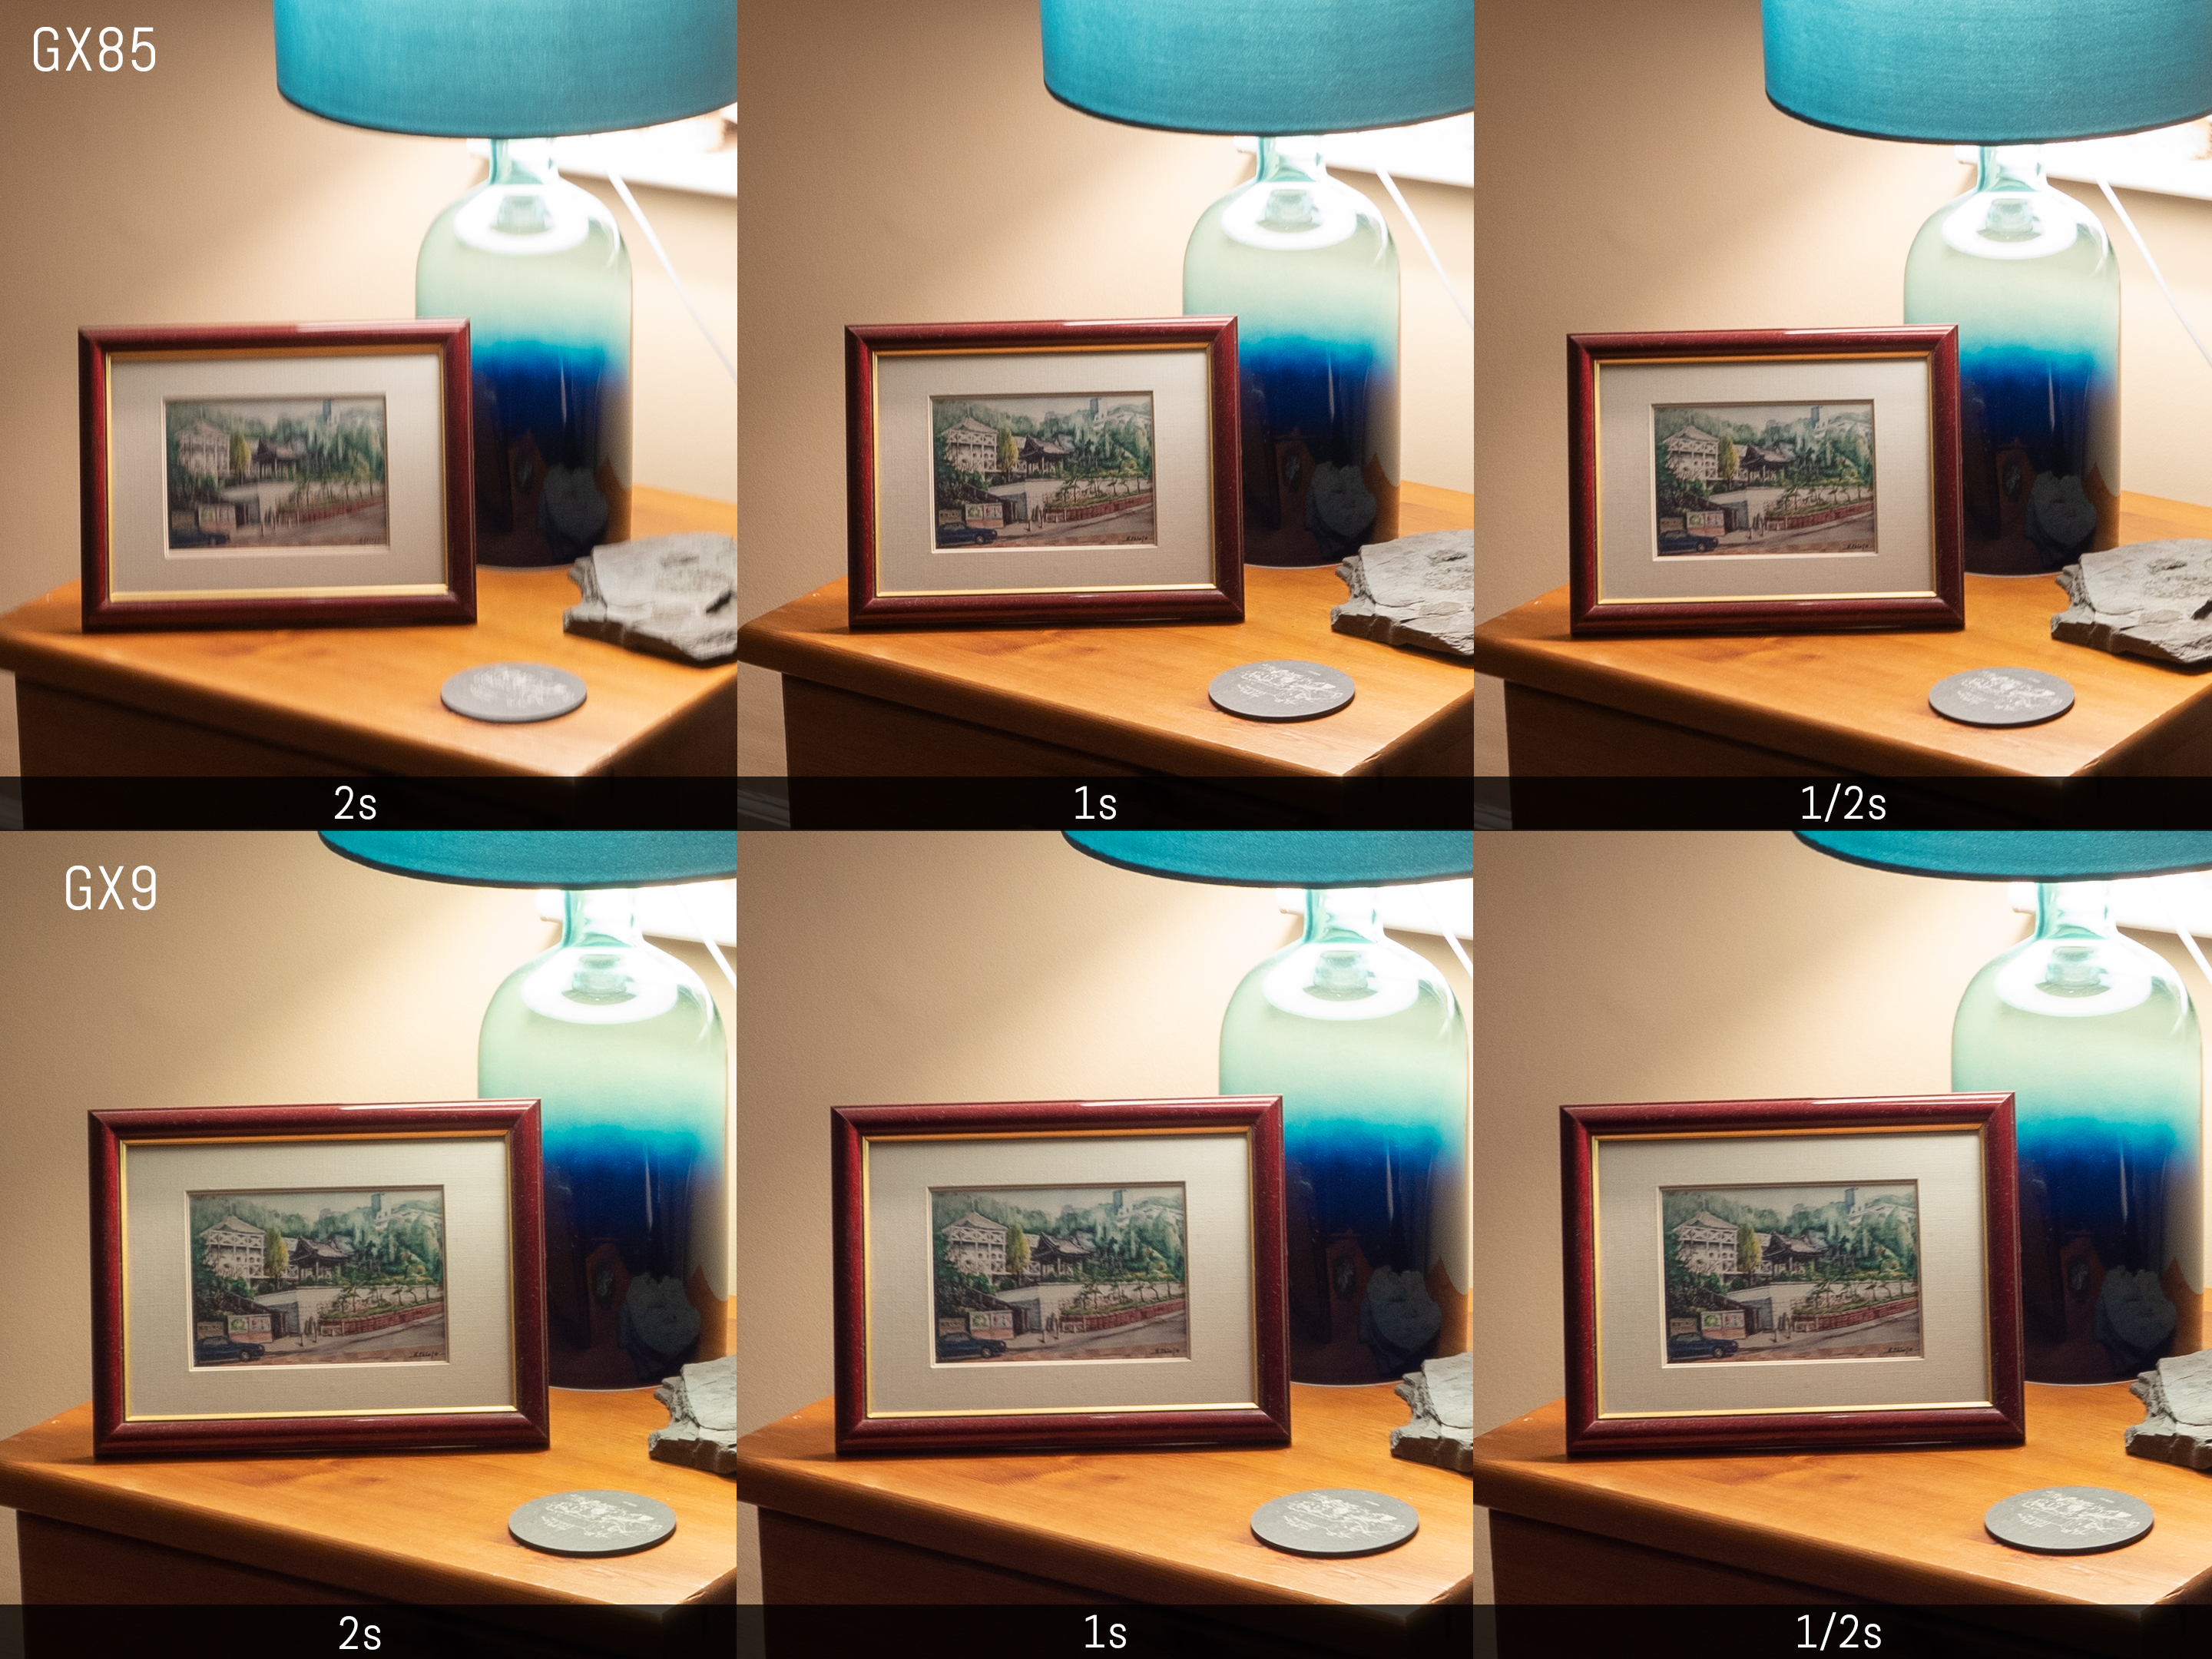
I put the two cameras side-by-side to see if the GX9 would bring any improvements over its predecessor.
First I wanted to see how well they would perform with Dual IS. Paired with the 12-32mm kit lens, the GX85 gave me sharp shots at 0.5s with the keeper rate improving from 1/4s. The GX9 gave me a surprisingly good shot at 2s and an almost perfect result at 1s and 0.5s. Again from 1/4s the keeper rate increases.


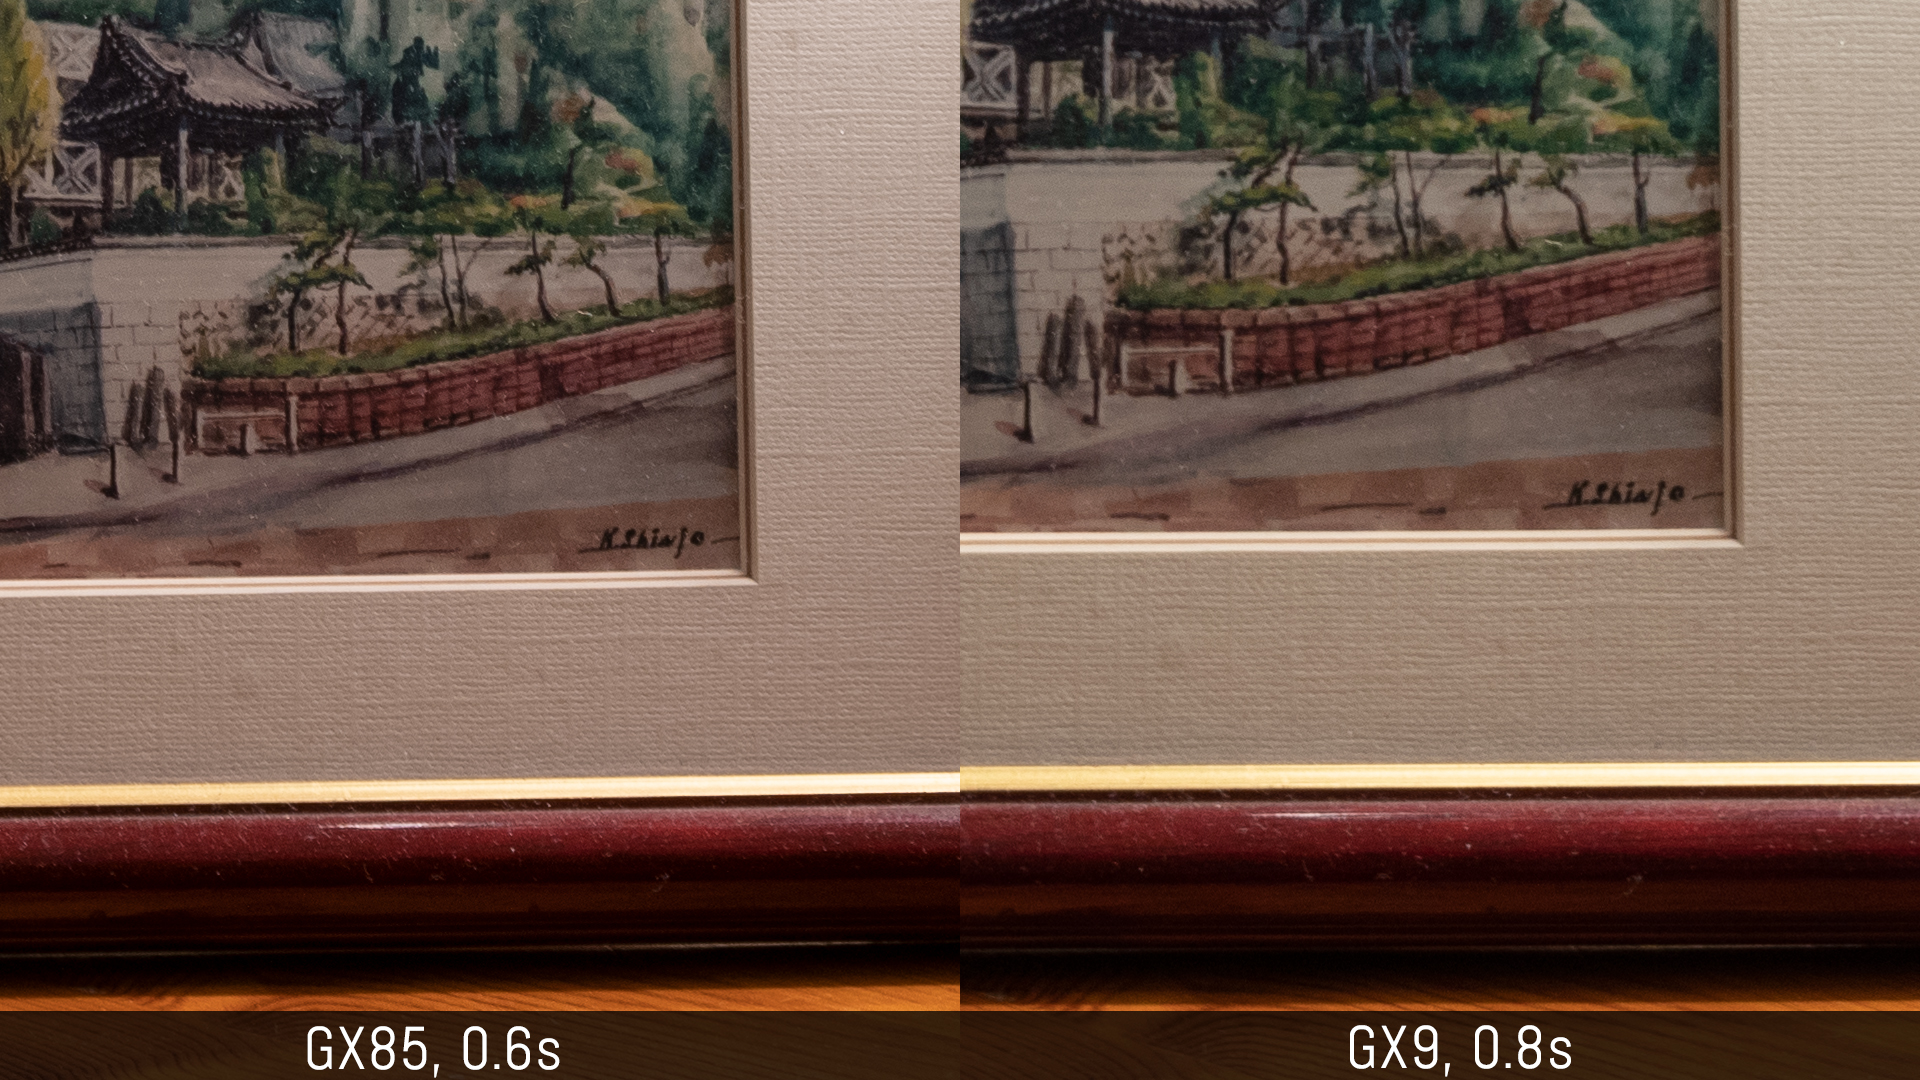
Then I mounted the 35-100mm f2.8 and both cameras were impressive, with the GX85 giving me a sharp shot at 0.6s and the GX9 delivering at 0.8s. Again though the keeper rate increases from 1/4s.
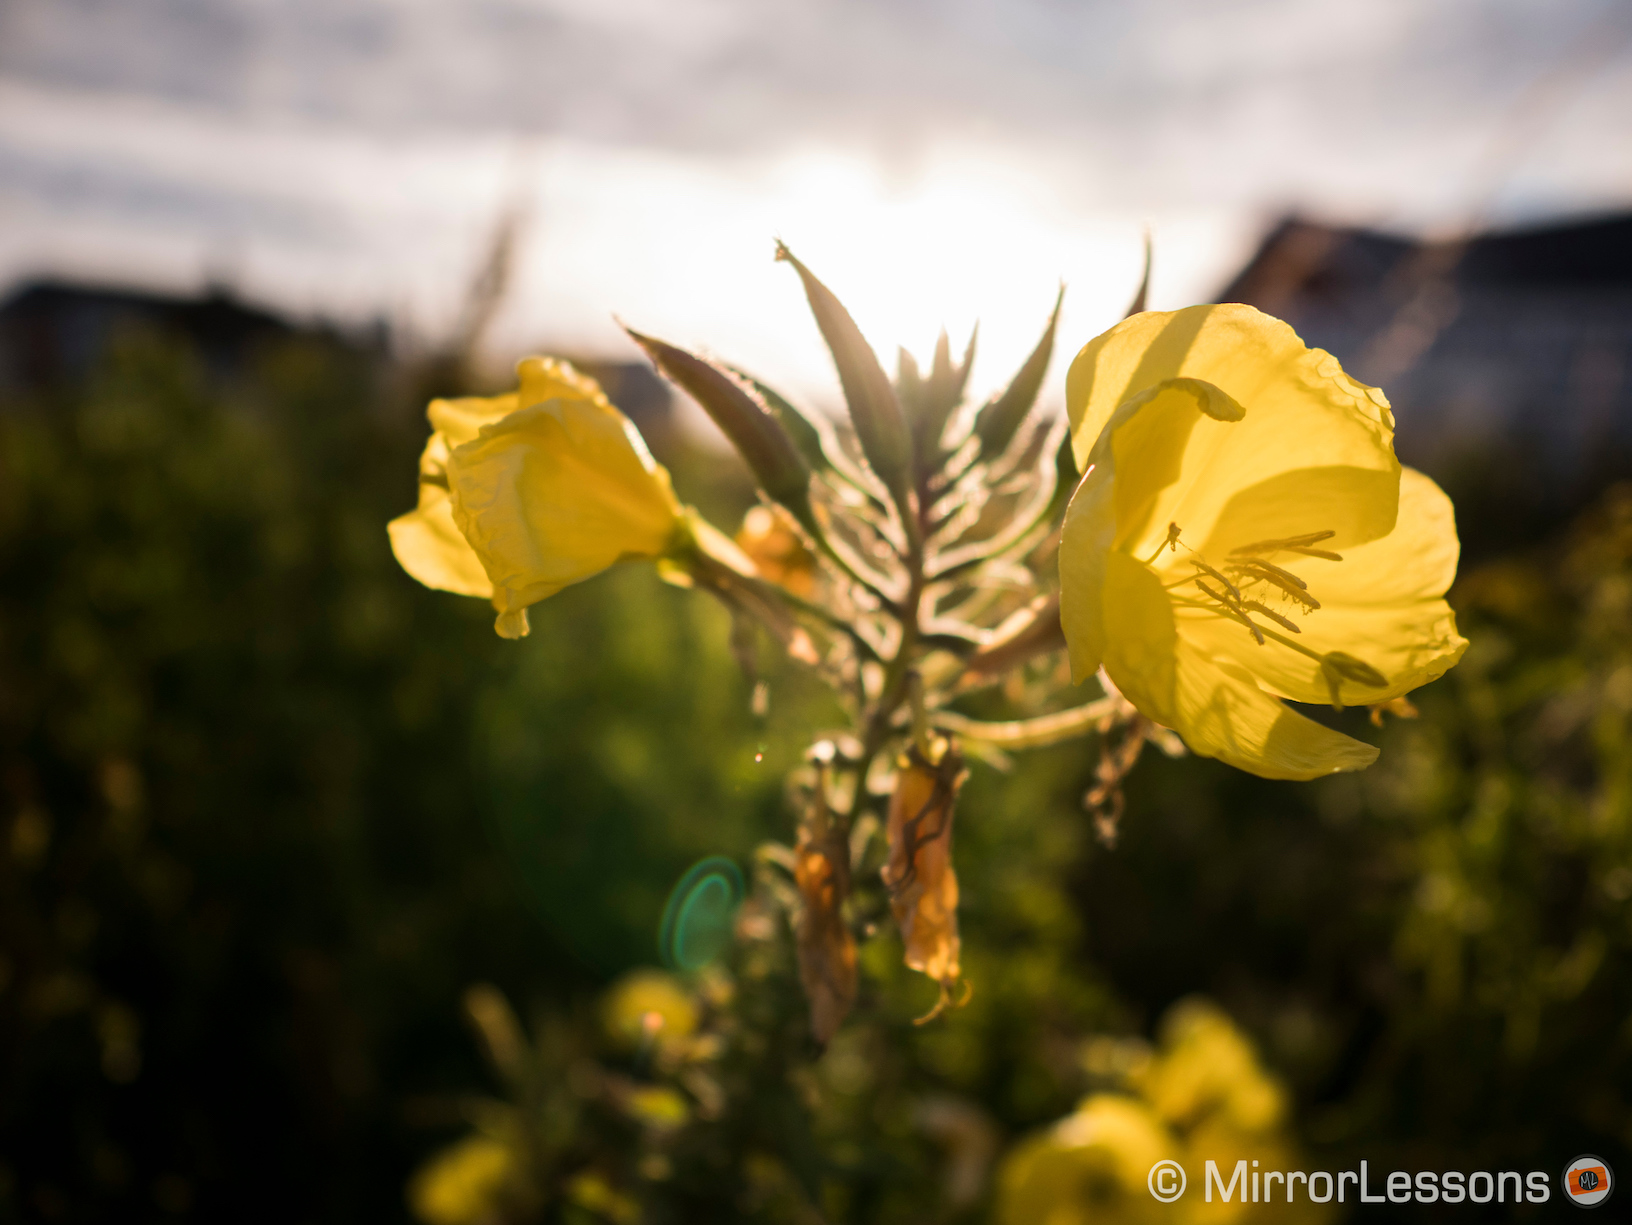
Then I mounted a lens that lacks optical stabilisation to see how the sensor on its own would perform. With the Olympus 12-40mm, I got better results of around 1s with the GX85 than with the 12-32mm kit lens. The GX9 did better once again with an almost perfect shot at 2s. All these extreme shutter speeds leave you with a poor keeper rate until you increase the speed to 1/4.
Finally, with the M.Zuiko 75mm, the performance was more similar, with the GX85 doing slightly better at 0.5s. However neither delivered a sharp shot below 1/4s.
There are a few discrepancies in this test which isn’t unusual as IBIS isn’t a precise science. You may become slightly more unstable between one shot and another without realising it. But overall I found the improvement to the GX9 welcome but not essential since most people will try to stay at 1/2s and above unless they’re in a particularly tricky situation or just want to push their camera to the limit.
The stabilisation system works for video as well with extra settings such as digital stabilisation that I will explain in the dedicated section below.
Video
The GX85 and GX9 can record in 4K Ultra HD (3840×1260) up to 30fps and 100Mbps, or Full HD (1920x1080p) up to 60fps and 28Mbps. In 1080p you can choose to record in MP4 or AVCHD.
You can check out their video capabilities in the video comparison below. Keep reading for a text analysis.
Because of the higher megapixel count, the GX9 applies a more severe crop to the sensor (around 1.26x) than the GX85 (1.1x) in order to keep full pixel readout and therefore better quality. Both cameras deliver sharp footage in 4K with the GX9 giving marginally better results.
One of the most noticeable differences which we also saw for stills is the colour palette. The GX9 delivers a warmer look that I find more pleasant in comparison to the GX85. Skin tones appears more natural as well. The GX9 is equipped with two additional profiles – Cine-Like D and Cine-Like V – that are specifically designed for video. The D version gives you a flat look that you can tweak in post production, whereas the V version has more contrast if you prefer a finished result in camera.
Concerning dynamic range, the i.Dynamic mode opens the shadows but the higher the value the more noise you get as a result. Between the two, the GX9 tends to suffer more from noise. You can also tweak highlights and shadows but be aware that they can produce a less natural look if pushed too much. The Cine-Like D profile gives you a little more leeway but to be honest the difference between it and the Natural style isn’t that big.
Image stabilisation works well on both cameras but overall the GX9 does slightly better at stabilising when walking. Digital stabilisation further crops the field of view but gives more stability. For static shots you can activate an extra setting called I.S.Lock (not available on the GX85) that makes the footage more stable although it can suffer from sudden shifts.
Depending on the lens attached, you can use Dual IS (sensor and optical stabilisation combined) or 5-axis IBIS on its own. The difference isn’t that pronounced especially with short focal lengths.
Rolling shutter is improved on the new camera, producing slightly better results than the GX85 for slow and quick movements.
The GX9 is faster in continuous autofocus, and while it can’t keep up with a fast subject coming towards you, the time it takes to adjust focus is way shorter than with the GX85. Face detection is also faster on the new camera with a moving subject. Remember that a separate Continuous AF setting must be turned on in the video menu in order for the cameras to track correctly.
Concerning the high ISO values, the performance is similar all the way up to 6400 ISO, which is the maximum level available for video. Note that on the GX9 you can set ISO to work in automatic mode.
Neither cameras comes with a mic input so your only option is to use an external recorder and synchronise in post. The GX9 has better volume adjustments for the built-in mono mic, ranging from -12dB to +6dB, wheres the GX85 offers just four steps.
Finally, the GX9 has two separate menus although I’m not sure there was the need since the first one is used to change the exposure mode or activate 4K Live Cropping.
Both cameras have other things in common such as:
- Flicker decrease: reduces banding under certain artificial light sources
- Snap movie: records short clips that can be arranged to create a longer file
- 4K Live Cropping: creates digital pan or zoom movements (1080p output)
- Taking pictures while recording video with either photo or photo priority. The GX9 allows you to choose the size of the image in video priority, whereas the GX85 limits it to 2MP.
Flash and extra features
You will find a built-in pop-up flash on both products with a guide number of 6.0 at ISO 200 and a maximum sync of 1/160s. You can use it in TTL or manual modes with different options such as red eye, slow sync, red eye and slow sync, first or second curtain sync. Flash compensation works at ±3Ev.
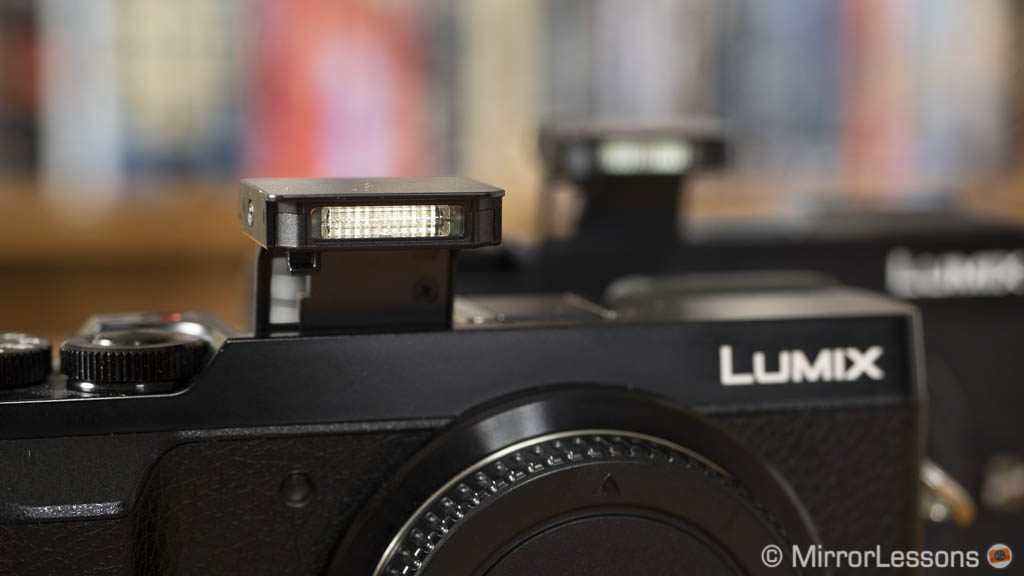
They are decent for casual use but you’ll want to invest in something more serious if you want to use flash more often. Also note that neither can be used to remotely trigger a flash so you’ll need an optional unit for that.
As with all Panasonic cameras, there are lots of extra features to keep you busy. One of the highlights is 4K Photo, where the camera records 4K video at 30fps and lets you save any frame you want into an 8MP JPG. You can choose to start and stop the recording, keep the button half-pressed (as you do for stills) or use the Pre-burst function where the camera loads frames when the shutter button is half pressed, so that when you fully press it, it can already save a certain number of images. On the GX9, pre-burst can be set for the three burst modes unlike the GX85.
Panasonic has added more functionalities to the 4K Photo mode over the years including:
- Post Focus: the camera changes the focus point between each frame and lets you choose your favourite in post
- Focus Stacking: linked to Post Focus, it allows you to stack all or selected frames into one image with more depth of field, but it rarely comes without some artefacts
- Light Composition: by saving the brighter pixels only, this function allows you to create light painting images
- Sequence Composition: you can record a subject moving into the frame and combine the images into one frame to see a composite of all the movements (GX9 only)
- 4K Photo Bulk saving: saves 5 seconds of 4K recording from a 4K burst file (GX9 only)
Other features they share include:
- Wifi: remotely control, playback and transfer images to your mobile device. The Lumix app is one of the best for this kind of operation.
- Bracketing: you have focus bracketing, AE bracketing (up to 7 images and 1Ev of difference) and aperture bracketing
- Multiple exposure: up to 4 shots
- Panorama: creates panorama in-camera (JPG only)
- RAW processing: edit your RAW files and save them as a JPG file directly in camera
- Time-lapse: shoot frames at a set interval with the option of creating a 4K video file at the end
- Stop-Motion Animation: save a succession of frames to create an animation in 4K
- HDR: creates a JPG with higher dynamic range by combining multiple shots with different exposures
- Metering: the usual multi, centre weight and spot options. The two cameras behave in the same way.
- Filter effects: 22 to choose from such as Sepia, High Key, Low key and extra monochrome styles
- Ex. Tele Conv. and Digital Zoom: gives you more reach than your lens allows, but note that the quality may decrease. It works for JPGs only.
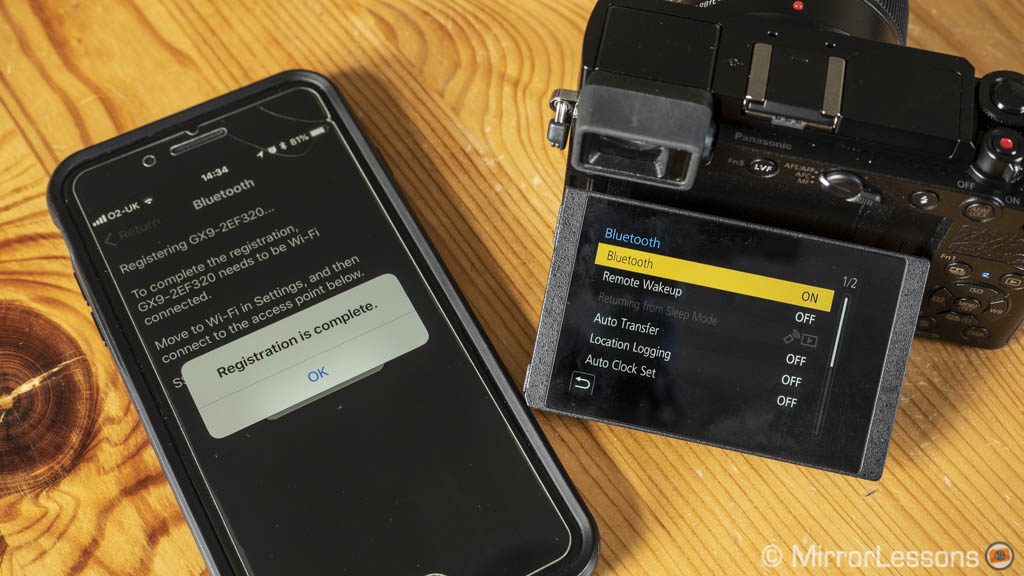
One thing the GX85 doesn’t have is Bluetooth. On the GX9, Bluetooth allows you to maintain a constant low power connection with your smartphone so that you can automatically transfer images, turn the camera on and off or synchronise the clock. You can also use it as a remote for Bulb recording.
Battery life
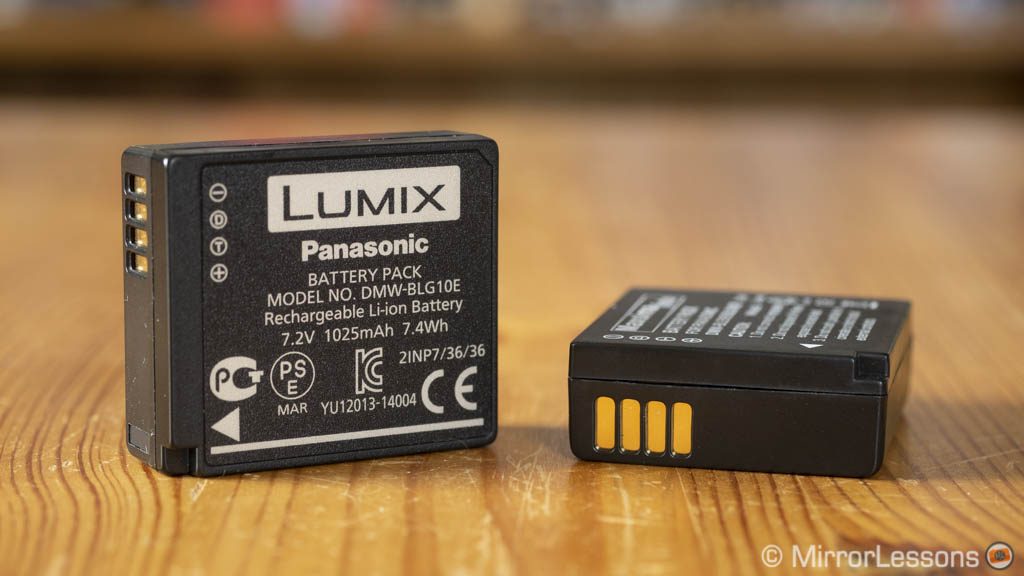
The GX85 and GX9 use the same battery type (DMW-BLG10E) and the performance is similar. If you mostly shoot stills and avoid constant bursts and continuous autofocus, you can get through the day. Naturally more intensive use and 4K recording will drain the battery more quickly but it’s not a bad performer considering the size.
Both cameras can be charged via USB but there is no external battery pack. There are some settings to reduce battery consumption such as Sleep Mode.
Price
The Panasonic GX9 can be found in a kit with the 12-60mm f/3.5-5.6 for around $1000. No other lens kit is offered in the US. In Europe you can find the camera body on its own, or with the 12-32mm / 12-60mm at the following prices:
- GX9 body only: £600 / €700
- GX9 with 12-32mm f3.5-5.6: £690 / €900
- GX9 with 12-60mm f3.5-5.6: £790 / €860
The GX85 is now sold with the 12-32mm only. Because it is older, it can be found for the very attractive price of approximately $600, £400 or €420.
Conclusion
The GX9 might seem like a small upgrade on the surface but in this case, the devil is in the details.
Concerning the ease of use, the GX9 feels more complete thanks to the rear focus mode selector, the updated menu system and of course the tilting EVF, although I admit I used it less than I thought I would. On the flip side, I wish the front grip was a bit larger and more rounded like that of the GX7.
The image quality isn’t drastically different, but I welcome the better highlight recovery when working with the RAW files and the tweaked colour profiles that give the SOOC JPGs and video footage a warmer look. I also like the new L.Monochrome D profile – it is certainly the most interesting of the three B&W modes.

The autofocus for stills is the same but there is a good improvement for video. It is still far from perfect but the GX9 is definitely more reactive. The 5-axis stabilisation shows some improvements if you really push the performance to the extreme, but for your daily work, it is unlikely you’ll take advantage of it.
Upgrading from the GX85 makes sense if you feel that all these little improvements combined can make a difference, especially if it is a camera you use daily. But at the same time, the GX9 doesn’t feel like an entirely new product, as many aspects remain similar to its spiritual predecessor.
If you are hesitating between the two, there is a simple solution: just look at the price. The GX85 is a real bargain as of now.

Choose the Panasonic GX85 if:
- you want to spend less
- you don’t want a heavier sensor crop when recording in 4K
Choose the Panasonic GX9 if:
- you like the idea of a tilting EVF
- you want better image quality (more dynamic range in the highlights and a more distinctive colour rendering)
- you want faster autofocus for video
Check price of the Lumix GX9 on
Check price of the Lumix GX85 on
Amazon | Amazon UK | B&H Photo | eBay
Sample images and additional reading
You may also be interested in: