You are now on page 3. Here you can find an in-depth analysis of autofocus and continuous shooting speeds:
- Page 1: design and functionality
- Page 2: image quality (stills)
- You are on page 3: autofocus and speed
- Page 4: image stabilisation, video, other features and conclusion
Table of contents – Page 3
1. Autofocus system and general settings
2. Single, Eye and Face Detection autofocus performance
3. Continuous autofocus performance
4. Shutter, continuous shooting and buffer
Autofocus system and general settings
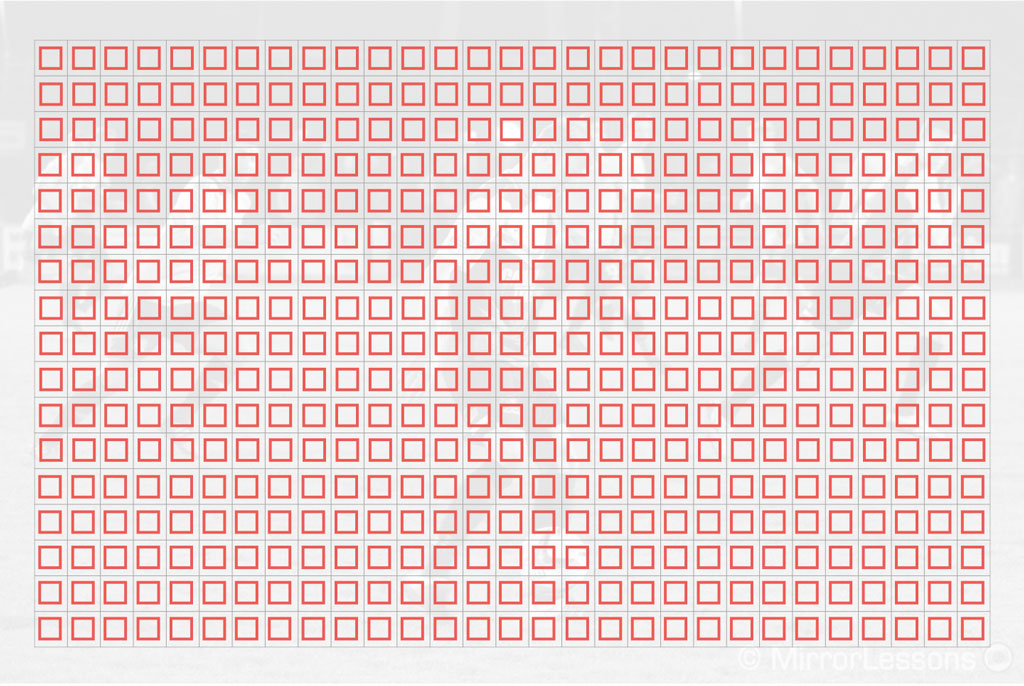
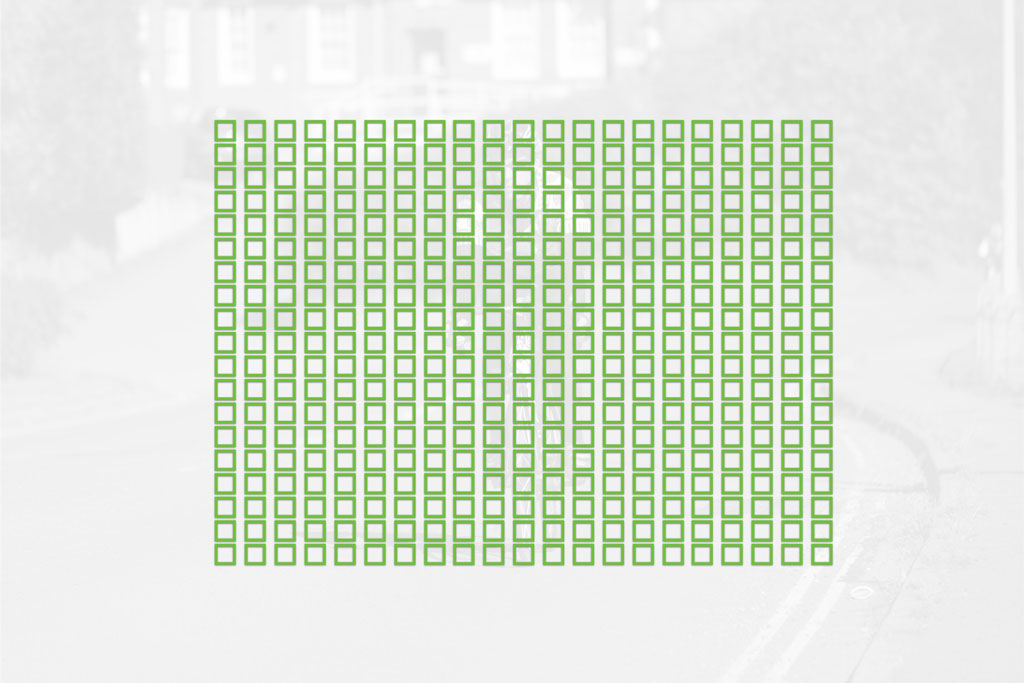
Both cameras feature a hybrid phase and contrast detection autofocus system. The Z7 uses 493 points whereas the A7R III has 399 phase and 425 contrast detection points.
On the Z7 you can choose to use all focus points or half of them (every other point), which makes it faster to move the AF point around with the AF joystick. It is valid for the single and small wide area modes.
The phase detection points on the Nikon camera cover 90% of the sensor’s surface, whereas the ones on the Sony are distributed across 68% of the sensor’s area. This means that if your subject momentarily moves to the edge of the frame, the Sony may revert to contrast detection, which is slower for continuous shooting.
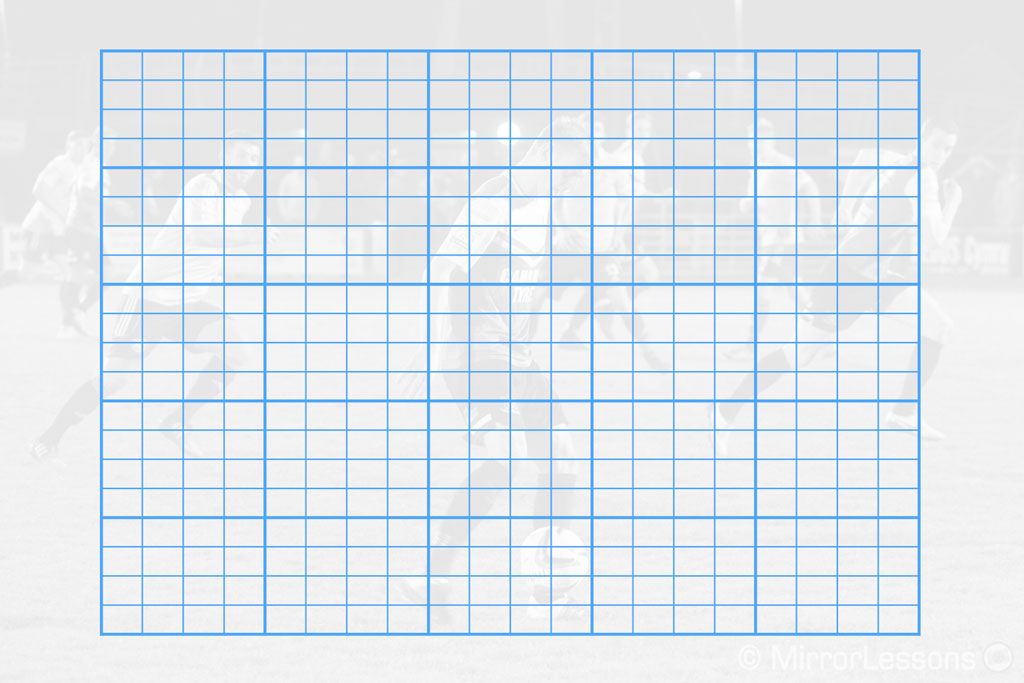
The Z7 has six different AF area modes:
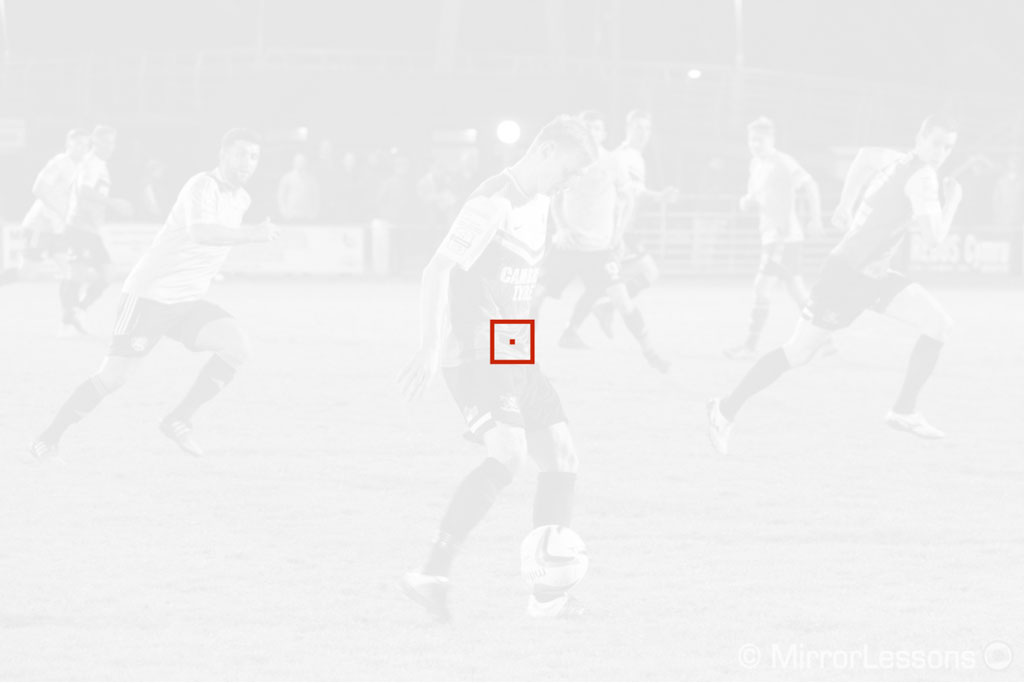
- Pinpoint AF: a very small focus point to focus more precisely, useful for close-ups and macro shots. It is available in S-AF only. Moving the point with the joystick is slow and the touch screen won’t give you the level of precision such a small point requires (but it can be useful to get it close to where you want)
- Single-point AF: a small single point and my go-to setting in many situations (S-AF, low light, backlight scenes like sunsets, etc.)
- Dynamic-area AF: similar to single but with additional focus points that the camera will use if the subjects leaves the central point for a brief time. It is available in C-AF mode only.
- Wide-area AF (Small): still a single point but larger than the previous mode
- Wide-area AF (Large): an even larger single point that I often use in continuous mode to track my subject
- Auto-area AF: the camera picks the number of points needed automatically (cluster), you can also track a specific subject in the frame by pressing the OK button. This is also the only mode where Face Detection can be activated.

The A7R III offers more versatility when it comes to the number of areas you can cover. It has five modes including:
- Wide: all the points available on the sensor are used automatically according to the position of the subject
- Zone: a large area composed of 9 groups that can be moved, my go-to setting for sports and birds in flight
- Centre a fixed single point in the middle of the frame (it can’t be moved)
- Flexible Spot: a single point that can be moved, with three sizes available (Small, Medium, Large)
- Expand Flexible Spot: similar to Dynamic-area AF on the Z7, it is composed of a small point and phase detection points around it. My favourite mode when I don’t use Zone.
- Lock-On AF: you can track a subject in the frame after locking onto it with the centre button. It can also be combined with the Expand Flexible Spot in C-AF.

Although I personally use just two AF modes on the A7R III for most of my shooting, the Sony camera offers a bit more variety when it comes to the areas you can cover. The Sony 4D Focus system, which concentrates as many phase detection points as necessary onto the subject, is very precise and reliable, and this is why I find Zone Area the best option for everything sports and wildlife related.
In the case of the Z7, I found myself switching between the Single point and the Large Wide-area mode. Tracking with the Auto-area mode is not as reliable as the stunning 3D Tracking system you find on Nikon’s DSLRs unfortunately. That said, Nikon claims to have improved the latter with firmware 3.0.
In addition to the classic single, continuous and manual focus modes, the A7R III has two additional options:
- AF-A, where the camera switches automatically between single and continuous if the subject starts to move. It works well but I rarely use it because C-AF is so reliable, even for static subjects.
- D-MF allows you to fine-tune focus manually after focusing automatically.
The A7R III has a minimum sensitivity of -3Ev whereas the Z7 has been improved from -1Ev to -2Ev with firmware 2.0. The Nikon has a Low-Light AF mode that increases sensitivity to -4Ev. I’ll talk about both cameras’ performance in low light in the next chapter.
With continuous focus, both models offer extra settings to control the performance. You can choose between release and focus priority, and the A7R III has a third variant called Balanced Emphasis which is a good middle ground between release and focus priority.
Then we have a setting to control the reactivity of the autofocus, which is called Focus Tracking with Lock-On on the Z7 and AF Track Sensitivity on the A7R III. They both work in five steps to make the focus either more or less reactive. You want the AF to be as reactive a possible for fast and unpredictable subjects like birds, whereas if you’re following a subject and there are obstacles in between, you want the AF to be less reactive so that it won’t re-focus every time something passes between you and your subject.
Both cameras can autofocus in magnification mode and memorise different positions for the AF point depending on the orientation of the camera (horizontal or vertical).
Finally, the A7R III has a few extra settings.
- Pre-AF: autofocusing happens before the shutter button or back button focus is pressed (can drain battery life more quickly though)
- Link Spot metering with single AF point: the camera will measure spot metering where the single AF point is rather than at the centre
- AF Area Registration: you can assign a specific focus area and position to a function button.
Single, Eye and Face Detection autofocus performance
One of the differences I spotted straight away is focus speed in S-AF mode. The Nikon works really well in all situations: it is always quick to lock and very rarely do you experience hunting or mis-focusing, unless you are in a very low light situation or there’s a huge lack of contrast.
The A7R III prioritises contrast detection in S-AF most of the time, so you get more back and forth movements with the lens while the camera tries to assess the contrast and focus correctly. As a result it feels slower than the Z7. If you select area modes such as Wide or Tracking, the camera will randomly use phase detection points but there is no way to force them to work all the time. Don’t get me wrong – the Sony will still manage very well in most situations, but the Nikon just feels quicker in this specific mode.
In low light, the Nikon remains reliable in most situations, even when working with a slow aperture lens like the 24-70mm f/4 kit zoom. It rarely hesitates or fails to lock but you can wind up with the occasional soft image, although this happened mostly with adapted lenses rather than the native Z ones.
The A7R III doesn’t lack precision most of the time but once again the speed in S-AF can be a bit slower due to the contrast detection system.

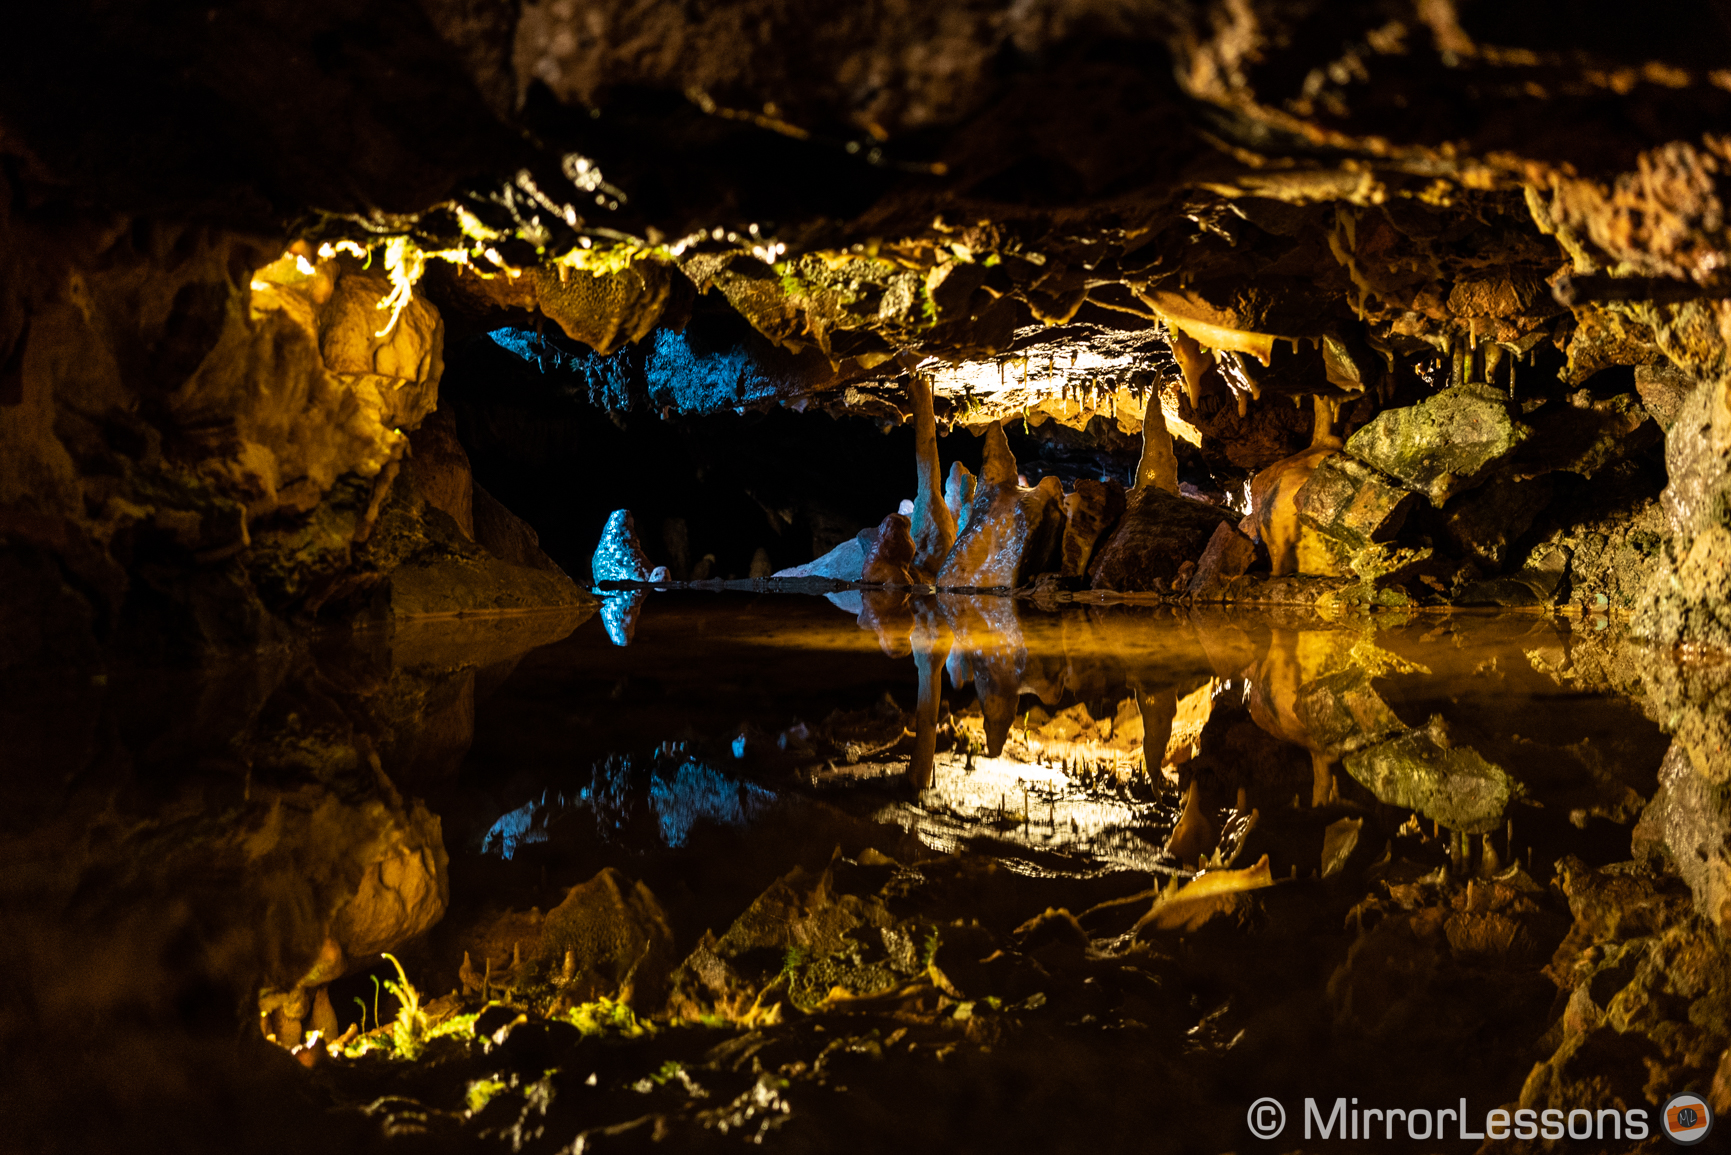
In near dark situations, the higher sensitivity (-3Ev vs -2Ev) of the Sony AF gives the A7r III an advantage. On the Nikon you need to activate the Low Light AF mode that increases sensitivity to -4Ev. However if contrast is really low, acquiring focus can be a very slow process: the camera boosts the brightness and moves the lens elements back and forth really slowly before locking. The EVF refresh rate also drops. Note that Low Light AF only works in S-AF.
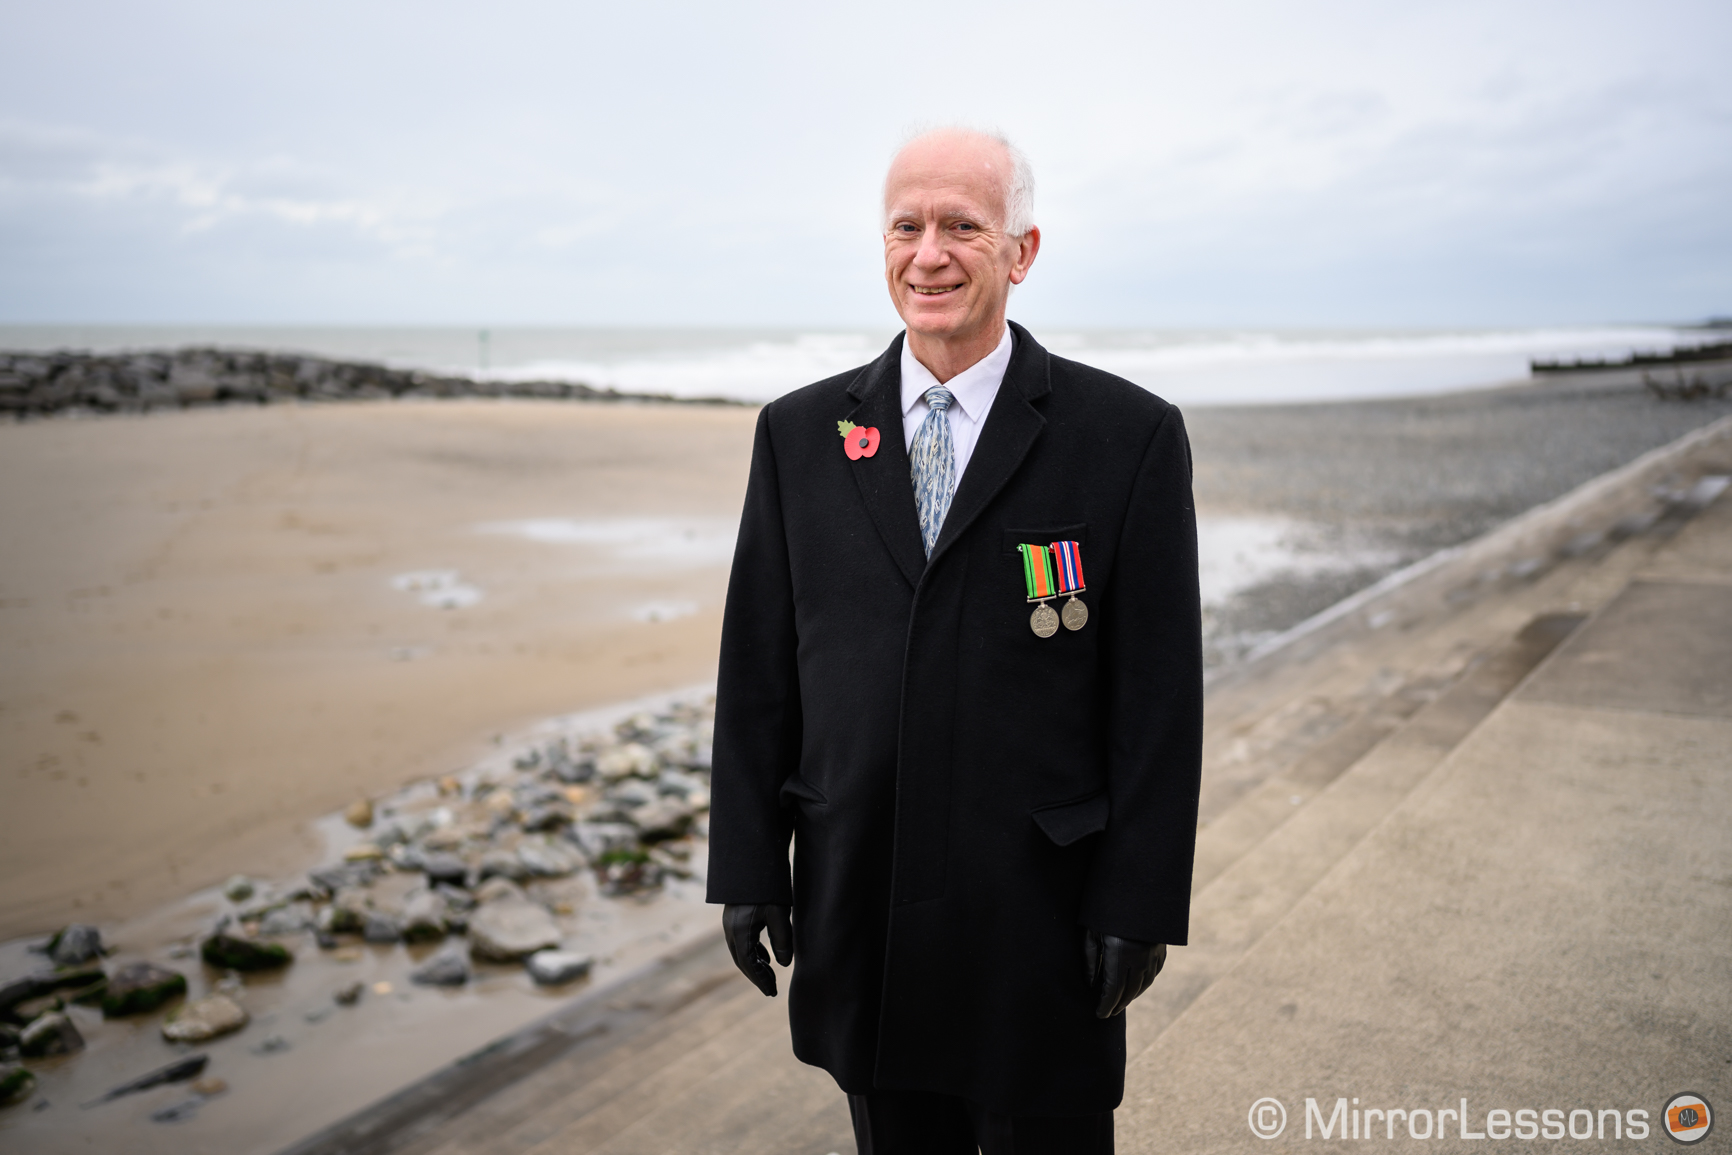
The Z7 has face detection and can only be activated when working in the Auto-area AF mode. It gave me a more positive impression than the pre-production sample I tried at the launch event, but it’s not perfect. It does a good job at recognising and following a face, even if the subject turns 90°. Occasionally though the focus area will start to move away from the face, if for example the subject looks down.
In continuous AF, the performance can lack some reactivity. For group shots, you can use the AF joystick to jump from one face to another. However you can never be 100% sure which face the camera will choose. There is no eye detection on the Z7 so you can never know for sure if the eye is sharp or slightly out of focus. Firmware 2.0 brings the Eye-detection functionality which hopefully helps in these situations. I don’t have the Z7 with me anymore so I’m not sure when I’ll have the chance to test this however.

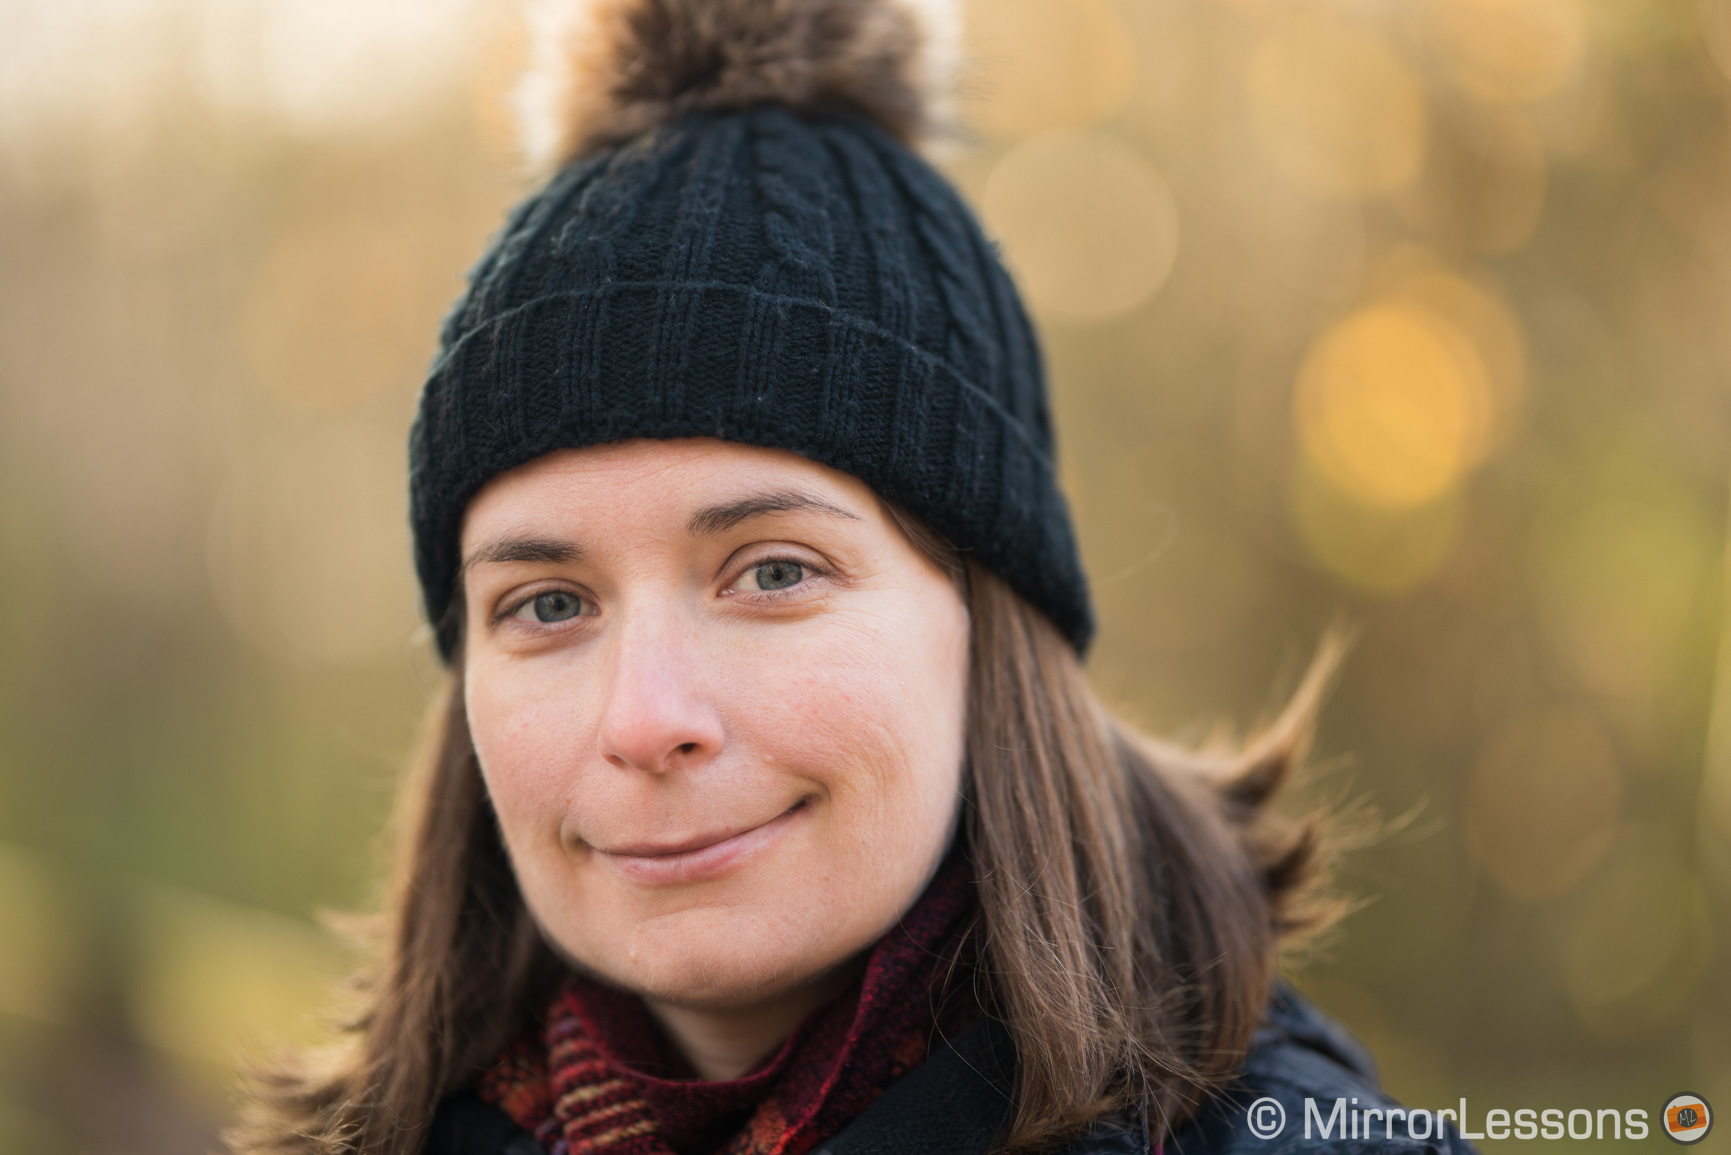
The A7R III has a more stable face detection system but it is EyeAF that really makes a difference. Once assigned to a function button, the camera uses a single phase detection point to focus on the eye of the person. It is fast and very reliable and it definitely gives you more peace of mind when shooting portraits on a regular basis. Firmware 3.0 makes EyeAF work in real time when half-pressing the shutter button which means you don’t need to assign this function to a custom button. Unfortunately you still can’t prioritise the left or right eye.

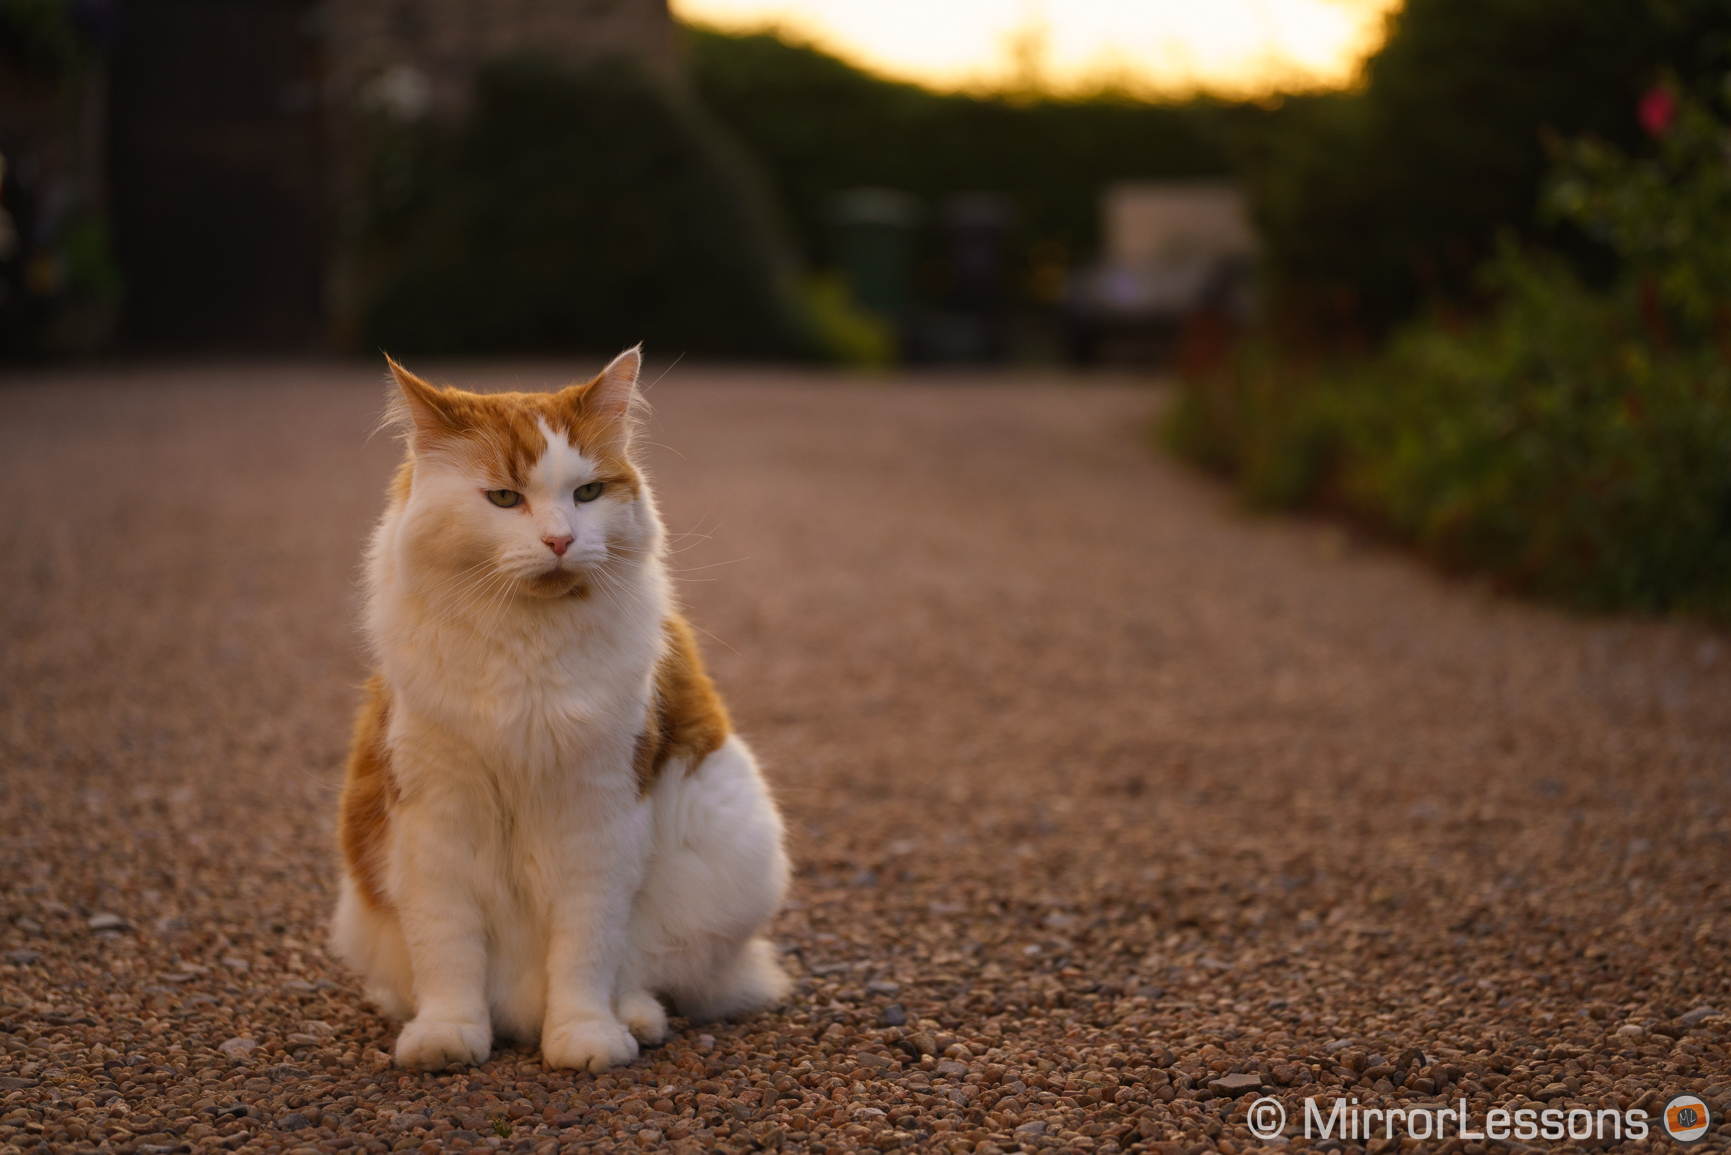
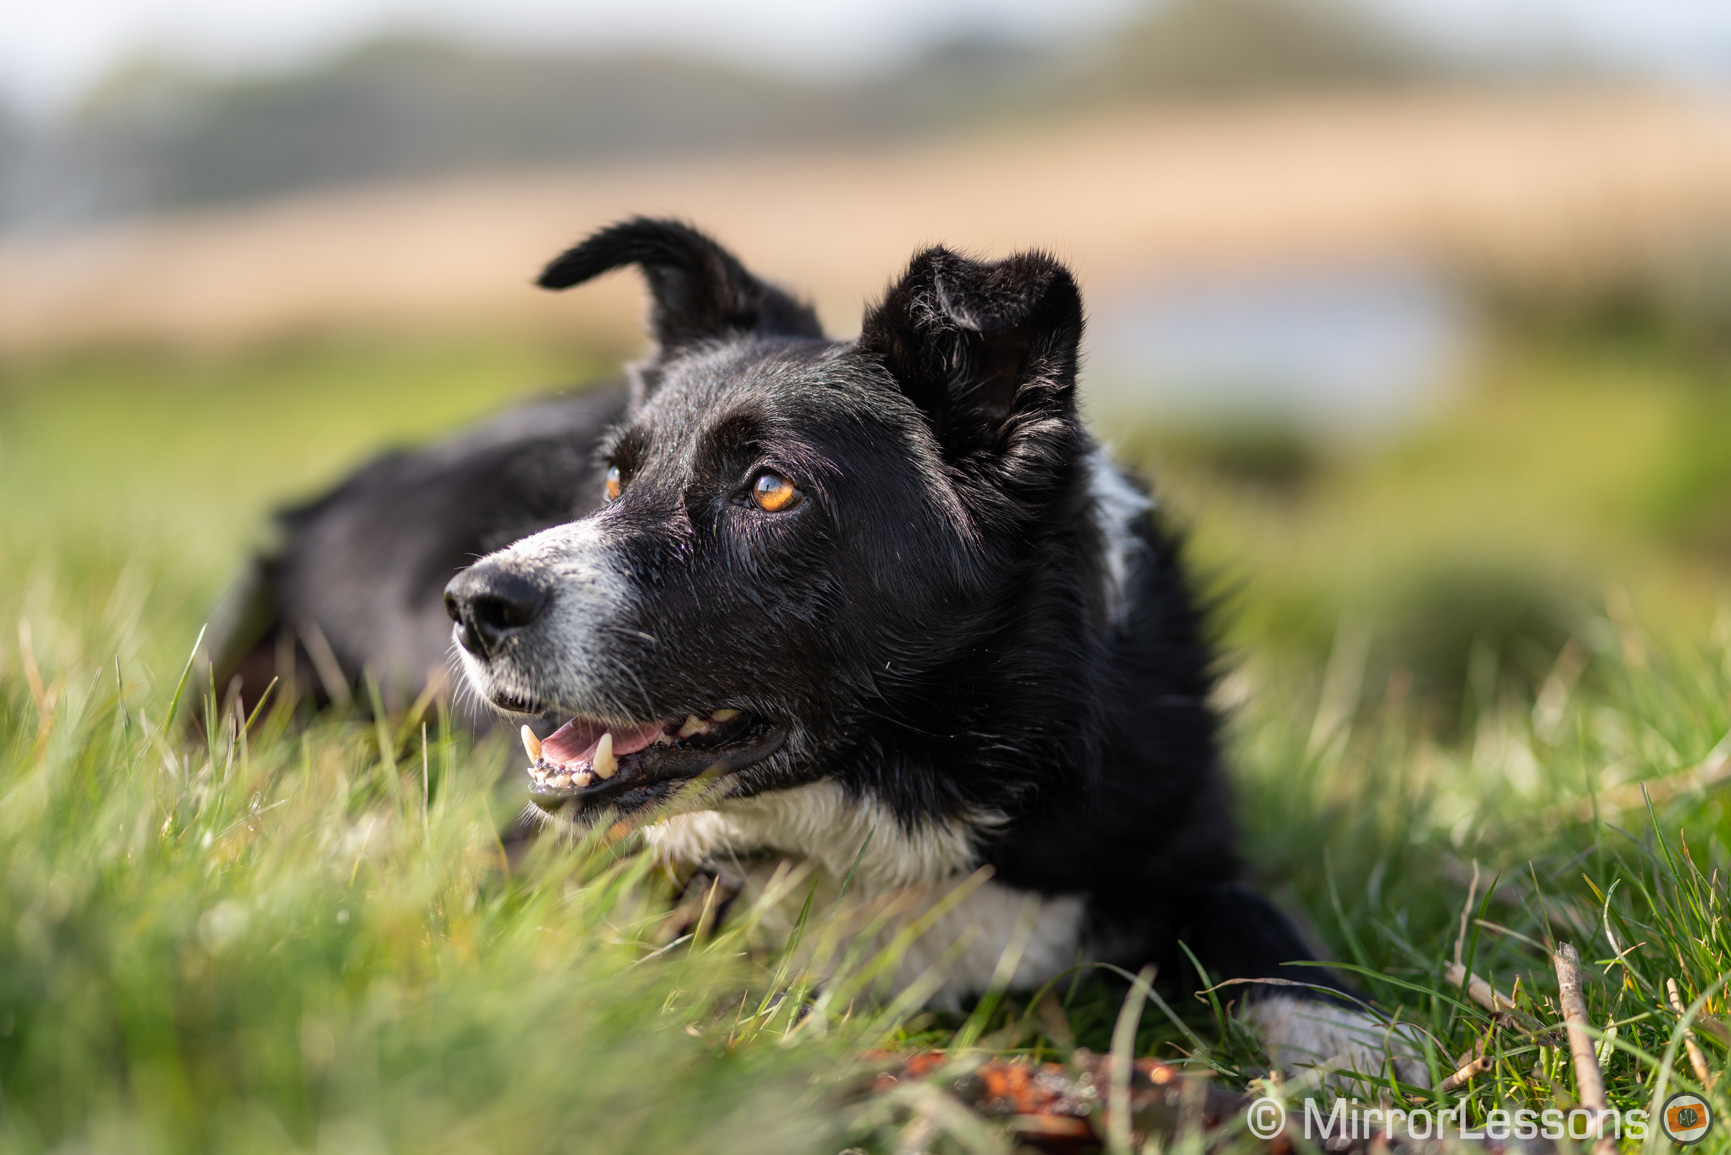
Firmware 3.0 adds another milestone for Sony when it comes to eye detection: EyeAF for animals. In the Face/Eye Priority settings, you can now choose two types of subject to track: human or animal. The performance is very good when it comes to speed, responsiveness and accuracy. The little green square stick on the animal’s eye just like it happens on a person’s face.
I tested it on dogs and cats and the Sony had little problems in most situations. High contrast on an animal that has dark hair can sometimes confuse the camera but it only happened a few times. Eye detection activates when the animal fills a large portion of the frame so you need to be close. It is also successful with sheep and lambs but not birds, at least based on my experience so far.
Nikon has followed Sony’s example and released firmware 3.0 which adds eye tracking for dogs and cats.
Continuous autofocus performance
I managed to use both cameras in similar action situations – albeit not at the same time – so I was able to develop a pretty good idea of how they compare in terms of speed and accuracy.
One important thing to keep in mind is that at the time of writing, there are no native telephoto lenses for the Z7, so I used Nikkor and Sigma F lenses with the FTZ adapter instead. The performance was very good overall, but I’ll be curious to see if things can improve even more once the Z system has expanded.
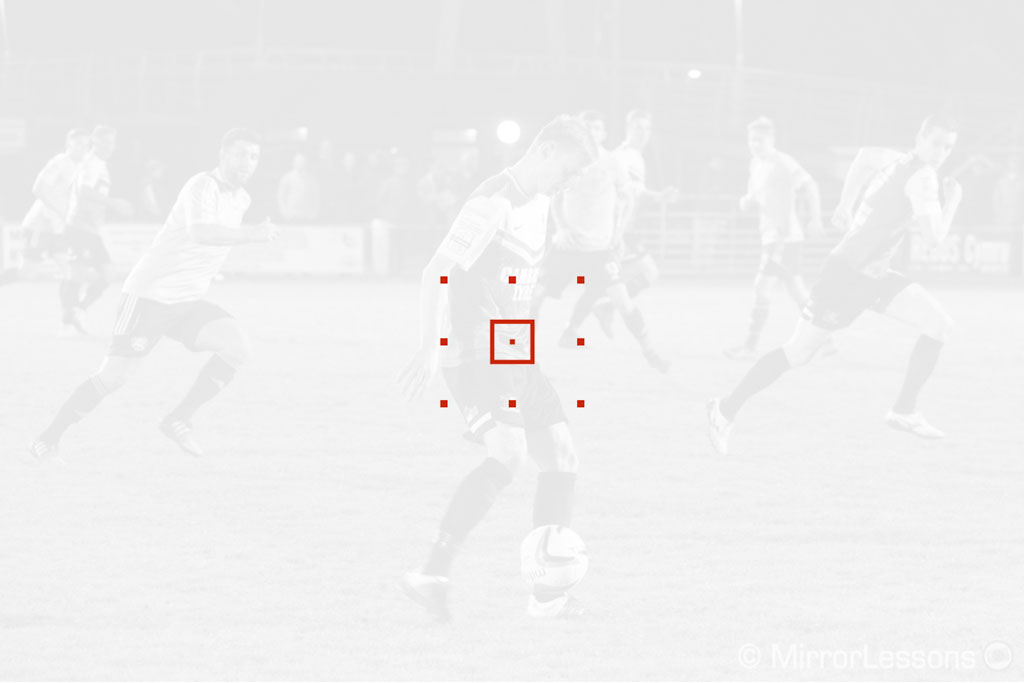
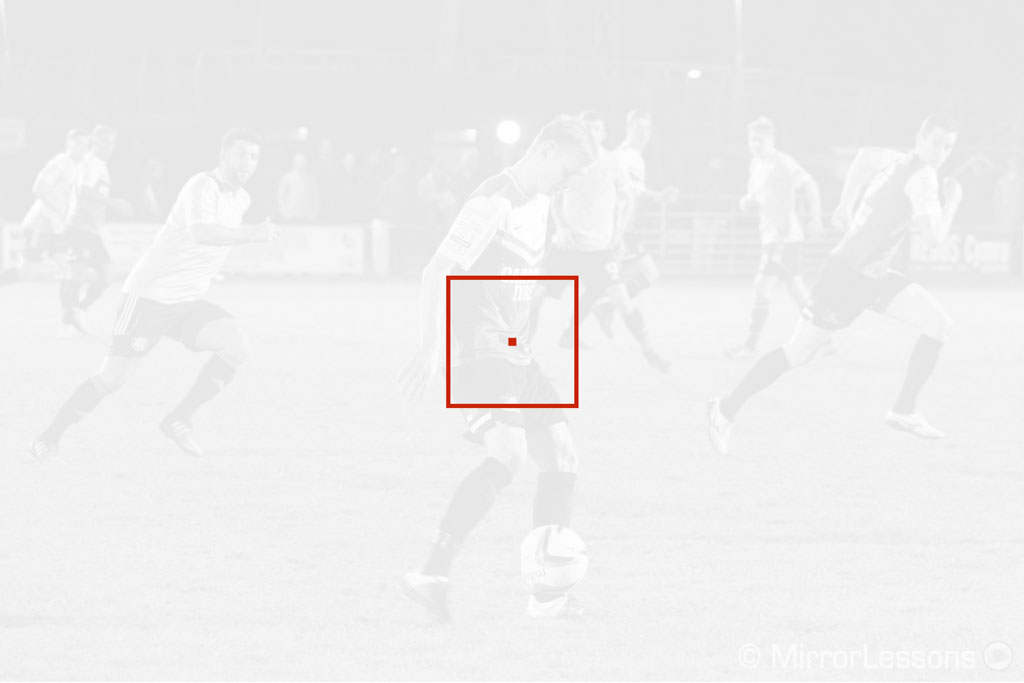
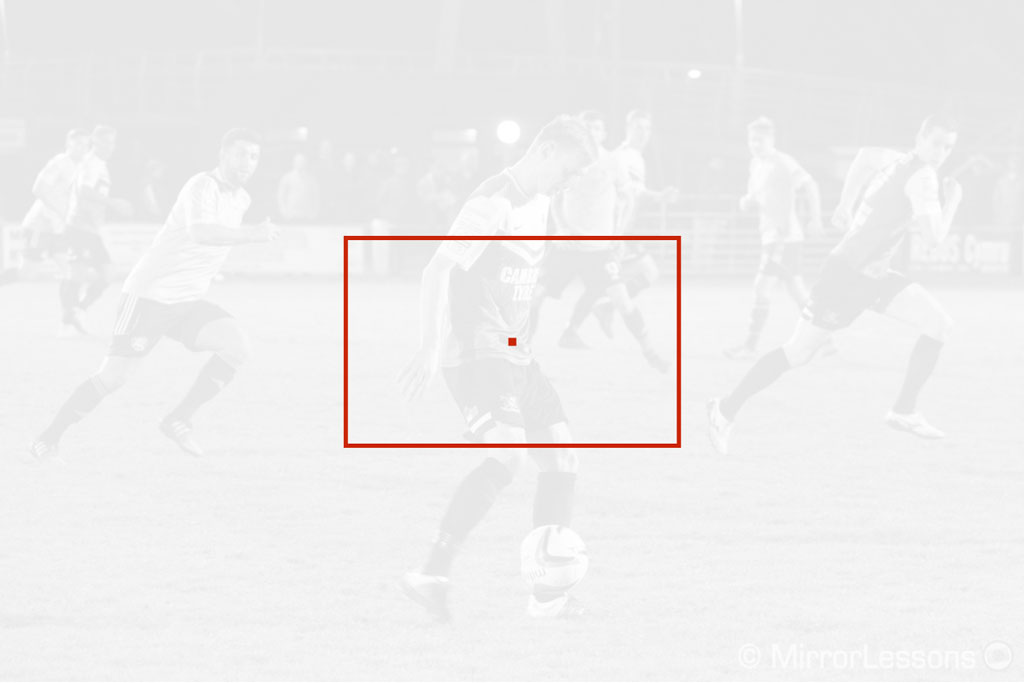
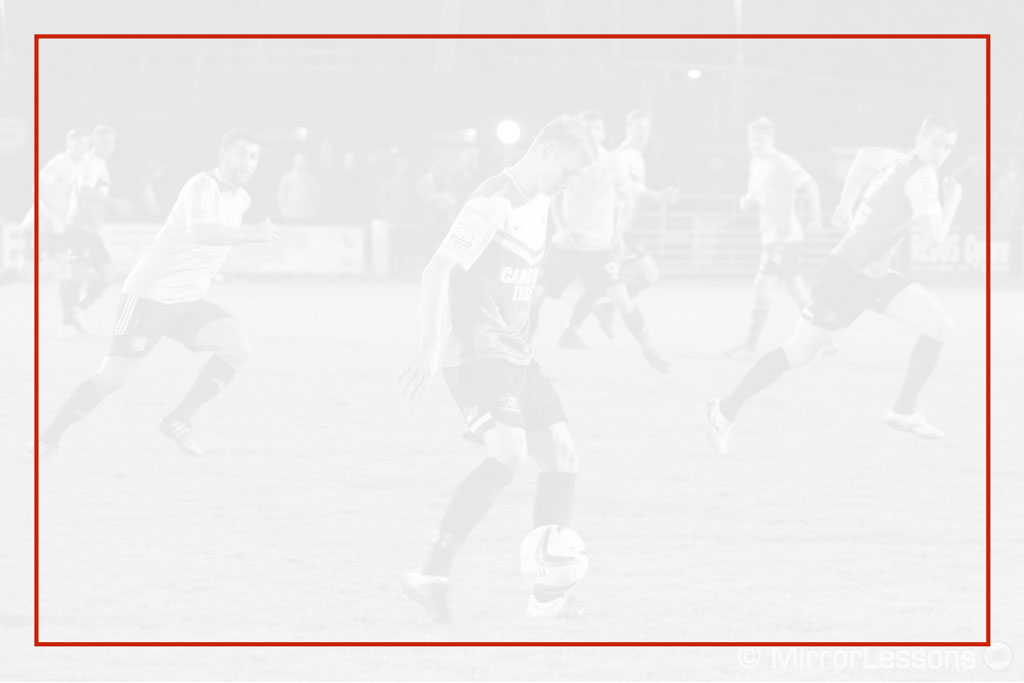
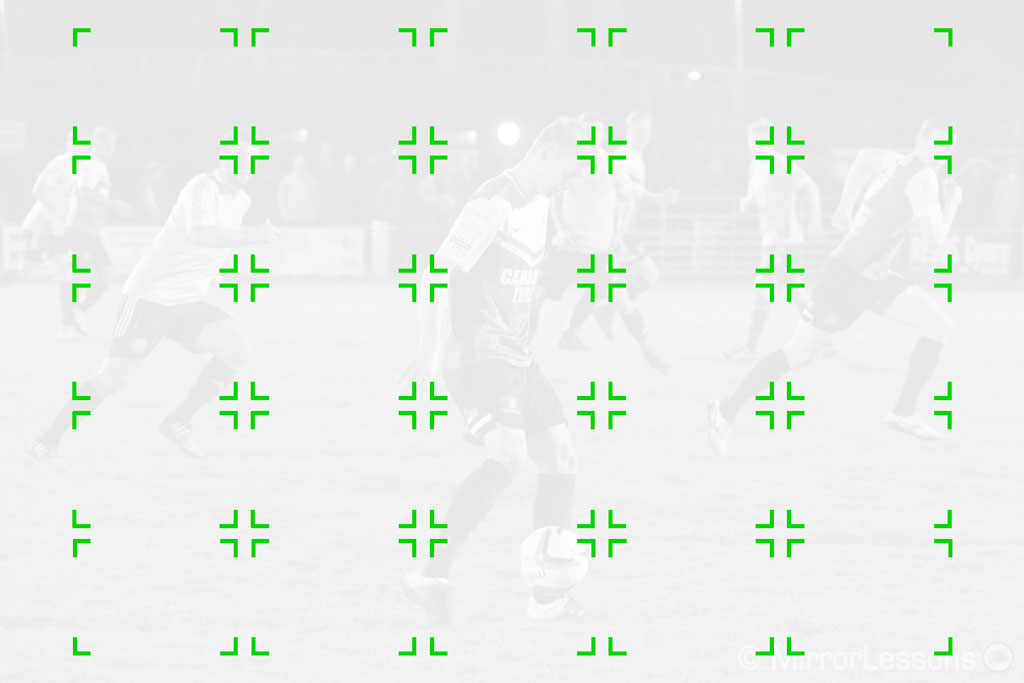
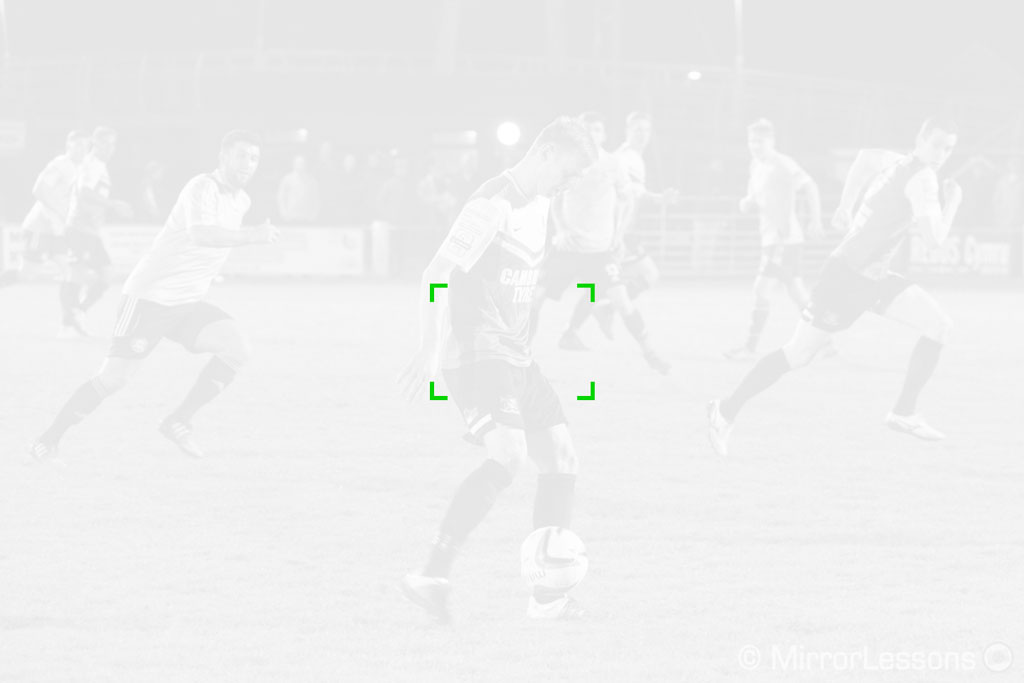
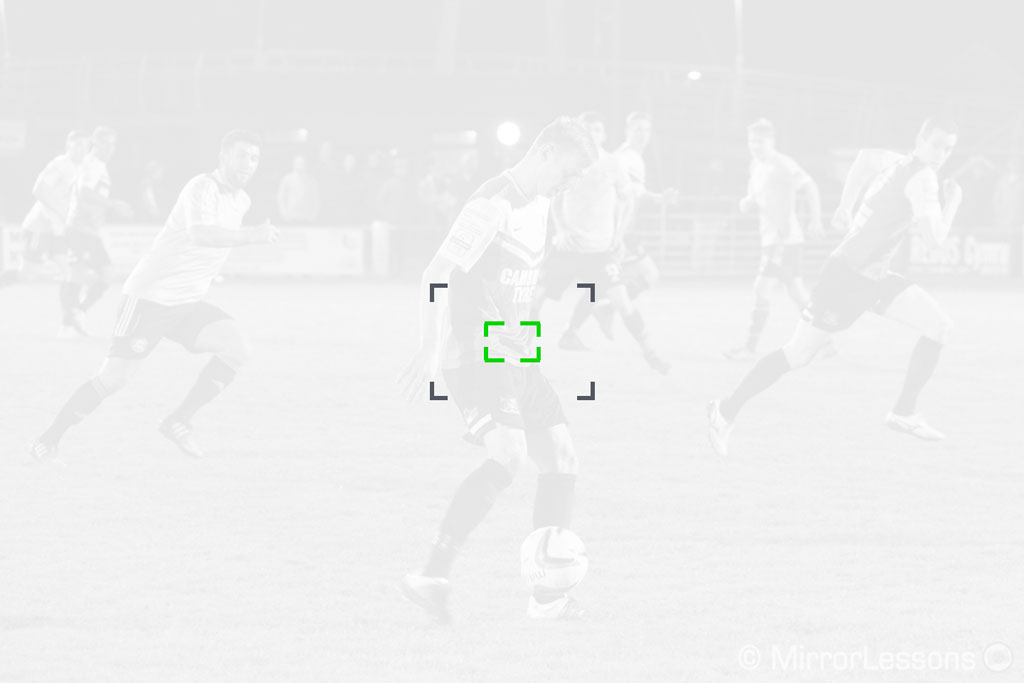
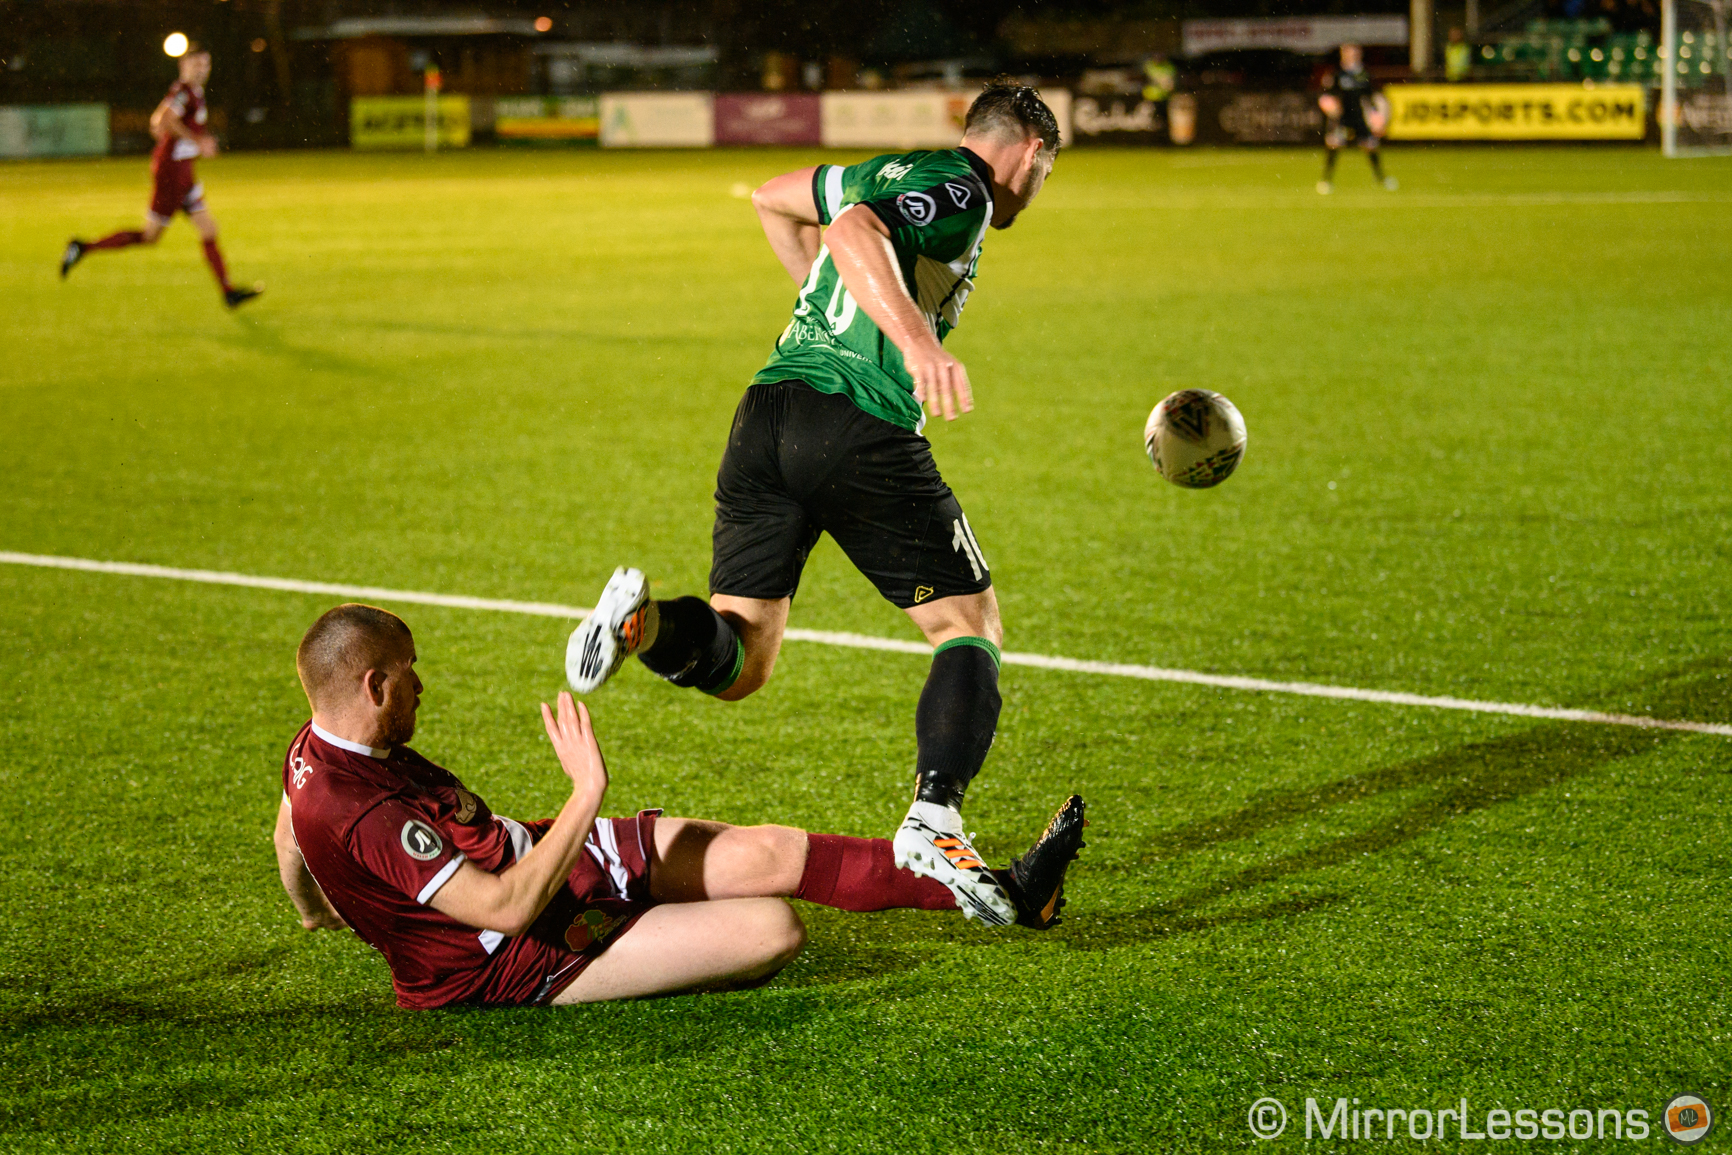
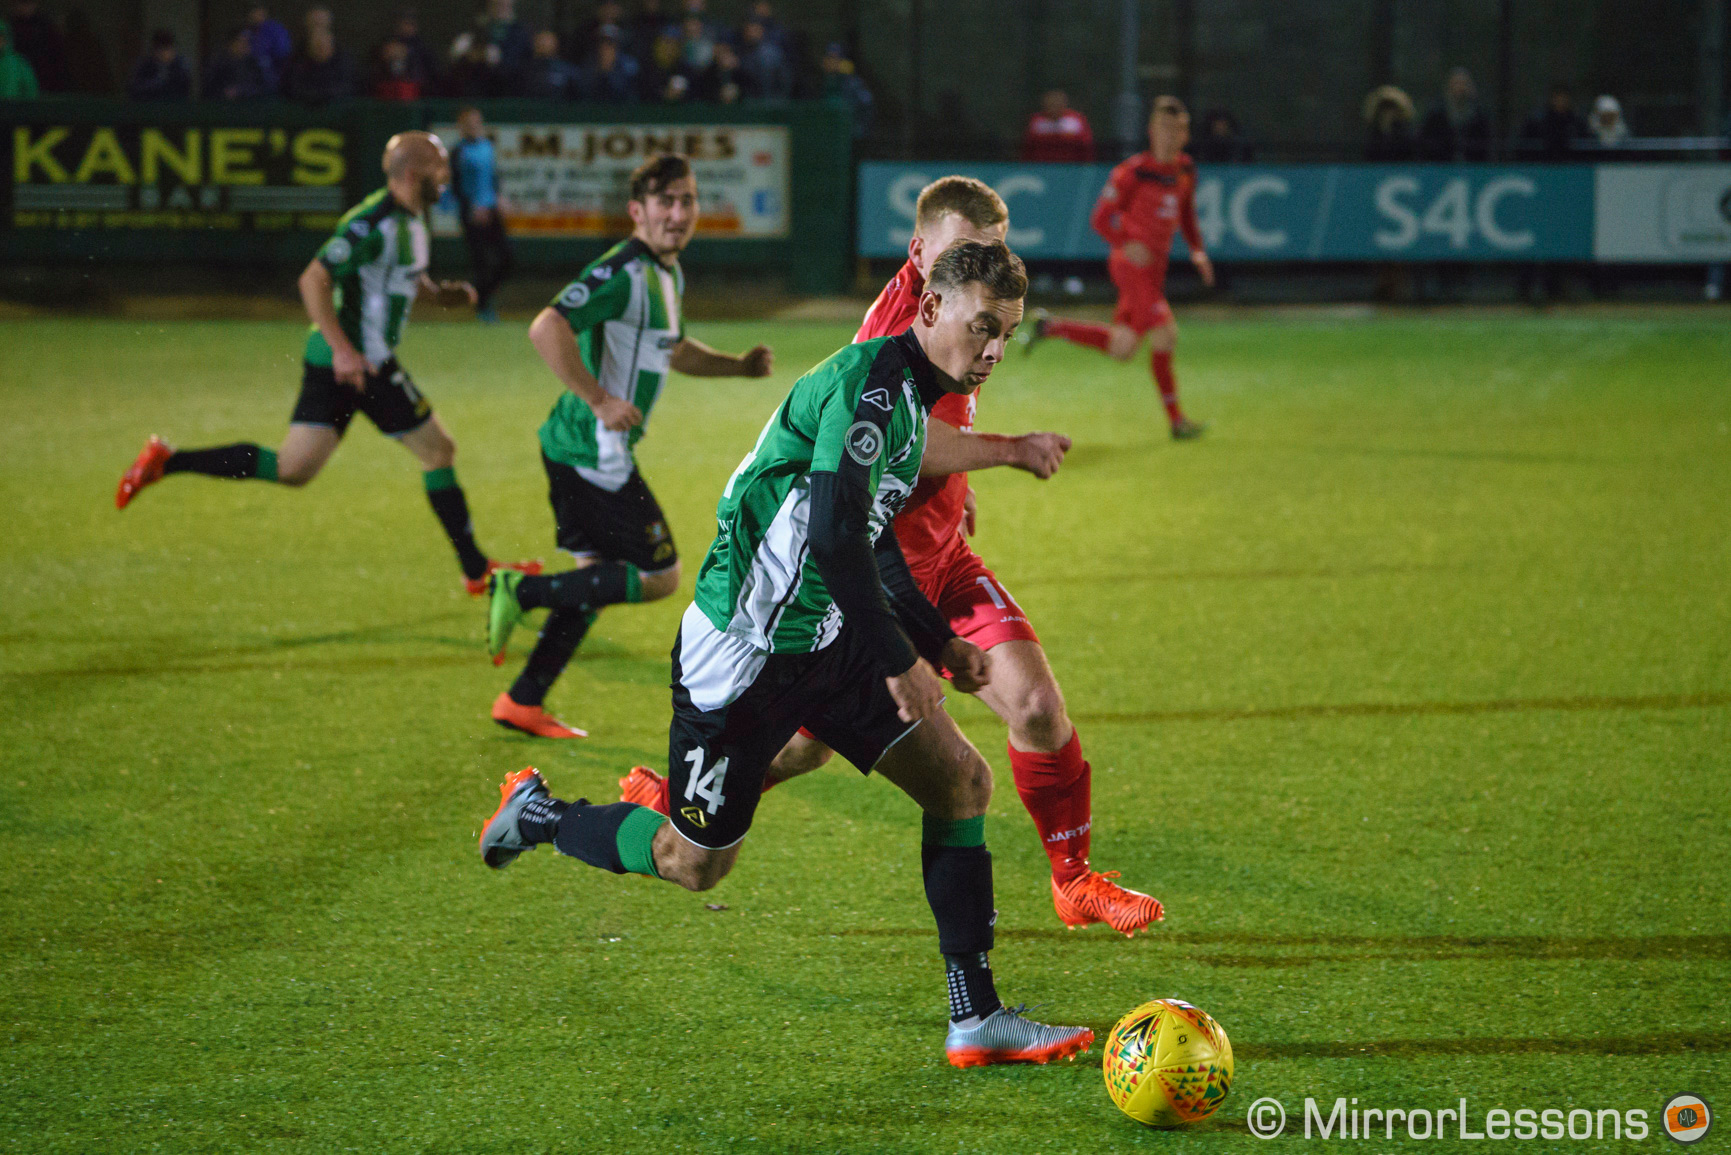
Case study 1: Football
- Sony lenses used: FE 70-200mm f2.8 GM, FE 100-400mm f4.5-5.6 GM
- Nikkor lens used: AF-S 70-200mm f/2.8E FL ED VR (FTZ adapter)
- Z7 keeper rate: 83% (sharp shots only), 99% (including slightly soft images)
- A7R III keeper rate: 76% (sharp shots only), 95% (including slightly soft images)
The Z7 delivered an impressive score at the evening football game – more or less the same as what I got with the Sony A9 (our autofocus system reference when it comes to mirrorless cameras). The Nikon was always reactive in tracking and adjusting focus. I ended up with just 5 out-of-focus shots out of almost 600 frames. I mainly used the Wide Large AF area mode with sensitivity (Lock-On) set to 3.
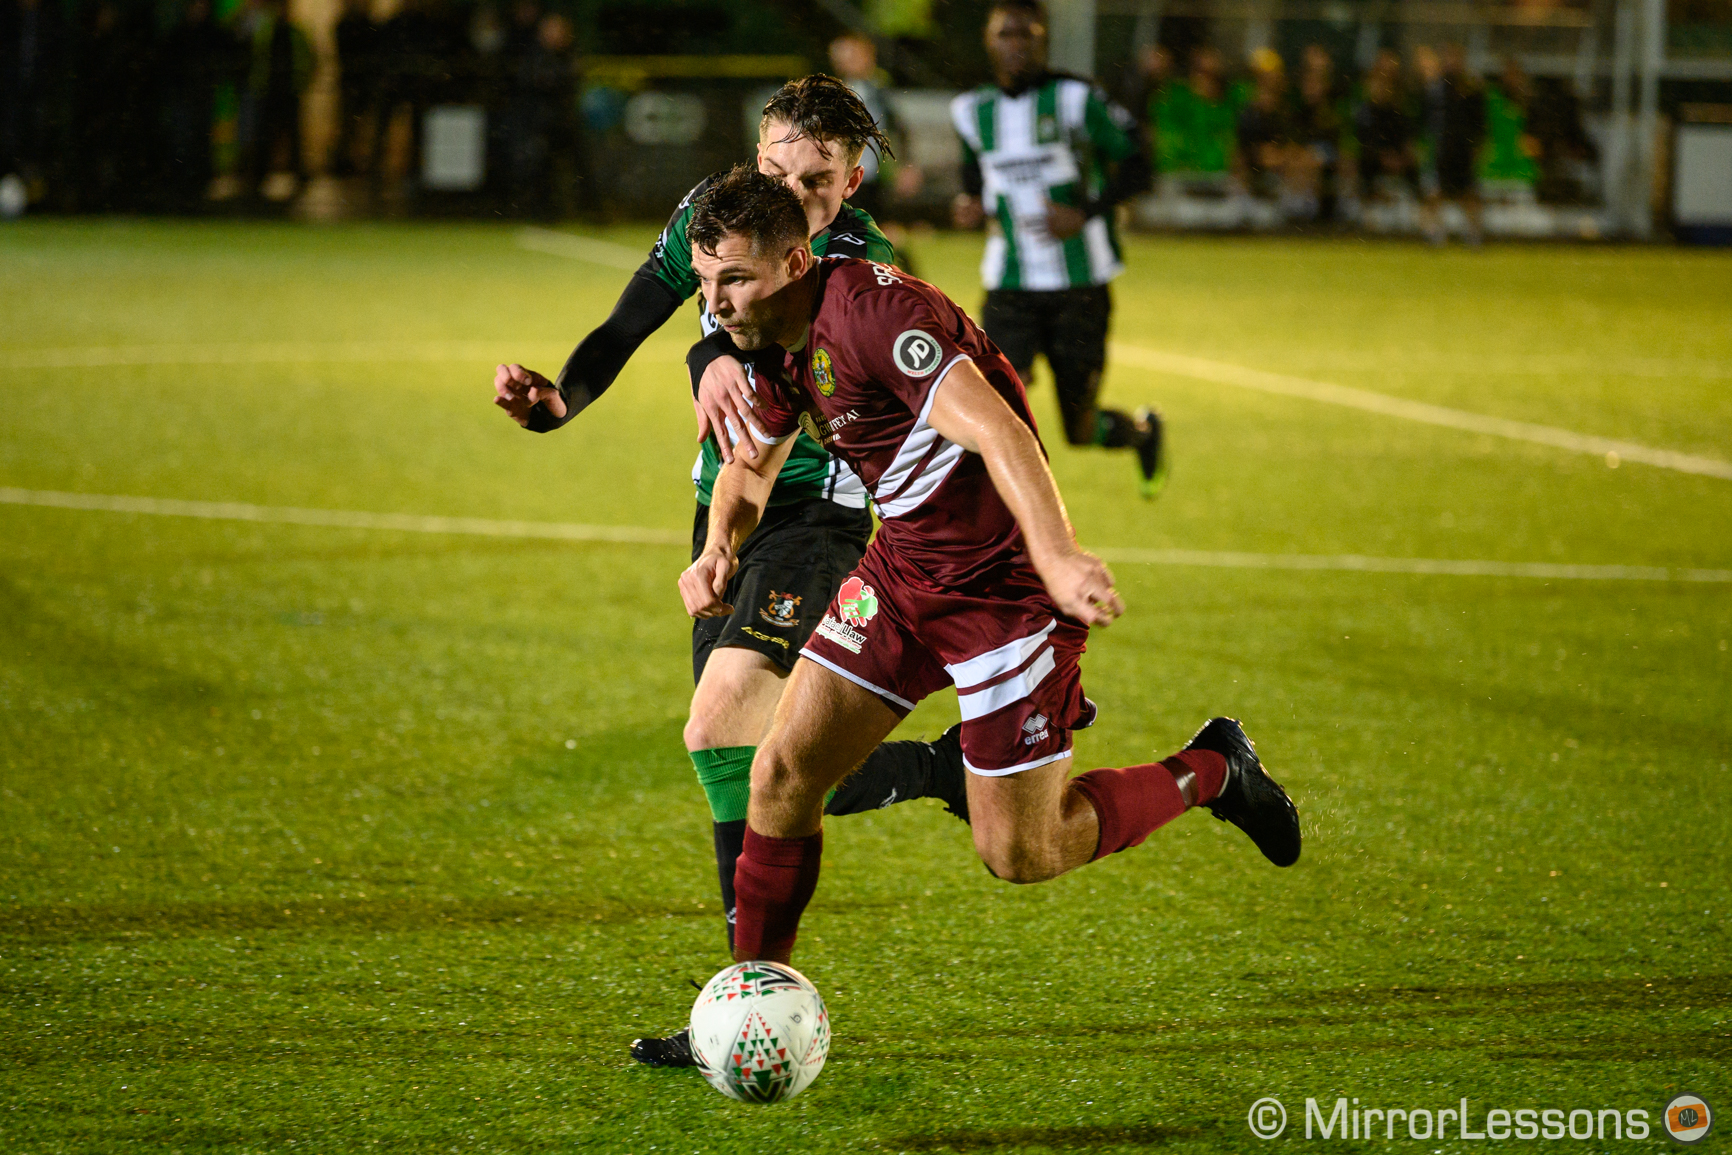
Because I’ve owned the A7R III for longer, I got the chance to use the camera on two separate occasions using two different lenses, but the results were the same with the faster f/2.8 zoom and the slower 100-400mm lens. Zone Area is my go-to setting with the AF Track Sens set to 3 (Normal). I brought back a few more out-of-focus shots when using the 100-400mm (23 out of more than 500), whereas I only had a few with the FE 70-200mm f2.8.

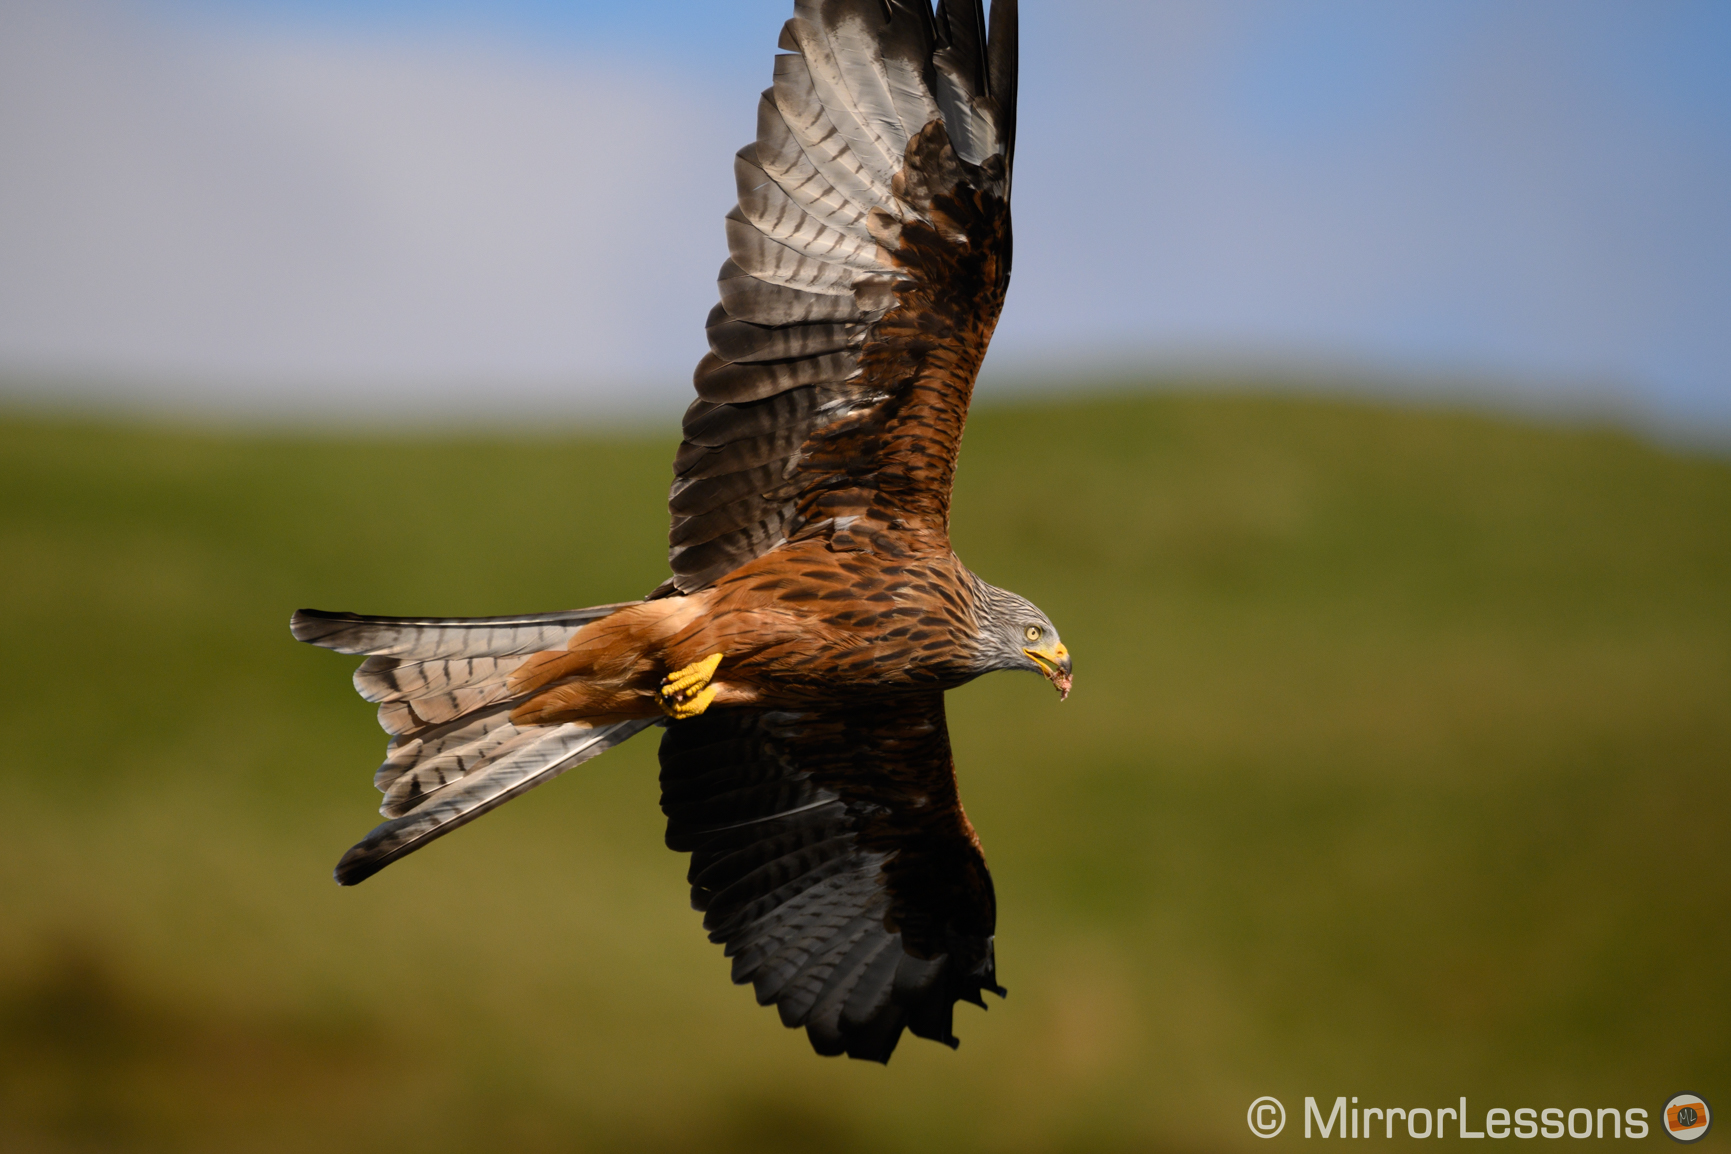
Case study 2: birds in flight
- Sony lens used: FE 100-400mm f4.5-5.6 GM with TC 1.4x
- Nikon lens used: Sigma 100-400mm f5-6.3 Contemporary (FTZ adapter)
- Z7 keeper rate: 65% (sharp shots only), 85% (including slightly soft images)
- A7R III keeper rate: 64% (sharp shot only), 88% (including slightly soft images)
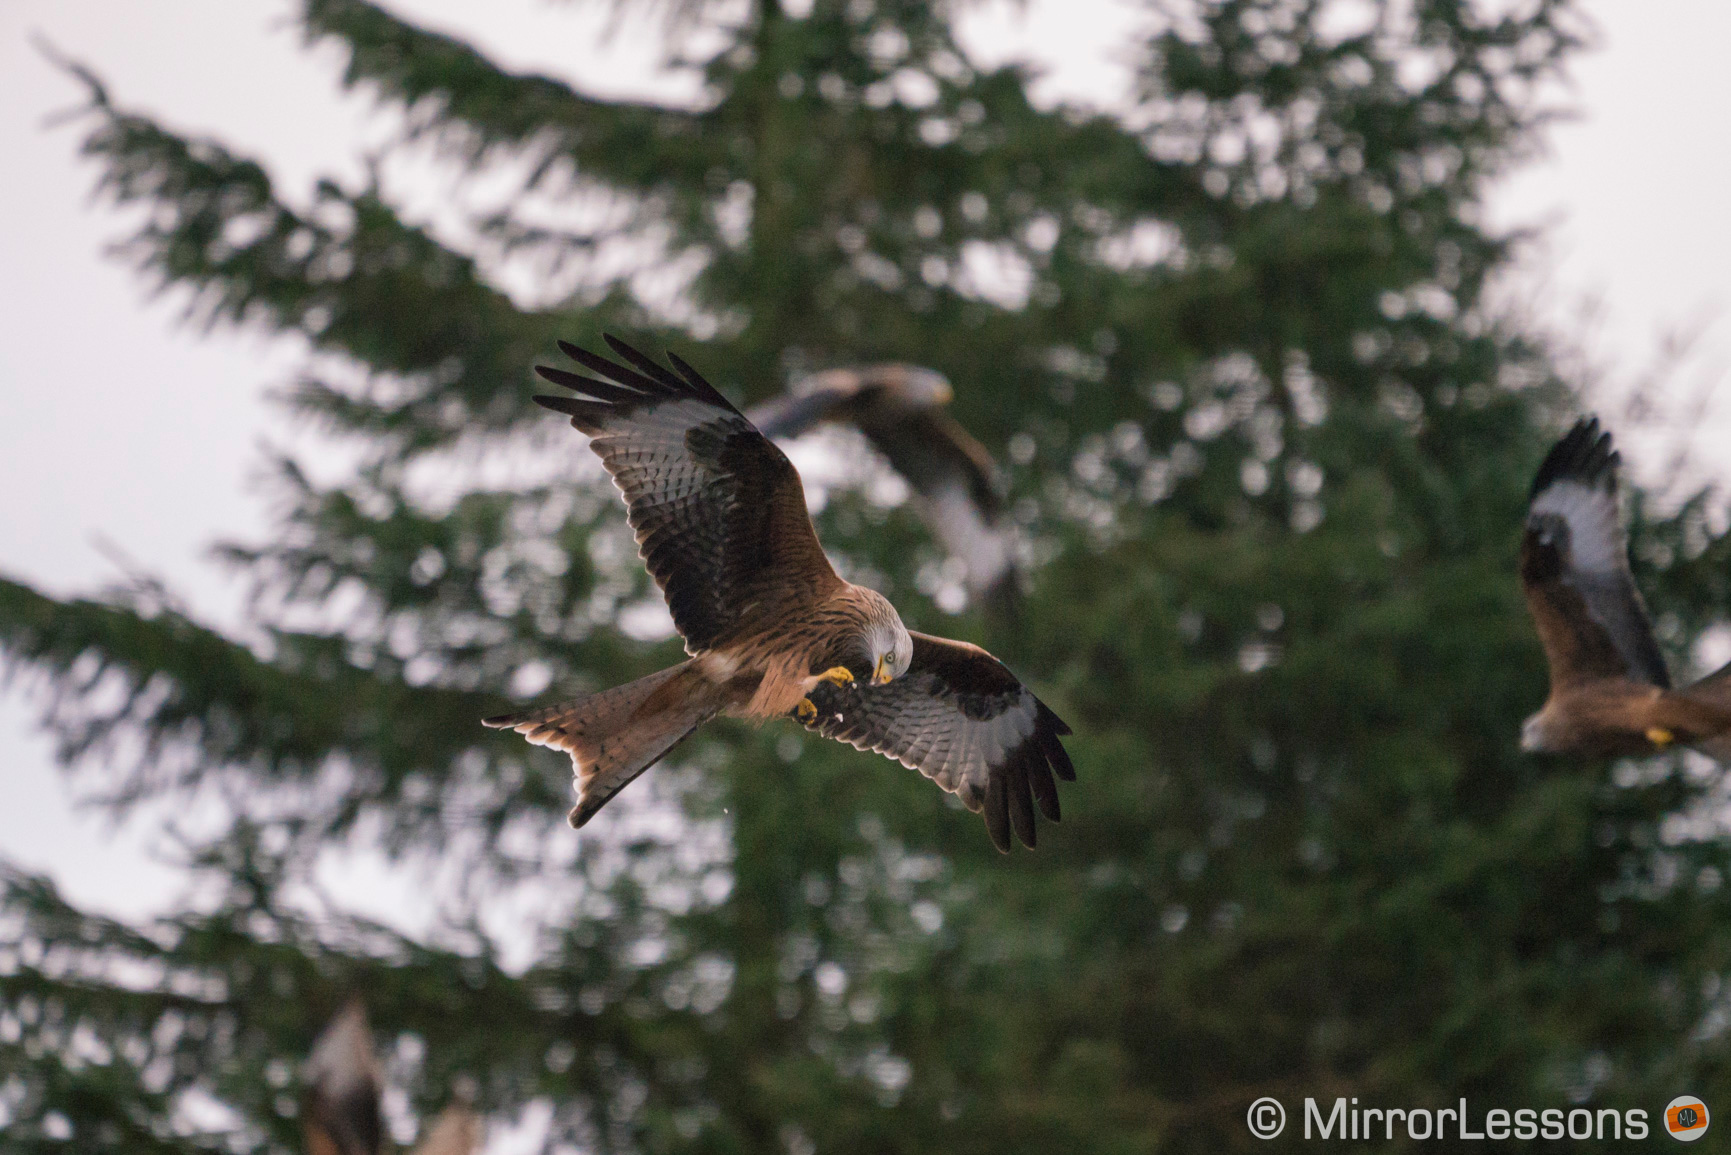
My beloved red kites never disappoint when I want to test the true capabilities of an autofocus system, and here again I was surprised to see the Nikon Z7 deliver such a good score. I decided to use the Sigma 150-600mm Contemporary because it’s a lens I know well and that I’ve used on other cameras before, so I was in familiar territory.
Here I selected the Auto-area AF mode because it’s the only setting that gives me a large enough area to work with, and I had Lock-On set to the maximum sensitivity (0). Very rarely did the camera refuse to focus and the number of out-of-focus shots was lower than expected. The Z7 was reactive even when the birds flew close to me on a few occasions, which is the kind of situation where many other mirrorless cameras fail to keep up with the fast and abrupt change.

With the Auto-area mode you can also activate Tracking but the performance decreased significantly. The 3D Tracking mode is the best setting for these situations on Nikon DSLRs, but the Z7 version often failed to follow the bird and the behaviour was very erratic. This is probably one of the biggest differences between the Z7 and its DSLRs counterparts. Firmware 3.0 might improve the performance on the Z7 however, according to the official text.
The A7R III’s performance was close to that of the Z7, and I give the camera an extra thumbs up because I’ve used it in less than ideal weather conditions (dark clouds and much less light). Here as well I stuck with Zone Area and set the AF Track Sens to be as responsive as possible (5).

Other situations
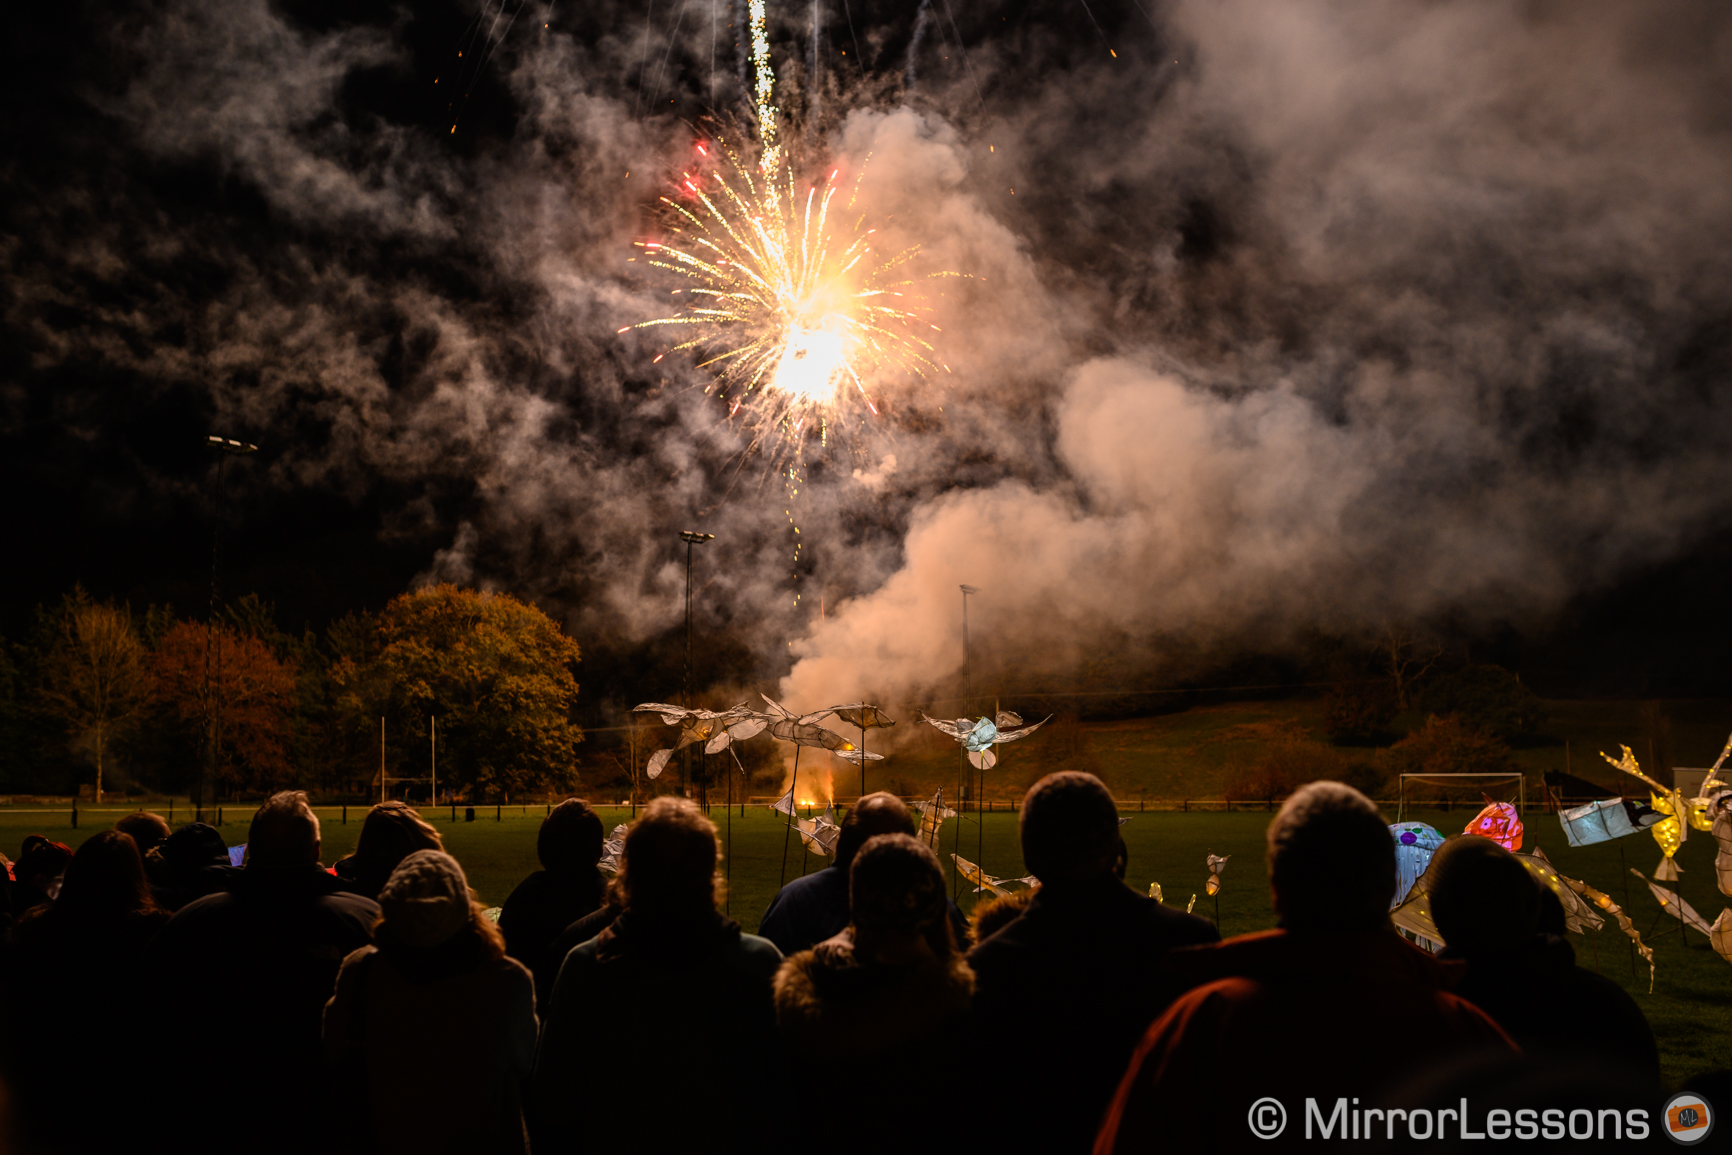
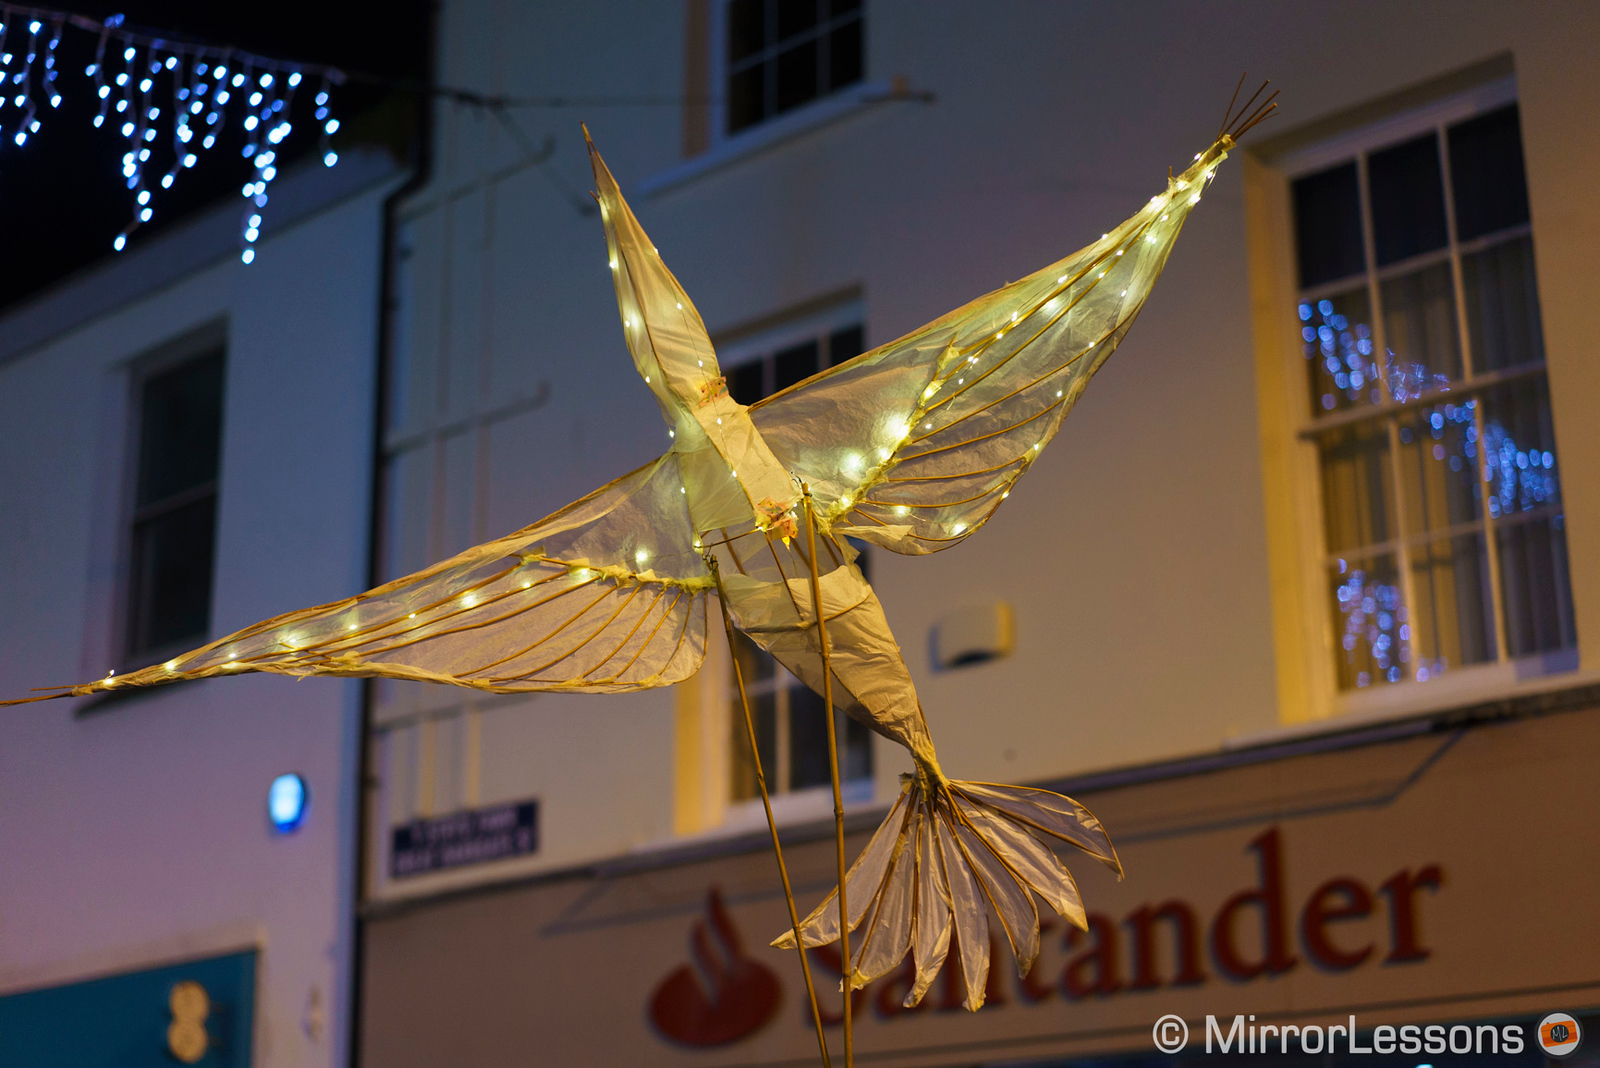
With both cameras I had the chance to photograph a lantern parade on two separate occasions. Recently I used the Z7 with the Sigma 135mm f1.8 Art whose AF motor is not as fast as other zooms I’ve tried but I still got a good keeper rate overall. There were out-of-focus shots in the darker scenes but most of the time the camera never hesitated to focus.

With the A7R III I had the FE 55mm f/1.8 which is a much shorter focal length but here as well I had few problems with it, other than a lack of focus accuracy for a couple of shots.
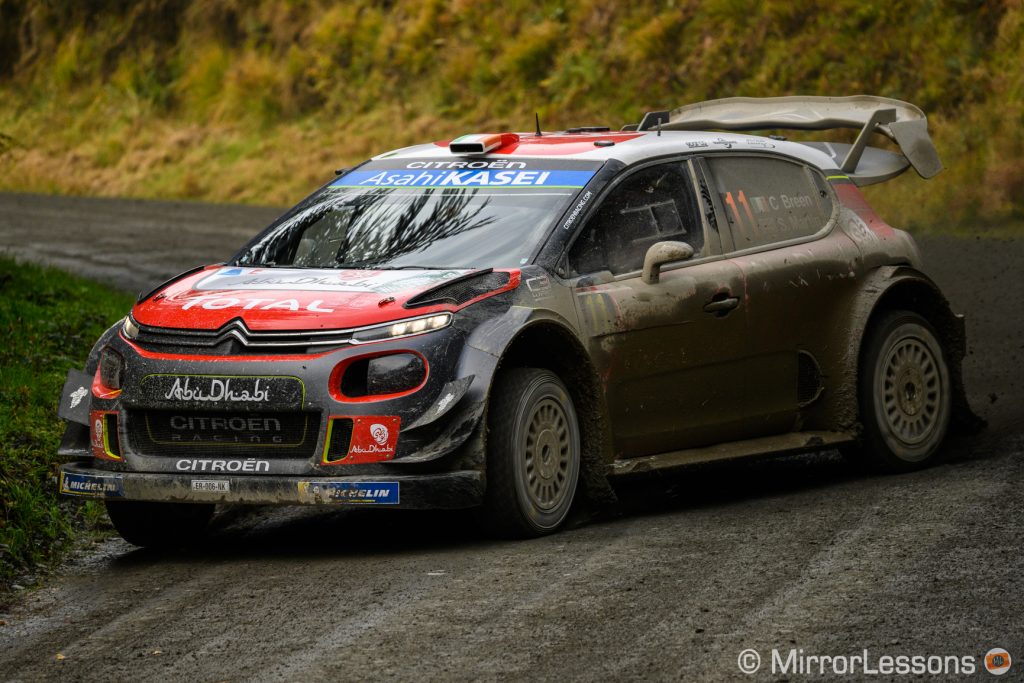
The final experience I can talk about is photographing the WRC Rally GB in Wales using the Z7 and the Sigma 100-400mm Contemporary. Here the performance wasn’t quite as good as the previous examples (66%/91%) perhaps because the lens’ AF motor is slower than the other lenses I’ve tested on the camera. There was some inaccuracy at the beginning and end of many sequences but to be fair it was also my first outing with the camera in a sports environment and I was testing different settings to see which one worked best.
Shutter, continuous shooting and buffer
The shutter mechanism of the Z7 is quieter and more discreet than that of the A7R III.
Both cameras can take photos at a maximum speed of 1/8000s and a minimum of 30s before the Bulb mode. The Z7 has an extra option called Time which unlike Bulb, allows you to press once to start the exposure and a second time to end it so that you don’t have to keep your finger pressed down on the shutter button. If you combine this with the self-timer release and touch shutter on the LCD screen, there is little chance of causing vibrations.
Both models offer an electronic shutter option with a silent mode but it doesn’t give you access to faster shutter speeds or bursts. Also keep in mind that fast movements can create distortion and as you can see below, the A7R III suffers slightly more when panning quickly.

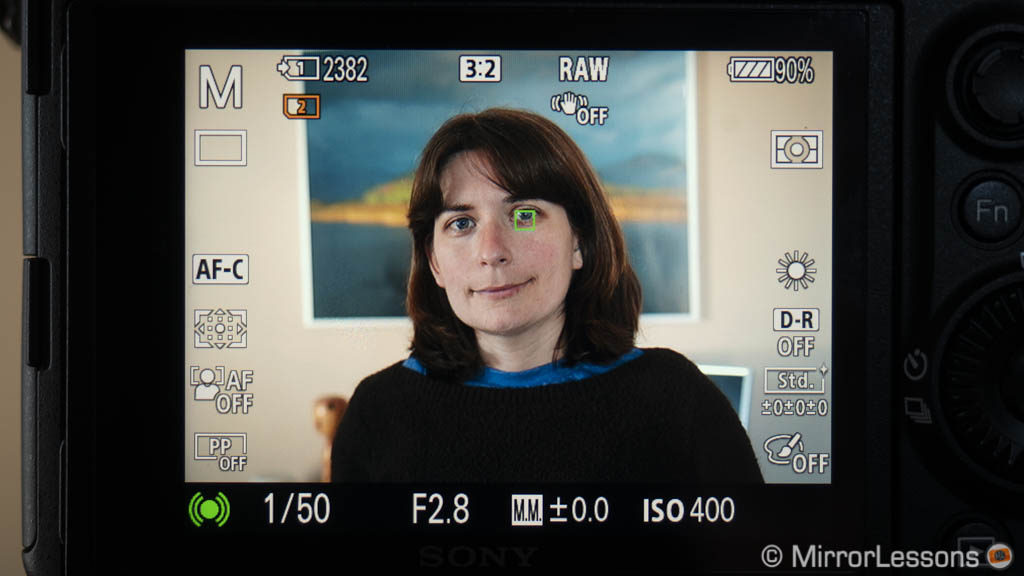
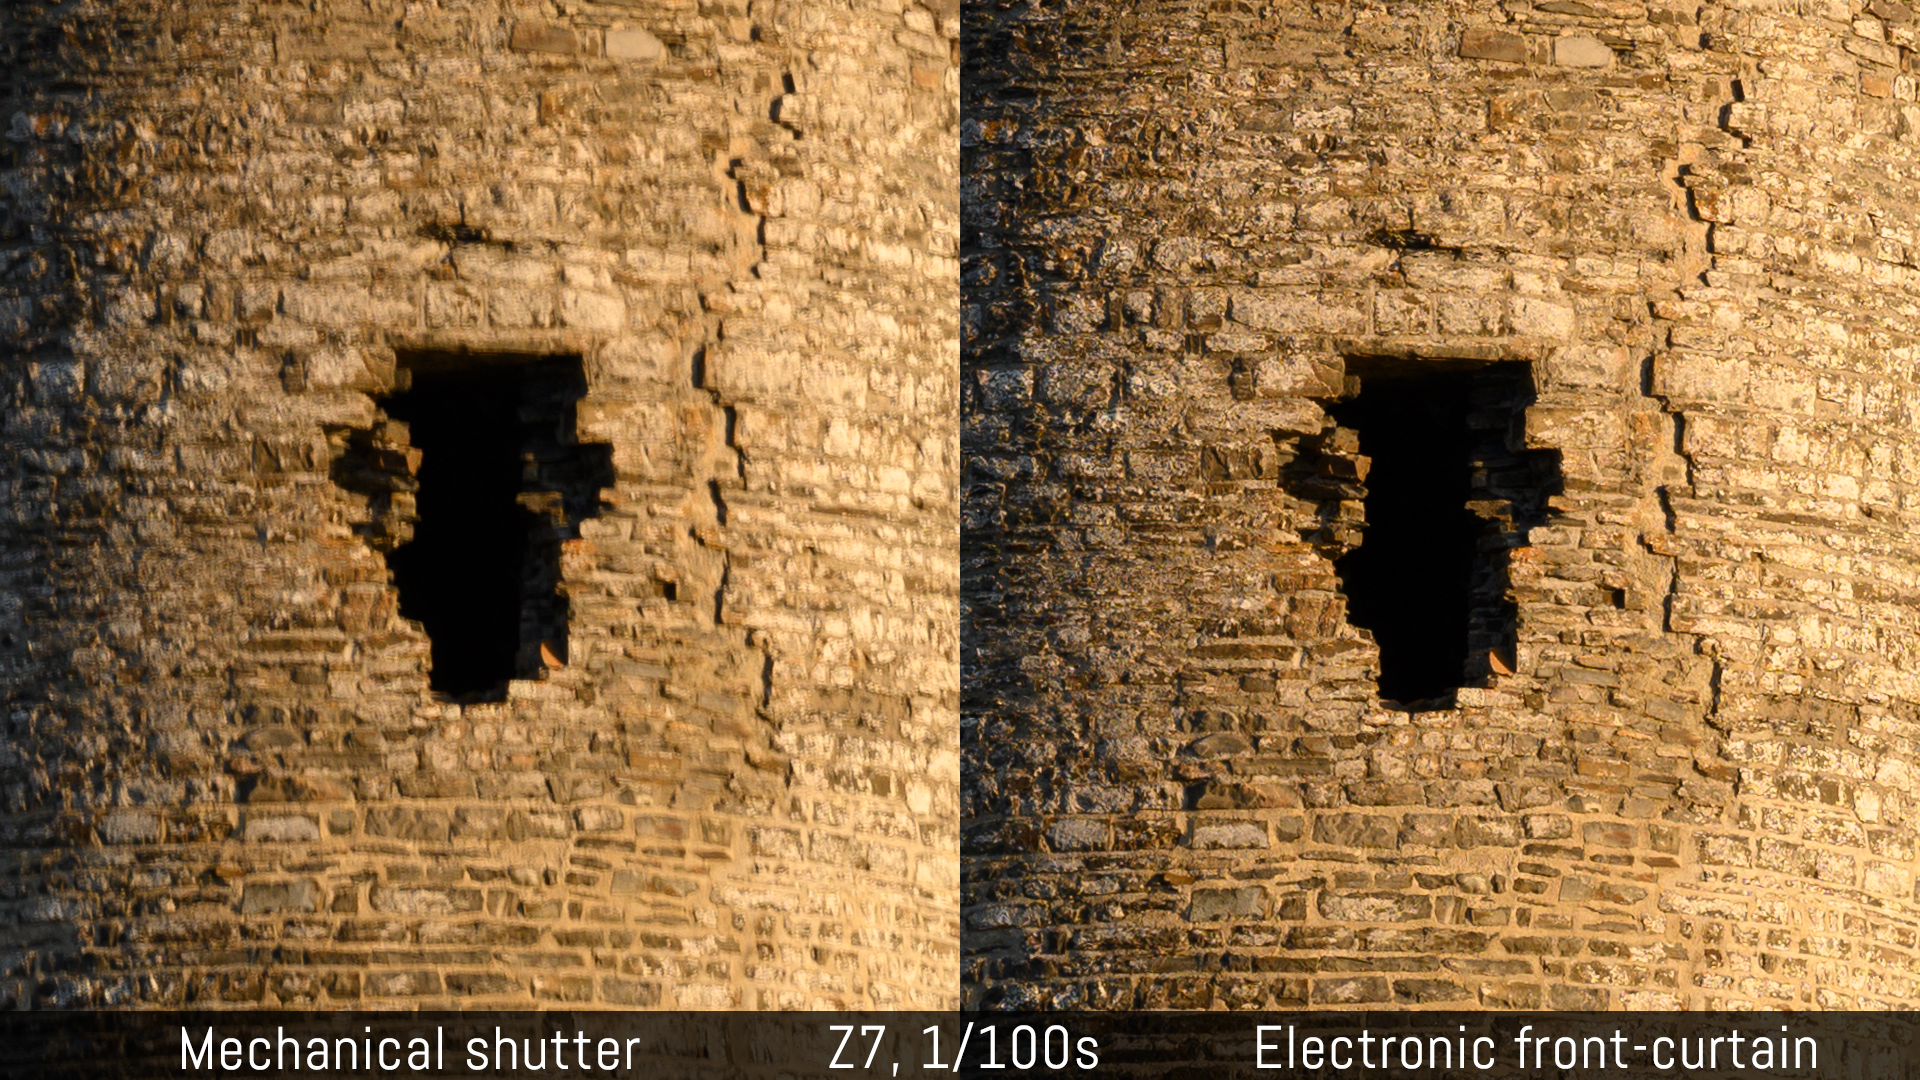
There is an electronic first curtain option, which is usually interesting when taking shots hand-held at slow shutter speeds to reduce motion blur. In the case of the Z7 though, I recommend keeping this setting on at all times when shooting between 1/40s and 1/400s because with the full mechanical shutter, the camera suffers from severe shutter shock. Below is an example taken at 1/50s.

Note that Nikon has implemented an automatic option that chooses the shutter type for you according to the shutter speed used (firmware 2.0). I hope that the engineers have program this to overcome this issue. On the other hand, the A7R III doesn’t suffer from shutter shock at all.
The Z7 can record at a maximum of 9fps (Continuous High Extended). Continuous AF and Exposure are available but the camera gives priority to maintaining a high frame rate so it isn’t the most reliable setting when tracking a subject. The Continuous High mode works at 5.5fps whereas with the Continuous Low mode you can choose between 1 and 5fps. Note that if you shoot at 14-bit RAW, the maximum speed becomes 8fps and 5fps respectively, whereas with the electronic shutter the speed deceases to 8fps and 4fps (12-bit), or 6.5fps and 3.5fps (14-bit).
The A7R III does better also thanks to its LSI chip on the sensor that improves the processing speed: not only does it offer a maximum speed of 10fps with AE/AF Tracking, but you can also select slower speeds at 8fps, 5fps and 3fps which is a bit more balanced than what the Z7 offers (the difference between the Low and High modes is a mere 0.5fps on the Nikon). The speed remains the same when using the electronic shutter or shooting in uncompressed RAW. Bit depth decreases to 12-bit in burst mode when the compressed RAW option is selected, when using noise reduction for long exposures or when using the Bulb mode.
Up to 8fps, the A7R III shows live view (with blackouts) in the EVF or LCD screen, whereas at 10fps it shows the last image taken. The Z7 offers live view up to 5.5fps. For the faster speeds, there is a setting on the Nikon camera that lets you decide to show the first or last image of a burst. You can also make the screen go black during burst shooting.
Both cameras have a flicker reduction mode that works with the mechanical shutter and reduces flickering and banding under fluorescent or mercury-vapor lighting.
Finally, when it comes to the buffer, the Z7’s performance is much worse despite the faster XQD card. At 9fps with 12-bit RAW, it slows down to around 4fps after not even a 3-second burst. With JPG Fine, the performance remains similar but it allows for a slightly faster speed of 5fps.
The A7R III can shoot at the fastest speed of 10fps for more than 10 seconds before slowing down to 3fps (Compressed RAW and JPG Fine). At 8fps, the Sony can shoot for approximately 20s before slowing down.

This article continues on page 4.
Check the price of the Nikon Z7 on:
Amazon | Amazon UK | B&H Photo | eBay
Check price of the Sony A7R III on: