You are now on page 2. Here you can find an in-depth analysis of image quality:
- Page 1: design and functionality
- You are on page 2: image quality (stills)
- Page 3: autofocus and speed
- Page 4: image stabilisation, video, other features and conclusion
Table of contents – Page 2
1. Image quality: resolution and sharpness
2. Image quality: dynamic range and flare
3. ISO Performance
4. Colour profiles, white balance and other settings
Image quality: resolution and sharpness
The Nikon Z7 and Sony A7R III share similar sensor specifications: they house a 35mm format (full-frame) chip with a BSI (Backside Illuminated) design, which allows for more light gathering than a conventional structure.
The effective resolution is similar but not identical: the Z7 has 45.7MP whereas the A7R III has 42.4MP but it’s safe to label this 3.3MP difference as irrelevant. Both cameras lack an anti-aliasing filter to maximise sharpness.
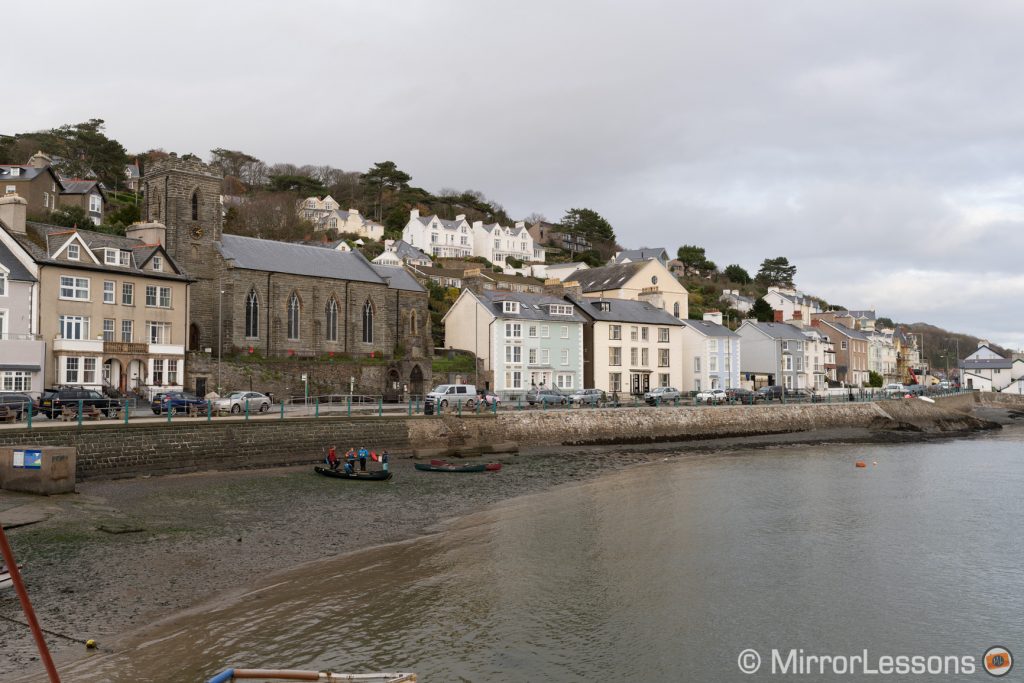
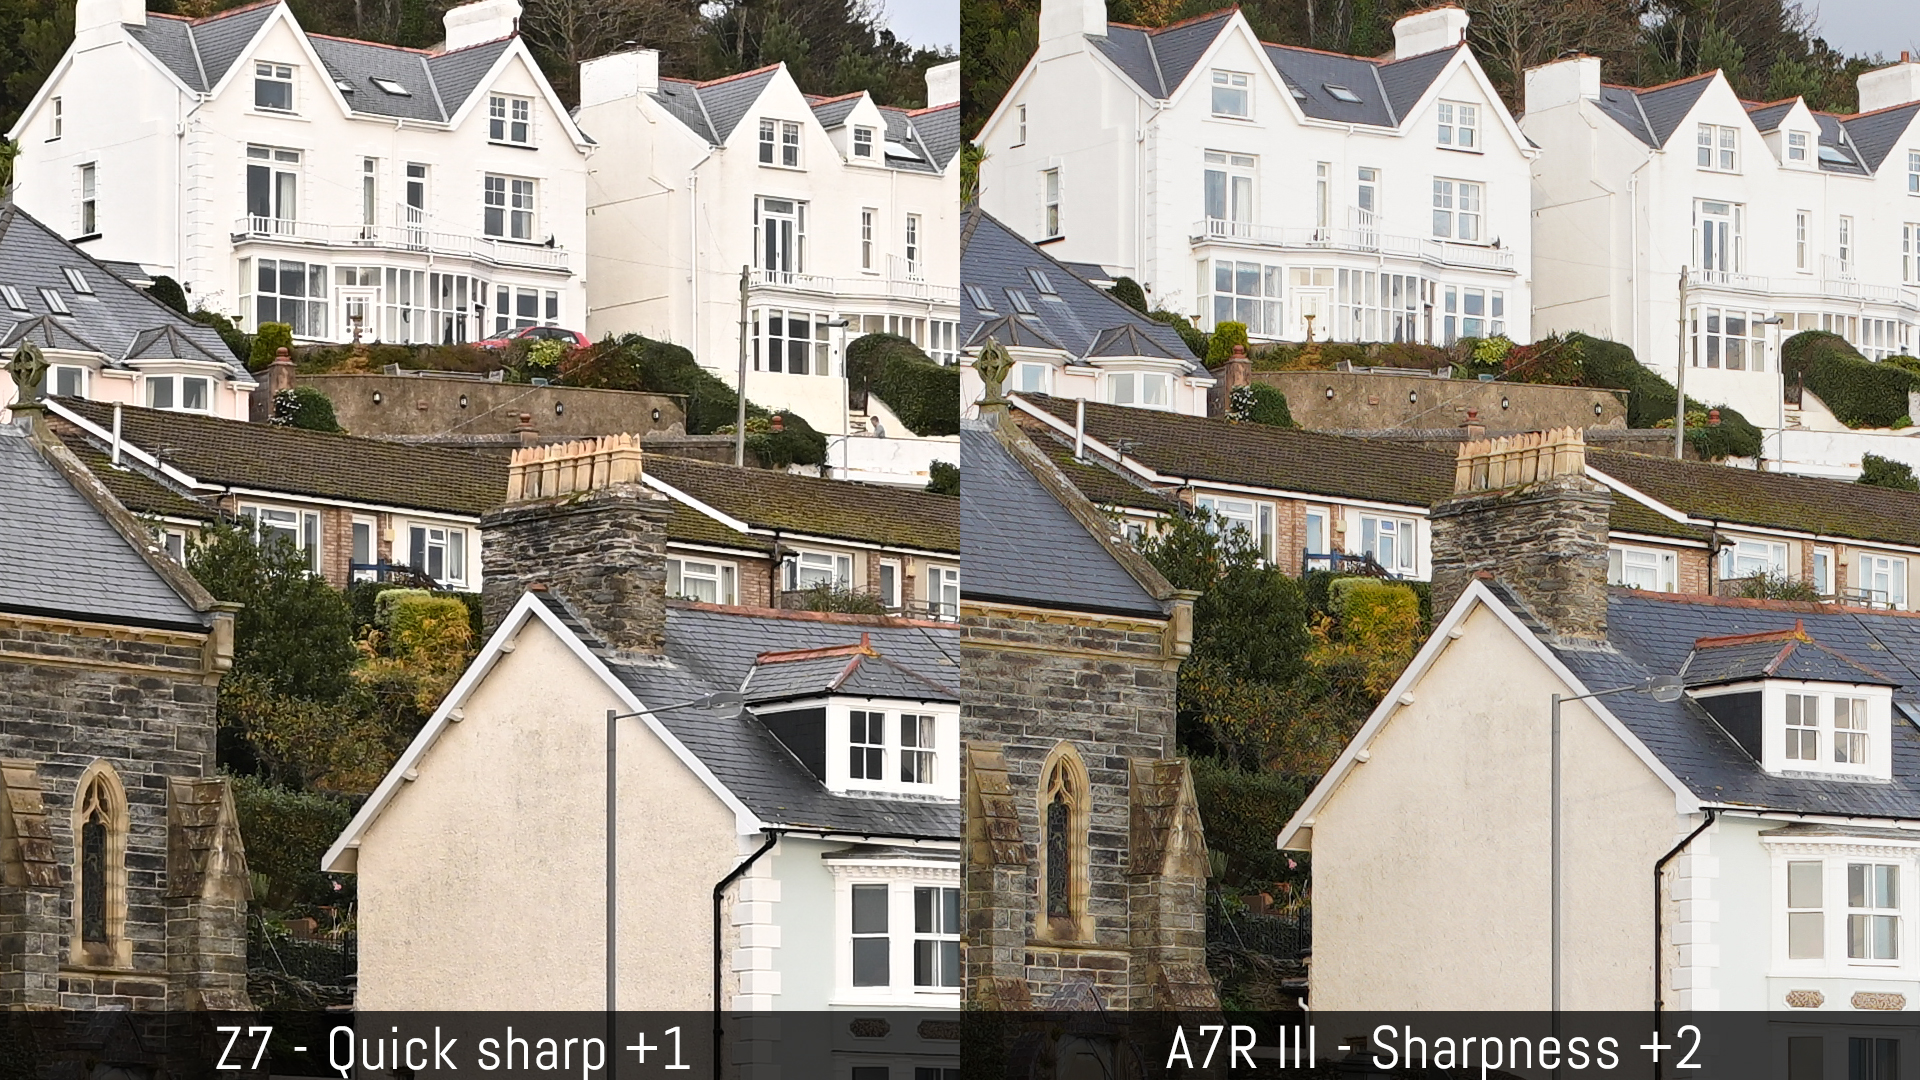
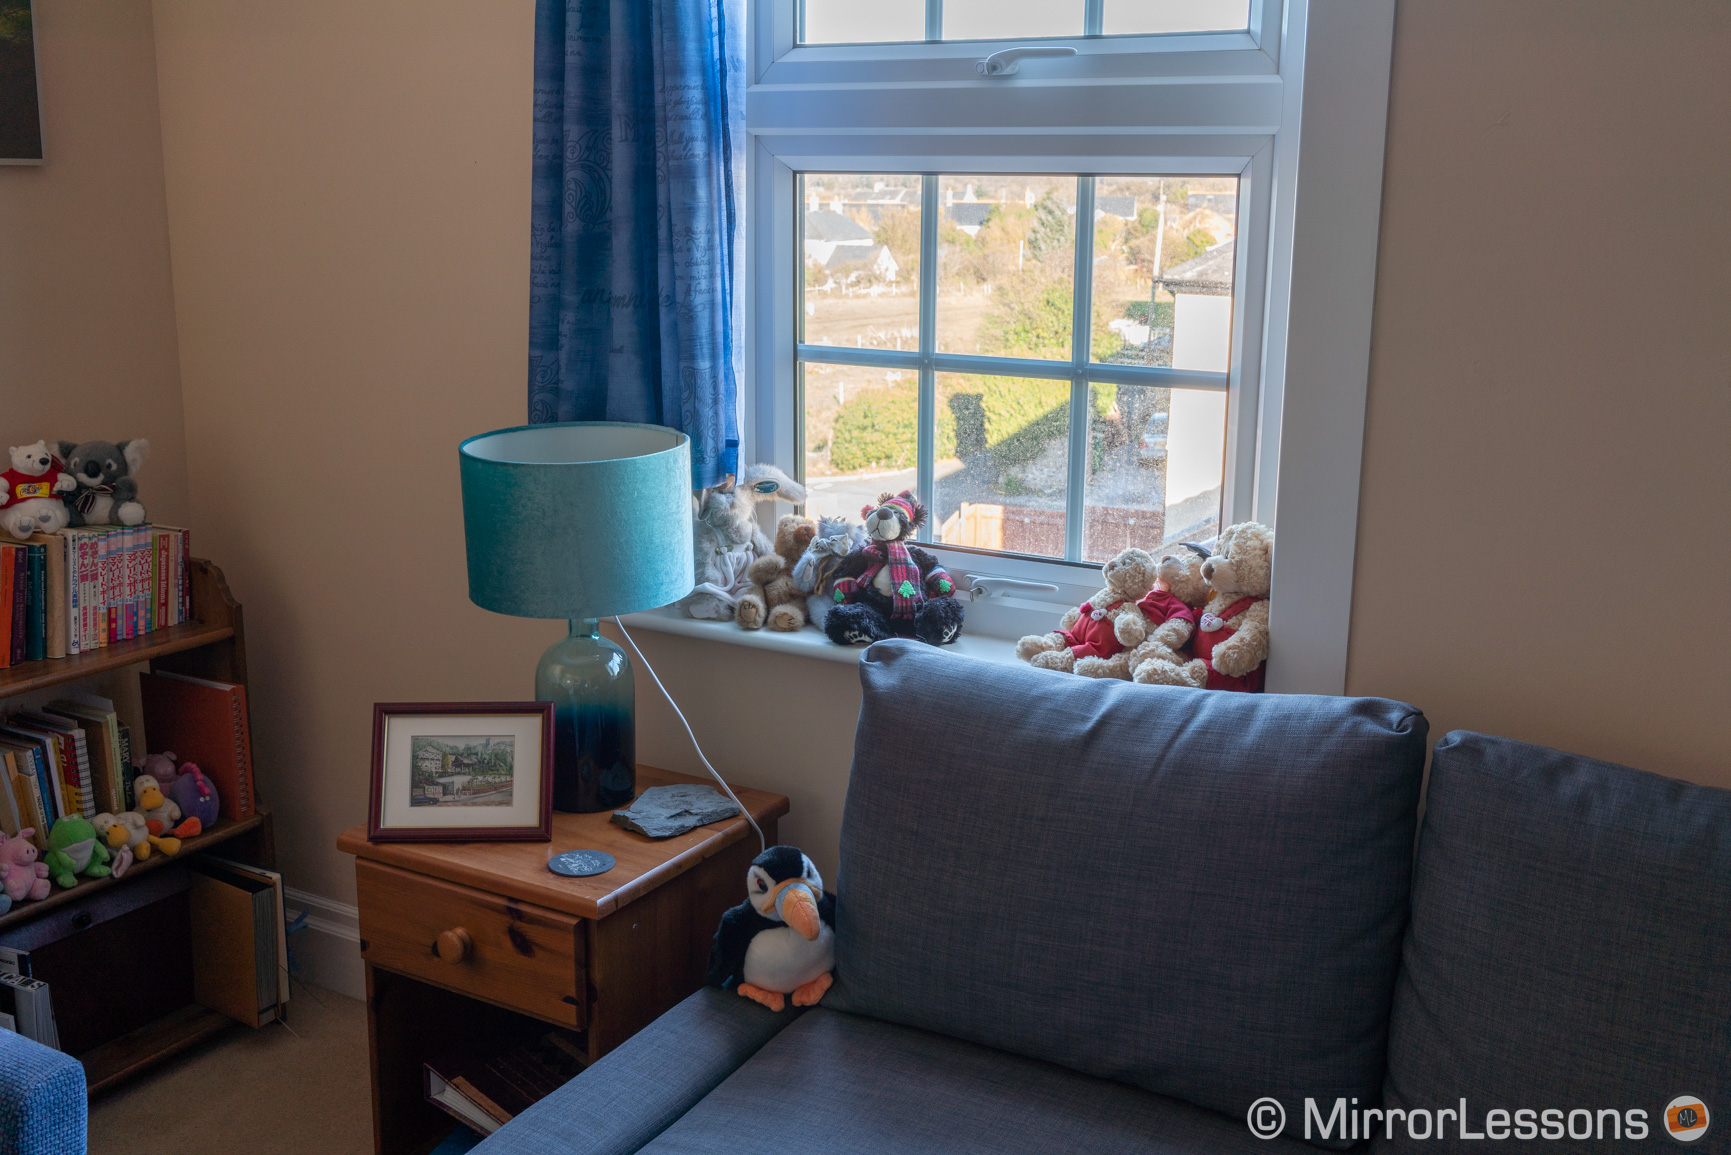
Speaking of sharpness, let’s see how the two cameras perform when it comes to detail rendering. I used the same lens, the Sigma 35mm f/1.4 Art set to f/5.6. The Sony file required a little more tweaking in the Lightroom Detail panel to match the Z7.
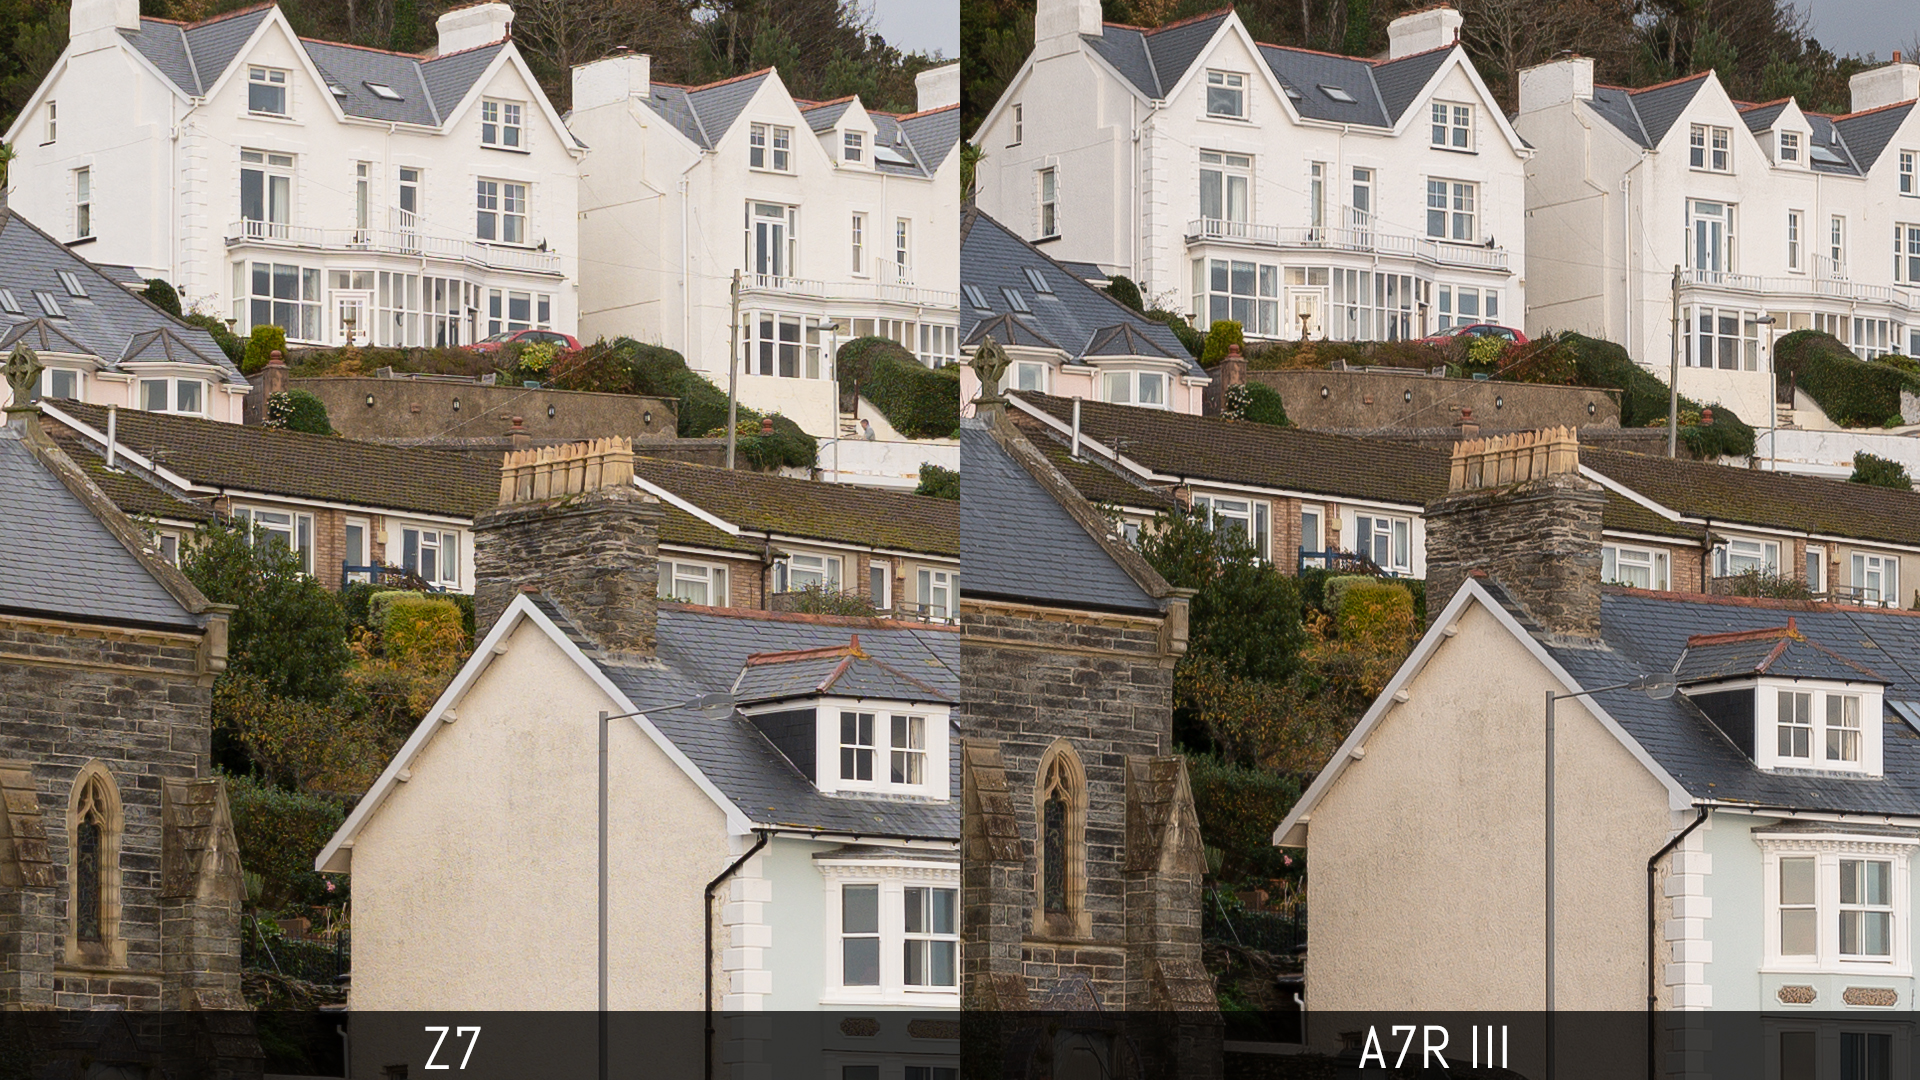
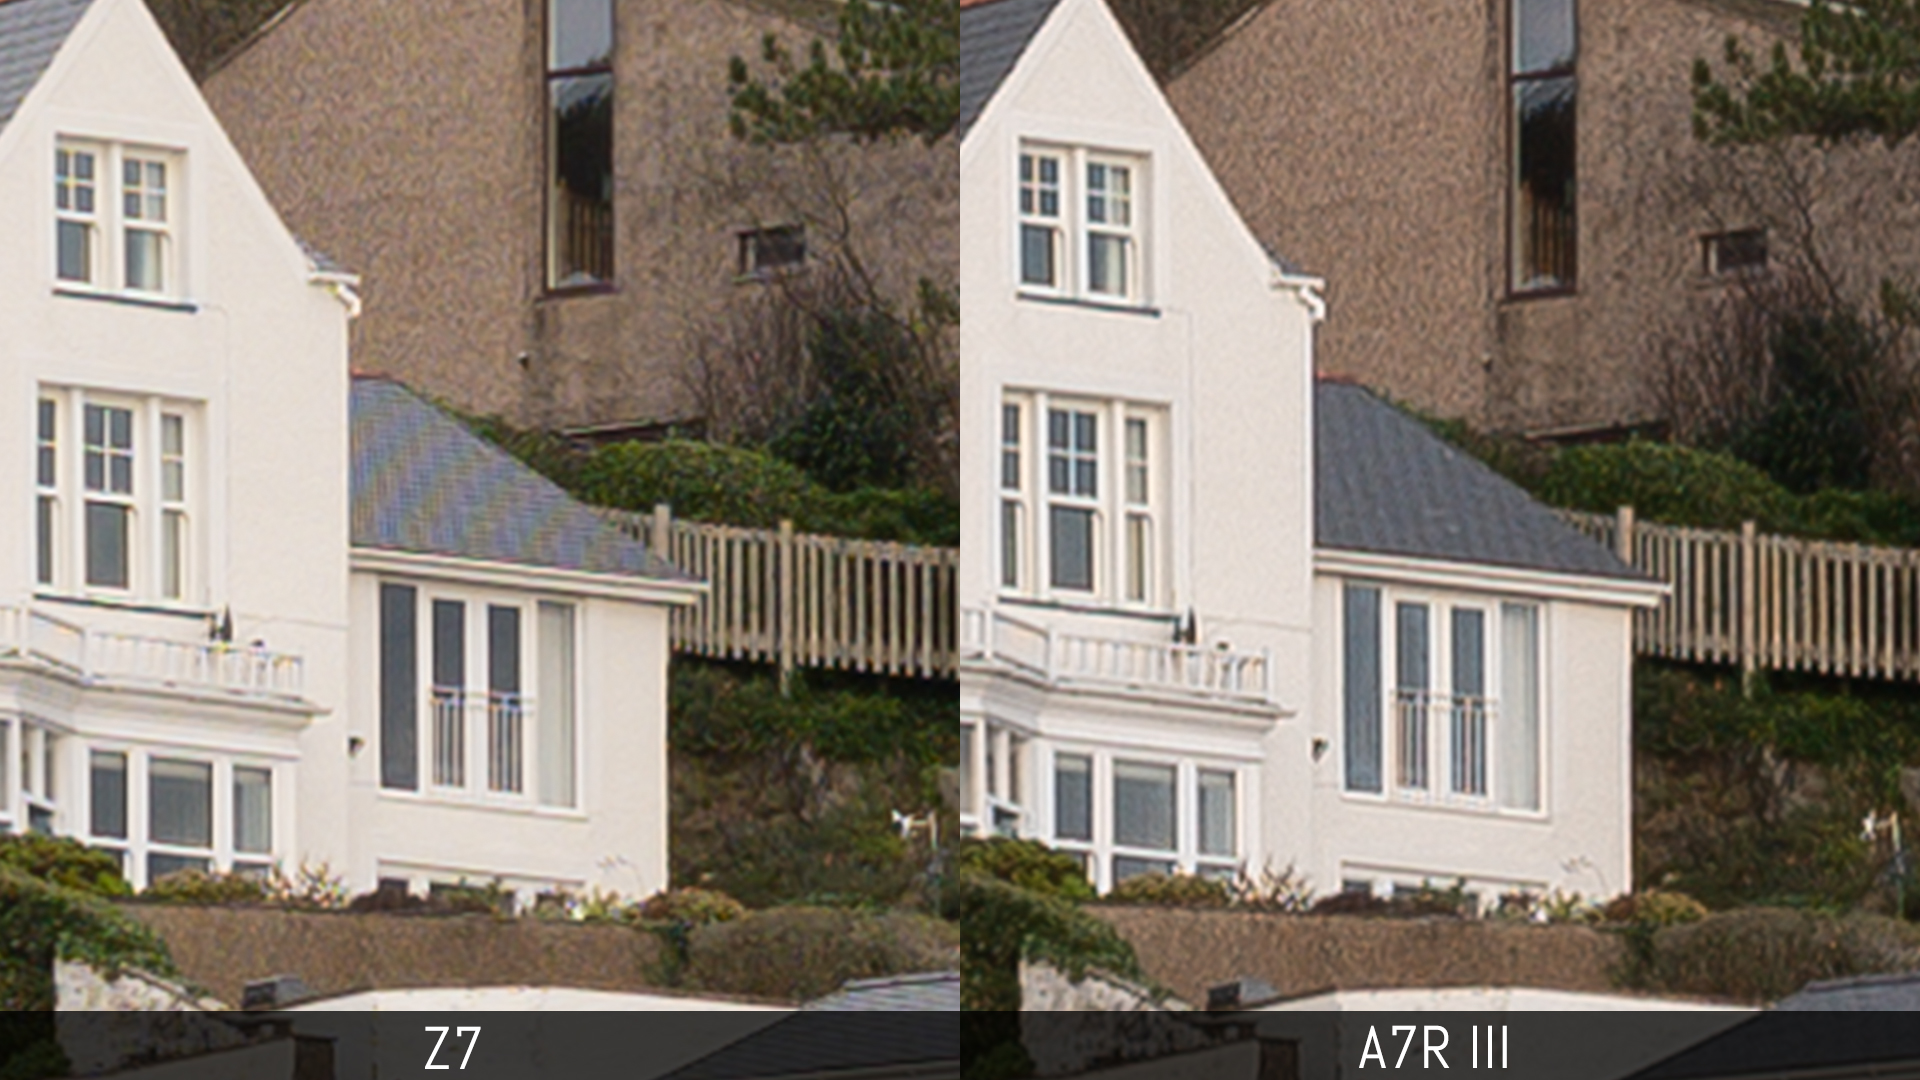
However the Nikon can display moiré more easily than the A7R III but the brush tool in Lightroom is usually enough to get rid of it.
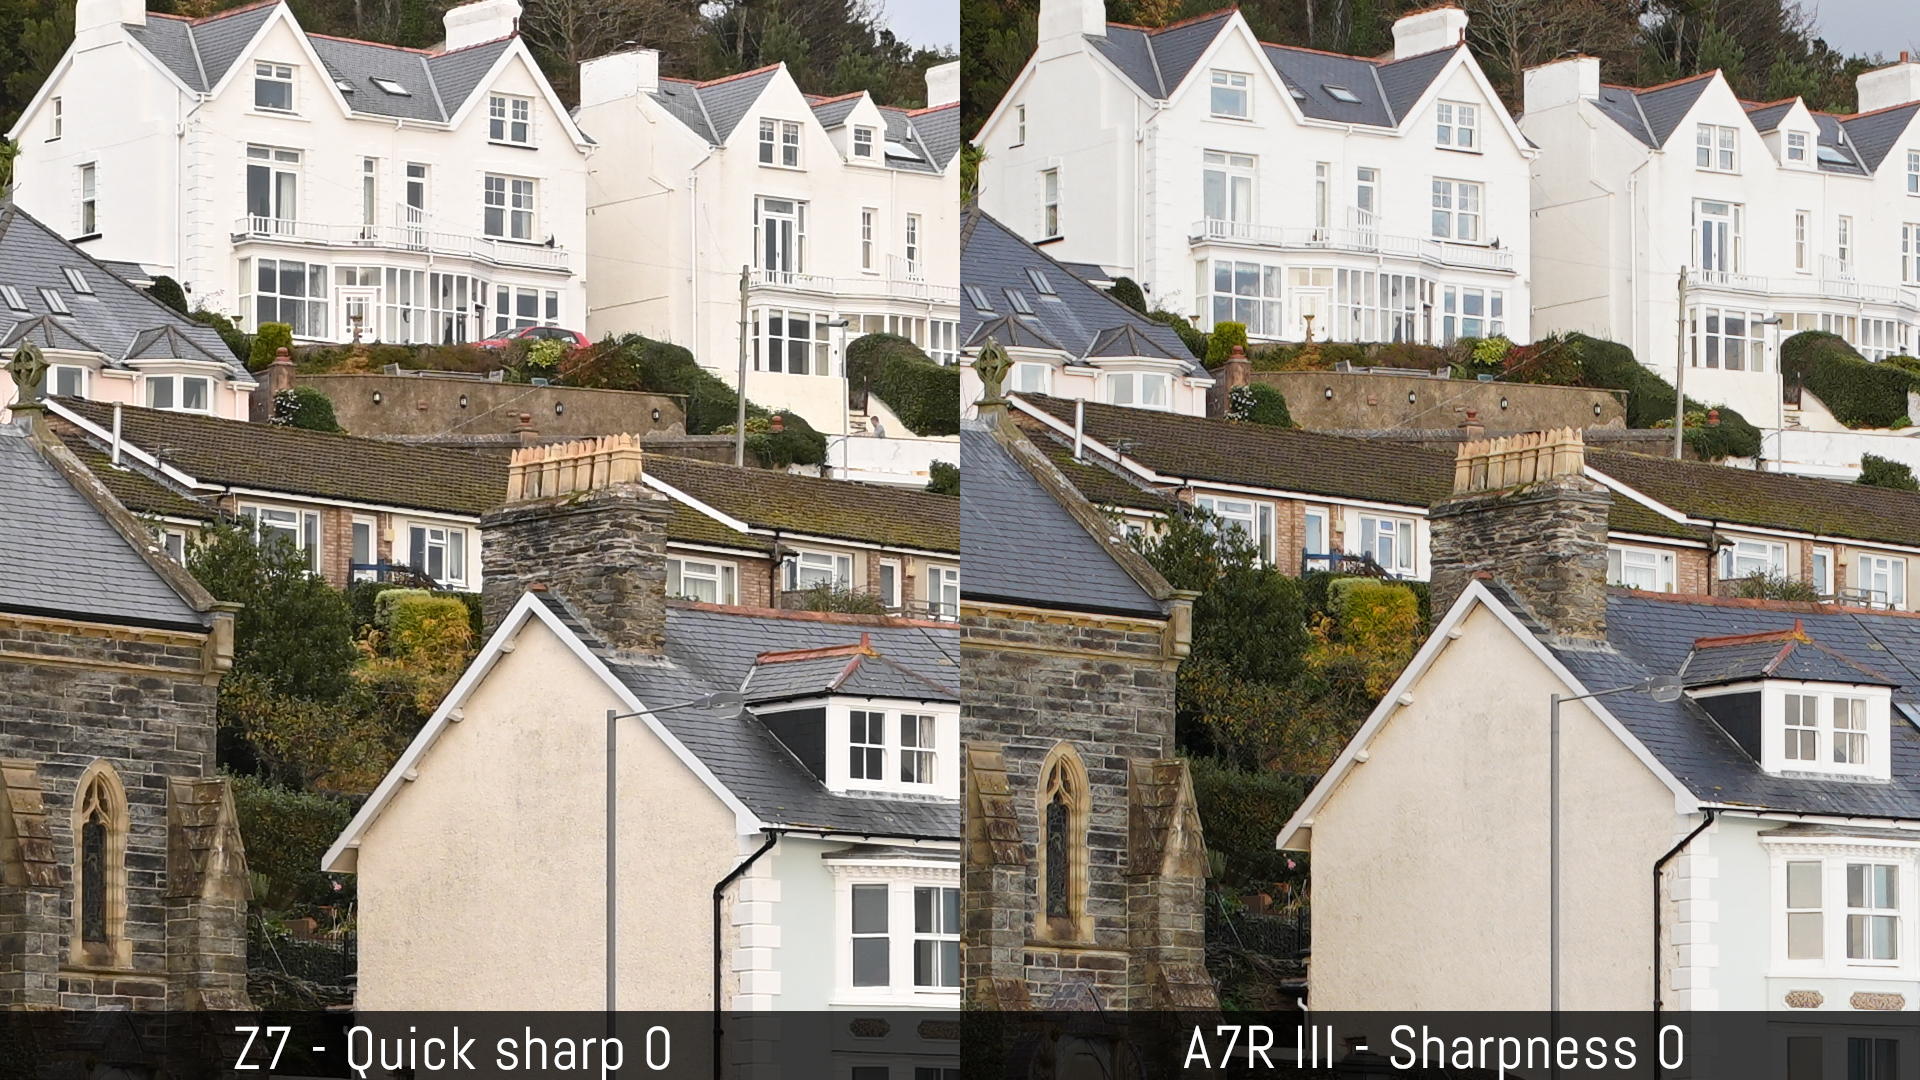
The Z7 offers more advanced settings for the SOOC (straight-out-of-camera) JPGs. There are three parameters to adjust: sharpening (-3 to +9), mid-range sharpening (±5) and clarity (±5). There is also a Quick Sharp tool that works at ±2 and automatically adjusts the three other settings. The A7R III by comparison has a simple sharpness slider (±3).
Both cameras produce good JPG files with the factory settings (in this case using the Standard profile on both). If we try to increase sharpness, we can see that the Nikon image has more contrast than the A7R III file. There is no trace of moiré which means that both models do a good job of eliminating it with their respective image processors.
The A7R III has an extra feature that can further improve the quality. In addition to providing in-body stabilisation (which we talk about on page 3), the camera can use its sensor shift mechanism to increase colour resolution. This mode is called Pixel Shift Multi Shoot.
When activated, the camera takes four consecutive images and moves the sensor by half a pixel between each shot. This means that each point in the scene is captured by four different pixels. When the four images are merged together, you get a file with more colour resolution than the standard shooting mode because each point on the image have been captured by one green, blue and red pixel as opposed to a single pixel with a single RGB channel.
With other systems, this mode also increases the resolution output but in this case, it remains the same 42.4MP. The A7R III can’t composite the four images directly. You need to open them in the free-to-download Sony Imaging Edge suite. Because the final photo is created with four different frames, and the camera takes at least 0.5s to move the sensor between shots, this mode won’t work well with moving subjects or if the camera is not on a tripod. But for still life, architecture or anything that doesn’t feature movements, it can be an interesting feature if you want the best output possible.
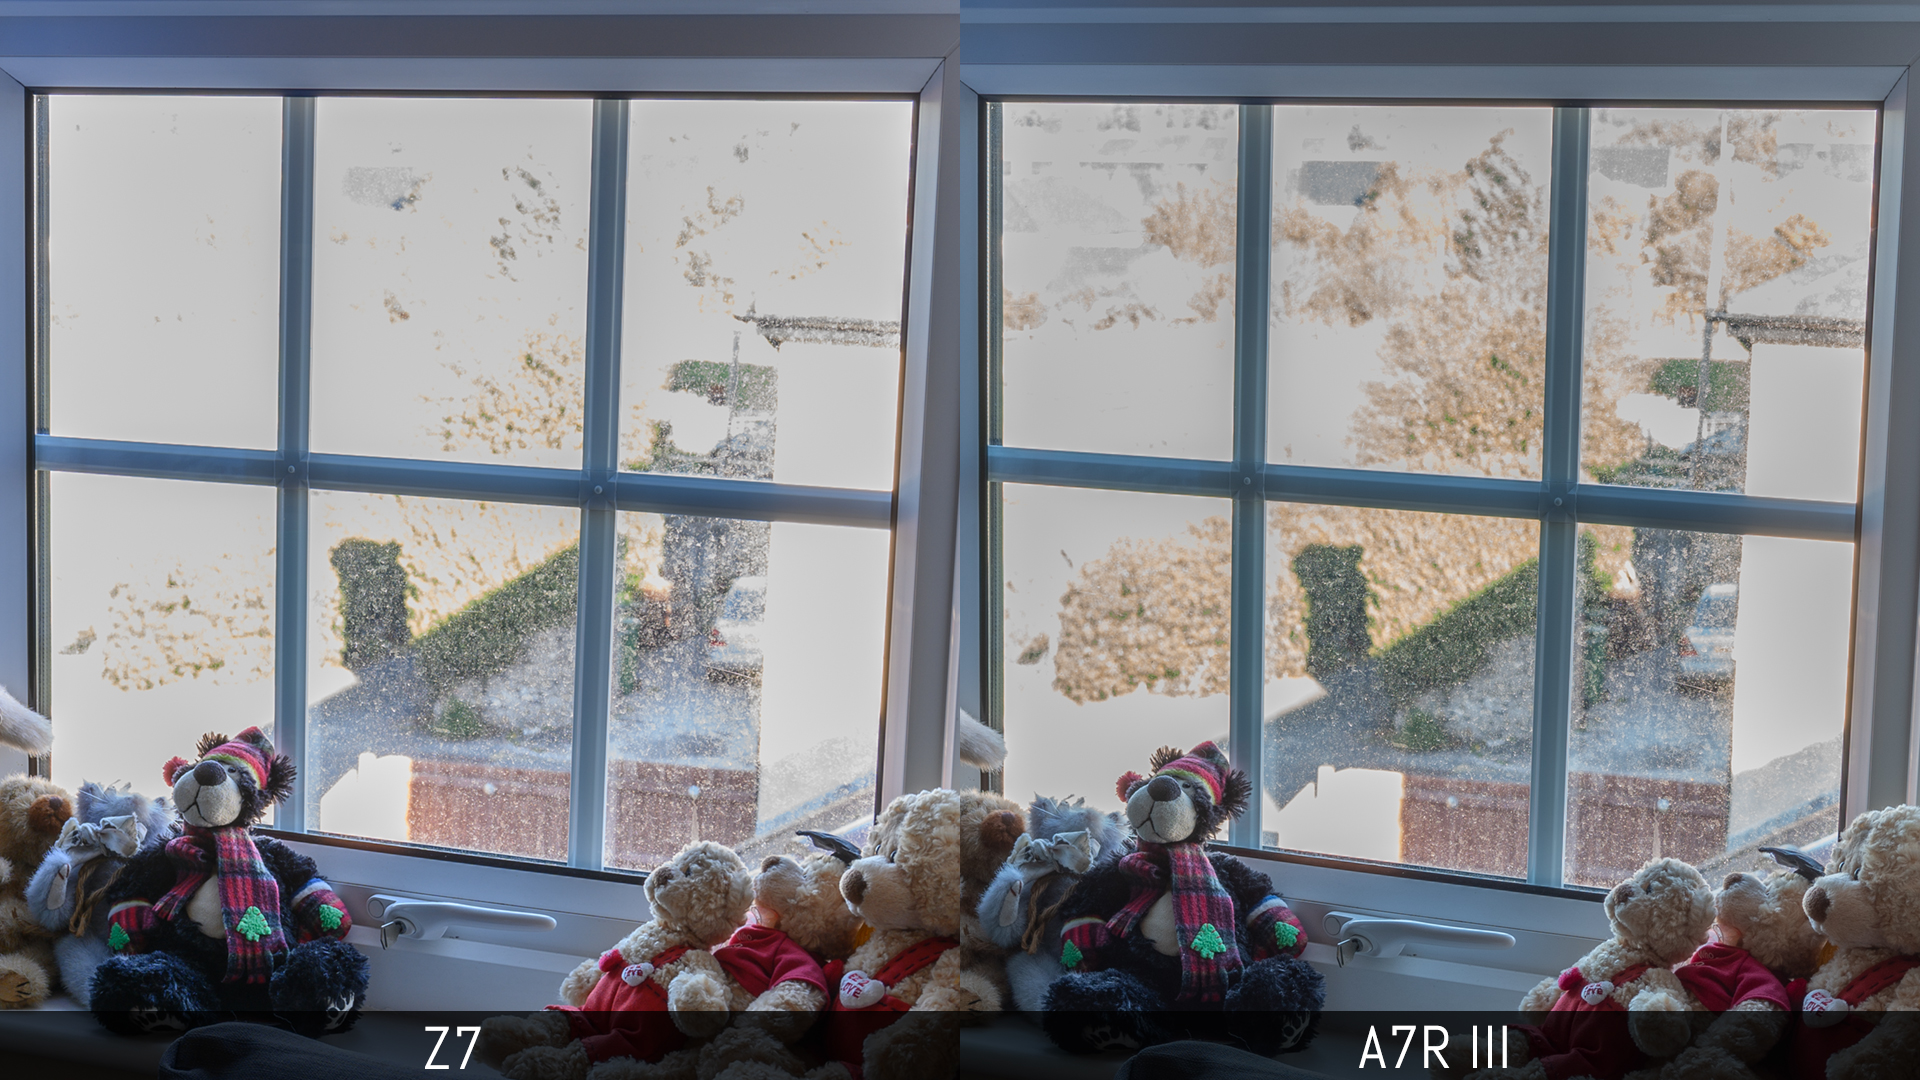
Below you can see an example of how this mode compares to the normal shot and a single shot taken by the Z7. Notice how the red pattern on the doll’s vest is sharper and lacks moiré in the Pixel Shift image.
Image quality: dynamic range and flare
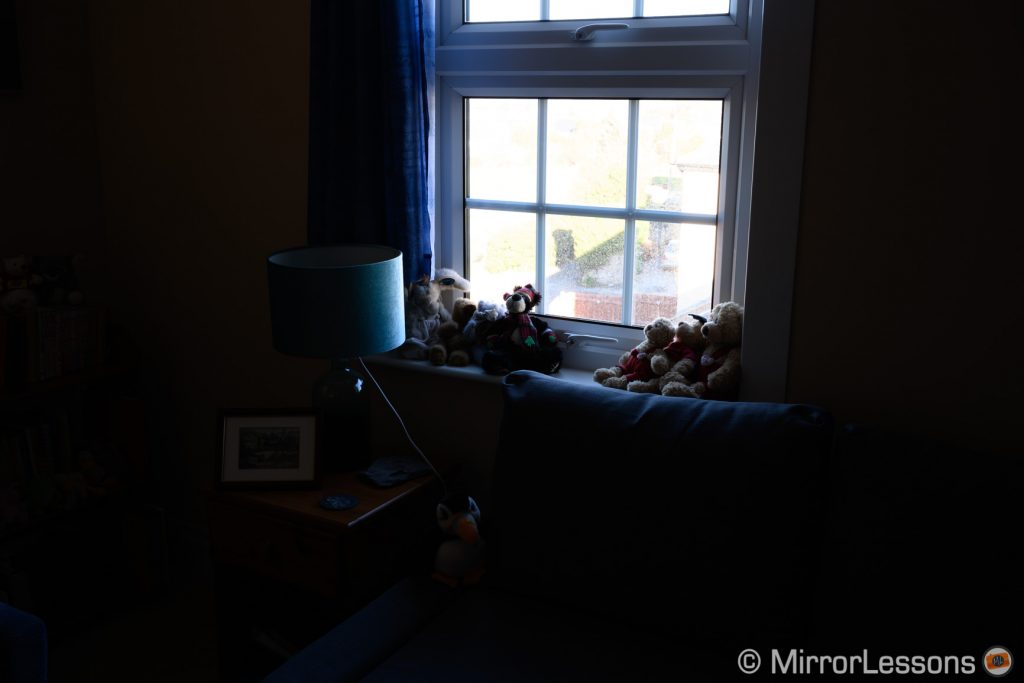
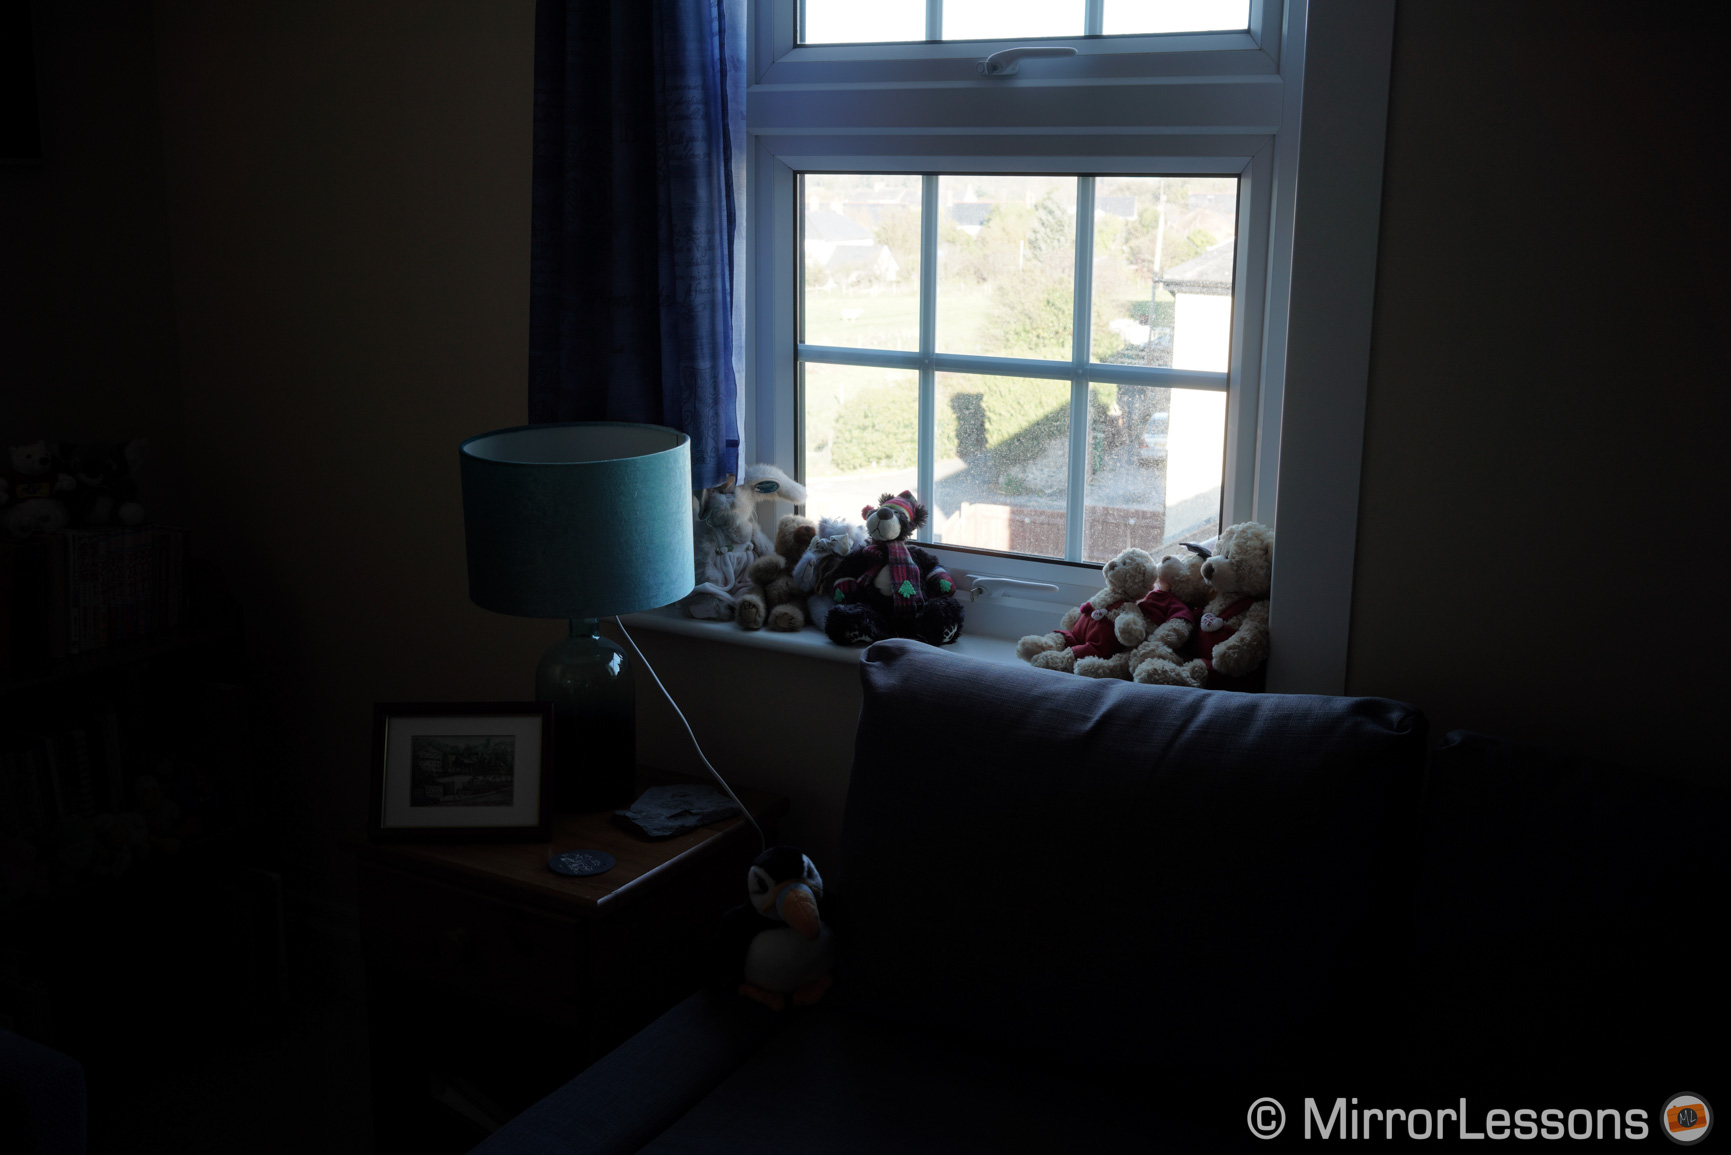
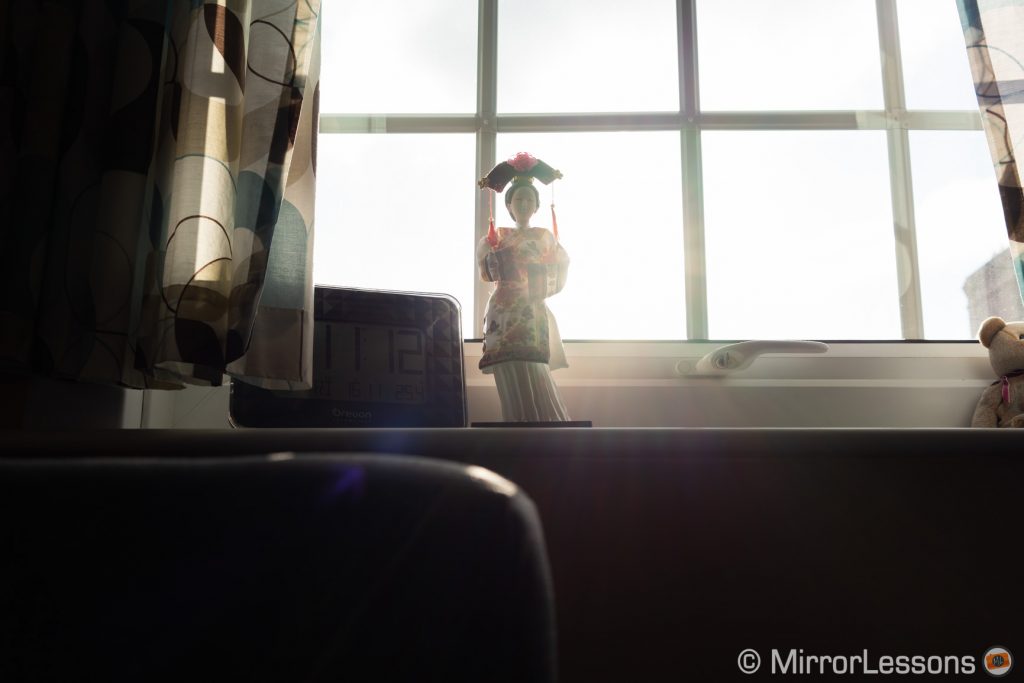
The A7R III houses one of the best full-frame sensors on the market while the Z7 inherits an updated version of the excellent chip found inside the Nikon D850. Let’s see how they compare when it comes to shadow and highlight recovery.
Note that the normal base ISO is different: the Z7 starts from 64 whereas the A7R III starts from ISO 100, which is 2/3 Ev higher. I’ve compensated accordingly with the shutter speed to maintain the same exposure brightness on both cameras.
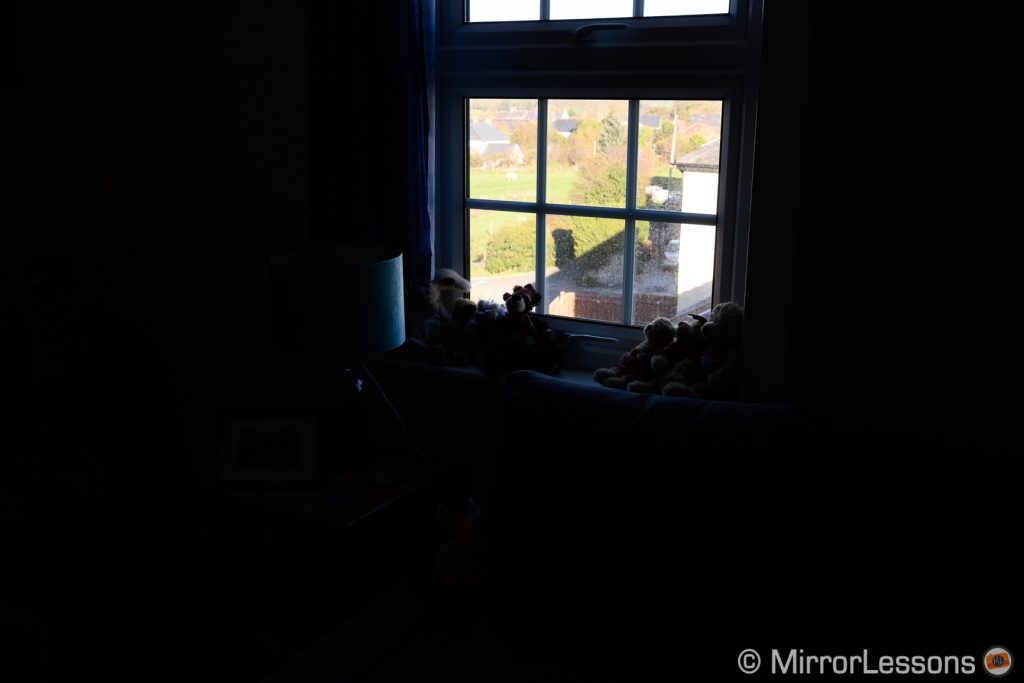
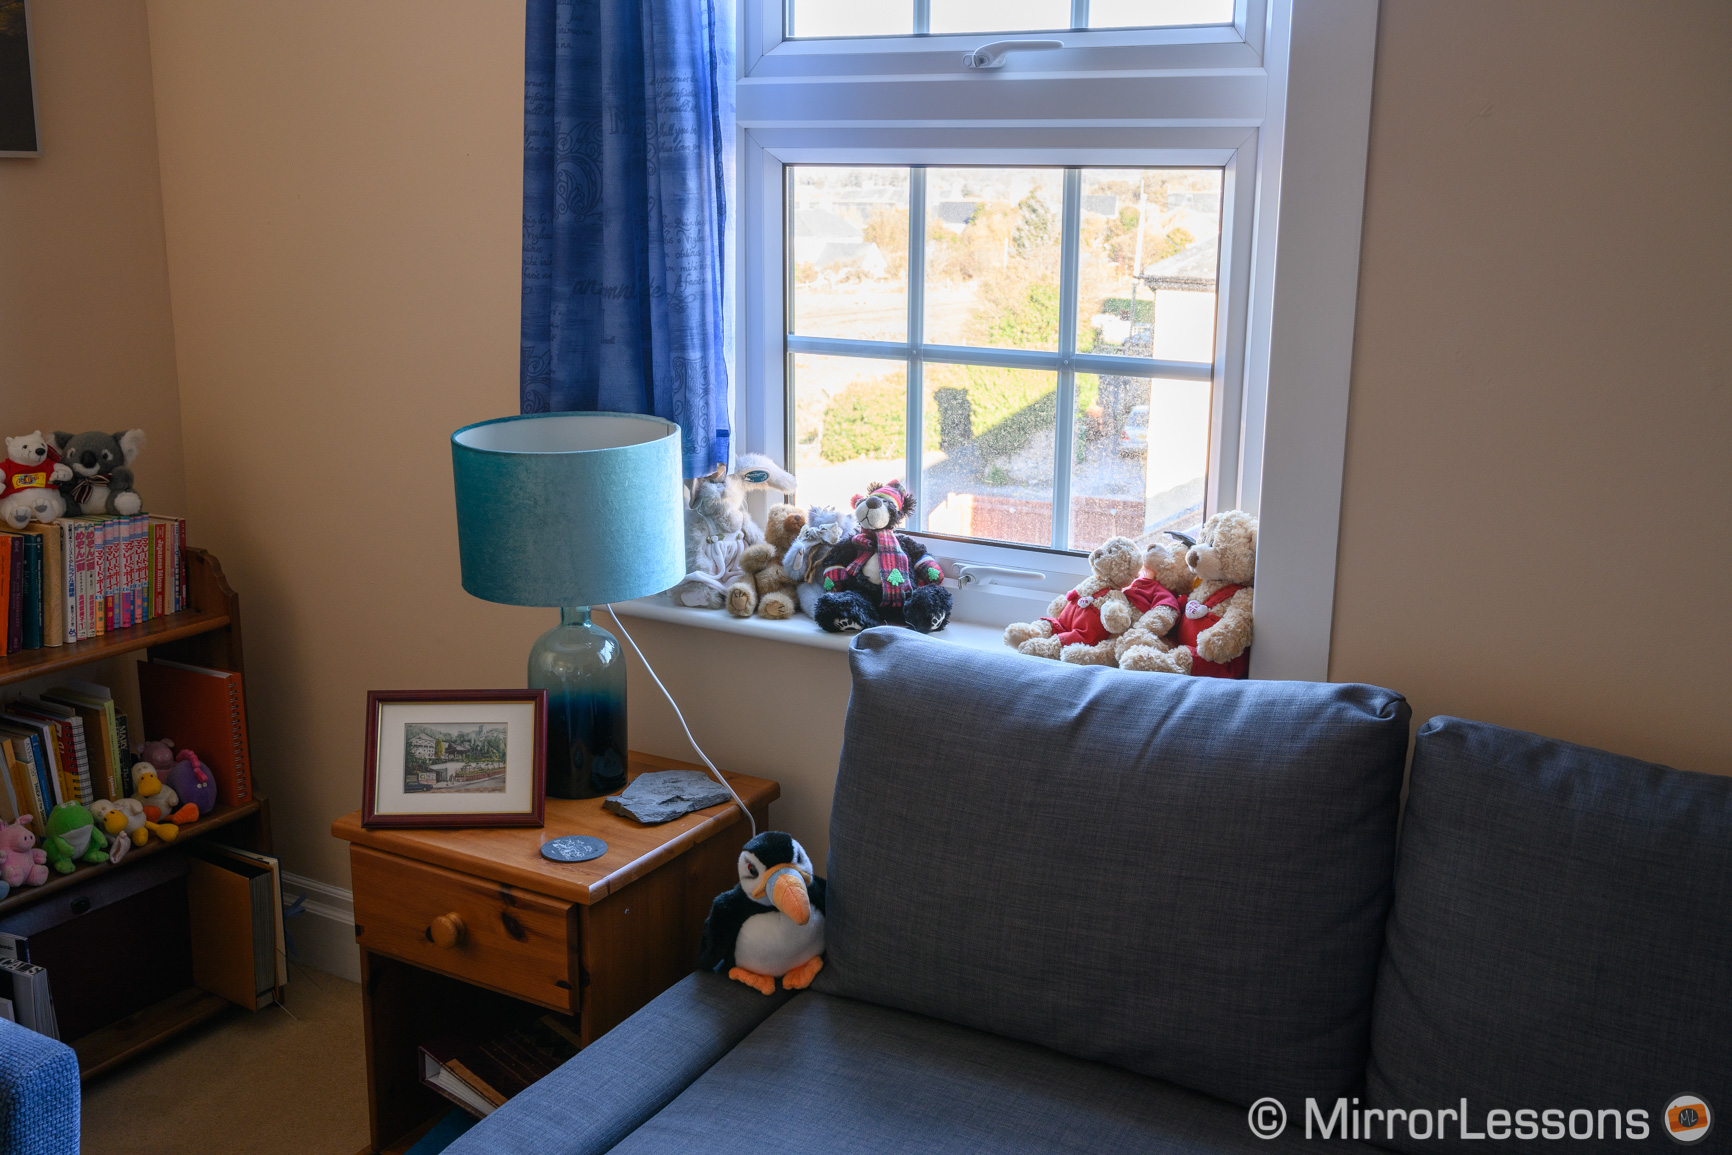
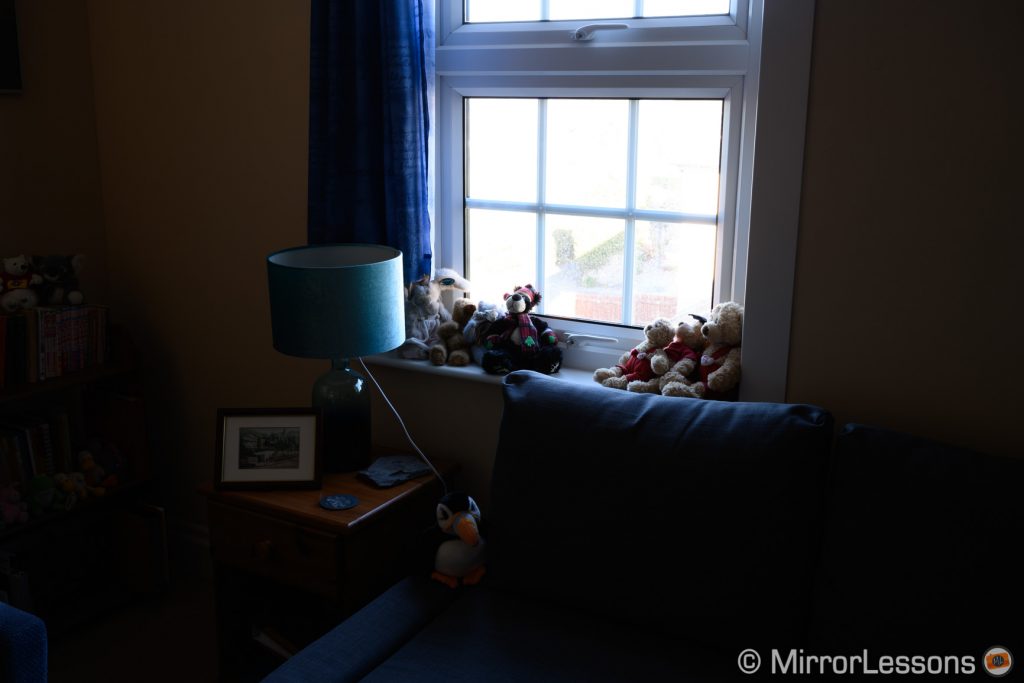
Our first example is extreme with 5 stops recovery from a very underexposed scene. Hopefully you’ll never need to recover that much but if you happen to really mess up the exposure, this is what you can recover with both cameras.
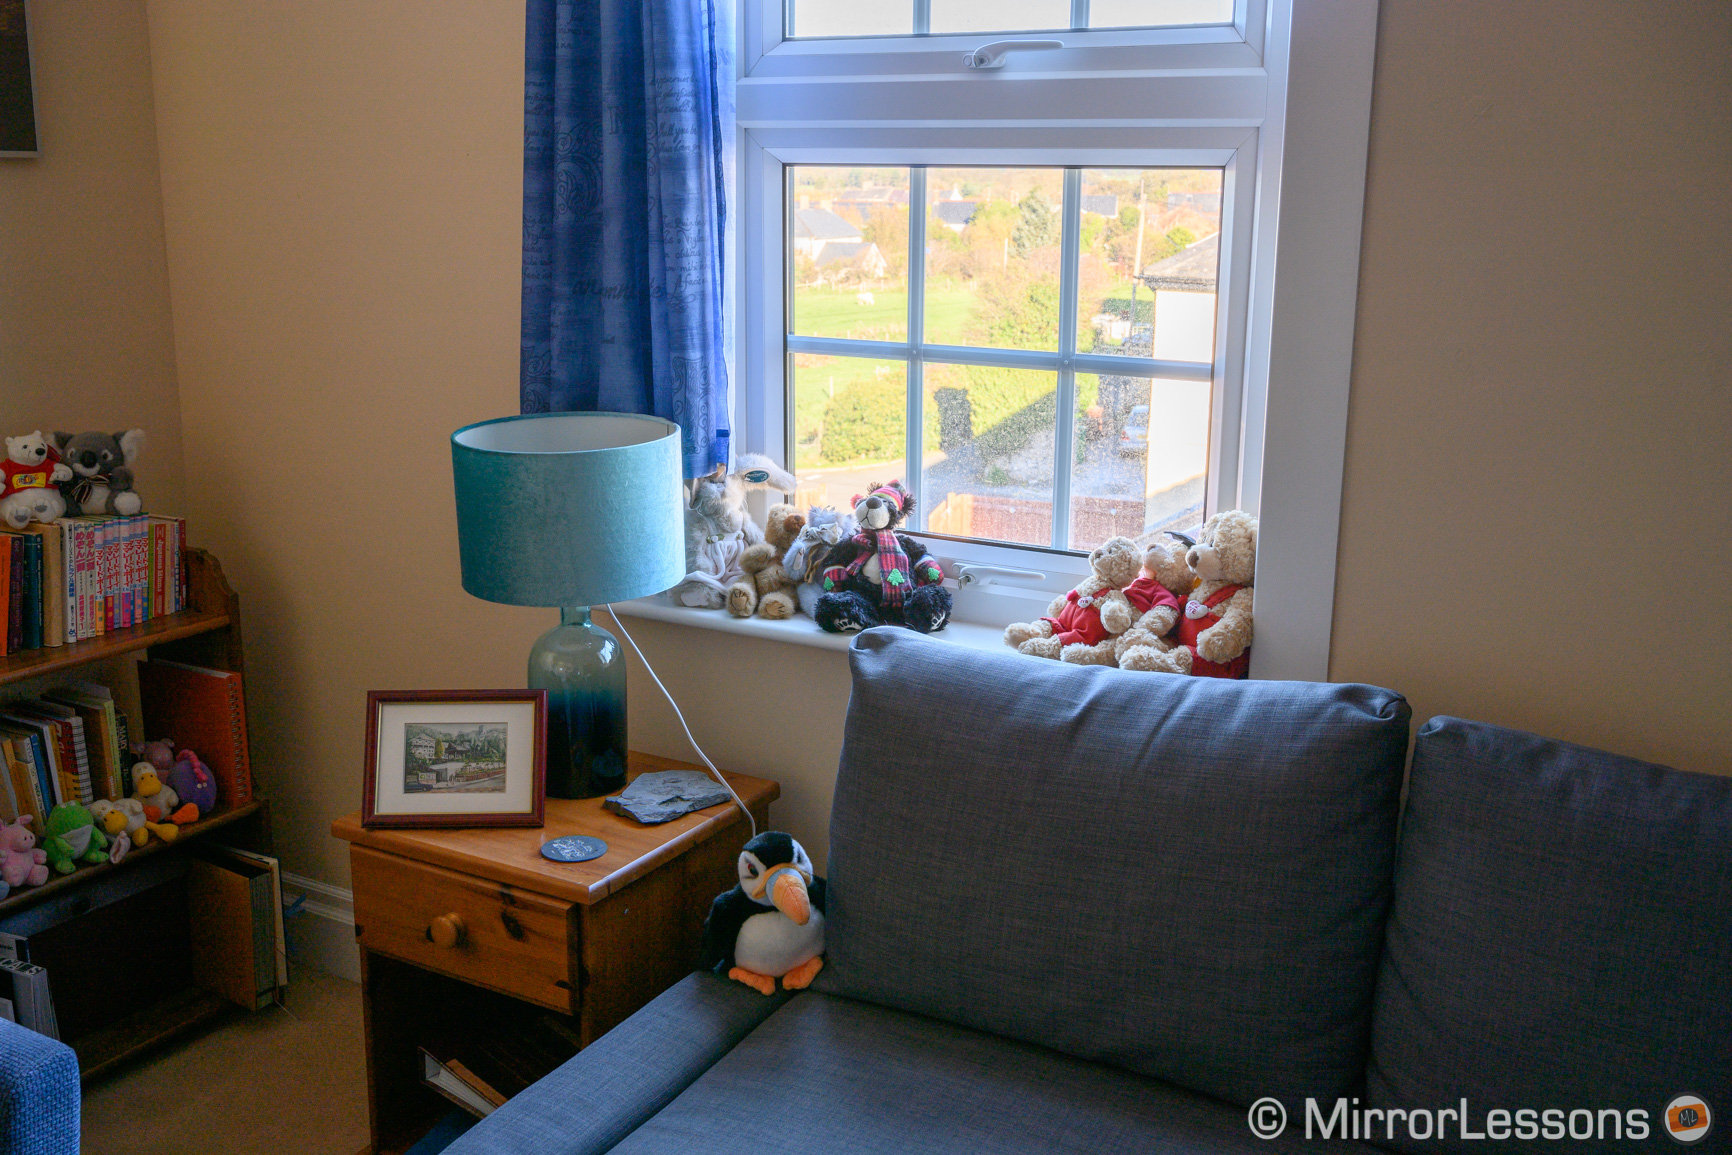
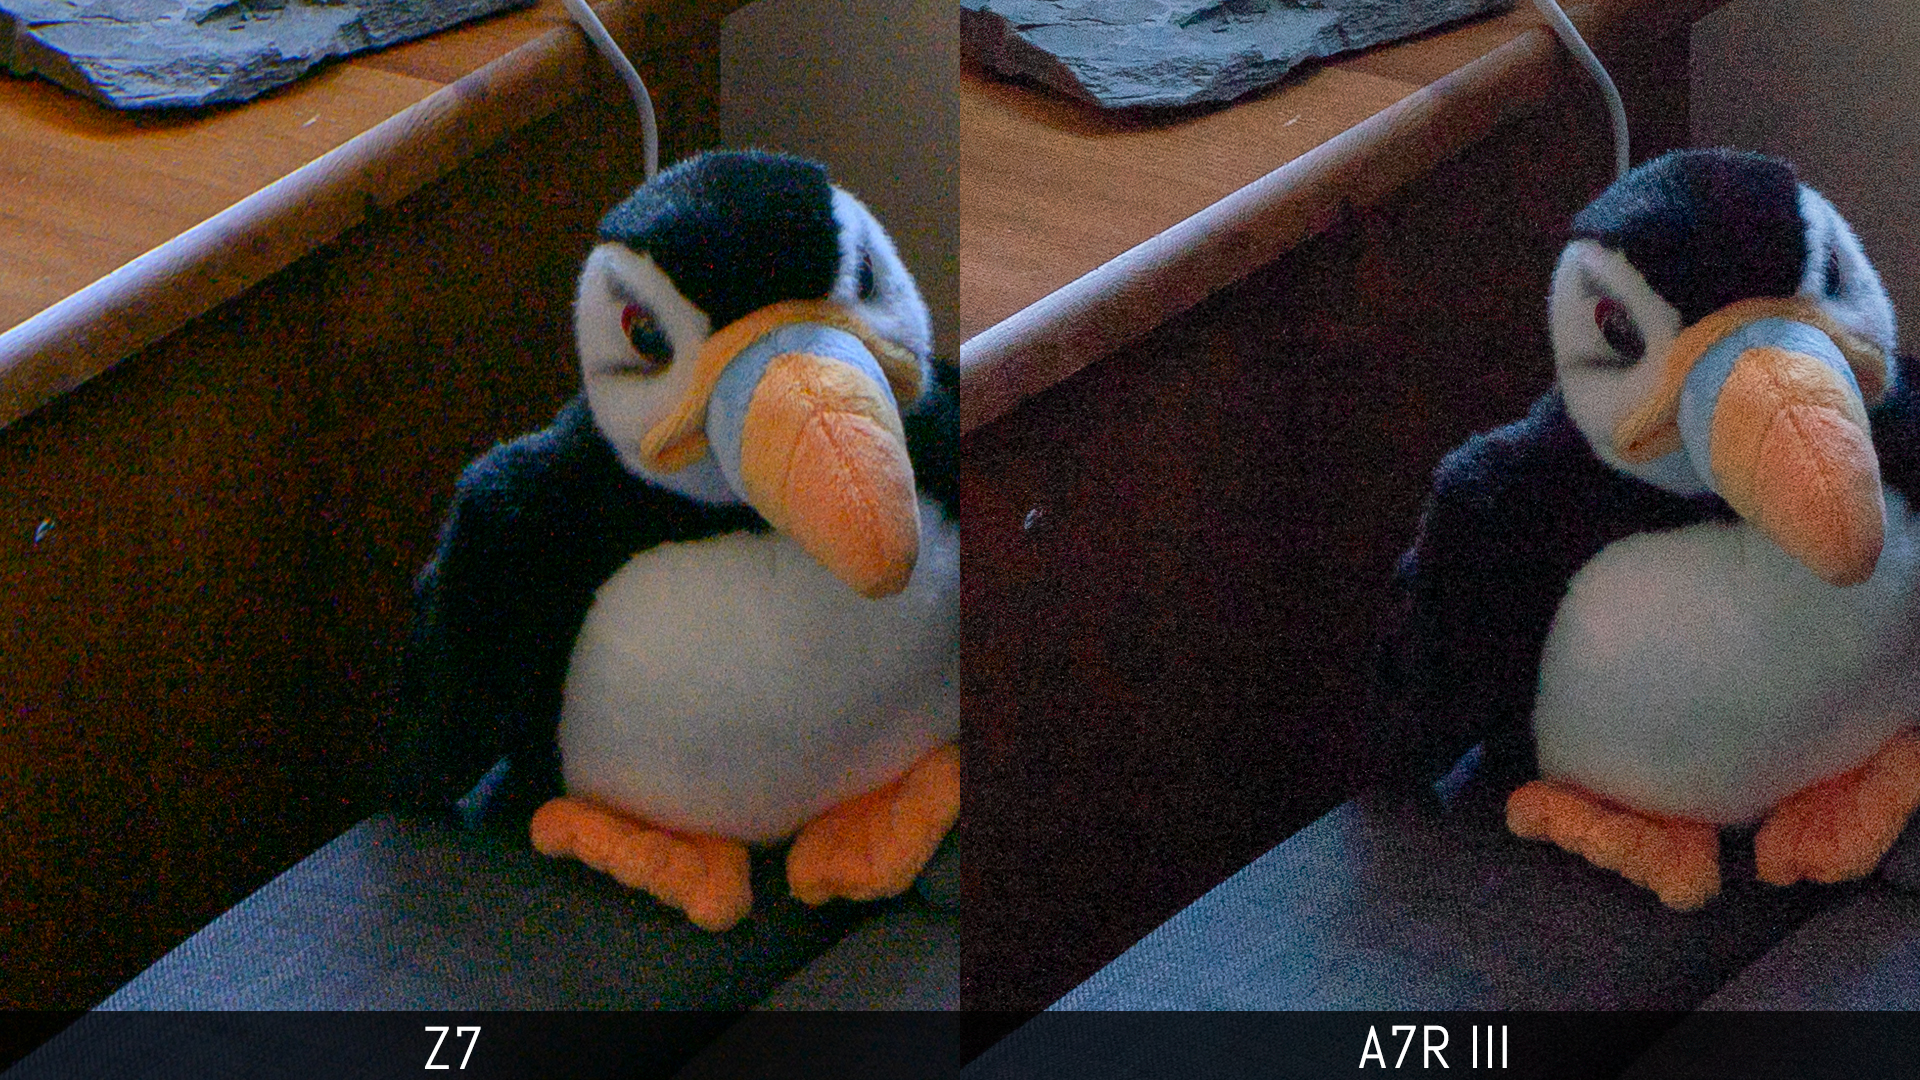
The Z7 retains more colour vibrance than the Sony, but also more colour noise. These results are shown with the default settings applied by Lightroom in the detail panel. The Adobe software uses a lower value for colour noise (9) than it does for the Sony (25), while adding +10 luminance noise reduction.
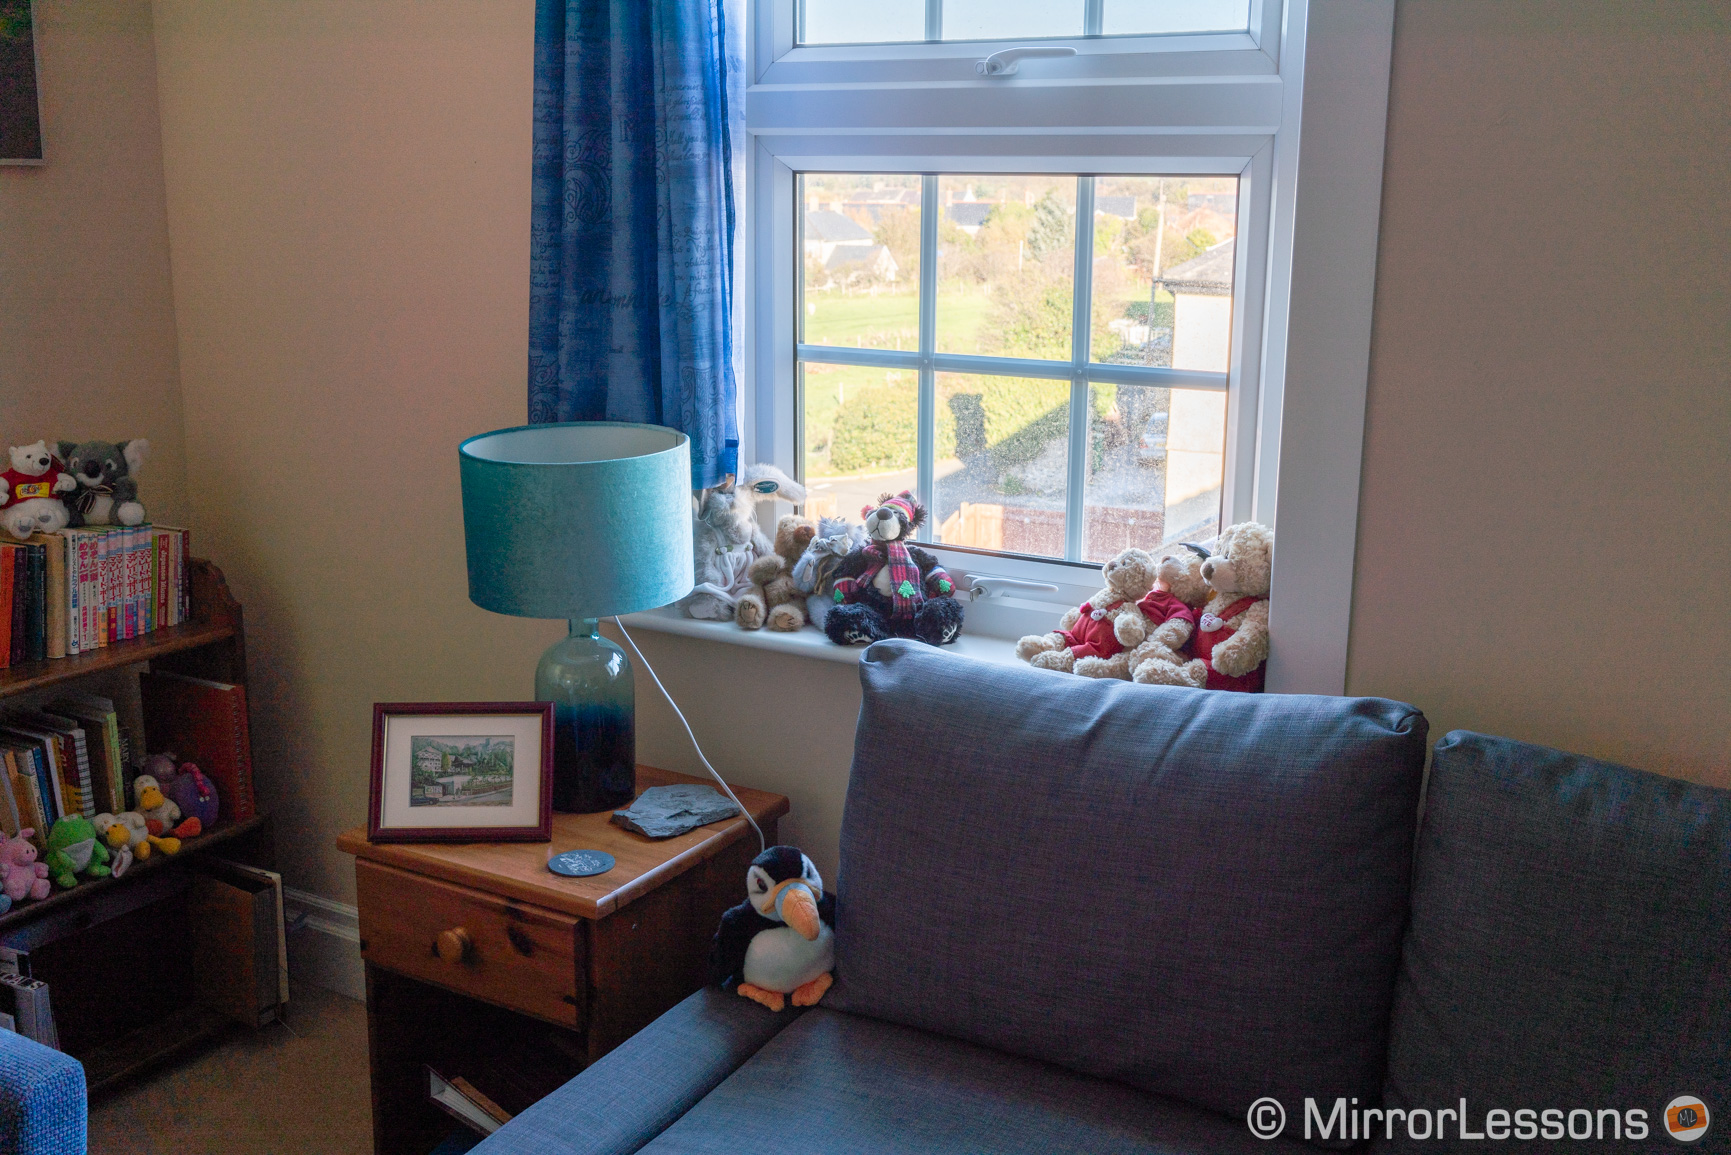
If I match the values of the two cameras, the Z7 colour noise is much more contained. The image still retains more colour information but displays a bit of horizontal banding.
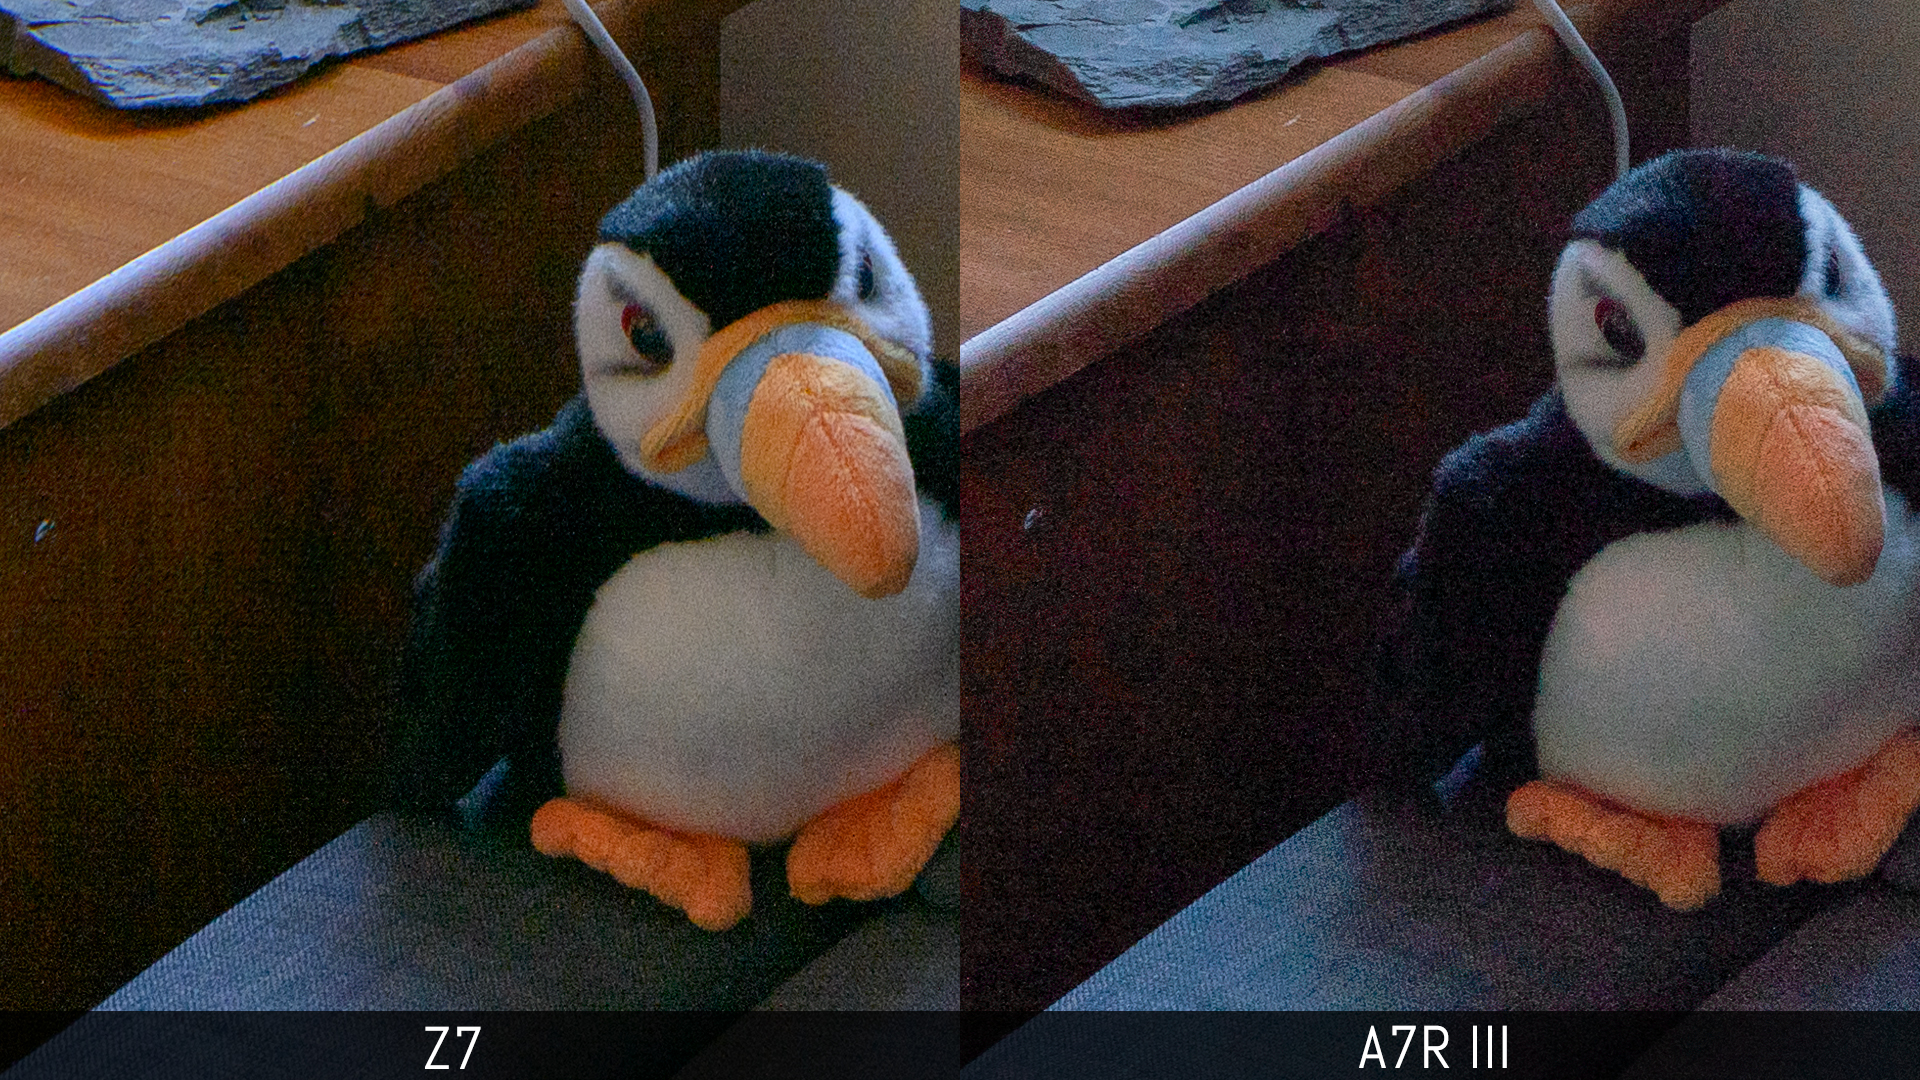
Same NR values (25 colour, 0 luminance)
Luminance noise reduction can help minimise the banding if you want to avoid colour noise.

Same NR values (25 colour, 20 luminance)
If we analyse a less severe recovery (+3Ev), banding is more difficult to see on the Z7, and with the same NR settings, the Nikon retains much better texture and colours than the Sony.
Same NR values (25 colour, 0 luminance)
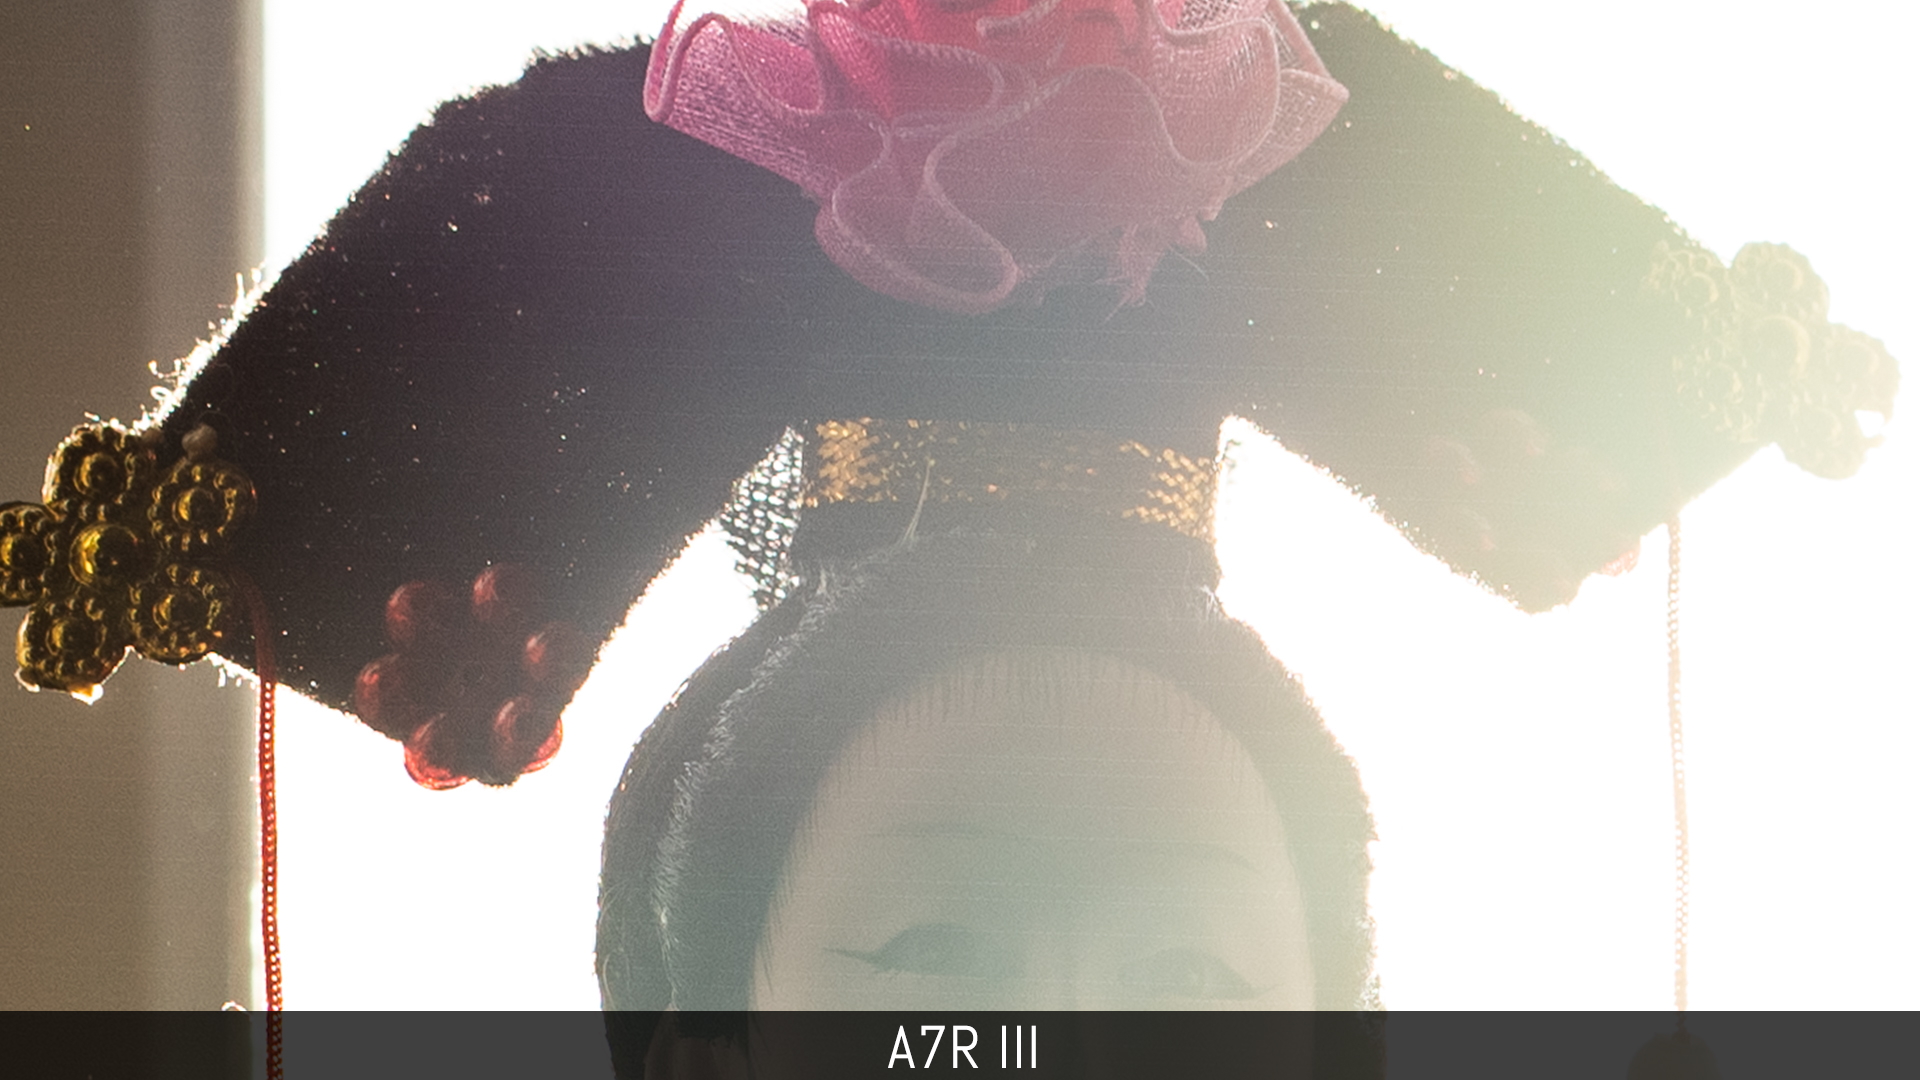
When it comes to highlight recovery, the A7R III preserves more details than the Z7.
All images above were shot in 14-bit uncompressed RAW which are around 85/87MB, so they can fill your card quite quickly. Luckily the Z7 offers lots of options to reduce the file size and control the output quality. You can choose between uncompressed, lossless compressed and compressed, as well as select 12-bit or 14-bit.
To give you an idea, here’s how the file size of all these versions compares:
- 14-bit uncompressed: 85MB
- 14-bit lossless: 52MB
- 14-bit compressed: 45MB
- 12-bit uncompressed: 75MB
- 12-bit lossless: 40MB
- 12-bit compressed: 36MB
Nikon’s lossless compressed versions work quite well. I stick with the 14-bit version most of the time, or downgrade to 12-bit lossless if I’m shooting lots of images in burst mode.
The A7R III has just two options: compressed and uncompressed, with the file size varying between 85MB and 43MB approximately.
In both cases, keep in mind that extreme post-processing is necessary to see the difference between a compressed and uncompressed file, as well as 14-bit and 12-bit. But Nikon definitely offers more options for those who like to have as much control as possible over the quality of their files.
Now let’s move to the SOOC JPGs to see how they compare. The Z7 has a setting called Active D-Lighting that preserves more details in the highlights and shadows. It can be configured on four different levels (Low to Extra High) or set to Auto. The Sony has the DRO parameter (Dynamic Range Optimiser) that works in Auto or manual with five levels to choose between.
I set the two cameras to the same manual white balance and chose the Neutral profile on both, and as you can see the Z7 provides much more leeway: even without the highest setting, it opens the shadows more in comparison to the A7R III JPG. There is also a visible difference in colour rendering, as the Neutral profile of the Sony has less saturation and a cooler look.

Both cameras offer three levels of JPG compression but the Z7 also has an 8-bit TIFF option.
To finish this chapter, I want to go back to the banding issue found on some Z7 files. This is likely caused by on-chip phase detection sensors. The Sony files don’t display any problems with strong shadow recovery, but you may encounter some weak horizontal lines in situations with strong backlight. It is more evident with specific lenses such as the FE 85mm 1.8.
ISO Performance
The Z7 has a normal range of ISO 64 to ISO 25600. It can be expanded down to ISO 32, or up to ISO 102400 (Hi 2 as Nikon calls it) which means that brightness is pulled or pushed by the image processor.
The A7R III goes from ISO 100 to ISO 32000, with extended values available down to ISO 50 or up to ISO 102400 as well.
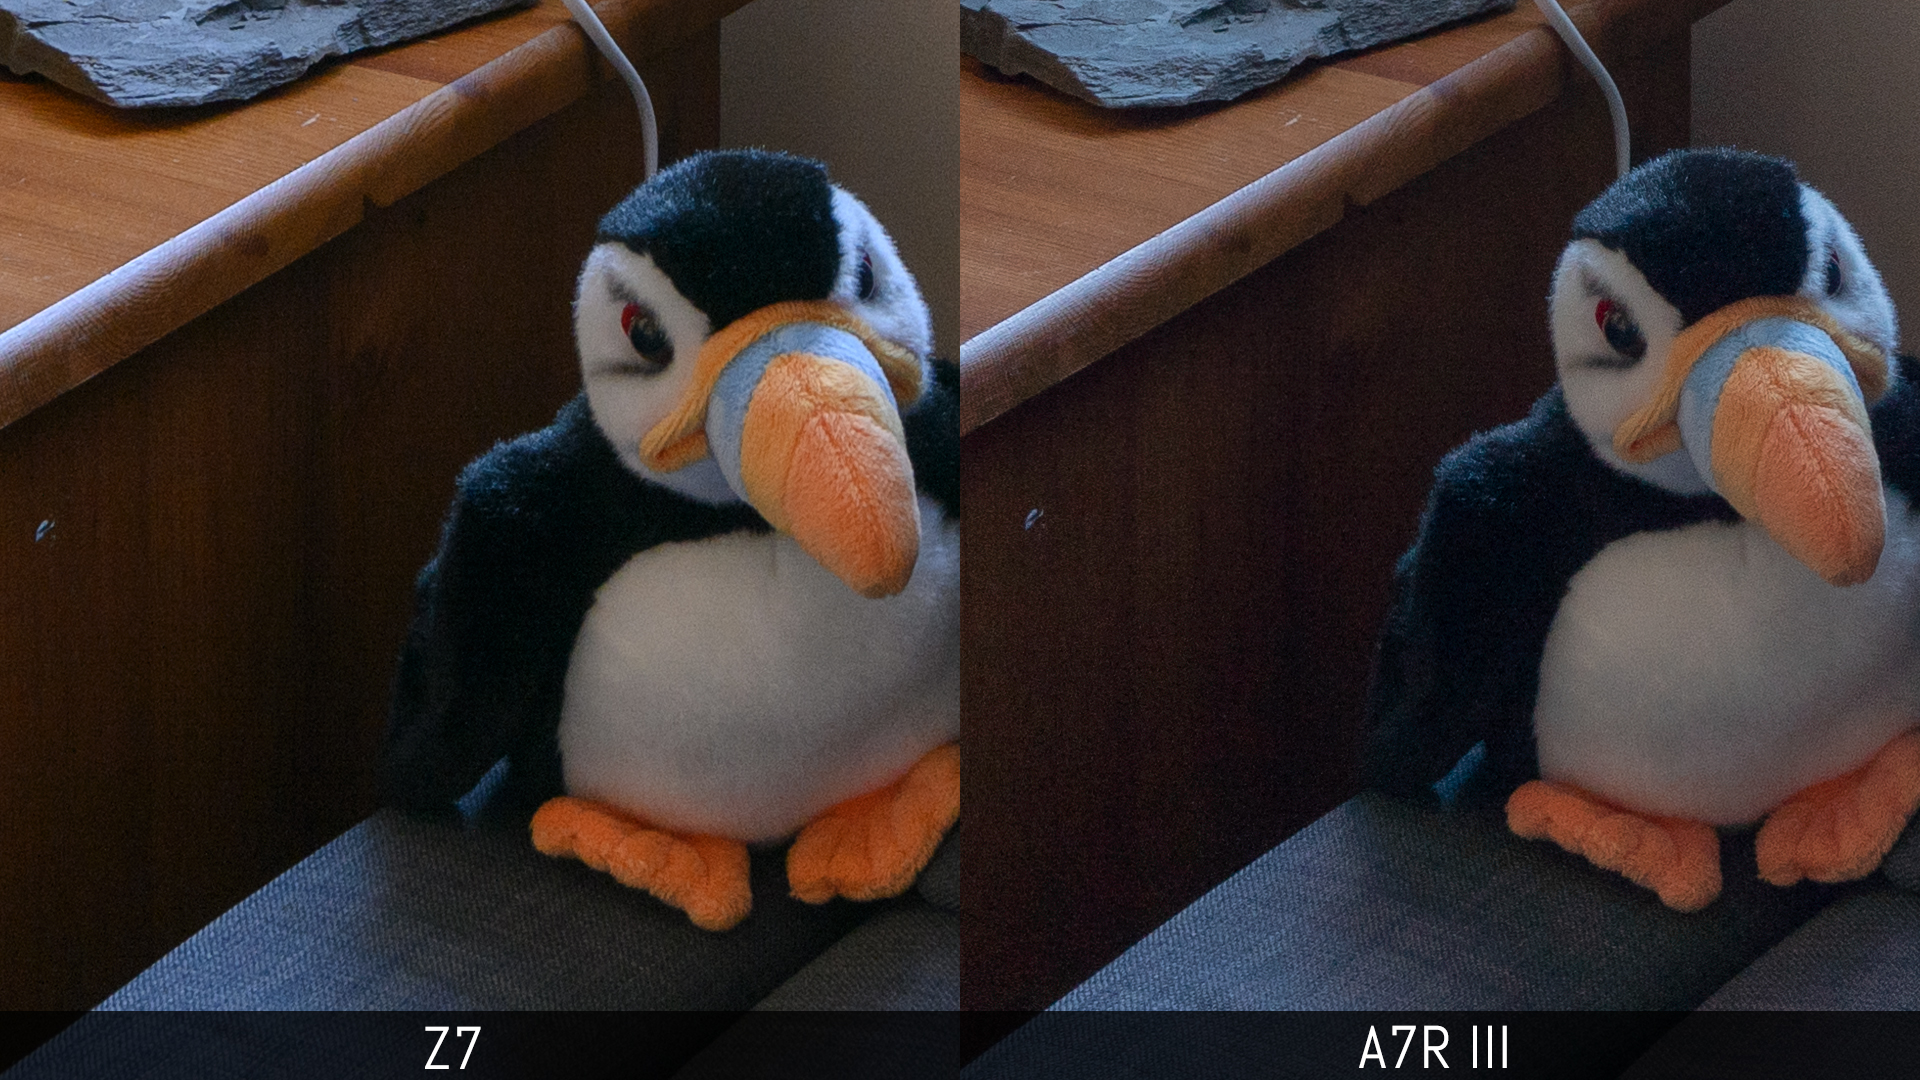
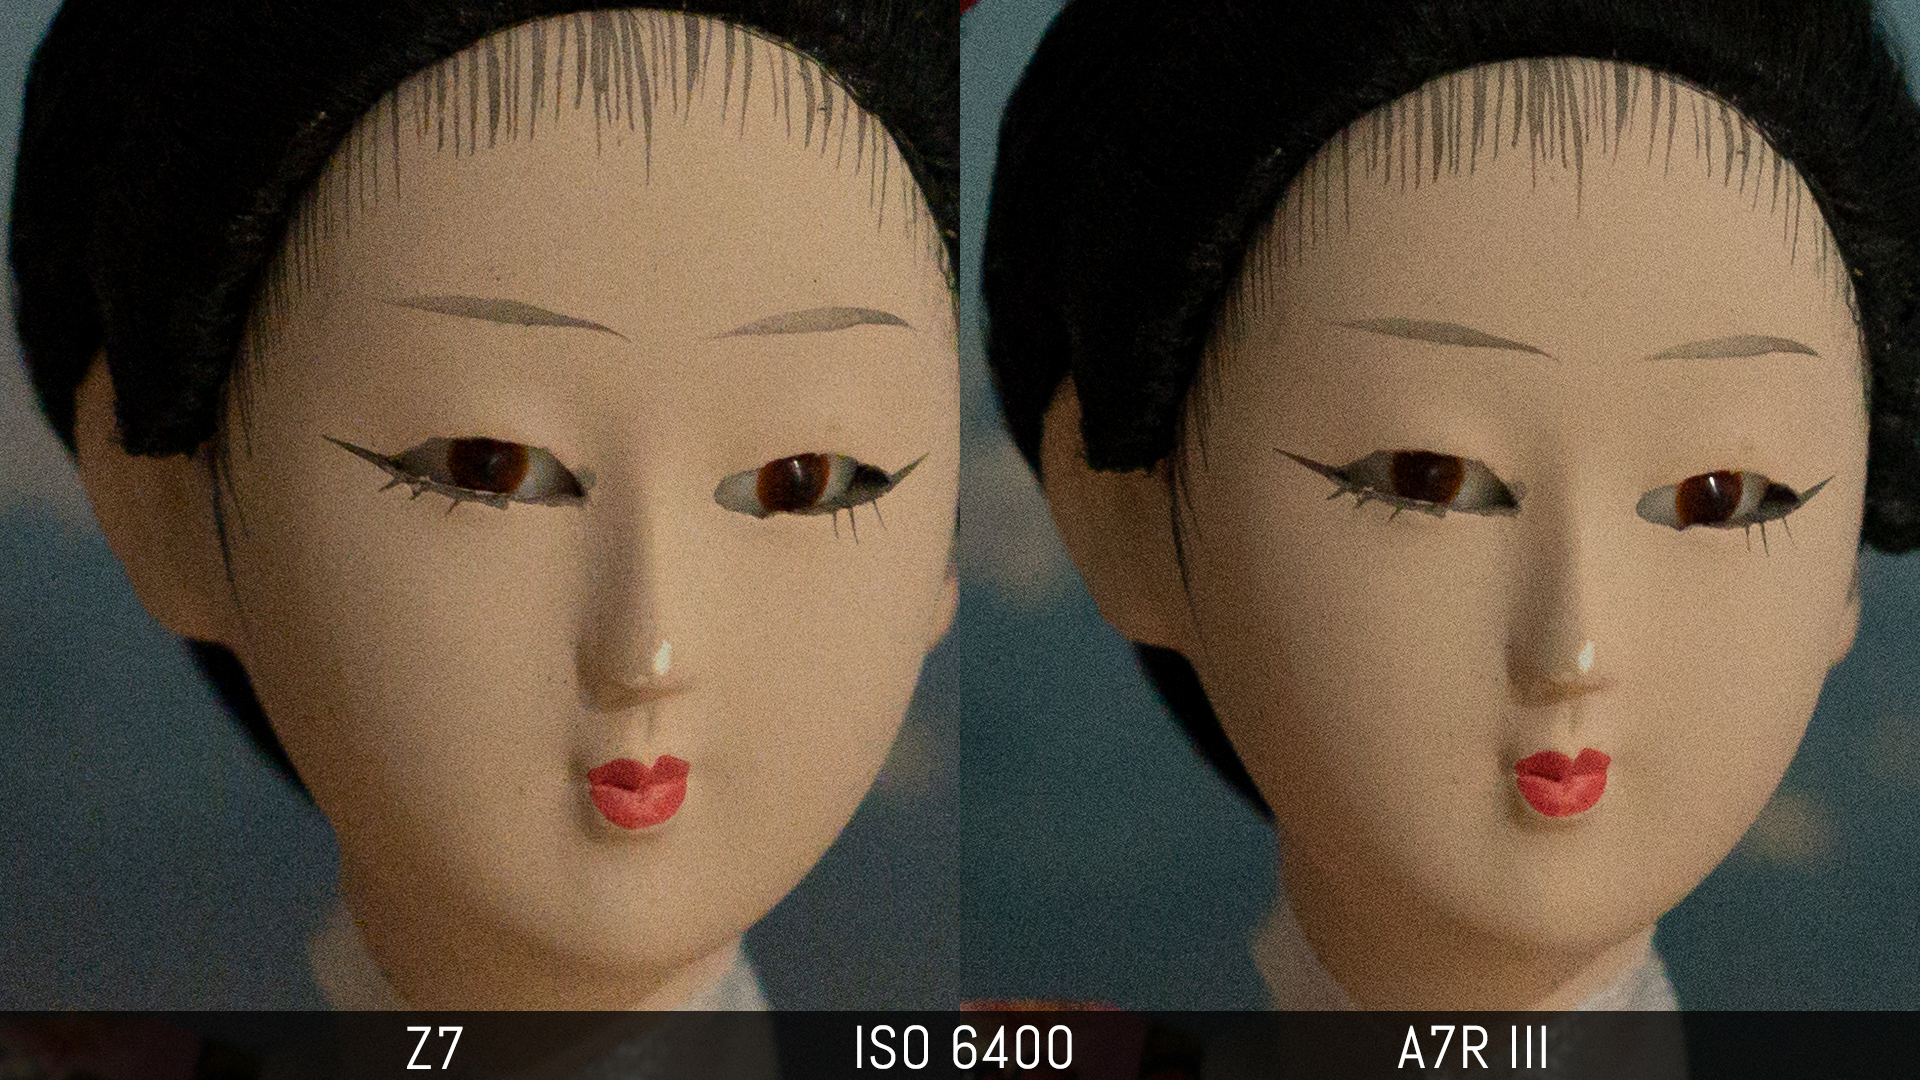
Up to ISO 6400, the performance is very similar. The only thing I’ve noticed is that with the same exposure settings, the A7R III files were slightly darker (around 1/3Ev) and the Z7 files need a bit less colour noise reduction.
Lightroom applies lots of luminance noise reduction by default on the Nikon files, but I decided to apply the bare minimum to both images to reduce noise a little without impacting sharpness. Of course with more tweaking, you can reduce the noise even more.

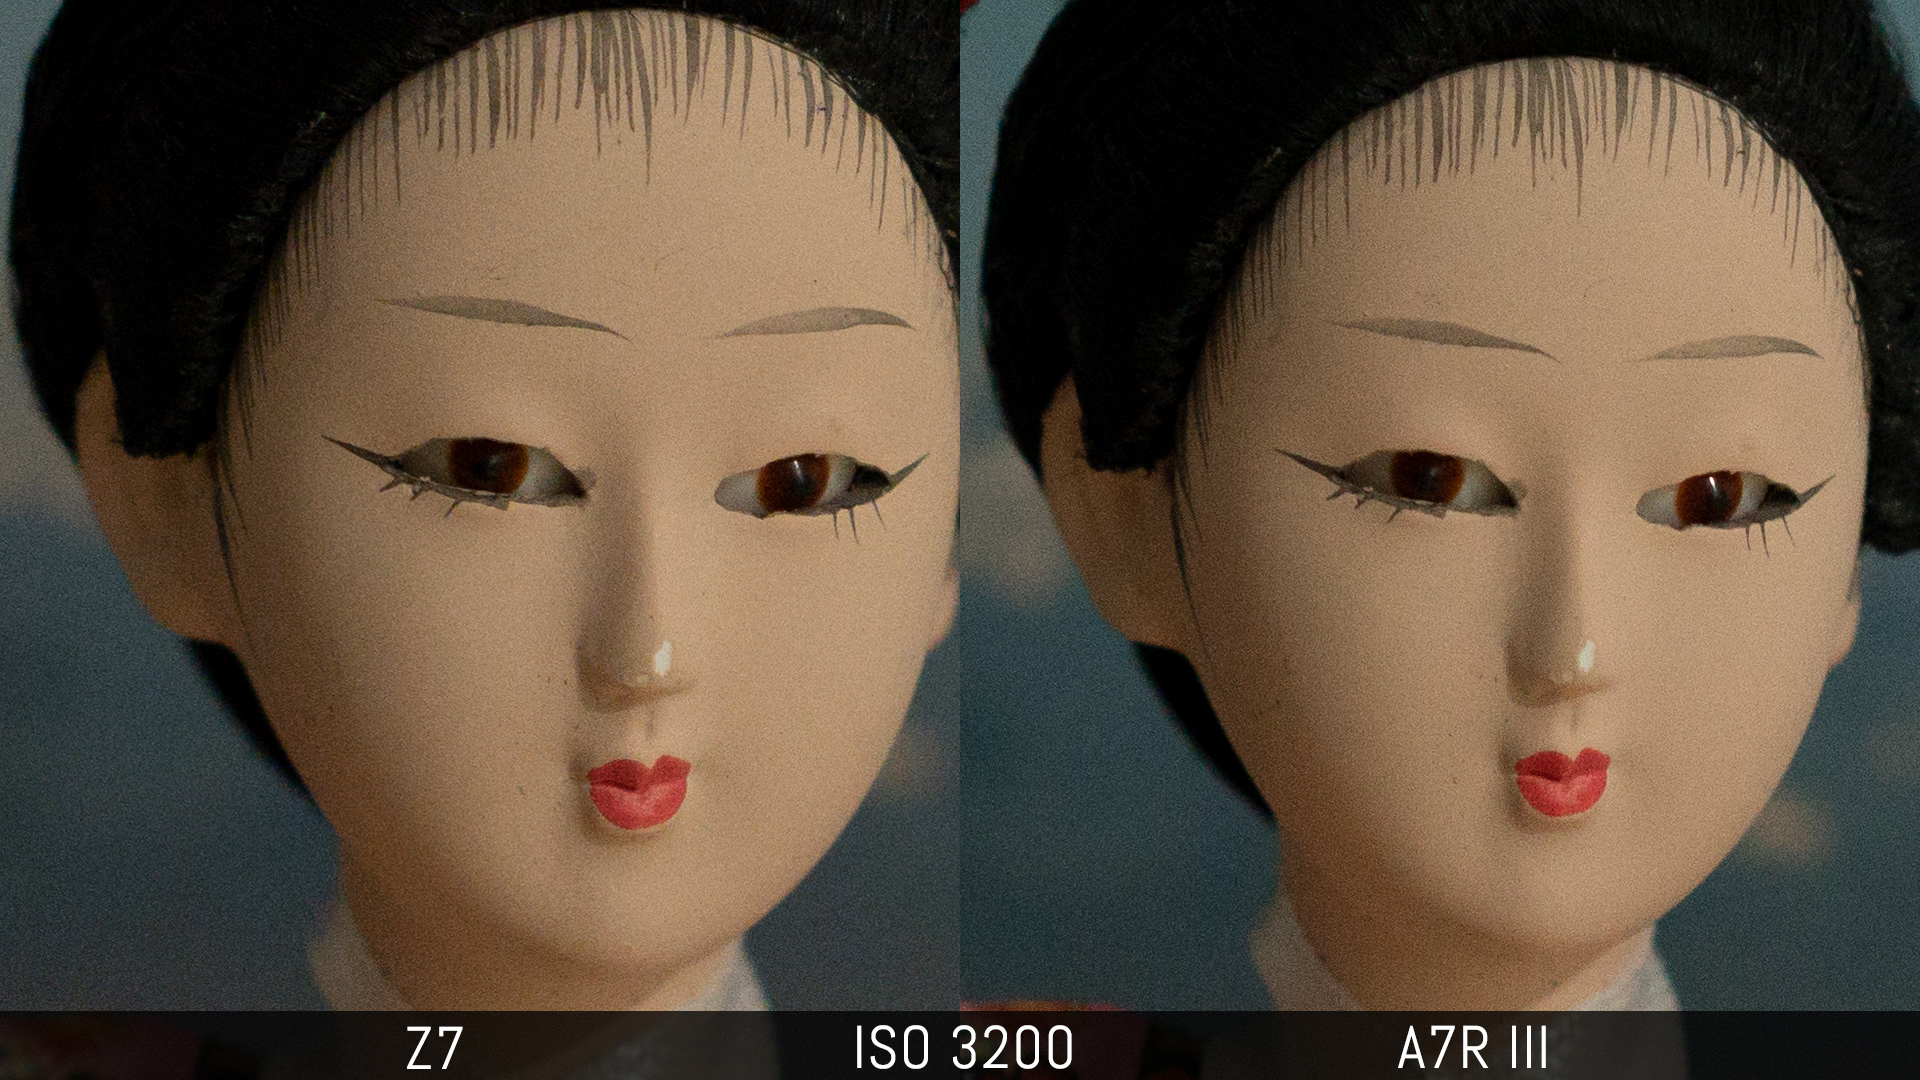
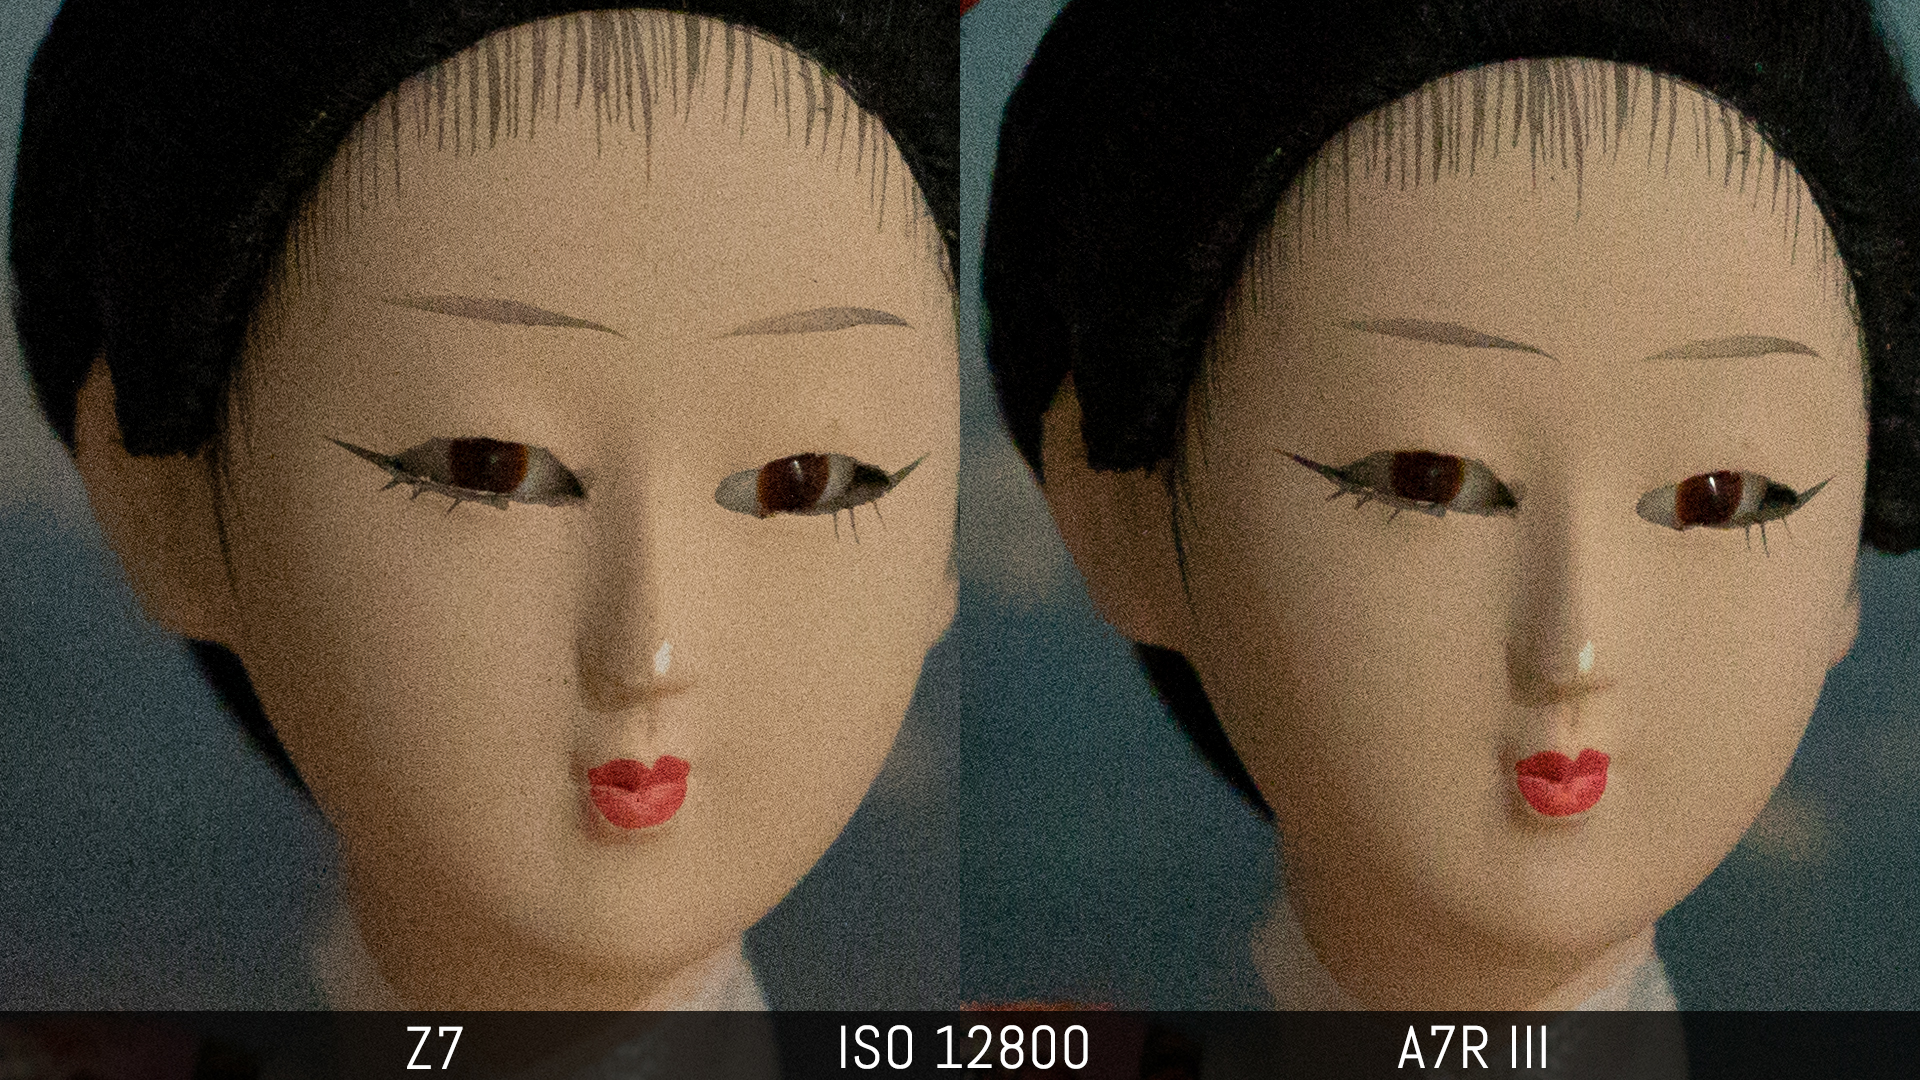
At 12800 ISO, the results are similar but I’ve increased colour noise reduction a bit more on the Z7 so that it matches the same value as the Sony (+10).
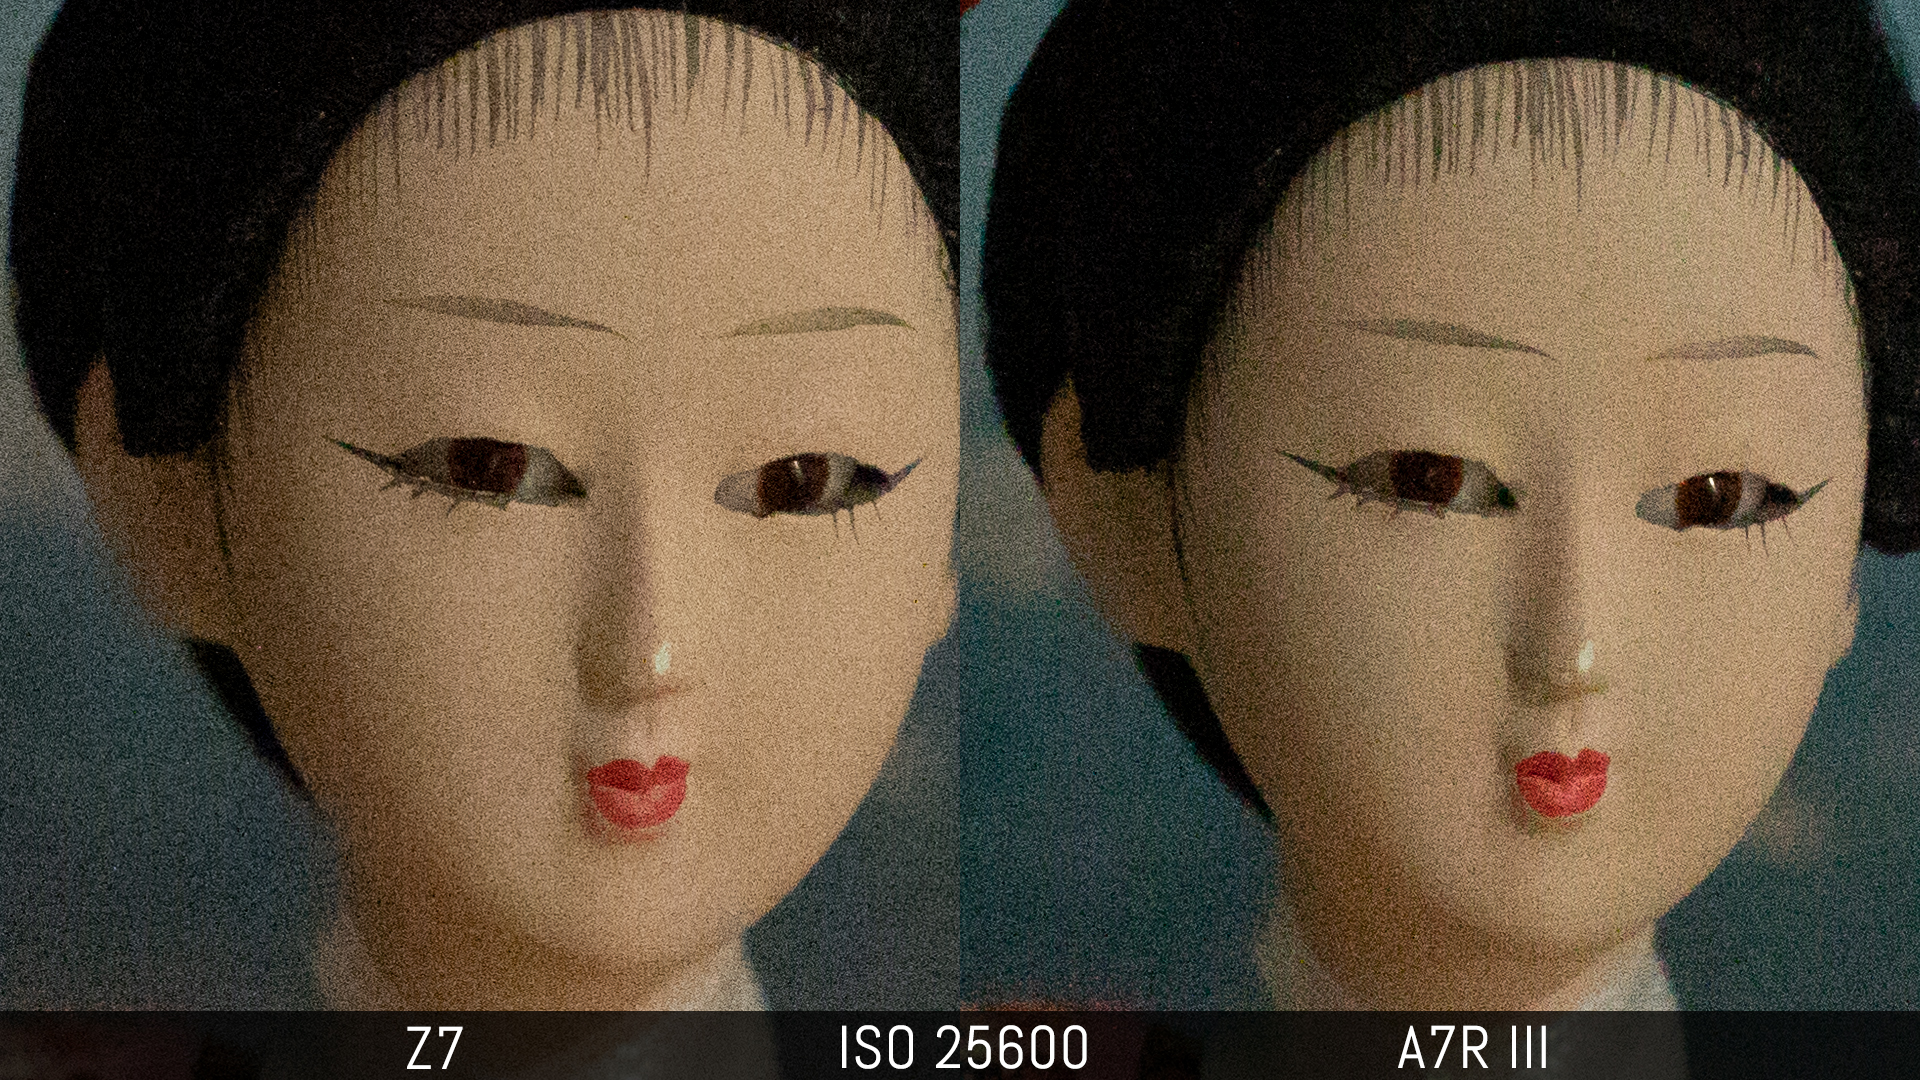
At 25600, noise becomes more invasive and I’ve increased luminance NR a little on both.
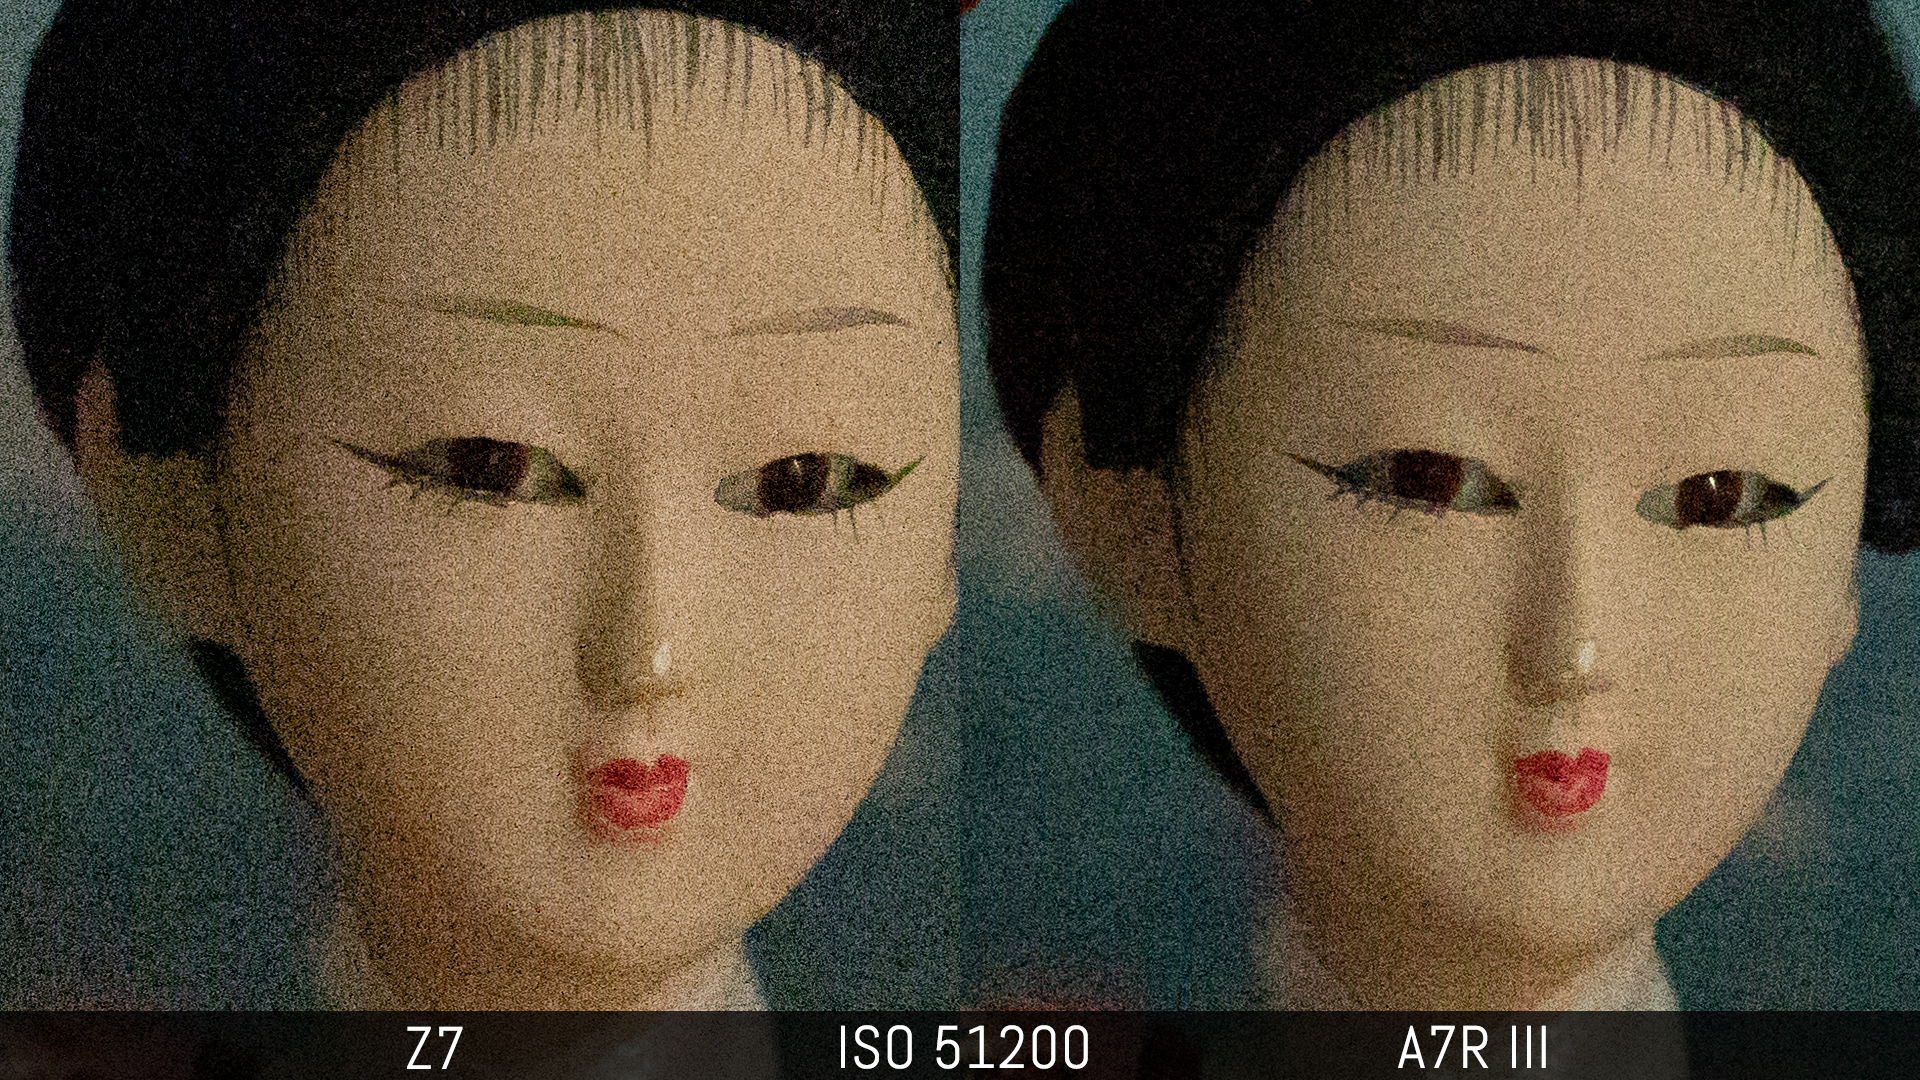
At ISO 51200, the quality deteriorates on the two cameras. Generally I would avoid shooting at this sensitivity unless I really had no other choice.
At the highest value of 102400, the Nikon shows more noise and there are some weak traces of banding. The files from both cameras look pretty bad overall.

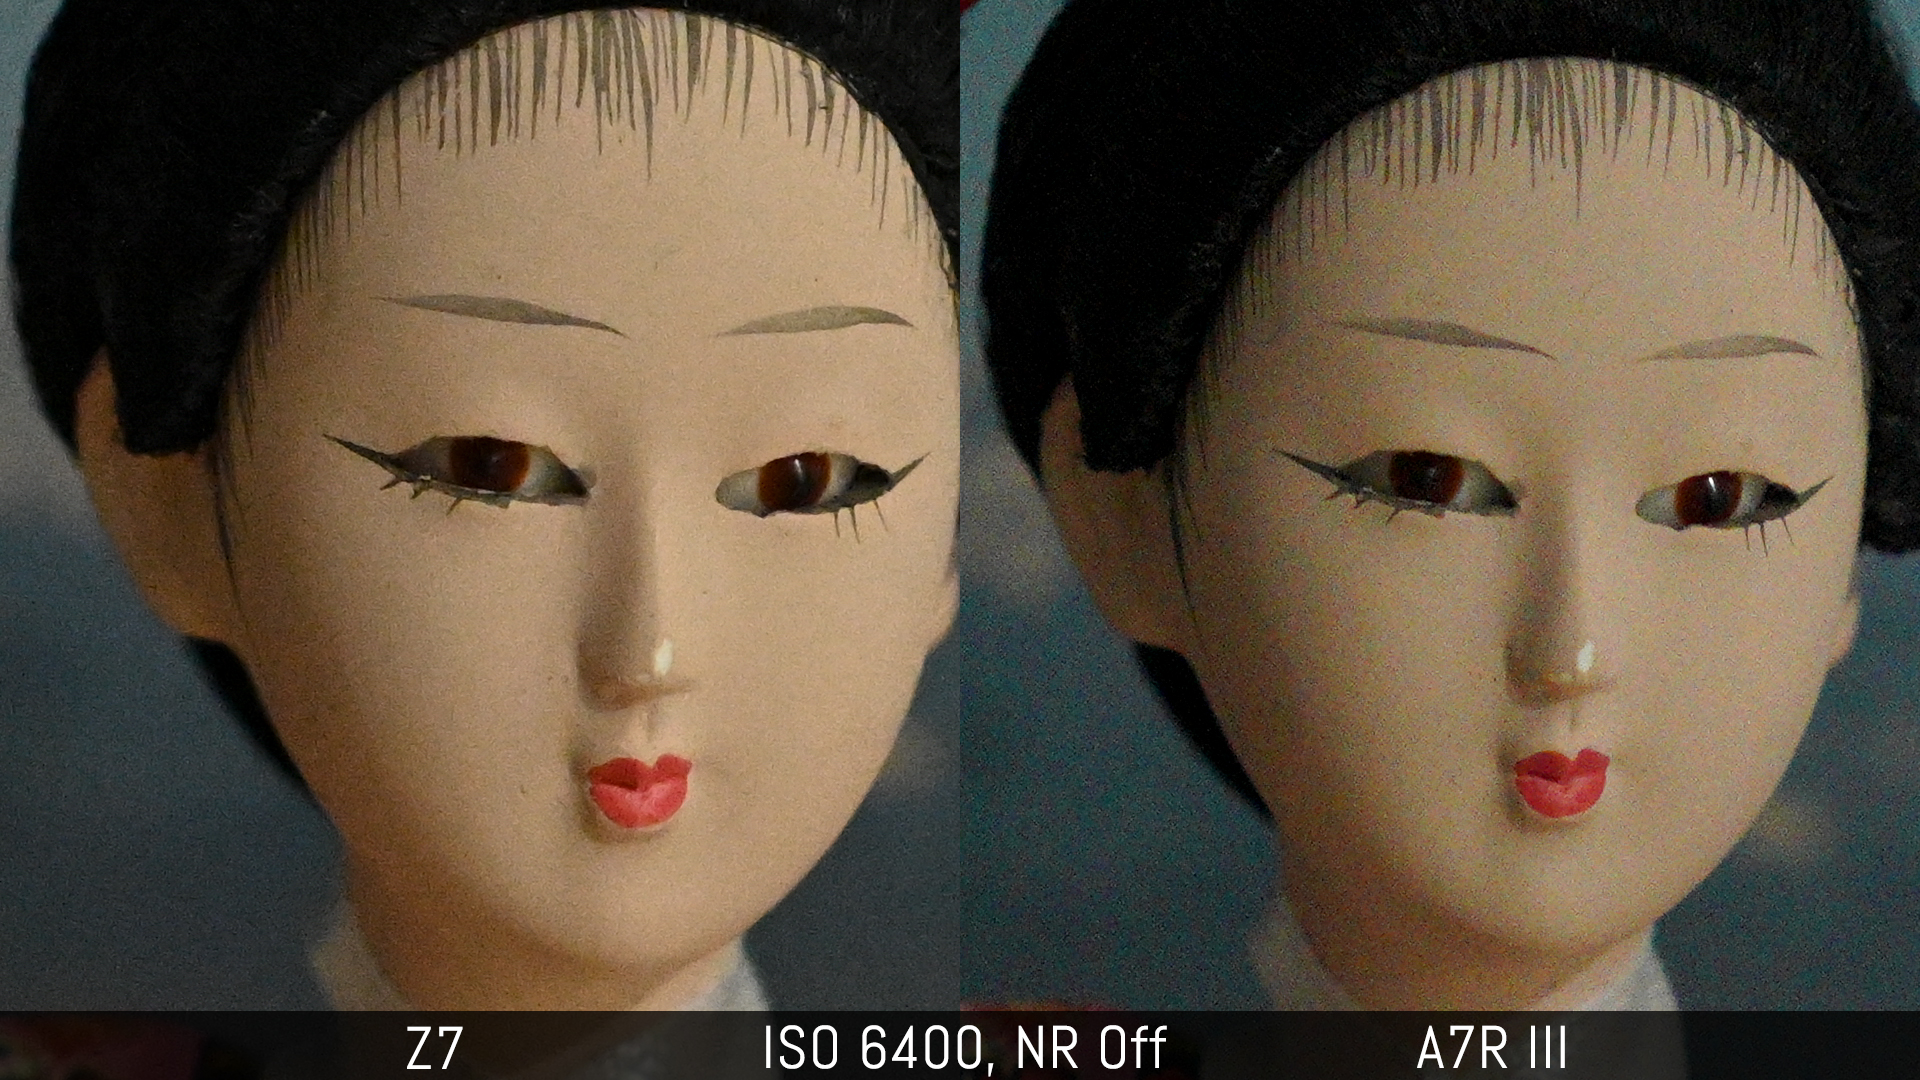
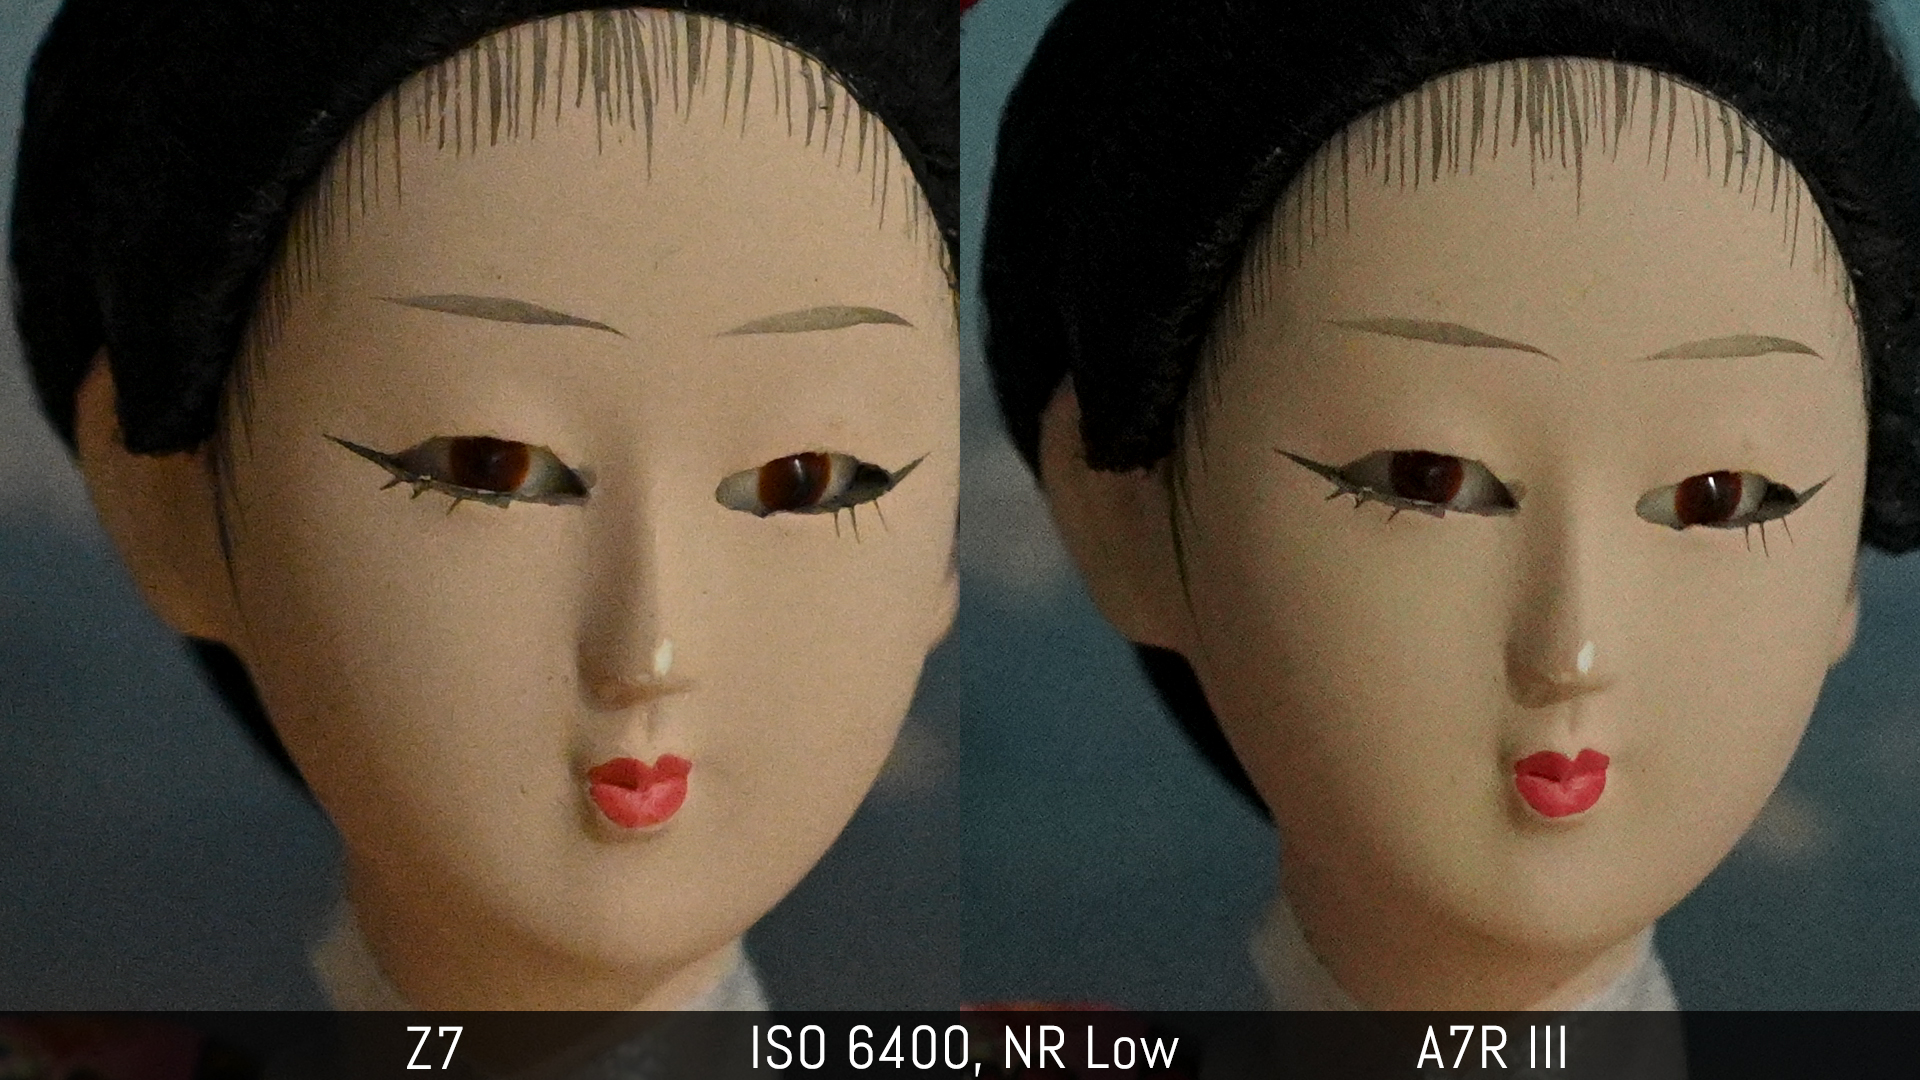
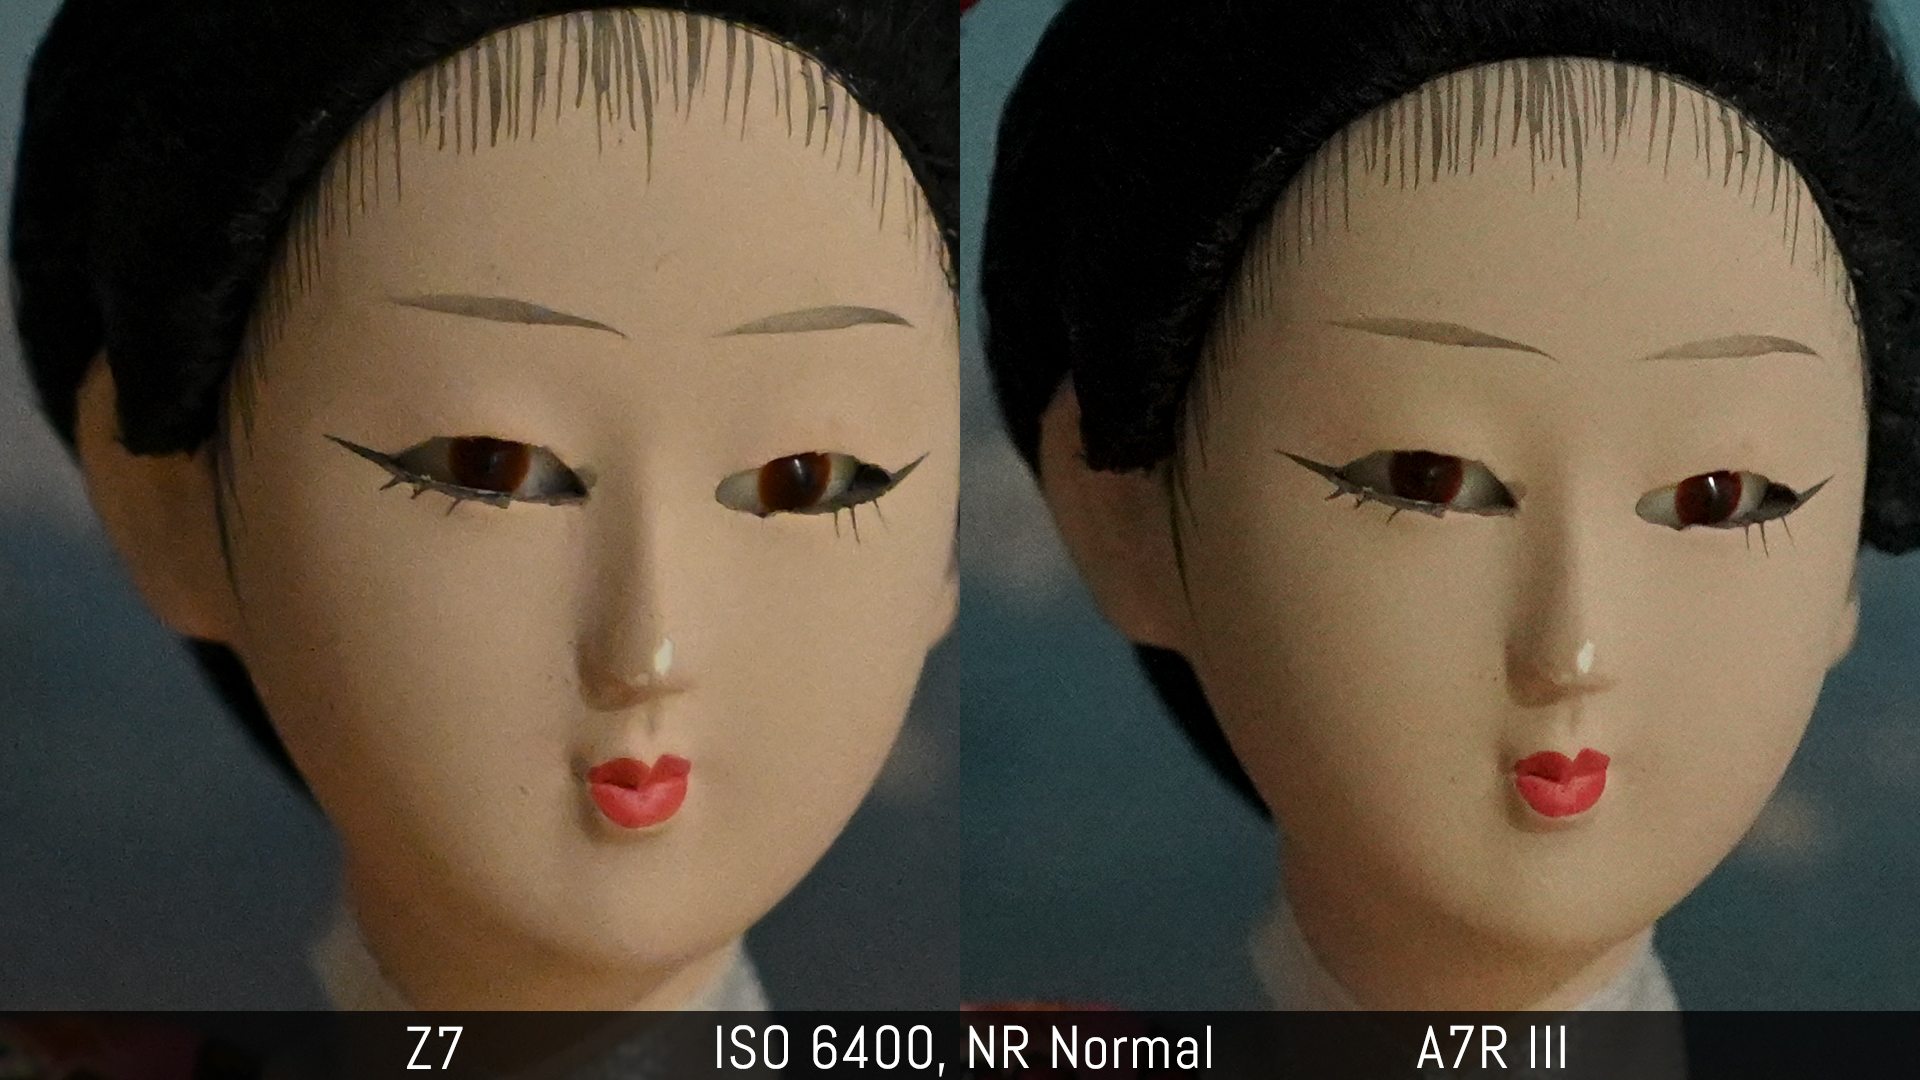
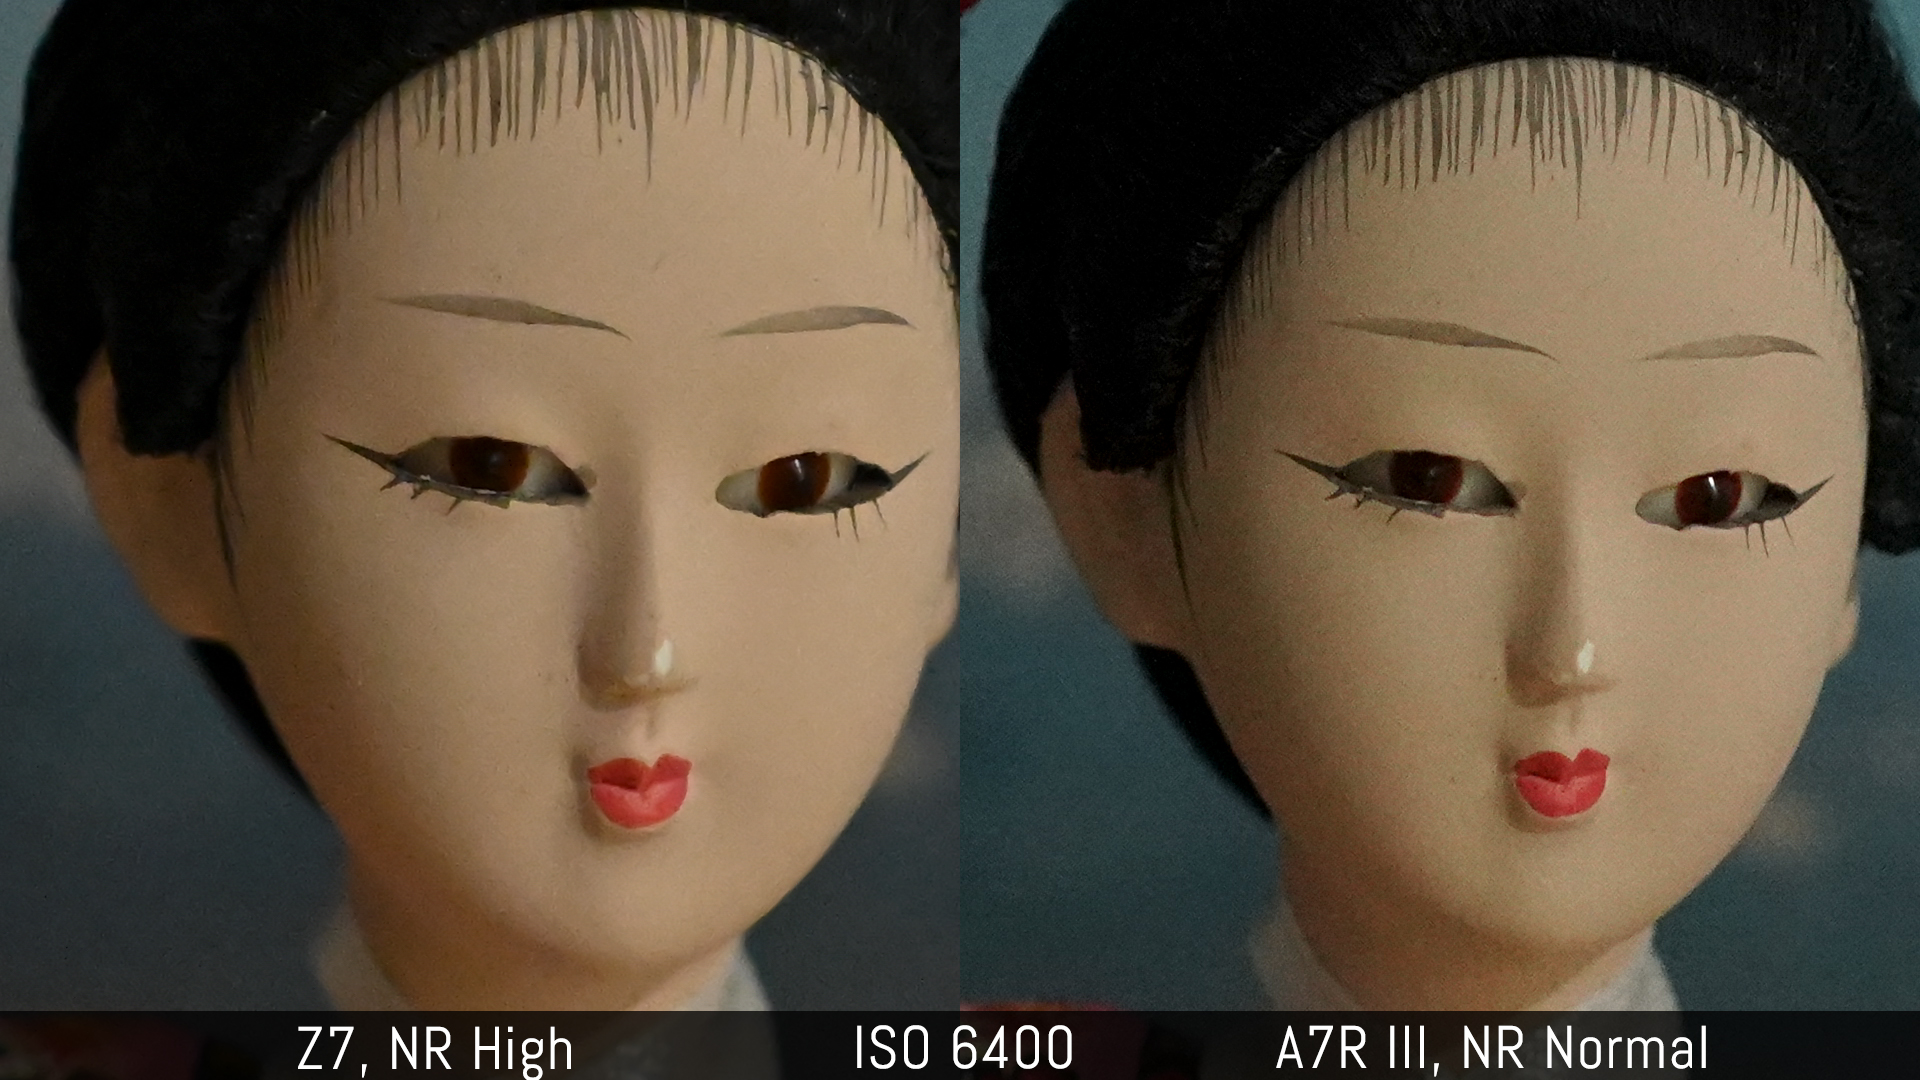
With the straight-out-of-camera JPGs, the Z7 offers three levels of Noise Reduction (Low to High) whereas the A7R III has two.
The Sony displays a bit more colour noise with NR set to Off. They perform in the same way with NR set to low. At Normal they are similar, though I’d say the Z7 noise is slightly more contained. The High setting on the Nikon makes the images look smoother but eliminates some details in the process.
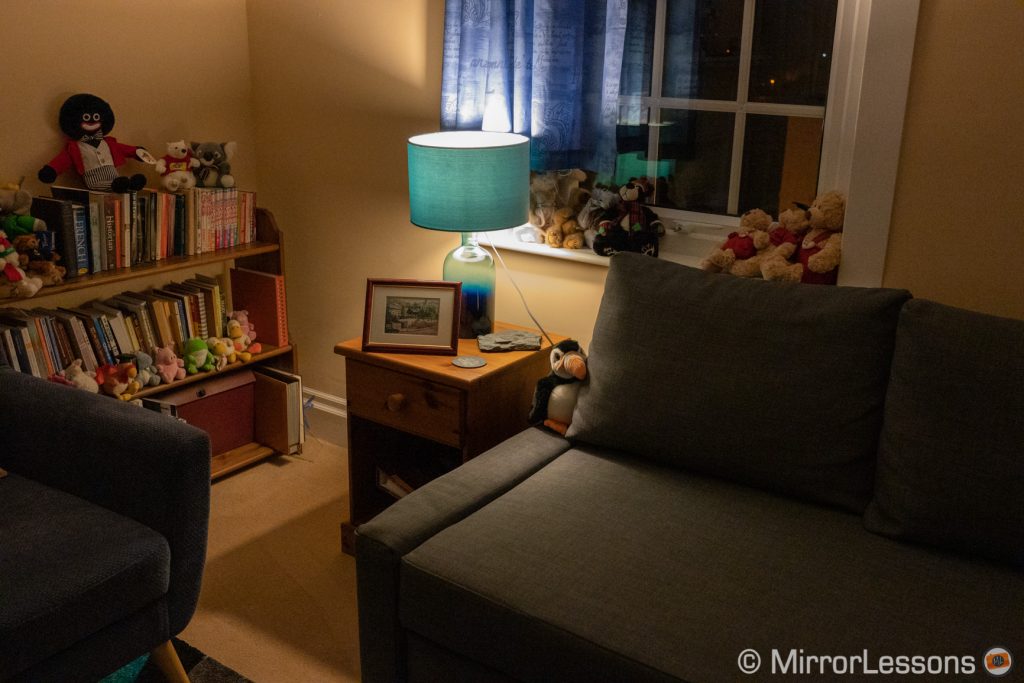
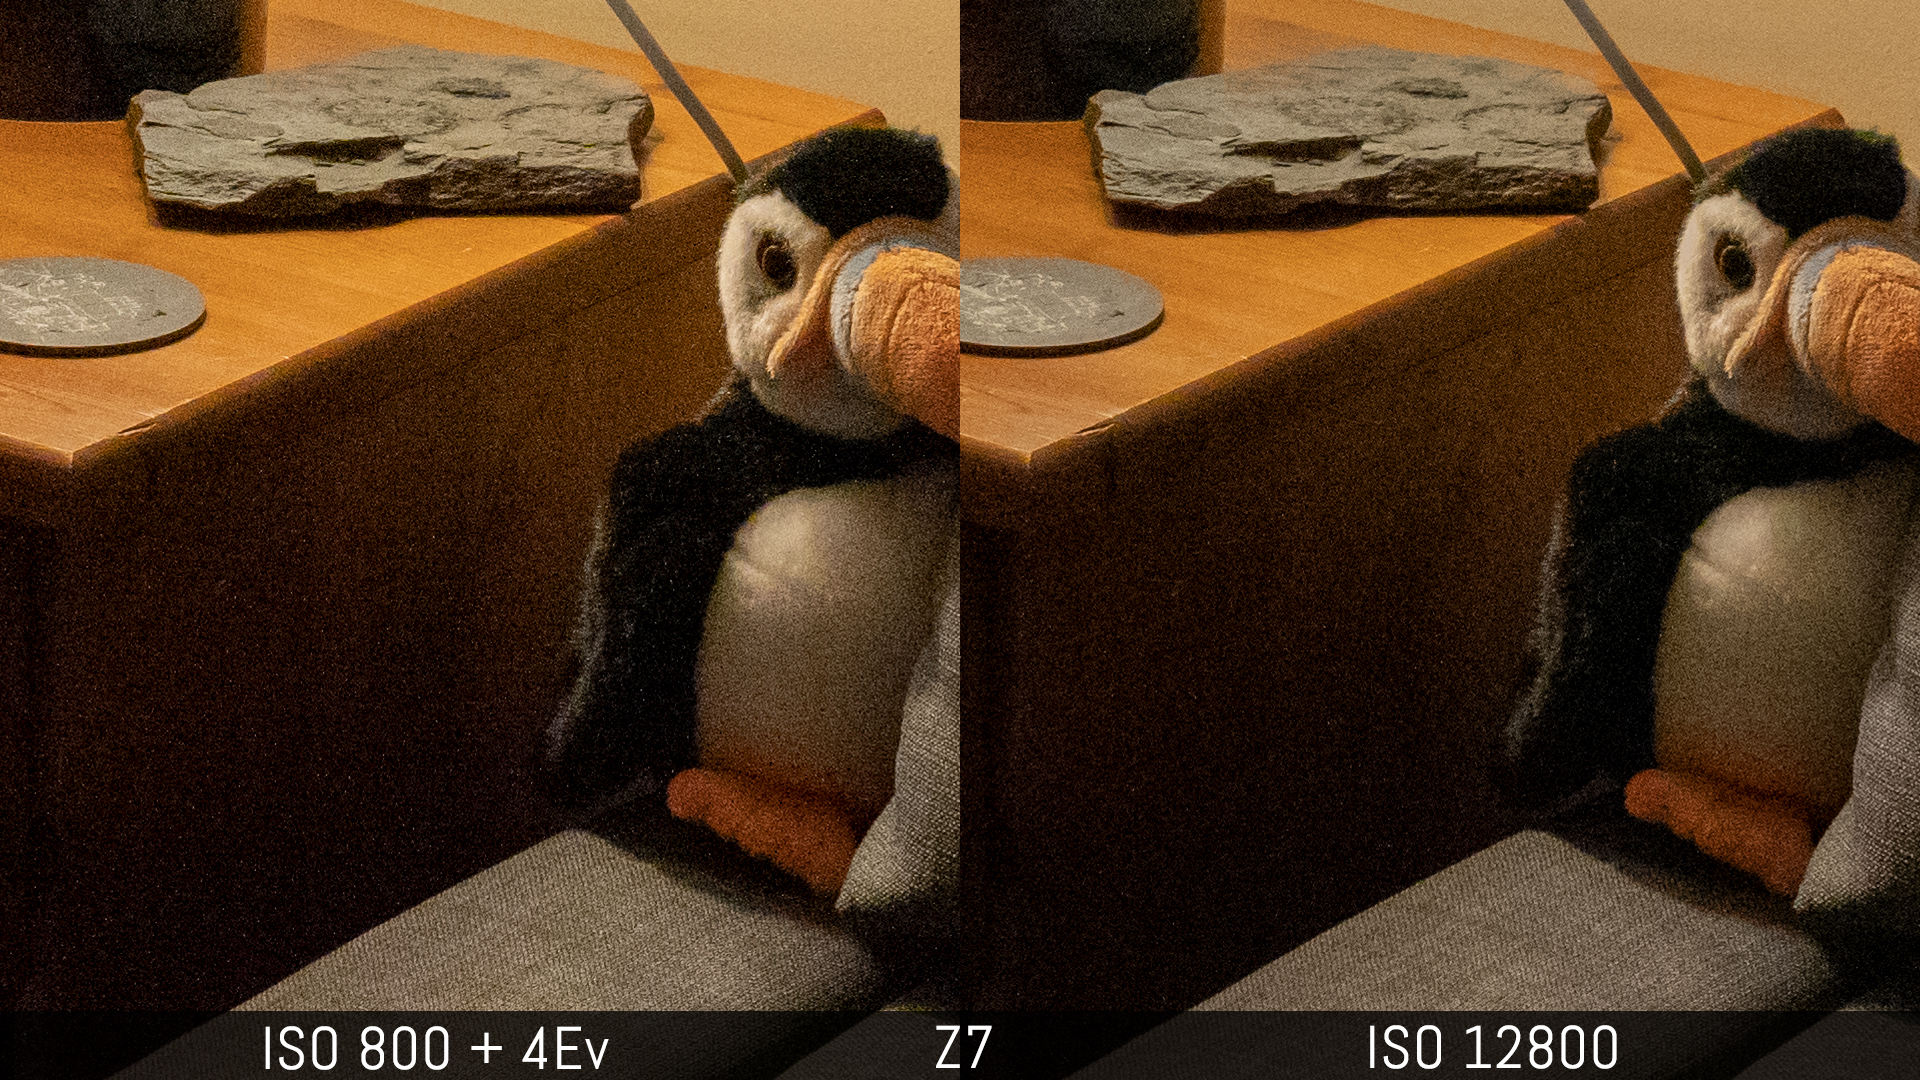
Another thing I was curious to analyse was ISO invariance. Both cameras have a dual gain architecture with two ranges: ISO 64-400 and ISO 500-25600 on the Z7, ISO 100-640 and 800-32000 on the A7R III.
I captured the scene with correct exposure at ISO 12800, then lowered the ISO to 800 to record an underexposed version by 4 stops. When I recover the same brightness from the underexposed shot, you can see that the level of noise remains more or less the same as that captured at the higher ISO level. However the A7R III has less noise than the Z7.
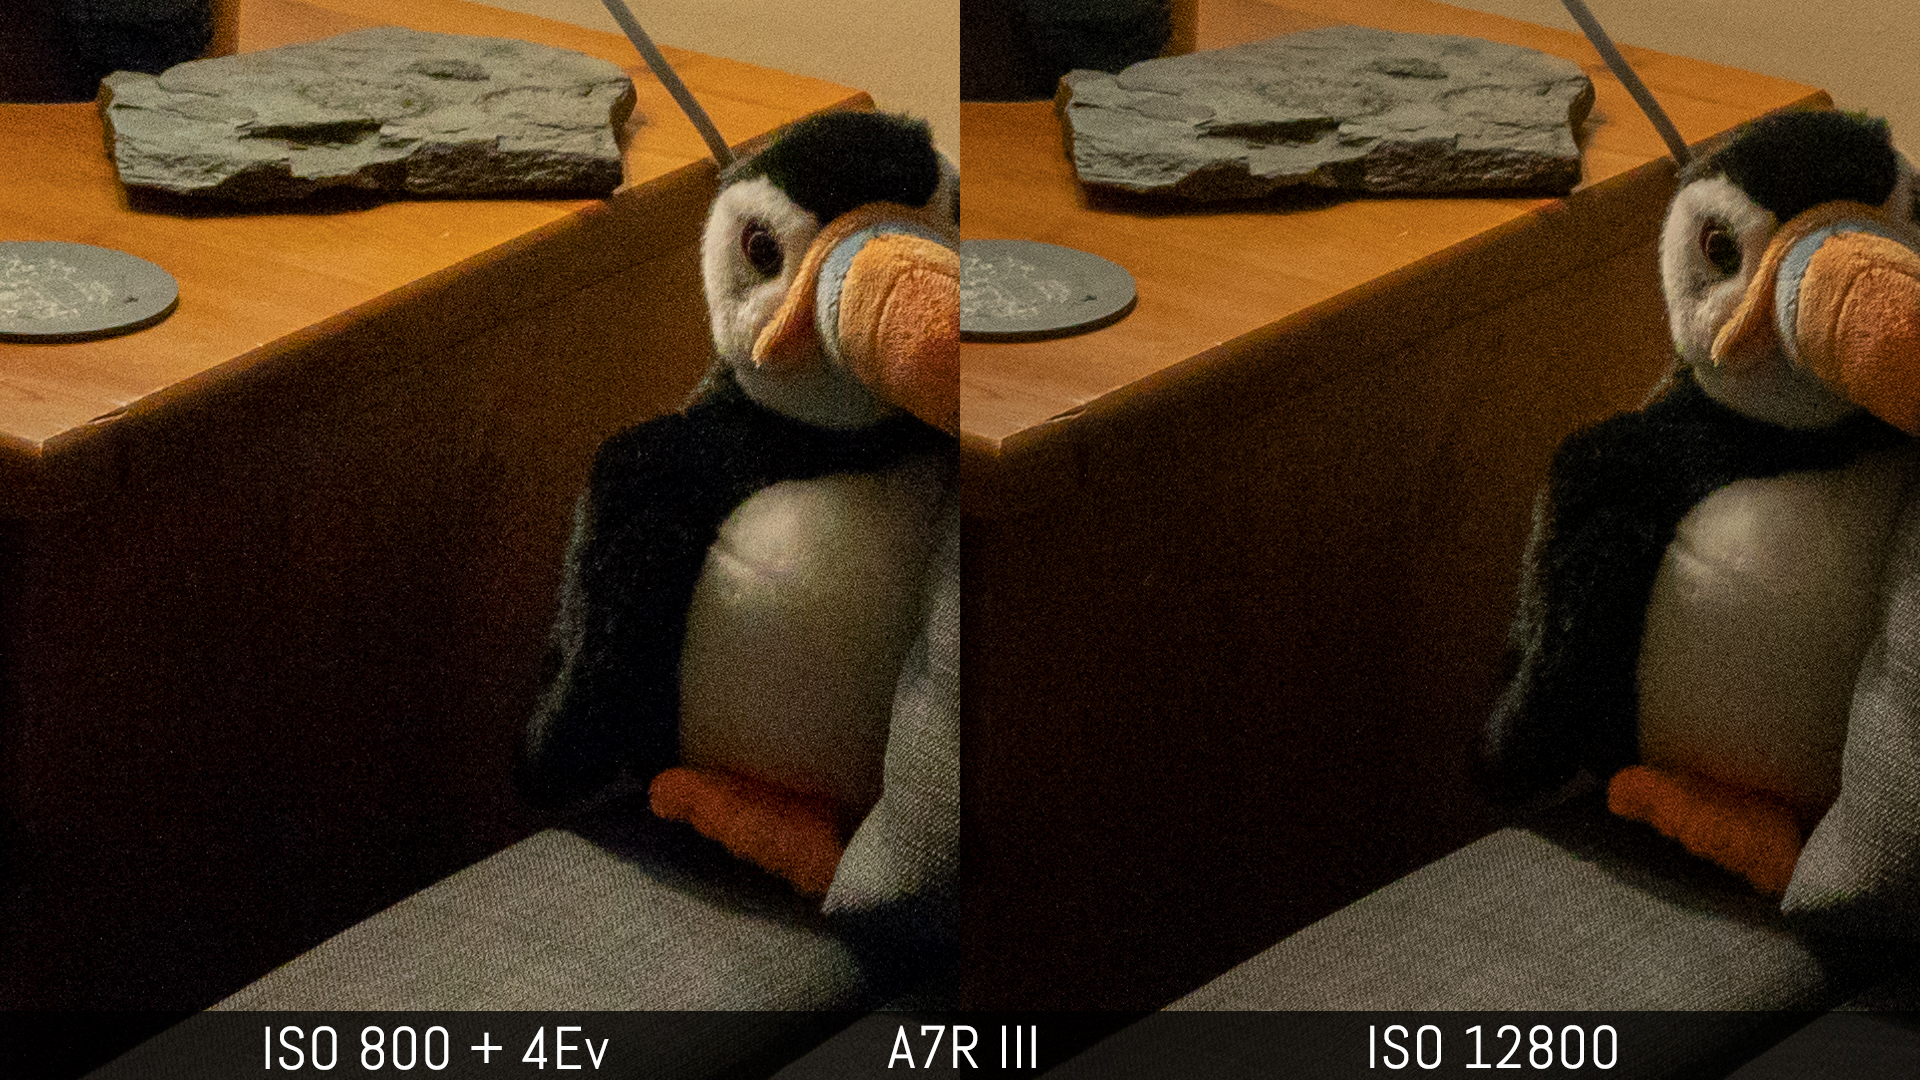
The real advantage of this technique is that you preserve more highlight information. Bear in mind that if you want to recover some extra shadows, the lower ISO version may show more noise.
As a final note in this chapter, Auto ISO works in M mode on both cameras and exposure compensation remains active. You can also set set a minimum shutter speed for both.
Colour profiles, white balance and other settings
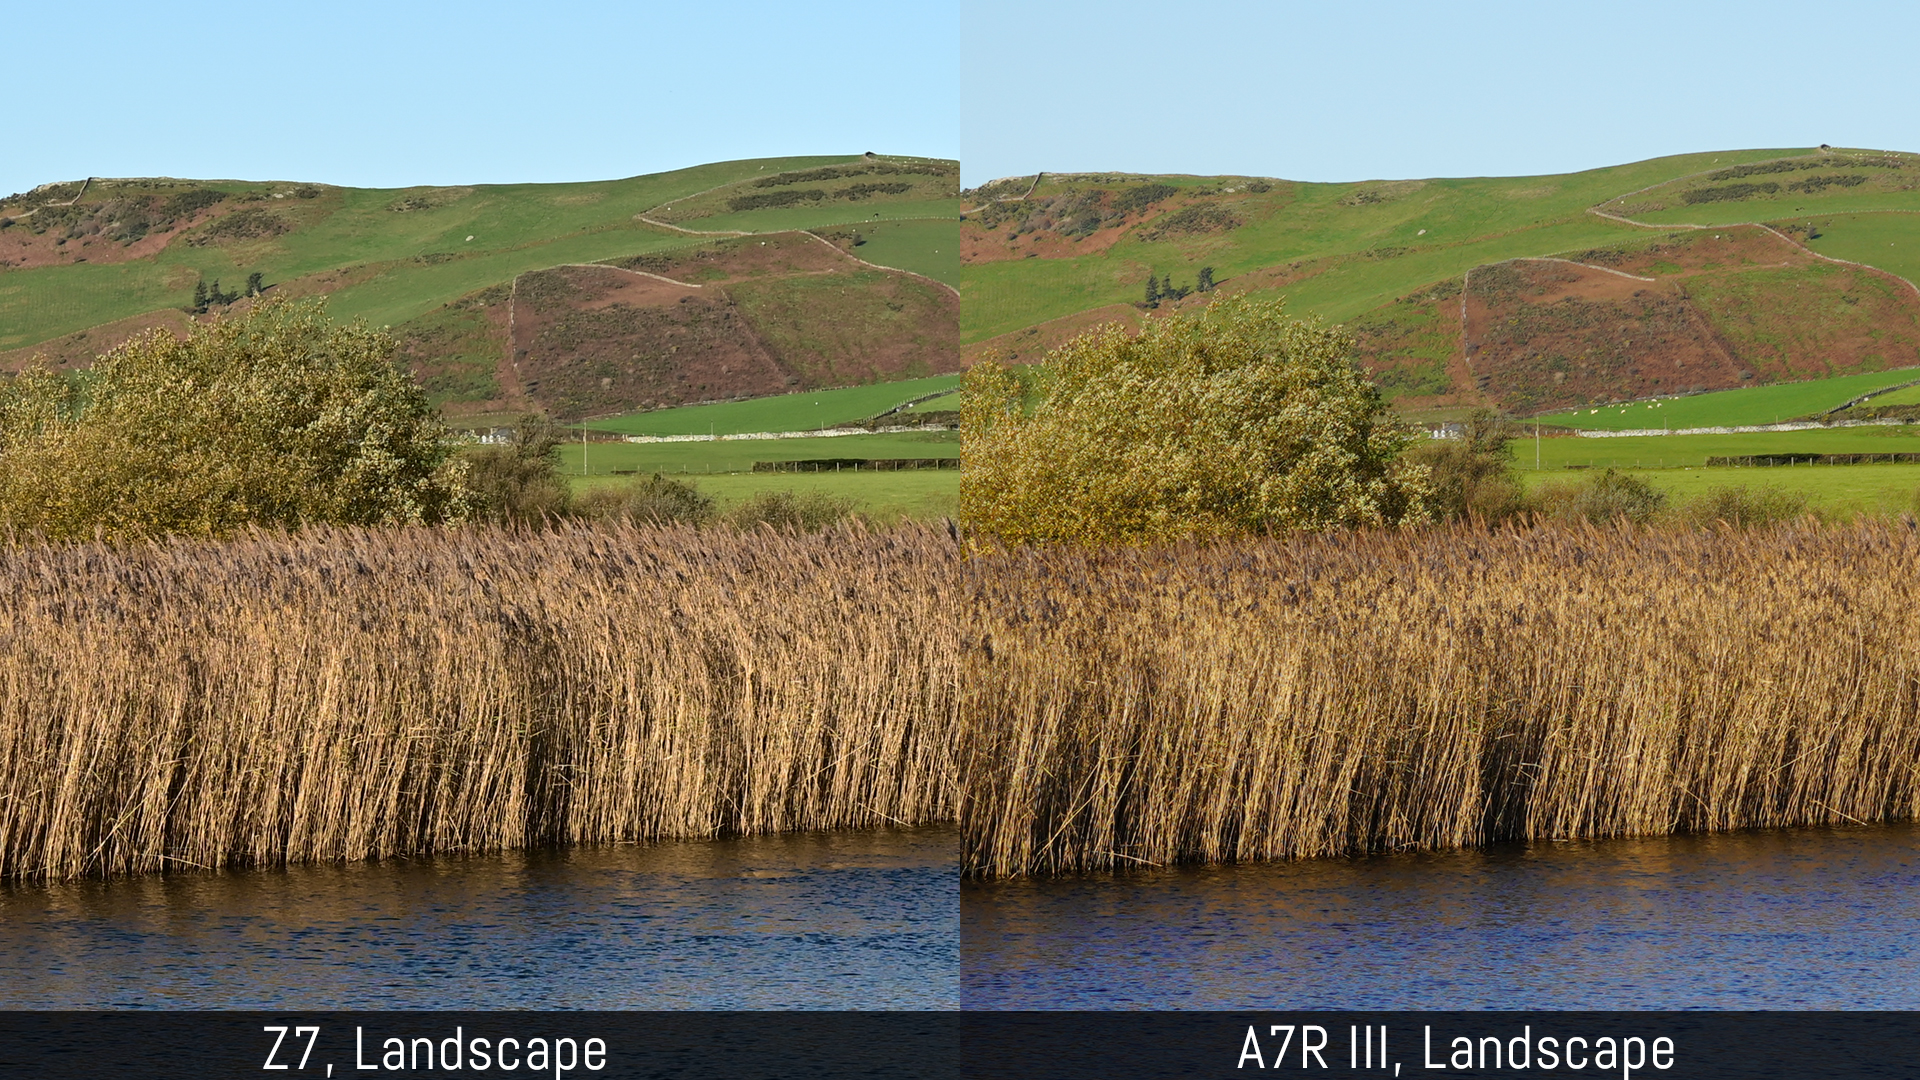
If we look at two RAW files taken at the same time, with the same settings and with the same colour profile applied in post (Adobe Landscape in this case), the results aren’t dissimilar. The Nikon file retains a bit more yellow and requires less magenta, whereas the Sony file looks redder.
As usual we need to turn to the built-in colour profiles to analyse each brand’s colour science better.
The Z7 has six Picture Controls, plus an Auto mode where the camera automatically adjusts hue and tone depending on the scene being photographed. There is also a Flat profile that is intended for video use. In addition to sharpening, you can vary other parameters such as contrast, brightness, saturation and hue, and save your customised settings into new profiles.
The A7R III has 13 Creative Styles and you can vary parameters such as contrast, saturation and sharpness but with fewer adjustment steps available.
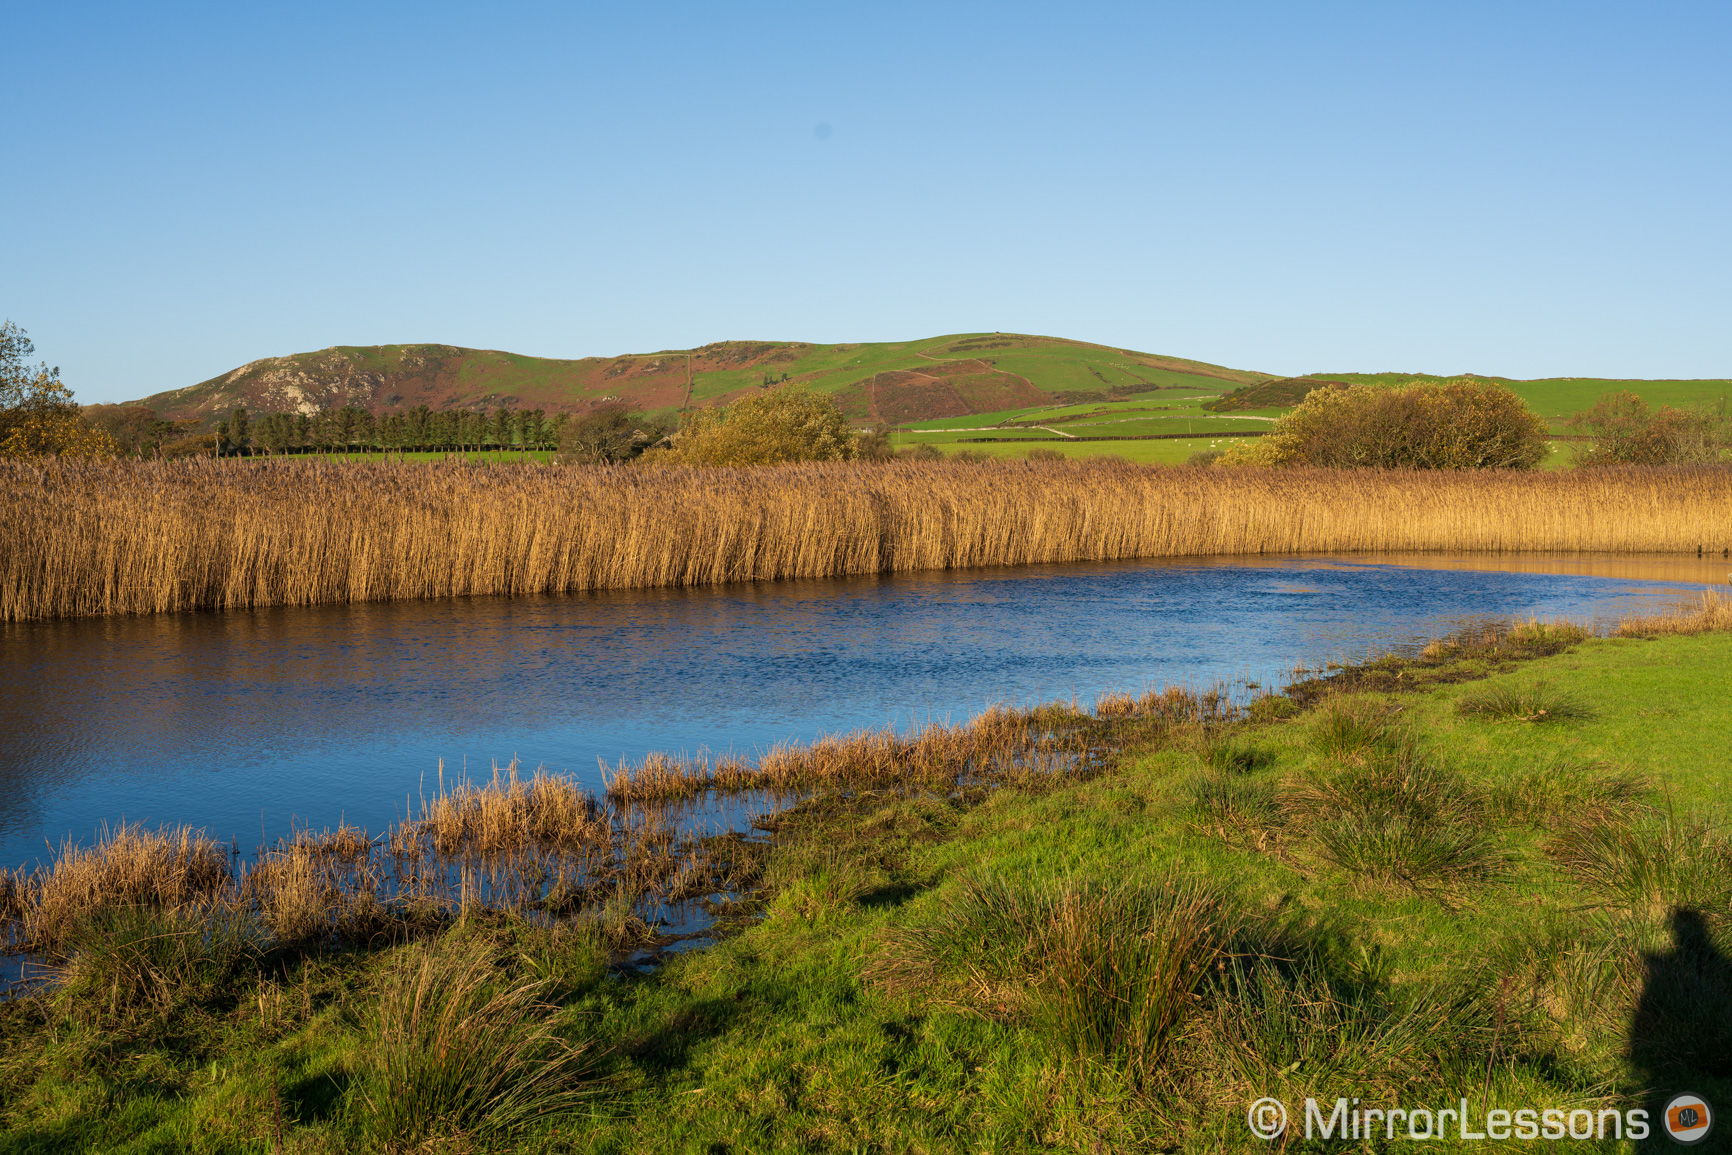
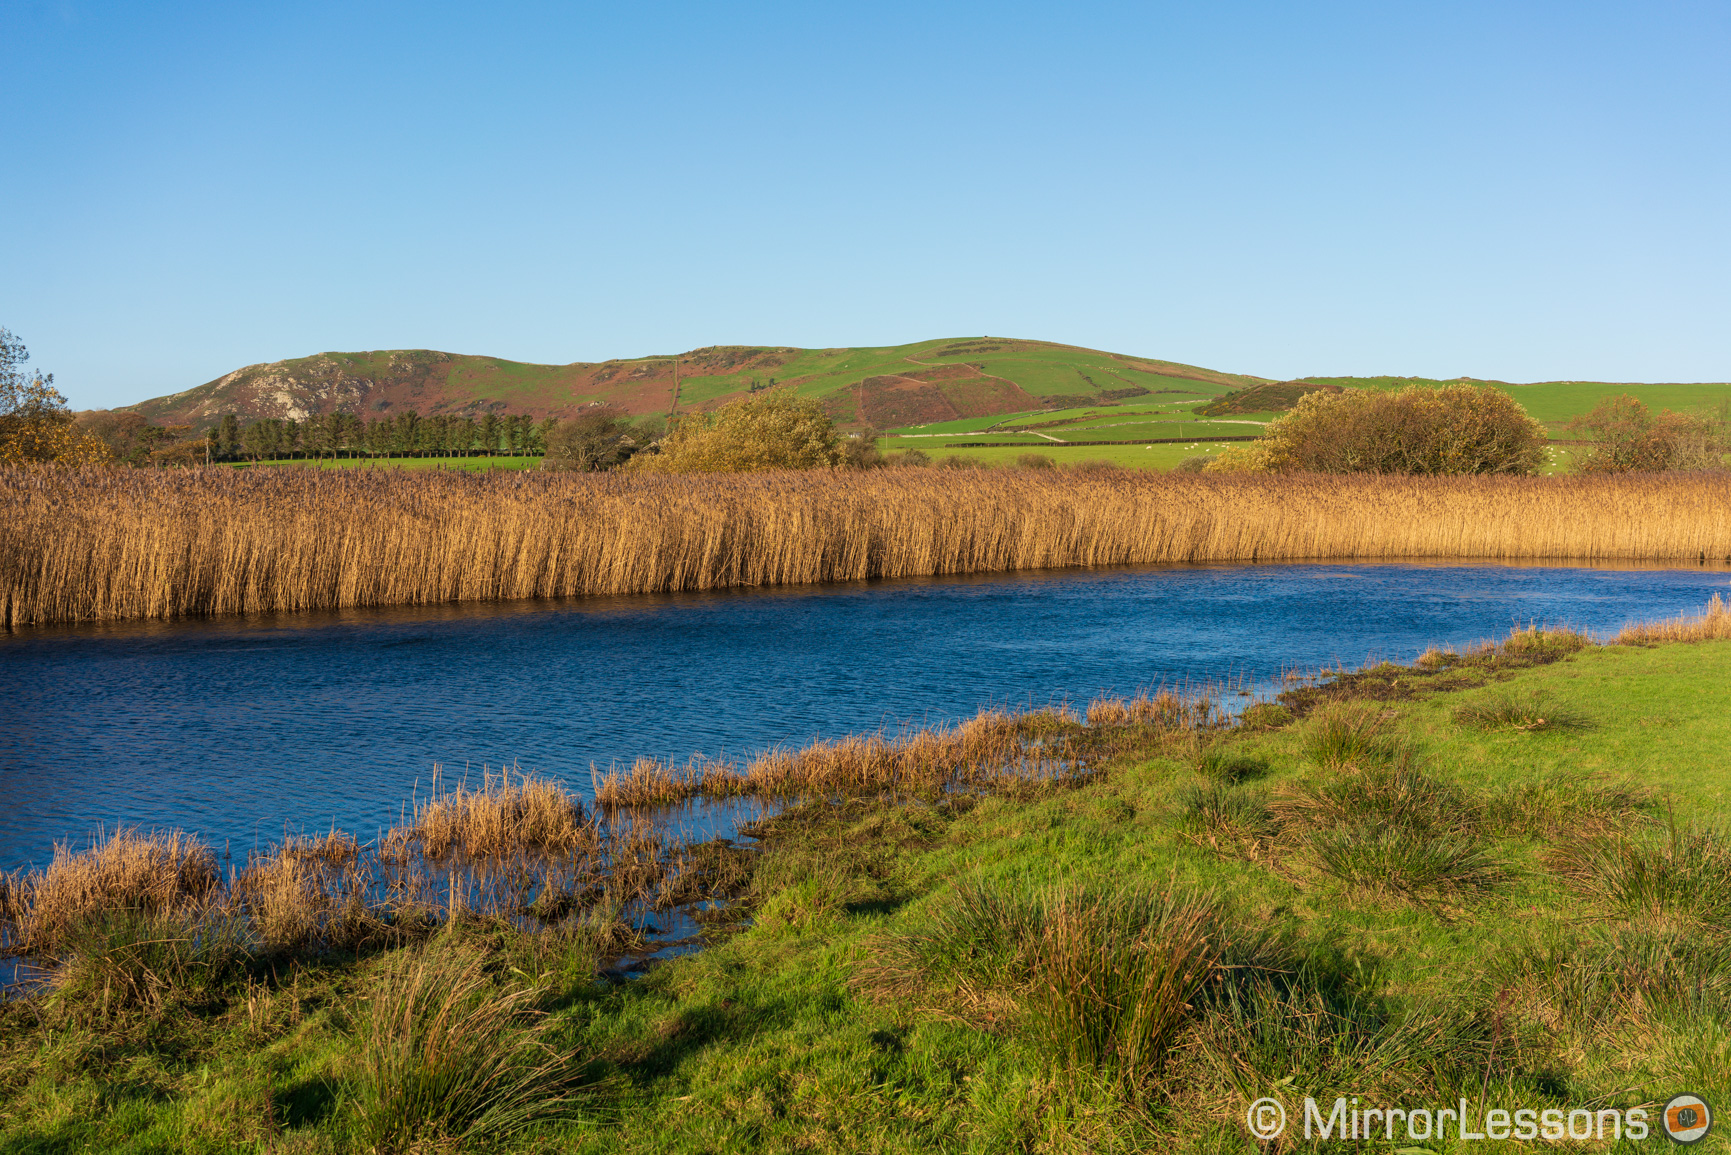
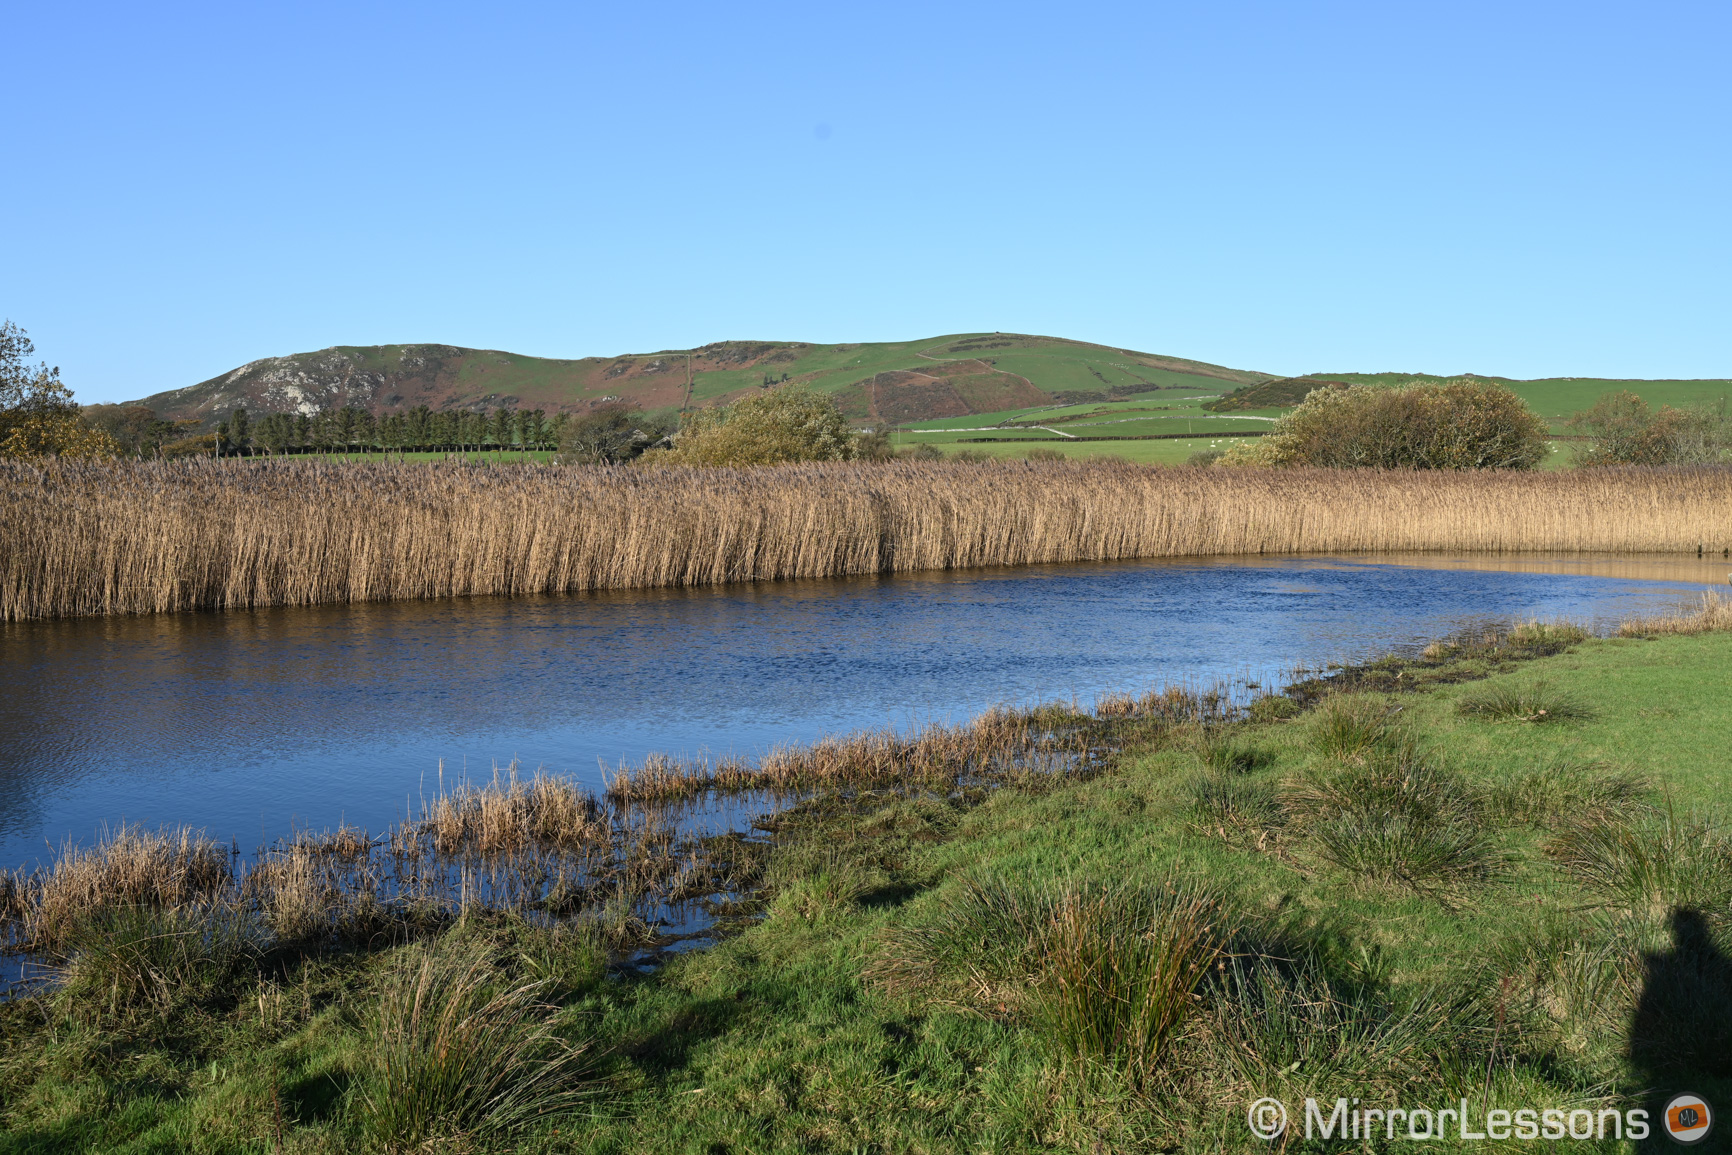
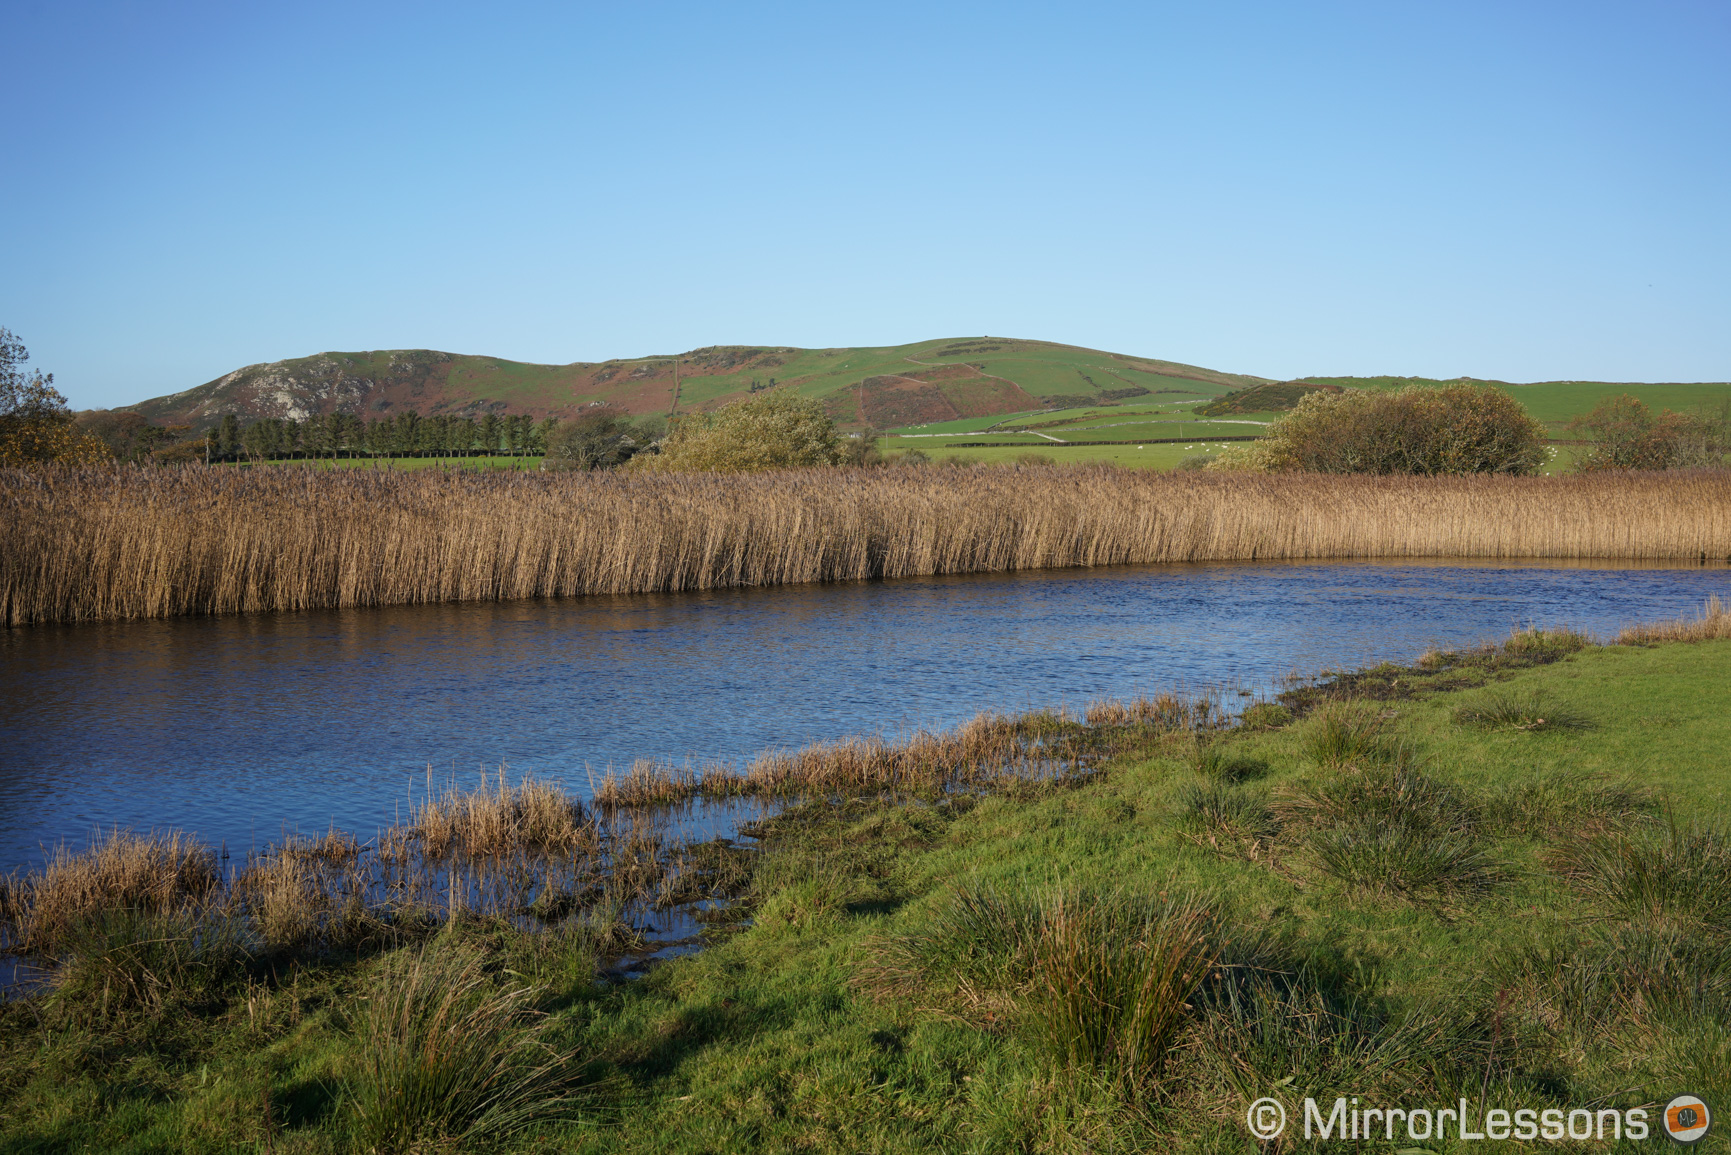
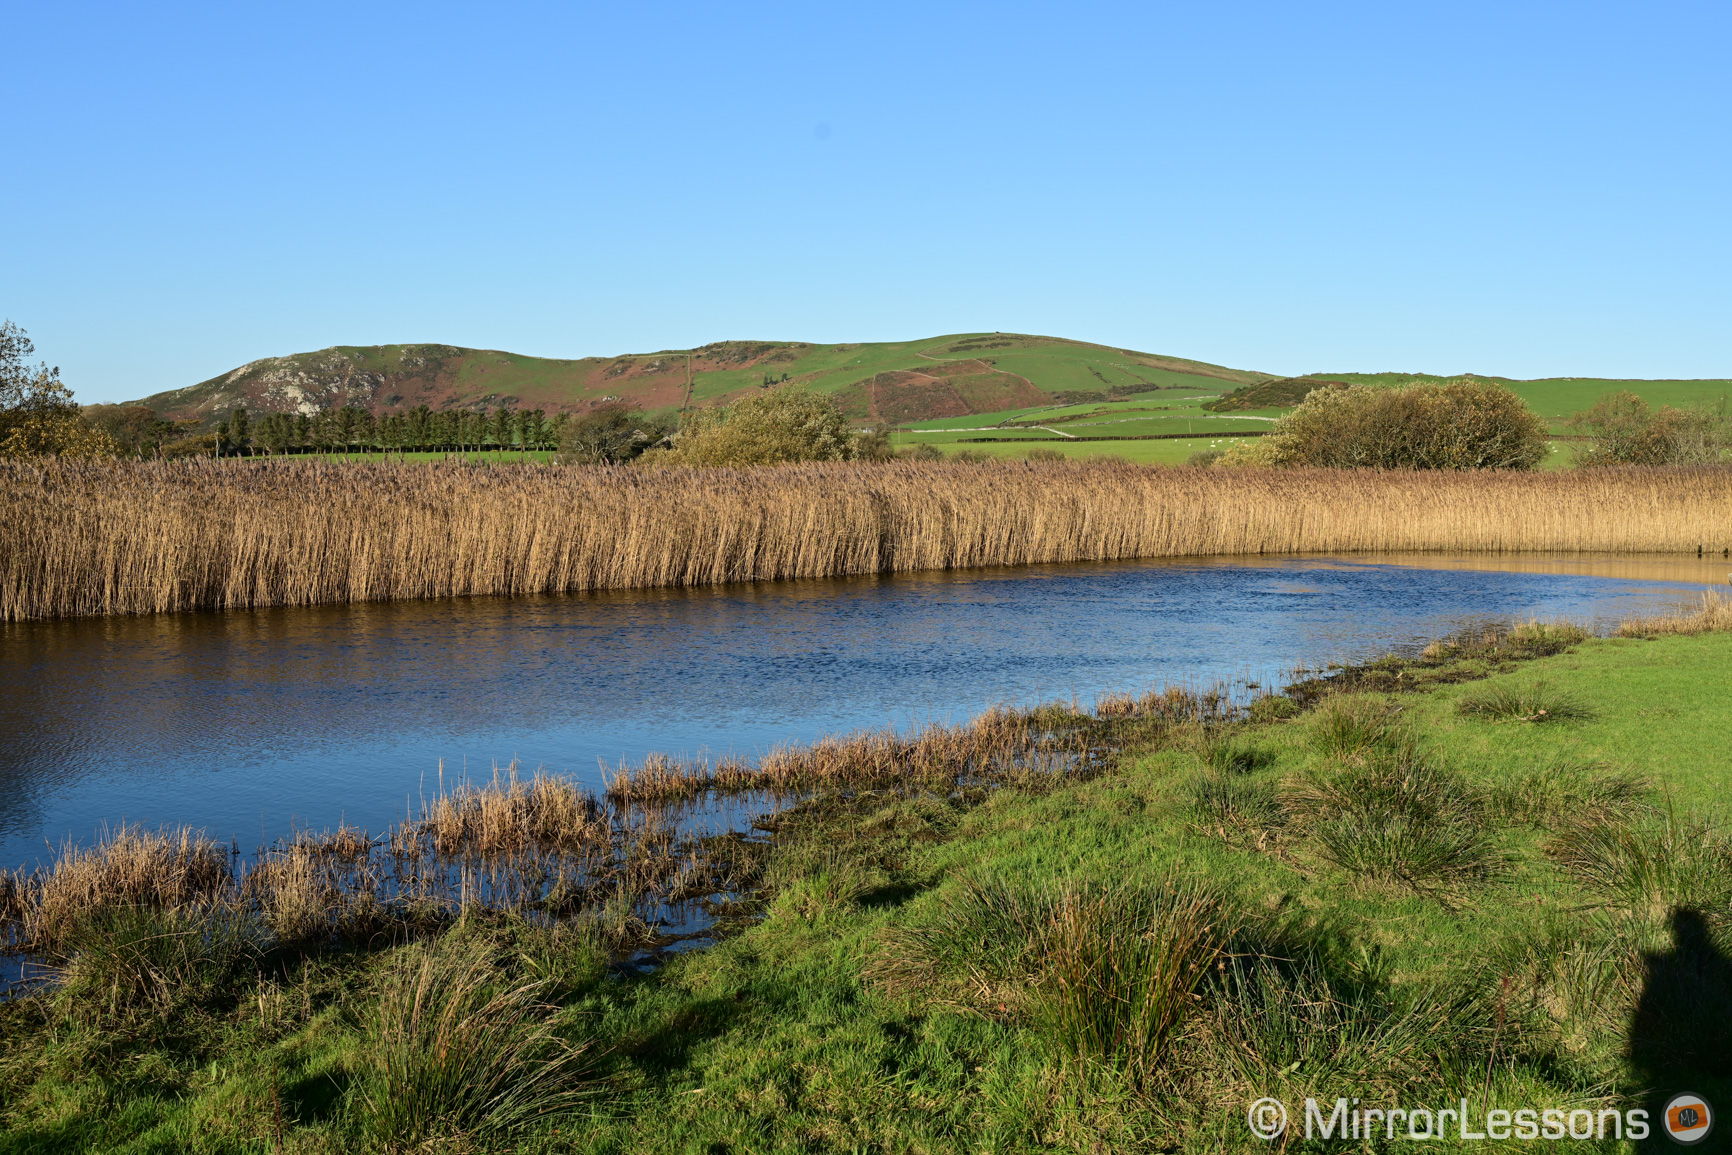
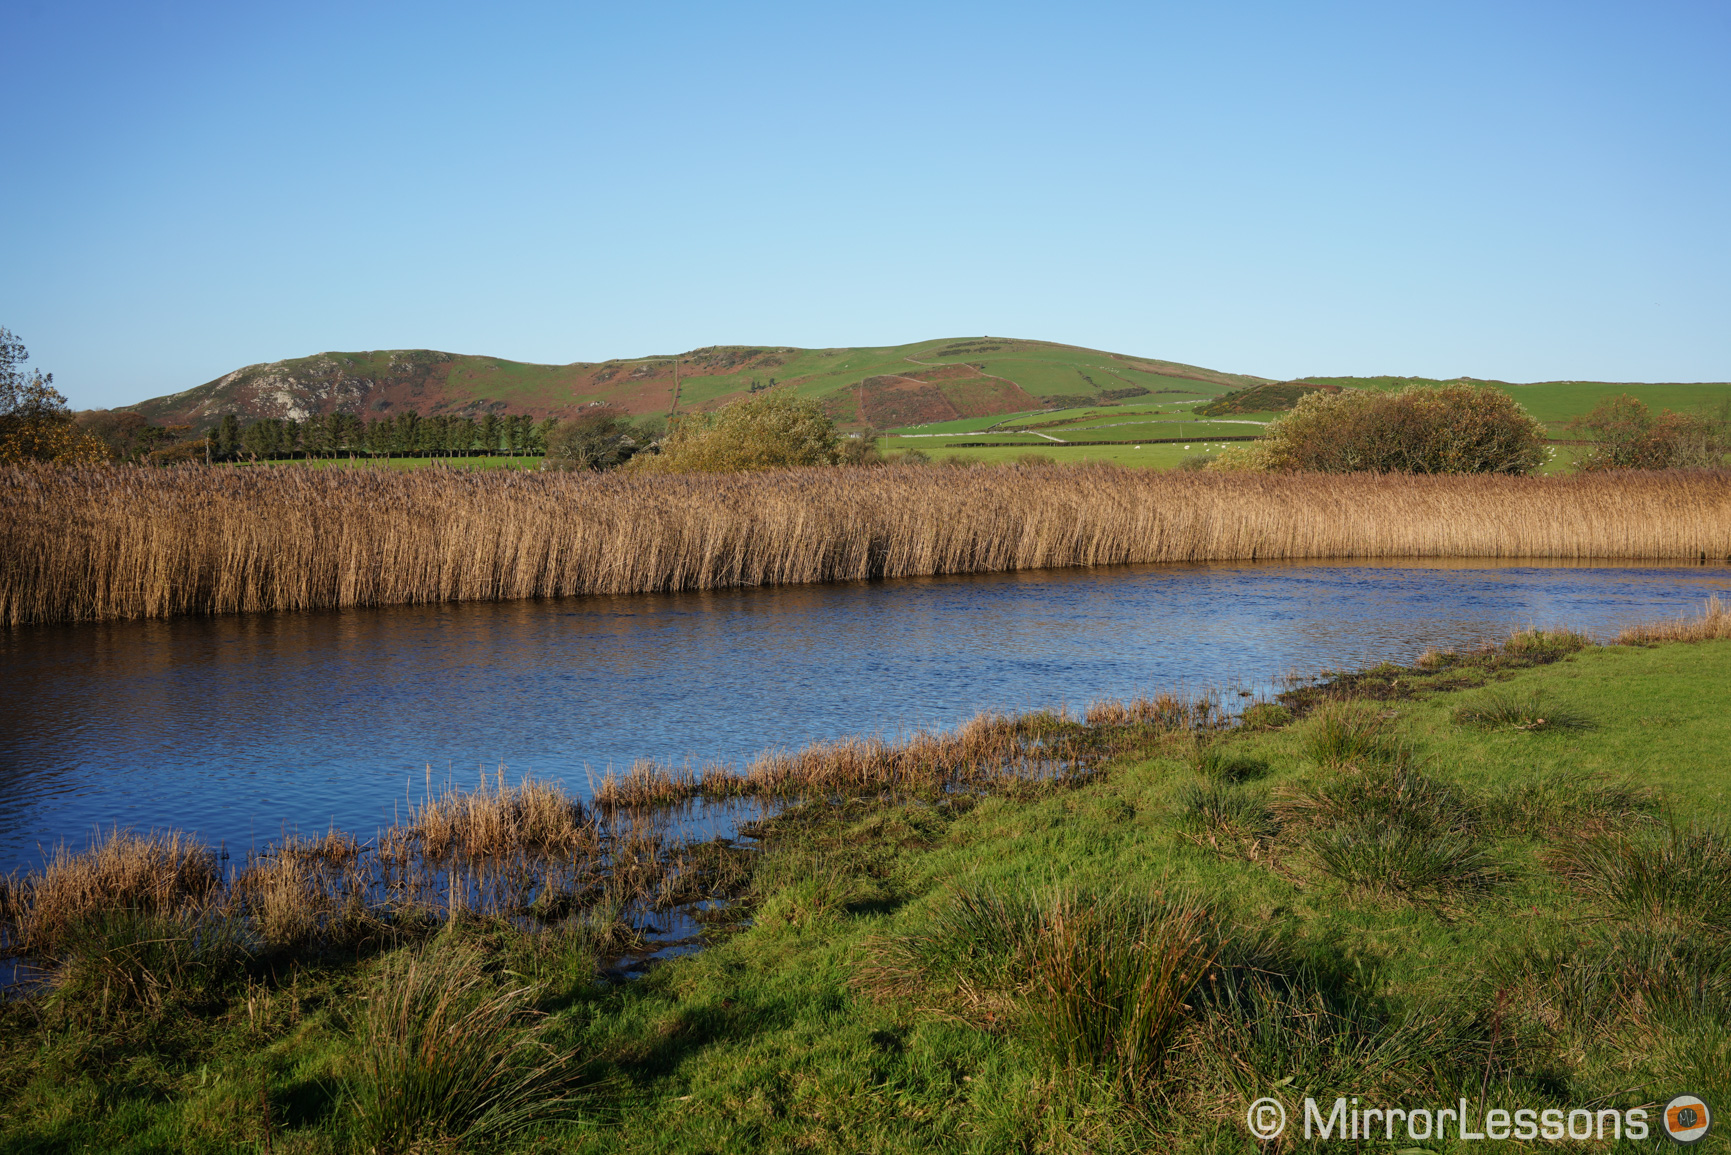
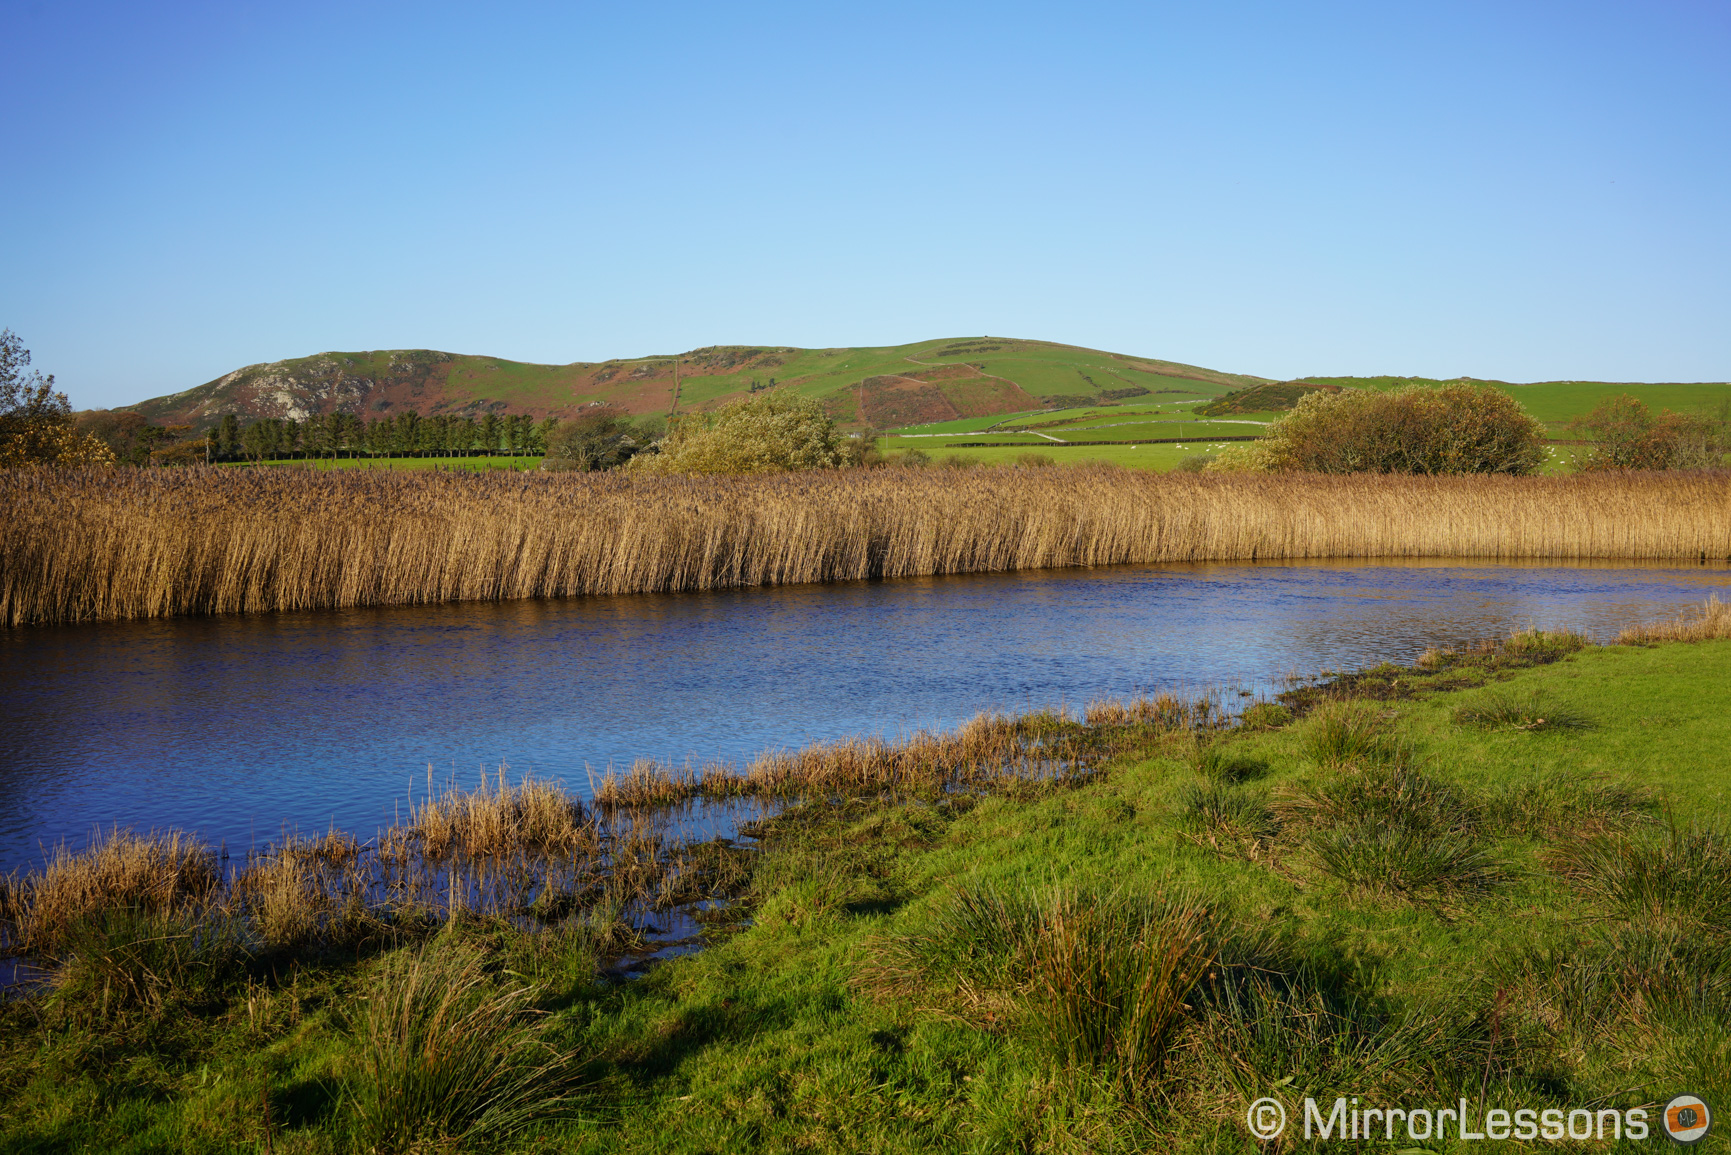
Below you can see the same landscape scene taken with the Standard profile, first with Auto and then with Manual White Balance. The Nikon tends to have a cooler look than the Sony when in AWB. There are two auto settings on the Z7: AWB and Natural Light auto. I used the latter as the former is even less warm.

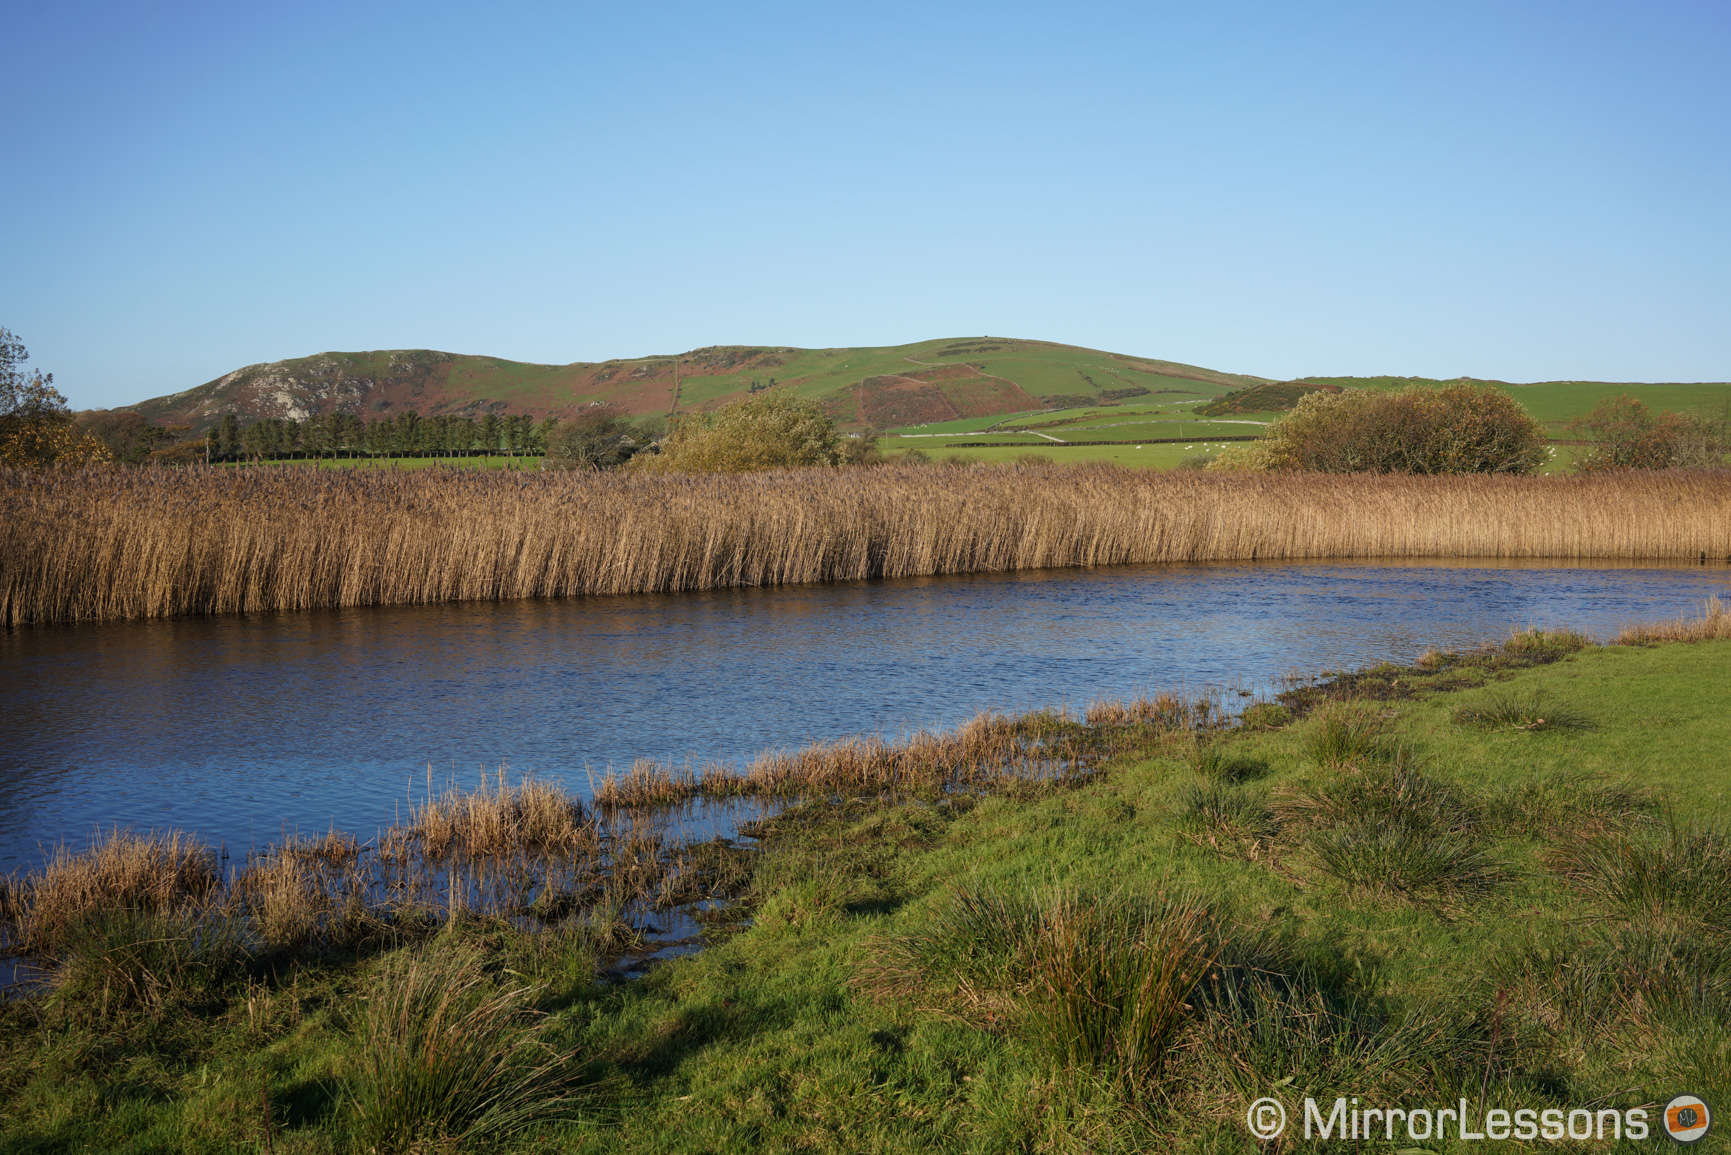
If we take a look at the stronger profiles, we can notice that the Z7 has more saturated greens, more vibrant blues in the sky and a stronger yellow hue in comparison to the A7R III.

With the landscape profile, it is the Sony that displays more saturation and a warmer/yellowish look.

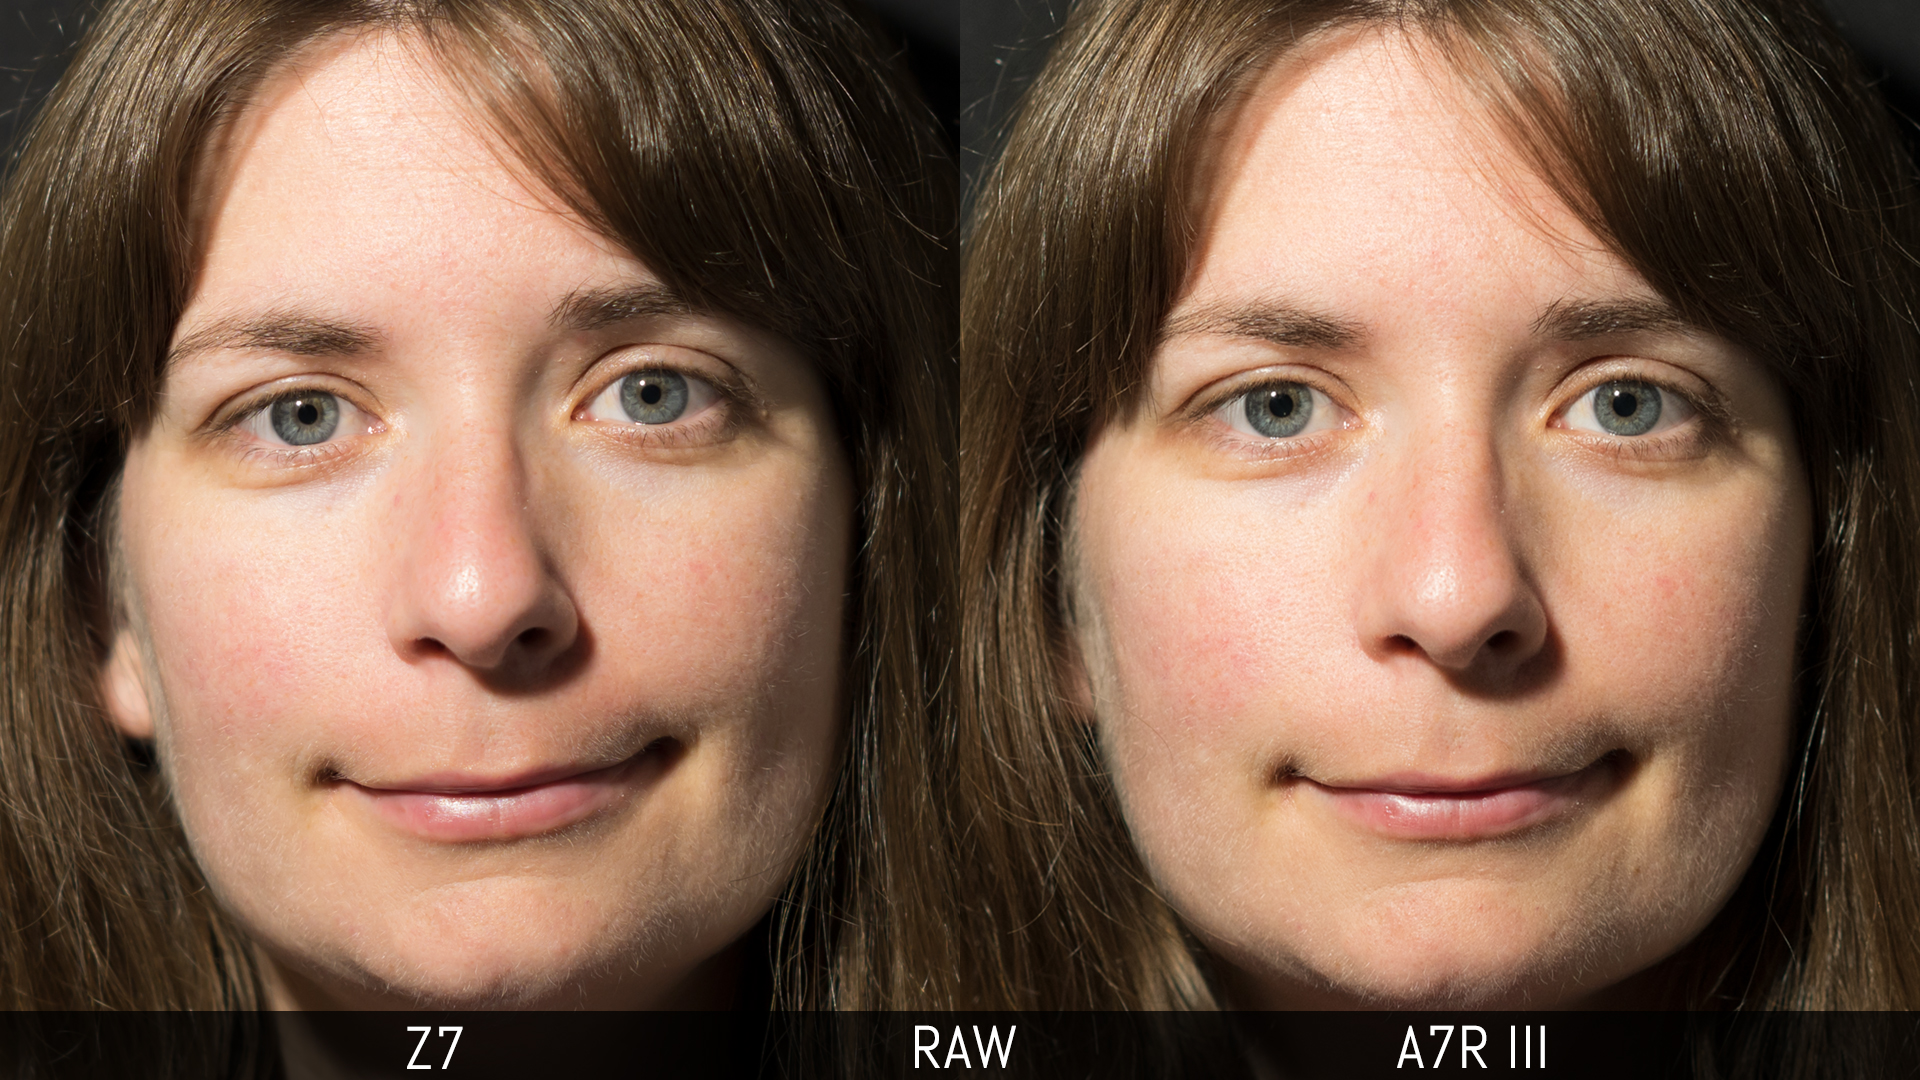
Next we turn to skin tones. When adjusting the RAW files, the Sony version requires more magenta shift and a bit of white balance adjustment to warm up the tones, while it was the opposite for the Z7.
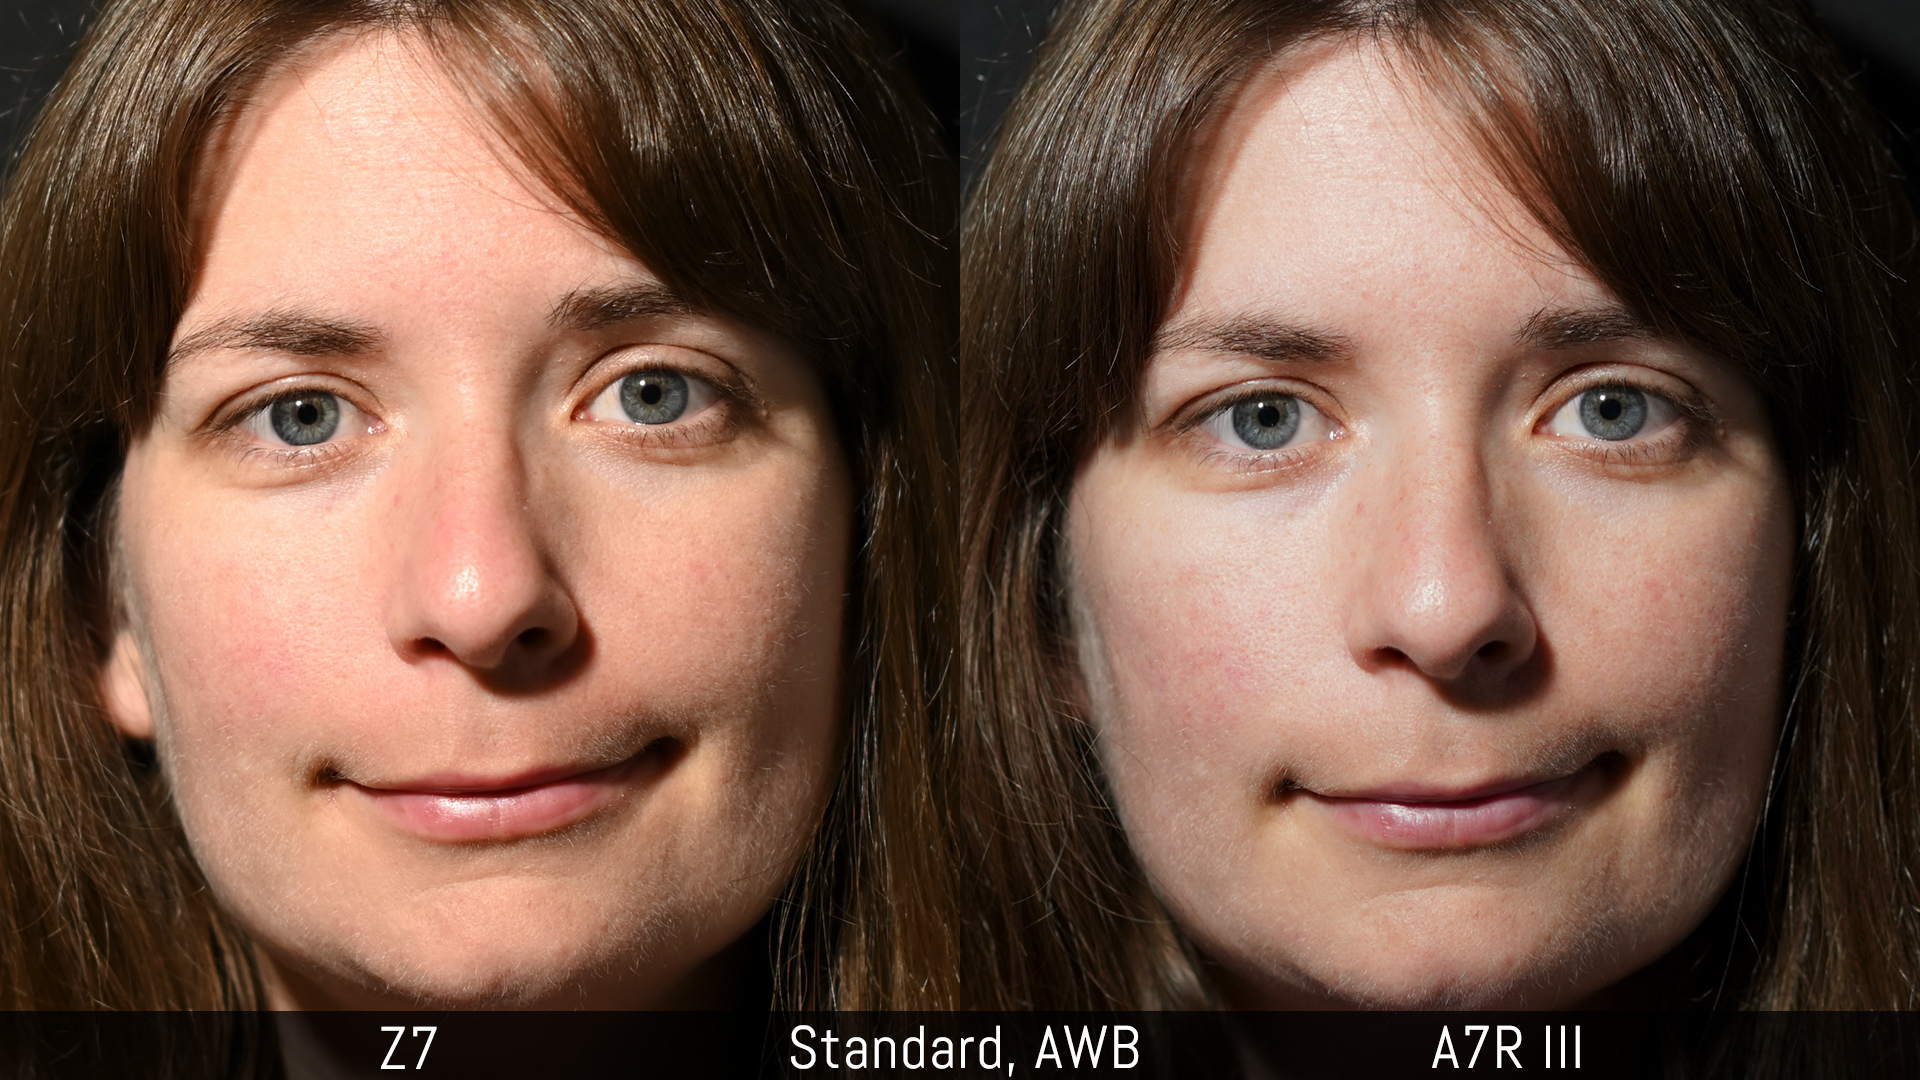
With the in-camera profiles, the Z7 has a warmer look in AWB with a bit too much red for my liking, whereas the A7R III is cooler by comparison.
With the same manual kelvin temperature, they look more similar although the Nikon remains a bit warmer.
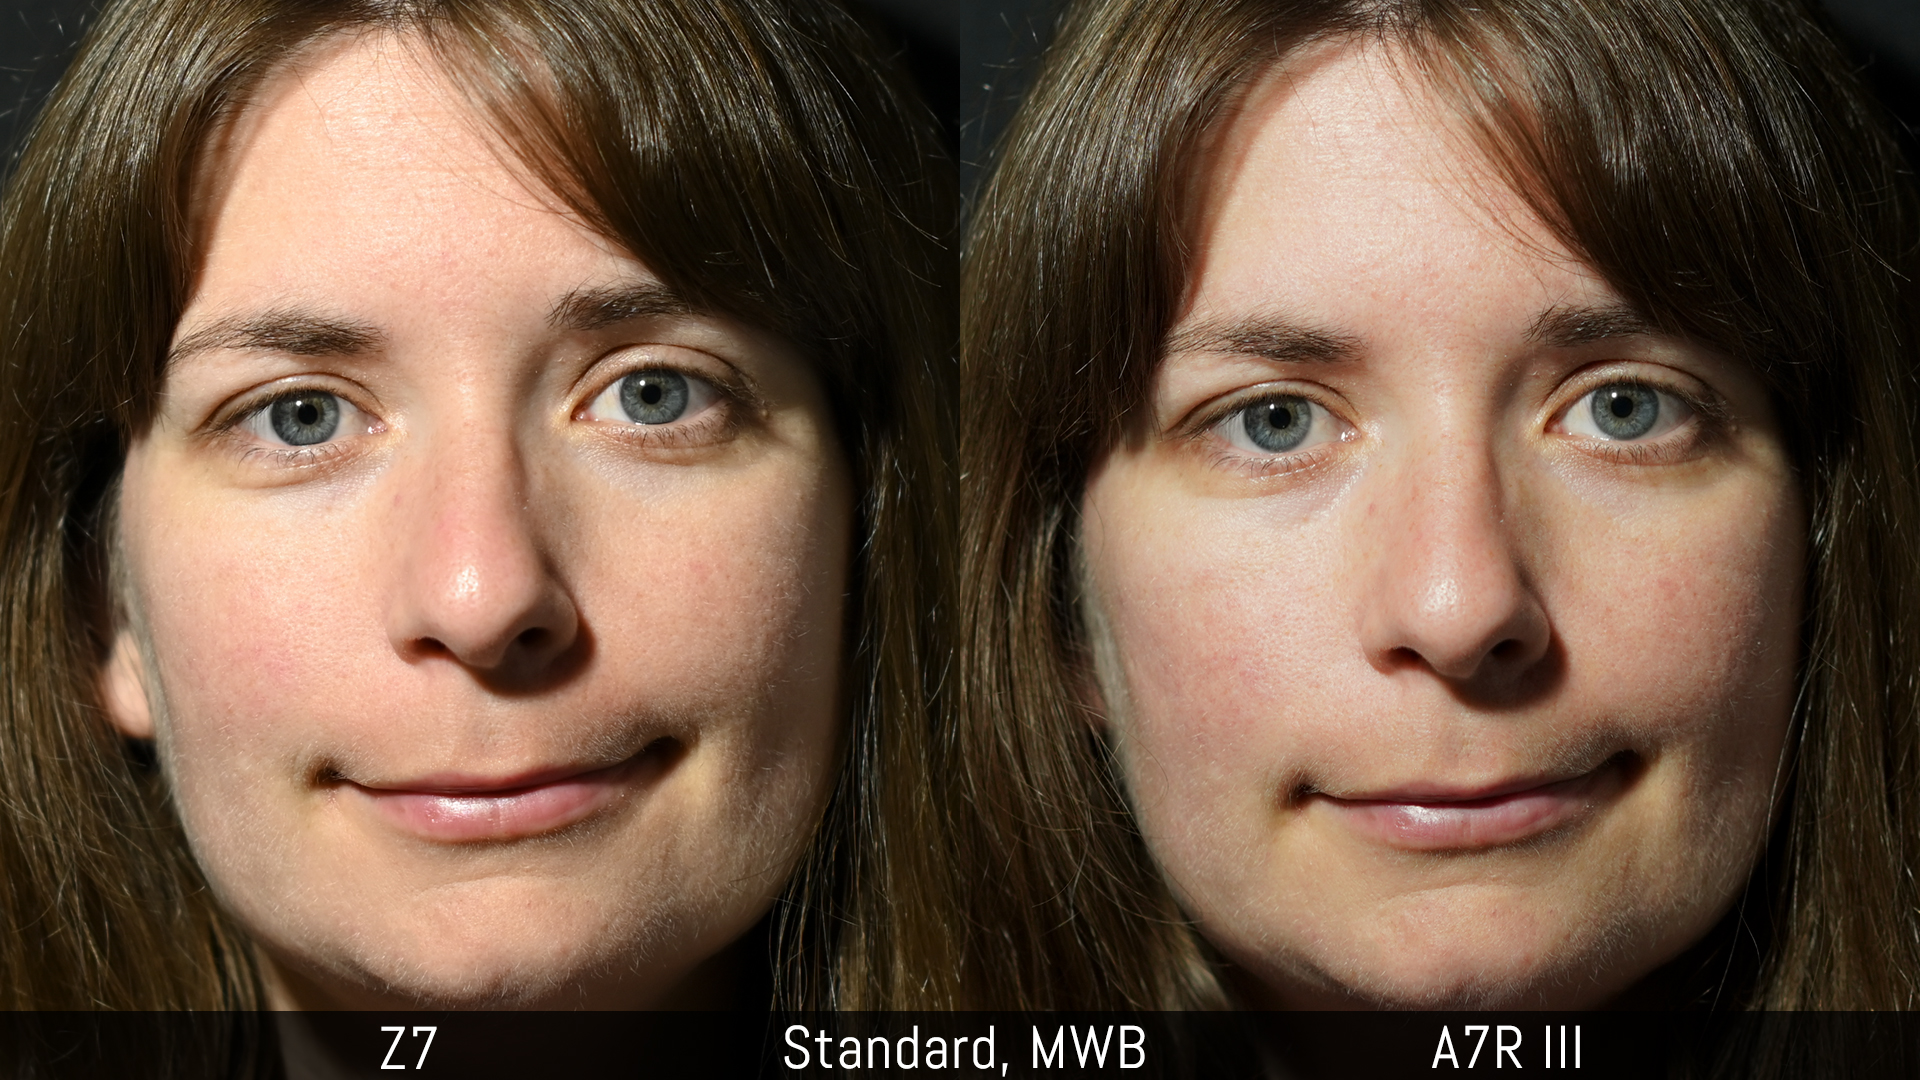
We can also notice that the Z7 produces a smoother, more uniform rendering of the skin, whereas the A7R III files have more contrast and brighter zones. This is visible with the Portrait profiles as well.

One thing to note is that the Z7 profiles such as Standard and Vivid have a stronger sharpness setting by default in comparison to the A7R III JPGs, and they can be a bit too harsh for portraits.
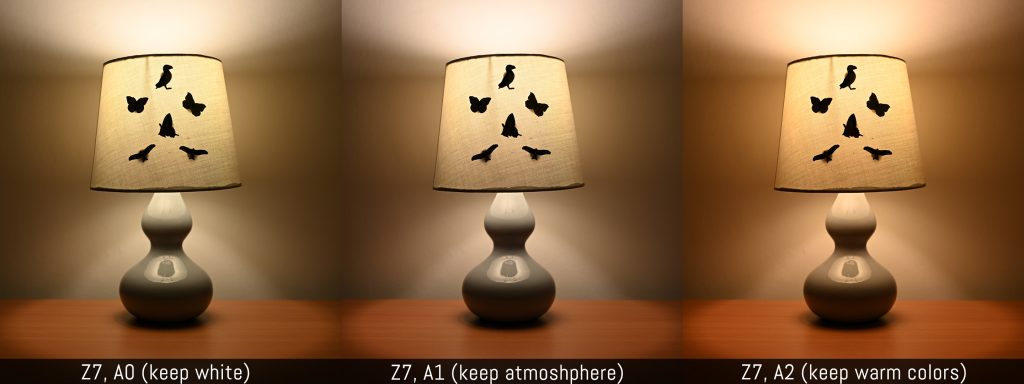
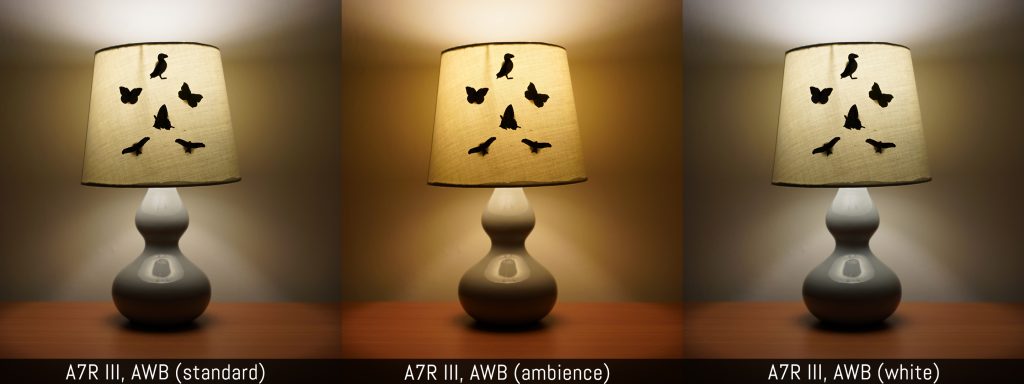
Continuing in white balance vein, if you like to work in automatic mode, there are various settings available to control it. In addition to the example seen above, you can decide to prioritise or reduce warm light when shooting under artificial light sources.
The Z7 has three options (Keep White, Keep Overall Atmosphere and Keep Warm Lighting) and the middle one does a good job in most cases. The A7R III has three settings but often Standard and White give similar results.
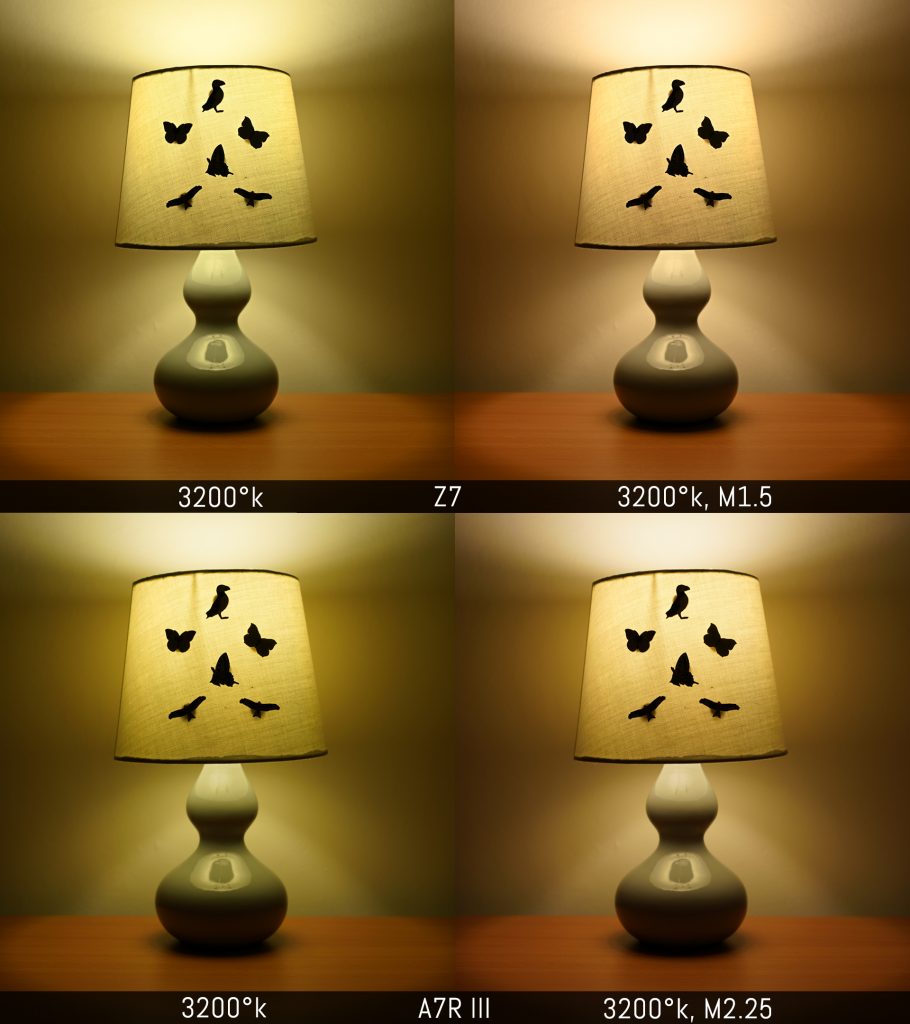
If you adjust the kelvin temperature manually, green cast can appear, with the Sony image being slightly more vulnerable to this than the Nikon. In this case you need to tweak the white balance shift and fortunately both cameras allow you to do so (Blue-Amber and Green-Magenta). Curiously on the Z7, only G/M is available when shooting, while you can also adjust B/A with the built-in RAW processor.
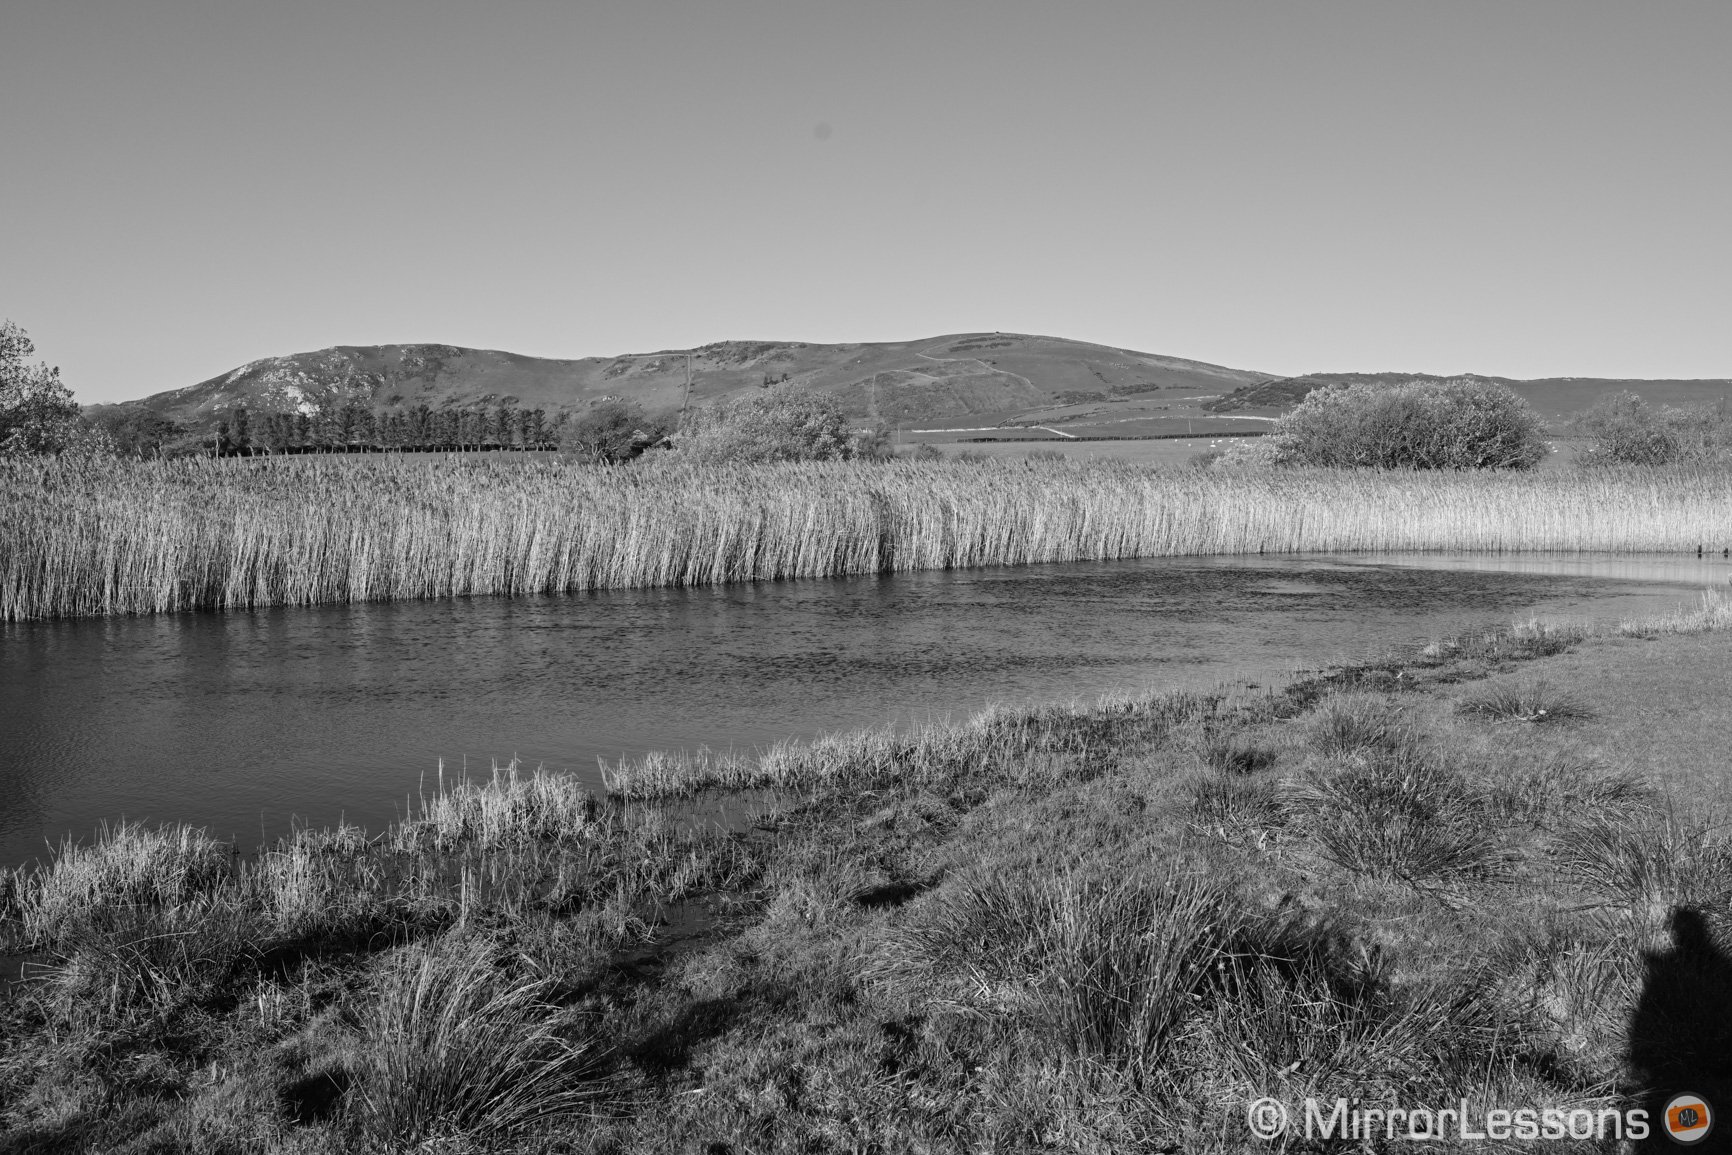
Included in the in-camera profiles mentioned above, there are also monochrome options. The Z7 has one dedicated profile where you can also select four different colour filters (red, orange, yellow and green). The A7R III has one Black & White and one Sepia style.
Additionally, each cameras has extra settings such as Creative Control / Picture Effect profiles (Bleach bypass, Toy Camera etc.) that, in all honesty, you probably won’t bother with on high-end products such as these.
You can activate correction for vignetting, diffraction and distortion (the Z7 allows you to control the amount of vignetting in three steps).
Finally, I found that metering on each camera behaves in a similar way. The Z7 offers four modes:
- Matrix (multi)
- Center-weighted (two sizes available)
- Spot
- Highlight weighted (protects highlights by underexposing more severely).
The A7R III has five settings including Multi, Center-Weighted, Spot (two sizes), Entire Screen average and Highlight. Each of these settings can be fine-tuned by ±1Ev (1/6 steps) on both cameras.
This article continues on page 3.
Check the price of the Nikon Z7 on:
Amazon | Amazon UK | B&H Photo | eBay
Check price of the Sony A7R III on: