The OM-D E-M1 II was announced in September 2016 and released a few months later. It introduced a new sensor, more ergonomic design and grip, larger battery, and impressive continuous shooting speeds, while pushing image stabilisation to a new level.
Unfortunately, the camera was lacking in some key areas. The autofocus performance was somewhat disappointing and the video specifications, while better than those on any other Olympus product to date, remained behind the competition. Some things got better over time thanks to firmware updates, but an overall upgrade was due.
More than three years later we meet the E-M1 III. It incorporates the latest features developed by Olympus, many of which we’ve already seen on the flagship E-M1X.
I had the opportunity to test the mark III for an afternoon at the UK press event and get a first glimpse of how it compares to its predecessor. Is the new model worth the wait? Let’s find out!
E-M1 III comparison previews:
E-M1 II vs E-M1 III – E-M1 III vs E-M1X – E-M1 III vs G9
Note: Because the new camera shares many characteristics with the OM-D E-M1X, which I’ve already tested and compared to the E-M1 II, I will refer to that comparison multiple times and include images from it where relevant.
Ethics statement: the following is based on our direct experience with the E-M1 II, and the hands-on time with the E-M1 III at the press event. We were not asked to write anything about these products, nor were we provided with any sort of compensation. Within the article, there are affiliate links. If you buy something after clicking the link, we will receive a small commission. To know more about our ethics, you can visit our full disclosure page. Thank you!
E-M1 II vs E-M1 III: 1 minute video recap
Below you can watch a quick video that summarises the most important changes brought to the new camera.
1. Design and Interface tidbits
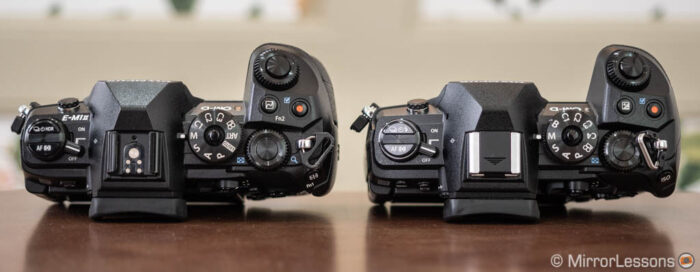
The design of the E-M1 III remains very similar to its predecessor as you can see from the images. In fact, the dimensions according to the official specifications are identical, with the mark III model being a mere 6g heavier.
- E-M1 II: 134.1 x 90.9 x 68.9mm, 574g
- E-M1 III: 134.1 x 90.9 x 68.9mm, 580g
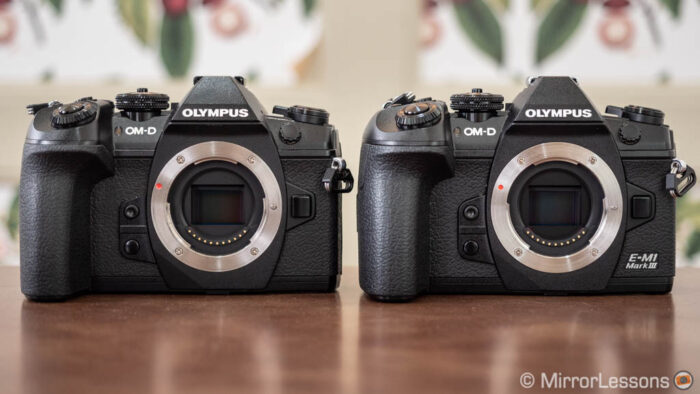
Both cameras are fully weather-sealed against dust and moisture, and they are freeze-proof down to -14˚C. They feature a solid construction with a magnesium alloy frame.
What has changed then? Well, we need to look at the details.
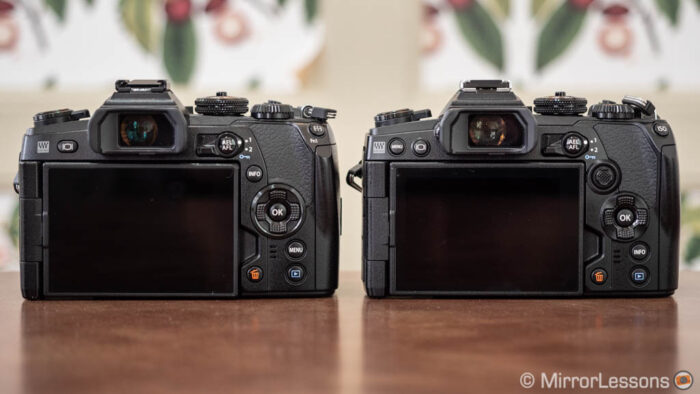
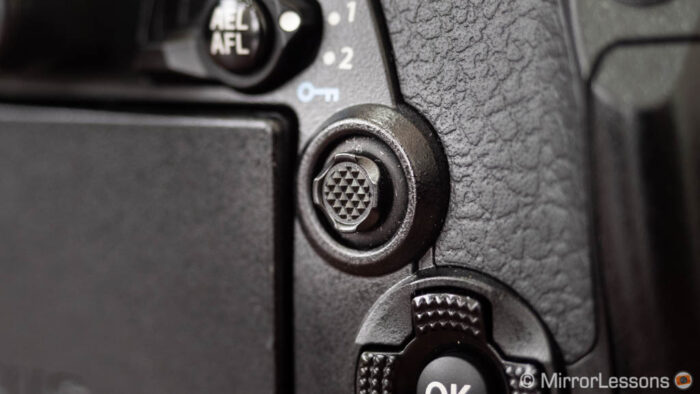
On the rear, the most notable addition is the 8-way joystick which is the same one found on the flagship E-M1X. It takes the place of the INFO button, which has been moved to the bottom near the Playback key.
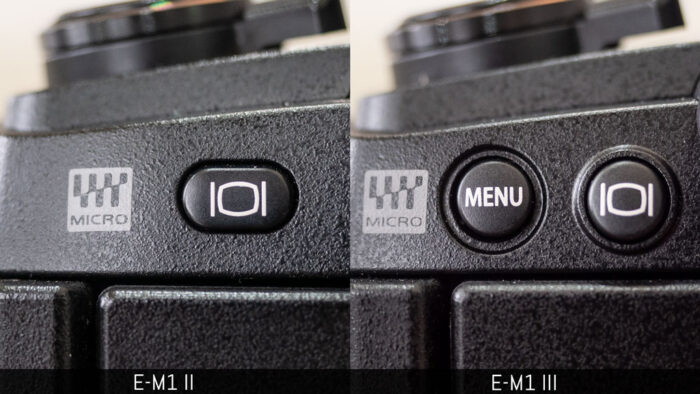
The Menu button has moved to the top left side near the Monitor/EVF key. That was definitely the change I had the hardest time adjusting to: I kept pressing the INFO button on the new camera thinking it was the Menu button.
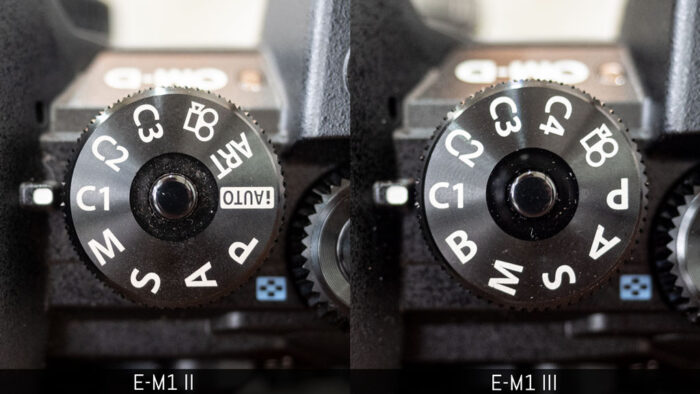
On top, the main shooting mode dial has four custom steps instead of three, and a B step for Live Bulb / Live Time / Live Composite. To access these functions on the E-M1 II, you have to rotate the shutter speed dial until you reach the Bulb mode, which is more annoying.
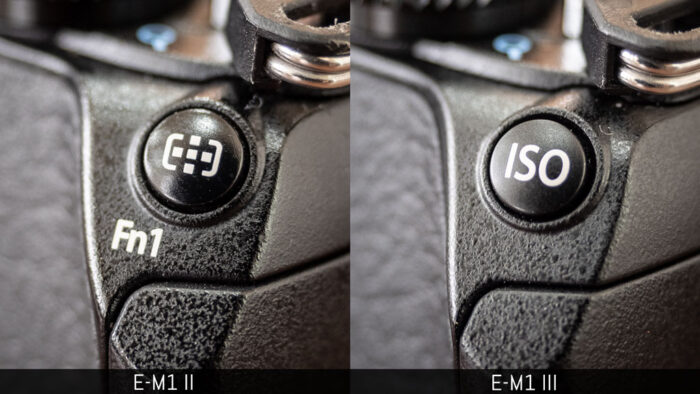
Above the thumb grip on the rear, the function button is set to ISO by default rather than the AF Target. These keys remain customisable. (The cameras have 10 function buttons each.)
The front dial is said to be more responsive on the new camera but to be honest, I didn’t notice any real difference.
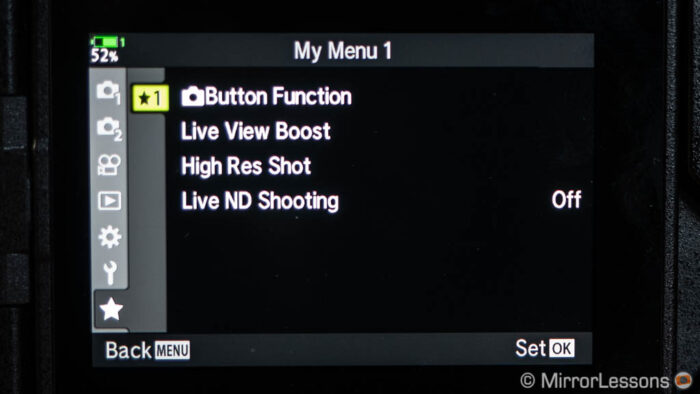
The menu system is more or less unchanged. Some of the GUI has been updated such as for example the function button page and the new My Menu section where you can save your favourite settings.
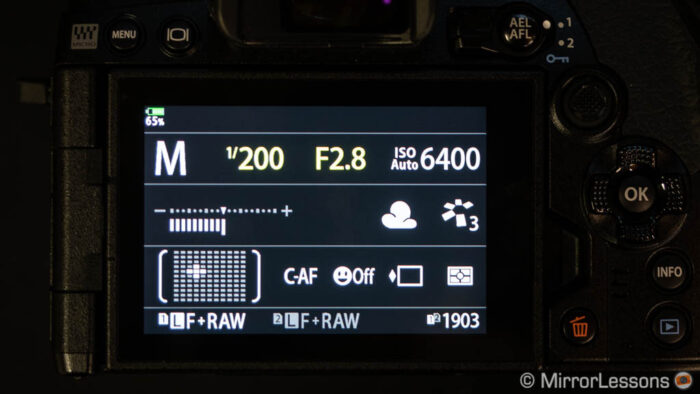
In addition to the classic Super Control Panel that you activate with the OK button, you can display a new and simplified version, and easily toggle between the two.
2. Image Processor and Image Sensor
The E-M1 III uses a brand new TruePic IX image processor, and it is the first Olympus camera to introduce this 9th generation image engine.
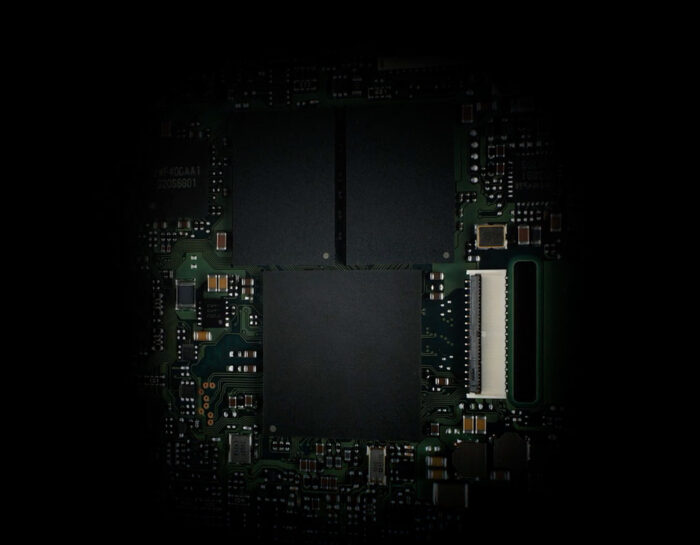
This is important to mention because the new processor is responsible for some of the new features the E-M1 III inherits from the flagship E-M1X, such as the hand-held High Res Shot mode and the Live ND function (more on this further down). The E-M1 II uses the older TruePic VIII processor which is now four years old.
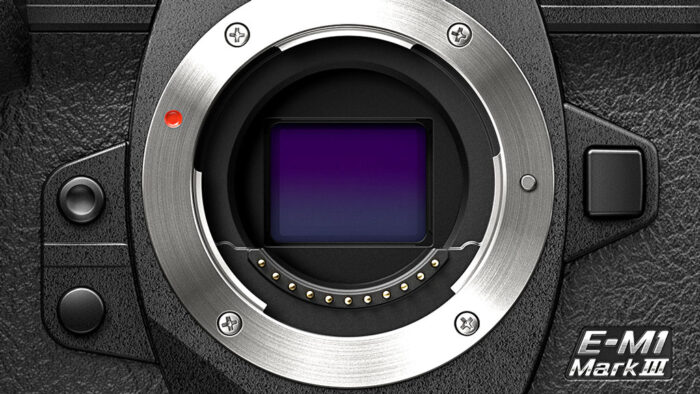
The sensors look identical with a four thirds aspect ratio and a resolution of 20.4 megapixels, but they’re not exactly the same. According to Olympus, the E-M1 III uses the same sensor as the E-M1X. This means it has an updated coating and lens design.
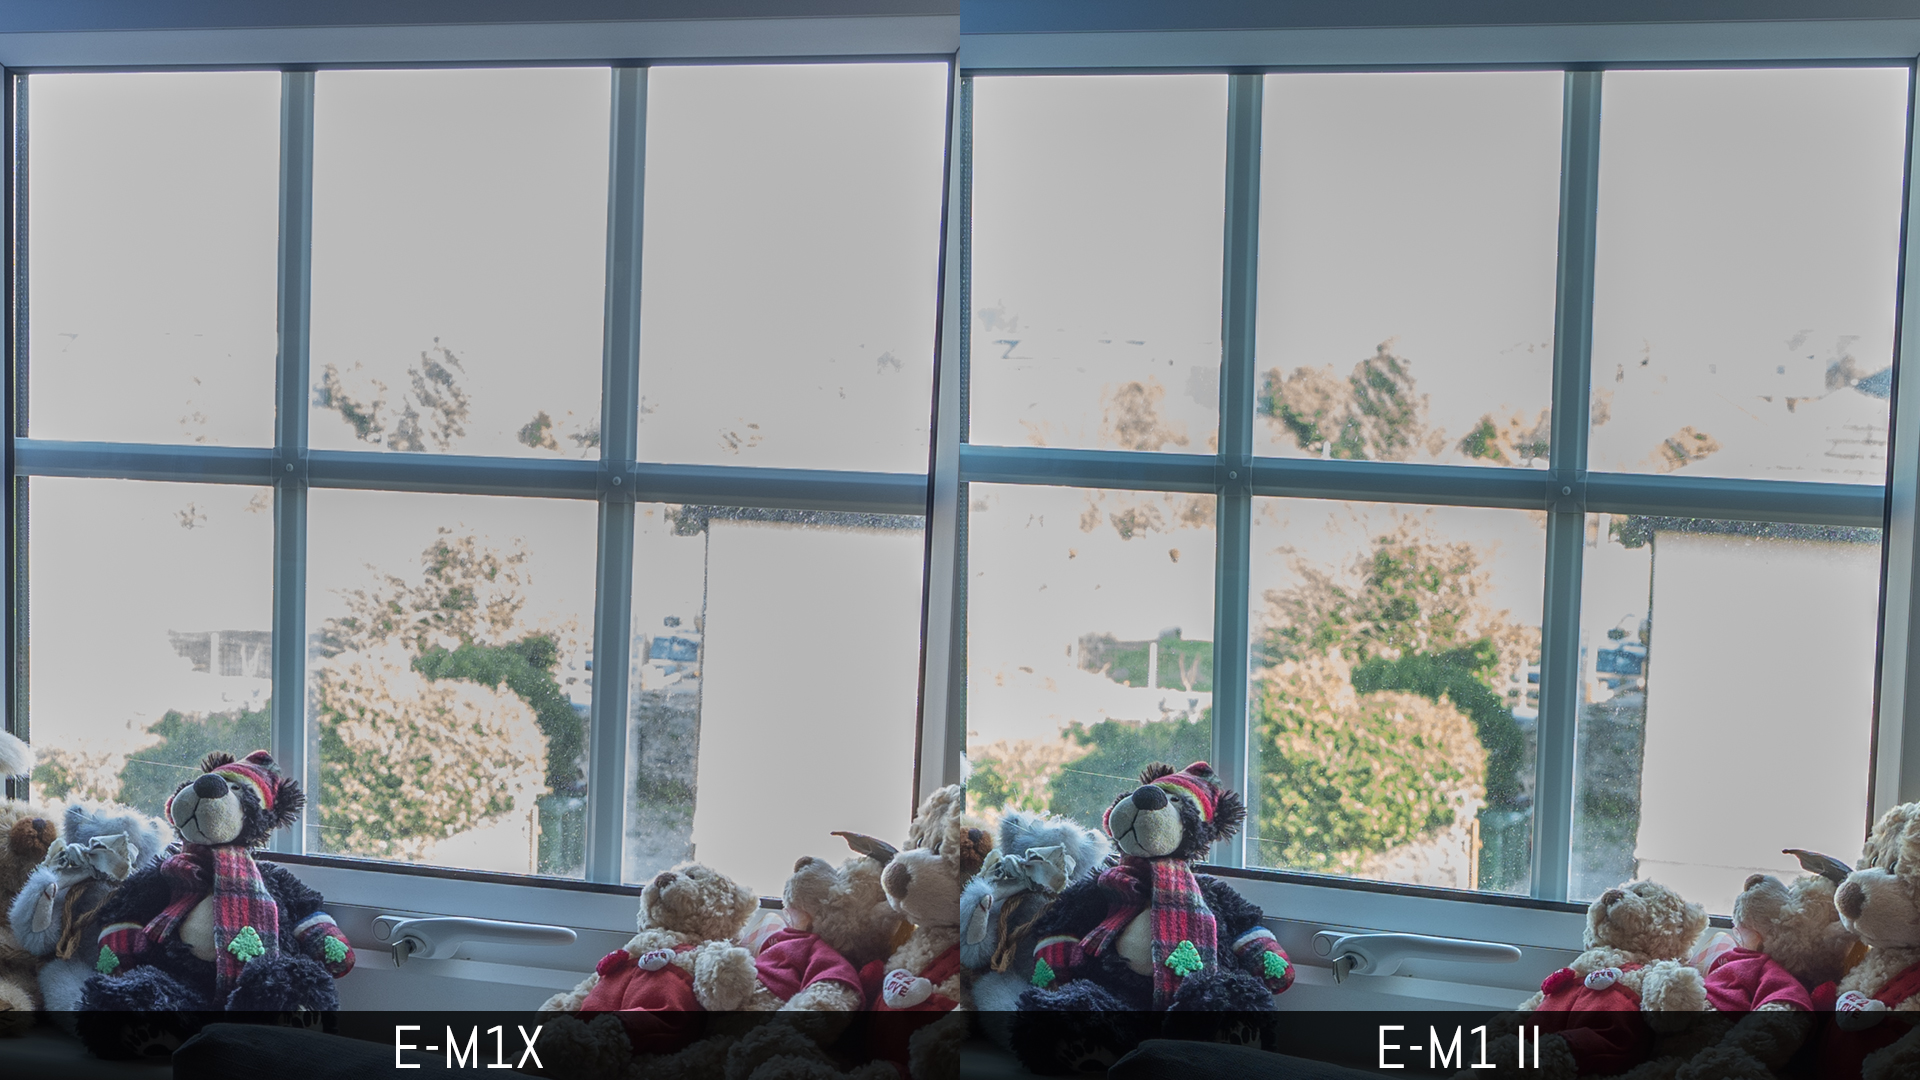
In my comparison with the E-M1 II and E-M1X, I found that the new sensor is better at intense shadow recovery (less colour artefacts and noise). Highlight recovery is a bit weaker however.

The ISO range remains the same (200-25600, ISO low down to 64 equivalent) but again, in my E-M1 II vs E-M1X test, I found that the new sensor / processor had a bit less noise from 3200 ISO onwards. Nothing drastic but a small improvement nonetheless.

I expect to see more or less the same differences between the E-M1 II and E-M1 III. Once the camera is available to test for a longer period of time, I’ll double check this.
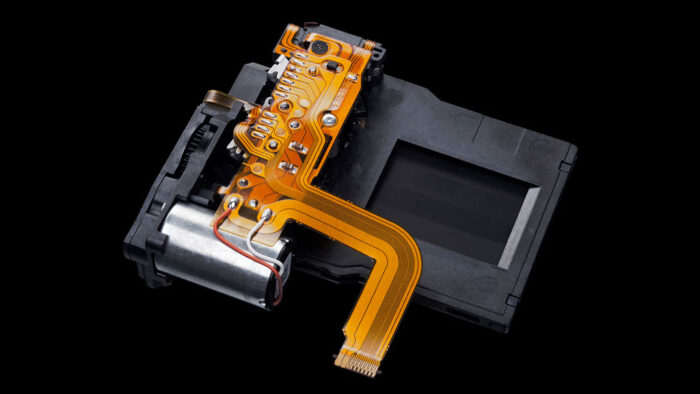
3. Shutter Mechanism and Supersonic Wave Filter
The E-M1 II has a shutter mechanism rated at 200,000 actuations. The E-M1 III doubles that with 400,000 cycles (like the E-M1X). This doesn’t mean you can’t take more images than these figures suggest of course, but they demonstrate that the shutter mechanism of the new camera is designed to last for longer.
The shutter can remain open for up to 6 hours when working in the Bulb or Live Time mode, versus a maximum of 3 hours on the previous model.
Both cameras allow you to switch between a fully mechanical, first electronic curtain and fully electronic shutter mode.
Not available on the mark II model is the anti-flicker mode. It reduces uneven exposures by adjusting the timing of the shutter release so that photos taken in continuous mode have a constant brightness. This is useful under flickering light sources. Note that this setting doesn’t apply to the electronic shutter.
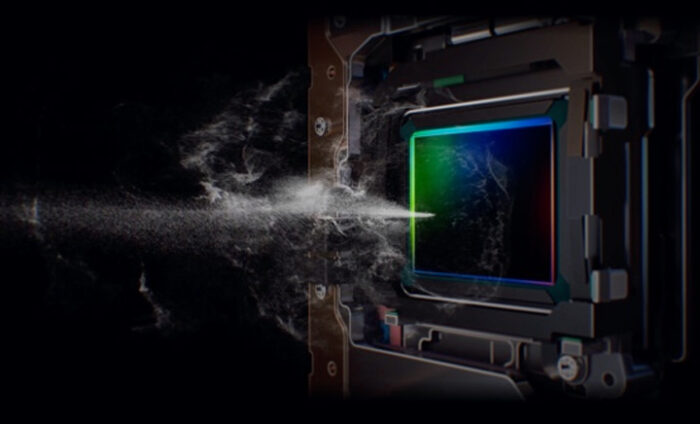
Another upgrade concerns the SSWF (Supersonic Wave Filter) which produces tiny vibrations on the sensor to get rid of dust. The E-M1 III has an upgraded version with a new coating and an acceleration of G 30,000 times/second. It reduces the chance of tiny particles sticking to the sensor to 1/10th.
4. Autofocus software
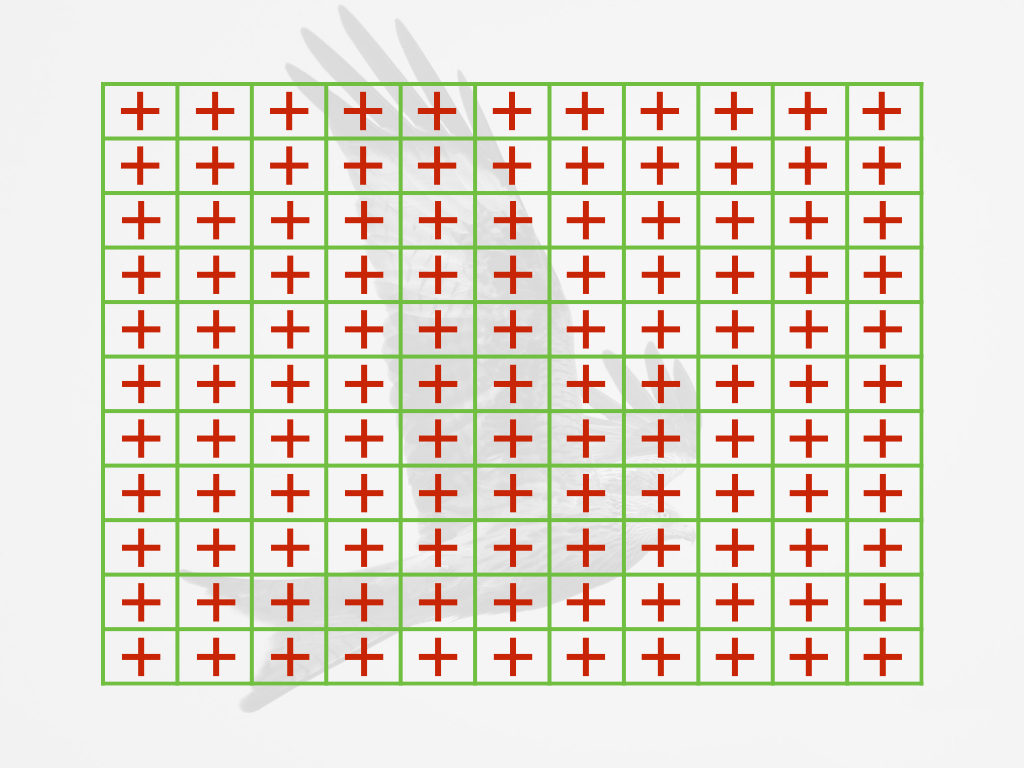
The two cameras feature 121 hybrid autofocus points (contrast and phase detection). The phase detection sensors are cross type, meaning that they detect on a horizontal and vertical level. These points cover 75% of the vertical and 80% of the horizontal surface of the sensor.
The two OM-D cameras share the same number of AF area options (called AF-Target on Olympus cameras) which are as follow:

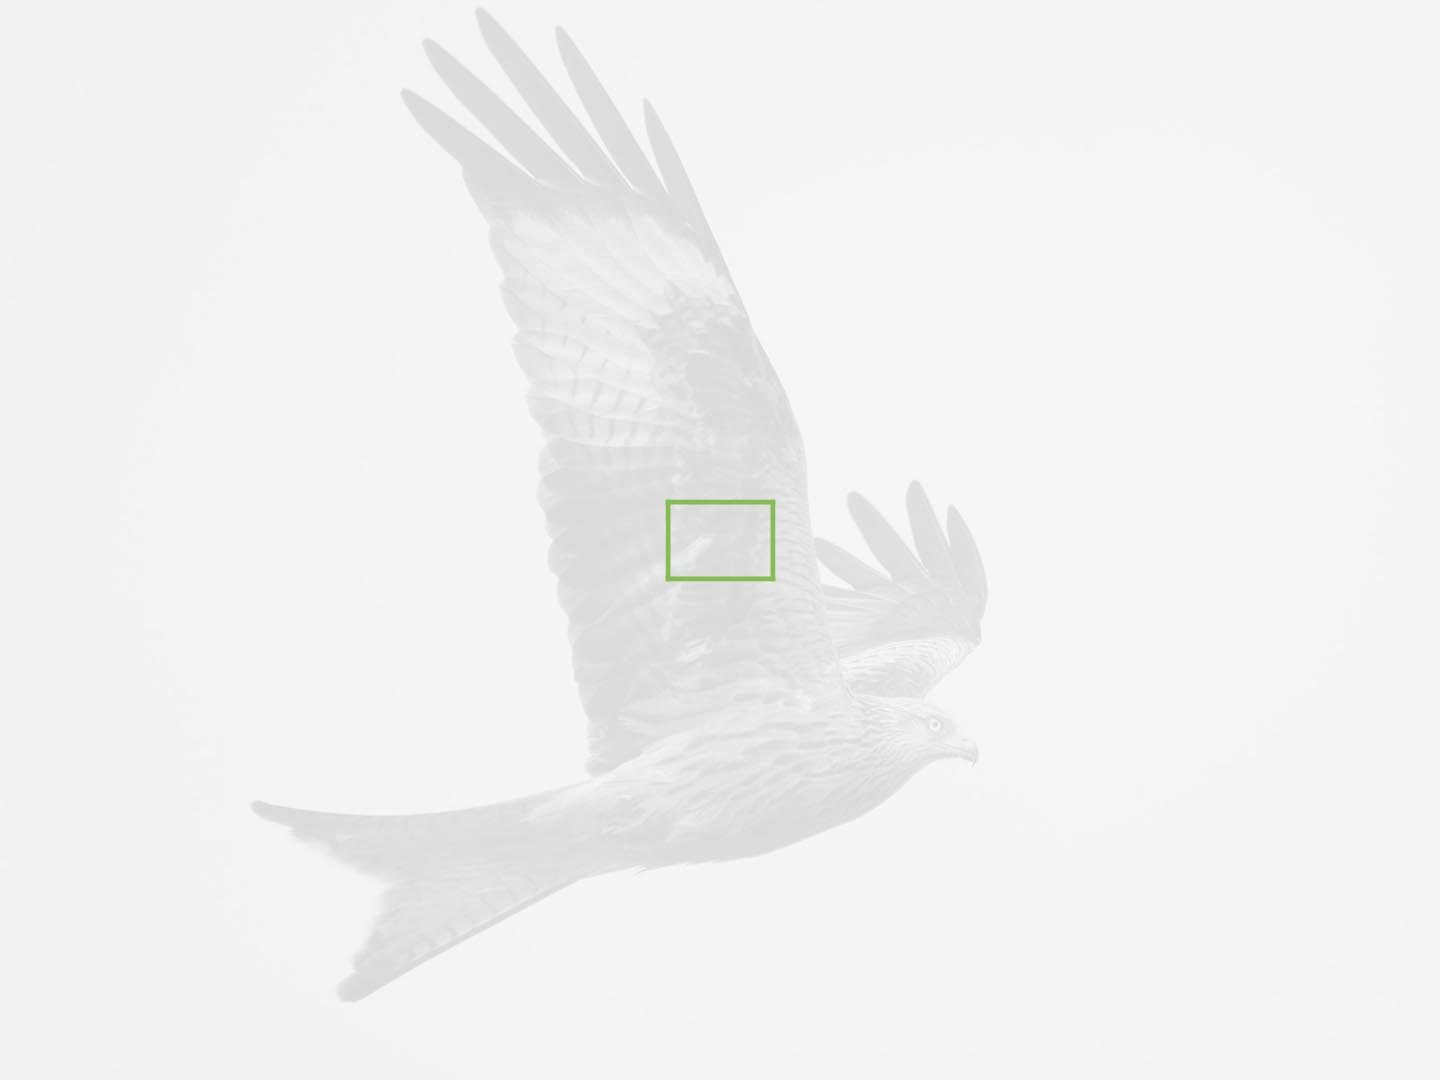


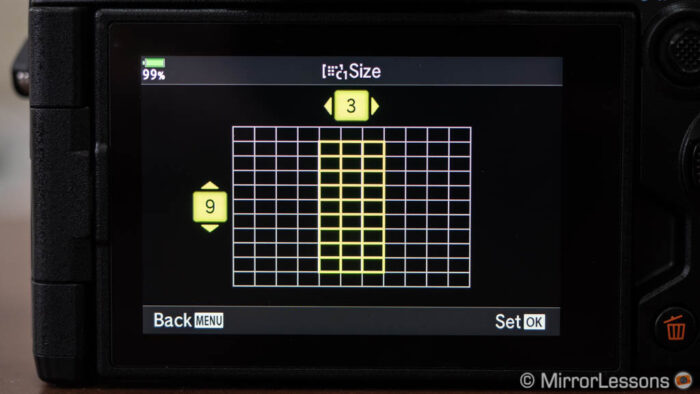
The E-M1 III has an extra option to create your own custom Target modes, which means you can shape the AF area with however many points you want. For example, if you’re tracking a bird flying above the water, you can create a horizontal target to ensure that the camera doesn’t focus on the water or the background.
Another small addition concerning the AF targets is the possibility to loop the area from one side of the screen to the other.
The E-M1 III has a more advanced autofocus algorithm than the E-M1 II, despite the latter having received some enhancements via firmware. One of the key differences is that in addition to tracking focus in the live view, it also analyses the images that have just been captured to improve responsiveness and accuracy.
I would be inclined to say that it is the same as the E-M1X, but it lacks one feature found on the flagship model: the Intelligent Subject Detection mode that allows the camera to recognise cars, motorbikes, trains or planes automatically.
That said, I’m confident that the performance will be very close to the flagship, which is currently the best Olympus camera when it comes to autofocus. The E-M5 III, released in late 2019, has also inherited most of the AF technology from the E-M1X and its score for birds in flight was very similar.
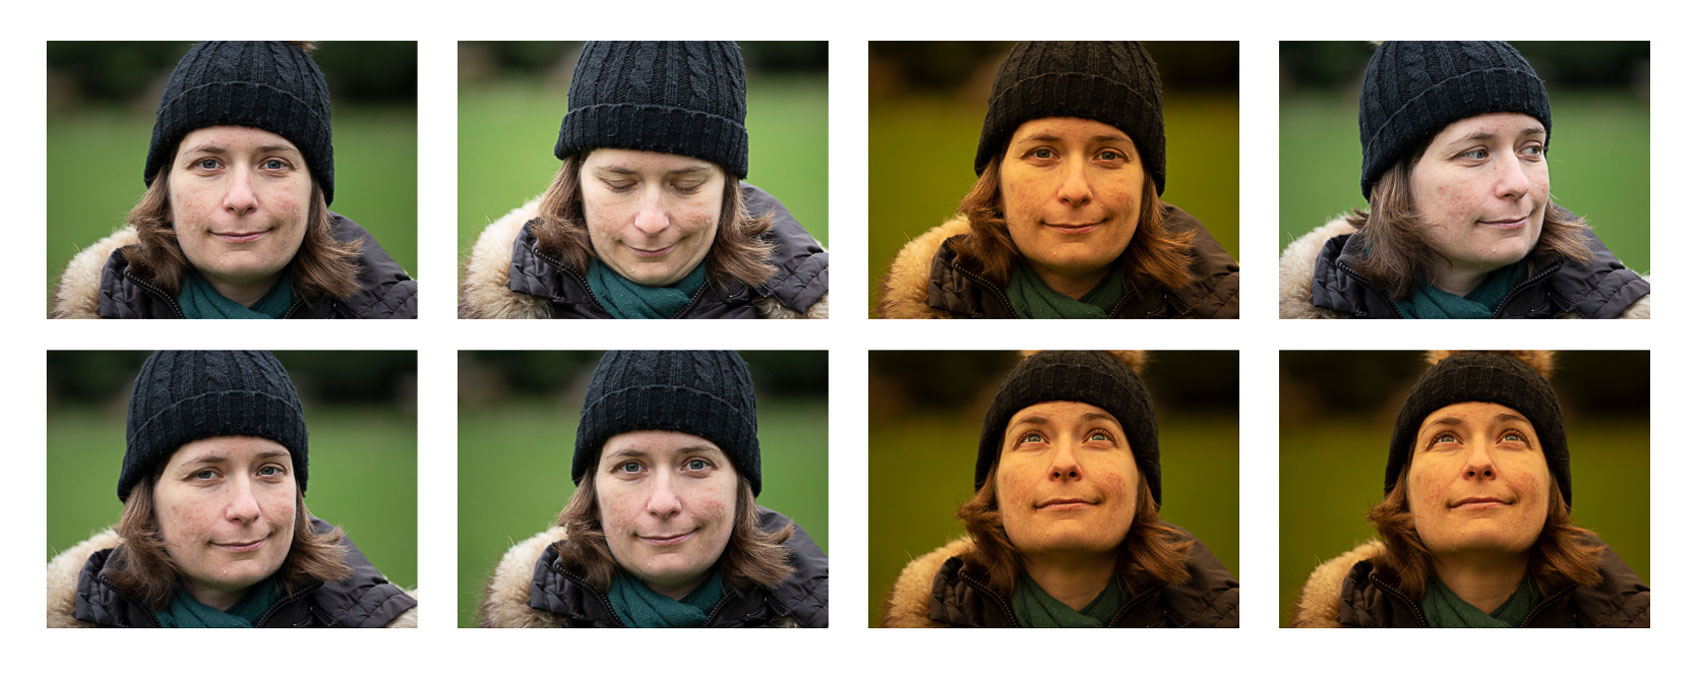
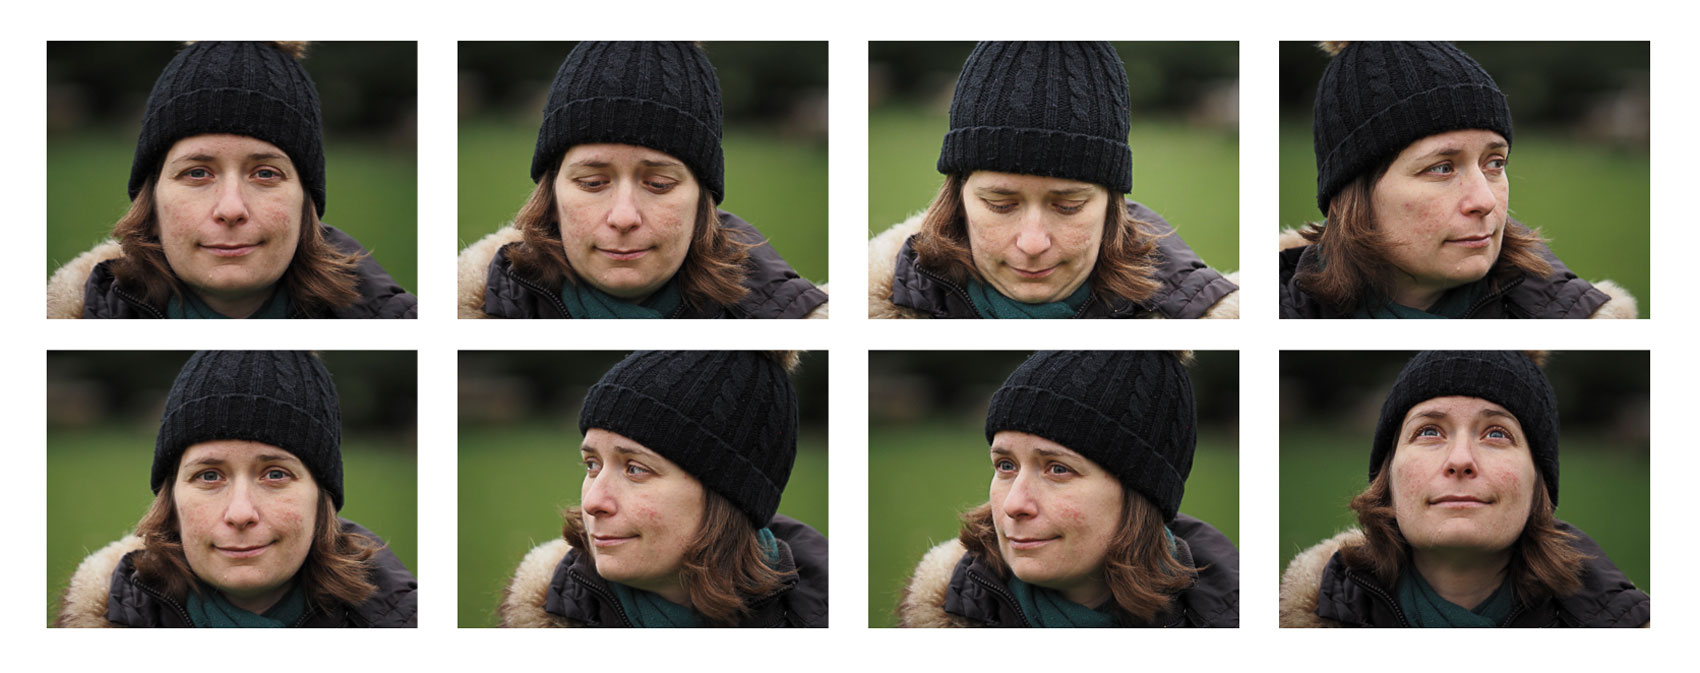
Olympus states that Face and Eye detection has improved thanks to software tweaks. The tracking is faster and more accurate, and the E-M1 III can detect smaller faces and eyes (more distant subjects) in comparison to the E-M1 II. I can vouch for the latter, because I was easily able see in the live view how much quicker the eye was detected on the new camera. With the mark II, the face needs to fill almost the entire frame for eye detection to work.

I did a quick side-by-side test with the subject walking towards the camera using the 40-150mm 2.8, and I have to say that speed and accuracy didn’t seem to have improved that much. Both delivered more or less the same keeper rate with a few soft frames where the focus was behind the eyes.


The improvement I have noticed is when the subject moves her head to the left, right, up or down. Whereas the E-M1 II easily loses focus on the eyes, the E-M1 III kept it spot on all the time.
Another addition concerning face detection is that you can now use a button or the touch screen to prioritise one face over another when multiple people are in your composition. This works for stills and video.
Finally, we have a brand new autofocus mode called Starry Sky AF. Thanks to a new algorithm, the camera can focus on the stars which makes it a useful function for astrophotography.
There are two modes available: Speed Priority and Accuracy Priority. The former priorities faster focus acquisition, whereas the latter does a slower but in-depth scan to be more precise.
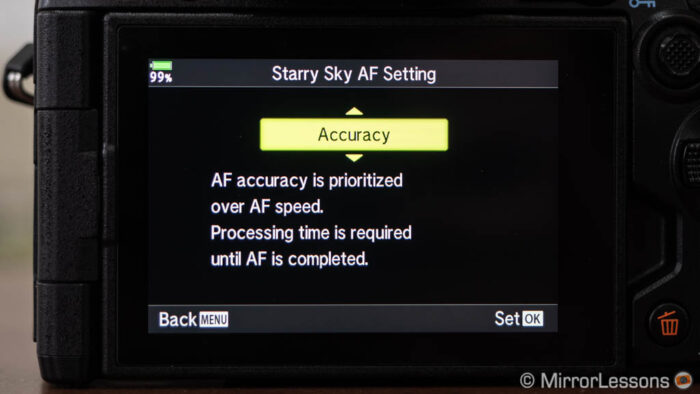
This is something I wasn’t able to test at the press event, so I’ll have to wait and see how it performs in the field.
To be fair, this feature is not unheard of. Some Panasonic cameras have a Starlight AF mode which is designed for the same purpose. I could also add that I never had any real problems focusing manually when taking pictures of the Milky Way, but of course if Starry Sky AF proves to be reasonably fast and reliable, it will be a welcome addition.
5. Image Stabilisation
If there is one area where Olympus still rules (I know, I’ve said it many times), it is the image stabilisation system.
The one on the E-M1 II is already stellar, allowing you to take images with a shutter speed as slow as 10s (I even managed 20s once), and provides better smoothness than any other camera on the market when recording video.
The E-M1 III inherits – surprise surprise – the same gyro sensor as the E-M1X, which has five times better detection accuracy than the one used on the mark II model. The CIPA rating is 7.0Ev with 5-axis stabilisation on the sensor, or 7.5Ev when using Sync IS and compatible lenses with optical stabilisation. For reference, the E-M1 II rating is 5.5Ev and 6.5Ev respectively.
When I reviewed the E-M1X, I didn’t find a substantial improvement over the E-M1 II, despite the numbers suggesting otherwise. My conclusion was that the system is already so good that any improvements are only visible in specific situations.
Another thing to consider when it comes to image stabilisation is how you hold the camera and how stable you are. I believe that, to some degree, the ergonomics of the camera itself can play their part. Given the limited time at the press event, I decided to concentrate on other things but I’ll be curious to test the E-M1 III again later on to see if I can push it further than any other OM-D, or if the real world performance will remain more or less the same.
6. Hand-held High Resolution Mode
I apologise for repeating the same thing in every chapter but I must once again quote the flagship E-M1X, which was the first to introduce the High Res Shot mode that can work without a tripod.
For those of you unfamiliar with this function, the camera takes 8 images in a row, and moves the sensor by half a pixel between each shot (thanks to the image stabilisation mechanism). The 8 pictures are combined in-camera to create a high resolution photo of 50MP (JPG) or 80MP (RAW). This is available on both the E-M1 II and E-M1 III.
By default, this mode only works when the OM-D is completely still on a tripod. Even the smallest movement of the camera body will result in a loss of sharpness or artefacts across the entire image.
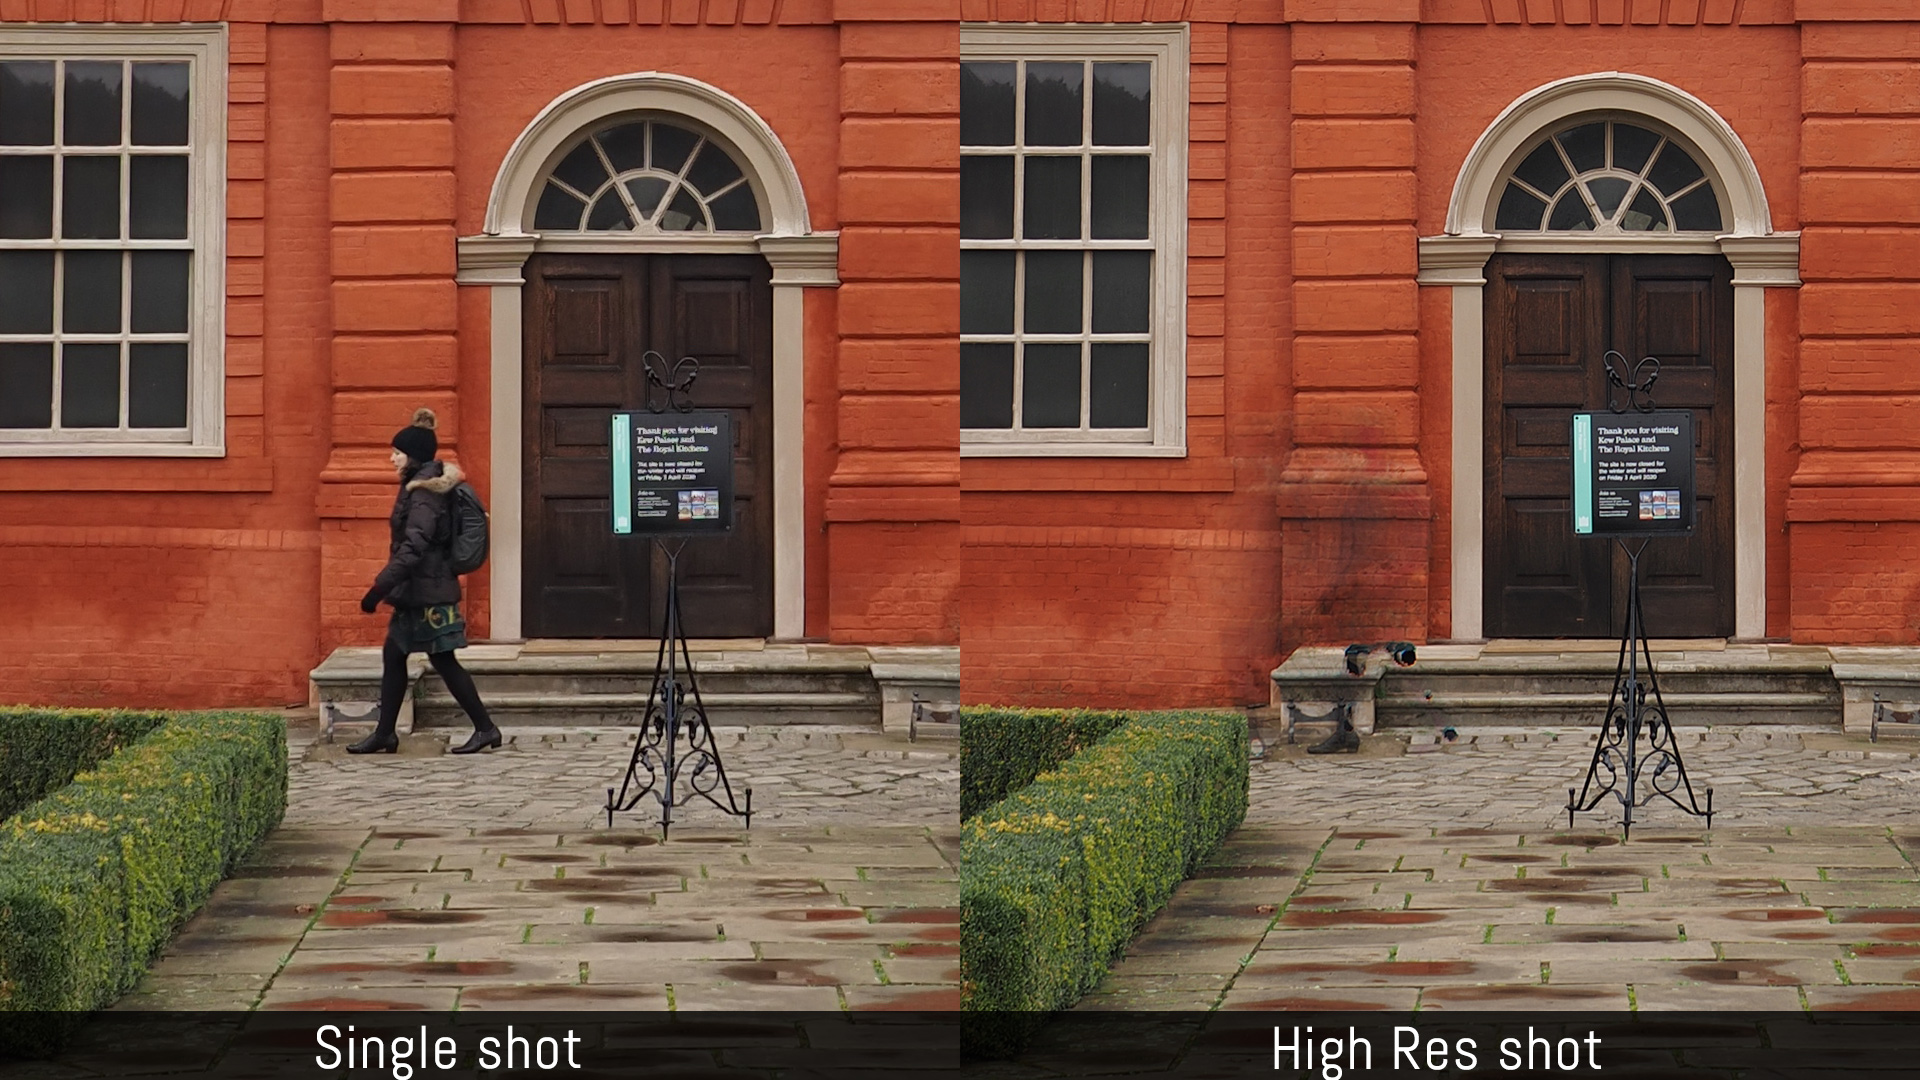
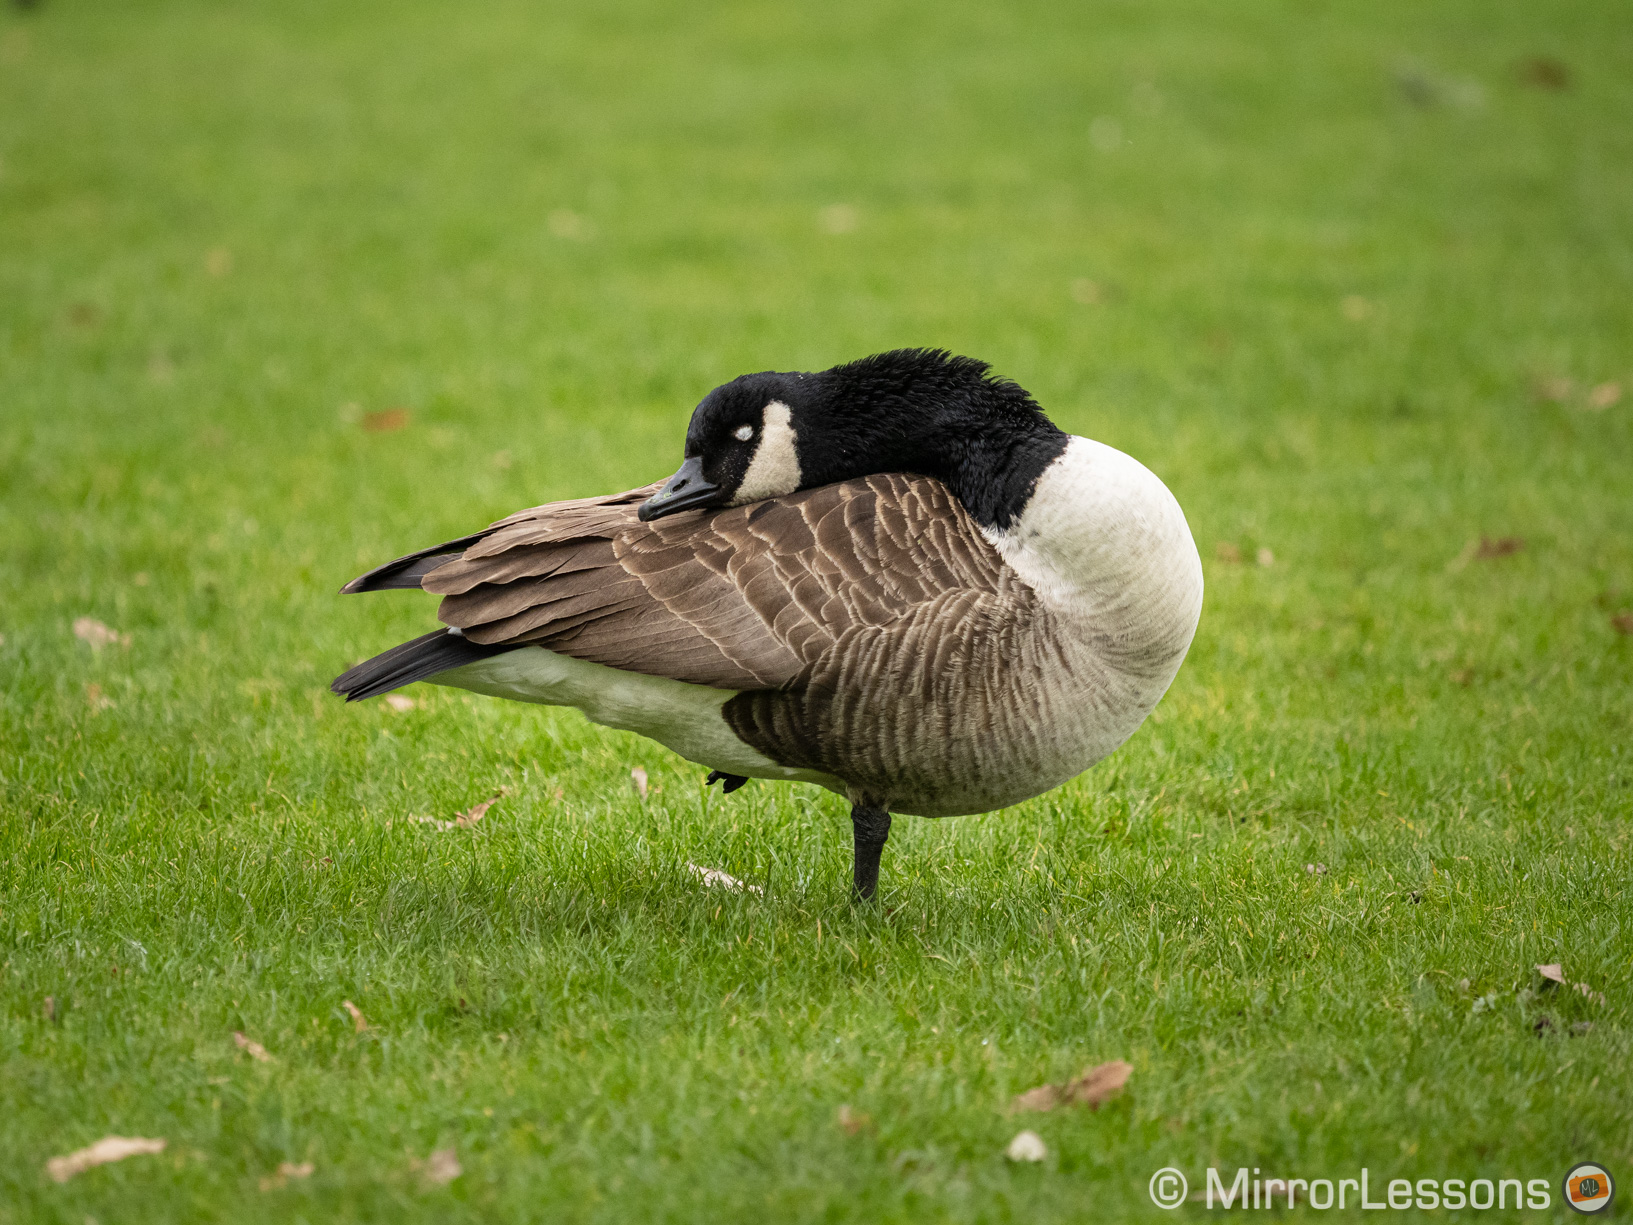
Thanks to the new processor, the E-M1 III can take high res shots hand-held. It takes 16 images rather than 8 and uses stabilisation data to create the final composite. It works very well as you can see in the example below. The maximum output is 50MP for both JPG and RAW files.
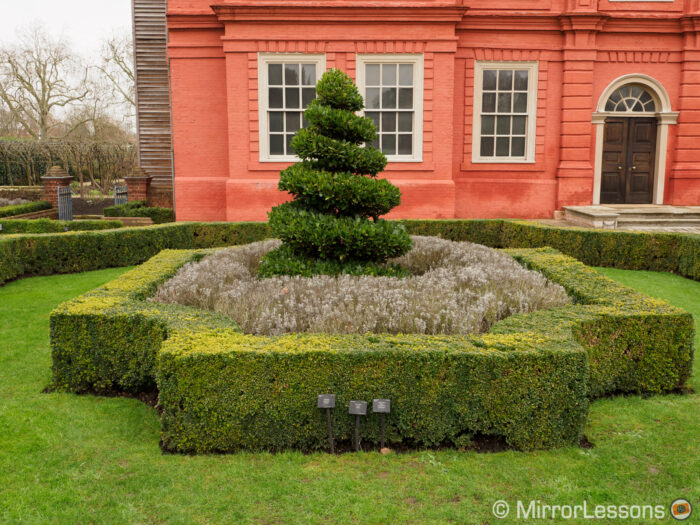

One thing to keep in mind is that although the E-M1 III can compensate for all the micro movements you produce when holding the camera with your hands, it can’t fix movements inside your shot. Anything from leaves on a tree or a person walking in the background will result in a “ghostly” effect.
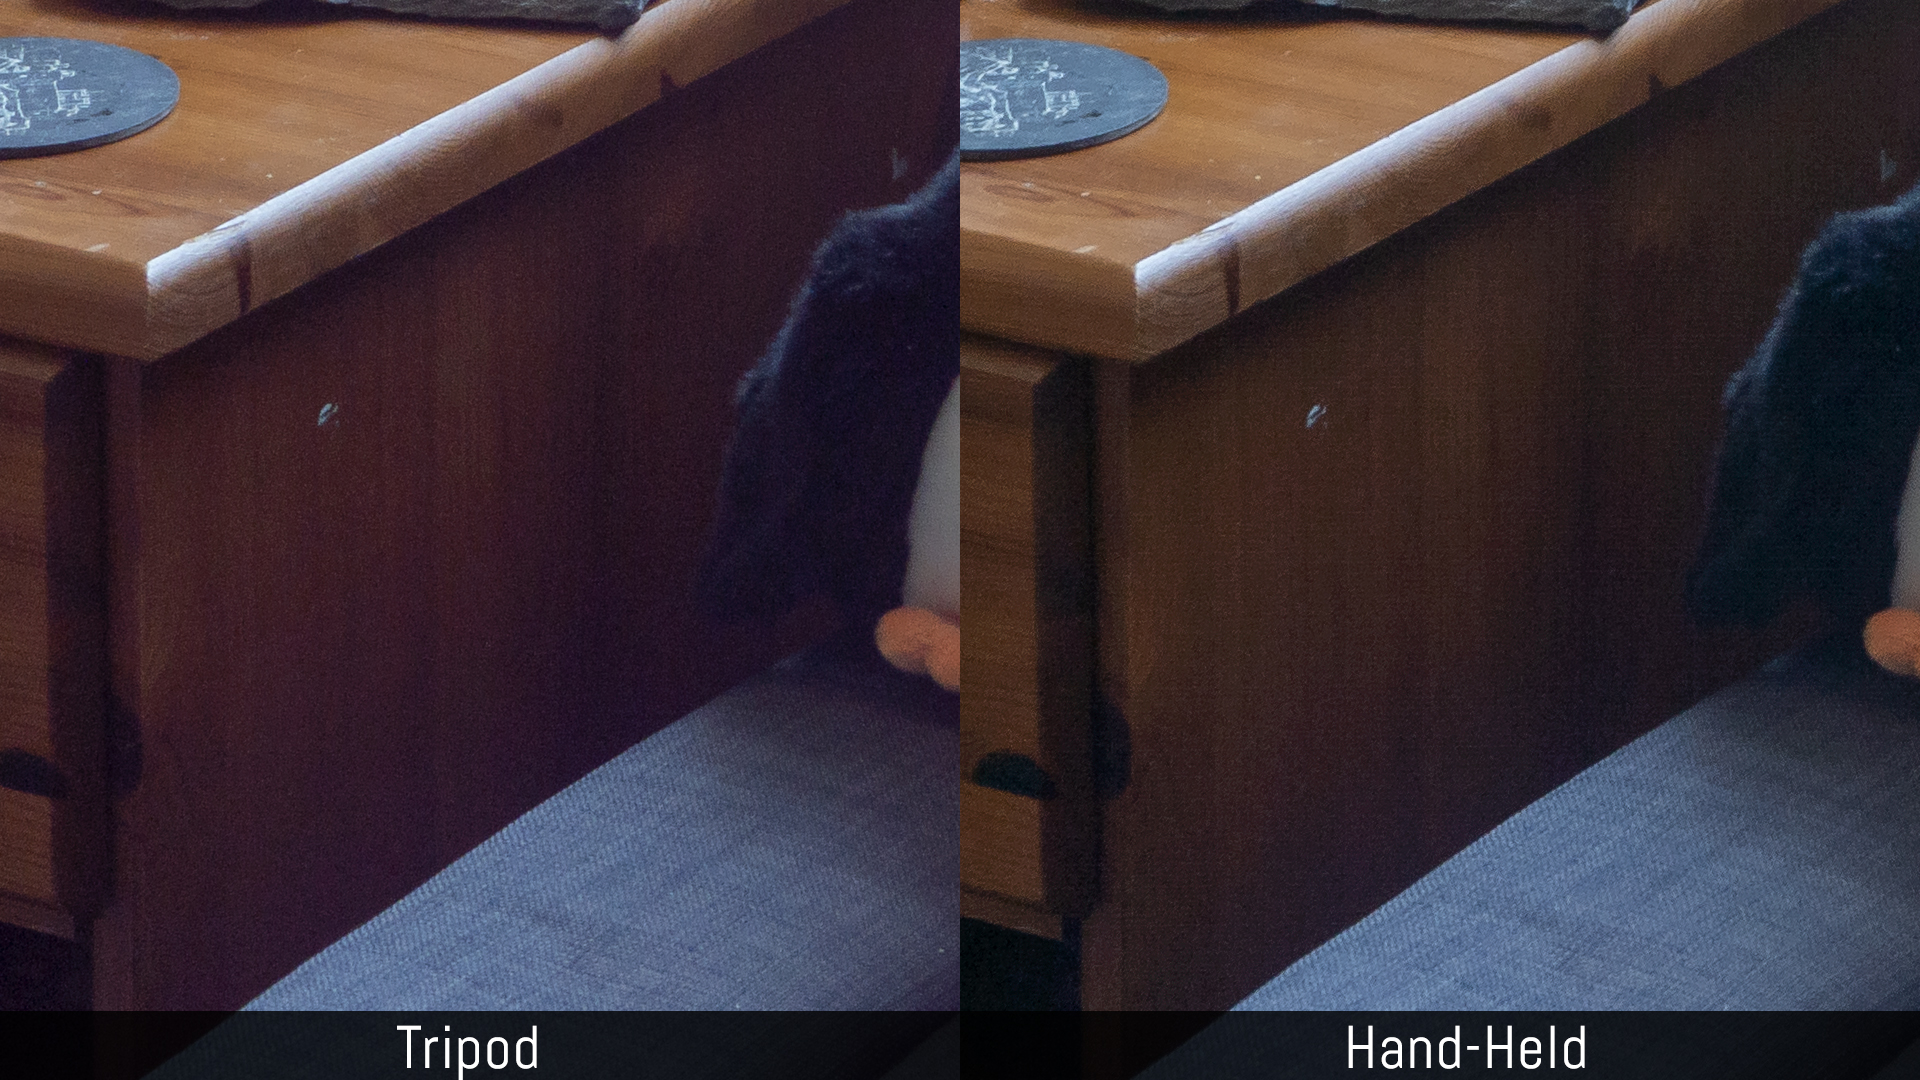
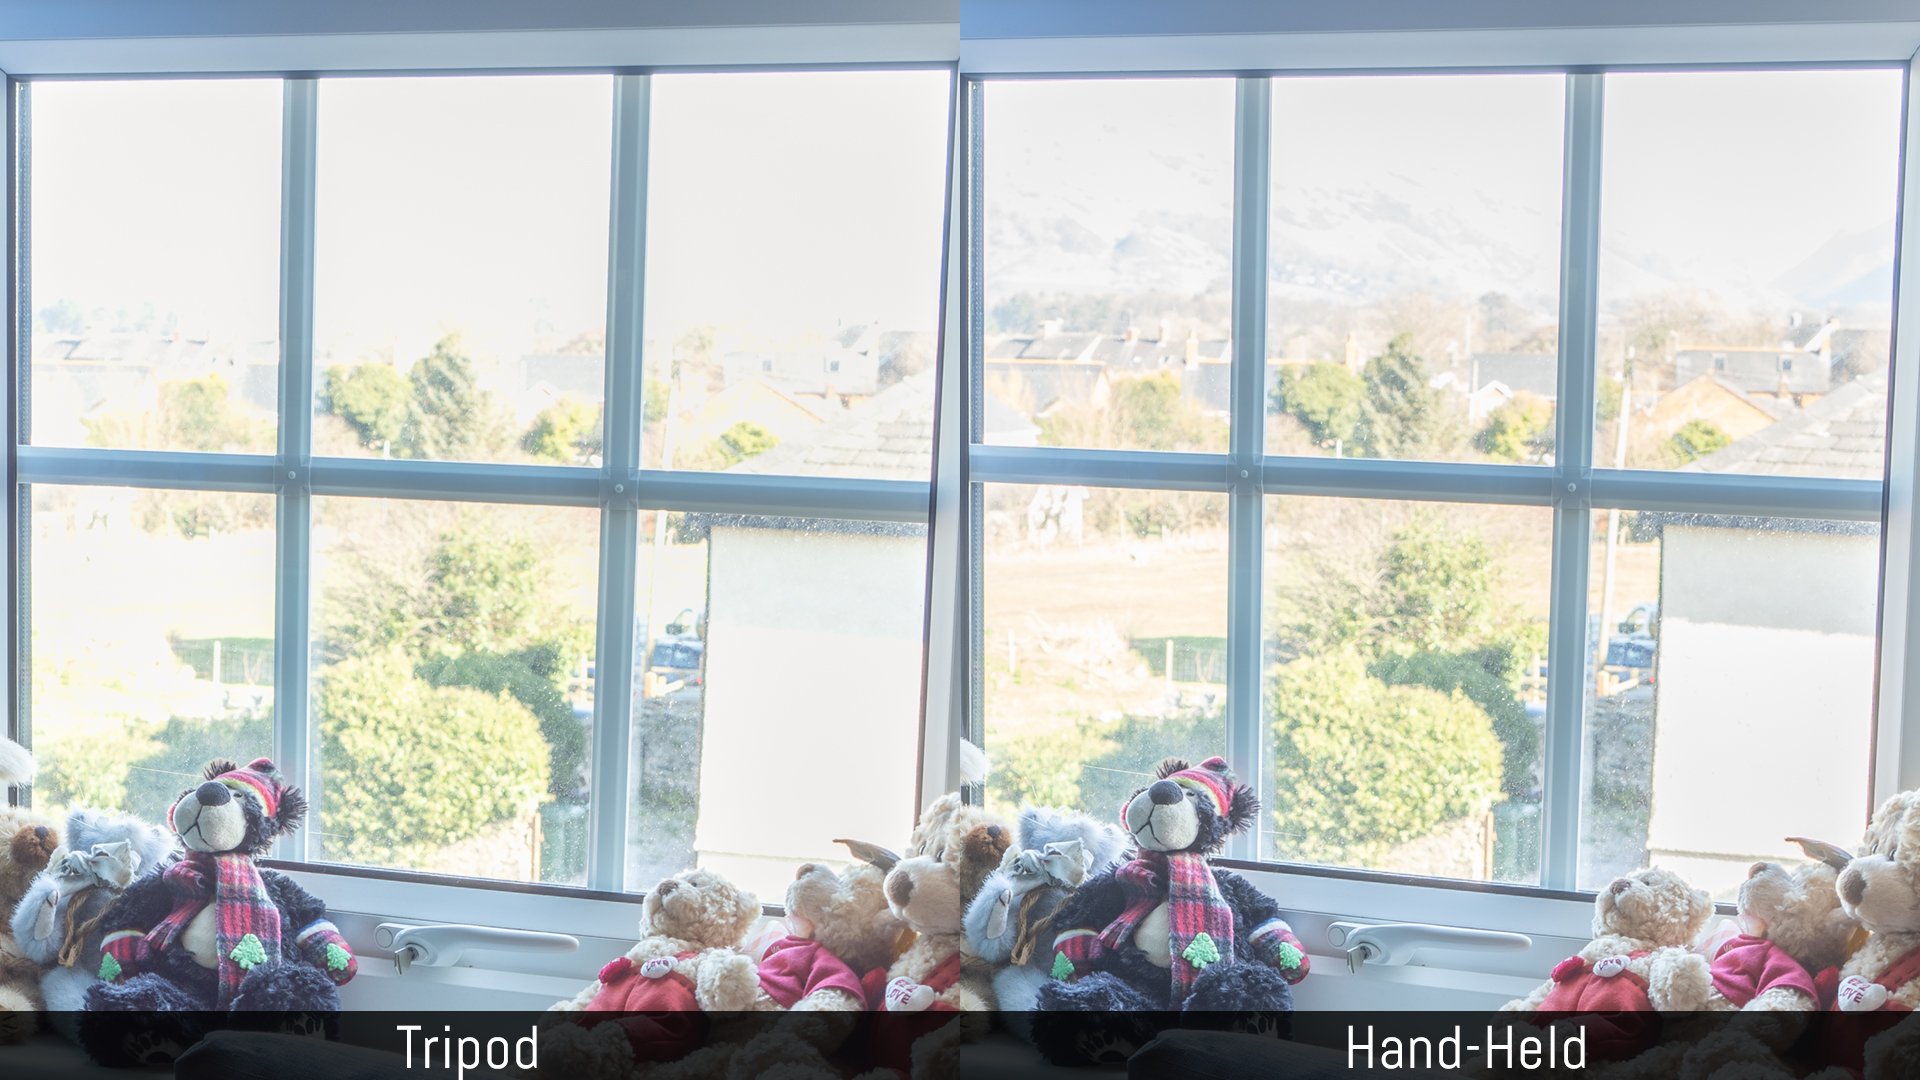
In my E-M1 II vs E-M1X comparison, I discovered some interesting results concerning dynamic range. The hand-held mode gives you the best results with no colour shift in the shadows, and it also captures more highlight data. I’m guessing this is because the number of images captured and processed are doubled (16 shots vs 8 shots with the tripod mode) so the camera has more information to work with.
7. Live ND feature
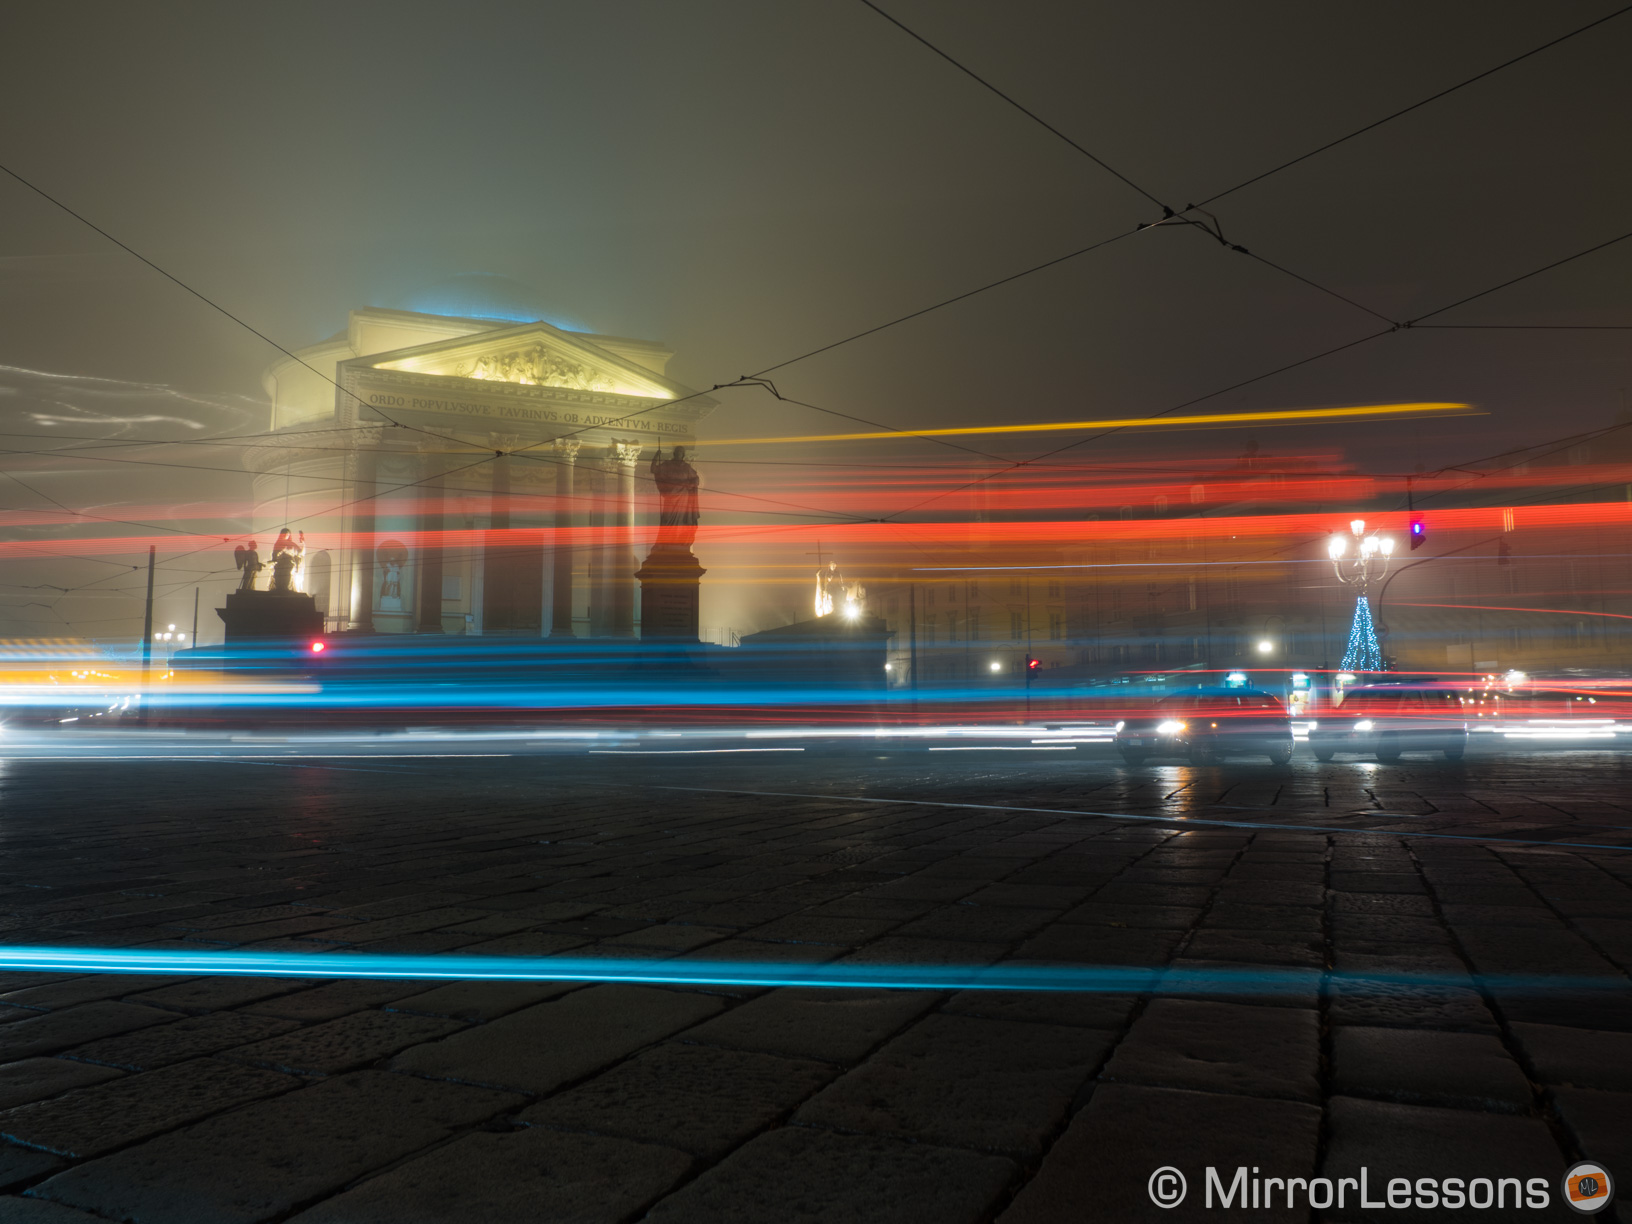
Live ND, first introduced on the E-M1X, has become rapidly one of my favourite extra features designed by Olympus.
Once enabled, the camera captures multiple frames and composites them to create a final image with a long exposure effect, the same type you would obtain by using physical ND filters in front of your lens.
There are five different levels of exposure you can select, from ND2 (1Ev of compensation) to ND32 (5Ev). The higher the level, the stronger the effect will be. You can preview the result of this setting directly on the LCD or EVF which is very handy.
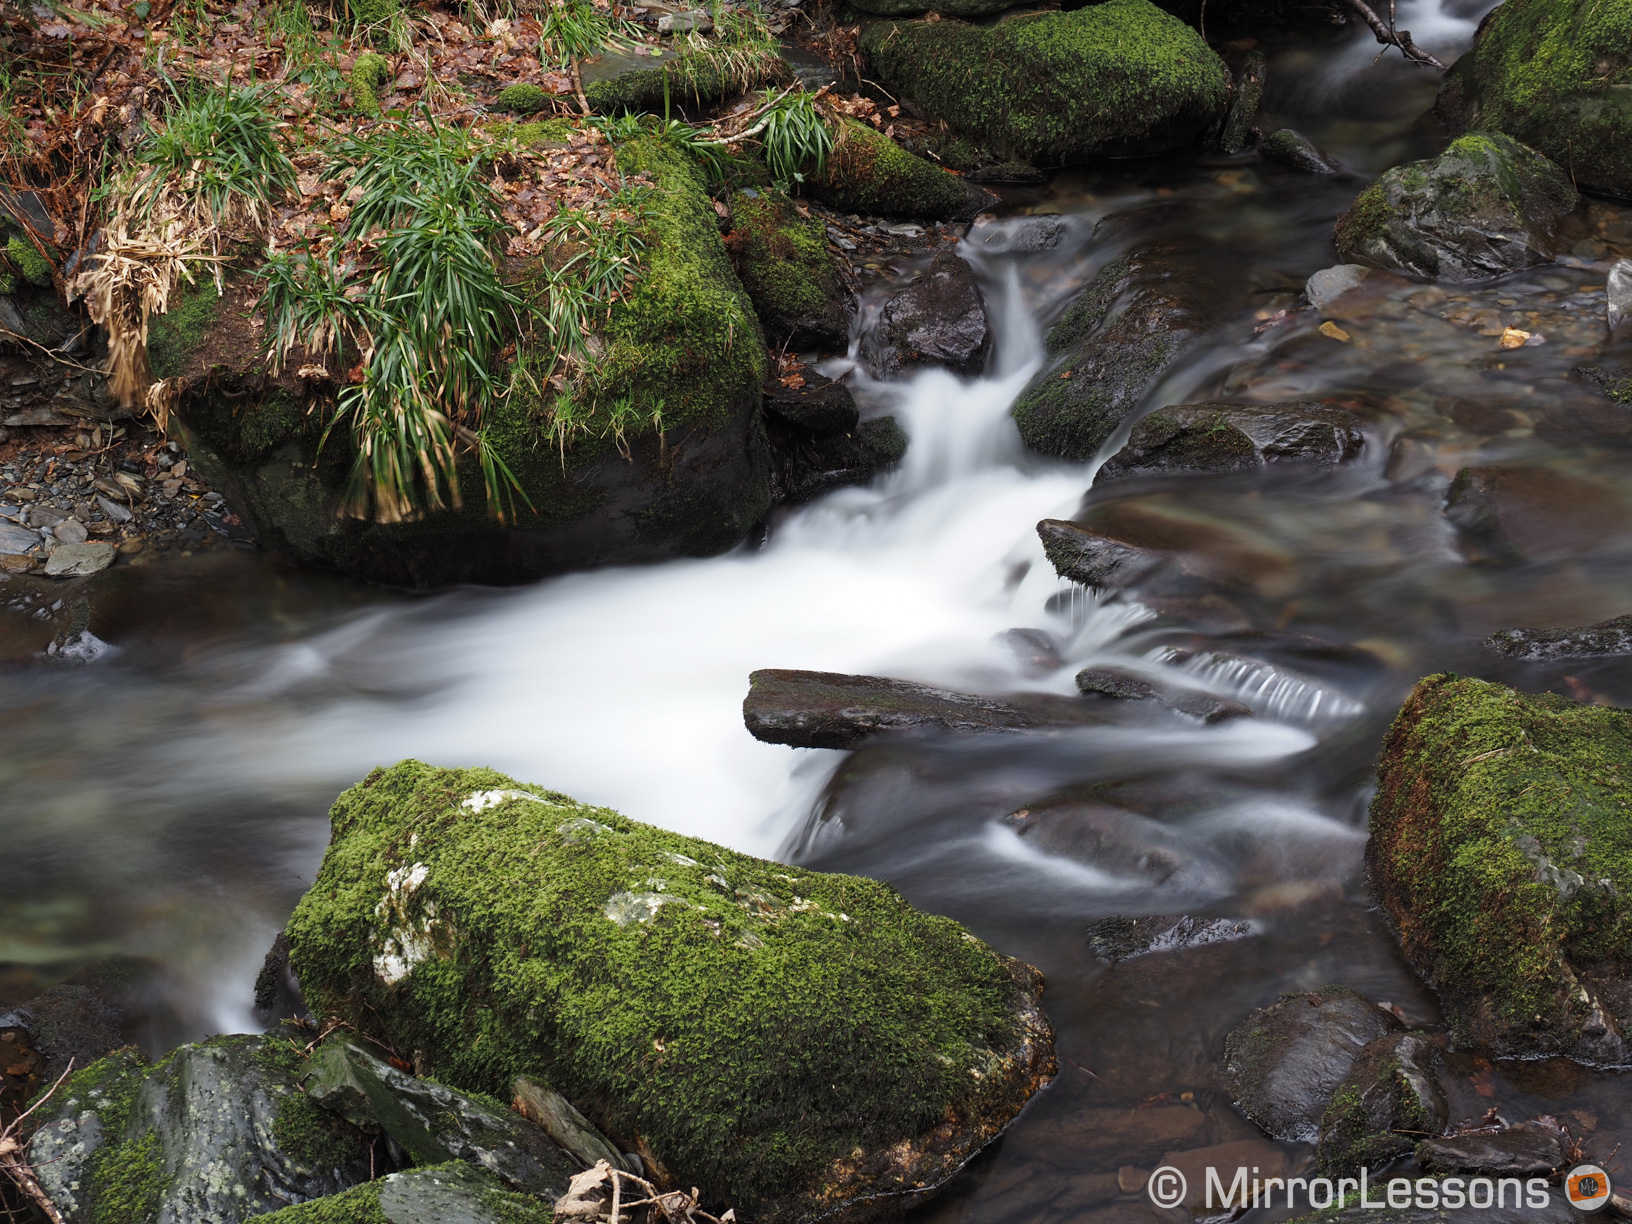
But the real reason I love this function is that it can be used in combination with the excellent five axis stabilisation. Long story short, with the E-M1 III you can take photos that would normally require several minutes of exposure and physical filters in just a few seconds, and you can do this by hand without the need of a tripod.
There are a few limitations to be aware of. First, the maximum shutter speed is 1/30s with the ND2 setting and half a second with ND32. You need to be in an environment where there isn’t too much light. It will work fine in a forest, but you’ll be more limited in broad daylight. The maximum ISO available is 800.
8. Video tidbits
Nothing drastic changes between the two cameras in the video department. They both record 4K video (3840×2160) up to 30fps and 102Mbps, or Cinema 4K (4016×2160) at 24fps and 237Mbps (variable). They work with oversampling and no sensor crop.
You will find the Flat Picture Mode as well as the OM-Log400 profile (firmware 3.0 required on the E-M1 II). HDMI output is 8-bit 4:2:2 so no change here either.

The first difference concerns Full HD / 1080p recording. Whereas the E-M1 II goes up to 60fps, the E-M1 III can record up to 120fps with the High Speed Movies mode.
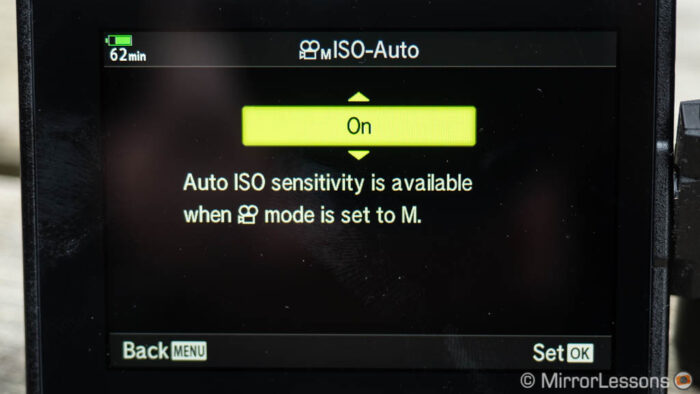
Another welcome addition is the possibility to use Auto ISO while recording video in Manual mode. (On the E-M1 II, you need to work in P, S or A mode to do that.) Note that the setting is hidden on the mark III model: it is not just a question of selecting Auto with the ISO button, you first need to enable it in the video section of the menu.
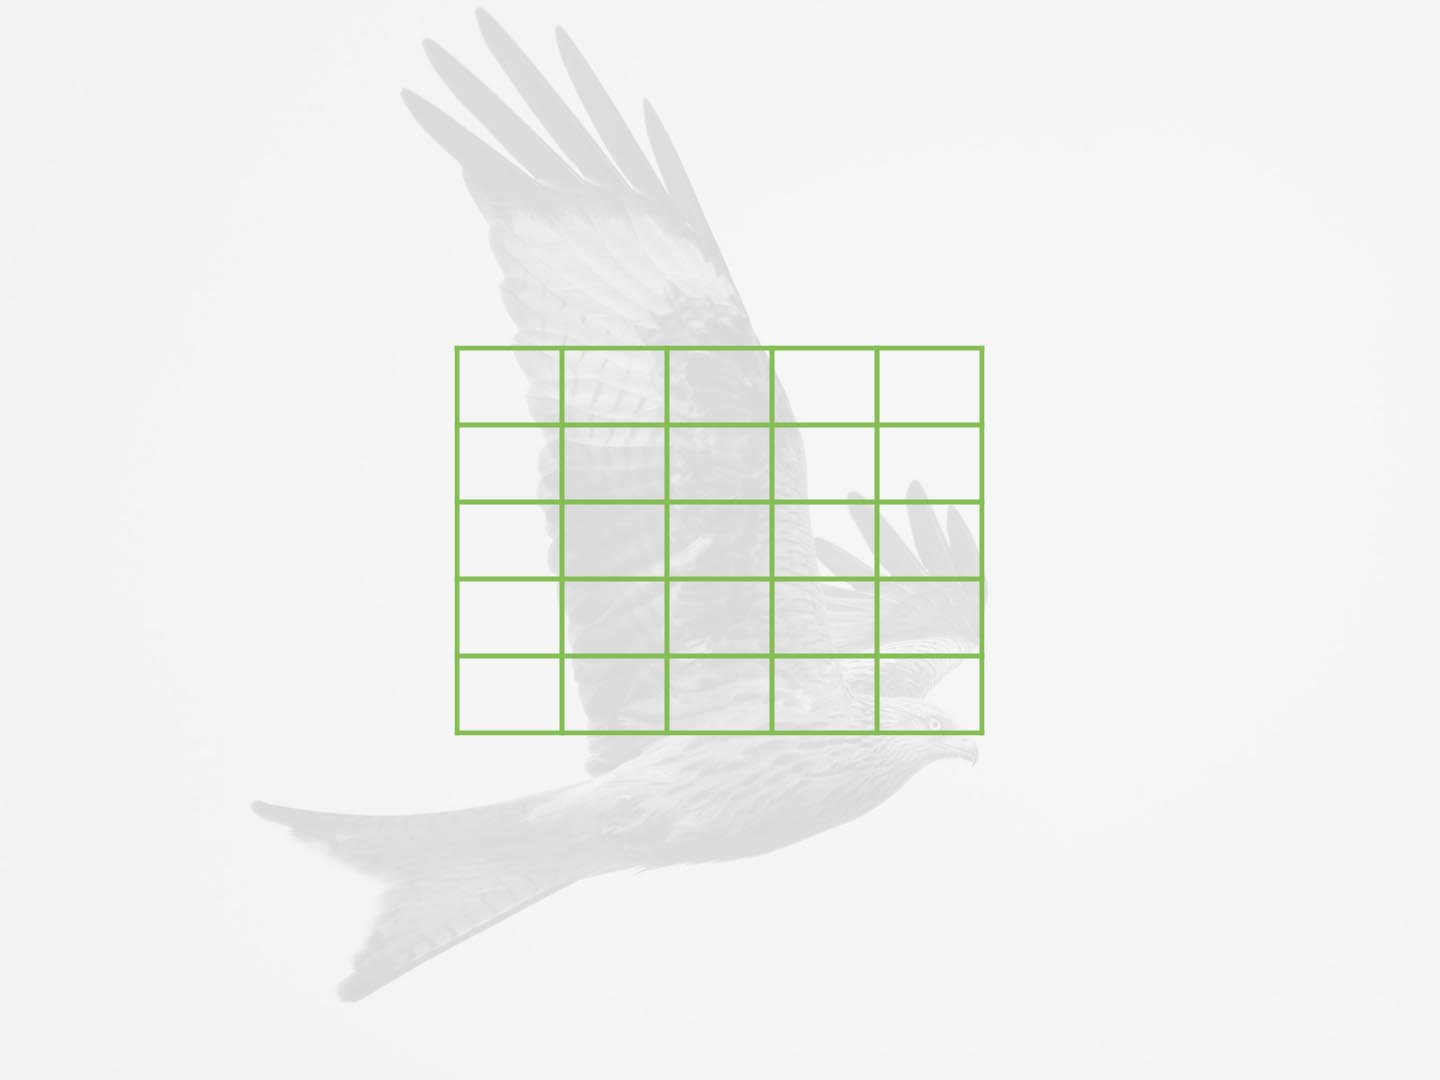
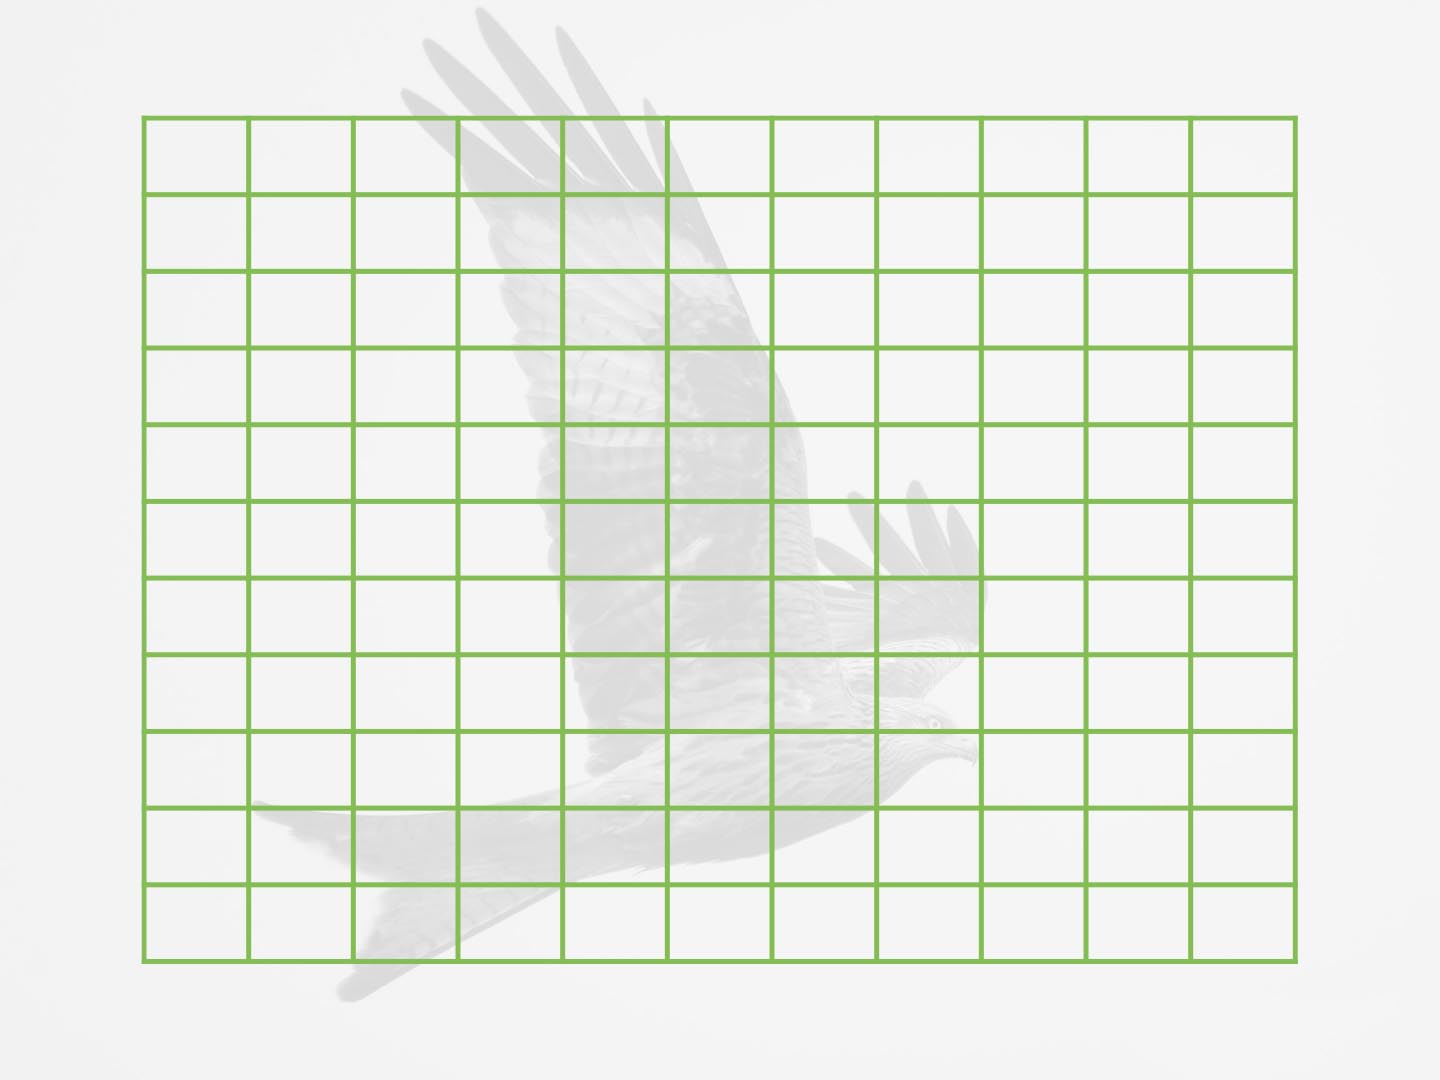
The new camera features more AF Target modes for video: 25 (5×5) and 9 (3×3), whereas on the E-M1 II only Single Target and All-Target are available. You can also calibrate the speed and responsiveness of the autofocus with two separate settings, just like with the E-M1X.
Concerning stabilisation, on either model you can choose to use the hardware stabilisation system alone (sensor or sync IS), or add digital stabilisation to improve the performance even further.
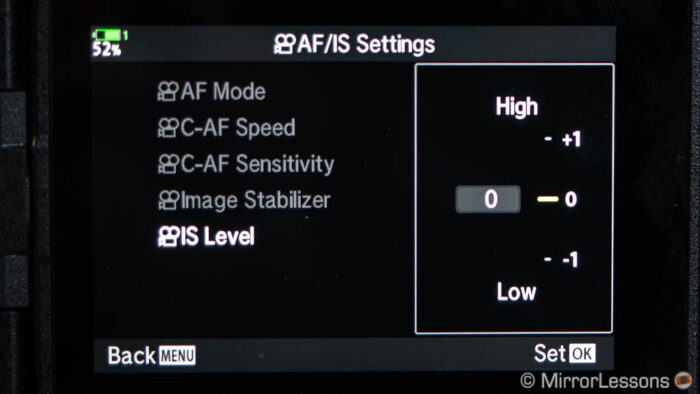
The E-M1 III has an extra setting named IS Level. It works from -1 to +1 and helps you fine-tune the IBIS behaviour according to the type of movement. For example, -1 gives you a smoother result when panning, whereas +1 works best when moving fast and erratically with the camera.
Concerning the overall video quality and performance, my E-M1 II vs E-M1X comparison showed very similar results, so I’m expecting the same for the E-M1 III. There might be some slight differences in colours (the E-M1X is a bit brighter and has less green cast). You can also keep more settings separate from the photography modes.
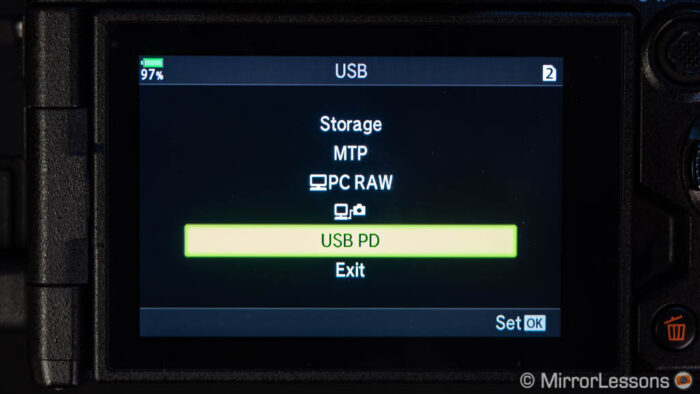
9. USB Power
The E-M1 II has a USB Type C port but unfortunately you cannot charge the battery with an external source, or power the camera while it is in operation.
This changes with the mark III model, on which both battery charging and power delivery are available via the USB connection.
This is useful if you want to charge the battery on the fly during a break, or give extra power to the camera for long shooting sessions (astrophotography or video for example).
10. Price
Despite having being replaced, the E-M1 II remains on the market for the time being at the reduced price of $1300, £1200 (body only).
The E-M1 III starts at the retail price of $1800, £1600 body only. It is interesting to note that the mark III model is being launched at a lower price to that of the mark II three years ago, which was close to $2000.
Furthermore, the price of E-M1 II is likely to decrease further with special offers, and you can certainly find the body second-hand too.
E-M1 II vs E-M1 III: What they have in common
The list above might not be the most impressive list of differences between two cameras, and that is simply because the E-M1 II has many things in common with its successor.
The BLH-1 battery is the same, which is one of the best you can find on the mirrorless market. The official rating is 440 shots (CIPA) but I can assure you that you can get three times that and then some. The HLD-9 optional battery grip remains the same for both cameras.
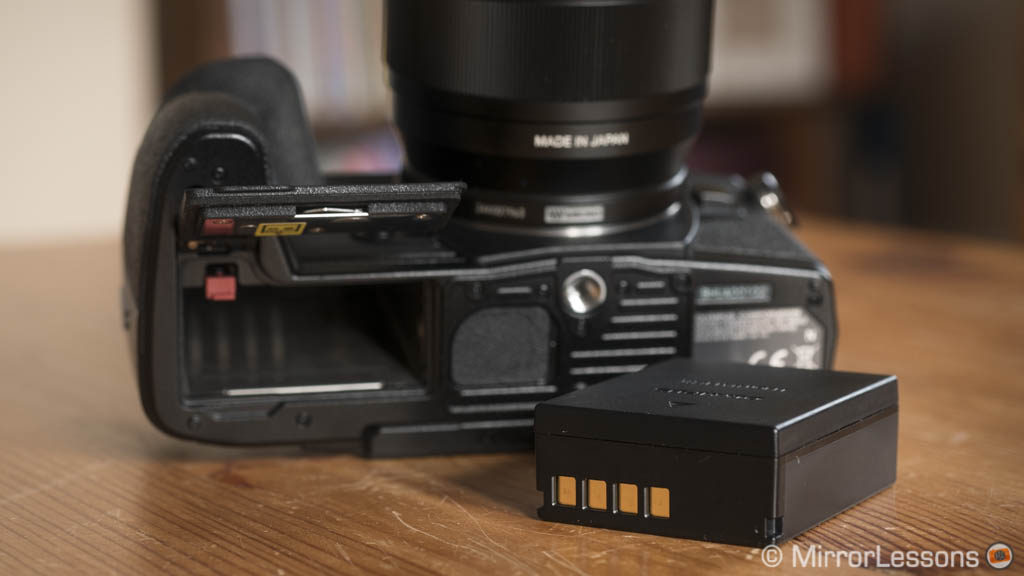
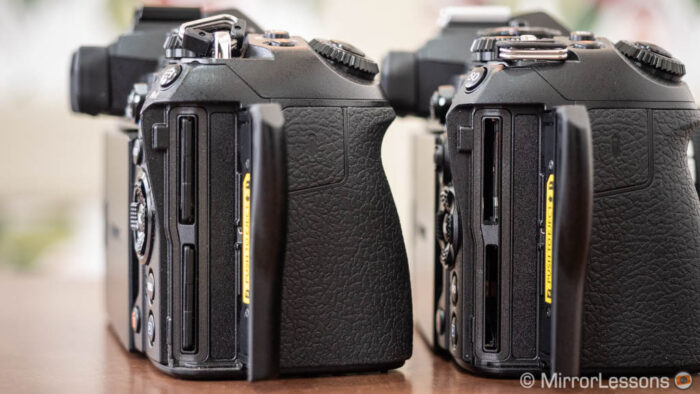
You’ll find two SD card slots, the first one being UHS-II compatible. Olympus told us that making both slots UHS-II compliant would have required 5mm of extra space for the motherboard.
The rear LCD monitor is the same (3.0-in, 1.03M dots) and has the same touch functionalities which include moving the focus point, taking a shot or moving the AF point while composing with the EVF.

Speaking of the EVF, it remains the same concerning resolution (2.36M dots), magnification (0.74x), and refresh rate (120Hz), but it has a shorter lag of 5ms (vs 6ms on the mark II).
They have wifi and tethering capabilities (the E-M1 III also has bluetooth), audio in & out connections (3.5mm jack) and a micro HDMI port. Concerning tethering, the E-M1 III can work wirelessly or with the USB cable. You can transfer JPG and RAW files to your mobile phone with the dedicated app.
The continuous shooting speeds remain the same:
- 15fps with the mechanical shutter in H mode, 10fps in L mode (with AF/AE tracking)
- 60fps with the electronic shutter in H mode, 18fps in L mode (AF/AE tracking)
These speeds are available with the Pro Capture mode, where up to 35 frames can be saved before fully pressing the shutter button.
Other features they share are:
- Focus stacking and Focus bracketing
- AE and HDR Bracketing
- Live composite, Live Bulb and Live Time
- Keystone compensation
- Fisheye compensation (for 8mm 1.8 Pro)
- Time-lapse
- In-camera RAW processing
- and much more
Conclusion
The E-M1 III is an honest upgrade from its predecessor, but at the same time it doesn’t wow the crowd in the same way the E-M1 II did four years ago. This seems to have become a trend after the arrival of the not-so-super exciting E-M5 III which replaced the four year old E-M5 II.
The E-M1 III inherits most of the new features seen on the flagship E-M1X and that is a good thing because now, interesting functions such as Live ND and the High Res Shot hand-held are accessible at a lower price. The improved AF algorithm is also welcome, as well as various bits and bobs concerning settings and buttons.
At the same time though, it is fair to wonder if the system is reaching a plateau when it comes to certain aspects. We haven’t seen a truly brand new Micro Four Thirds sensor for some time now, if we exclude the 10MP chip of the GH5S (video oriented) and the minor changes between models. Whereas other series offer more progression (BSI, more resolution, double ISO gain architecture), the Micro Four Thirds system appears to be growing at a slower pace.
Video is another aspect where Olympus is struggling to make a serious breakthrough. True, the brand has never been on the front line when it comes to movie capabilities, outshadowed by its direct competitor Panasonic, but given how good its stabilisation system is, it could do with some more advanced specifications.
Then we have other things like EVF and LCD resolution which could do with an upgrade. And what about the option of a blackout free live view with continuous shooting using the electronic shutter? This is a feature that Sony and Fuji managed to crack and would benefit the niche group Olympus is targeting (wildlife and birds photographers).

But perhaps the real elephant in the room is called E-M1X, a camera I’ve mentioned many times in this article simply because it is difficult to ignore. When compared to the E-M1 II, the E-M1X seemed like an upgrade that made sense for certain photographers. Now that the E-M1 III is out, it really is just the body design that will influence your decision. A flagship model should have more than that.
By all means, this is not entirely bad news: users who were interested in the E-M1X but judged it either too big or too expensive can now find in the E-M1 III the perfect answer to their needs. It is a tough, high-performance camera that allows you to do more hand-held than ever before, and offers a better weight and size alternative than any other brand. If you think about it, that is no minor feat.
Reminder: the links below are affiliate links. If you decided to buy something after clicking the link, we will receive a small commission.
Check price of the OM-D E-M1 II on
Amazon | Amazon UK | eBay | B&H Photo
Check price of the OM-D E-M1 III on
B&H Photo
E-M1 III comparison previews:
E-M1 II vs E-M1 III – E-M1 III vs E-M1X – E-M1 III vs G9