I was “this close” to giving up on the Sony A1. The usual places from which I rent my equipment still hadn’t received it at the time of publishing this article. At other companies, it was never available. One of them even stopped responding to me after saying they could send a sample with next-day delivery. Go figure!
Fortunately, I persevered and found an A1 to rent for a weekend. I know, three days is nowhere near enough time to test a camera, let alone a workhorse such as this one. So I concentrated my efforts on one thing: bird photography. I wanted to see how fast and reliable Eye AF for birds is, and of course, I wanted to see if the A1, which on paper has Sony’s best autofocus, could reach the top of my birds in flight ranking.
Ethics statement: we rented the Sony A1 for a weekend. We were not asked to write anything about this product, nor were we provided any compensation of any kind. Within the article, there are affiliate links. If you buy something after clicking one of these links, we will receive a small commission. To know more about our ethics, you can visit our full disclosure page. Thank you!
Design and ease of use
The A1 felt familiar right away because it shares the same design, minus a few details, as the A7R mark IV that I tested two years ago.
It is the fourth generation design of Sony’s full frame mirrorless cameras, and it feels good. The size is not too different from other models, but the grip is more comfortable and the buttons offer better tactile feedback. The camera is not too heavy and feels good in the hand.

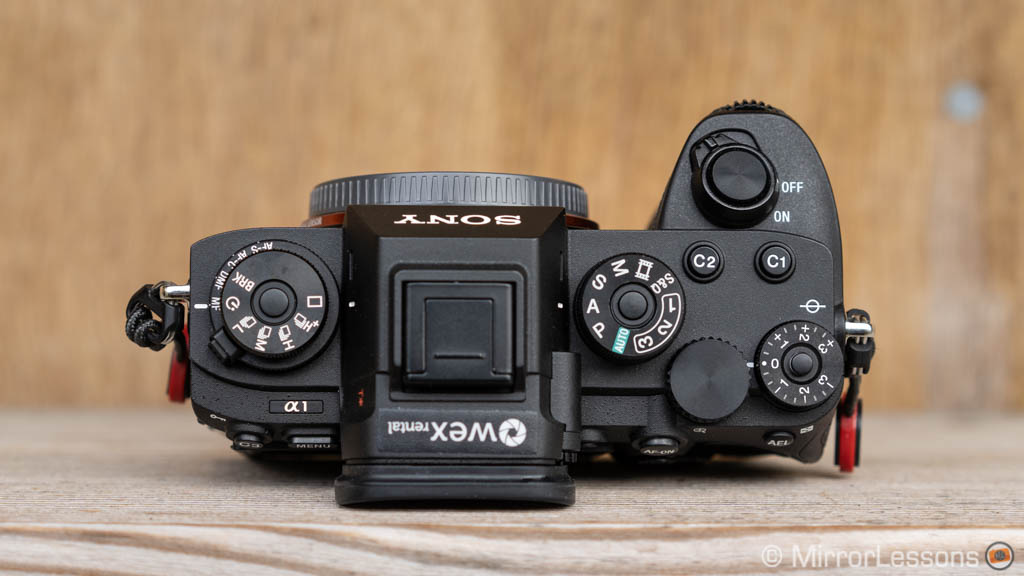
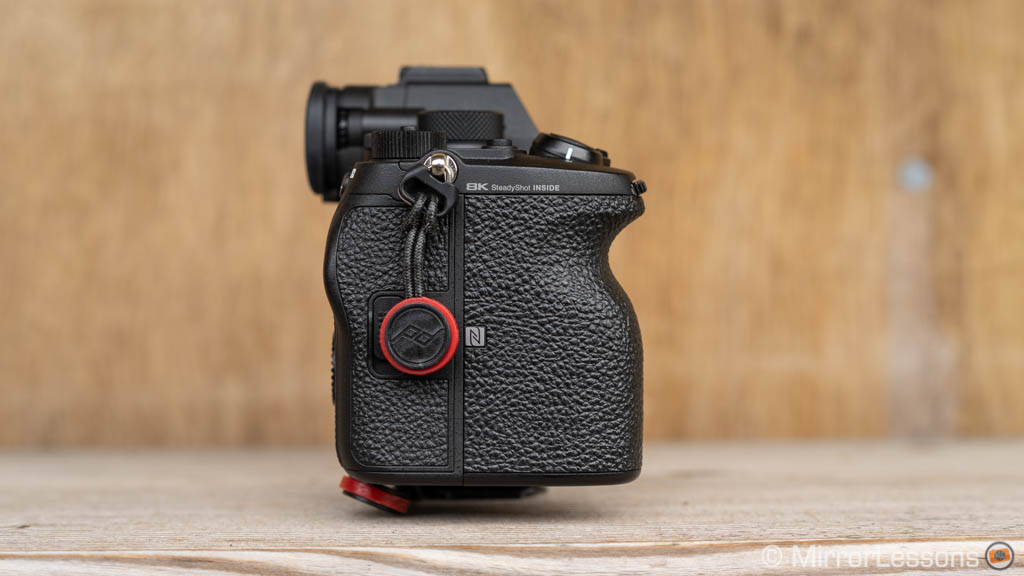
If I look at its competitors, I’d say I still prefer the more rounded shape of the Canon R5, or the taller grip on the Nikon Z7, but we’re at a point now where Sony’s ergonomics are more than acceptable.
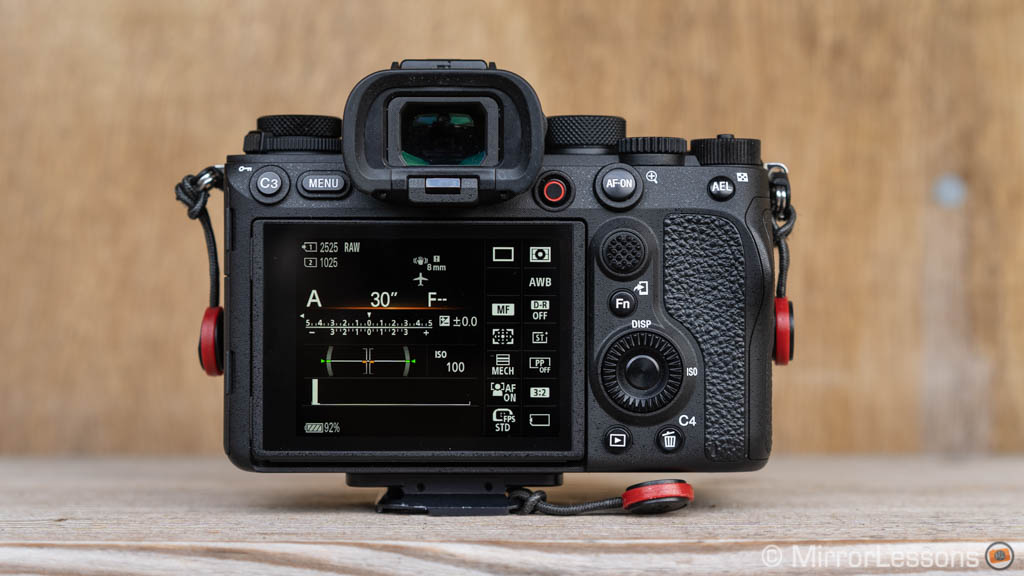
The A1 has the new menu system, which is completely re-designed, and it was the first time I used it. I admit that at first, I was a bit lost and it took a little while to get used to it. That said, the new menu is very precisely organised, and certainly looks like a step up from the old interface. You can also navigate it with your finger on the touch screen, which is handy.
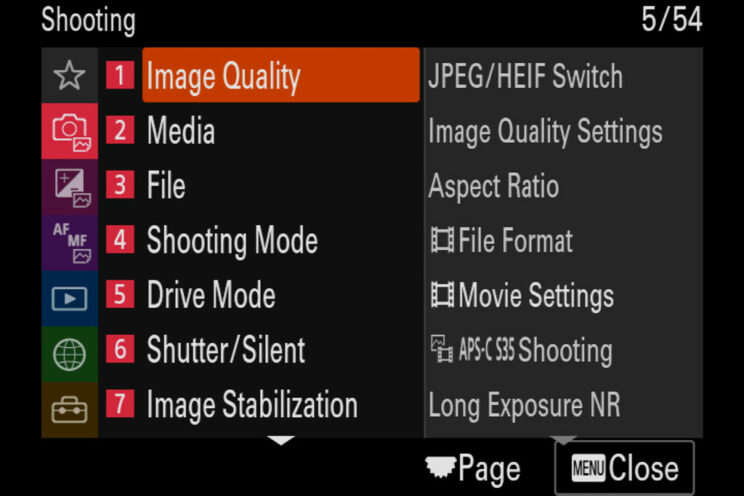
The level of customisation on the A1 is overwhelming. There is so much you can change to tailor the functionality of the camera to your needs. It can be time-consuming at first, but it’s worth exploring.
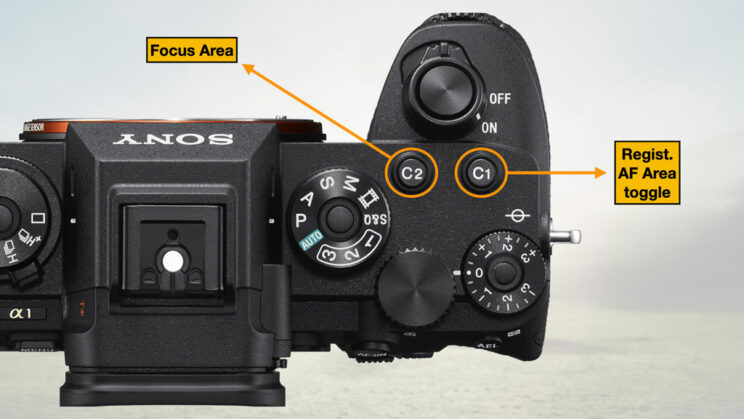
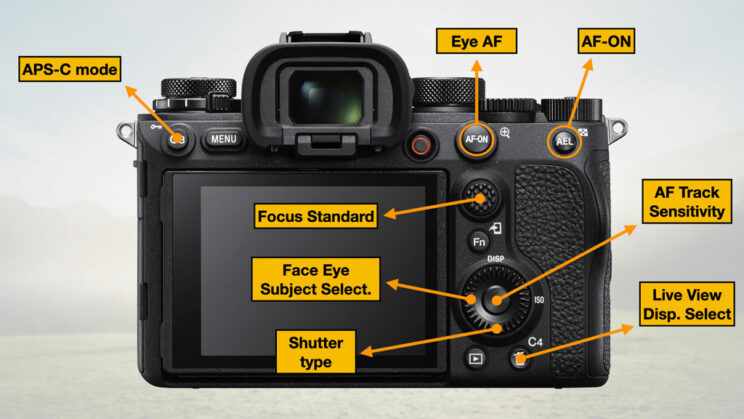
Since I only had a few days with the camera, I decided to customise it following my own Sony A7/A9 for Wildlife guide, so that I could have all the settings I care about assigned to buttons, the Fn menu and the My menu pages.
For reference, this is how I set up the A1.
The viewfinder is impressive: there is so much detail (9.44M dots!), an invisible lag and a large magnification of 0.9x, which you can reduce by the way, something you might find useful if you wear glasses. In my case though, I decided to stick with the largest magnification just to appreciate the EVF in all its glory.
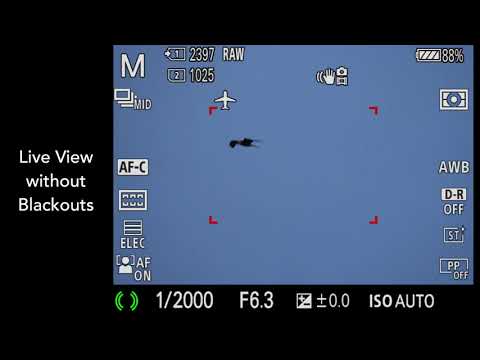
You can set the refresh rate to 120Hz or 240Hz, and the latter gives you a super smooth view, which makes the blackout-free live view experience even more premium. There is a drop in resolution, but it didn’t bother me. This is certainly one of the best electronic viewfinders I’ve used. If you’re not familiar with a blackout-free live view, check the video below.
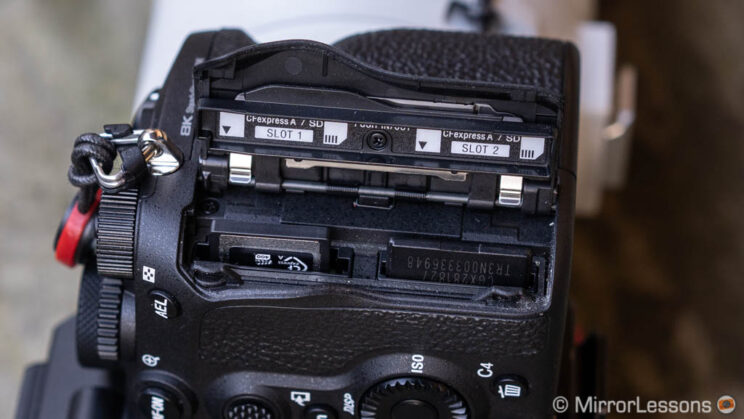
The A1 accepts two SD UHS-II cards, or two CFexpress Type A cards. The latter offers much faster writing and reading speeds, but they are more expensive and, as of now, there isn’t a lot of choice.
I bought the 160GB card by ProGrade, which was £100 less expensive than the Sony equivalent. Still, we’re talking about £300! But I wanted to see how much better the buffer was when shooting at 30fps, and I will also need the card when I start testing the A7 IV.
Sony A1: Bird Eye AF
Eye AF is one of my favourite features on mirrorless cameras. Earlier implementations were not always reliable, but then it improved, making portrait shooting much easier. With camera software becoming more and more sophisticated, it was only natural to see this feature evolve to recognise animals as well.
At first, Sony’s Eye AF for Animals excluded birds, but further improvement allowed this option to be implemented on the A1, and more recently the A7 IV.
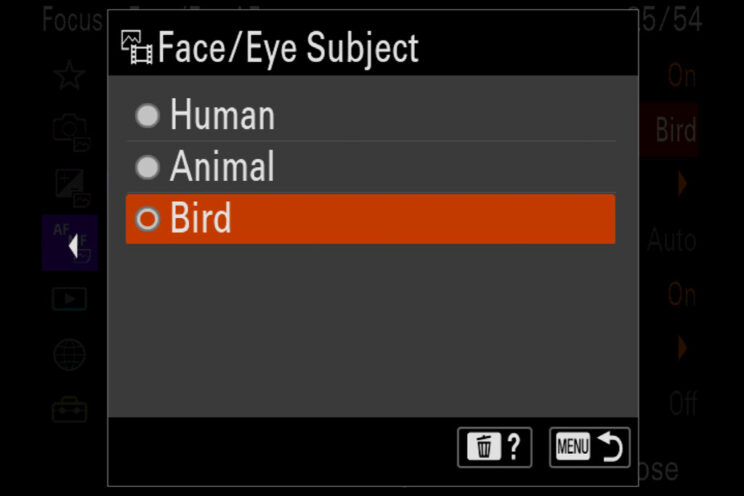
The first thing to know is that the camera doesn’t recognise all the different subjects at once. You need to choose humans, animals or birds specifically. If you need to switch often between them, the best solution is to assign the ‘Face/Eye Subject’ setting to a custom button, so that you can toggle between the three options more quickly.
The second thing to understand is that there are different ways you can control this autofocus feature.
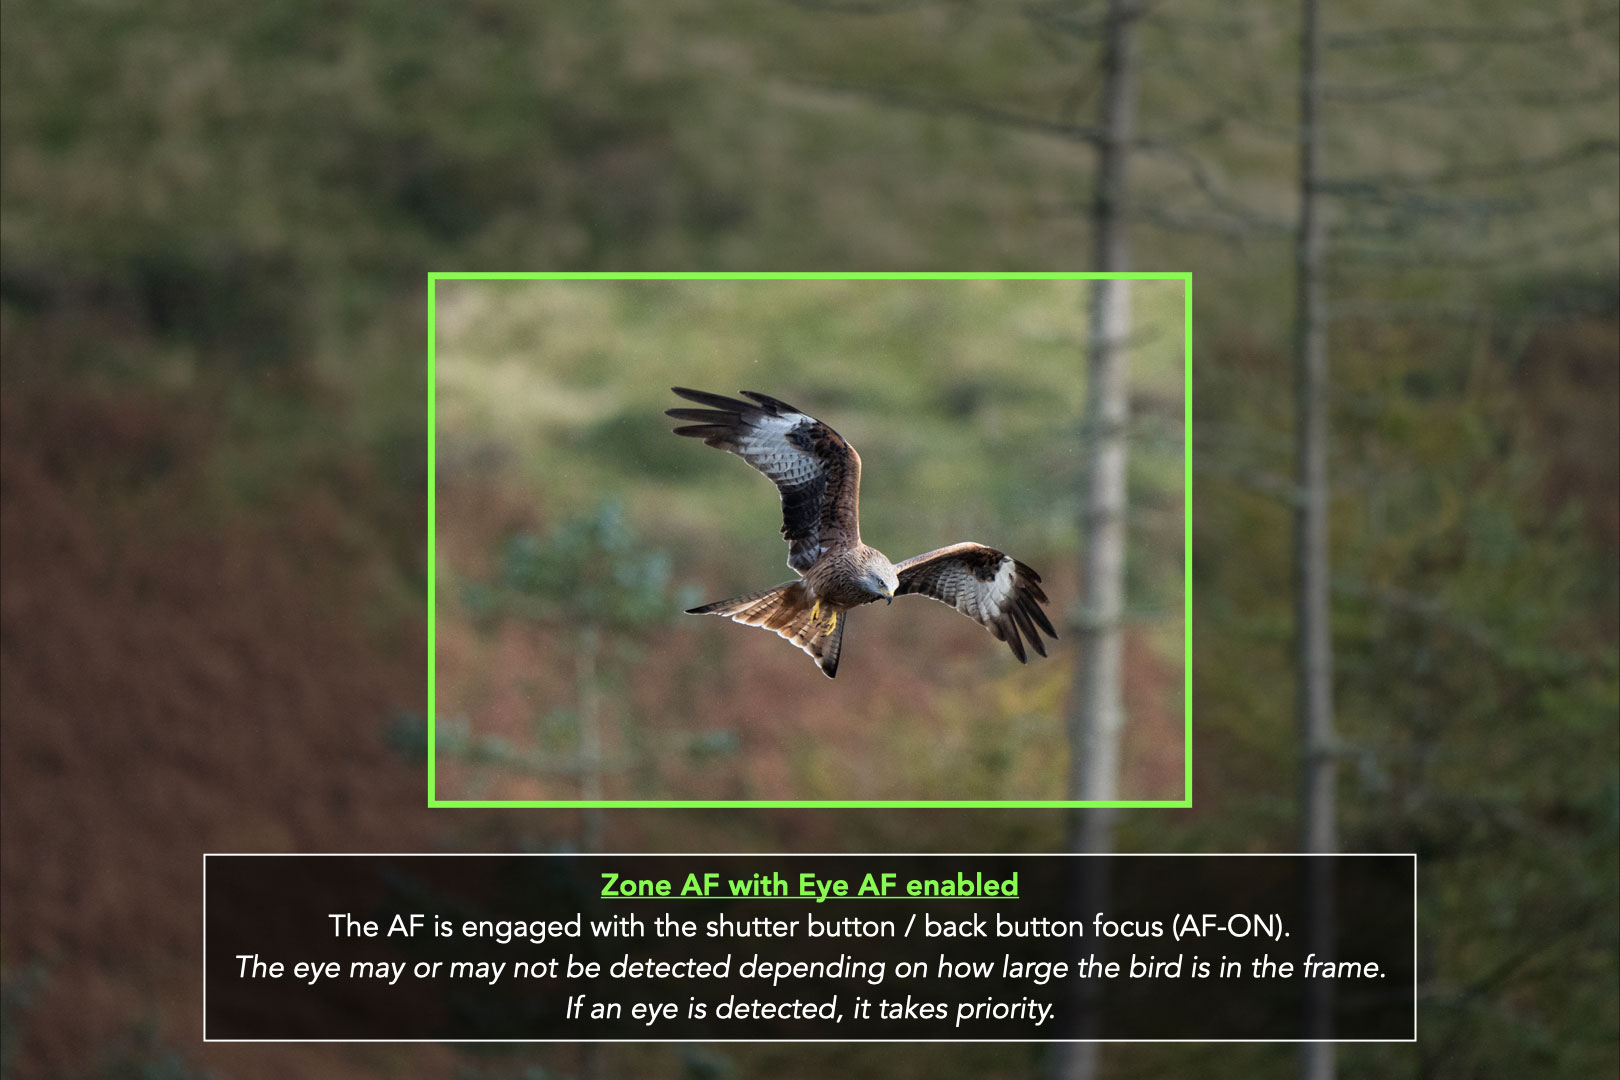
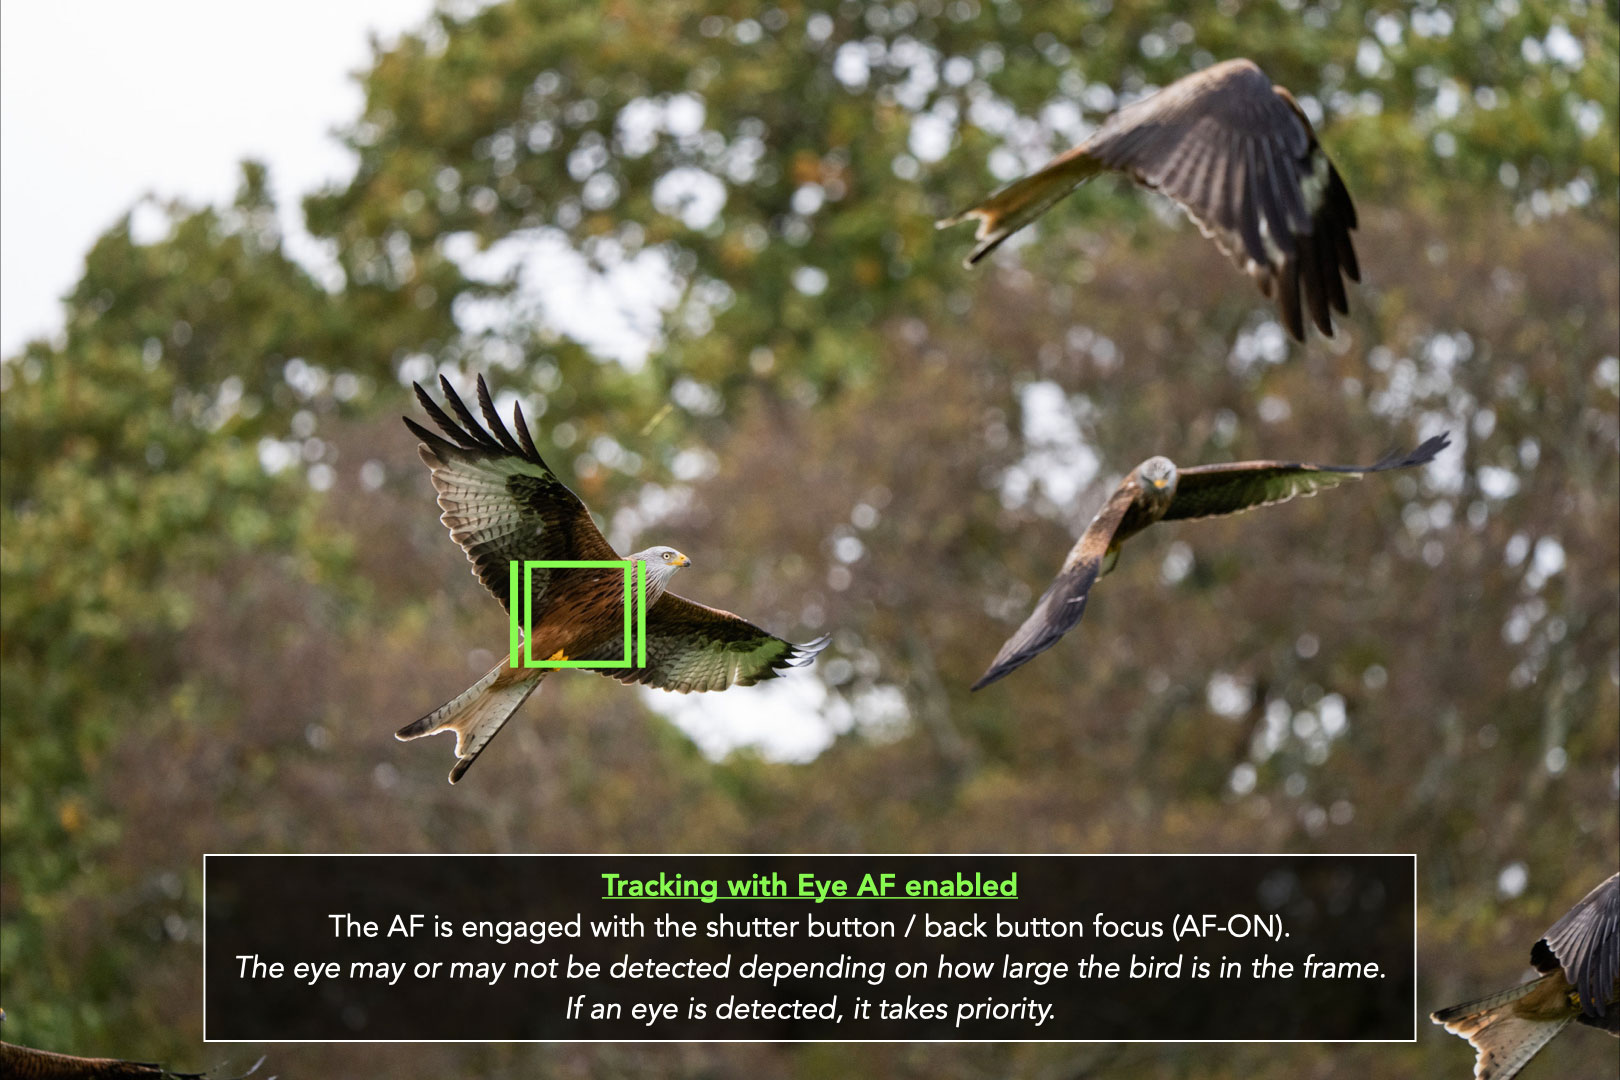
- You can limit Eye AF to the AF Area of your choosing (for example Zone Area). If an eye is detected, the camera will switch to Eye AF, if it’s not detected it will use the selected AF area as normal. Eyes won’t be detected if the subject is outside of the selected focus area. All this works by focusing with the shutter button or back button focus.
- You can use Eye AF with Real-time tracking. The latter means that the camera analyses various elements in your frame (faces, eyes, colour, brightness and focus distance). It is very precise. If eyes are detected, it will switch to Eye AF automatically, then resume tracking when the eyes are no longer visible. Tracking works across the entire frame. Here as well, you use the shutter button / back button focus.
- You can assign Eye AF to a custom button to prioritise it at all times. This method overrides tracking or any Focus area you’ve selected (the camera will track the eyes even outside the AF area). Unlike the first two methods, you use a separate button to engage focus (the one to which you assigned Eye AF).
For birds in flight, or any animal that is likely to move in an erratic way, I think method 1 is the more versatile option because, even if the eyes are not detected, the normal focus area paired with the AF capabilities of the A1 will continue to follow the animal. This is especially true if you use a large area such as Zone that gives you bit more leeway with the composition.
I can recommend method 2 for similar reasons to the the ones stated above, but real-time tracking is even more precise. The initial area is small, so when you start tracking you need to place it over your subject with precision, which can prove a bit difficult at first if you have no experience. However, starting with a small area is also useful if there are lots of elements around the subject that can ‘distract’ the camera’s AF system.
Method 3 is great once you have your subject in focus and it is not moving a lot, because you can concentrate solely on the eyes to maximise focus accuracy. This is the advantage of having Eye AF on a separate button: if the camera stops detecting the eyes for whatever reason, you can just revert to the default focusing button.

With birds perched on a tree, I used method 1 and 3. I used method 1 to initially focus on the bird, using a small AF area (Expand Flexible Spot or Small Flexible Spot) to skip distracting elements around it (leaves, branches). Then with my bird in focus, I engaged Eye AF to ‘tell’ the camera I only want the eye in focus (method 3).

Taken with Eye AF
Alternatively, you can try with method 2 (real-time tracking) and method 3. Technically, tracking should automatically switch to Eye AF, but if for some reason it doesn’t, or keeps hesitating, Eye AF on a custom button will help.
Eye AF becomes very helpful when you have a more complex composition, such as when the bird is partially hidden behind a branch or a leaf. Even with blurred leaves in the foreground getting in the way of my composition, the camera kept the eyes in focus at all times. Out of 60 shots, only a few were sligthly off.

Taken with Eye AF
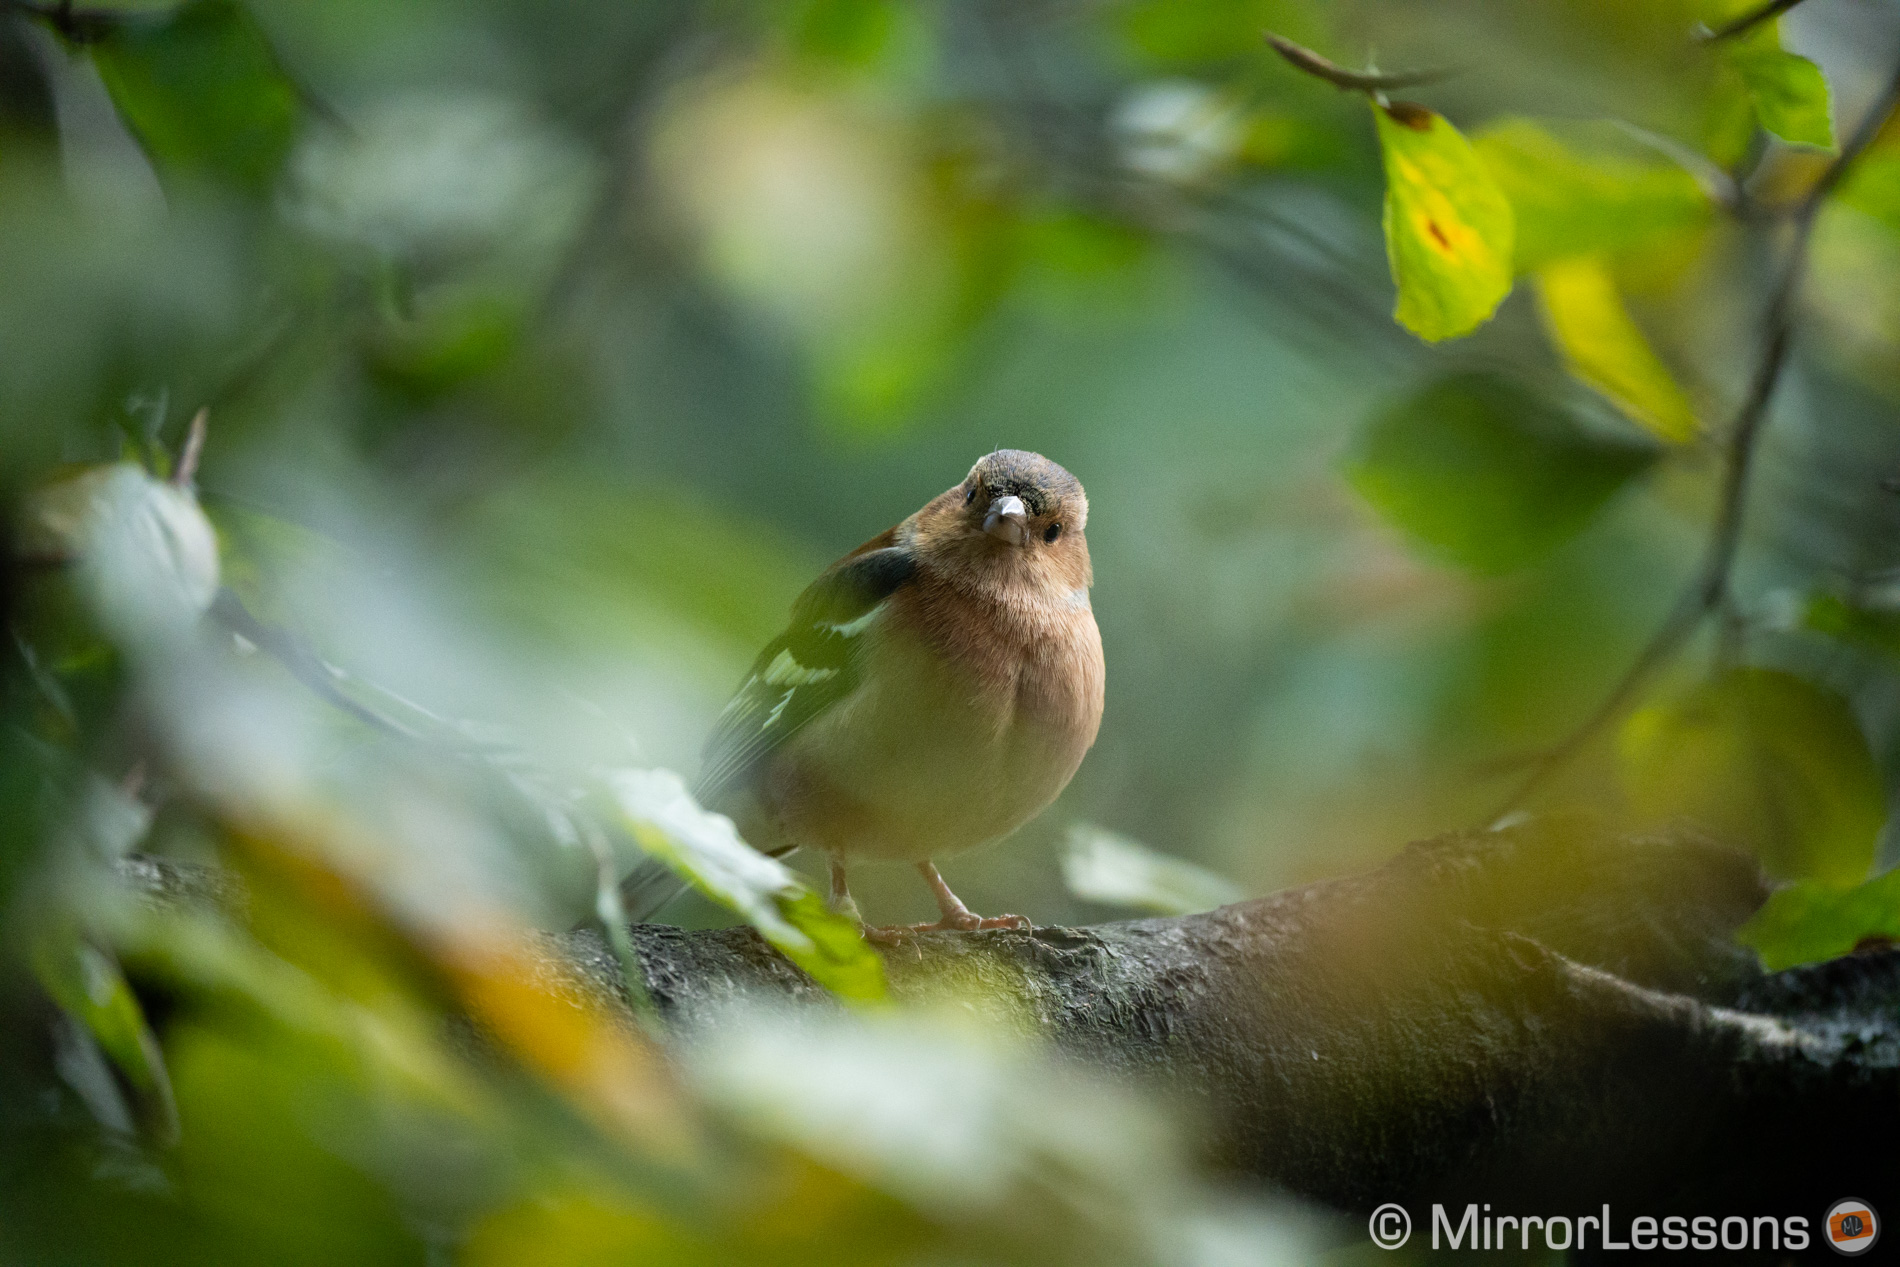
Taken with Eye AF
Taken with Eye AF
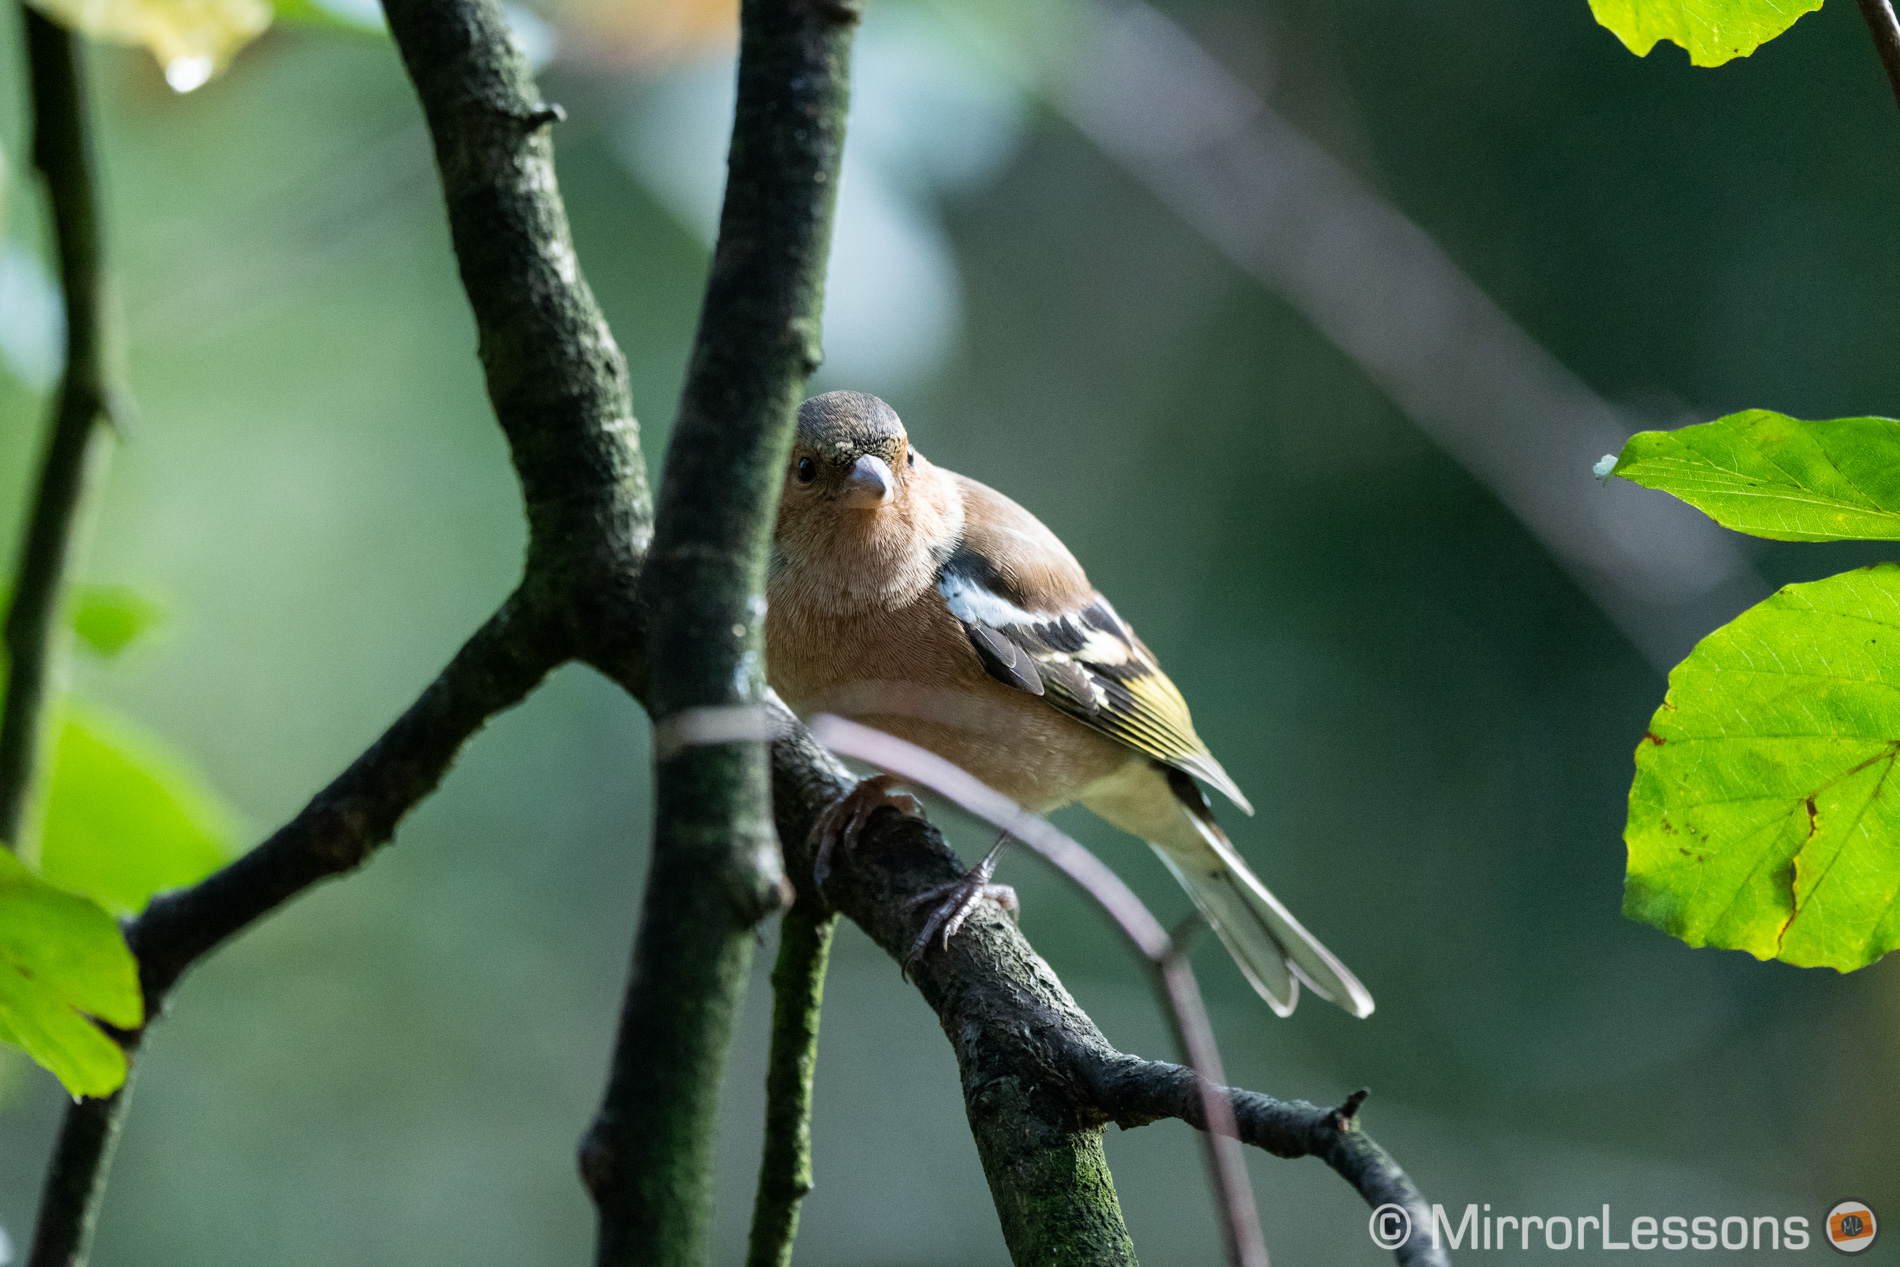
At close focusing distance, Eye AF is once again useful because a shallow depth of field can result in the bird’s body being in focus but the eye slightly off. This way, you know the eyes always get priority.
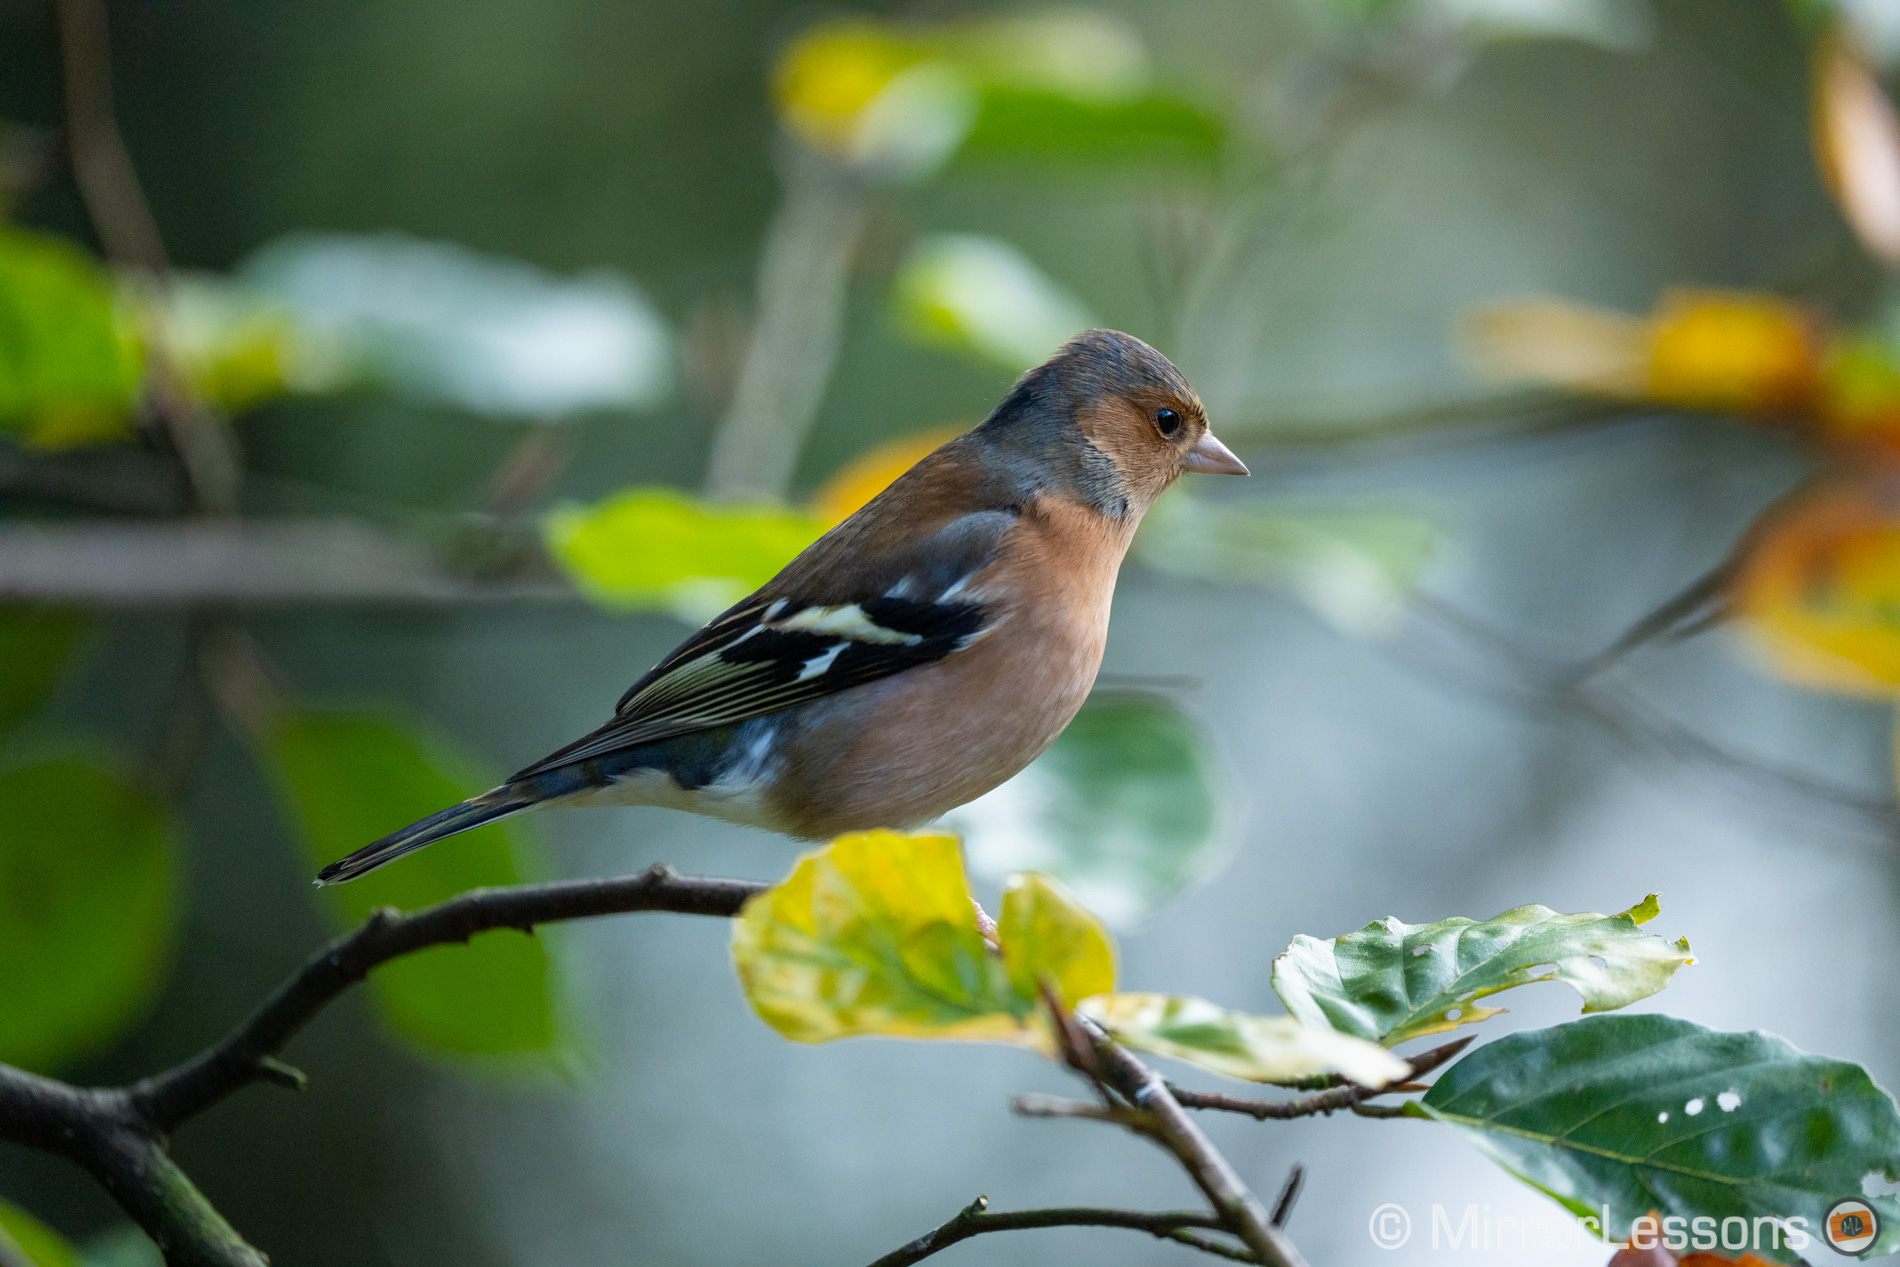
Taken with Eye AF

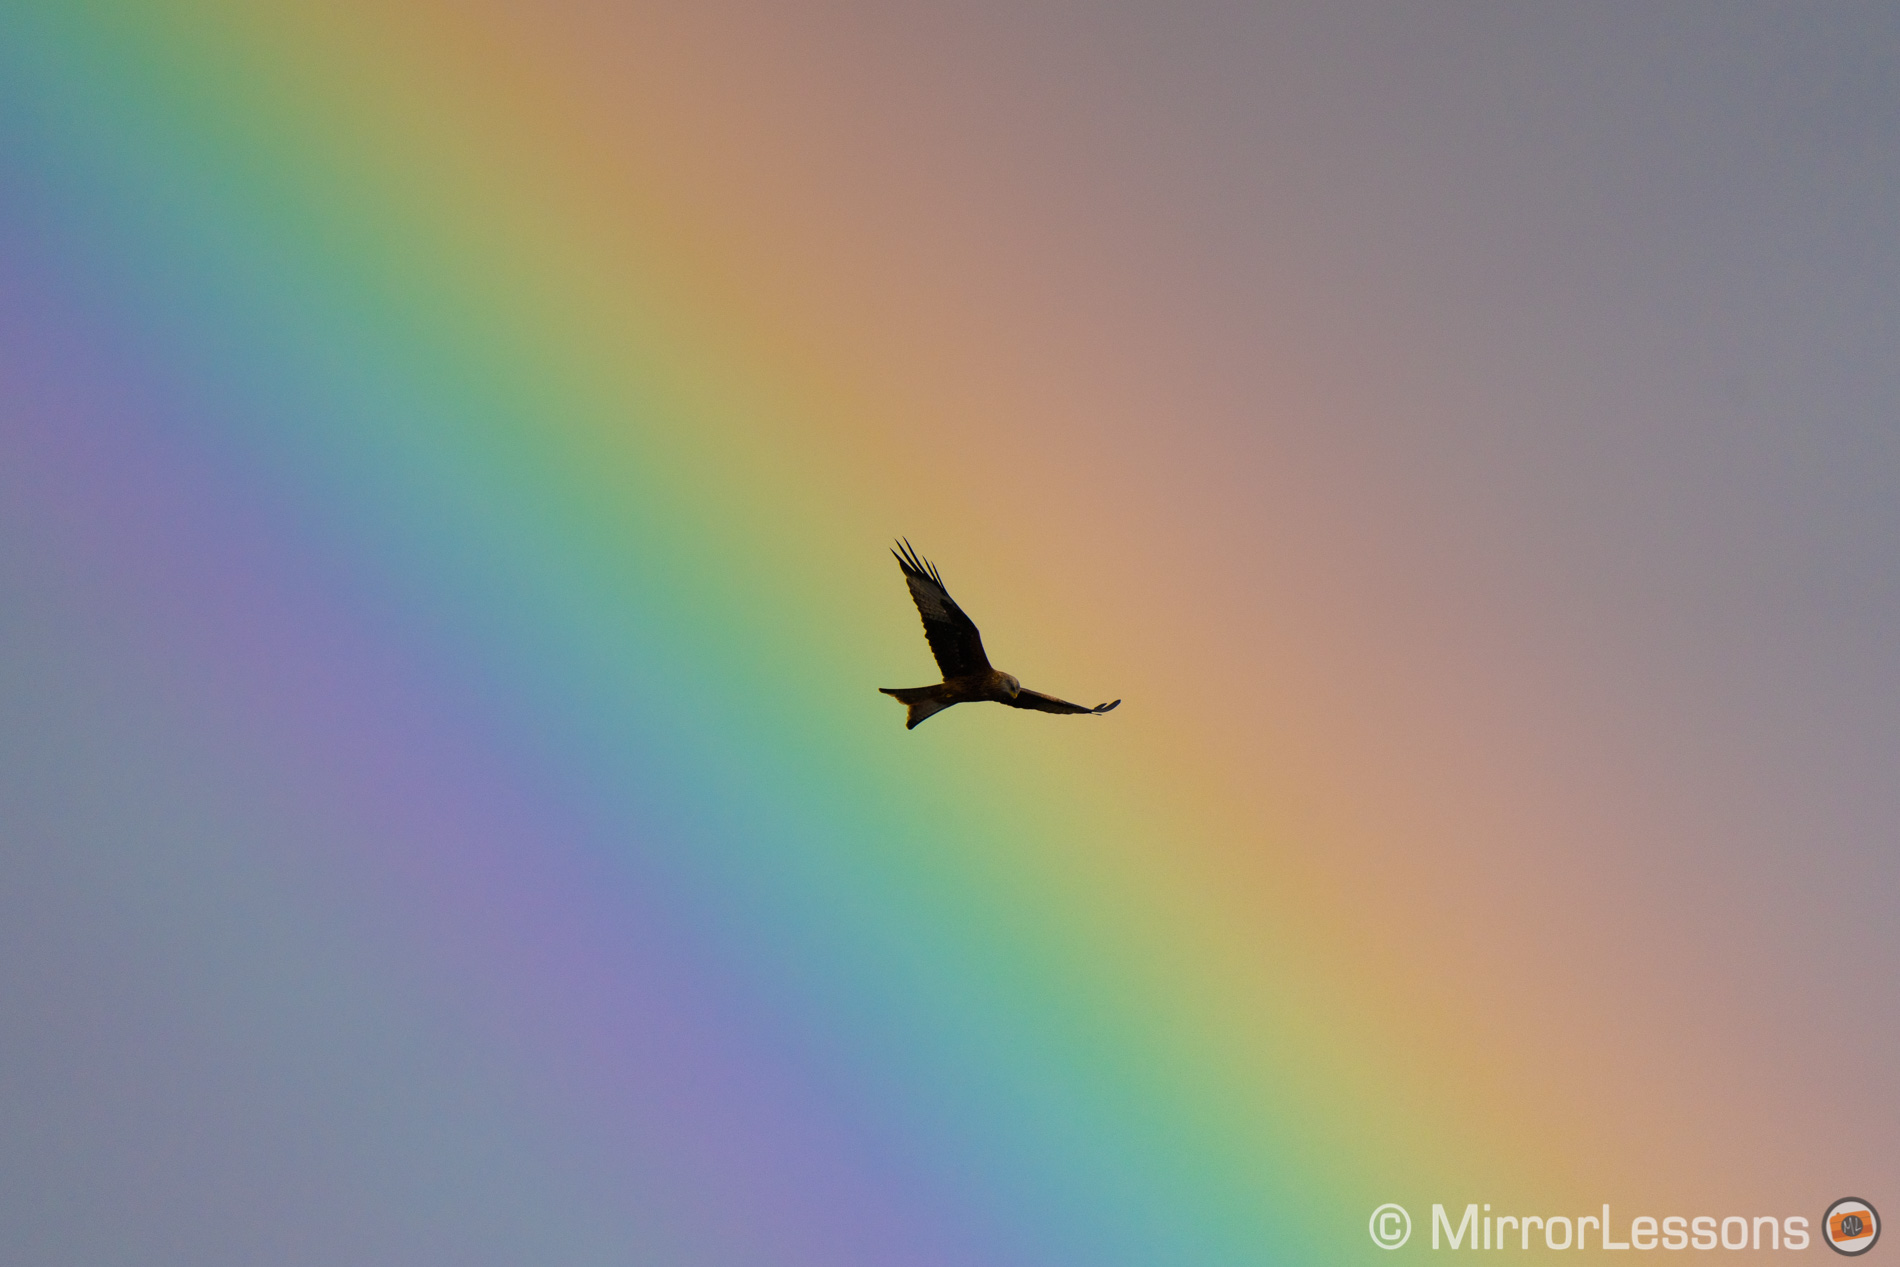
With subjects that are far away, it’s more of a mixed bag. Eyes may not be detected if the subject is too dark (dark plumage) or in a backlit situation, or if it is too small in the frame. In this situation, I recommend method 2 with real-time tracking, which keeps following your subject precisely, with or without eye detection.
With that said, Eye AF was successful on more than one occasion with distant subjects, as in the case of the images below. So it’s always worth keeping it at hand, also because it is very unlikely the camera will confused the eyes with something else.
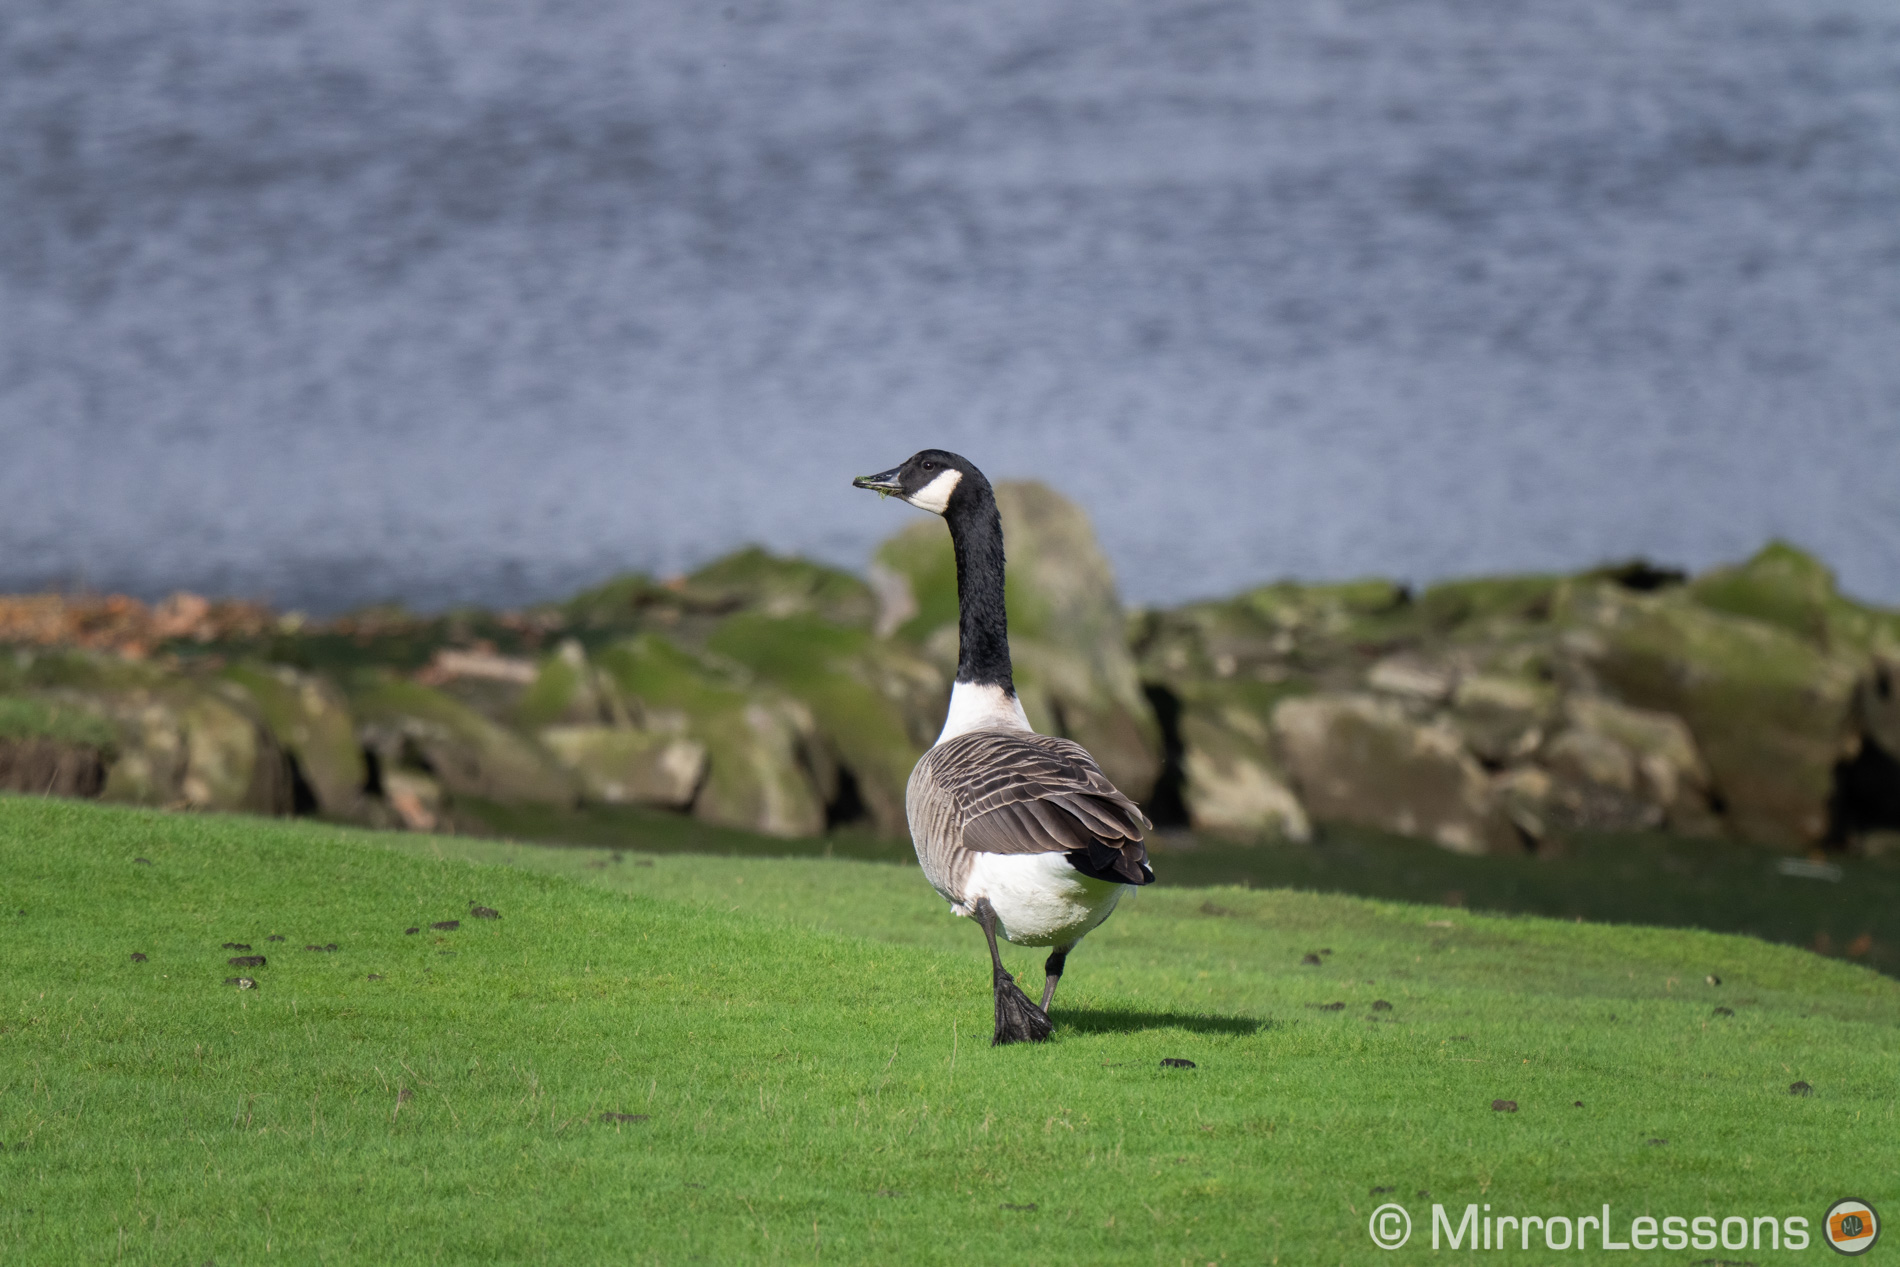
Taken with Eye AF
The only thing I couldn’t figure out was how to quickly switch from one subject to the other, if there is more than one bird in the frame.
Instinctively, I stopped focusing, changed my composition to start tracking the second bird and re-composed (you can also move the tracking area with the joystick). But unlike the Canon R5 or R6, the A1 doesn’t detect multiple subjects at the same time, and consequentially doesn’t let you jump from one to the other easily.
The last thing is that you can’t prioritise the left or right eye, unlike with Humans or Animals, but to be fair, an option like this is less needed for birds.
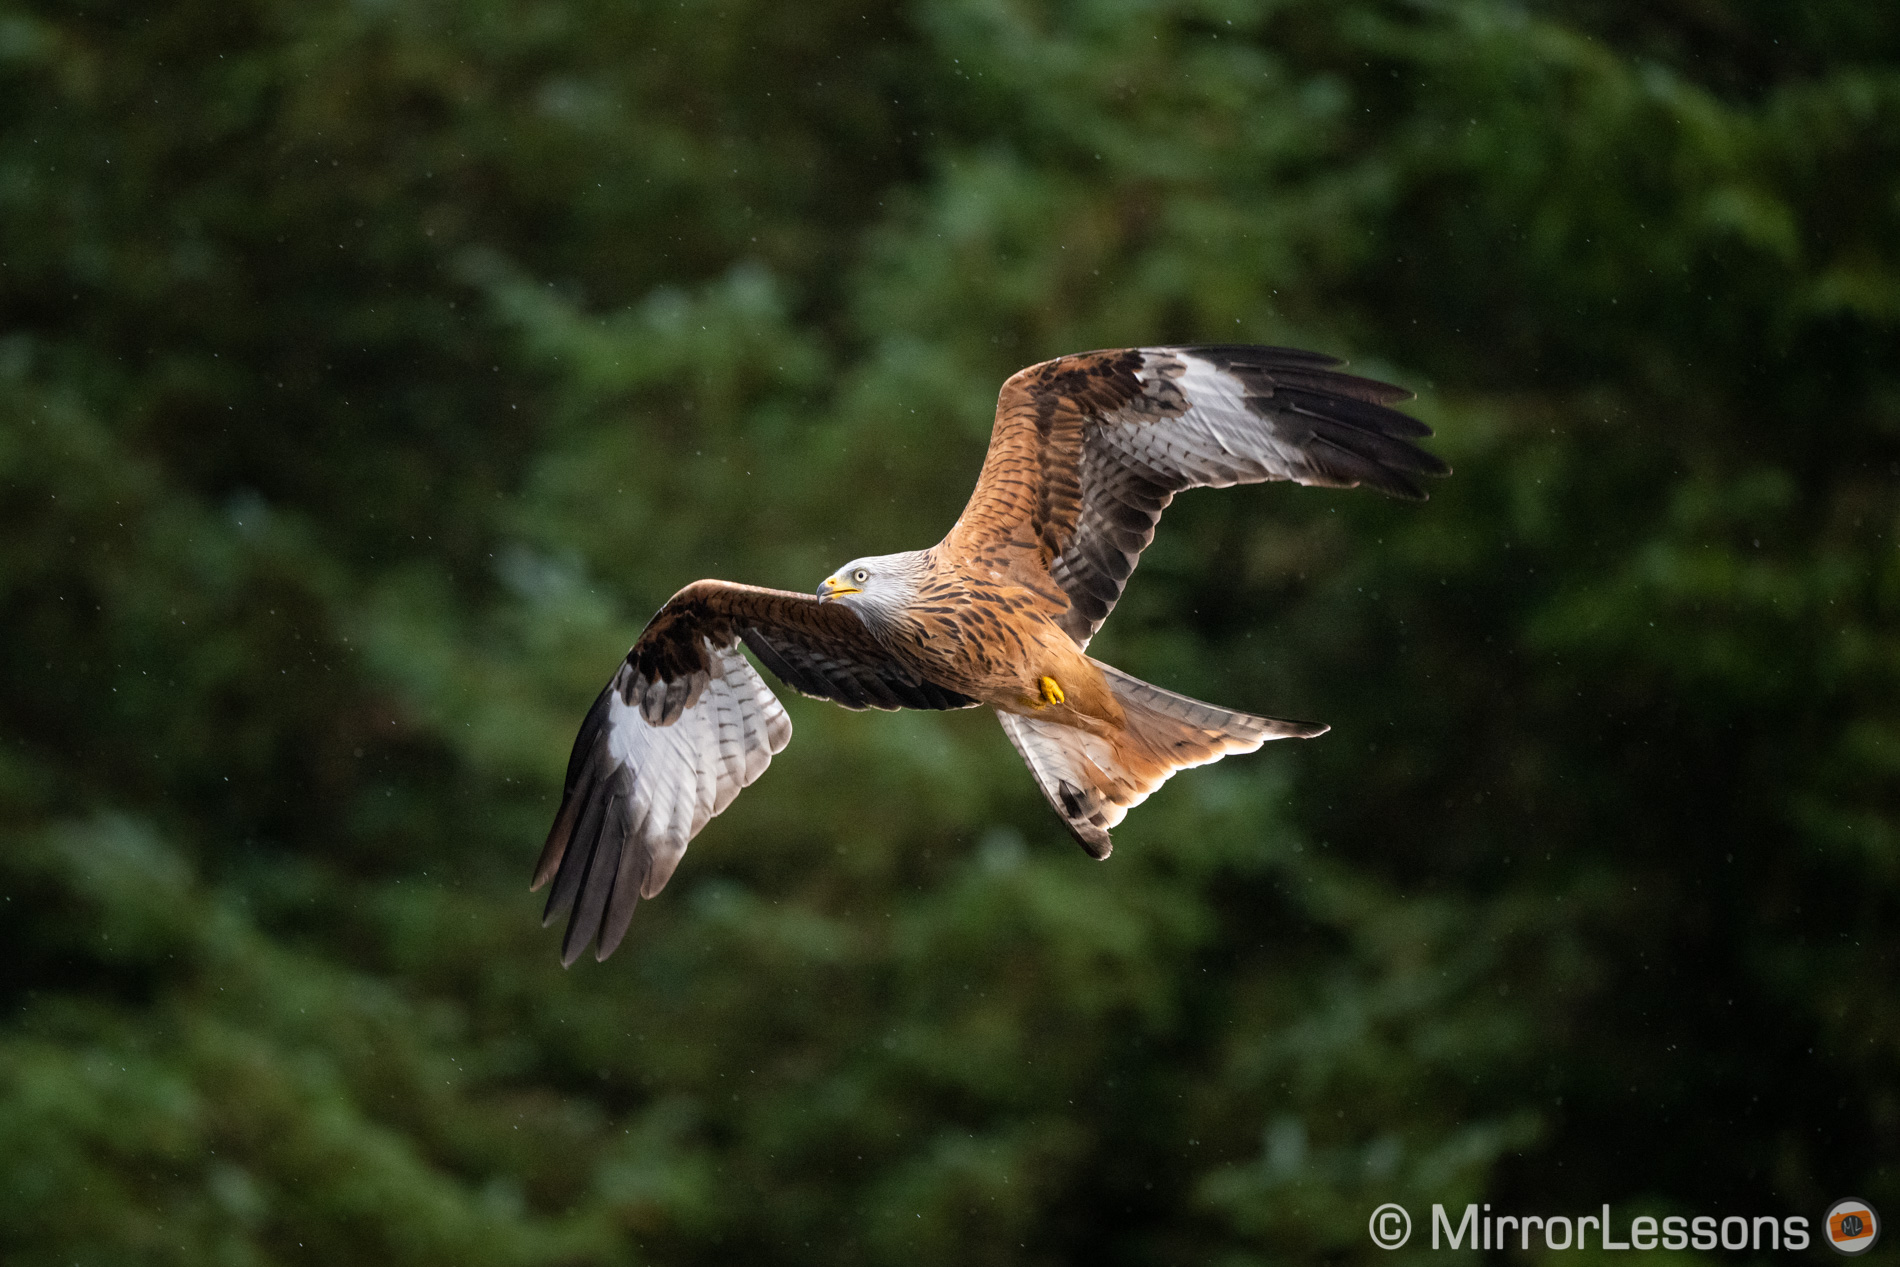
Sony A1 and Birds in Flight
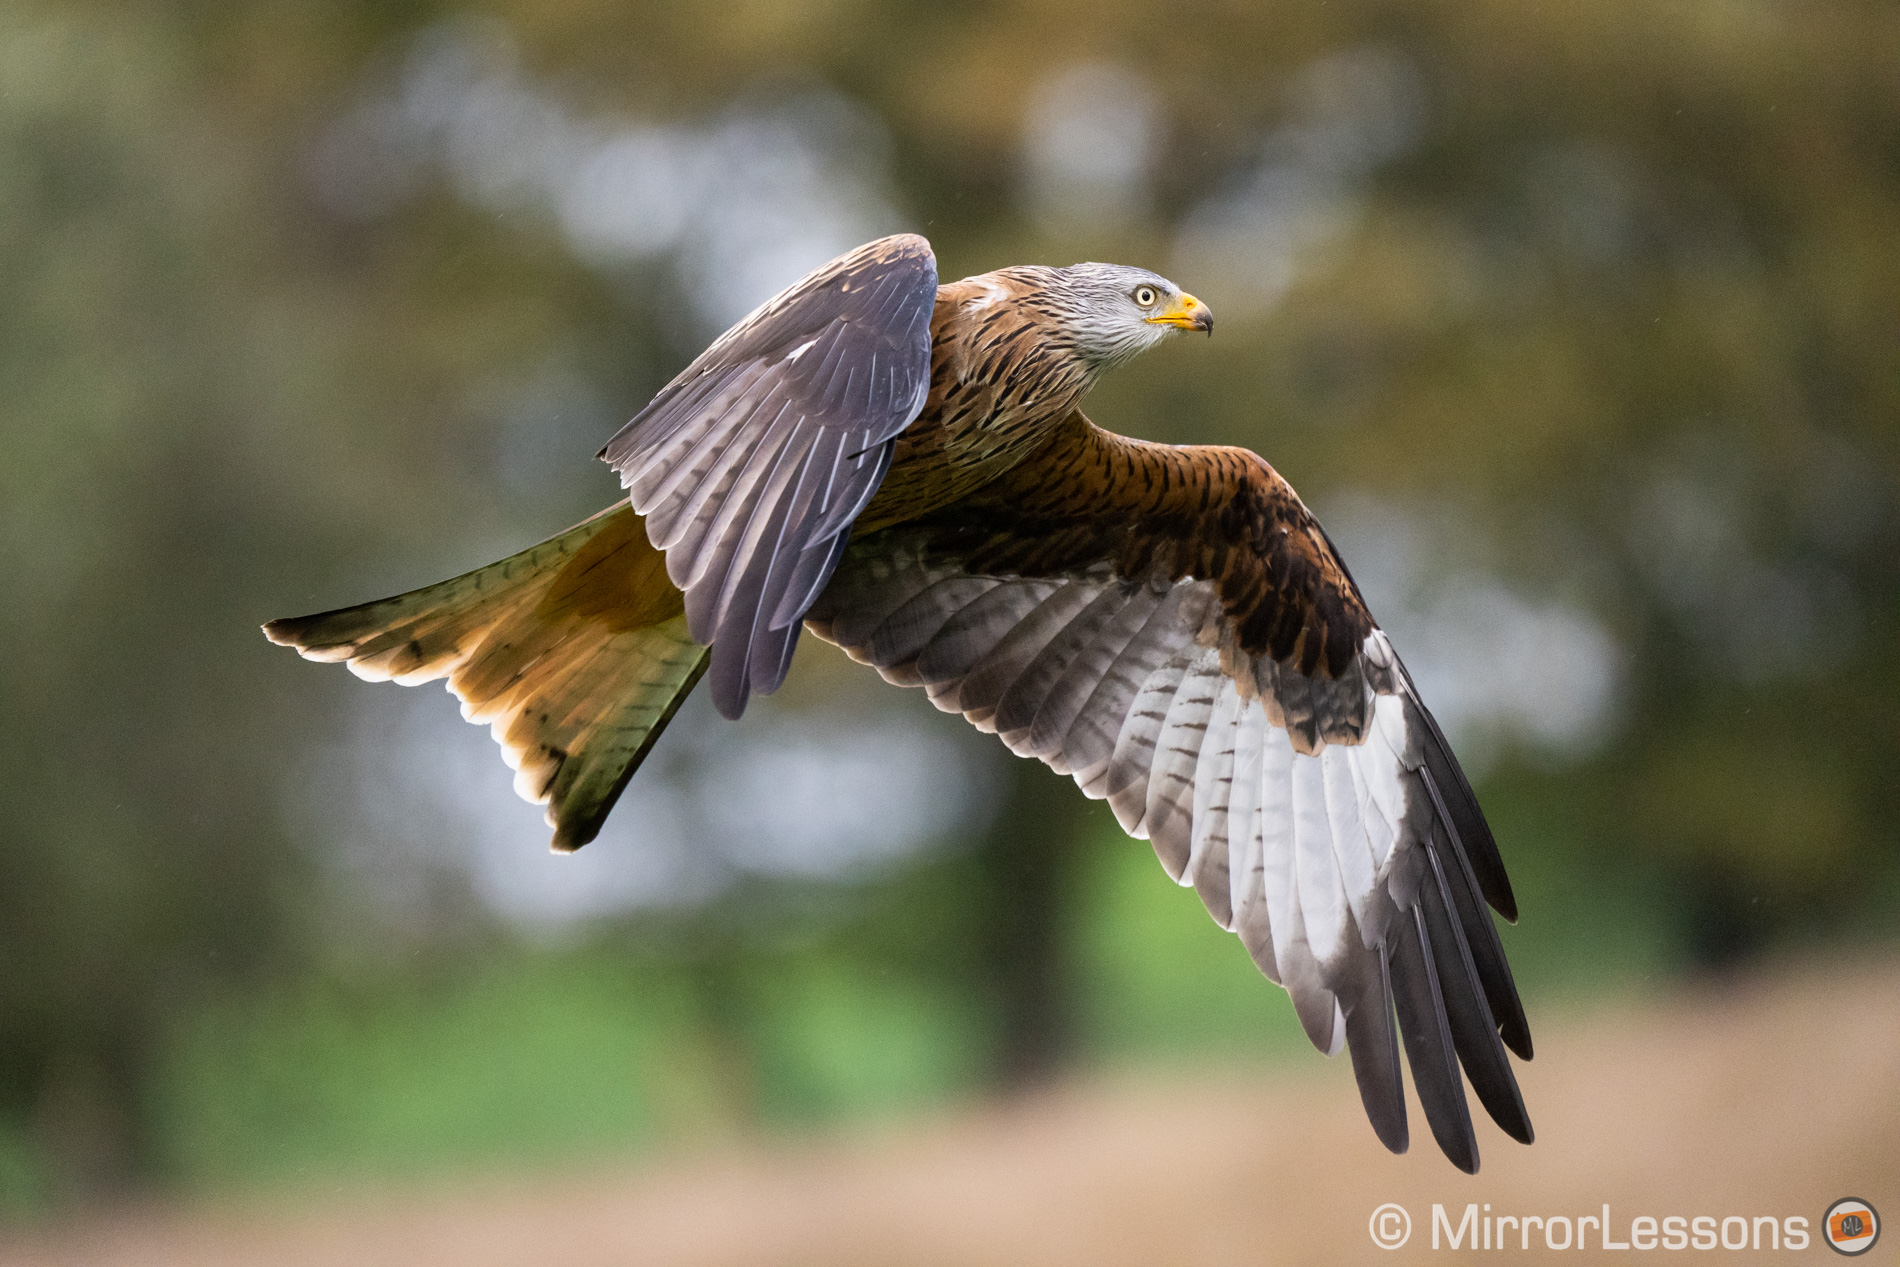
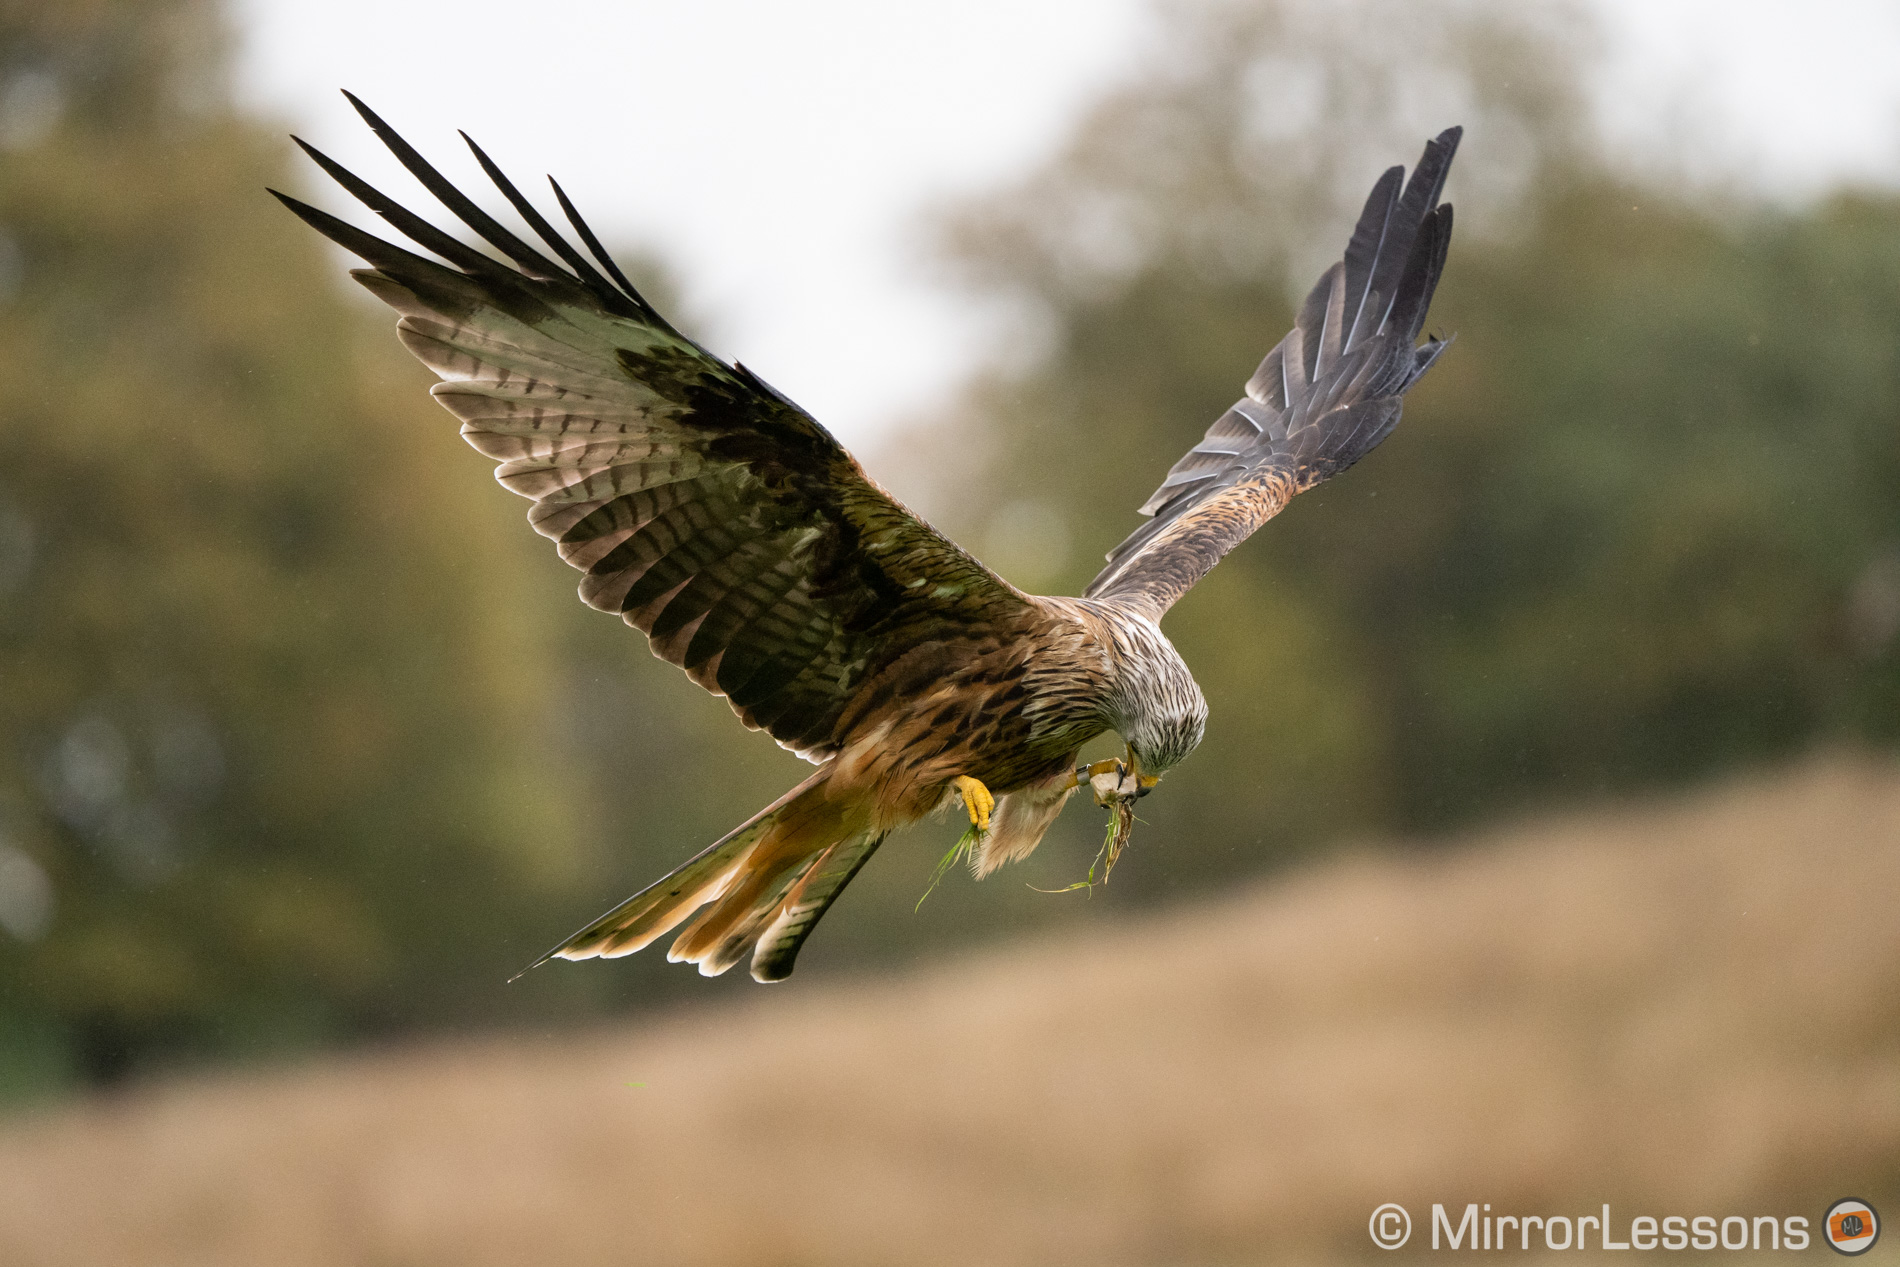
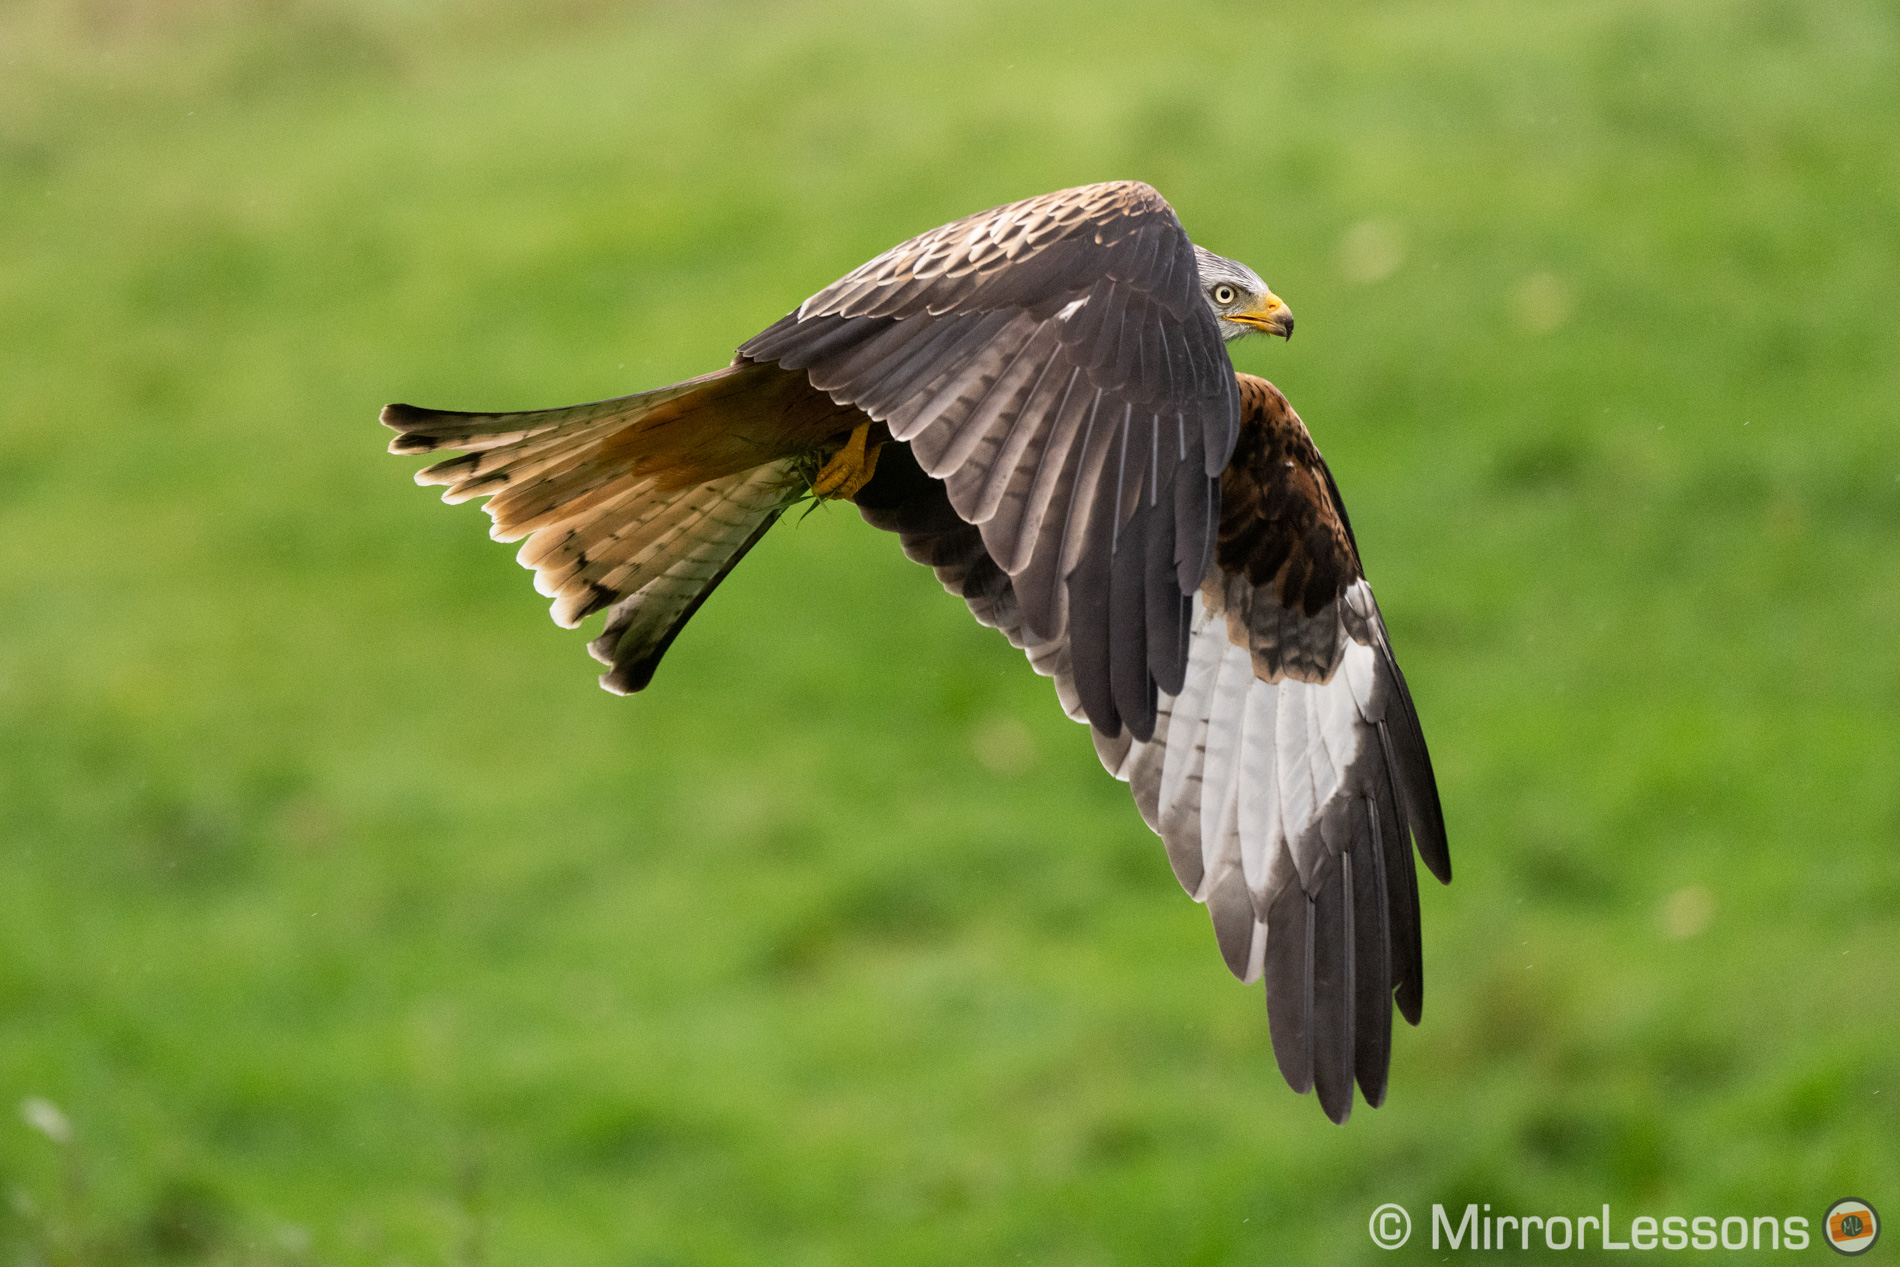
I visited the two locations I regularly go to for my birds in flight test: the Red Kite feeding station at Bwlch Nant Yr Arian and Gigrin farm.
I went to these feeding stations knowing that the best score the A1 had to beat was that of the A9 II, which is nearly perfect: 96% / 99%. Whatever improvement the A1 brought, it would not be massive.
Note: if you’re unfamiliar with my BIF test, here is how it goes. I take as many images as possible while testing different setting combinations. Then I calculate how many photos are sharp, how many are slightly soft and how many are out of focus. Finally, I assign a hit-rate score with two percentages (one that only counts 100% sharp images, one that includes slightly soft results).
You can read more about my test, and check the score of other mirrorless cameras, in my dedicated article.
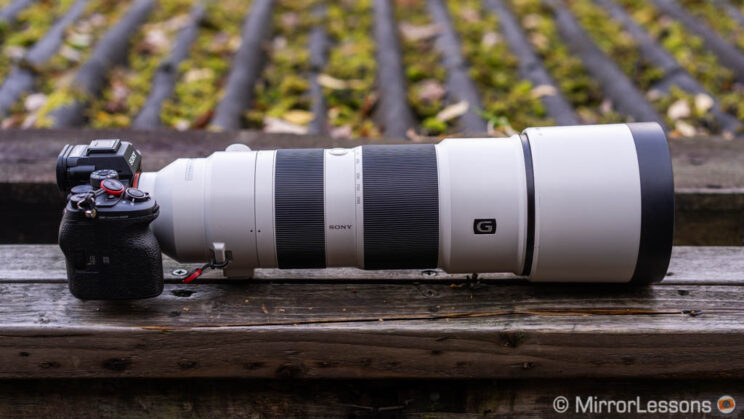
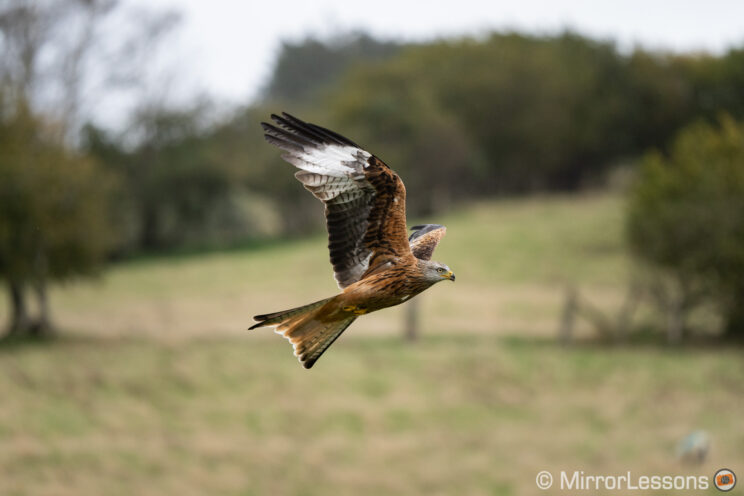
At the first location, the kites don’t fly very close to you, so a 600mm focal length (or longer) gives you the best chance to fill the frame. I brought the trusty FE 200-600mm G that I’ve already used on multiple occasions.
I started with the settings that always gave me the best results with other Sony cameras:
- Zone Focus Area
- AF Track Sensitivity: 5 (Responsive)
- Focus priority in C-AF
- Hi burst speed (in this case, 20fps with the electronic shutter)
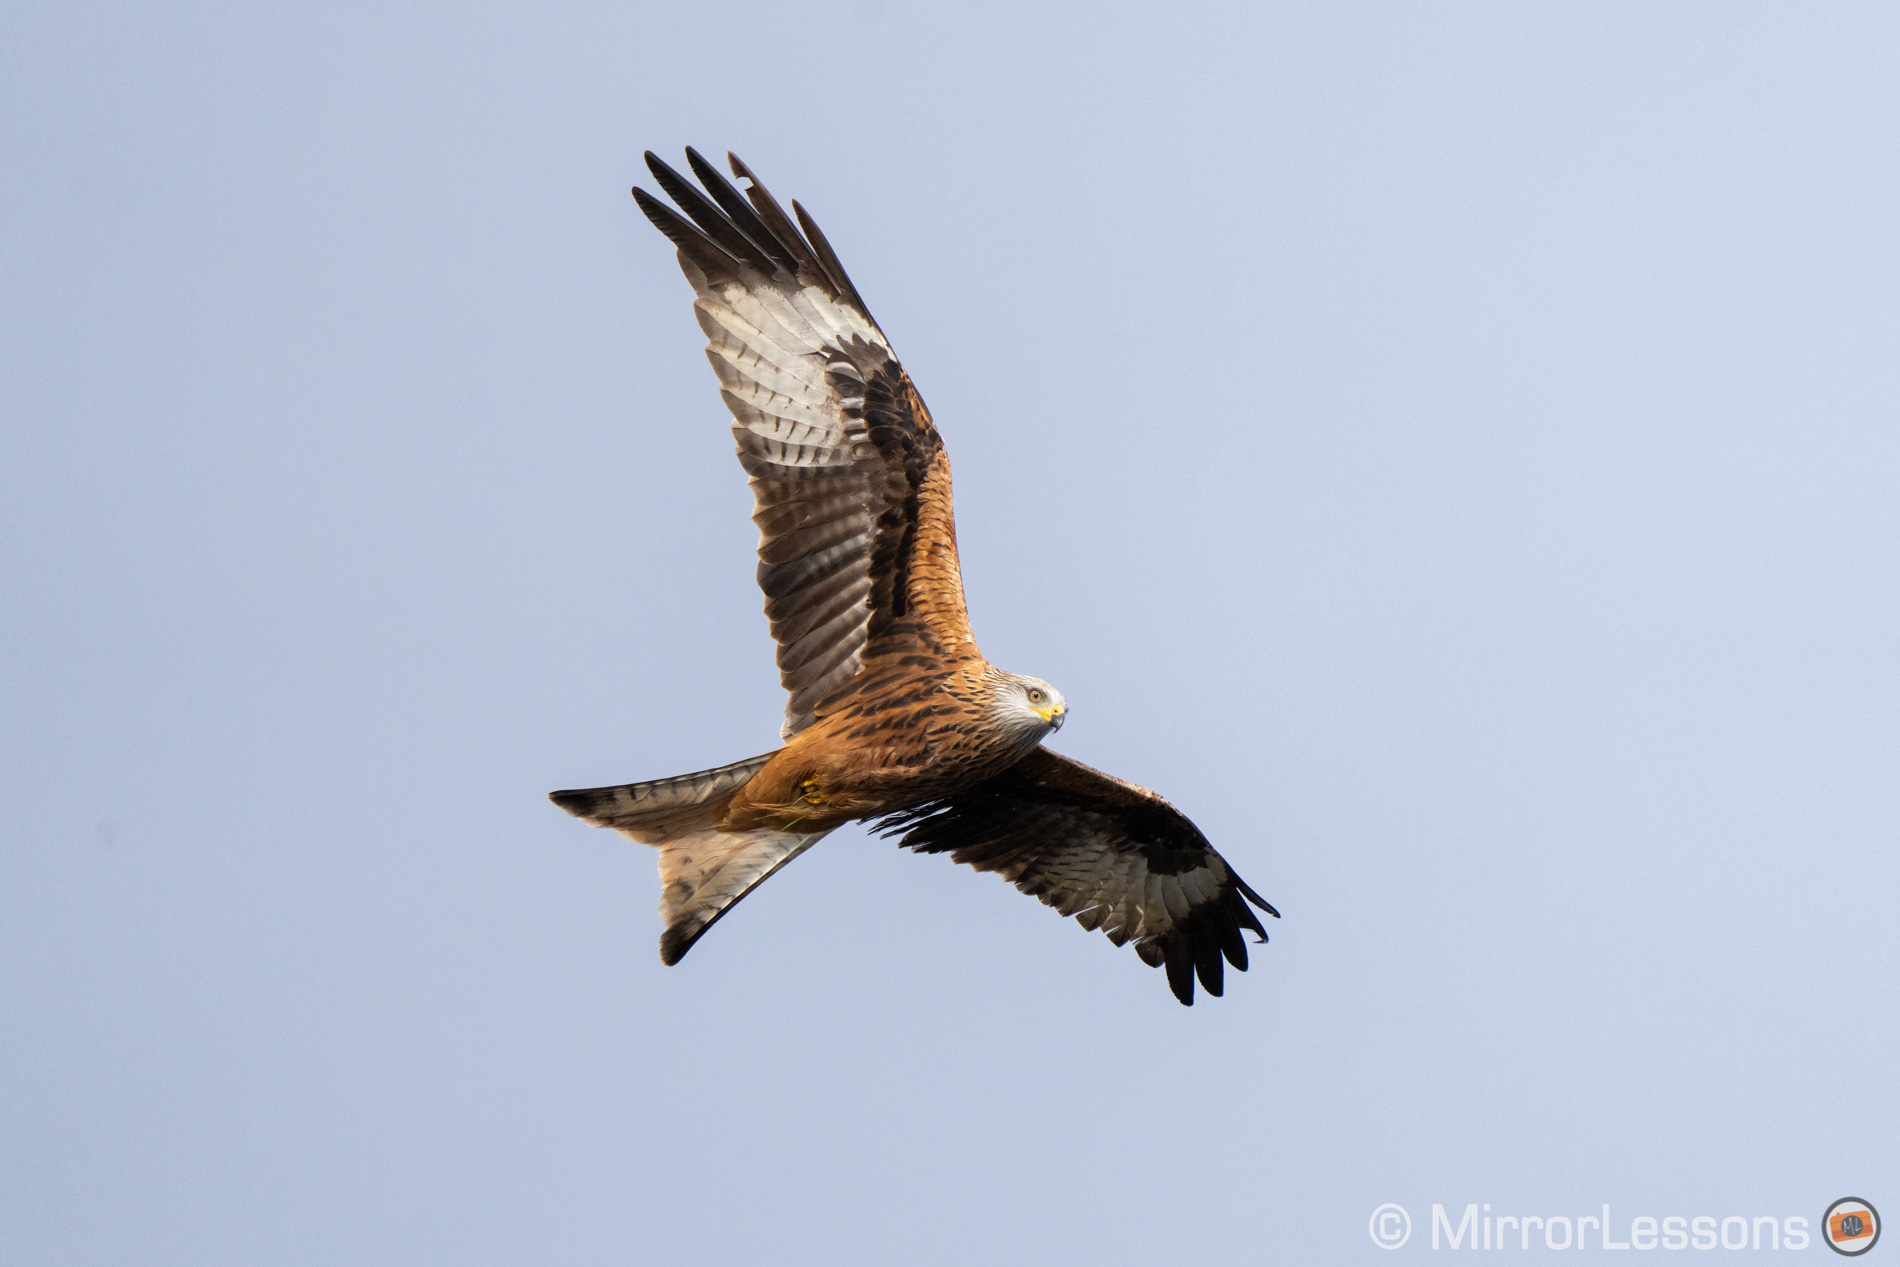
The A1 returned a superb 97% / 99% score. My test had just started, and I already registered the best score ever. Focus is precise, really fast and never hesitates or confuses the subject with the background.
While reviewing the images, I also noticed that the camera did a very good job in not losing the subject completely when it went momentarily outside the focus area (Zone).
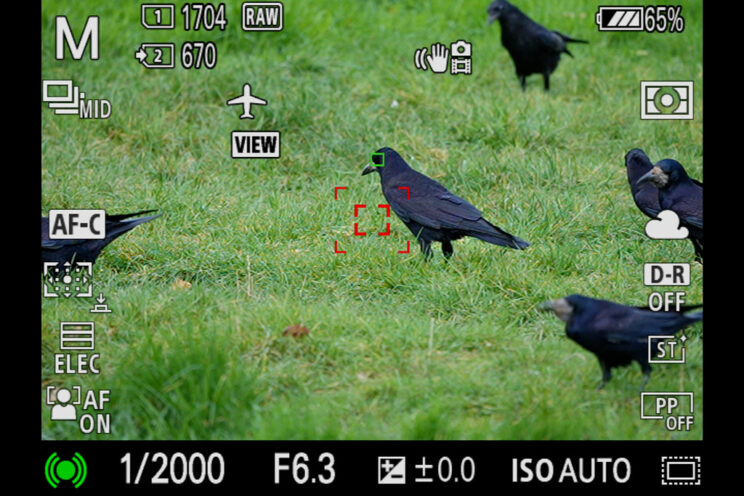
Then I activated Eye AF and set it for birds, but it didn’t make a real difference. Eye detection wasn’t visible a lot in the live view, probably because the birds were not big enough in the frame. Regardless, the second test gave an even better score of 98% / 100%.
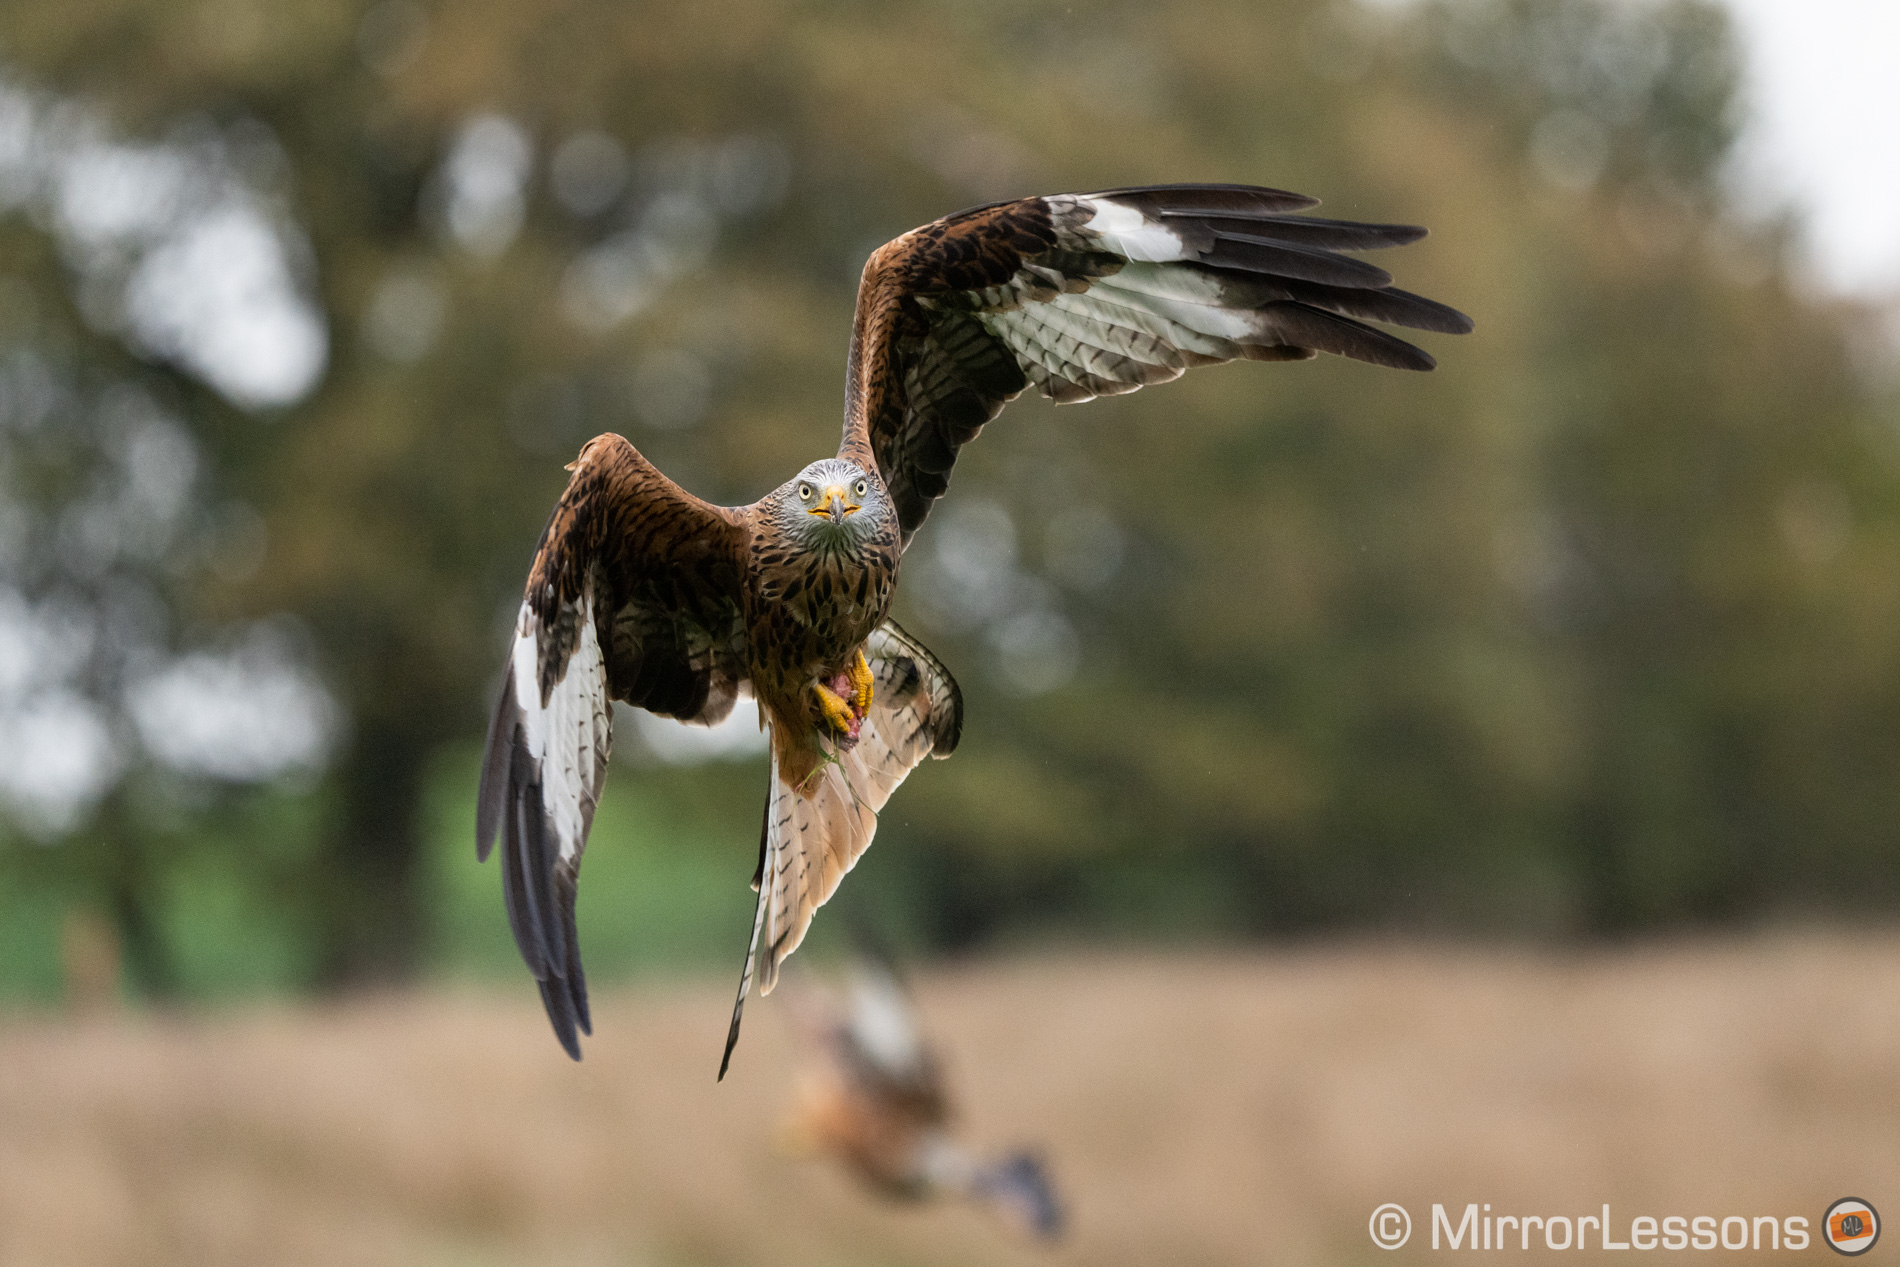
At the second location, you are much closer to the action, so much in fact that you can get away with a 200mm lens! In my case, I set the zoom lens to around 400mm most of the time. By the way, being closer to the birds doesn’t make it easy to follow them, quite the contrary in fact, because their movements are so fast and unpredictable.
I tested the quickest burst of 30fps (with the electronic shutter), then tried real-time tracking with Eye AF activated, while reducing the burst speed to 20fps so that I could record in Lossless compressed RAW. I then reduced the speed further to 10fps near the end, to avoid bringing too many images home.
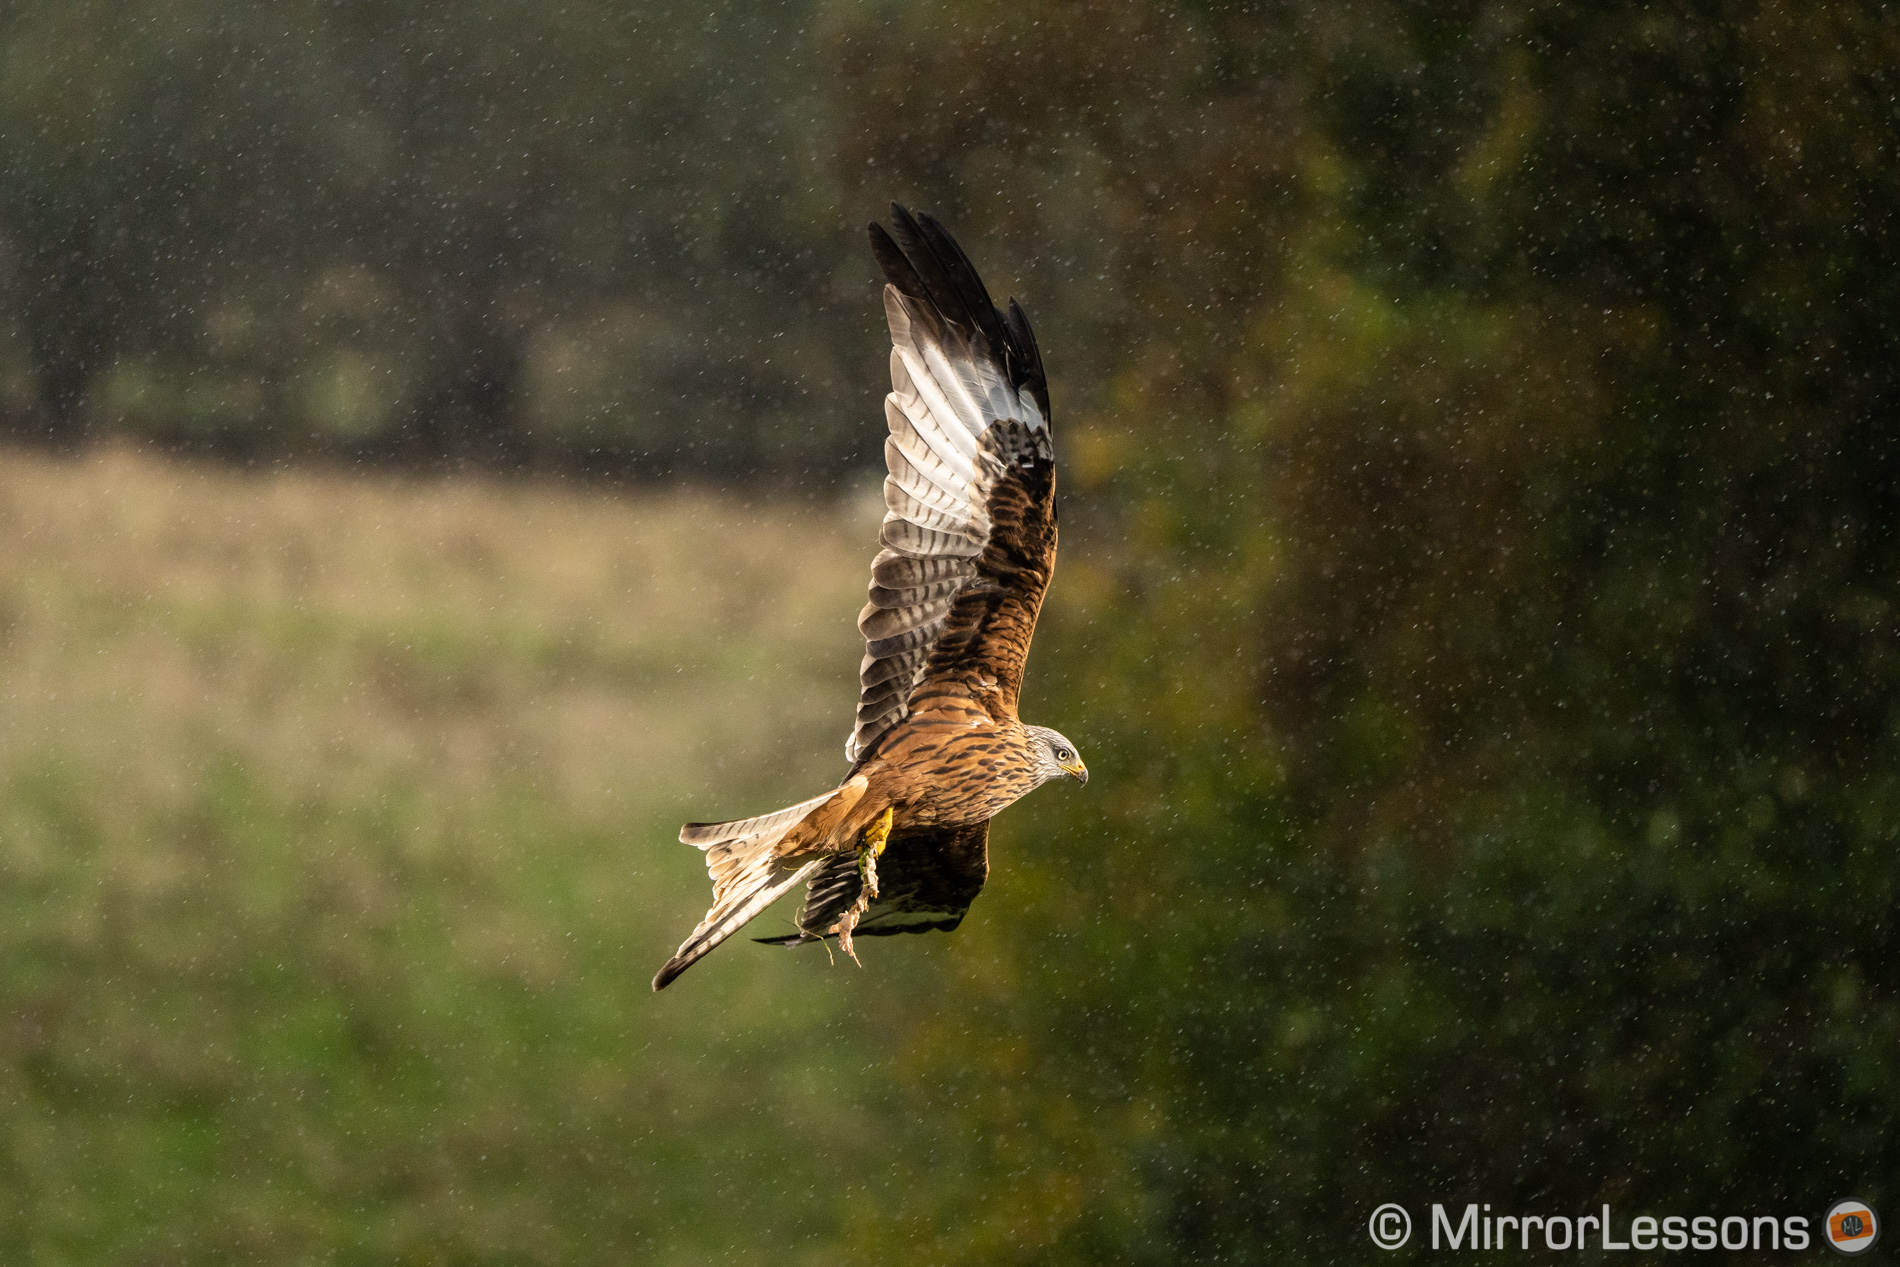
During the first part I made a few mistakes that decreased the score to 92% / 99%. For the rest of the session, it stayed around 95% / 99%. Note that small variations in percentage are normal (human error, subject more challenging to track, etc.). After all, this is not a scientific test.
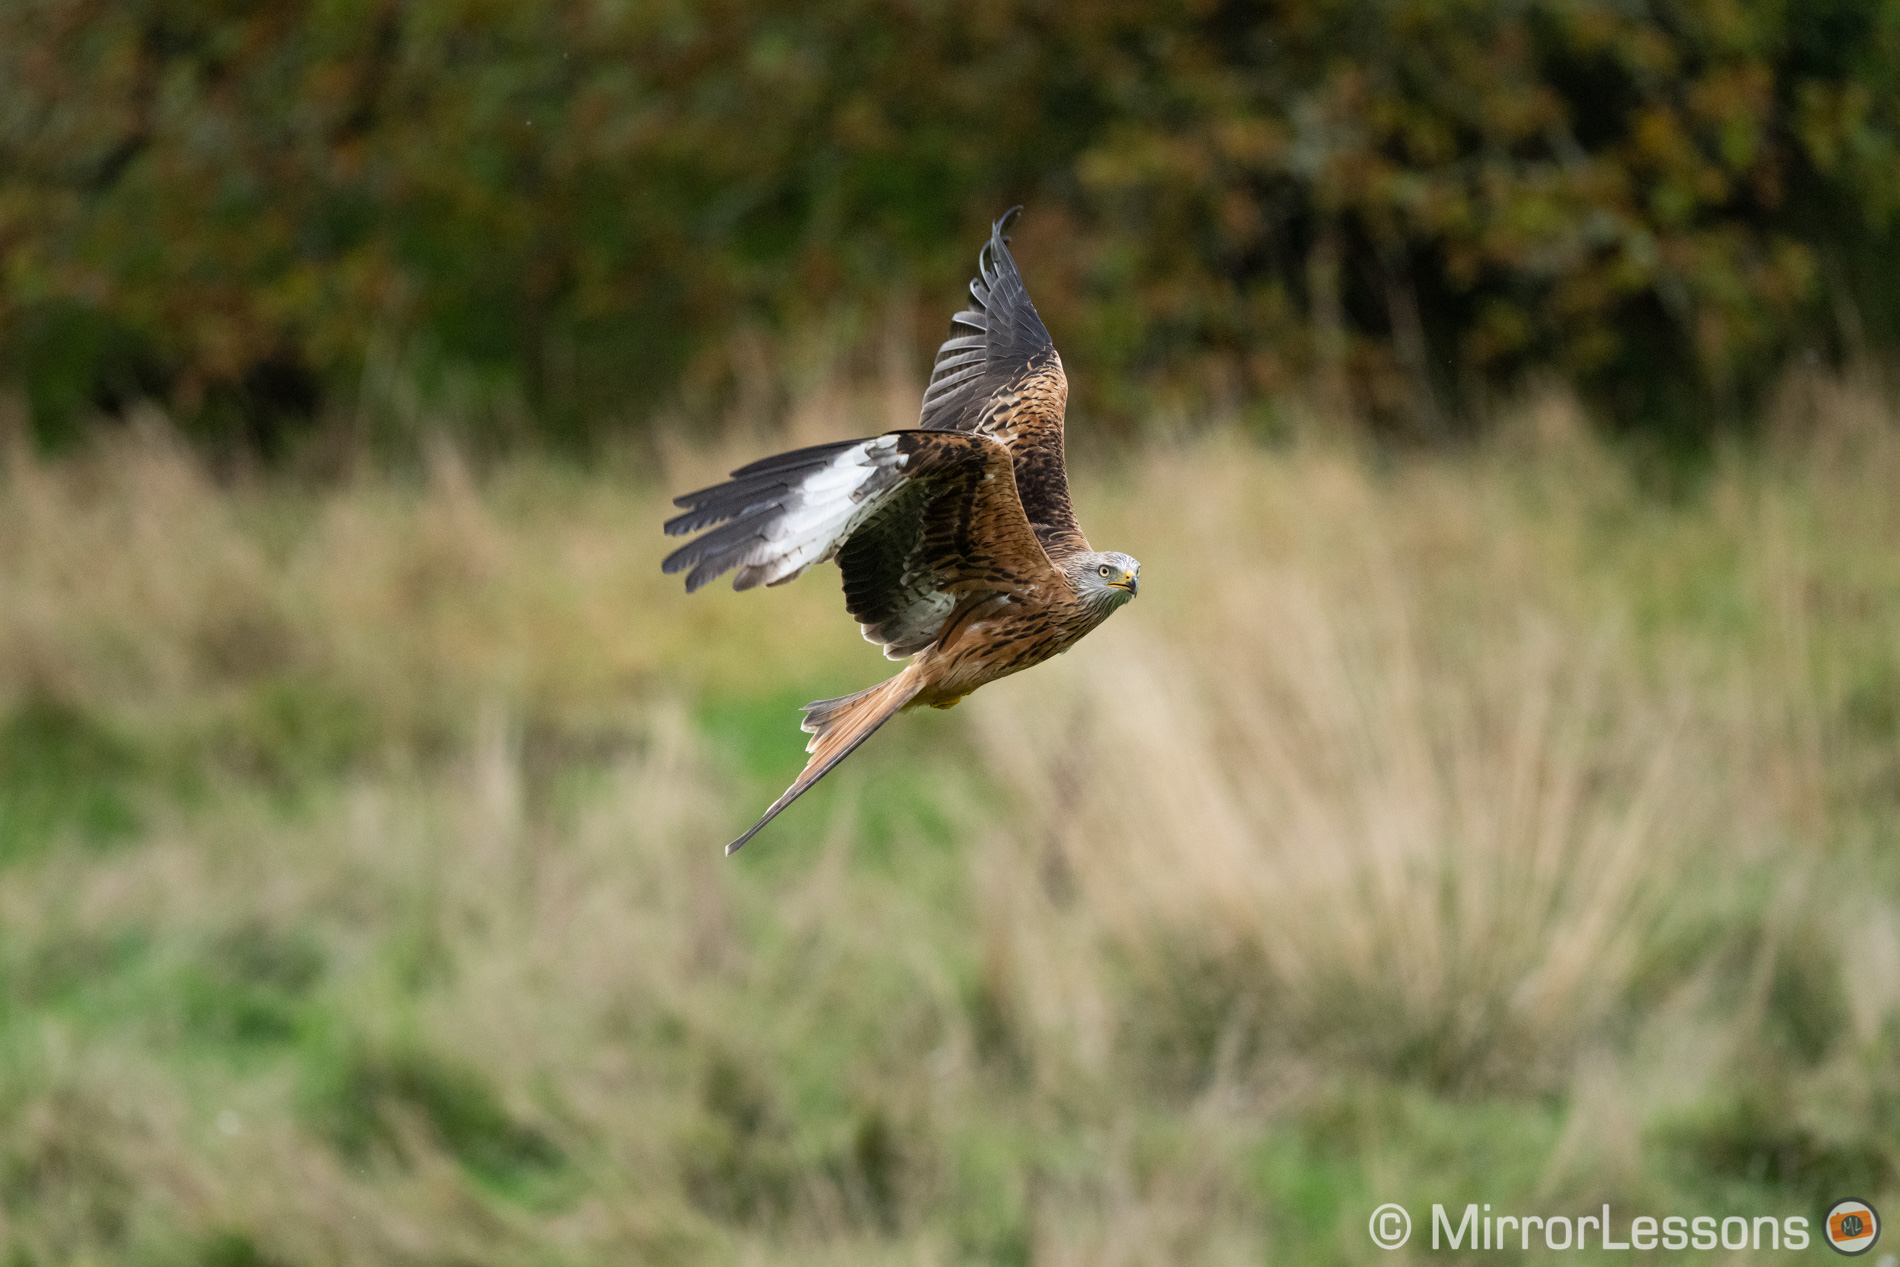
So what do these numbers tell us? Well, for starters, out of 2,991 pictures, only 18 were out of focus, which is less than 1 percent.
There were a few more images that were slightly off focus, but that is nothing out of the ordinary. It has happened with every single camera I’ve tested, and the A1 produces the smallest number of them (along with the A9 series).
The score numbers also tell us how good Sony’s AF system is, and especially how reactive it is when one image is slightly off. Most of the time, when one frame isslightly soft, the next frame is sharp again. The performance doesn’t decrease if you shoot with the fastest drive speed. In the A1 world, this means that it takes 1/30th of a second (1 frame) for the camera to react and correct focus when shooting at 30fps.
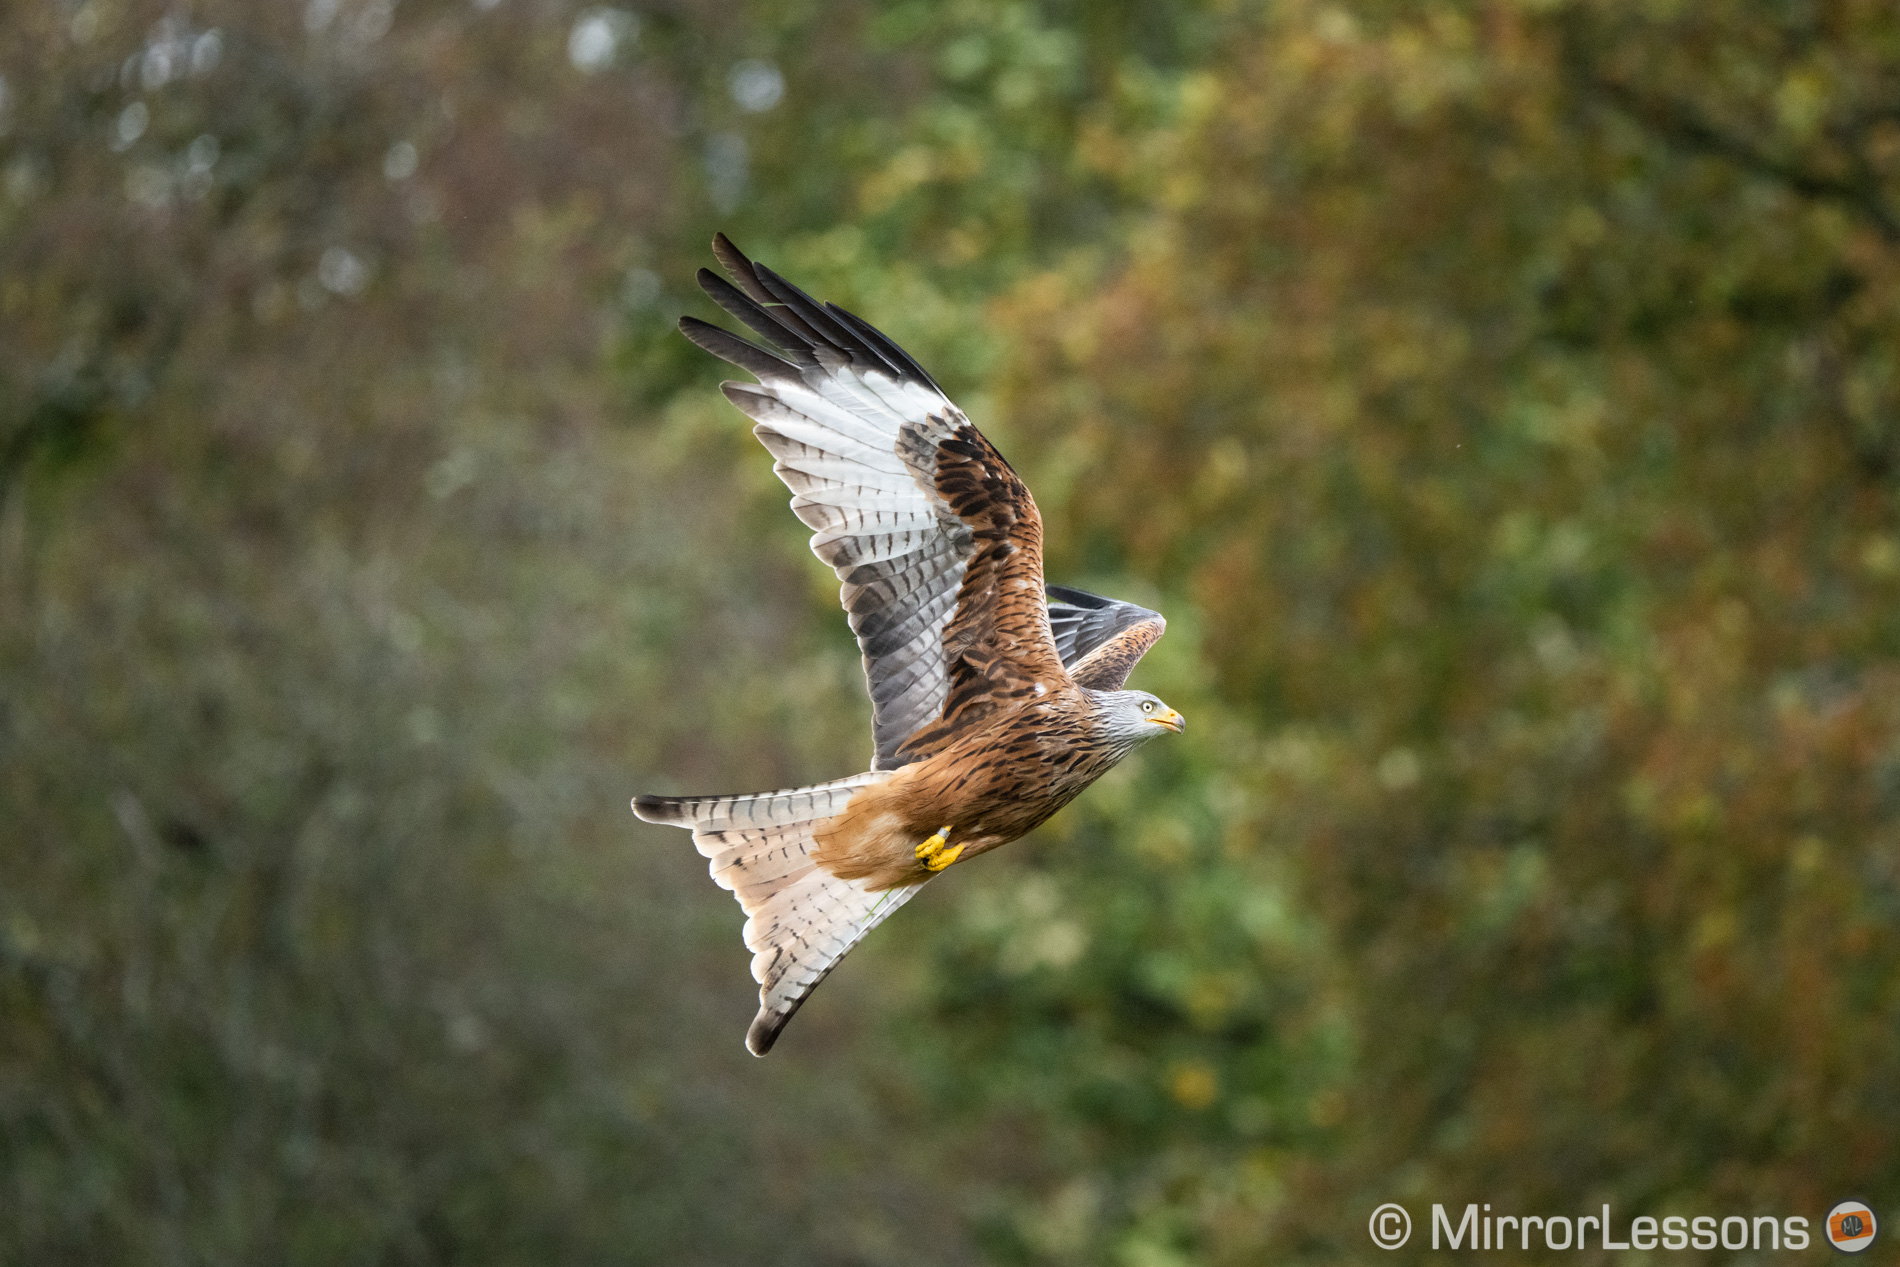
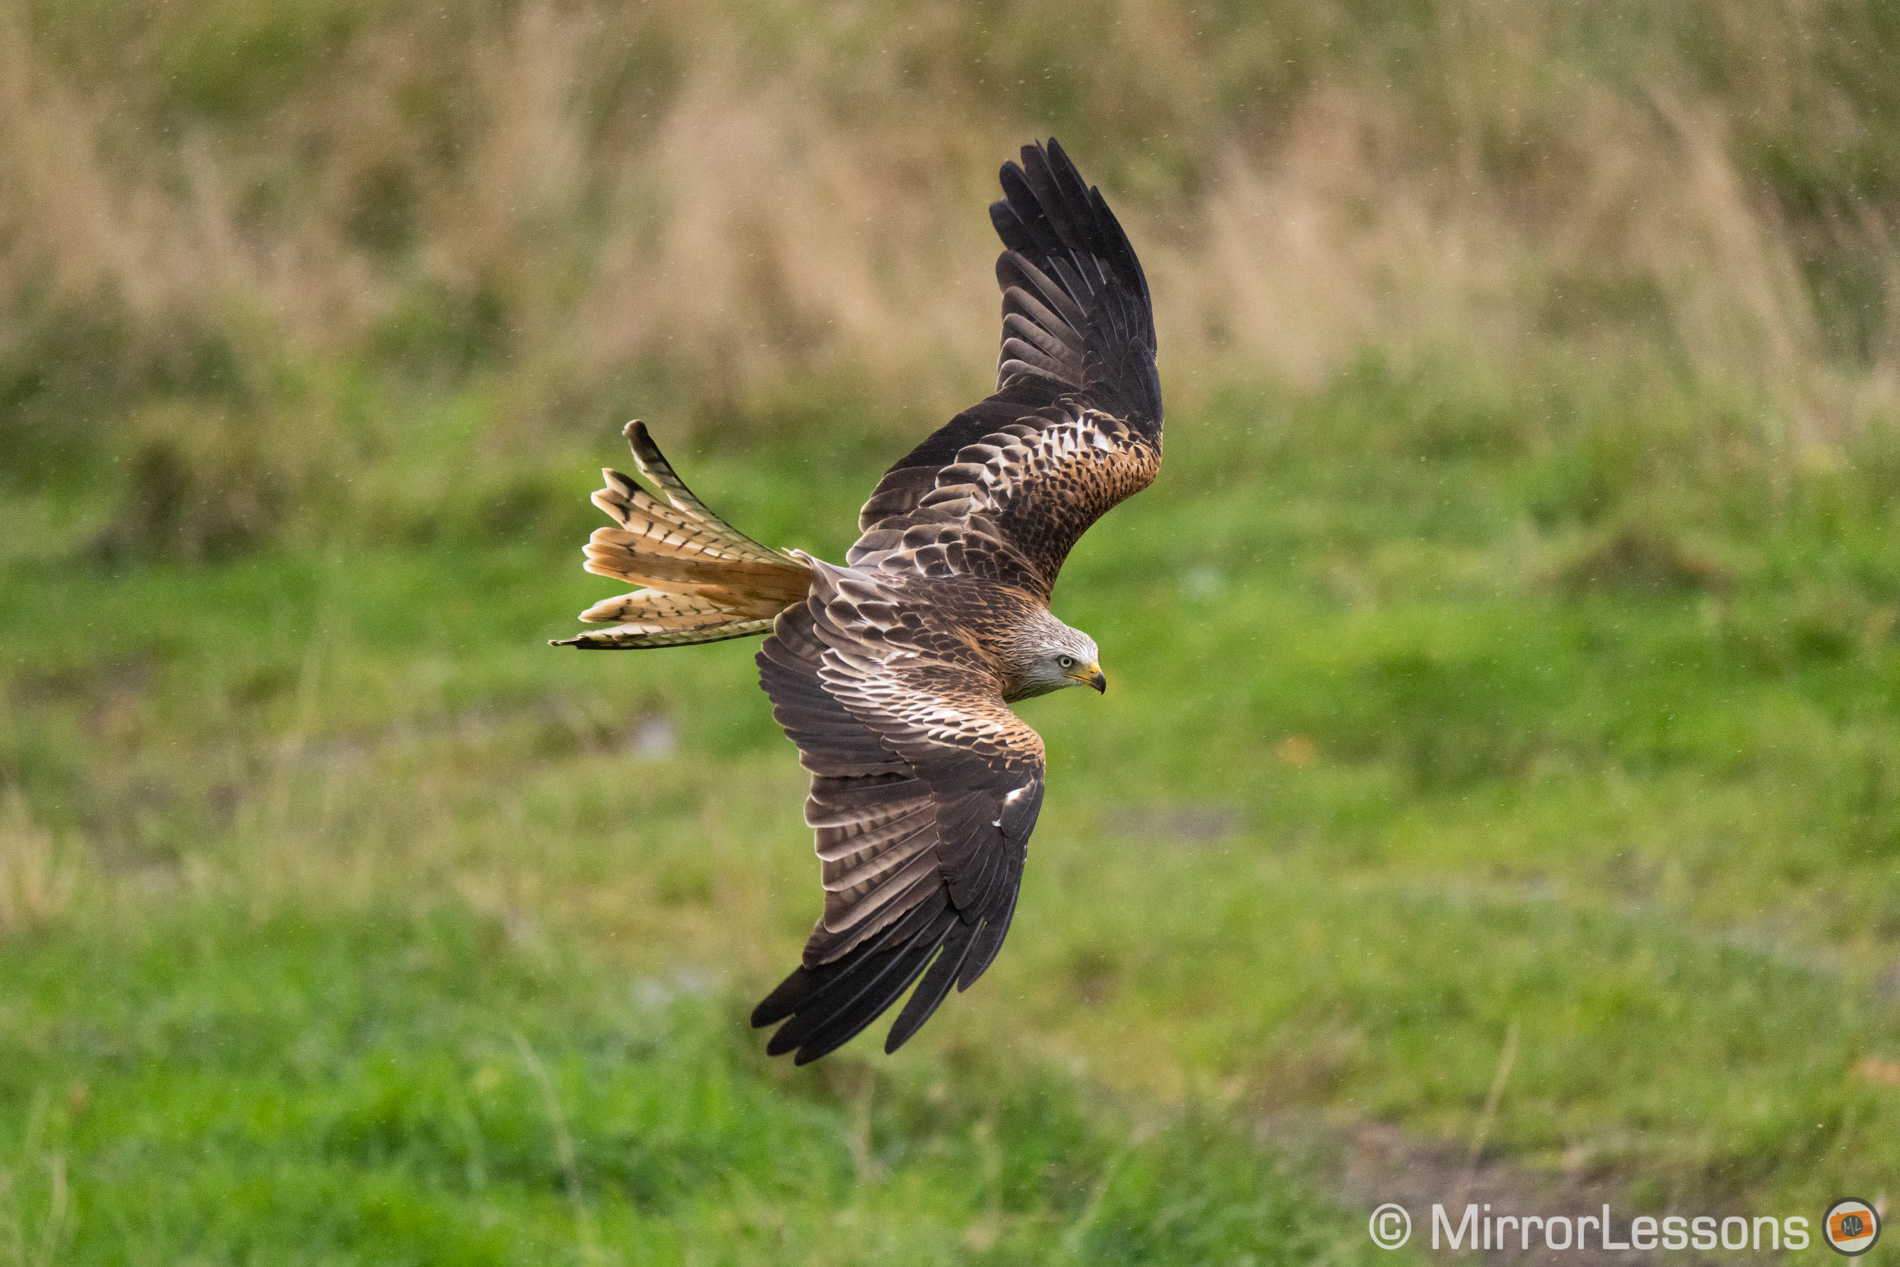
Real-time tracking never gets confused about the subject you are following, even if there are multiple birds in the frame. Once it locks onto one, it doesn’t let go, even if the subject is momentarily hidden by another kite flying in front of it, and with the AF Track Sensitivity setting at its highest level.
Eye AF was more useful in the second location because the birds were flying close. I could see it working in the live view more often, and it definitely played its part in keeping the bird’s eye in focus when it was very close and you can see the difference in depth of field between the head and the wing.
Another thing to point out is that the camera gave me the same performance and keeper rate whether the bird was flying against a busy background, or the plain sky.

To finish this chapter, a few words about the continuous shooting speed and buffer.
If you want the fastest 30fps, you can only choose Compressed RAW (or JPG). At 20fps, you can also work with Lossless Compressed RAW.
The difference in size between the three RAW modes is as follows:
- Uncompressed RAW: 100MB average
- Lossless compressed RAW: 70MB average
- Compressed RAW: 55MB average
In terms of quality, I noticed very little difference between compressed and lossless compressed, so I wouldn’t worry about using compressed.
Then I did a quick buffer test and this is what I got:
| Drive | CFexpress | SD |
|---|---|---|
| 30fps (compressed RAW) | 5s at full speed then drops to 17fps | 5s at full speed then drops to 3.5fps |
| 20fps (compressed RAW) | 13s at full speed then drops to 14fps | 7s at full speed then drops to 7fps |
| 20fps (lossless comp. RAW) | 5s at full speed then drops to 10fps | 4s at full speed then drops to 3fps |
I made this test with a Prograde 160GB CFexpress Type A card, which has a declared writing speed of 700MB/s, and a Panasonic V90 SD UHS-II card with a declared writing speed of 250MB/s.
The key takeaway here is that with the CFexpress card, the speed doesn’t drop as much as with the SD card when the buffer gets full.
Conclusion
What can I tell you about the A1 that is not already obvious? It’s superb, and probably one of the finest cameras you can buy for wildlife and birds photography. Eye AF is of real help with static subjects, whereas the advanced AF and tracking take care of the most dynamic birds.
Such wonderful speed, coupled with a blackout-free live view, an excellent viewfinder and a fantastic battery life, makes it an enjoyable experience in the field. And the fact all this is available with a 50MP sensor is a great advantage for wildlife photographers who often need to crop their images. It also means you get a respectable 21MP in APS-C mode.
The sensor seems on par with the other high res Sony cameras (A7R IV, A7R III) when it comes to dynamic range and high ISO. I’m sure a side-by-side test could reveal more about this, but the quality I got is exactly what I was expecting from a high end E-mount model. I didn’t hesitate in setting Auto ISO with a maximum of 12,800, a level the camera used more than once given the bad weather I encountered.
Would I buy one? That is the question I tried to answer while preparing this article.
I won’t deny it, I would be very tempted if I was a full time wildlife photographer. I think the A1 has everything you need, especially now that there is a complete selection of telephoto lenses.
For more amateur use though, I would be more hesitant. For example, it doesn’t perform all that differently from the A9 II when it comes to autofocus speed and accuracy. Granted, the A1 gives you that superlative performance with more than double the megapixels, which is no small detail. But if you’re happy to settle with 24MP rather than 50MP, you’ll save a significant amount of money.
Personally, more than the resolution, I would miss Eye AF for Birds. It would be great to have the latter implemented onto the A9 II via firmware, if at all possible.
Reminder: the links below are affiliate links. If you decided to buy something after clicking the link, we will receive a small commission.
Check price of the Sony A1 on
B&H Photo
Check price of the Sony 200-600mm G on
Amazon | Amazon UK | B&H Photo | eBay