Updated on: May 5th, 2019
Comparing Sony with Fujifilm is always an interesting exercise because the two companies have opposite approaches when it comes to designing cameras. The current line-up couldn’t be a better example: Sony uses the same body to embed different kinds of technology, whereas Fujifilm has different bodies that share the same hardware.
In this new chapter of our Sony vs Fuji saga, we are taking an in-depth look at the A7 mark III and X-H1, two of the latest offerings from each brand that were announced less than two weeks apart. Their target markets and what they represent for each company is rather different however.
The A7 III features technology from the flagship models in a more affordable package. It’s the full frame mirrorless camera we were all eagerly waiting for.
The X-H1 targets professionals and advanced users who can find the key elements that were missing from previous iterations in a tougher and more ergonomic body. But that’s not all.
While the A7 represents the perfect blend of performance and cost, the X-H1 is the most advanced camera in the X-series. It introduces 5-axis stabilisation, as well as more advanced settings for video-makers – all features Sony has long been implementing and are therefore found by default on the A7 III.
In a way we could say that the X-H1 is catching up with the competition, whereas the A7 III is the culmination of the best features Sony has been working on for the past two years. Curious? Let’s get started then!
Ethics statement: We purchased the A7 III for review and comparison purposes, while the X-H1 was loaned to us for two weeks. We were not asked to write anything about these cameras, nor were we provided any other compensation of any kind. All opinions we express regarding these products are our own. Within the article, there are affiliate links. If you buy something after clicking one of these links, we will receive a small commission. To know more about our ethics, you can visit our full disclosure page. Thank you!
This article is divided in four parts to facilitate navigation:
- You are on page 1: design and functionality
- Page 2: image quality
- Page 3: autofocus and speed
- Page 4: image stabilisation, video, other features and conclusion
[toc heading_levels=”2″ label=”Table of contents – Page 1″]
Article Updates
- May 2019: we tried EyeAF for Animals on the A7 III (firmware 3.0) and added our thoughts about it
- March 2019: added extra feedback about Fuji RAW files rendering in Lightroom, as well as consideration about the X-H1 price drop
- January 2019: IBIS improvements for the X-H1 thanks to firmware 2.0 / software 2.10 fixes compatibility issue with third party memory cards on A7 III
- October 2018: info about third party battery issue with A7 III
- July 2018: added information about the X-H1 firmware 1.10
Main Specs
A7 mark III
- Sensor: 24.2MP 35mm format BSI Exmor CMOS
- Lens system: E-mount
- Weatherproof: Yes (dust and moisture)
- Internal Stabilisation: Yes (5-axis)
- Autofocus: Hybrid with 693 phase and 425 contrast detection points
- Continuous shooting: 3fps to 10fps with AE/AF Tracking
- ISO Sensitivity: 100 – 51200 ISO (pull 50, push up to 204800)
- Shutter Speeds: 1/8000s to 30s, Bulb
- Viewfinder: 0.5in OLED with 2,360k dots, 23mm eye point, 0.78x magnification and 60fps refresh rate
- Rear monitor: Tilting 3″ LCD (922k dots) with touch sensitivity
- Movie recording: 4K up to 30fps and 100Mbps, Full HD up to 120fps, S-Log and HLG gamma
- Built-in Flash: No
- Extra Features: WiFi, Bluetooth, Bracketing, Tethering, FTP Transfer, Dual SD slots
- Dimensions: 126.9 x 95.6 x 73.7mm
- Weight: 650g (including battery and memory card)
- Firmware version: 3.00
X-H1
- Sensor: 24.3 MP APS-C X-Trans III CMOS
- Lens system: X-mount
- Weatherproof: Complete (Splash, dust and freeze proof)
- Internal Stabilisation: Yes (5-axis)
- Autofocus: Hybrid with up to 325 points (7×13 and 13×25 grids selectable)
- Continuous shooting: 8 fps and 5 fps, up to 11fps with optional battery grip, 14fps with electronic shutter (AF-S and AF-C)
- ISO Sensitivity: 200 – 12800 ISO (pull 100, push 25600 to 51200)
- Shutter Speeds: 1/8000s to 15min, Bulb up to 60min, 1/32000s with electronic shutter
- Viewfinder: 0.5in OLED with 3.69M dots, approx. 100% FOV coverage, 23mm eyepoint, 0.75x magnification and 100fps refresh rate
- Rear monitor: 3-ways articulated 3″ LCD (1.04M dots)
- Movie recording: 4K up to 30fps and 200Mbps, Cinema 4K at 24fps, Full HD up to 120fps
- Built-in Flash: No but EF-X8 unit is included
- Extra Features: WiFi, Bluetooth, Panorama, Timelapse, Bracketing, Multiple exposure, Advanced filters, silent mode, Tethering
- Dimensions: 139.8 x 97.3 x 85.5mm
- Weight: 673g (including battery and memory card)
- Firmware version: 2.01
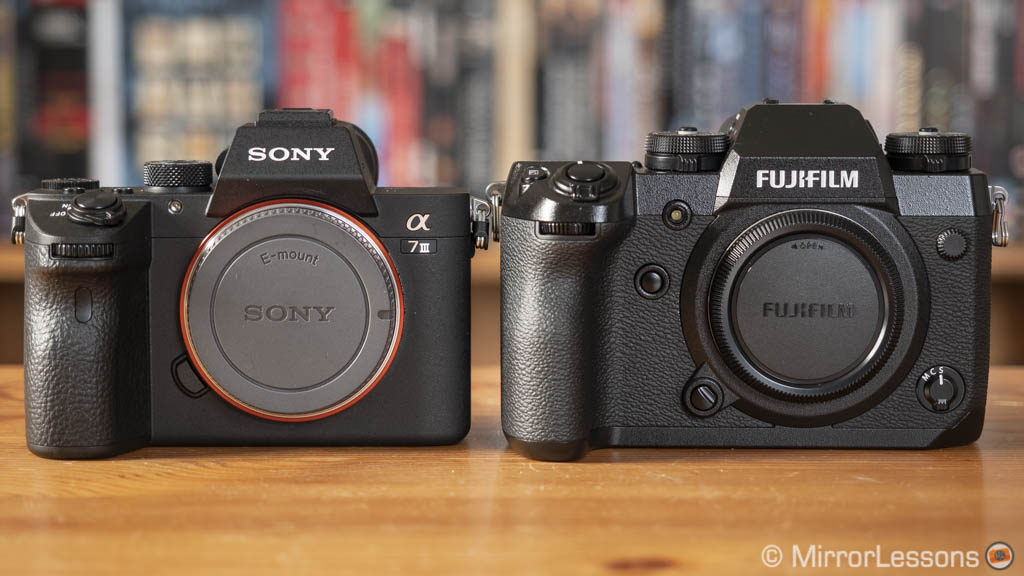
Design, build quality and interface
Despite the smaller sensor, the Fujifilm X-H1 is the larger and heavier of the two. On one hand we can certainly praise Sony for keeping the dimensions compact despite the powerful hardware inside, but on the other, we appreciate the extra comfort the X-H1 provides when using large lenses.
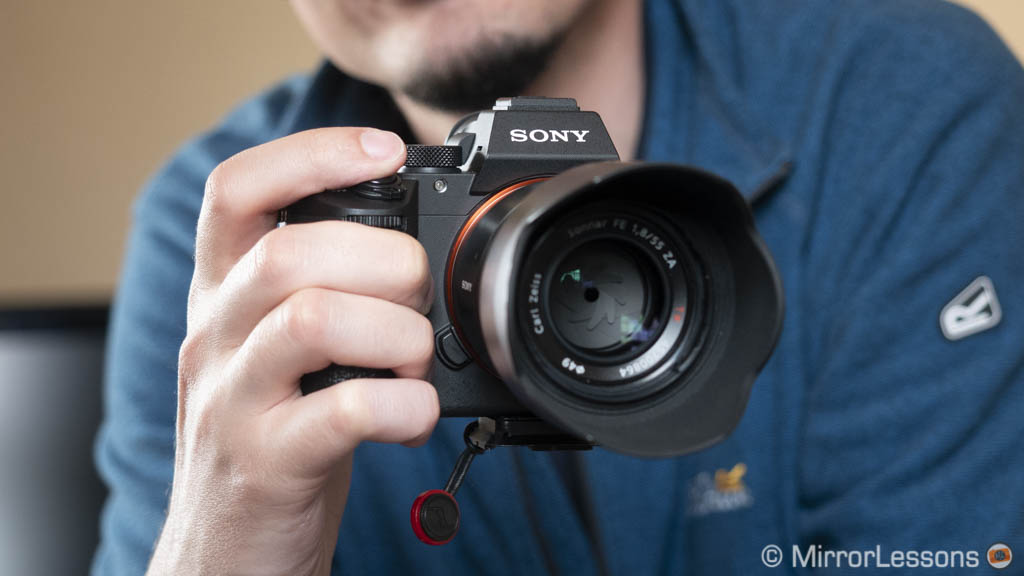
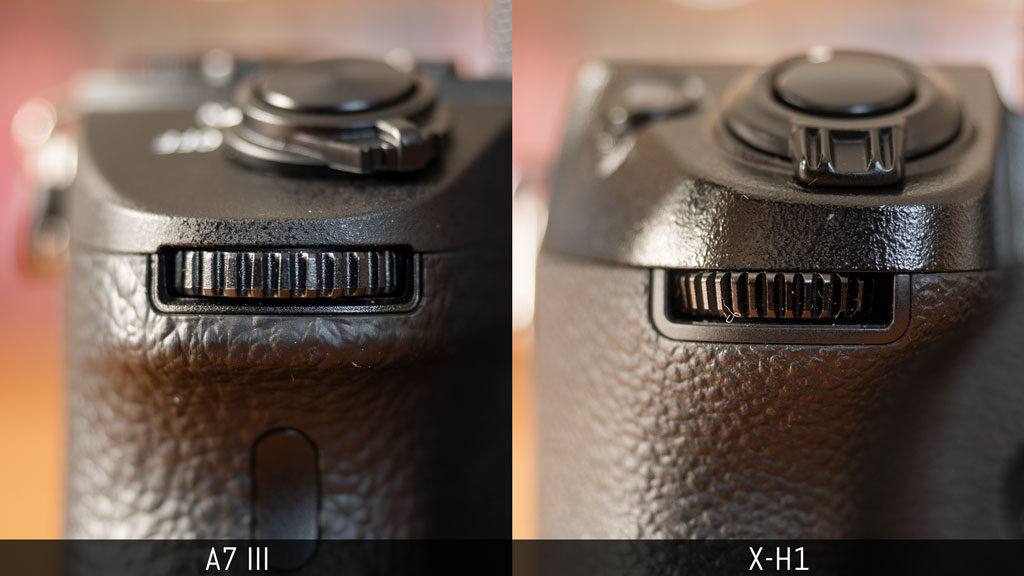
Following this reasoning, the first key difference we can talk about is the grip: it is larger and more ergonomic on the Fuji which makes the X-H1 more sturdy to hold with lenses such as the XF 100-400mm, not only in comparison to the A7 but to other Fuji cameras such as the X-T2 or X-T20 as well.
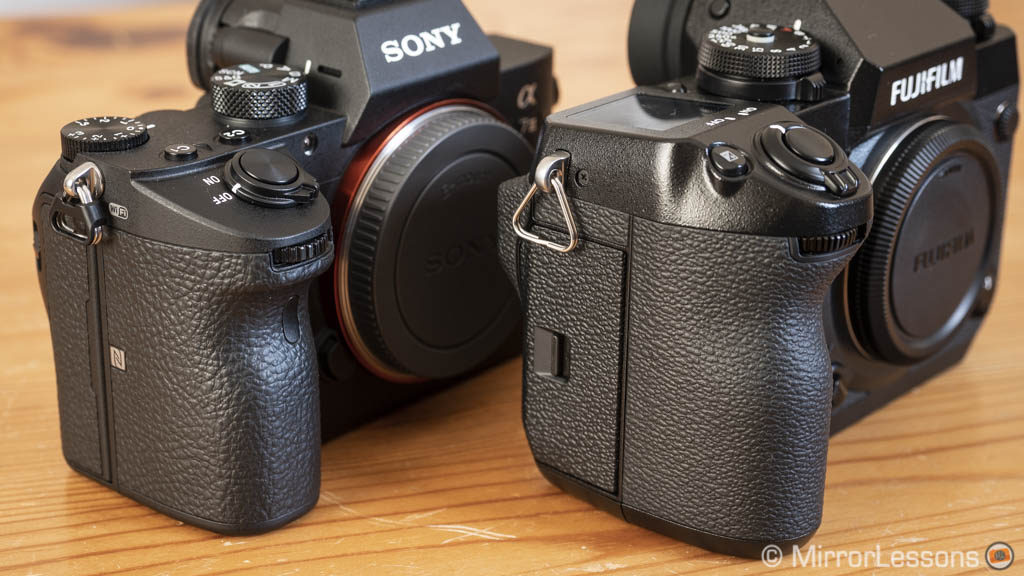
The smaller size of the A7 results in a front-heavy combination when large and heavy lenses such as the 100-400mm G Master are mounted. There is an optional battery grip which can improve the ergonomics, or the GP-X1EM that extends the grip and allows you to find space for all your fingers.
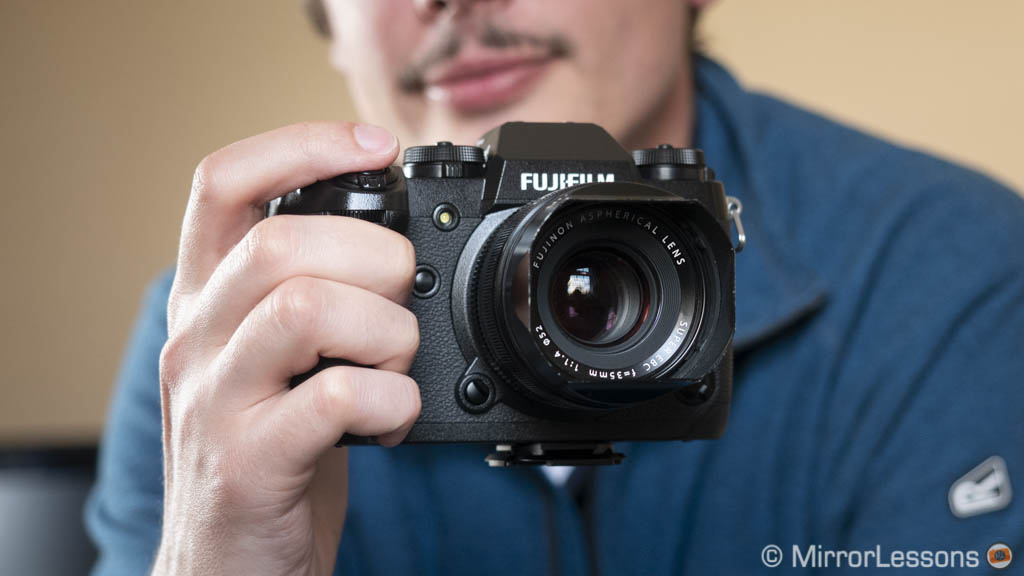
The X-H1 also has an optional battery grip which I had the chance to test. While it gives you some extra stability, I was perfectly fine working with the camera alone unless I required the extra battery power.
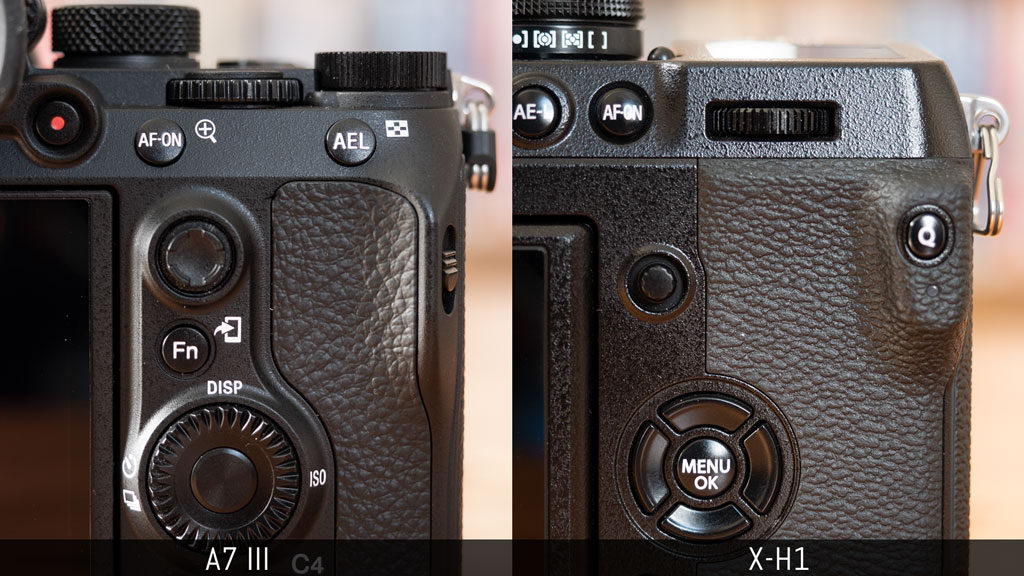
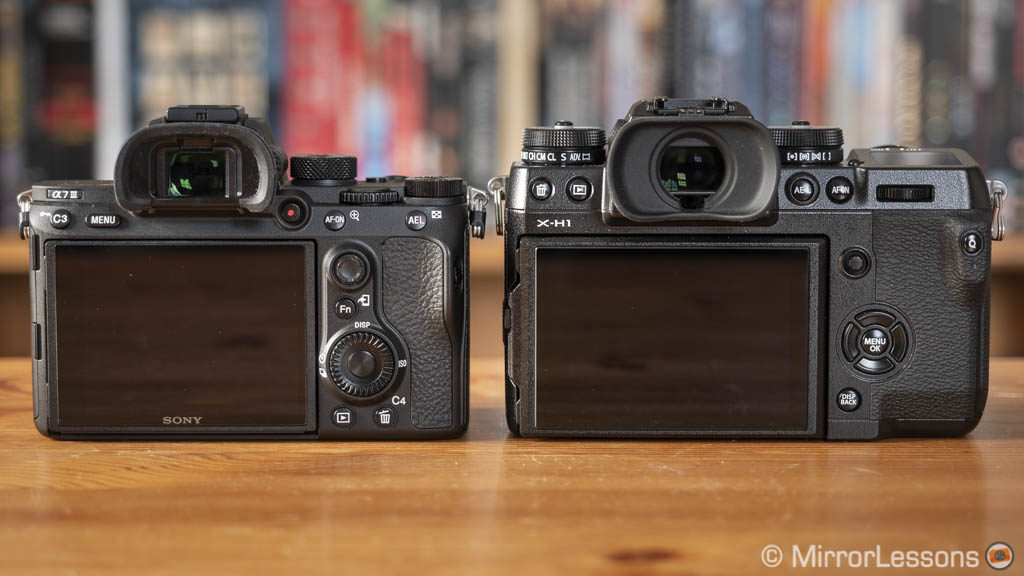
Another advantage of the larger size of the X-H1 is the added space on the rear to rest your thumb. The area doesn’t feel as narrow as it does on the Sony.
The X-H1 has been given some special treatment when it comes to the build quality: not only is the body fully weather-sealed (splash, dust and freeze-proof down to -10°C) but it is also coated in a special paint that makes it more scratch resistant. The A7 III is protected against dust and moisture. Both cameras have a magnesium alloy chassis and a robust metal mount.
If the X-H1 gives you that extra feeling of robustness thanks to its size, I have to say that the Sony doesn’t feel any less well-made when it comes to the quality of the overall construction, buttons and dials.
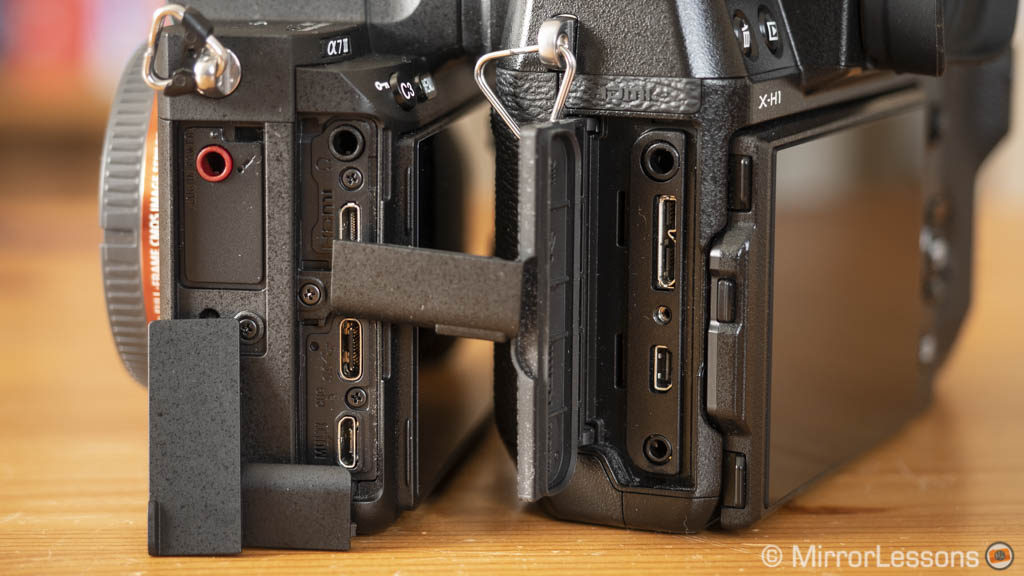
Concerning memory cards, both cameras have two SD card slots. They are UHS-II compatible on the Fuji whereas only slot #1 is on the Sony. You can open both compartments with an unlock button.

The Sony has five physical connections including a 3.5mm microphone input, 3.5mm headphone output, Micro USB 2, USB 3 Type C and Micro HDMI.
The X-H1 has a full-sized USB 3 port as well as one micro HDMI, mic input and 2.5mm remote input.
External controls and configuration
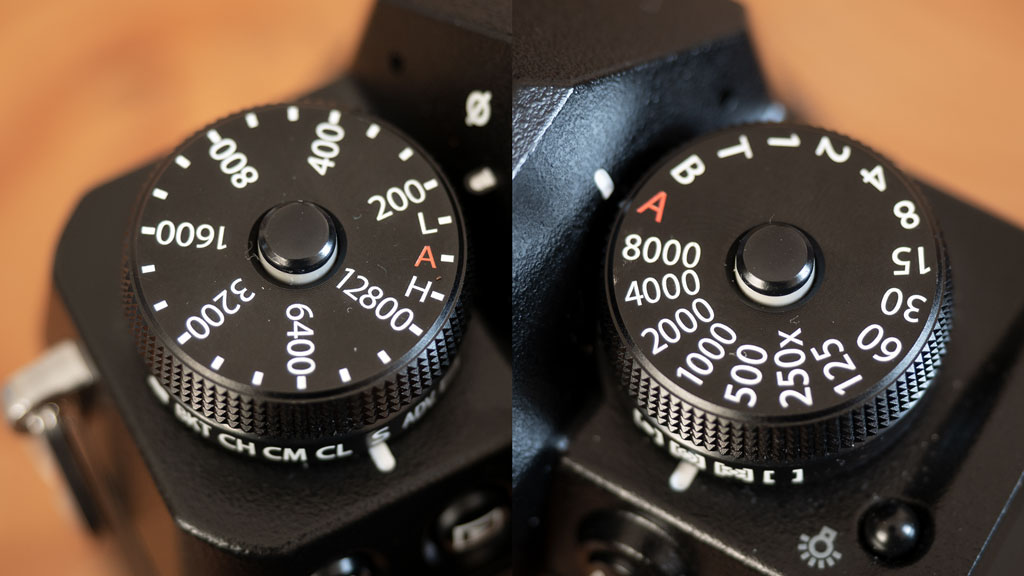
Unsurprisingly you find more dials on the X-H1 to control key parameters such as shutter speed, ISO sensitivity, drive and metering modes. There is also a front lever to switch between the three focus modes (single, continuous and manual).
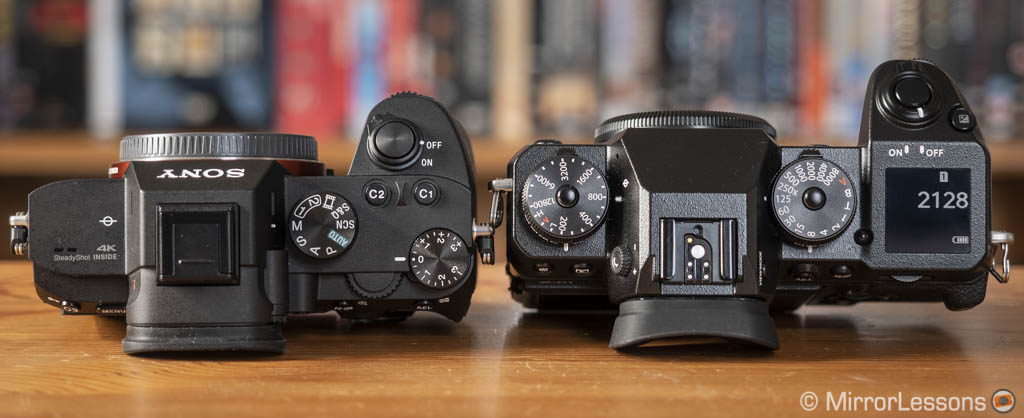
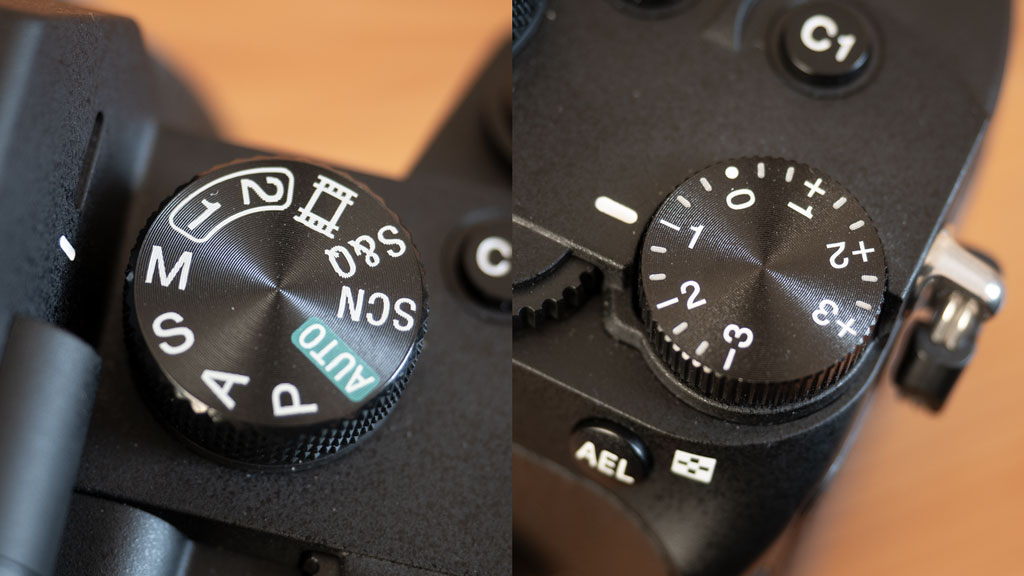
The A7 III has a shooting mode dial and an exposure compensation dial on top. The latter is present on other Fuji bodies but in this case it has been replaced by a dedicated button to make room for the top LCD monitor (more on this later).
Note that the X-H1 doesn’t have a mode dial so if you want to work in P, S or A mode, you simply put the exposure dial or aperture ring in the A position.
The shutter button is softer and more sensitive on the X-H1 which is a characteristic sports photographers can appreciate. However when using it to record video, it requires a longer and deeper press, and if you’re not careful to push hard enough, the recording may not trigger at all.
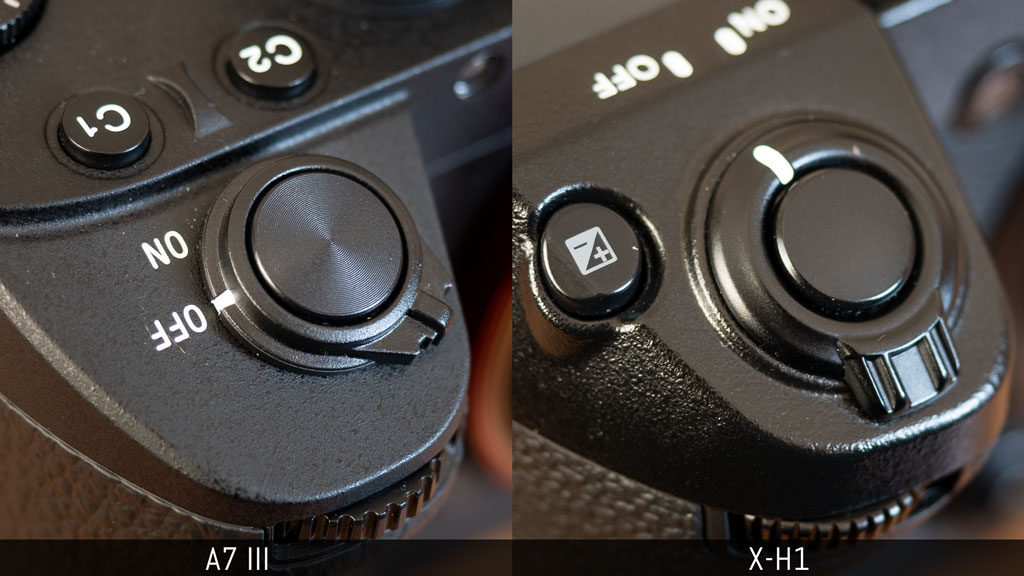
The shutter button on the A7 is less sensitive overall but well-designed nonetheless. There is a dedicated video recording button near the viewfinder which can lack some sensitivity as well – I guess to avoid accidental recordings.
The various buttons around the cameras give you a good tactile feel and feel precise in use. However I prefer the front/rear command dials on the X-H1: they are easier to turn and are more reactive in comparison to the Sony’s.
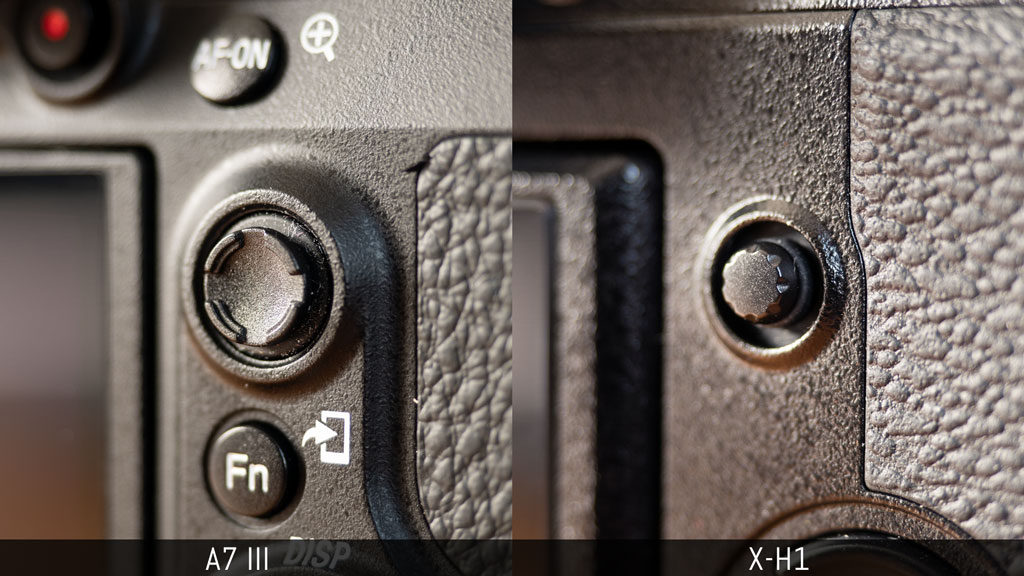
Both cameras feature an autofocus joystick on the rear: the one on the Fuji is smaller and convex, whereas the one on the A7 is larger and concave to accommodate the finger better. The Sony version is more reactive when you move the AF point quickly. Both can be used to navigate the menu, and the X-H1 gives you the option of using it straight away or pushing to unlock it first. They can be disabled as well.
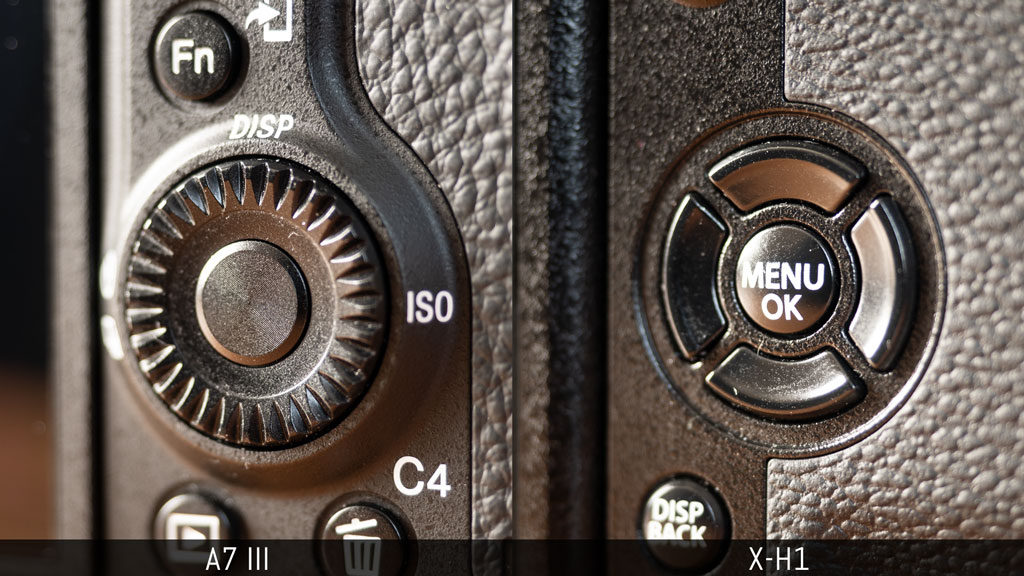
On the back you also find a 4-way controller: the Fuji version has smaller buttons whereas the one on the A7 III is bulkier and can also be rotated which gives it an extra function.
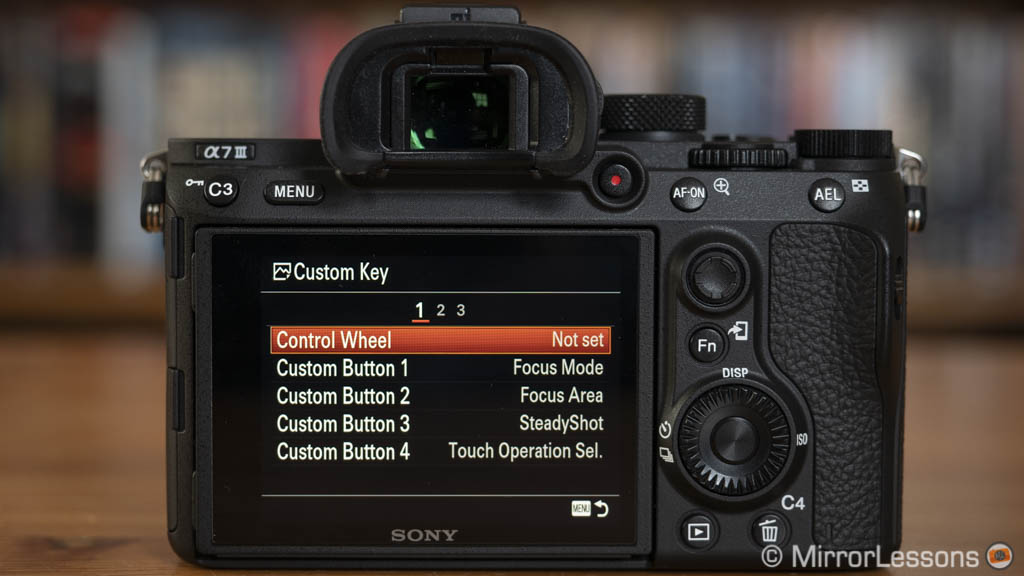
Speaking of functions, the A7 III has 12 custom buttons (including the wheel rotation) and 80 options to choose from. One advantage is that you can configure these buttons separately for the still, movie and playback modes.

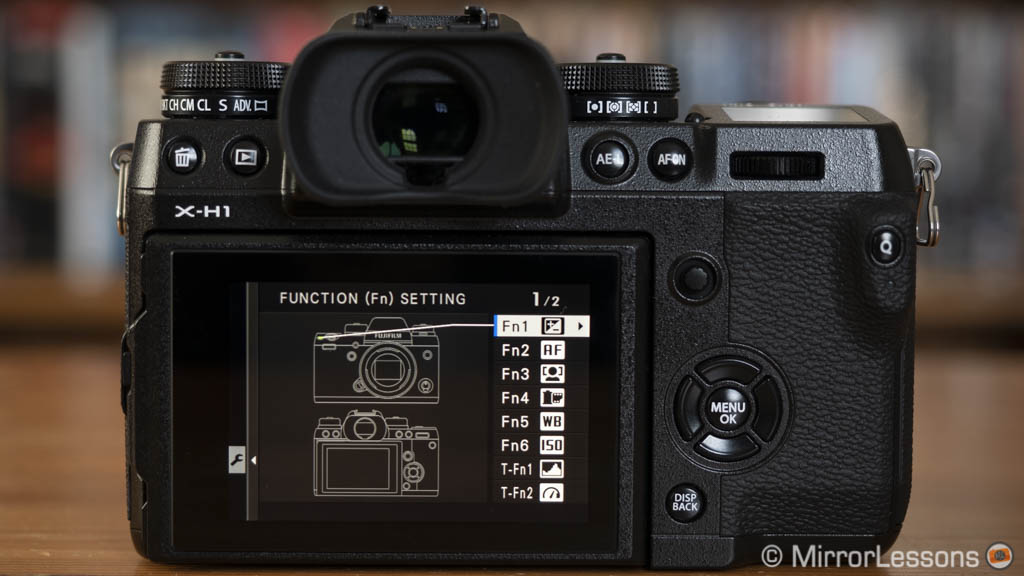
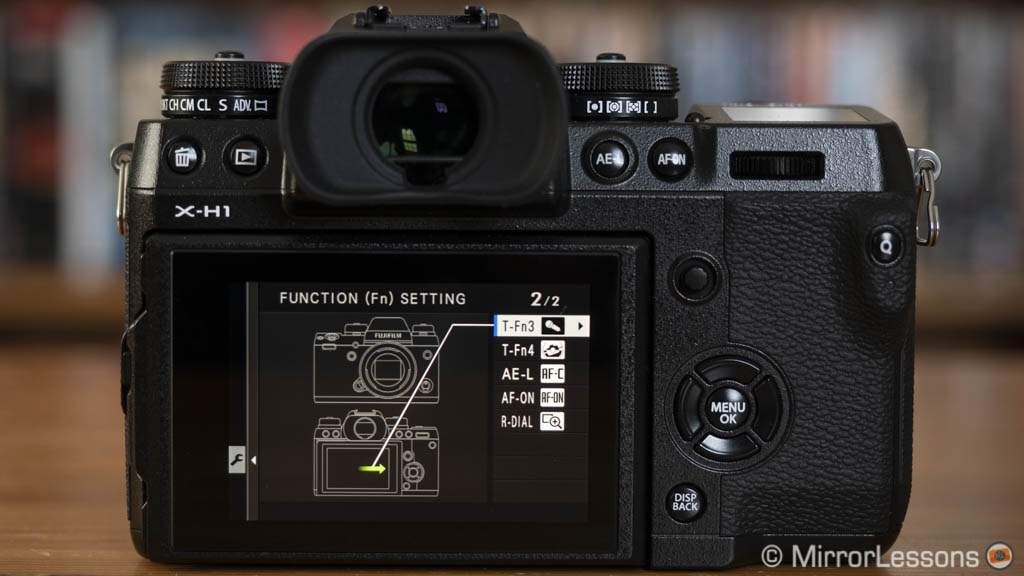
The X-H1 has 9 function buttons including the useful front button, the rear command dial when pressed and four additional touch functions that can be used on the LCD monitor by swiping in four different directions. There are 42 options to choose for each.
Finally, both cameras offer you the possibility to lock some of the buttons and settings. The X-H1 can lock just a selection or all of them, whereas the Sony allows you to lock the AF joystick, dials, control wheel or all three of them.
Custom modes and menu system
Although the multitude of physical dials of the X-H1 make for a very intuitive experience, it is not possible to override them most of the time. This represents a limitation when it comes to building custom modes to switch from a series of settings to another with the simple press of a button.
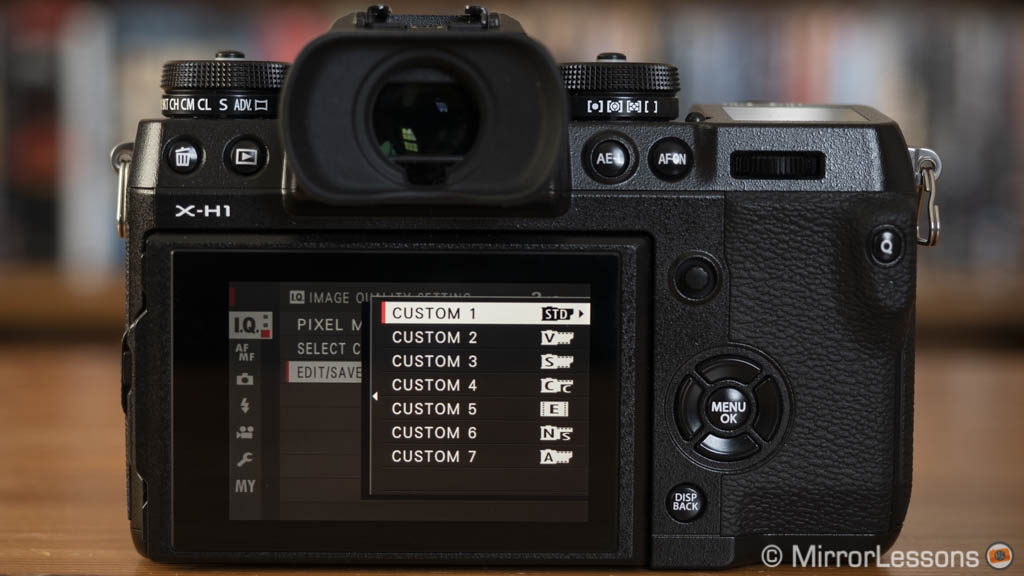
The X-H1 allows you to save custom settings related to image quality (sharpness, saturation, etc.) which mainly affect the SOOC JPGs. But if you want to quickly switch from your favourite settings for street photography to the ones you use for portraits for example, you will inevitably need to interact with a certain number of physical controls.
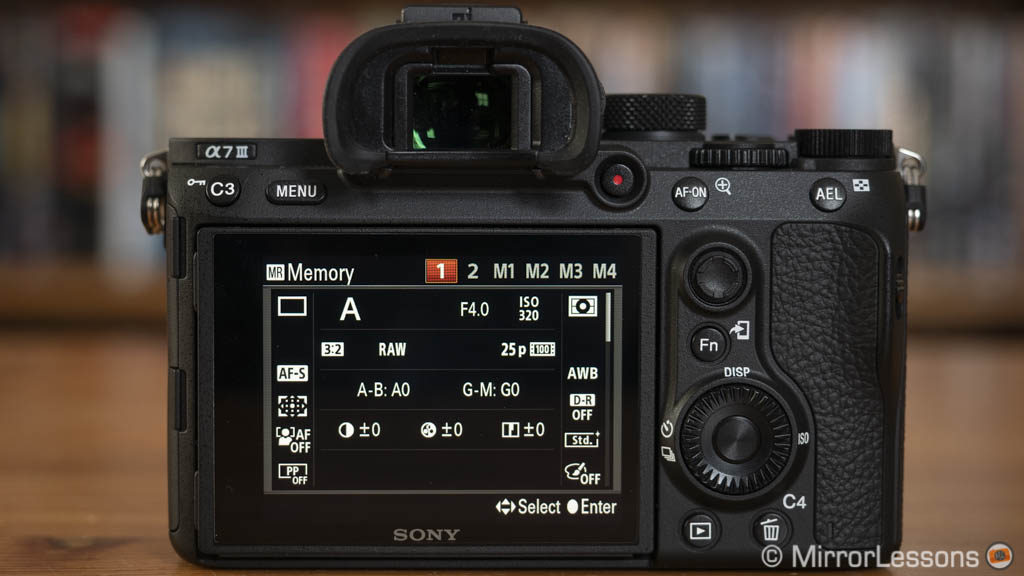
The A7 III on the other hand allows you to configure two Memory Recalls that can be accessed via the main mode dial on top, or via a custom button. Everything can be programmed including the focus mode, drive mode and many other things.
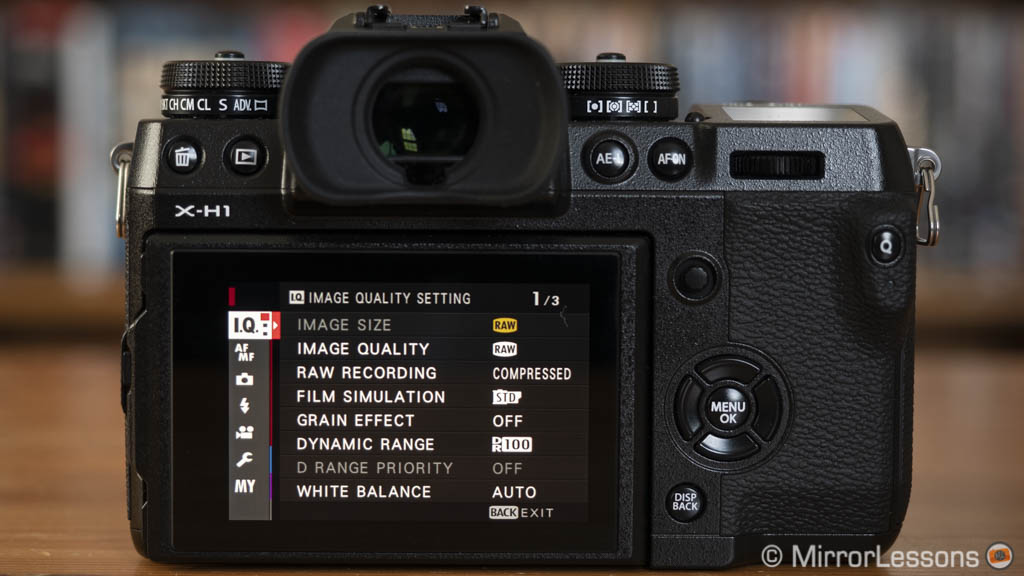
When it comes to the menu system, I prefer the one designed by Fujifilm. I find it more well-organised, simpler and easier to navigate. Sony has made some good improvements to its menu, and while it is definitely more intuitive than before, it is still not as good as the competition (Fuji and Panasonic especially).
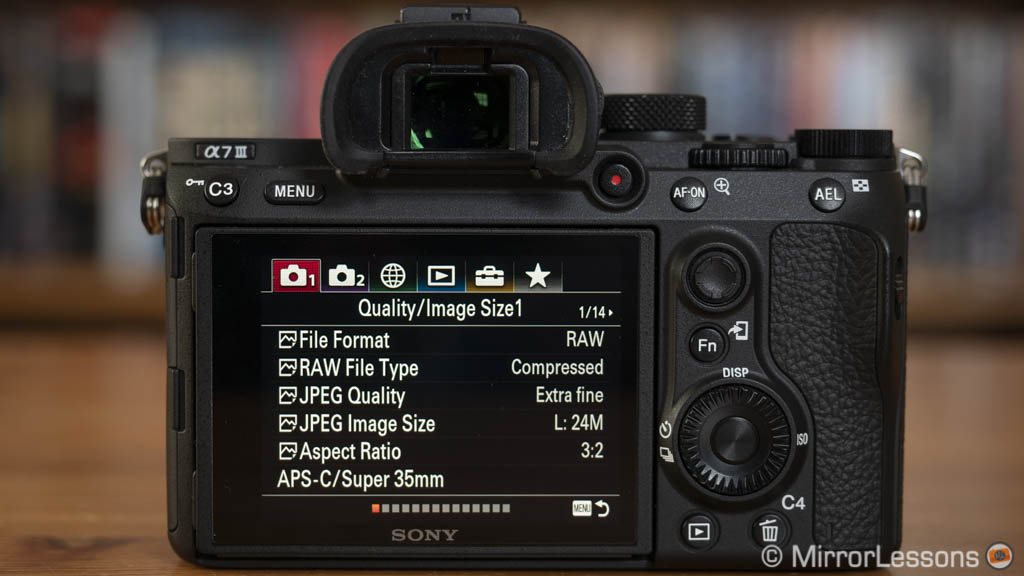
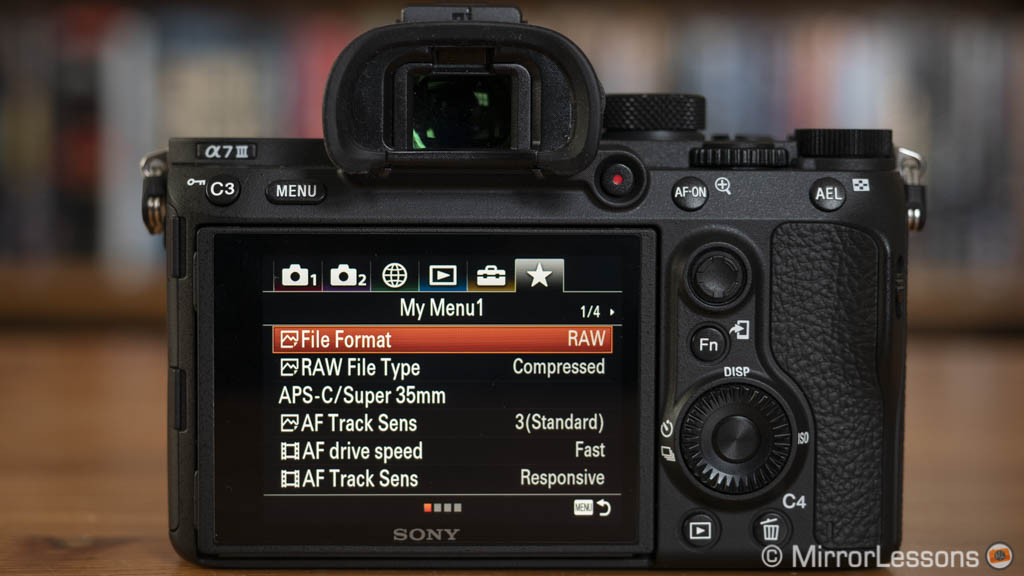
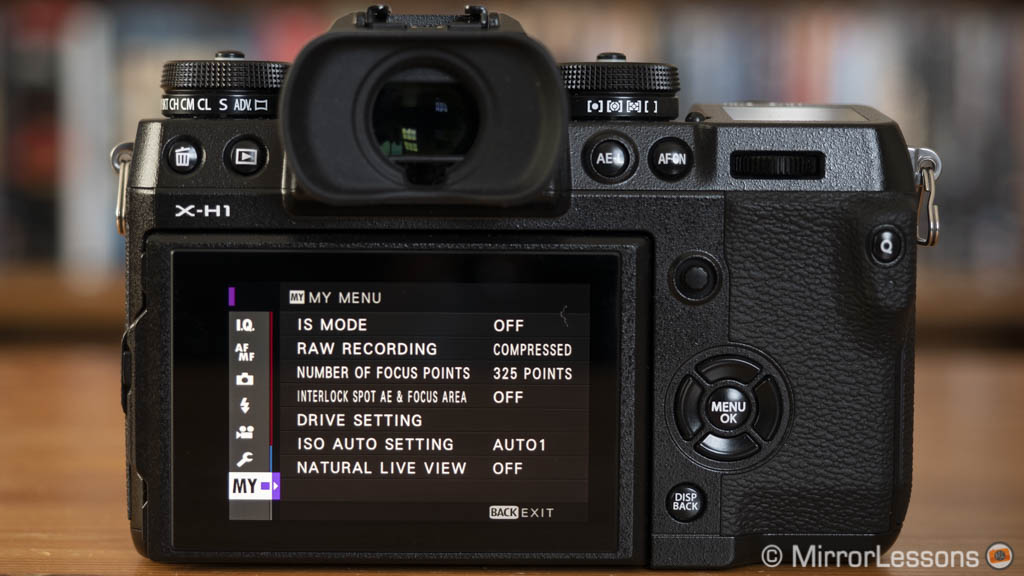
What helps with Sony is the My Menu page where you can shortcut the settings you are likely to use the most so you don’t need to browse many pages to find them. The X-H1 has the same option but you can’t save all the settings you want, such as for example formatting the SD cards.
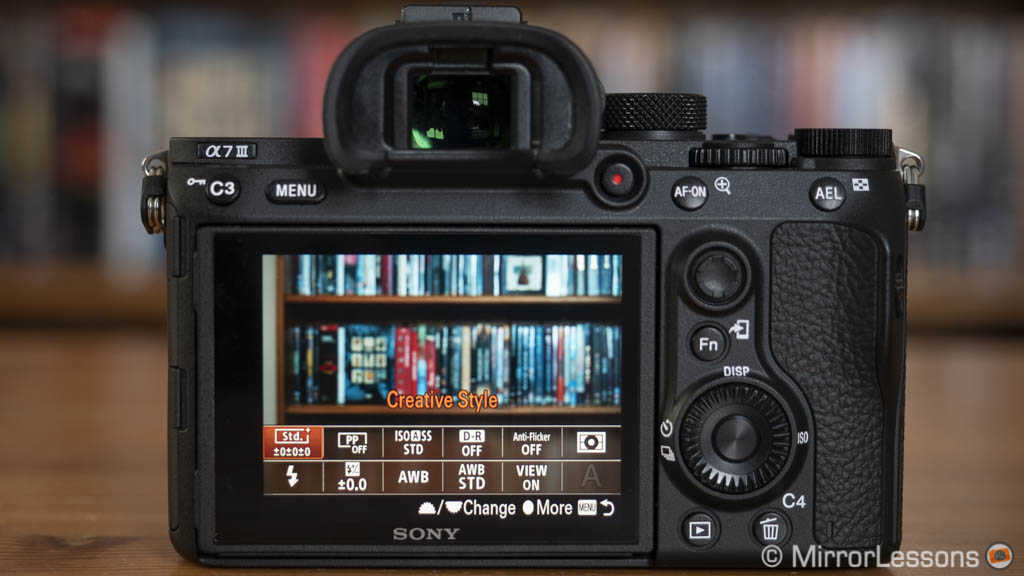
They both have a customisable Quick menu (called Function Menu on the A7). There are 16 slots on the X-H1 with 28 options, and 12 slots on the Sony with 47 options.
With firmware 1.10, the X-H1 allows you to customise the information displayed on the LCD or EVF. You can choose the location as well as the size of text and icons.
To summarise, the X-H1 requires less configuration at the beginning, but then presents more limitations if you want in-depth customisation. The A7 III requires a bigger learning curve especially if it is your first Sony camera, but the level of personalisation is really high.
Viewfinder and monitors
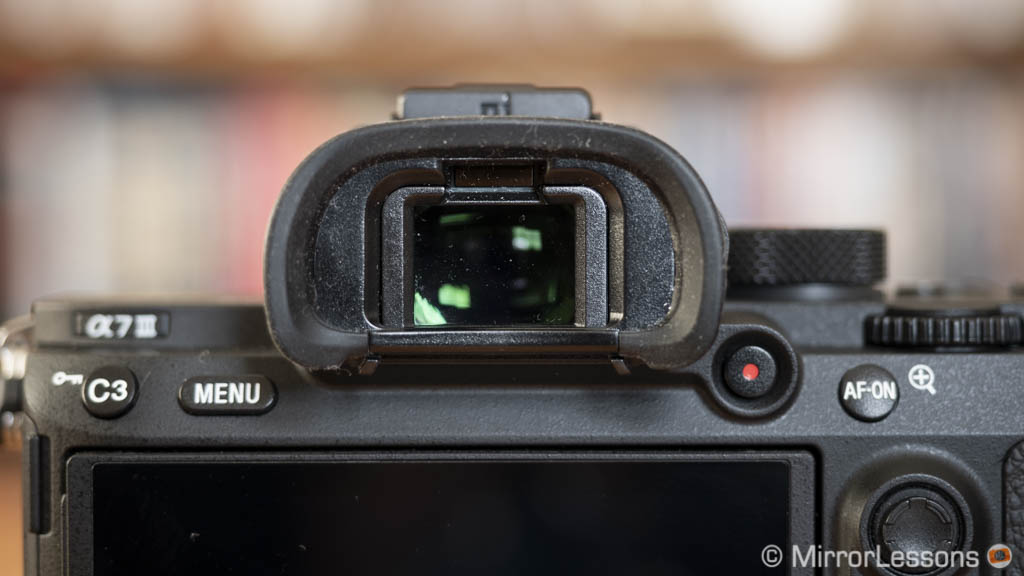
The Sony A7 III has a viewfinder with a 2,360k dot OLED panel, 60fps refresh rate, 23mm eyepoint and 0.78x magnification. In brief, it is the same one found on its predecessor, the A7 mark II.
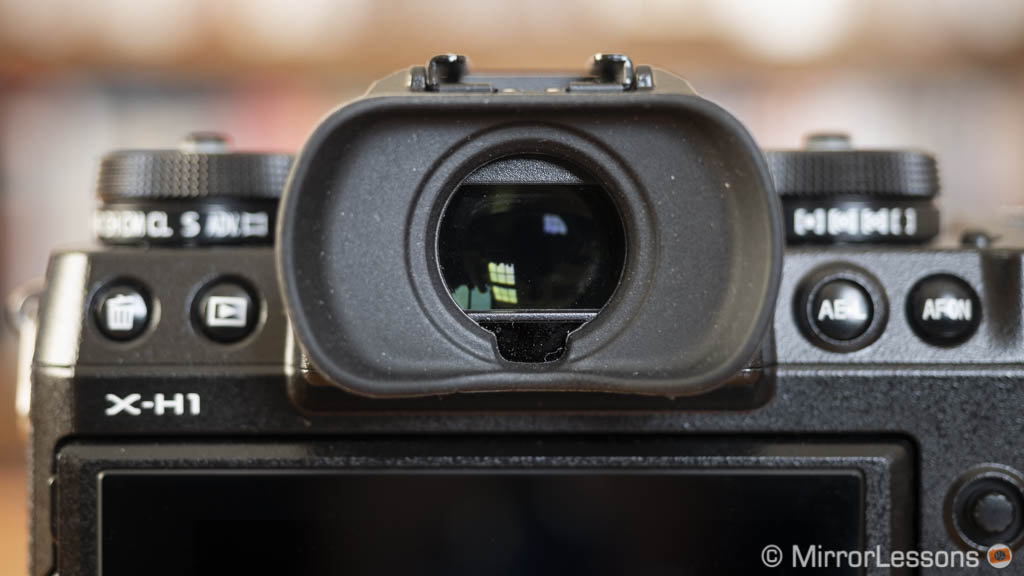
The X-H1 has more resolution with 3,690k dots but the magnification is slightly smaller at 0.75x. The refresh rate can go up to 100fps in Boost mode which gives you a smoother live view for fast movements. The eyepoint is the same.
Despite the difference in resolution, I didn’t find a huge difference when using the X-H1 viewfinder and in some cases – such as when using focus magnification for example – the Sony displays better sharpness and details.
If you wear glasses, you can see almost all the frame on the A7 but marginally fewer corners on the X-H1. The Fuji has more comfortable eye-relief however.
The brightness and saturation of both viewfinders can be modified. The X-H1 has an extra setting to control the Hue while the Sony has a colour temperature setting. When brightness is set to Auto, the A7 EVF is brighter in comparison to the Fuji.
Both give you the option of enabling or disabling the exposure and picture setting preview (Natural Live View on the X-H1, Live View Settings Effect on the Sony). Note that when set to On, the Natural Live View on the X-H1 can display more noise in the darker areas.
The X-H1 has the tendency to reduce the live view frame rate quickly (below 60fps) when the camera is inactive for a few minutes which makes everything quite laggy. Half pressing the shutter button makes live view go back to normal, while activating the boost mode is a more permanent fix.
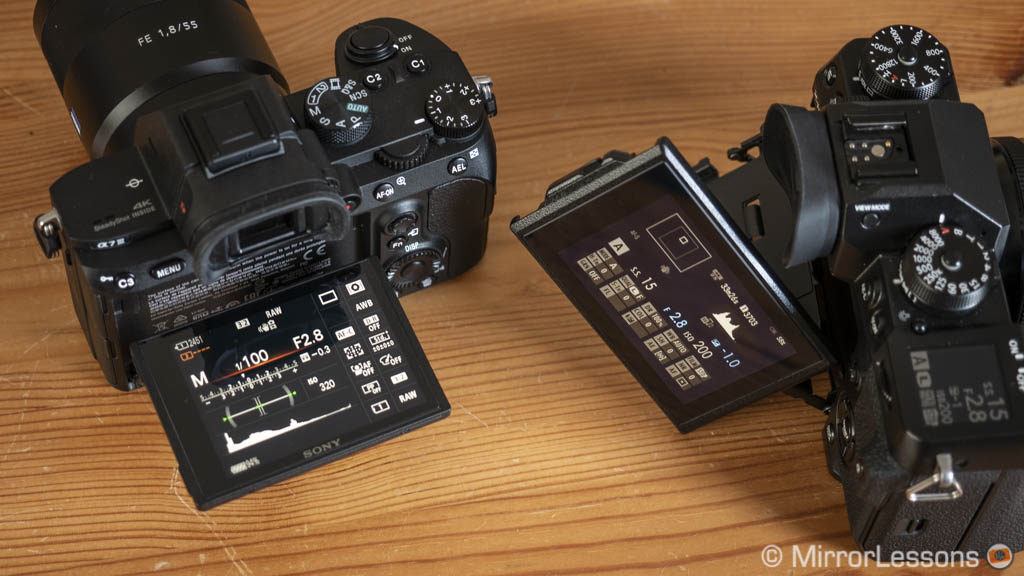
Turning our attention to the rear screen, there is first a difference concerning how they articulate. The A7 has a standard up/down tilting mechanism whereas the X-H1’s has a three-way mechanism: up, down and to the right, which becomes useful when shooting in vertical orientation.
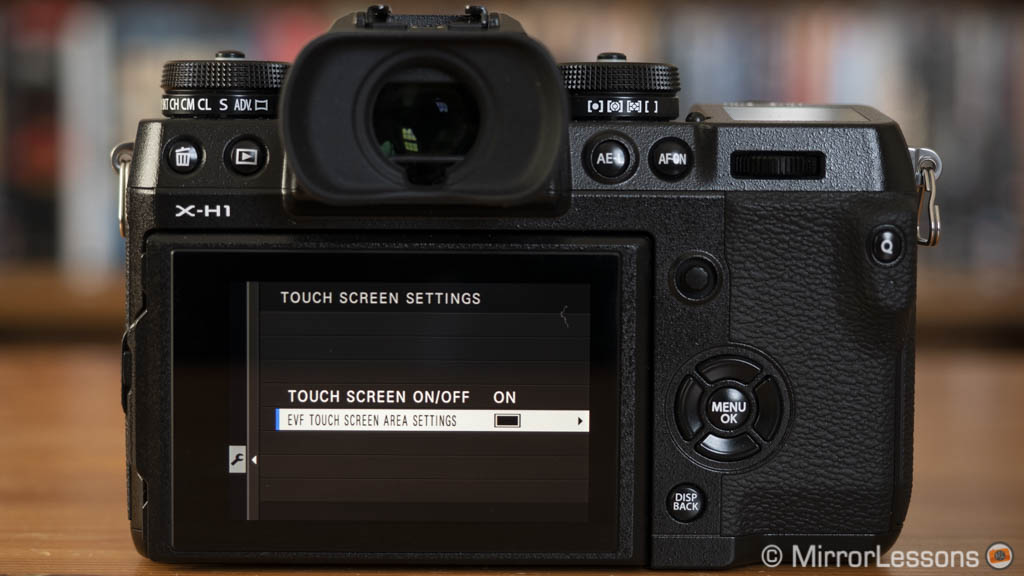
The A7 screen has slightly less resolution (922k vs 1040k dots) but both are touch sensitive. The commands you can perform with them differ however.
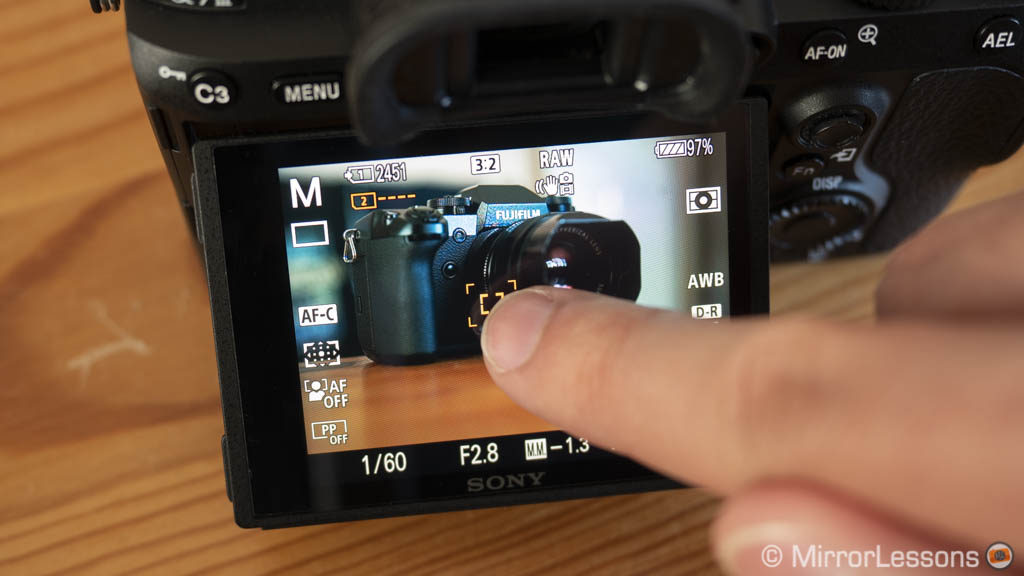
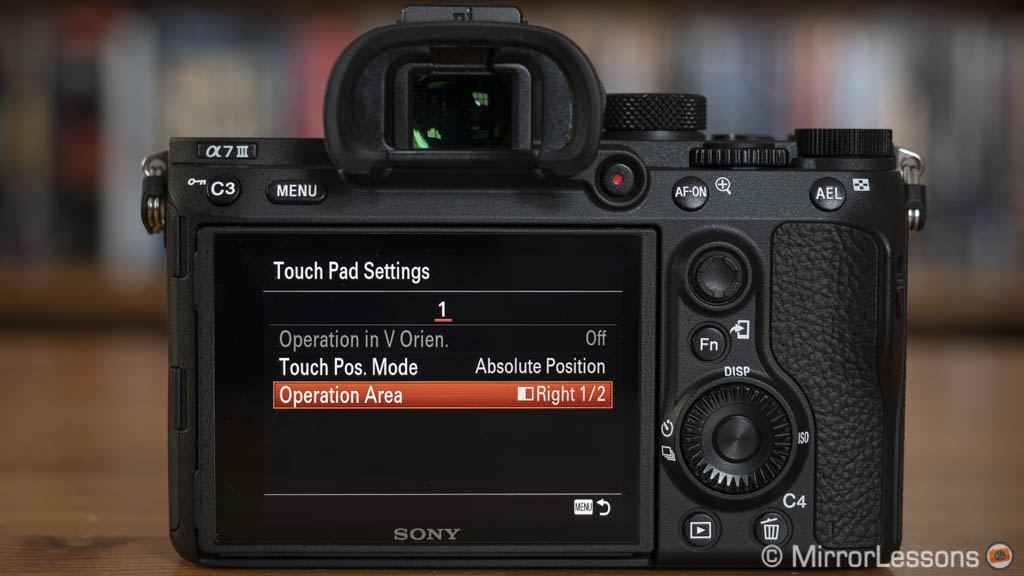
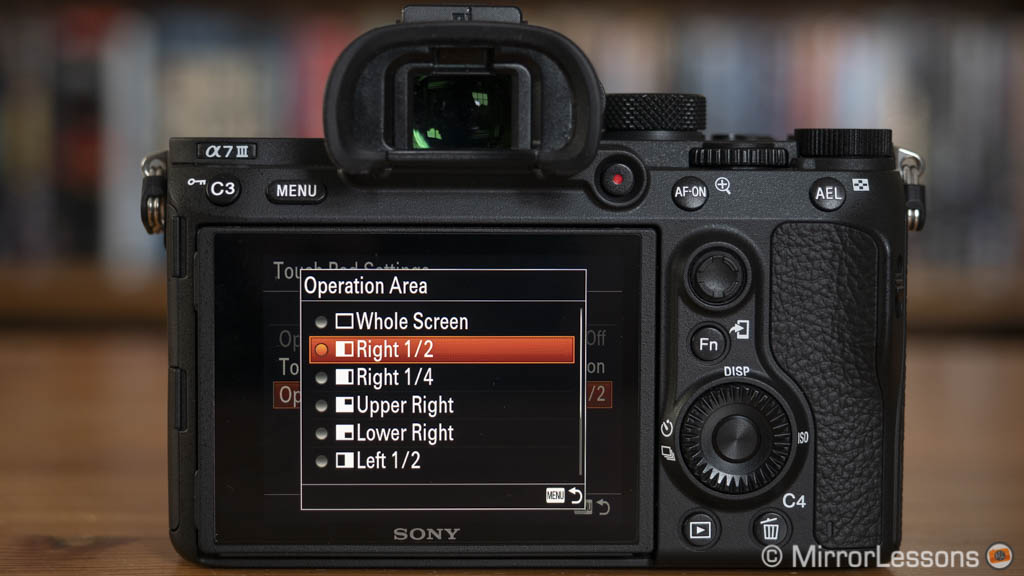
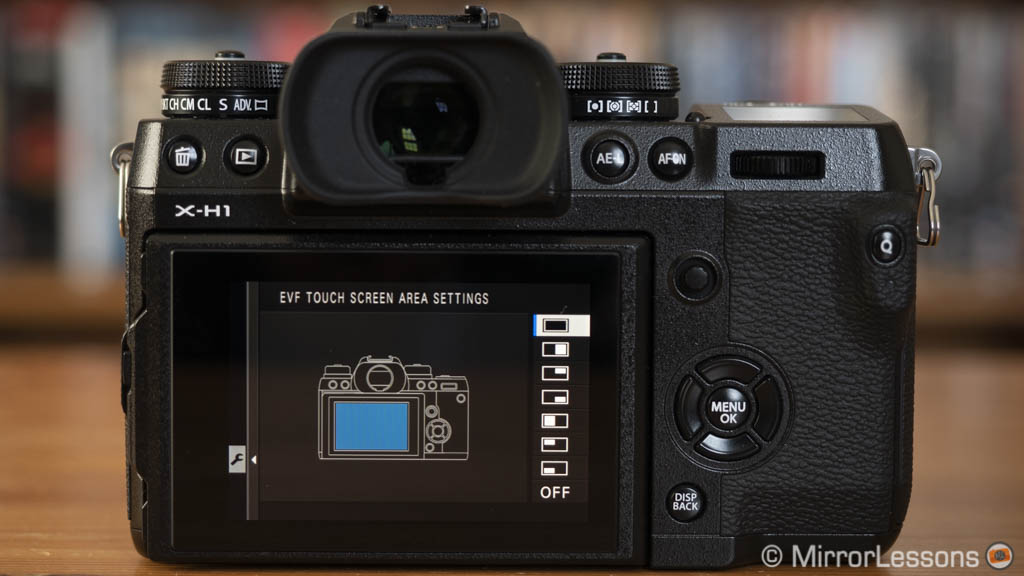
The Sony only uses touch gestures to move the focus point. It is quick and fairly precise. You can also use it while composing with the EVF (Touch Pad mode), and choose which part of the screen to touch to activate the function.

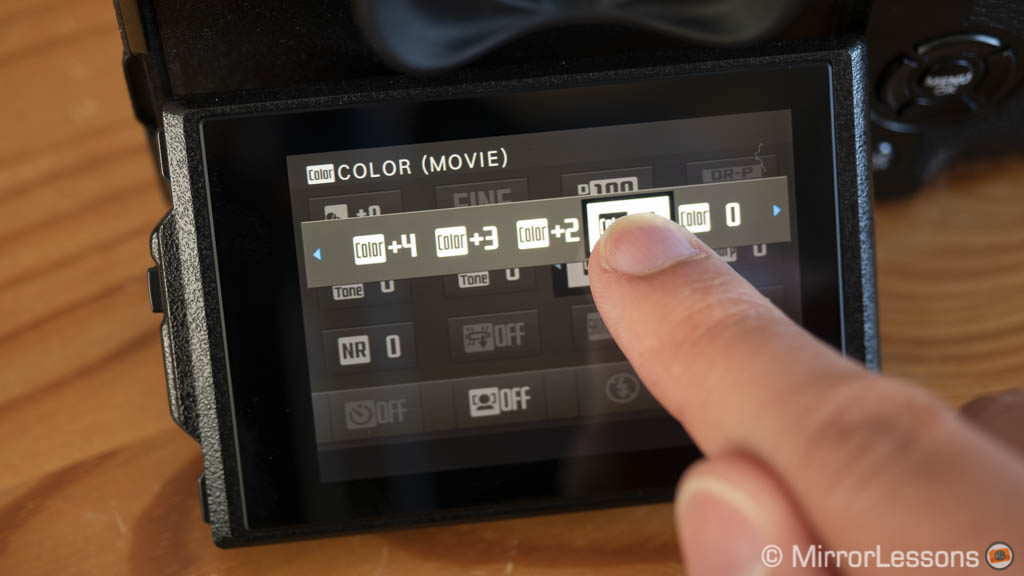
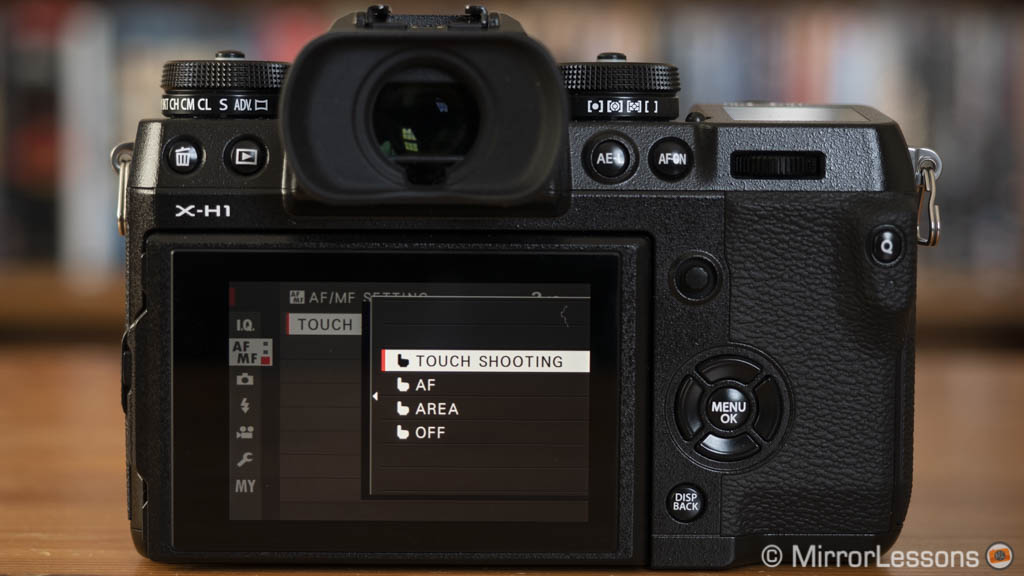
On the X-H1, touch sensitivity serves multiple purposes. You can take a shot, move the AF area, focus, change settings in the Q Menu and activate up to 4 functions by swiping left, right, up or down. The latter can be effective but you need to swipe starting from the edge of the screen. Also make sure not to activate or deactivate a function by mistake while touching the screen. Like the A7, you can use the monitor to move the AF point while shooting with the EVF.
Despite giving you more options, I found touch sensitivity on the Fuji less reactive. As for the Touch Pad modes, I prefer to use the AF joysticks. Touch gestures can be disabled by configuring a custom button. On the X-H1 you can also change or turn off some functions with the grey icon on the top right side of the screen.
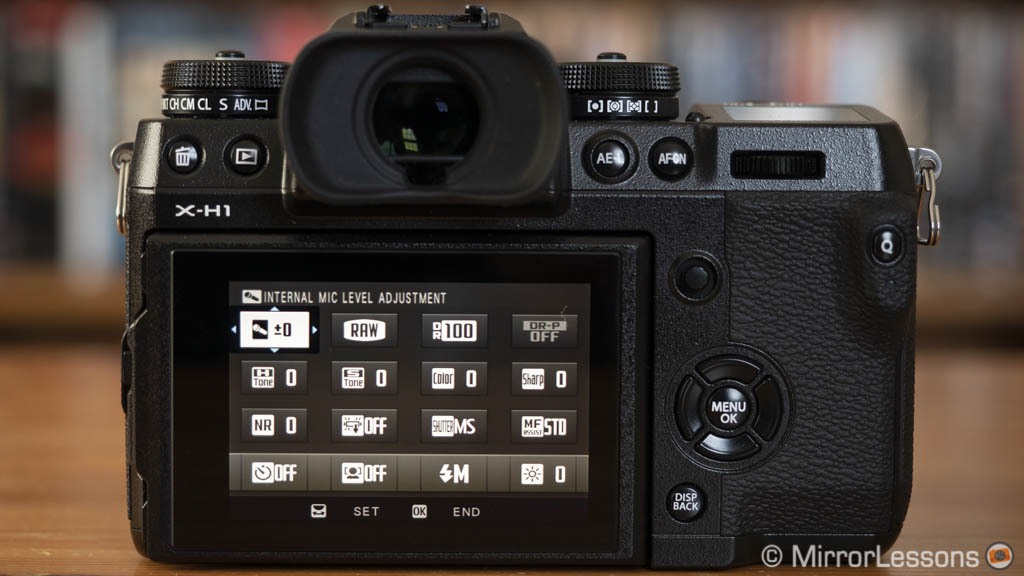
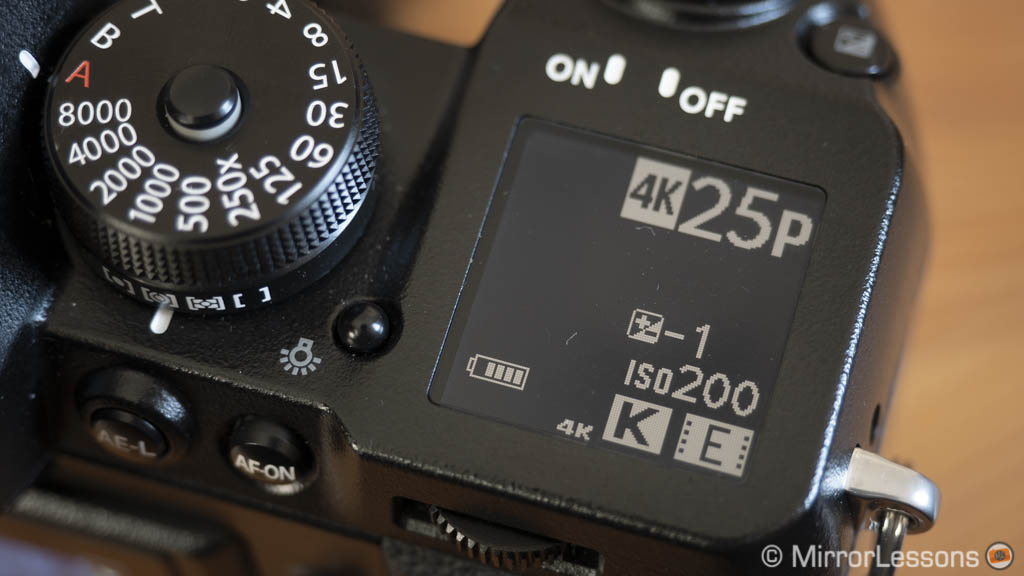
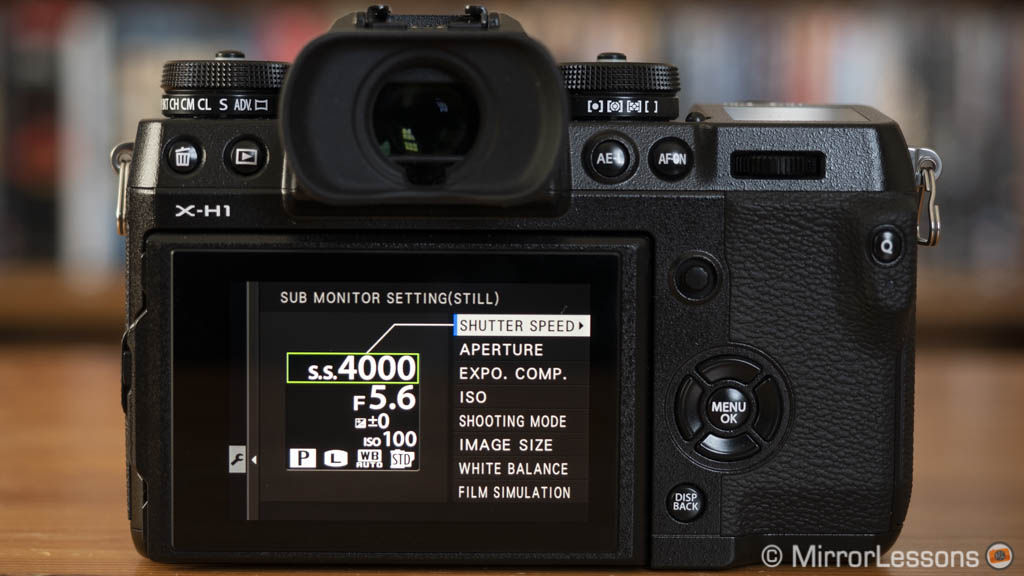
Finally the X-H1 has an extra monitor on top. The small monochrome LCD shows many settings, as well as useful information such as the remaining battery life. The data displayed can be customised separately for still and movie modes, while a small button near it allows you to switch between a dark and light background. Needless to say, it’s quite a handy tool to have.

This article continues on page 2.
Check the price of the Sony A7 III on
Amazon | Amazon UK | B&H Photo | eBay
Check price of the Fujifilm X-H1 on
Amazon | Amazon UK | B&H Photo | eBay
Second-hand Sony cameras on
Second-hand Fujifilm cameras on