Updated on: March 4th 2020
For the past couple of years, Canon has often been criticised for lacking innovation. Despite integrating interesting technology such as Dual Pixel CMOS, other brands tend to offer a wider variety of features for stills and video – and the slow growth of the EOS M mirrorless system hasn’t contributed to reducing the gap either.
In 2018, Canon unveiled a more serious competitor on the mirrorless and full-frame market: the EOS R. It marks the beginning of the RF line-up, a system that is still in its infancy but will most certainly propel Canon’s advancement in the future.
The EOS R joins a segment where the competition is stronger than ever. Not only does it have to face the growing popularity of the Sony E-mount system, to which Canon has already lost market shares, but it also has to contend with new full-frame mirrorless systems from the likes of Nikon and Panasonic.
So where does Canon’s new mirrorless camera fit into the big picture? We pitted it against one of the most popular cameras, the Sony A7 III, to find out.
Ethics statement: We purchased the EOS R and A7 III to conduct our tests. We were not asked to write anything about these products, nor were we provided with any compensation of any kind. Within the article, there are affiliate links. If you buy something after clicking one of these links, we will receive a small commission. To know more about our ethics, you can visit our full disclosure page. Thank you!
This article is divided into four parts:
- You are on page 1: design and functionality
- Page 2: image quality (stills)
- Page 3: autofocus and speed
- Page 4: image stabilisation, video, other features and conclusion
Table of Contents – Page 1
1. Article updates
2. Main Specs
3. Design, build quality and interface
4. Controls and configuration
5. Viewfinder and monitors
Article updates
- March 2020: added information about the latest firmware for the EOS R, prices updated.
- May 2019: feedback about Eye AF for Animals on the A7 III. Also check out our dedicated post here.
Main Specs
EOS R
- Sensor: 30.3MP 35mm format CMOS
- Lens system: RF-mount
- Weatherproof: Yes
- Internal Stabilisation: None
- Autofocus: Dual Pixel CMOS AF with 5,655 points
- Continuous shooting: 8fps in S-AF, to 5fps in C-AF (servo)
- ISO Sensitivity: 100 – 40000 ISO (pull 50, push up to 204800)
- Shutter Speeds: 1/8000s to 30s, Bulb
- Viewfinder: 0.5in OLED with 3,690k dots, 23mm eye point, 0.76x magnification
- Rear monitor: Multi-angle 3.15” LCD (2.1M dots) with touch sensitivity
- Movie recording: 4K up to 30fps and 480Mbps, Full HD up to 60fps, C-Log
- Built-in Flash: No
- Extra Features: WiFi, Bluetooth, Bracketing, Tethering, Dual Pixel RAW
- Dimensions: 135.8 x 98.3 x 84.4mm
- Weight: 660g (including battery and memory card)
- Firmware version: 1.6.0
A7 mark III
- Sensor: 24.2MP 35mm format BSI Exmor CMOS
- Lens system: E-mount
- Weatherproof: Yes (dust and moisture)
- Internal Stabilisation: Yes (5-axis)
- Autofocus: Hybrid with 693 phase and 425 contrast detection points
- Continuous shooting: 3fps to 10fps with AE/AF Tracking
- ISO Sensitivity: 100 – 51200 ISO (pull 50, push up to 204800)
- Shutter Speeds: 1/8000s to 30s, Bulb
- Viewfinder: 0.5in OLED with 2,360k dots, 23mm eye point, 0.78x magnification and 60fps refresh rate
- Rear monitor: Tilting 3″ LCD (922k dots) with touch sensitivity
- Movie recording: 4K up to 30fps and 100Mbps, Full HD up to 120fps, S-Log
- Built-in Flash: No
- Extra Features: WiFi, Bluetooth, Bracketing, Tethering, FTP Transfer, Dual SD slots
- Dimensions: 126.9 x 95.6 x 73.7mm
- Weight: 650g (including battery and memory card)
- Firmware version: 3.10
Design, build quality and interface
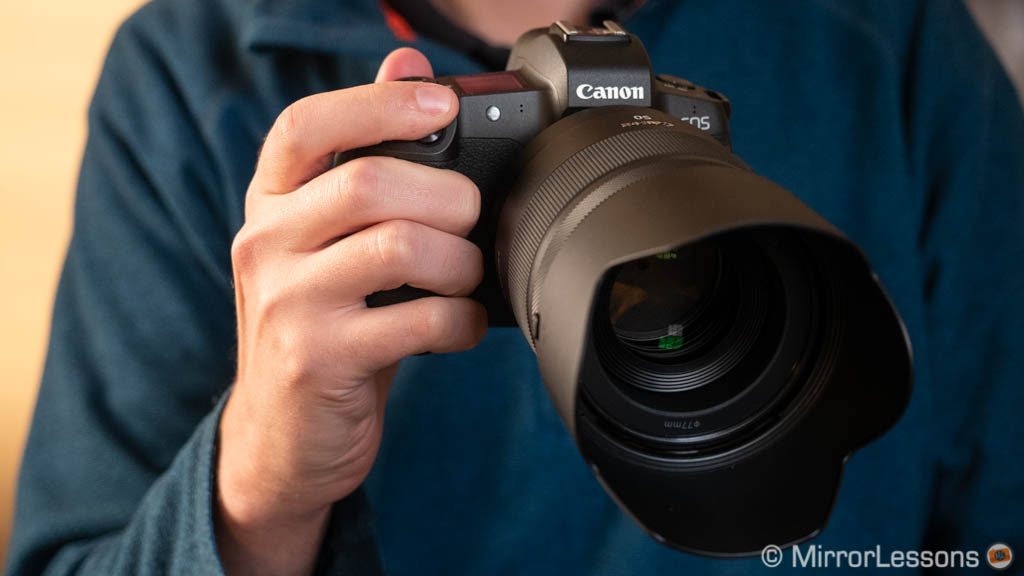
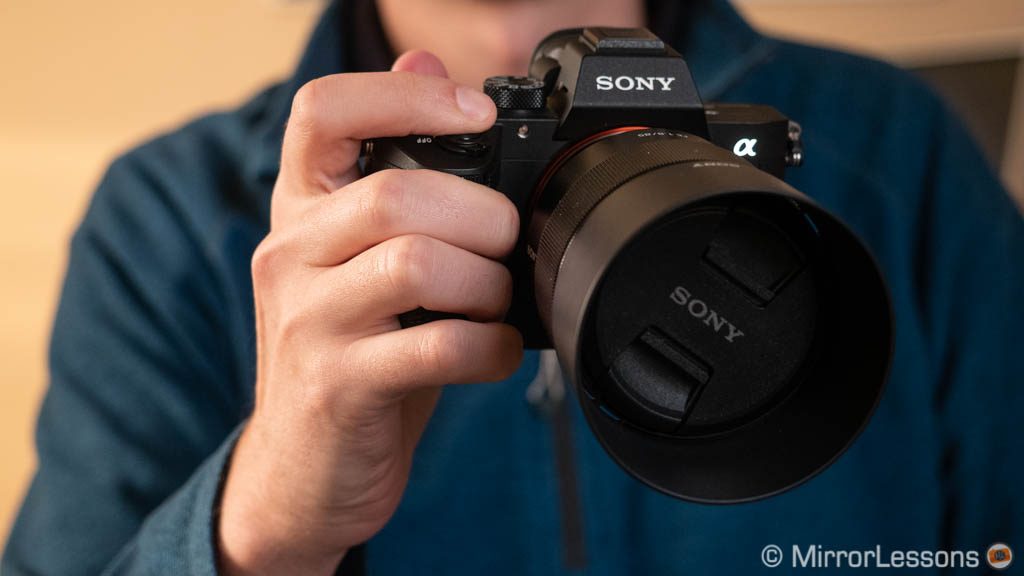
In terms of weight, both cameras feel the same when held in the hand, but the EOS R is visibly larger thanks to its extra height and the bigger front grip.
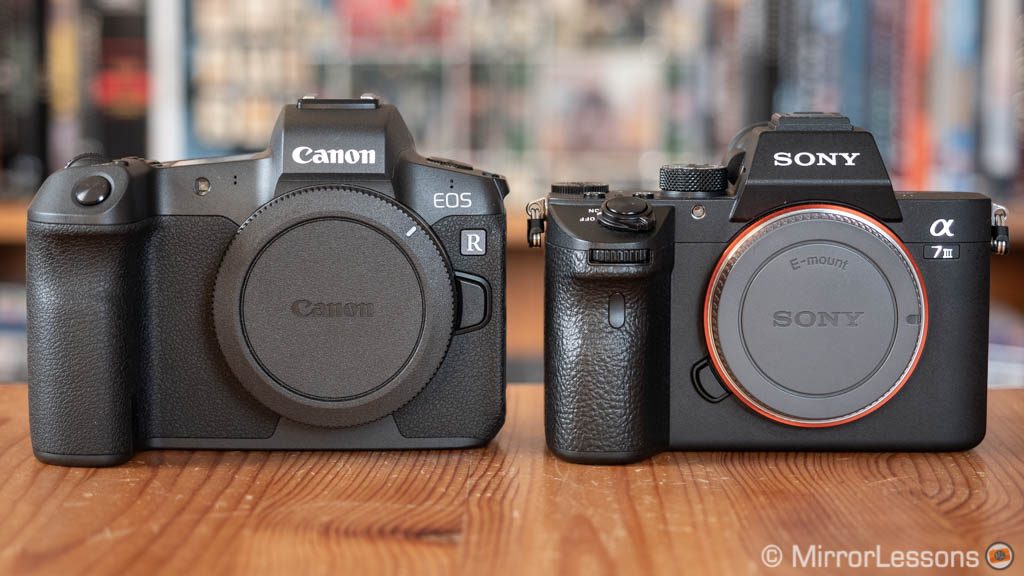
They are weather-sealed against dust and moisture, and feature a robust construction with a magnesium alloy chassis.
Speaking of the grip, the EOS R is more comfortable to hold with larger lenses. I probably sound like a broken record at this point since I’ve written about the A7 III’s smaller grip in most of my articles, but the difference is perceivable if you pick up and hold one camera soon after holding the other.
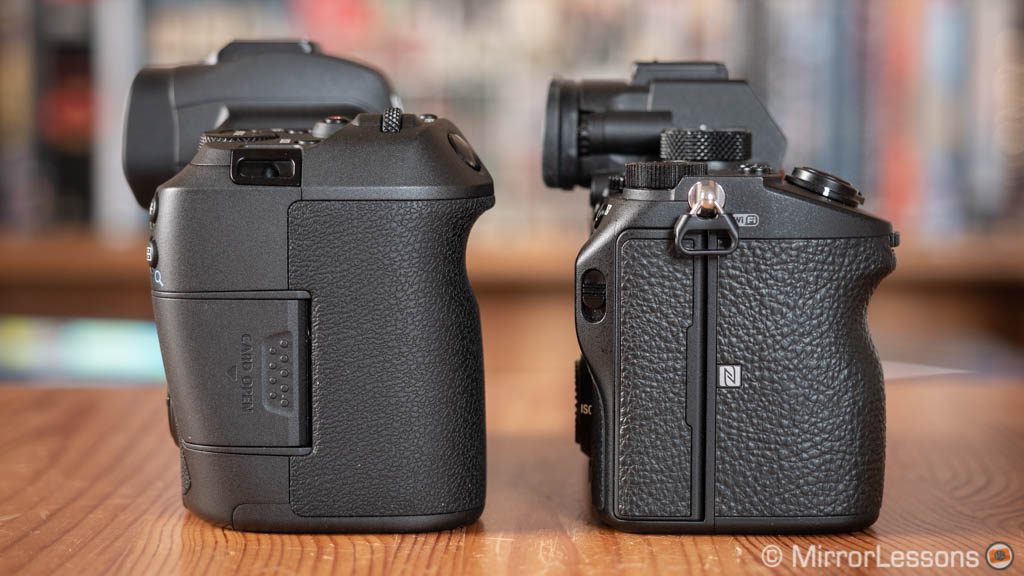
On the Canon, all your fingers rest more comfortably so you don’t need to maintain a tight grip on the camera. Likewise your little finger doesn’t struggle to keep its place like with the Sony. There is a bit more space between the grip and the lens mount. Note that a grip extender for the A7 III can improve the handling (check our accessories article to find out more).
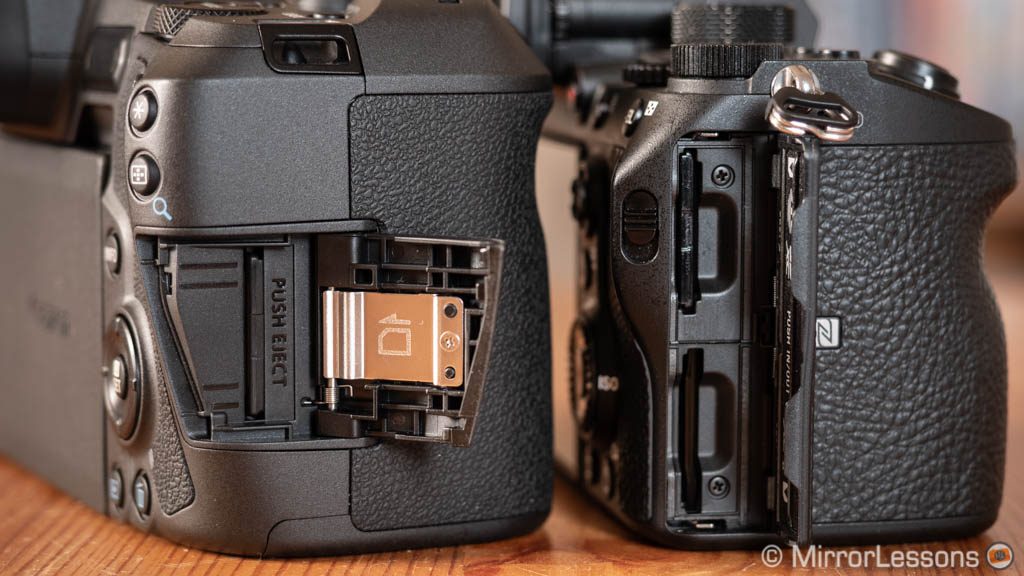
One major difference is that the EOS R can only take a single memory card, whereas the A7 III has two slots. They both accept the SD type with UHS-II compatibility (slot 1 for the Sony).
Those who rely on two cards for their work, whether it is to back up images or to separate file types, will be disappointed by Canon’s choice, also because looking at the camera, it appears as if there could be enough space for a second slot.
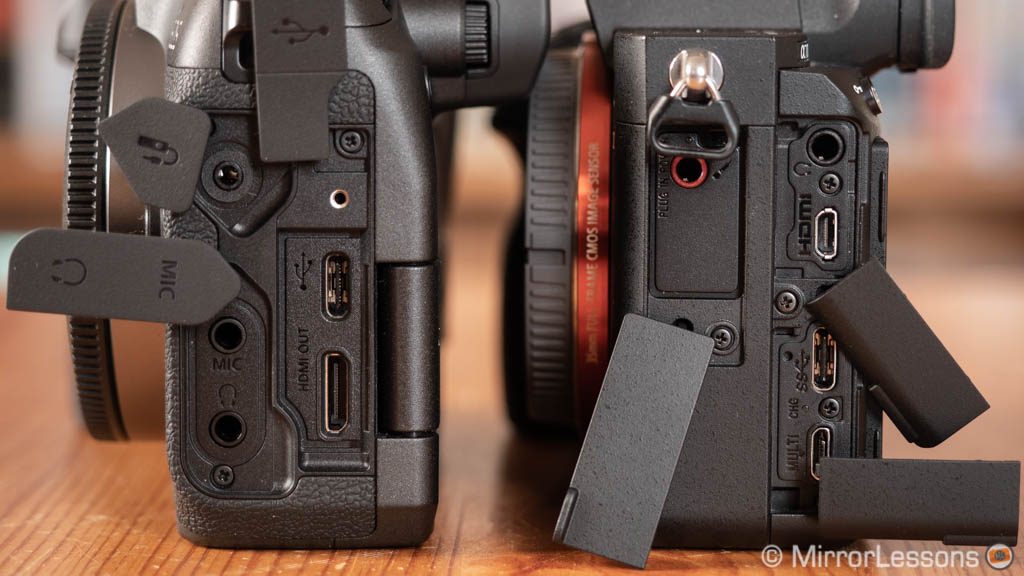
As for physical connections, both products have:
- 3.5mm audio in and out
- USB Type C port
- HDMI output (Mini for the EOS R, Micro for the A7 III)
The Canon has an additional 2.5mm remote input, whereas the Sony has a second USB port (mini 2.0).
Controls and configuration
Ease of use is one of the main aspects that sets these two cameras apart. The way you operate them is quite different on many levels, starting with the quality of the control interface.
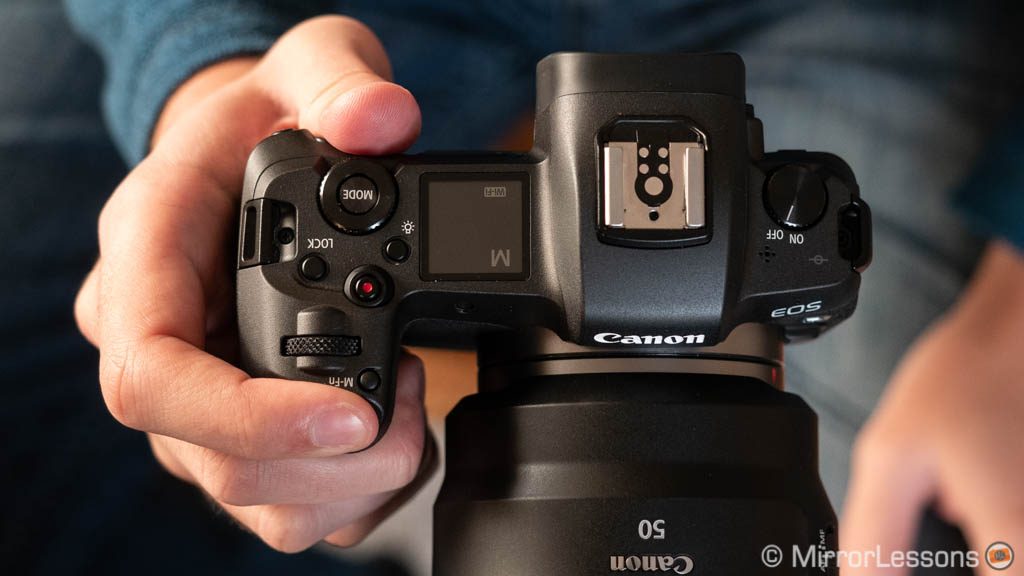
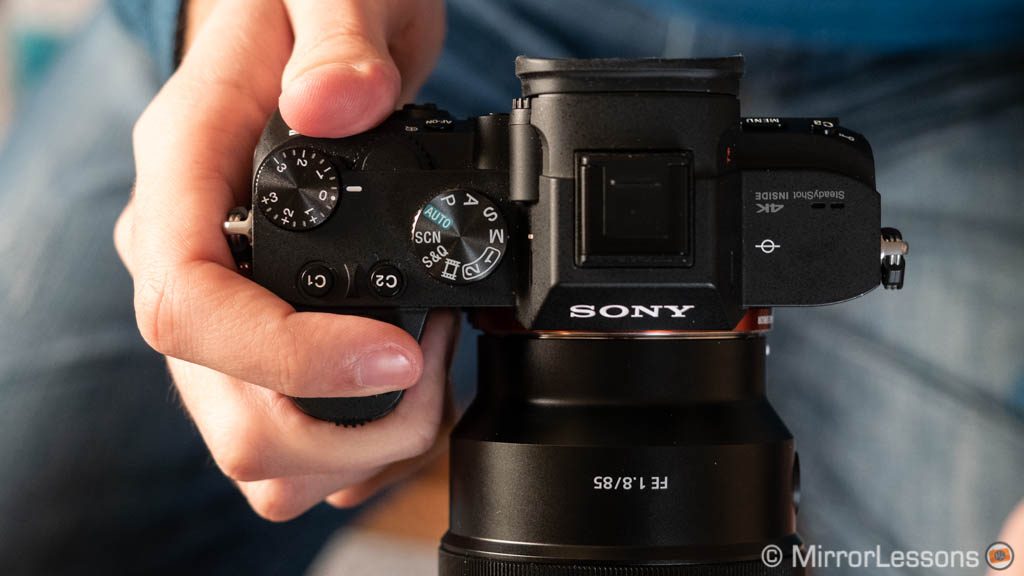
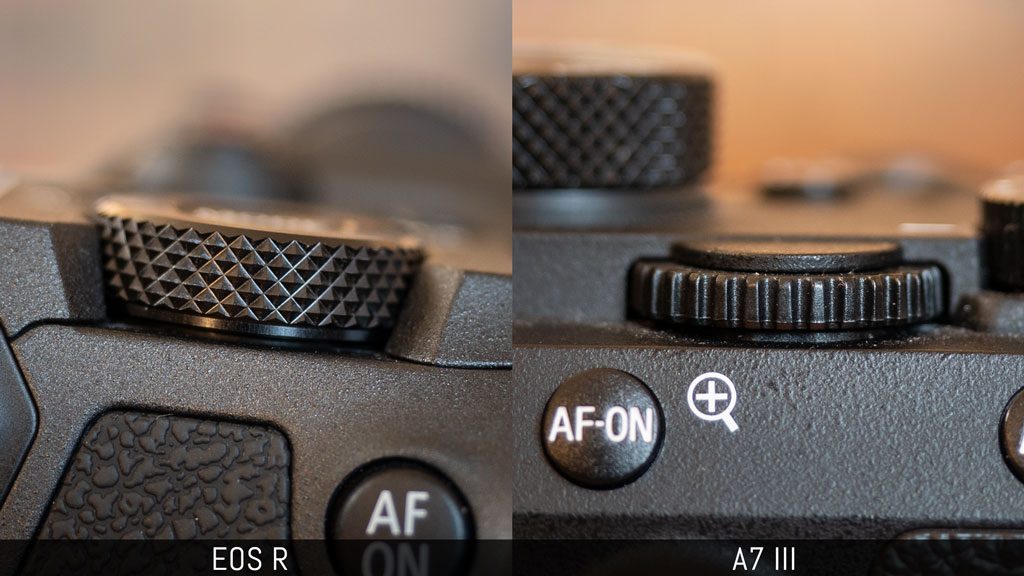
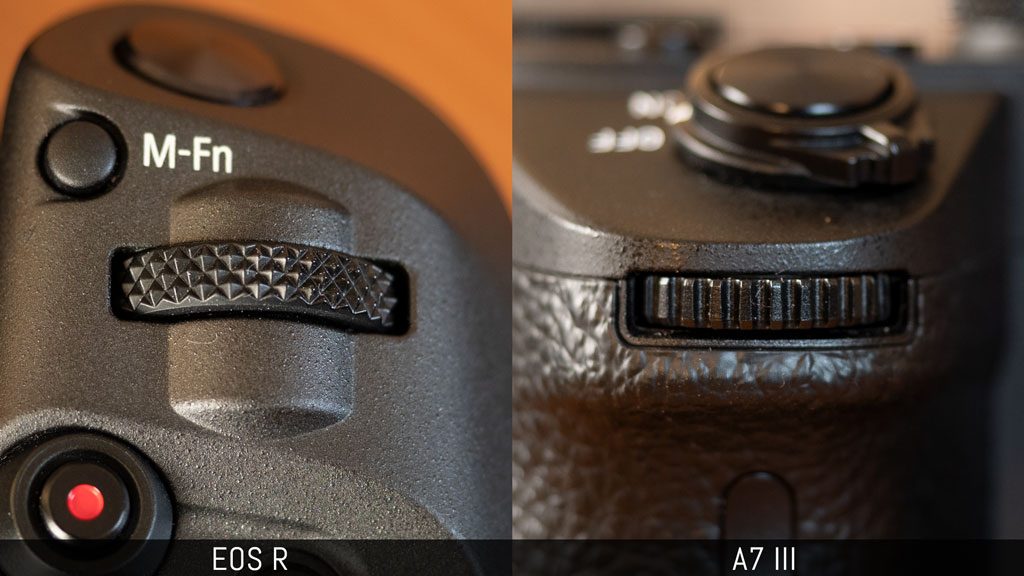
The EOS R buttons are softer and depress further than the Sony’s. The dials are more precise and easier to turn thanks to their thickness and cross-pattern texture and the fact that they’re made of metal adds a premium feel. I also prefer where Canon has placed them, especially the one located on top of the grip rather than on front, as I find it more comfortable to reach.
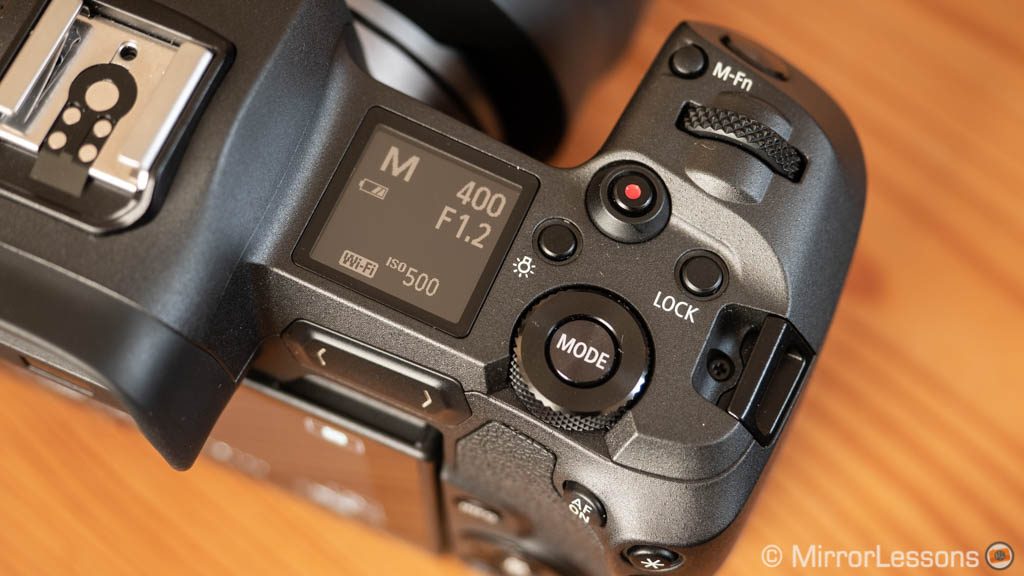
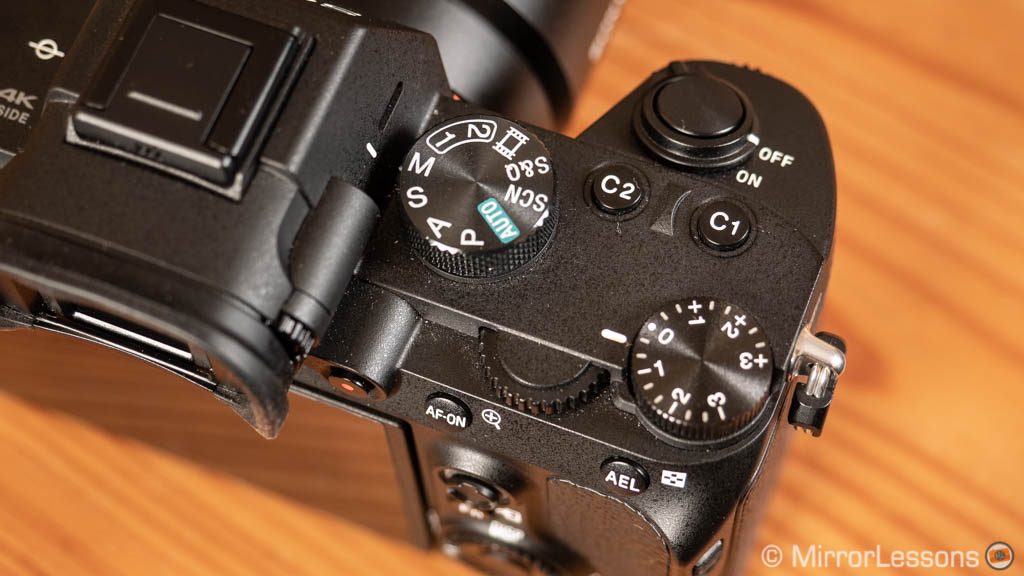
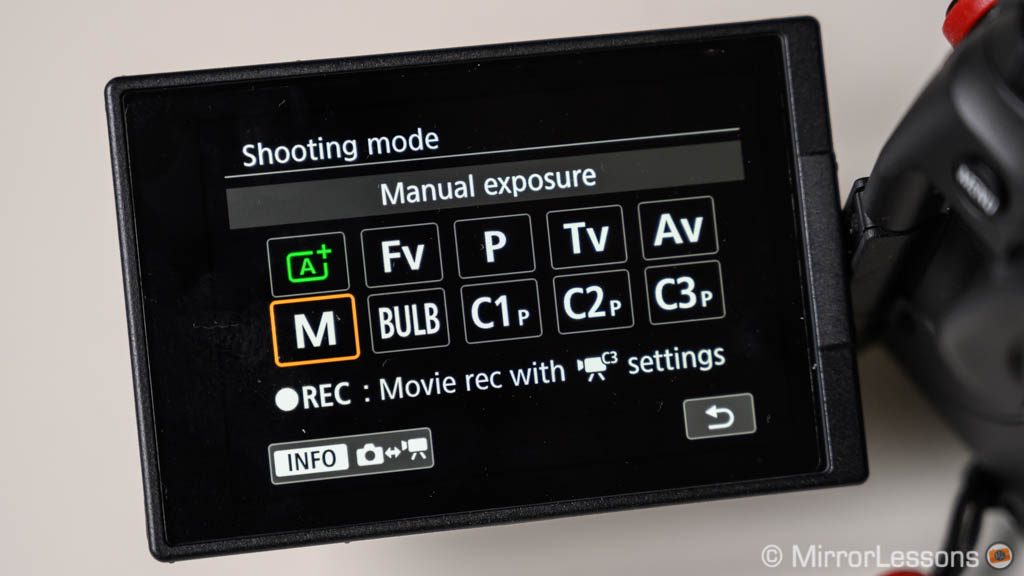
On the A7 III you’ll find a traditional shooting mode dial, whereas on the Canon you press the Mode button and use the control dial around it to select the desired setting. One small complaint here is that the Mode button is difficult to reach with your fingers when composing with the EVF.
The location of the On/Off switch is also different. There is a dedicated dial on the top left part of the EOS R body, whereas the Sony has it around the shutter release button. Somehow I feel that Canon could have adopted the same solution as Sony to make room for an extra control dial on the left, but after using the camera I admit it didn’t bother me at all.
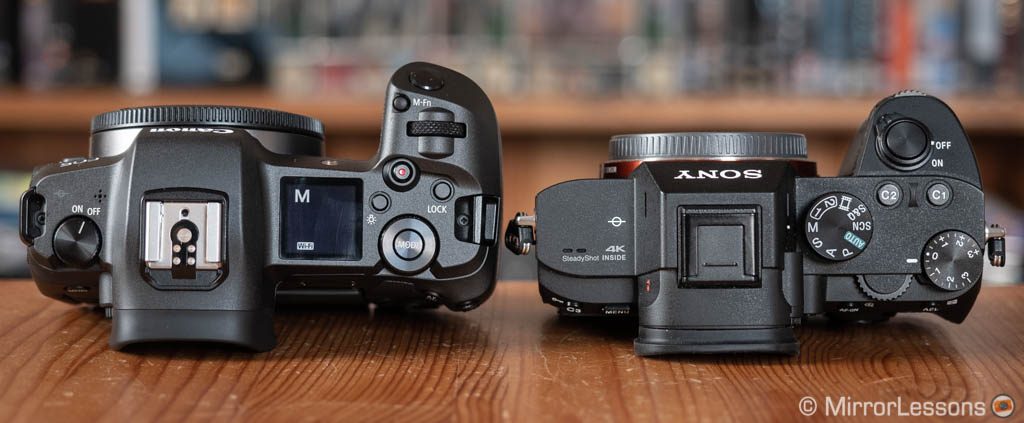
Trivia: Aperture priority (A) is called Av and Shutter speed priority (S) is called Tv on Canon cameras.
In addition to the default PSAM modes that are found on most cameras (including the Sony), the EOS R introduces a new shooting mode called Flexible-priority AE (Fv). It allows you to control aperture, shutter speed and ISO automatically or manually with different combinations, including exposure compensation.
Think about the classic P mode (Program) but in this case you can make exposure fully auto, semi-auto or fully manual at any time without switching shooting modes. Everything is controlled with the two main dials and once you get used to it, making changes becomes almost instantaneous.
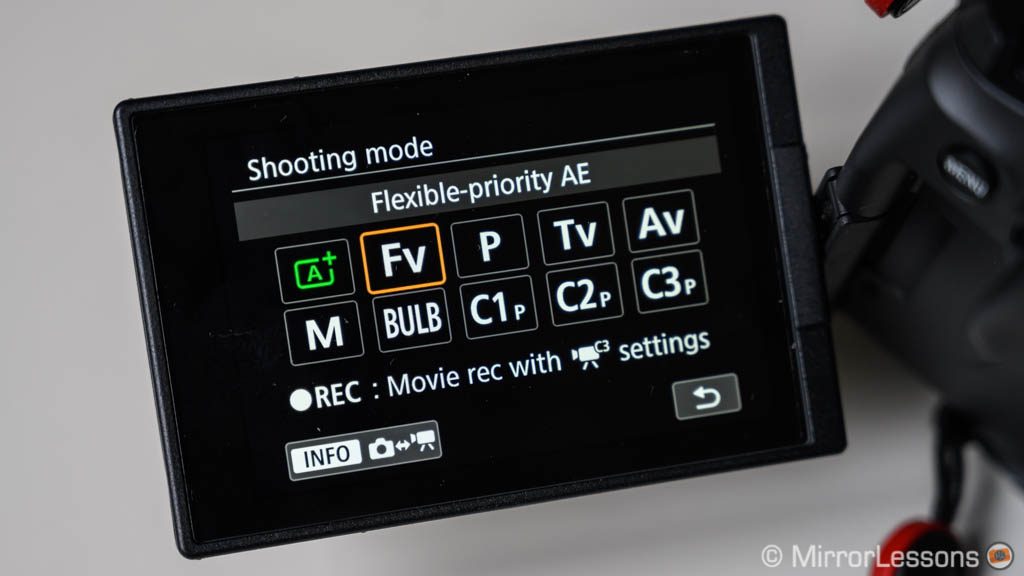
In my case, I mostly work in manual mode, sometimes with Auto ISO, so I didn’t take much advantage of it. Plus I don’t really find it quicker than changing shooting modes, at least in the way I use the camera. That being said, those who often need to switch between a combination of auto and manual exposure settings might find the Fv mode very interesting. It can also be of use to beginners who wish to transition from automatic to manual control.
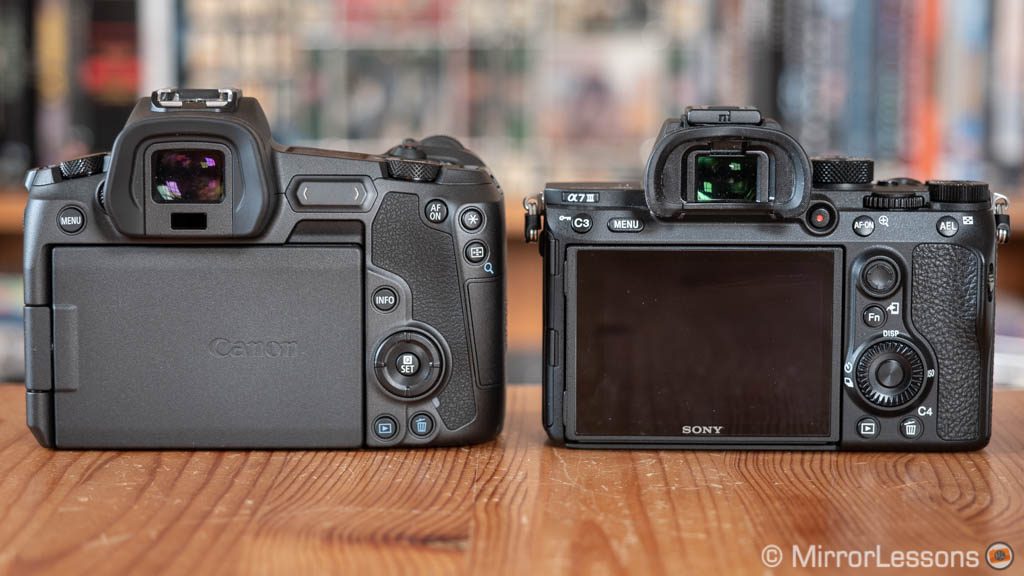
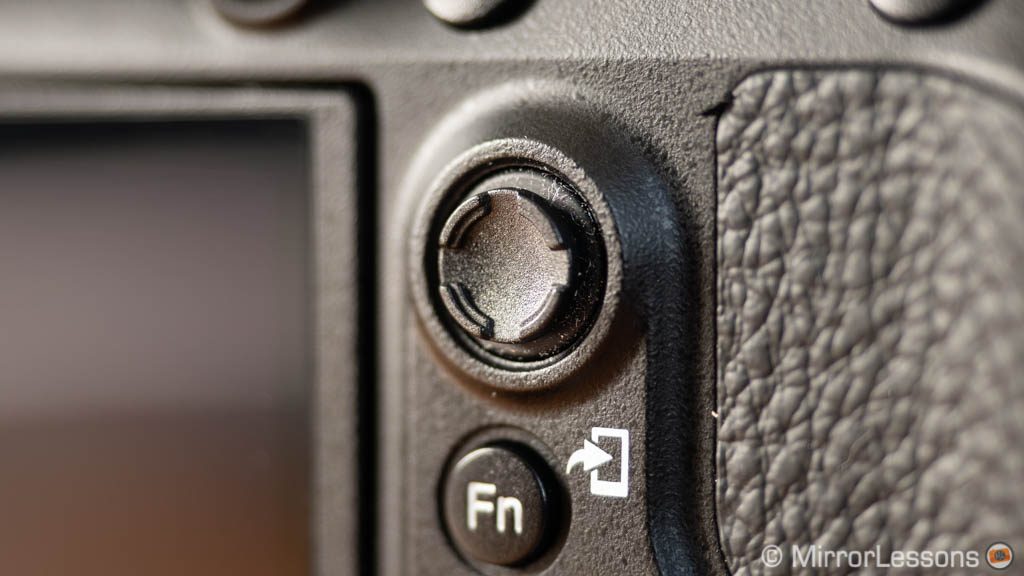
On the rear, the EOS R lacks an AF Joystick, which I personally miss. I use the one on the A7 III a lot: it’s precise and easy to use thanks to its concave design.
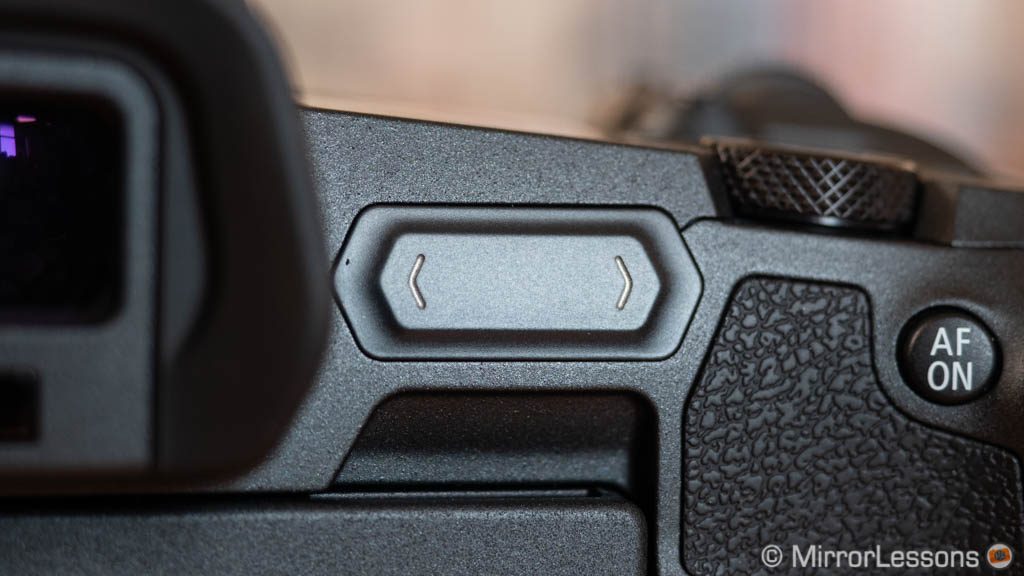
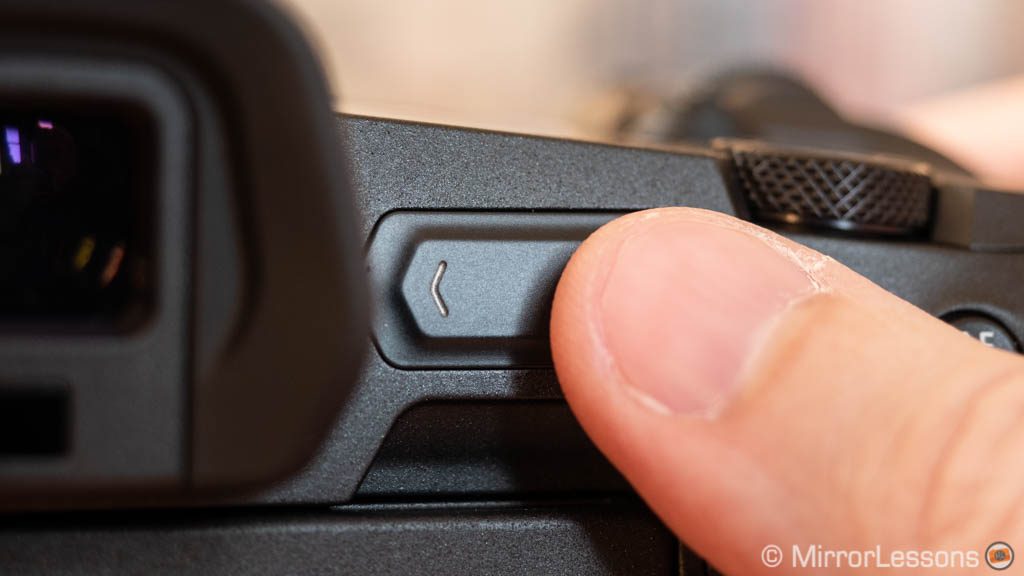
On its new model, Canon introduces a new kind of control: the M-Fn bar near the EVF. It is touch sensitive and responds to two gestures: swiping and tapping. You can choose a main setting to control and configure which gesture does what.
For example, swiping can take you through the entire ISO range, whereas tapping left or right can increase or decrease the value by 1/3 or 1/2 steps. You can also choose to assign a specific ISO value or Auto ISO to the left or right side. The configuration possibilities are endless. Canon offers 6 main presets but lets you personalise everything. You can control ISO by swiping, eye detection by tapping left and Auto WB by tapping right, and that’s just one of the many possible combinations.
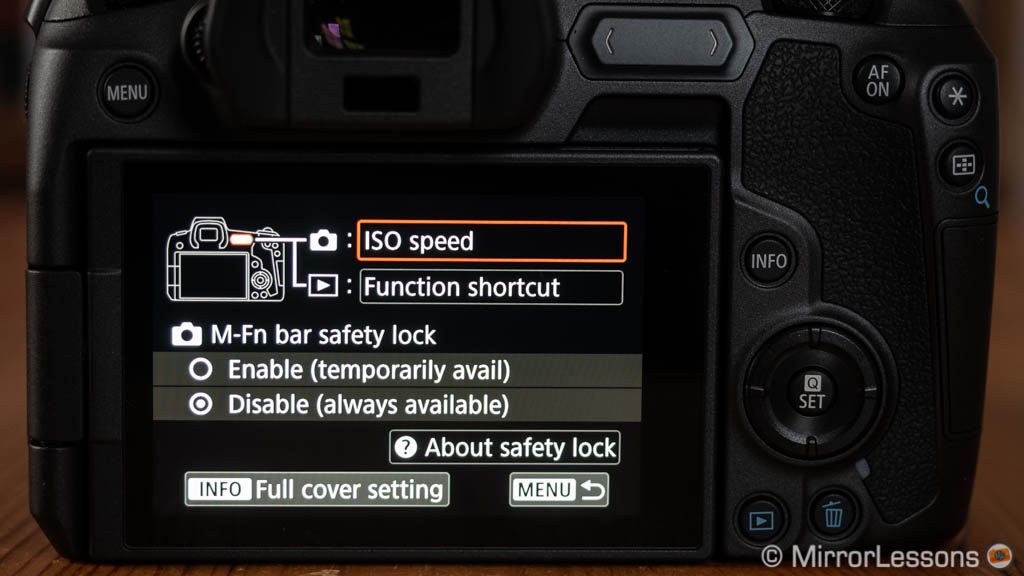
Personally, it took me some time to get used to the M-Fn bar. At the beginning you feel you’d rather have a normal dial, but once you see the potential of its configuration, you start to appreciate it. I prefer to use it for one main setting (ISO) rather than combining different things according to the gesture. It is very precise and quick but being a touch bar, you don’t have the tactile feedback you get with a dial or button, so it won’t be everybody’s cup of tea, especially when composing with the EVF. I also advise activating the safety lock so that the bar doesn’t remain active all the time, otherwise you’ll end up accidentally changing your settings.
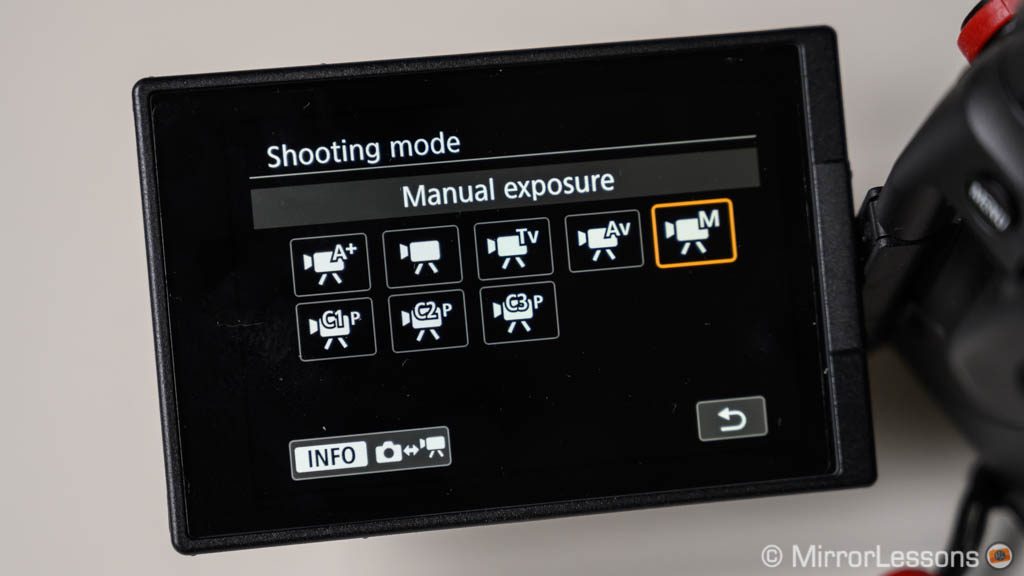
Another difference between the two cameras is how you switch between the stills and video modes. On the A7 III, you simply rotate the dial to the movie icon. On the EOS R, after pressing Mode, you push the INFO button to switch between all the modes available for stills and the ones available for video.
I really liked this solution because it is quicker than the Sony to choose a shooting mode for video. It also keeps the photo and movie settings completely separate, yet easy to switch between in a heartbeat. The main menu automatically changes to display the appropriate settings, which means you spend less time browsing through unrelated pages.
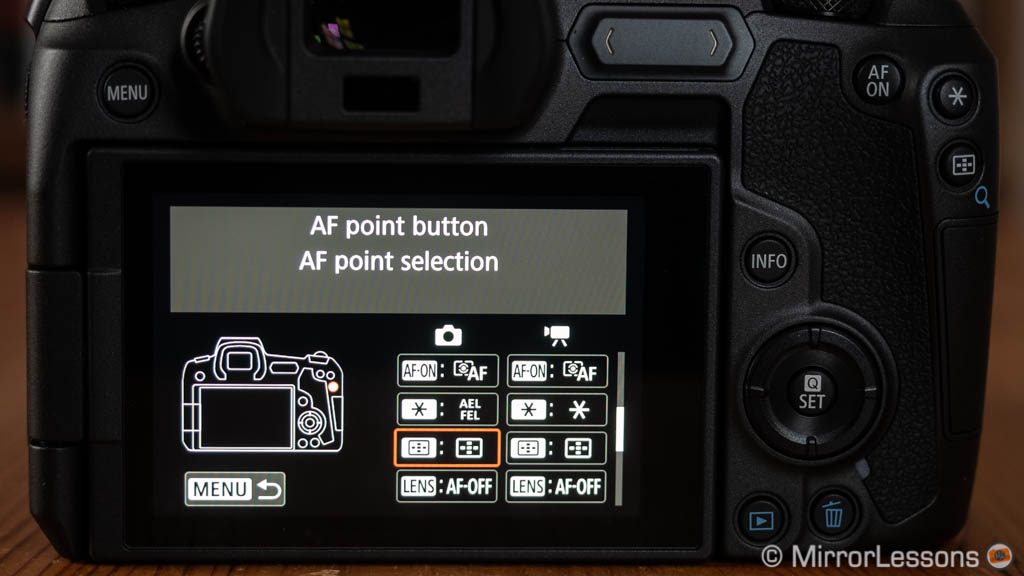
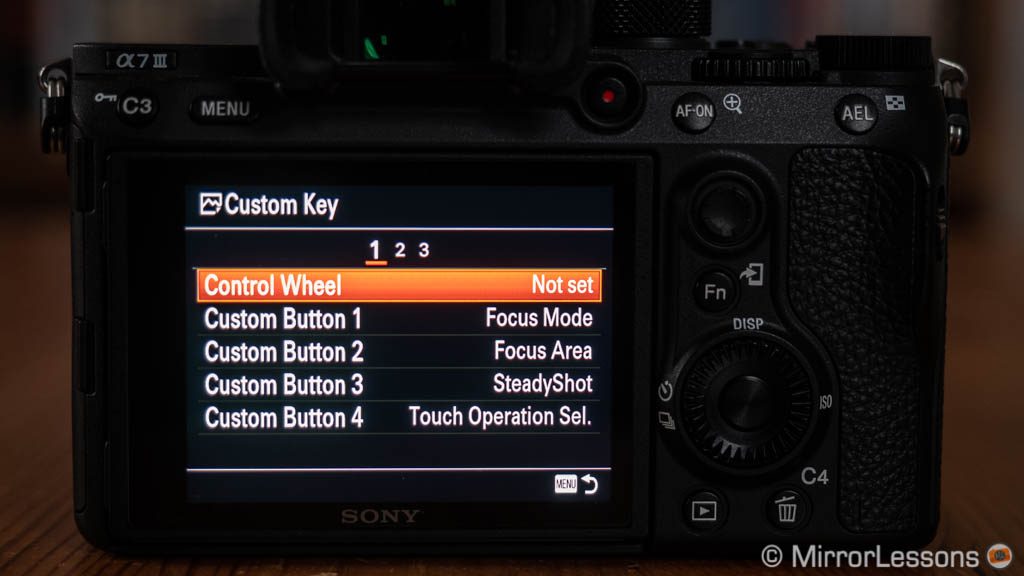
Both cameras offer 12 custom buttons. These function buttons can be customised separately for the stills and movie modes.
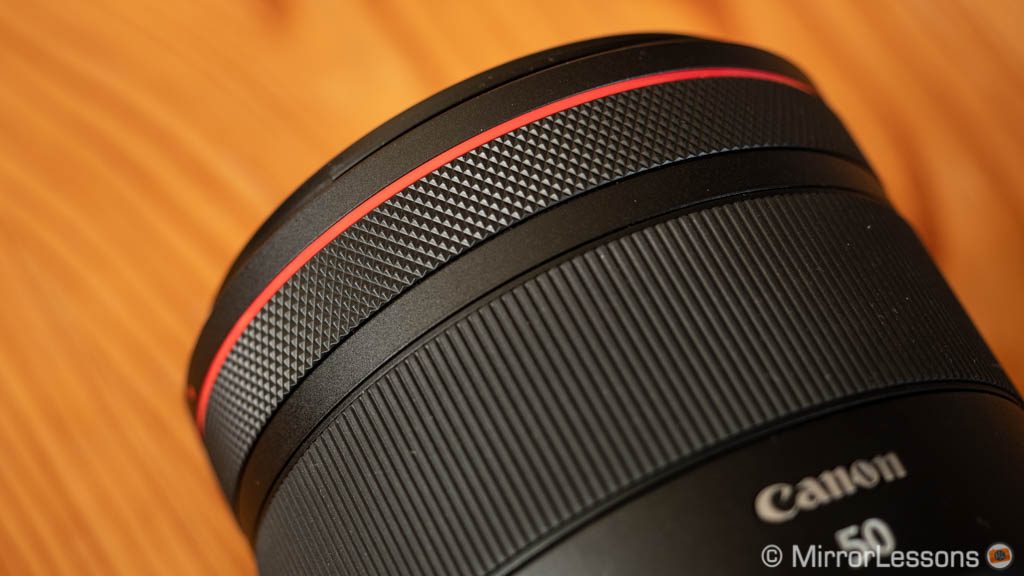
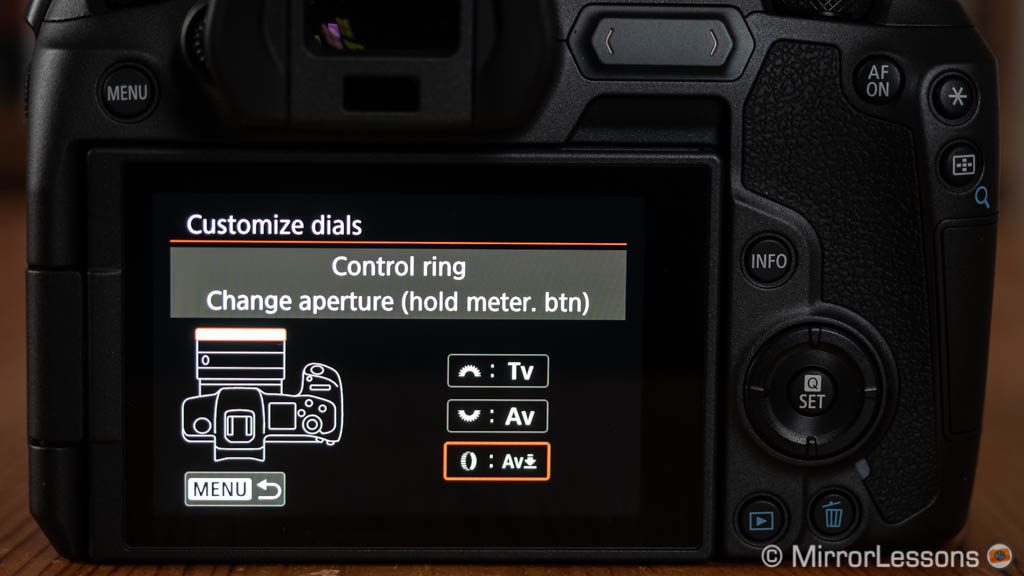
Several Sony lenses have a Focus Hold button that can be customised to do different things. With the EOS R, each RF lens has a clicking function ring that can be used for ISO, aperture, shutter speed or exposure compensation. You can change values simply by turning the ring or by pressing down the metering button first, which prevents unwanted changes.
The Canon also gives you the possibility to set the sensitivity of the focus ring. It is linked to the rotation degree and varies with rotation speed.
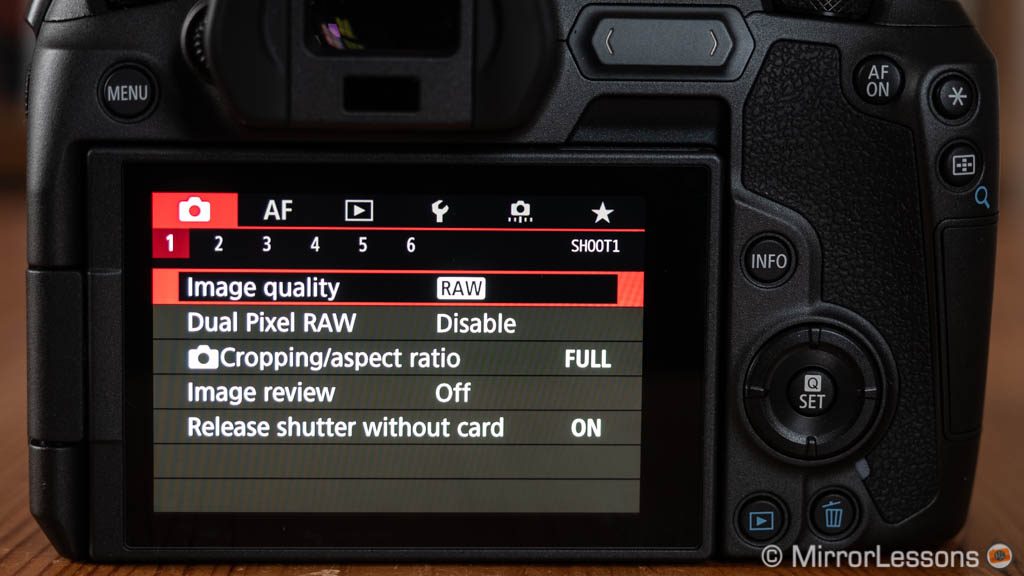
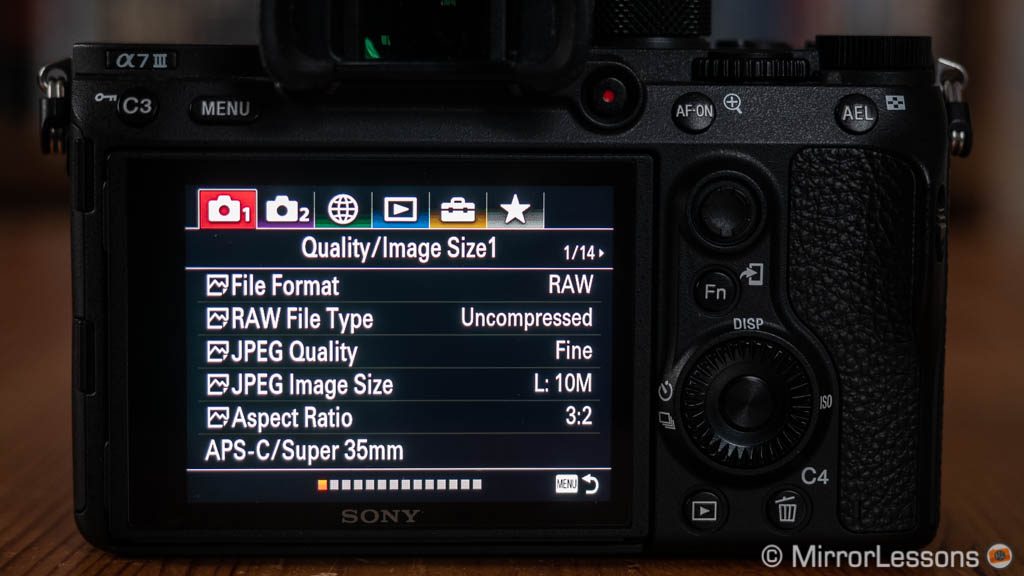
The menu systems are quite different. The EOS version is quicker and more straightforward to learn. The fact that the settings automatically change when you switch from stills to video mode is also a real time-saver. For most settings, a help text is available to describe what the setting is about and the explanation is always easy to understand (you can even choose the text size).
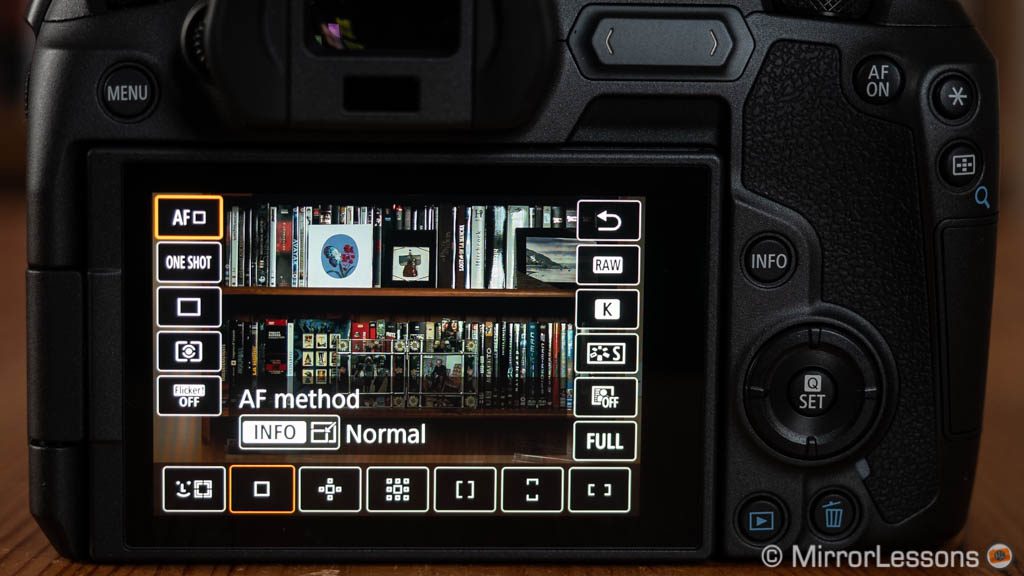
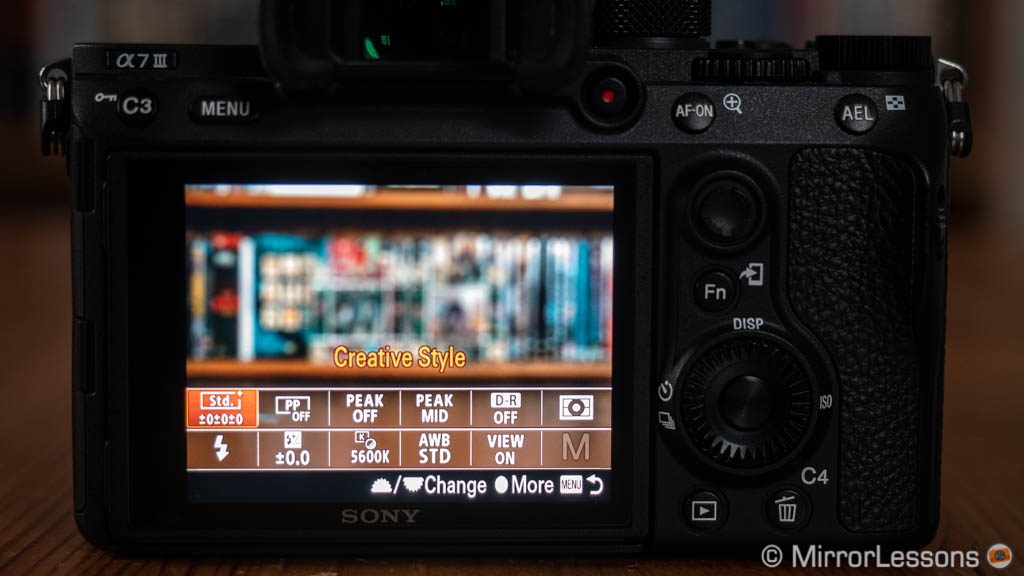
Each camera has a Quick menu (Fn menu on the A7 III) that lets you access the most important settings without losing sight of your composition. The Sony menu can be customised (12 slots) whereas the EOS R cannot.
Other things the two cameras have in common are:
- Custom shooting modes (three each) where you can register current camera settings
- My Menu where you can shortcut your favourite settings
- Lock mode where you can make certain buttons and dials inactive to prevent unwanted changes.
Viewfinder and monitors
The EOS R features a 0.5-in OLED viewfinder with 3.6M dots, 0.76x of magnification and a 23mm eye point. You can increase the refresh rate when you set Power Saving to Smooth but no frame rate is specified.
The A7 III has a 0.5-in OLED panel as well but with less resolution (2,360k dots), a slightly higher magnification (0.78x) and the same eye point length. The refresh rate is around 60fps.
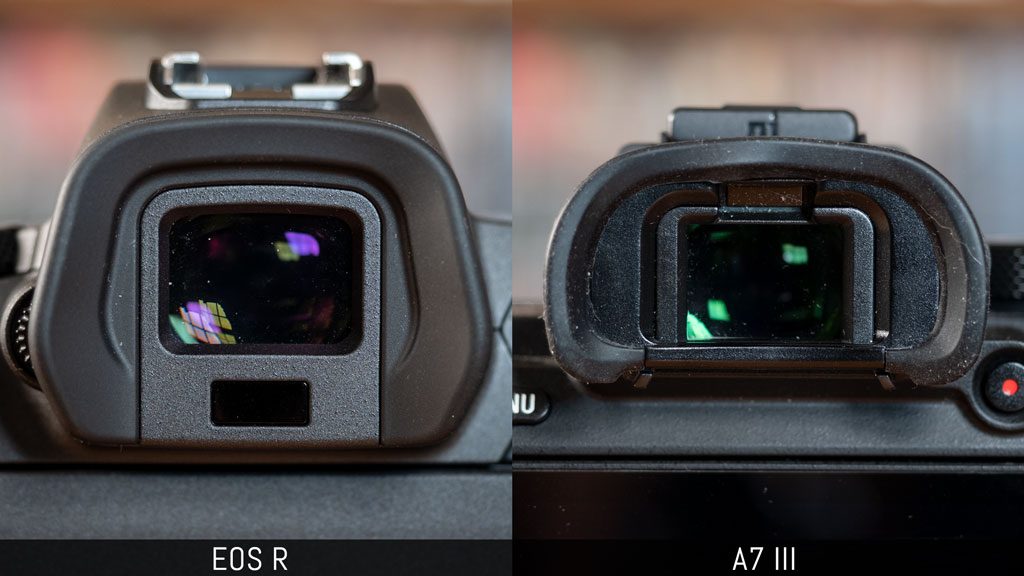
As for the user experience, the EOS R finder is the most balanced: you definitely appreciate the higher resolution, while the smaller magnification with the same eye point means you can see the corners better when wearing glasses.
Another relevant difference between the two cameras concerns the rear monitors.
The EOS R LCD has a multi-angle mechanism: you can open it to the side and rotate it 180° which is useful for vlogging and other situations. The A7 III can only be titled up and down.
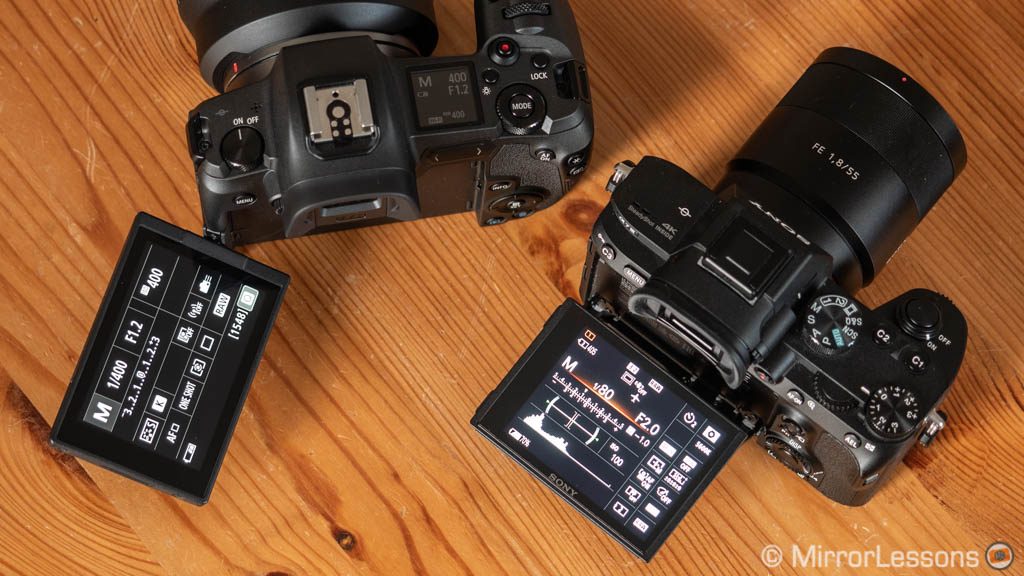
The Canon offers more resolution (2.1 vs 0.9M dots). Touch sensitivity is available on each product but the EOS R offers many more possibilities.
In addition to moving the AF point (the only thing you can do on the A7 III, apart from browsing your images in playback mode), the Canon touch screen can be used to change settings in the Q menu or navigate the main menu. It is very precise, reactive and I often use it more than the physical buttons. You can choose to make the touch screen more sensitive as well.
One function both cameras share is the use of the touch screen as an AF Pad (Touch and Drag AF mode on the Canon) to move the focus point when composing with the EVF. It’s fast and accurate on both models, but I prefer to use it on the EOS R because the screen can be flipped to the left side, giving you more space to operate it.
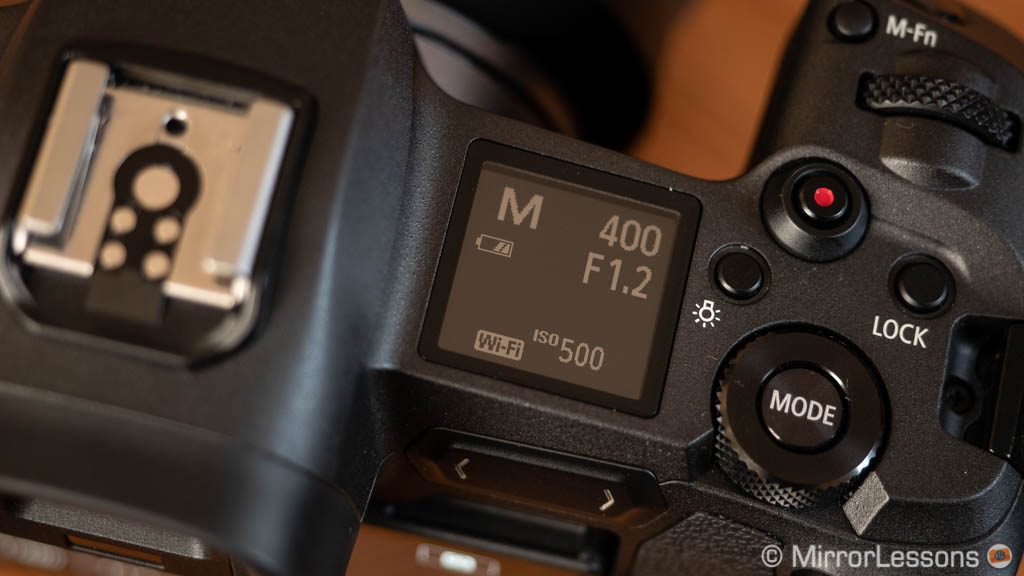
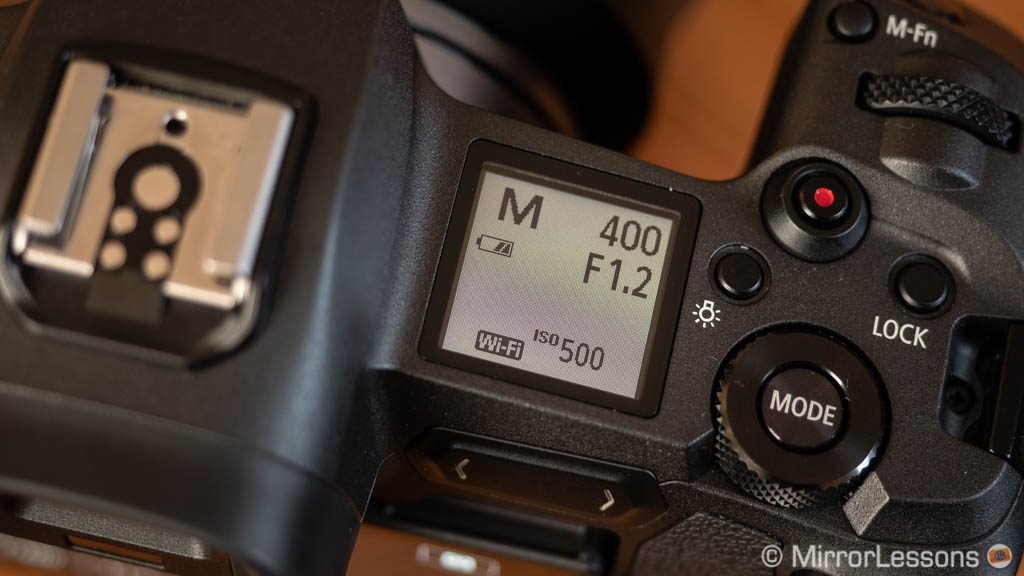
Finally, the EOS R has an extra monitor on top. It is a small OLED panel that displays useful settings. You can use the small button on the side to invert the contrast.
The article continues on page 2:
- You are on page 1: design and functionality
- Page 2: image quality (stills)
- Page 3: autofocus and speed
- Page 4: image stabilisation, video, other features and conclusion
Check the price of the Canon EOS R on:
Amazon | Amazon UK | B&H Photo | eBay
Check price of the Sony A7 III on:
Amazon | Amazon UK | B&H Photo | eBay
Second-hand Canon cameras on
Second-hand Sony cameras on

