I admit I was rather skeptical when I was first told about Starry Sky AF during the launch of the E-M1 III. It sounded a bit of a gimmick, one of those extra features that you’d never end up using because it either doesn’t work as it is supposed too, or is simply unnecessary.
But there is no point criticising something without trying it first. So when a clear night sky presented itself, I decided to go out and test this new functionality. What I found is that my skepticism was misplaced.
Ethics statement: we were loaned the OM-D E-M1 III by Olympus UK for a few weeks. We were not asked to write anything about this product, nor were we provided any other compensation of any kind. Within the article, there are affiliate links. If you buy something after clicking one of these links, we will receive a small commission. To know more about our ethics, you can visit our full disclosure page. Thank you!
What is Starry Sky AF on the E-M1 III
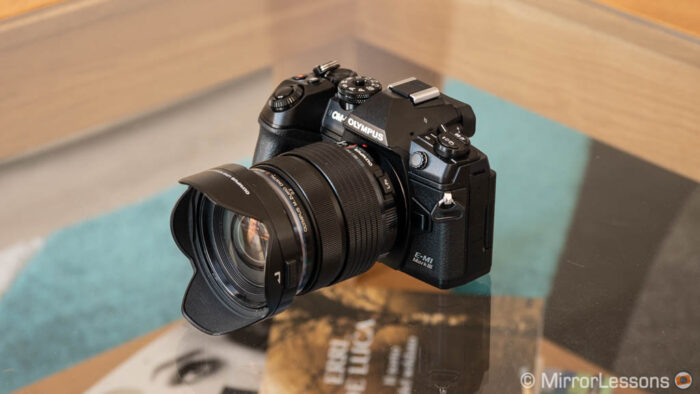
Starry Sky AF is an autofocus mode that allows the camera to focus automatically on the stars in the night sky.
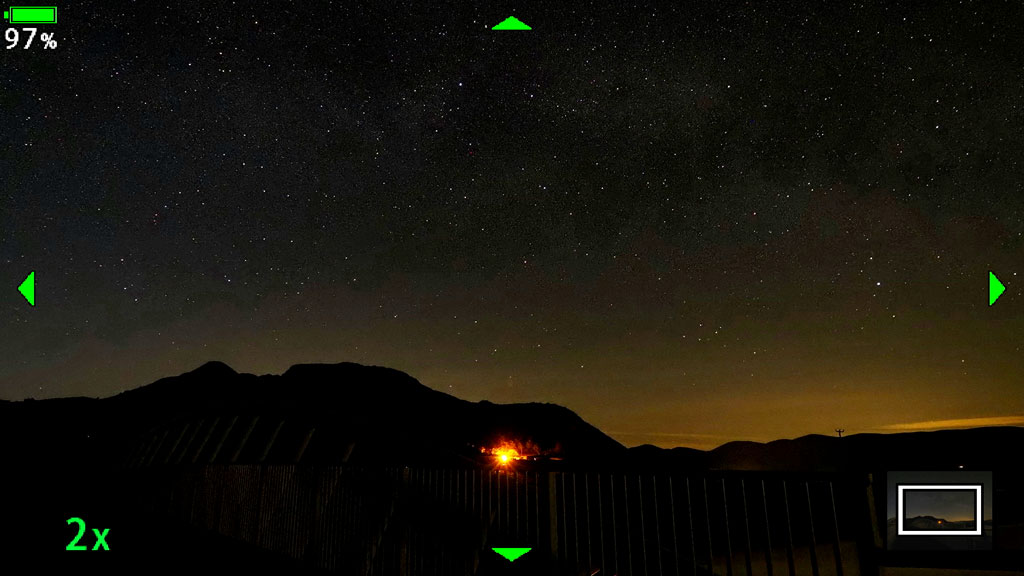
Traditionally, when doing astrophotography, you set the camera to manual focus, magnify the live view on your LCD screen and move the focus ring until the bright points of lights in the dark sky are as small and as sharp as possible.
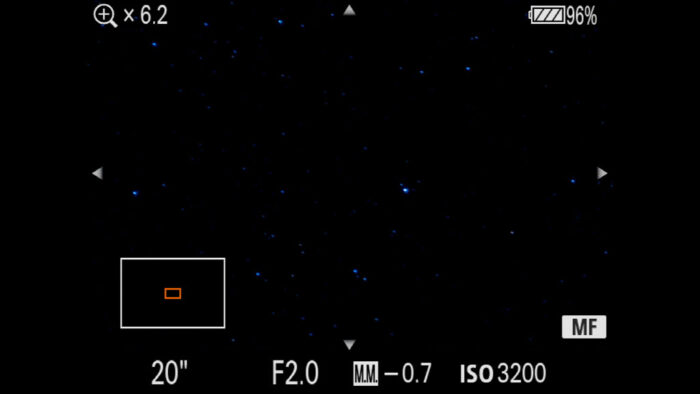
(Screenshot example taken from our Sony Astrophotography guide. The method is the same.)
It’s not a difficult task, but it requires a bit of time since you must rotate the focus ring back and forth until you nail the focus. Curiously, the distance rarely corresponds to infinity, despite logic suggesting otherwise, so even if your lens has a distance scale on the barrel, you are always better off focusing with the help of the LCD screen.
The fact that the E-M1 III is capable of taking care of this task automatically is intriguing. But how does it work exactly?
Well once you activated the Starry Sky AF mode, the Olympus camera “scans” your composition and looks for the smallest points of light in your scene. It slowly moves the lens elements back and forth to acquire focus with the help of a dedicated algorithm. You can see what happens on the LCD screen in the video below.
How to use Starry Sky AF on the E-M1 III
The initial set up is no different from any other astro-photography outing:
- Place your camera on a tripod
- Find a composition that you like
- Set the exposure
Exposure tip: you want to use the fastest aperture your lens has to offer (ideally 2.8 or faster) and set a shutter speed between 30s and 10s depending on the focal length used (the shorter the focal length, the longer your exposure can be but always check your shot to make sure you don’t have star trails). Then set the ISO accordingly to have optimal brightness. Choose RAW for the image format because you’ll need to post process your images to get the best results.
The second step is to activate the Starry Sky Autofocus mode.
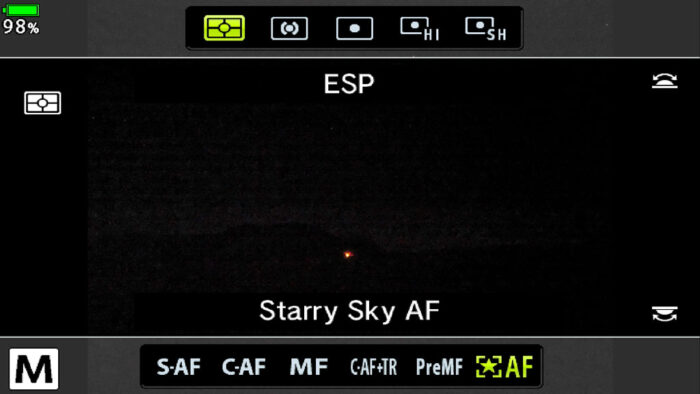
- Press the AF button on top of the camera
- Scroll right until you reach Starry Sky AF and press OK
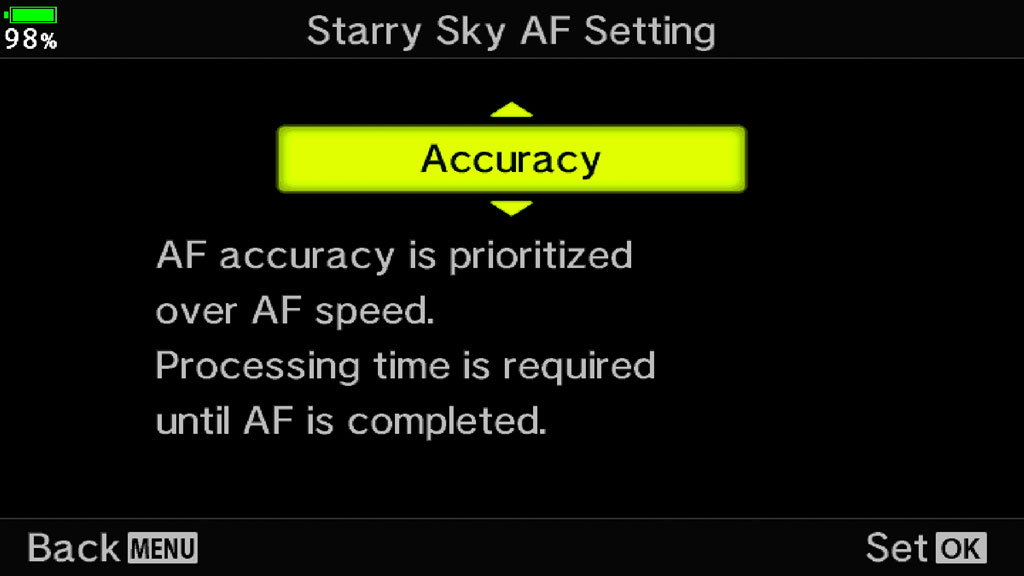
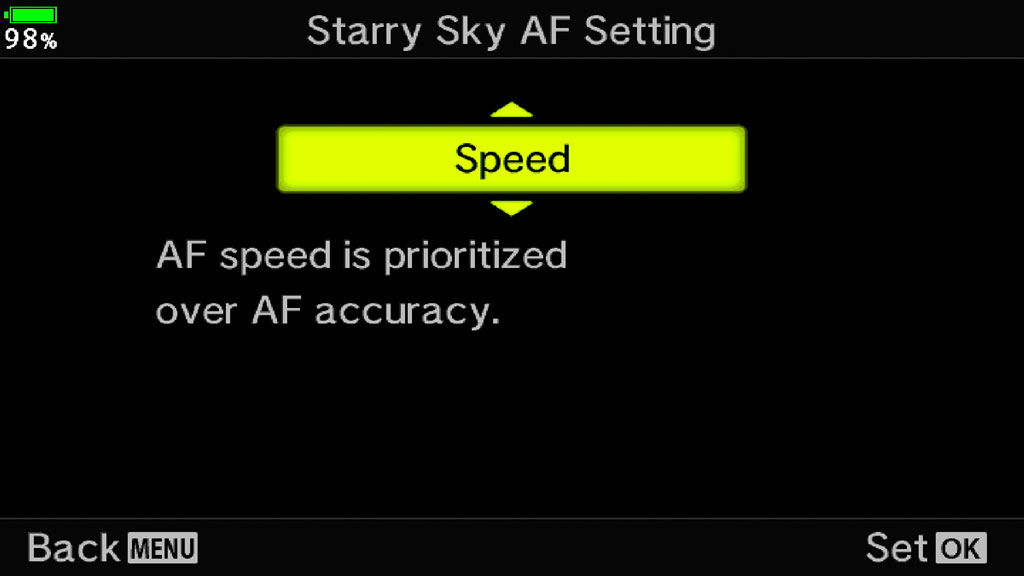
- Go into the Custom A4 Menu and enter the Starry Sky AF Setting
- Choose either Accuracy or Speed
With these two options you decide how fast you want the Starry Skye AF to operate:
- Accuracy: the camera will take longer to acquire focus but will be more accurate

- Speed: the camera will prioritise speed over accuracy

Note: in my tests, I didn’t find any significant difference between the two settings. Both took about 12s to focus. Therefore I recommend leaving this to Accuracy. Perhaps in situations where the sky is brighter, the Speed setting can make a difference. I would consider it if you are taking pictures hand-held, which is challenging but not impossible thanks to the amazing image stabilisation system of the E-M1 III.
Right, now that everything is set, you’re ready to take the picture.
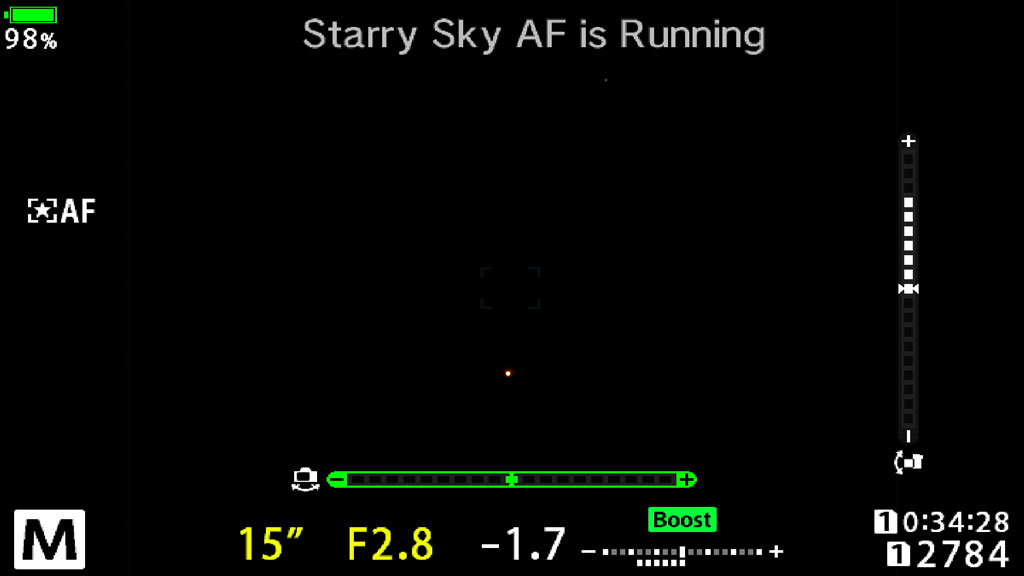
- Half press the shutter release button or press the back button focus (depending on how you’ve configured your camera). The E-M1 will start the process and the phrase “Starry Sky AF is Running” will appear on the screen.

- Once the camera has focused, fully press the shutter button to take the picture. After, check in playback mode to make sure that the stars are sharp.

Tip: you may want to consider using a remote control, or setting the self timer mode to 2s or 12 to avoid small vibrations on the camera when pressing the button.
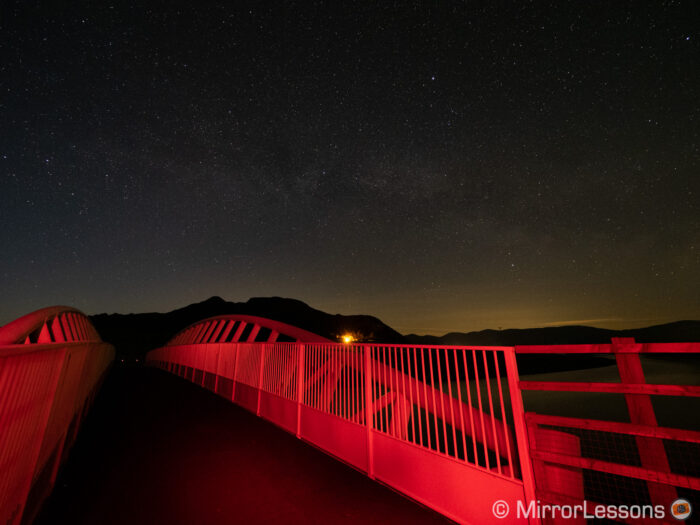
Below is the shot I got from the night. The red on the bridge was done with light painting using the red light mode of my torch.
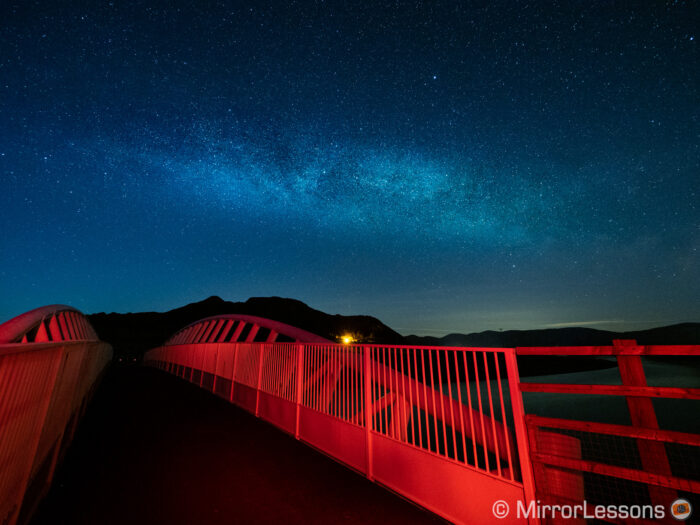
Post production was necessary to pull out more details from the Milky Way and make the contrast more even. Here is the final result.
Conclusion
The Starry Sky AF mode surprised me. I though it wouldn’t work half the time, but it turned out to be pretty reliable.
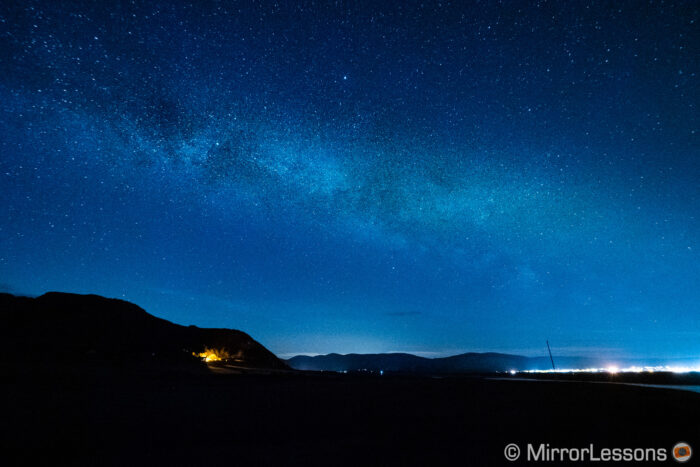
Although only one good photo came out of that night (artistically speaking), I tried different compositions and tested the mode several times, and focus was always accurate. Only once did the camera stop focusing for some reason, but it was only a matter of engaging the mode again.
I wouldn’t call it revolutionary, but I’m glad it works. It’s a useful feature if you like astro-photography and saves you the hassle of manual focusing which can sometimes be a bit annoying to perform.
Perhaps the most practical time to use Starry Sky AF is when you are shooting hand-held. The keeper rate will be low due the reduced stabilisation, but in this kind of situation, having the camera focus automatically is one thing less to worry about.
The truth is that you’ll get tired of this little experiment and go back to the tripod, but it is pretty cool when the combination of the internal stabilisation and AF mode gives you the result you were hoping for. It’s something that was unthinkable only a few years ago.
Did you hear the news concerning the Olympus Imaging Division divestiture?
We talk about it in this article.

