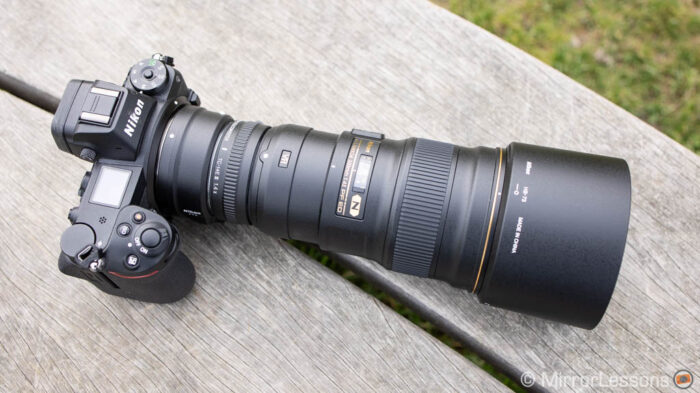
A few months ago, our reader David asked if I could test an unusual combination: the Nikon Z50 with the Nikkor 300mm f/4E PF ED VR and the teleconverter 1.4x. He wanted to move away from his Panasonic gear without losing the lightweight advantage of micro four thirds.
I liked his suggestion, and after getting my hands on the Nikon kit, I decided to write a report about its performance. And while at it, I thought: why not throw the Nikon Z6 and TC 2.0x into the mix? As you’ll find out in the article, that turned out to be an excellent idea!
Ethics statement: we own the Z6, whereas the rest of the gear was loaned to us by Nikon UK. We were not asked to write anything about this product, nor were we provided any other compensation of any kind. Within the article, there are affiliate links. If you buy something after clicking one of these links, we will receive a small commission. To know more about our ethics, you can visit our full disclosure page. Thank you!
TABLE OF CONTENTS
1. Video Review
2. Settings for Birds in Flight
3. Analysis and keeper rate: Nikon Z50
4. Analysis and keeper rate: Nikon Z6
5. Conclusion
Video Review
If you prefer to watch a video about this content, click the play button below! Don’t forget to subscribe to our MirrorLessons YouTube channel!
Nikon Z50 / Z6 Settings for Birds in Flight
Before talking performance and reviewing the images, let me share the settings I used on the two Nikon cameras.
RAW quality and burst speed
Concerning image quality, I always shoot RAW (NEF in Nikon’s menu) for birds in flight.
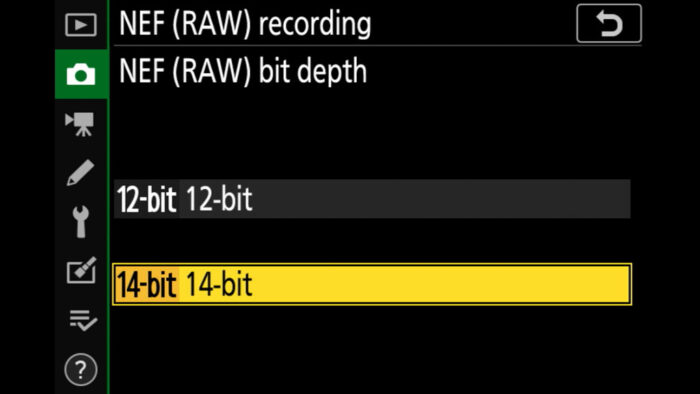
On the Z50 and Z6, you can choose between 12-bit and 14-bit. If you choose 14-bit, be aware that the maximum continuous shooting speed decreases to 9fps on both cameras. Personally, I don’t mind the small drop and prefer to record the highest quality possible, so I choose 14-bit.
Note for the Z6: you can also select Uncompressed, Lossless Compressed (my pick) or Compressed for the RAW files.
If you’re happy with 12-bit RAW, the Z50 can go up to 11fps when selecting the H+ (extended) setting, whereas the Z6 is slightly faster at 12fps.
In this mode, live view on the EVF or LCD screen is disabled and you see the images that are being recorded instead. Although this gives you a blackout free view, it introduces a delay because what you see has just happened as opposed to happening in real time. Furthermore, you see a sequence at the same speed of the burst (9, 11 or 12fps), which is not very smooth.
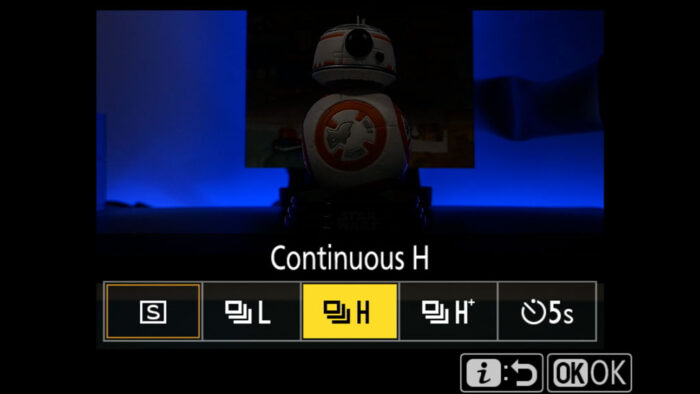
If you choose the H setting, the speed drops to 5fps on the Z50 and 5.5fps on the Z6 but you get live view with blackouts between each frame. What you see is happening in real time, the frame rate in the EVF is higher (about 60fps) but the blackouts are an annoyance you have to deal with.
You can see the difference between the H+ and H burst mode on our video review from minute 6:00.
Another thing to keep in mind is that the Z50 and Z6 don’t have great buffer capabilities (the speed decreases after 4s with either 12 or 14-bit RAW).
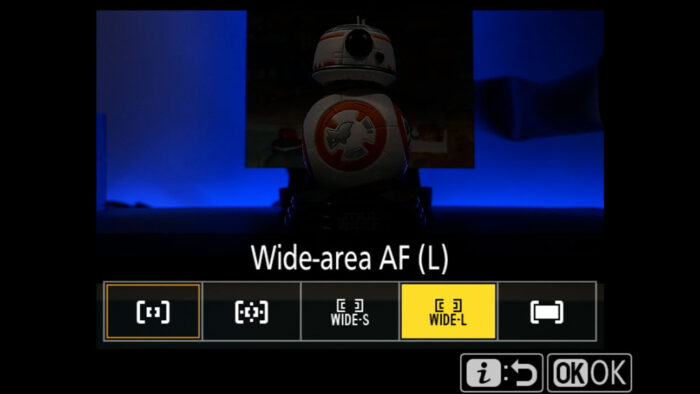
Autofocus settings
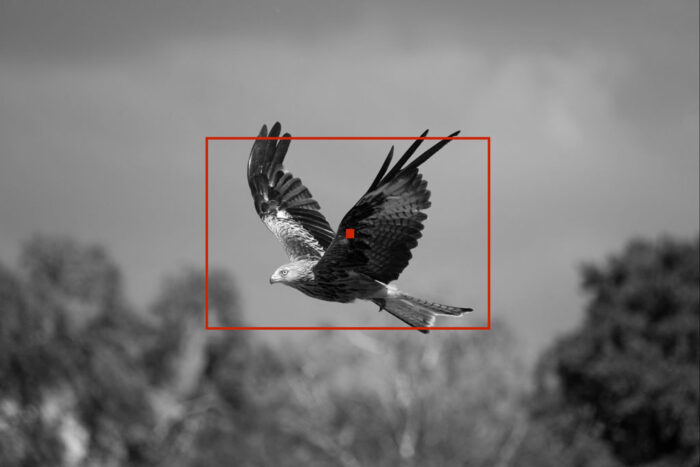
The Z50 and Z6 share the same AF Area modes and I find the Wide-area AF (L) to be the most effective option for the red kites. It’s not very large despite the name, so you have to be careful to not let the bird slip to the edges of your frame when tracking it, or the camera will lose focus quickly.
The Auto-area AF mode chooses the focus areas automatically to track the subject.
On the Z50, I found that this setting gave an inferior keeper rate in comparison to the Wide L area, but the difference is tolerable. The advantage of Auto-area is that you have a larger focus area to work with.
On the Z6, forget Auto-area AF: I find it too erratic and unreliable for birds in flight. The camera loses the subject too easily.
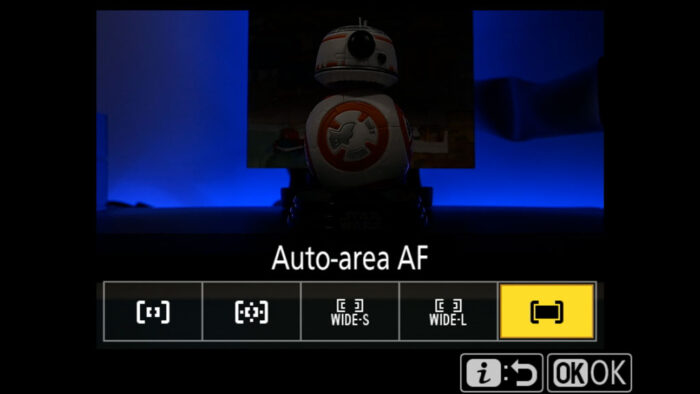
With Auto-area AF, you can also activate Subject Tracking with the OK button. Once you locked on your subject, the focus point will track it as it moves through the entire frame. My advice is not use this on either cameras because they can struggle to maintain the AF point on the target, especially when the bird is flying against a busy background.
Note for the Z6: there is an additional setting called Focus Tracking with Lock-On that allows you to control the responsiveness of the autofocus. Choose Quick to make sure the camera tracks as fast as possible.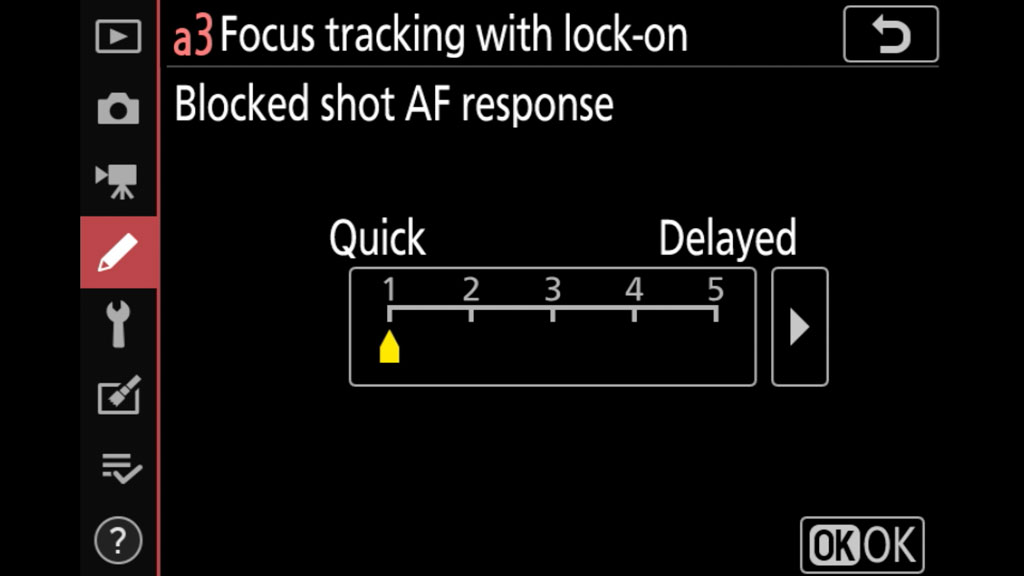
Focus tracking with lock-on is found in the CUSTOM SETTING MENU / a Autofocus.
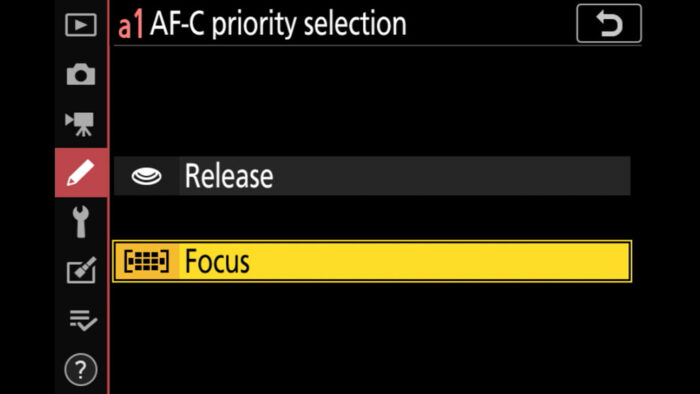
Then we have the AF-C Priority Selection, which I set to Focus to make sure the camera takes the picture when the subject is in focus, instead of prioritising the release of the shutter. This reduces the chance of having more out of focus images in a sequence.
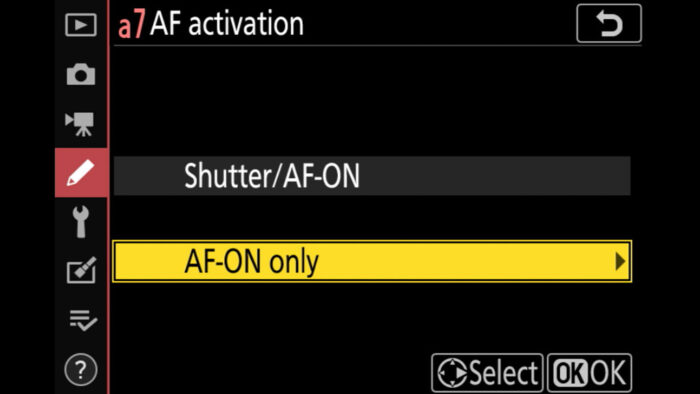
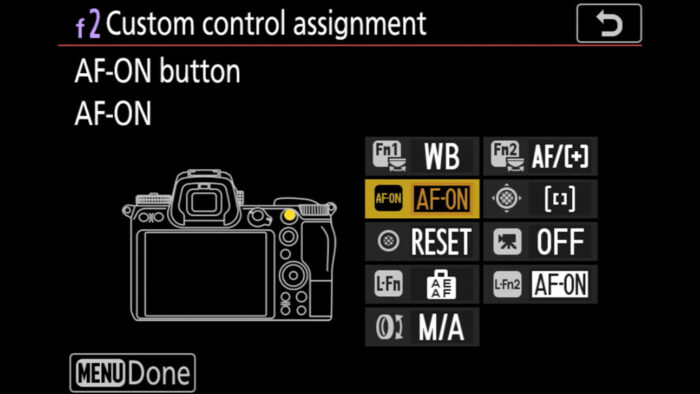
Finally, I like to use the back button focus method, so I set AF Activation to AF-ON Only and applied the AF-ON setting to AE-L/AF-L button on the rear of the Z50, or the AF-ON button on the Z6.
Other settings
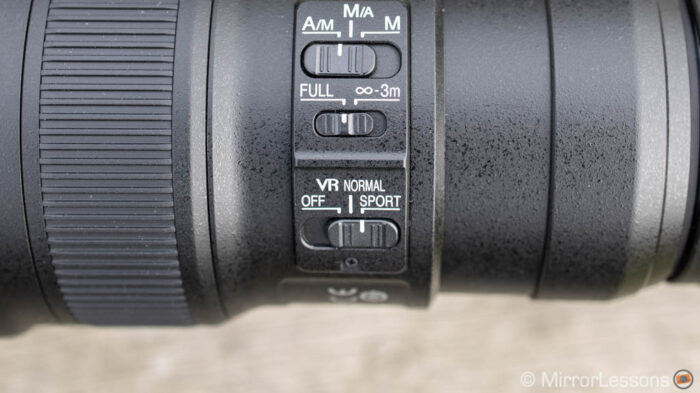
I leave white balance to Auto, set metering to Multi and use a shutter speed of 1/2000s or faster. Because this shutter speed is safe, I leave the VR (Vibration Reduction) off.
If you’d rather have stabilisation on (useful to have a more stabilised view in the EVF), set the VR switch on the lens to Sport which is designed to reduce excessive shake compensation with fast and unpredictable moving subjects. I’ve also used this setting when pairing the Z50 with the 300mm lens and TC 2.0 because of the extreme angle of view (900mm equivalent!).
I leave the ISO to Auto with a maximum of 12800 (you’ll only need such high sensitivities if the light conditions are bad).
Use the mechanical shutter because the electronic shutter doesn’t give you any particular advantage when it comes to the performance. Of course it is completely silent, so in certain situations it can be useful to not disturb the wildlife around you.
Another thing I like to do is disable the exposure and picture setting preview for the EVF to have a more natural view with constant brightness. To do this, set Apply Setting to live view to Off.

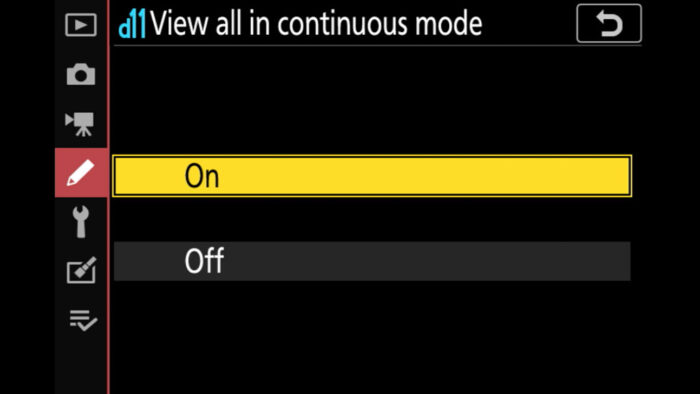
Last thing: make sure that View all in continuous mode is turned On, otherwise the EVF will go black while taking pictures.
Analysis and keeper rate: Nikon Z50
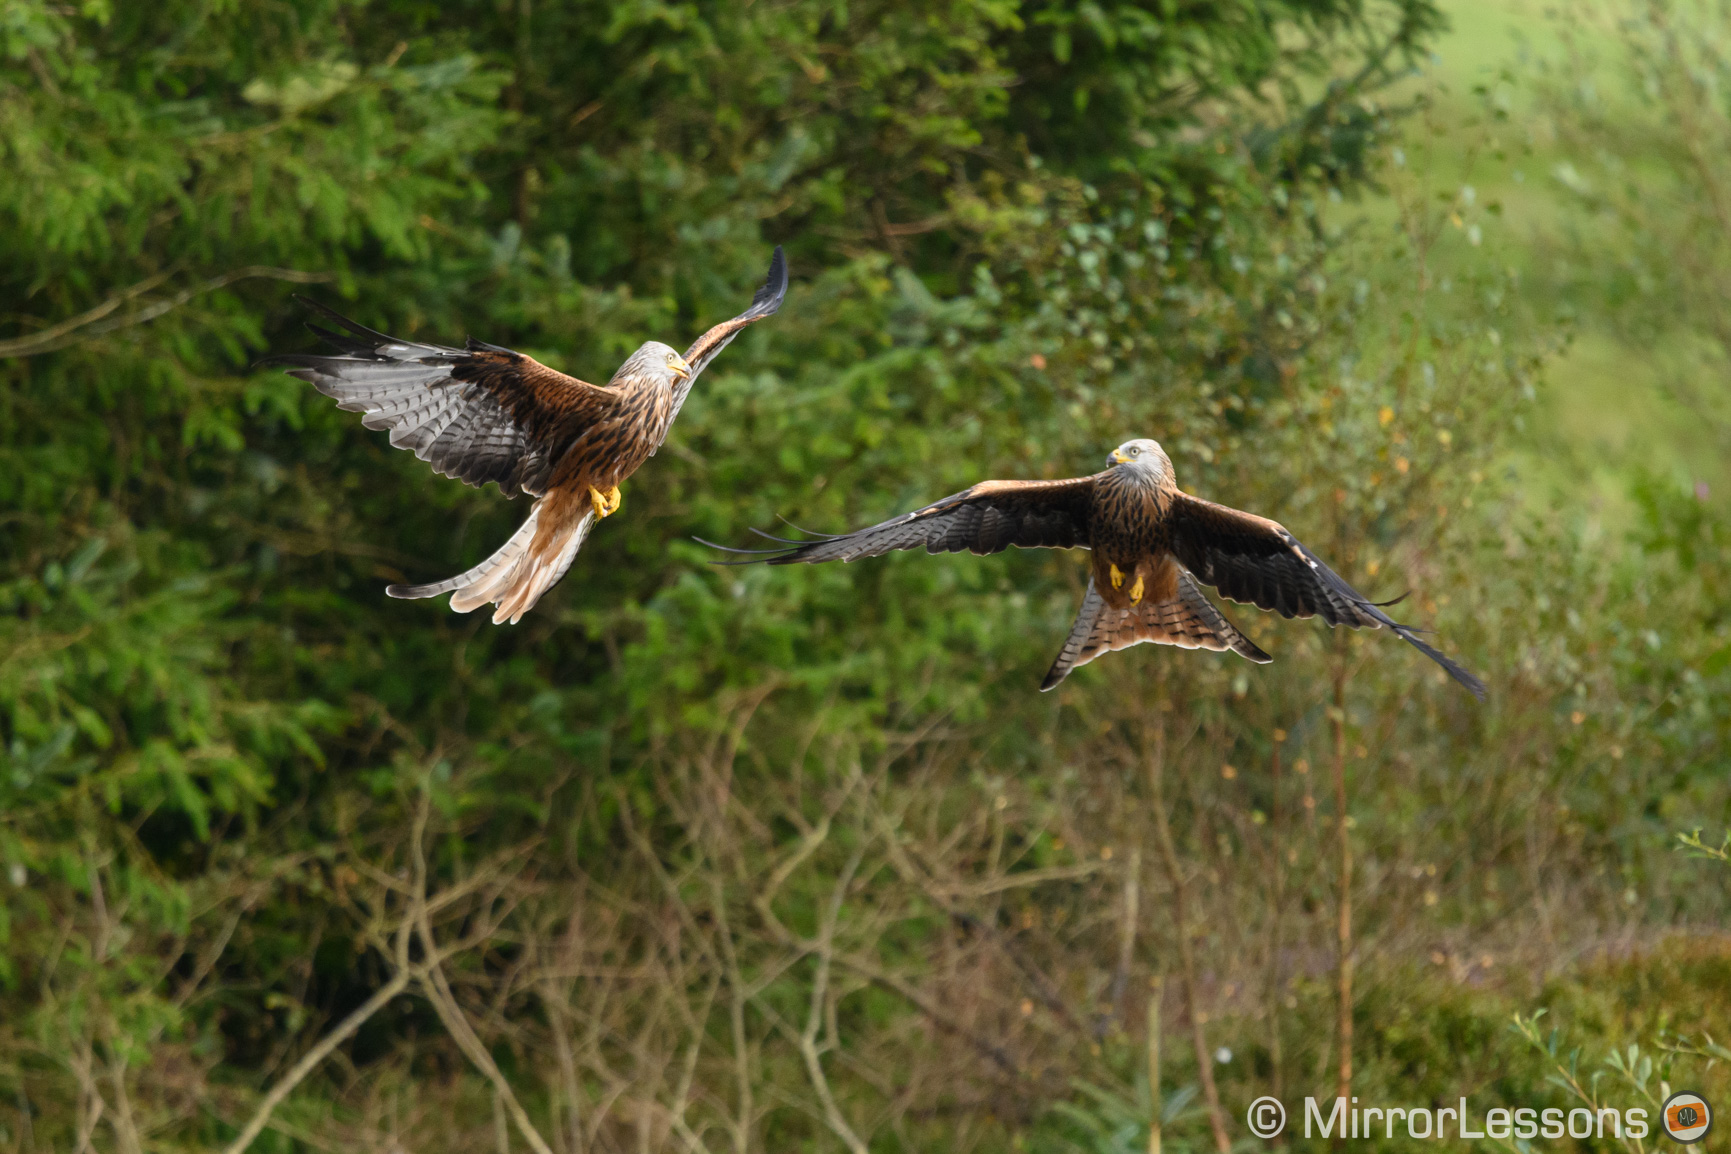
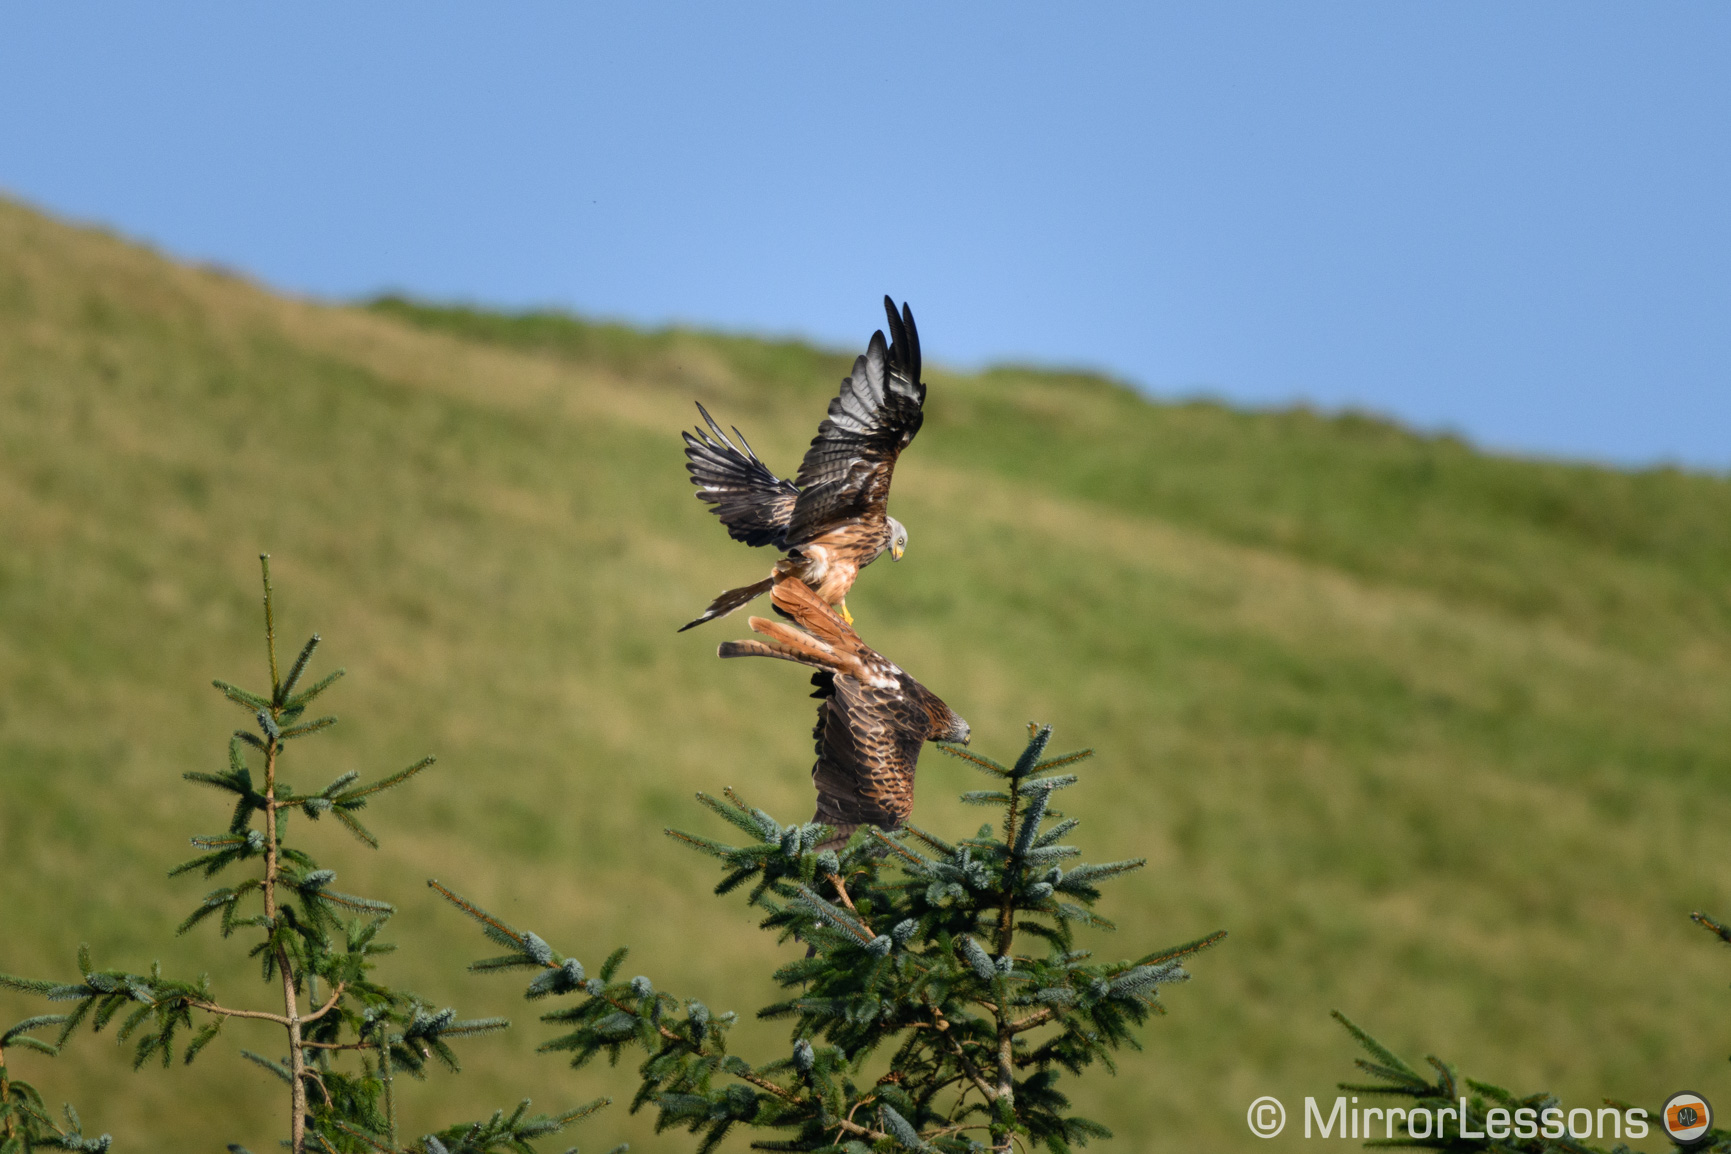
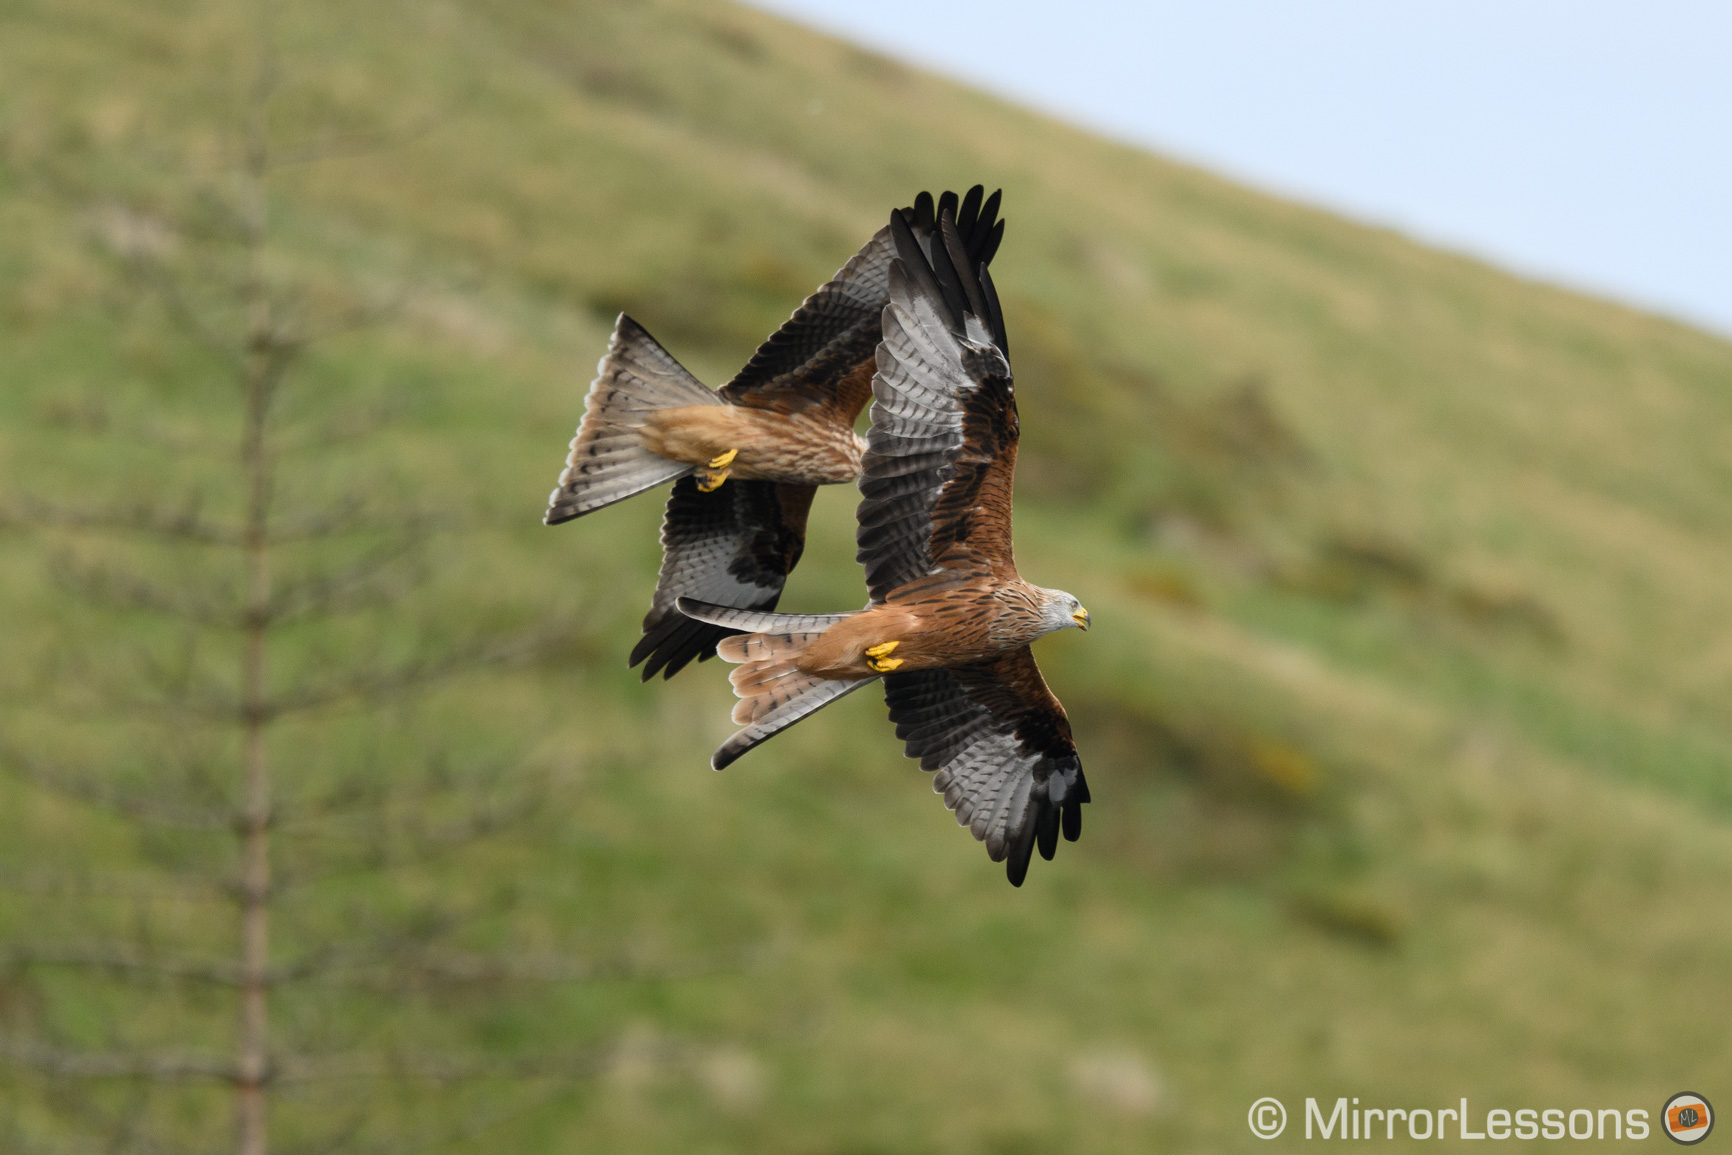
For this test I went back to my usual testing ground, the Red Kite feeding station in Bwlch Nant yr Arian that has finally re-opened to the public.
In comparison to the other site, Gigrin Farm (where I tested the Fujifilm X-T4), the kites don’t fly as close, so having at least a 600mm equivalent field of view is better to have the bird fill a decent portion of the frame.
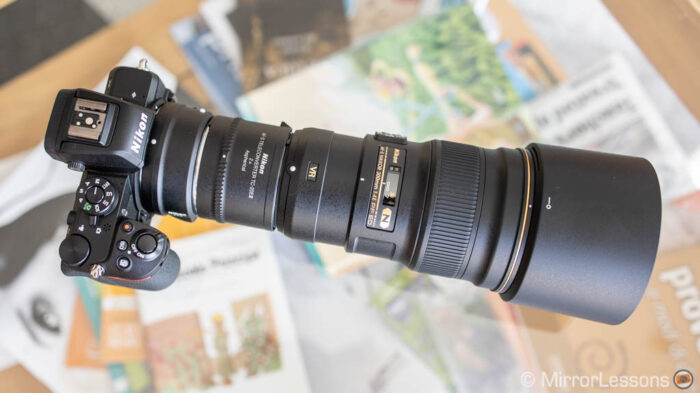
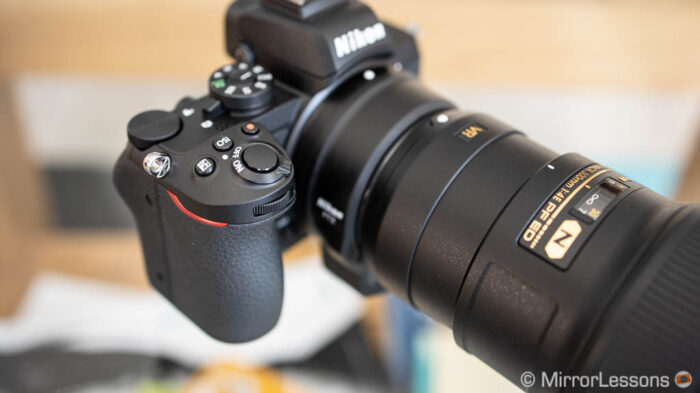
Nikon Z50 + FTZ adapter + TC 1.4x III + 300mm f4 PF
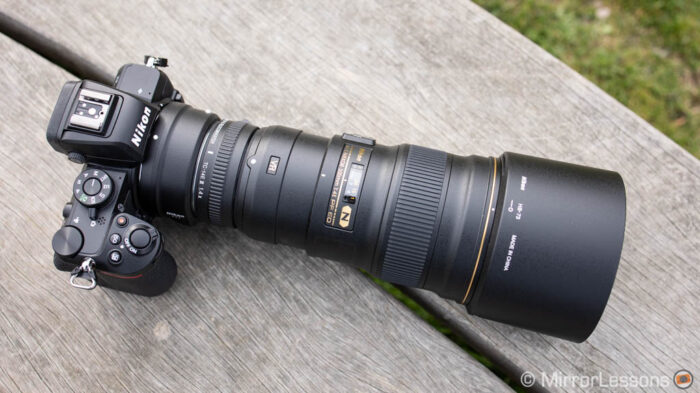
Because the Z50 has a DX/APS-C sensor, this configuration gives you the same angle of view of a 630mm lens on full frame, which is good for the kites. The maximum aperture becomes f/5.6 because of the teleconverter, so you lose one stop of light.
The first day was cloudy for the most part, but there was enough light to allow the Z50 to stay below 4000 ISO most of the time.
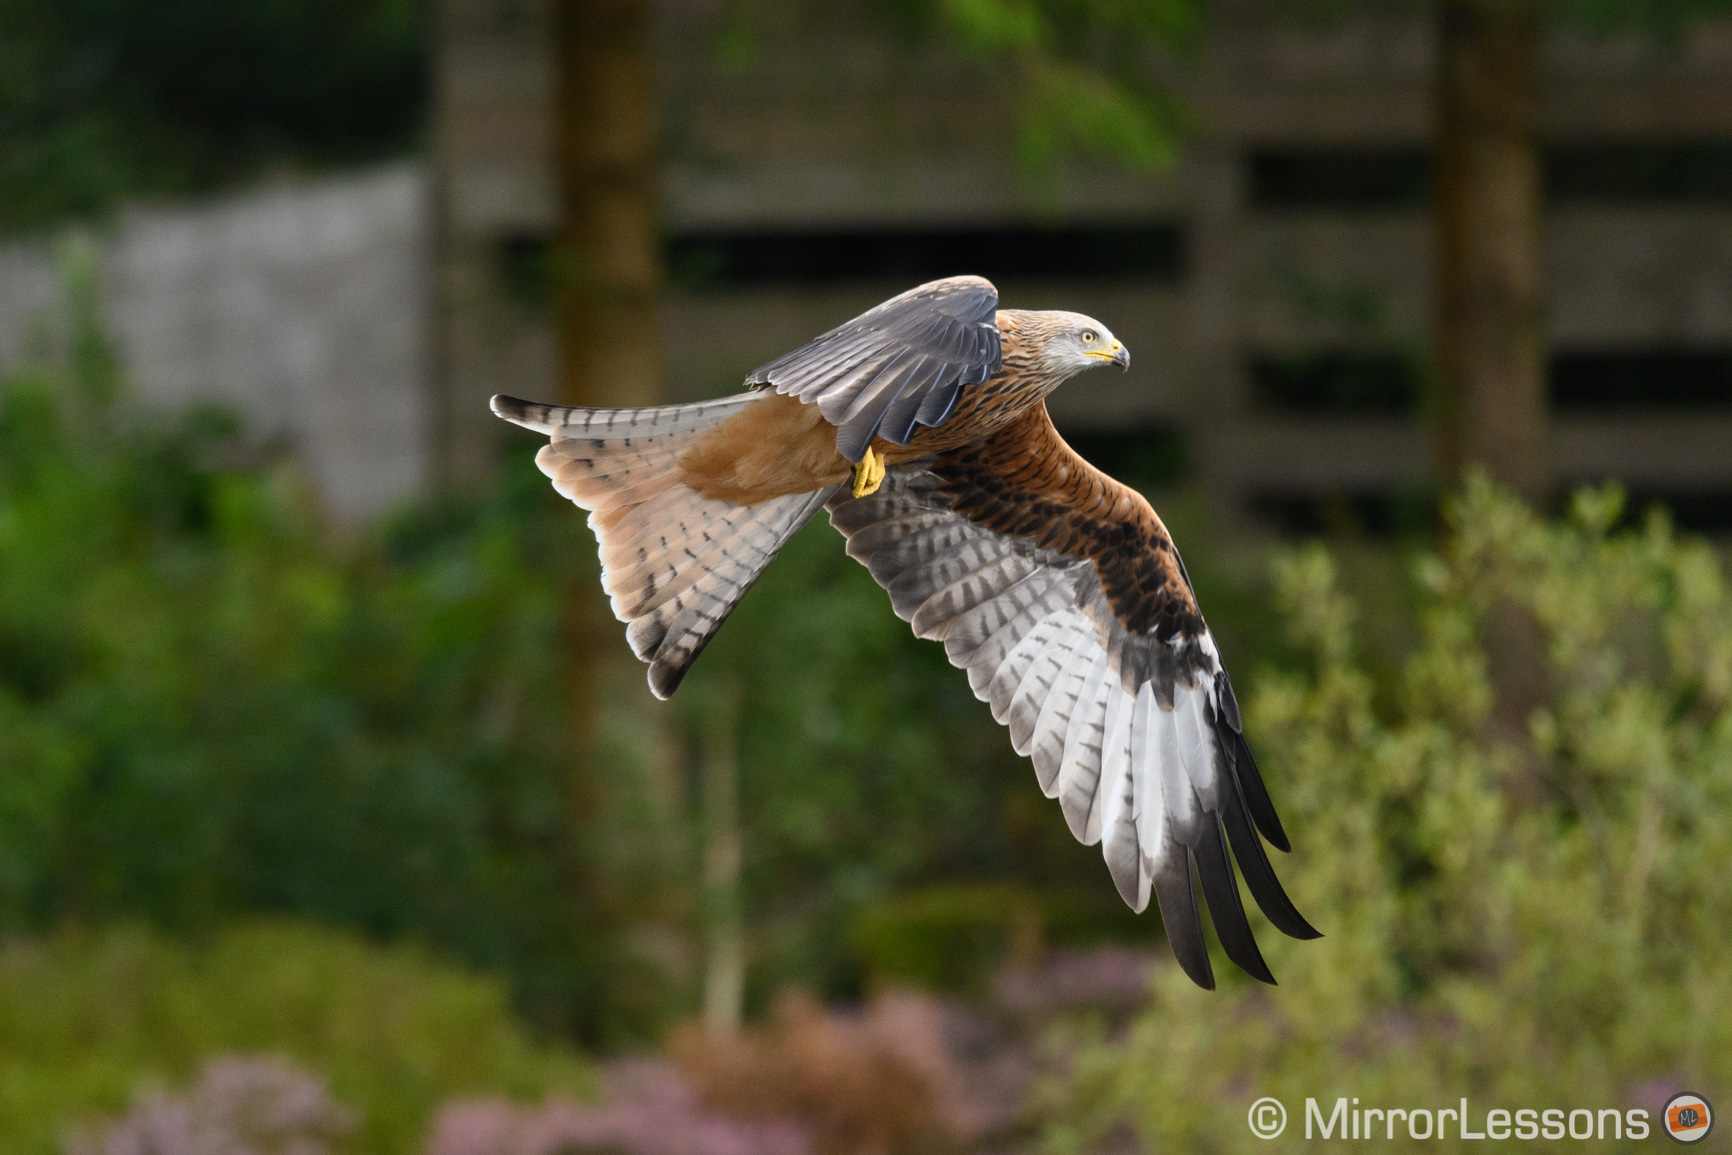
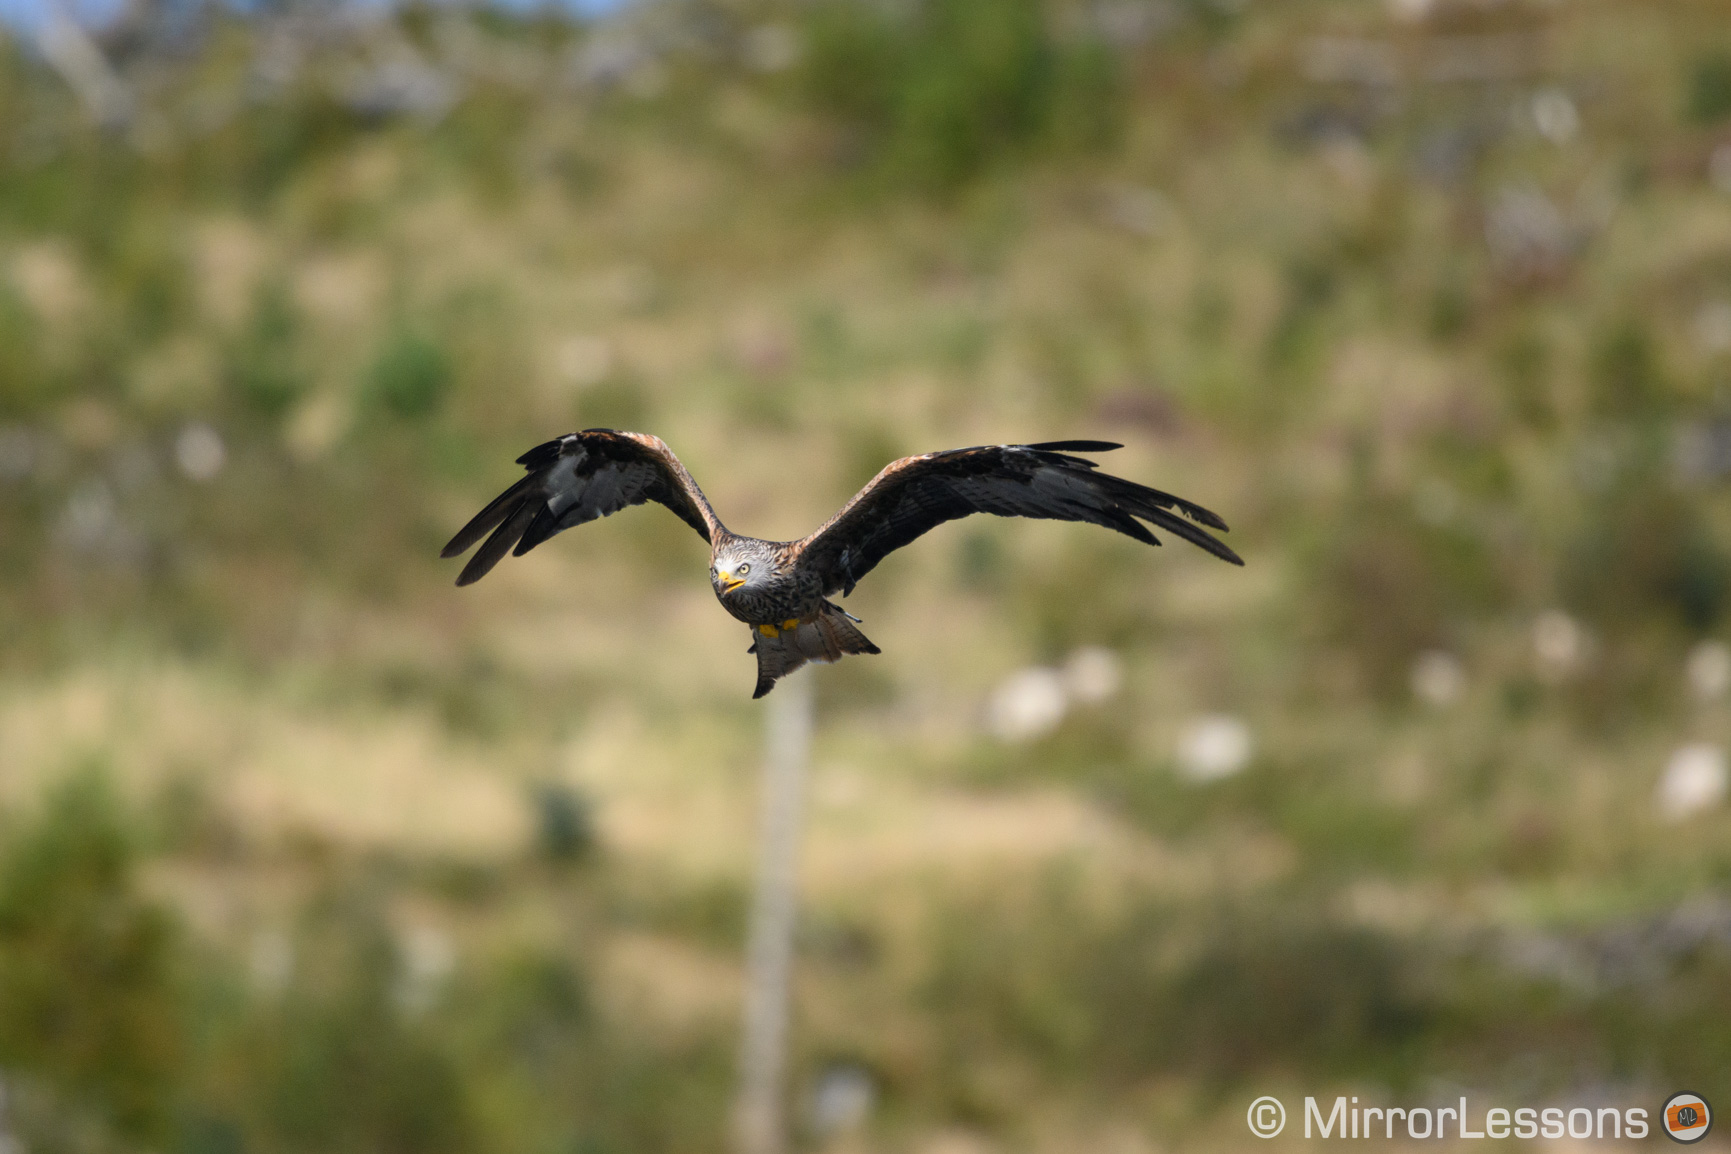
Overall, the Z50 performed very well. I was surprised to see a few out of focus shots in the middle of a sequence without any particular reason, but otherwise the keeper rate is high. Many images are perfectly in focus and there aren’t a lot of slightly soft results, something I often come across when testing other mirrorless cameras.
Best Score with Nikon Z50, TC 1.4x III and 300mm f4 PF
74%
87%
With the following settings:
- H burst mode (5fps)
- Wide-Point (L) AF area
- Focus priority

Nikon Z50 + FTZ adapter + TC 2.0x III + 300mm f4 PF
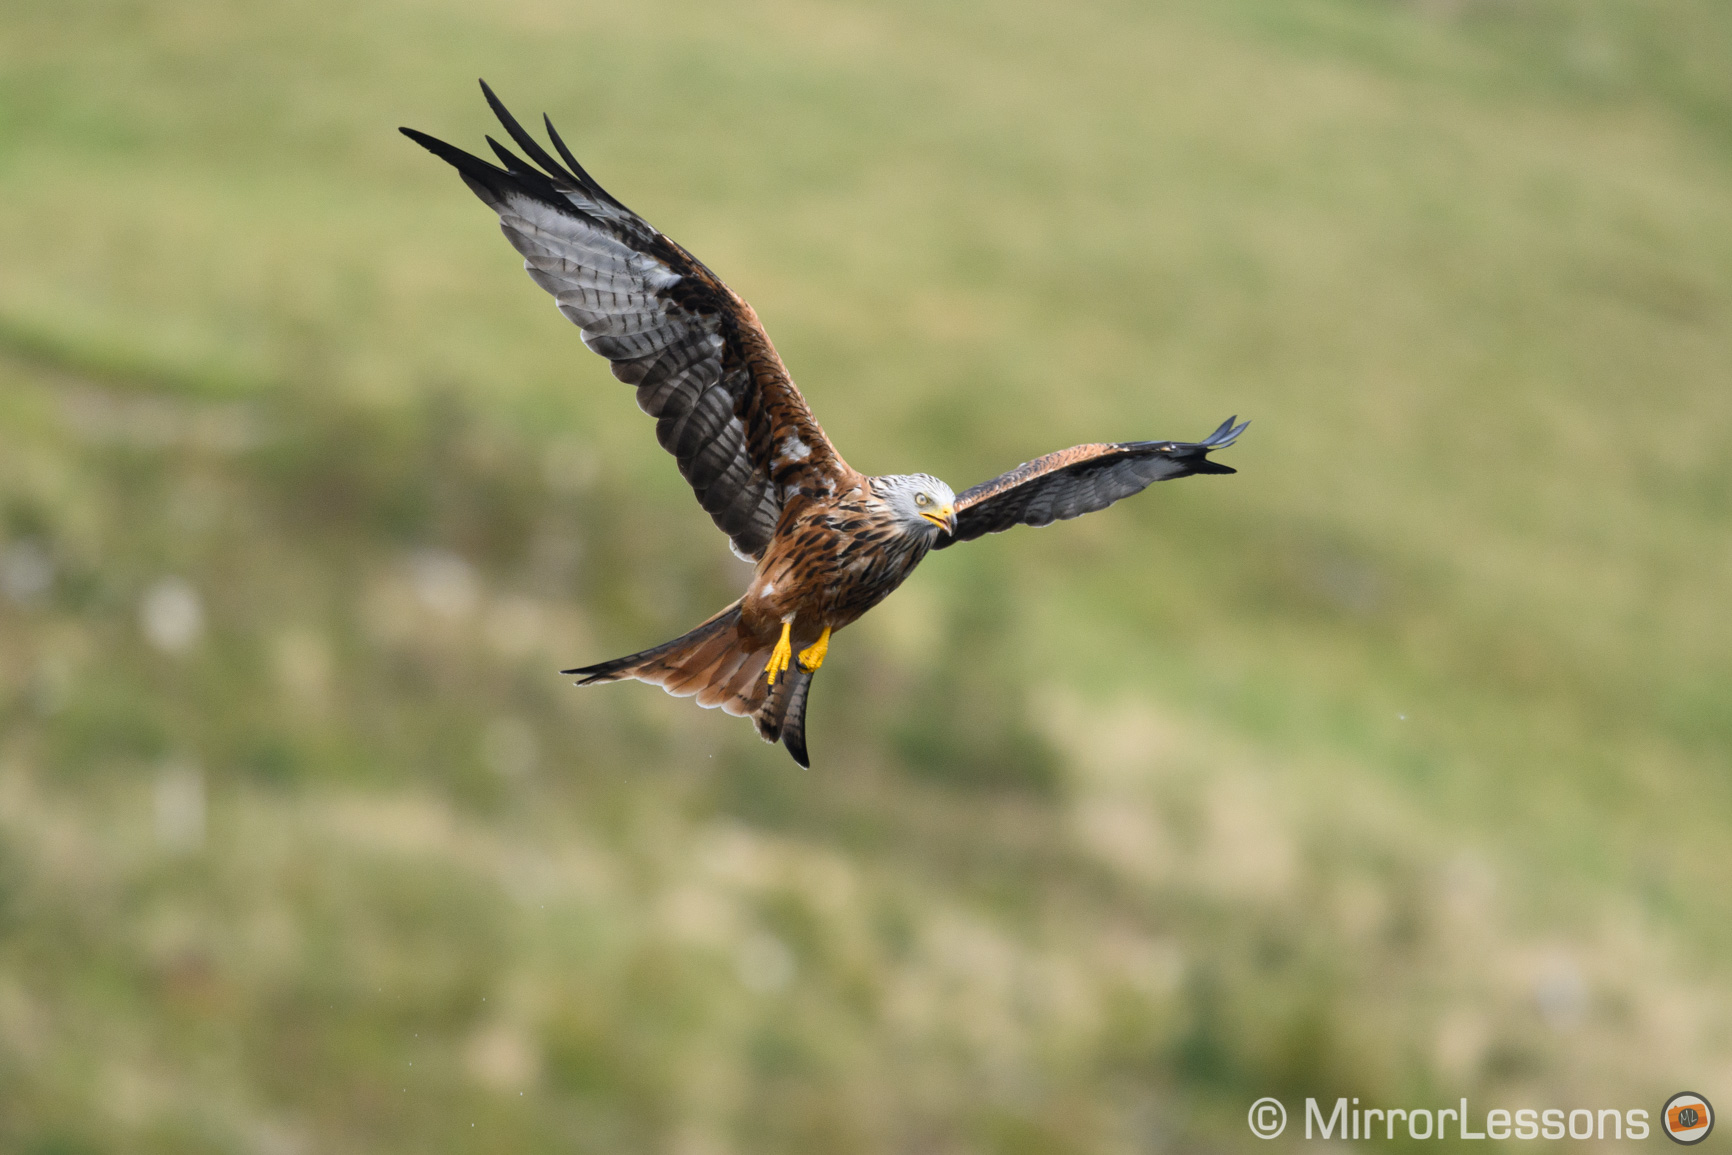
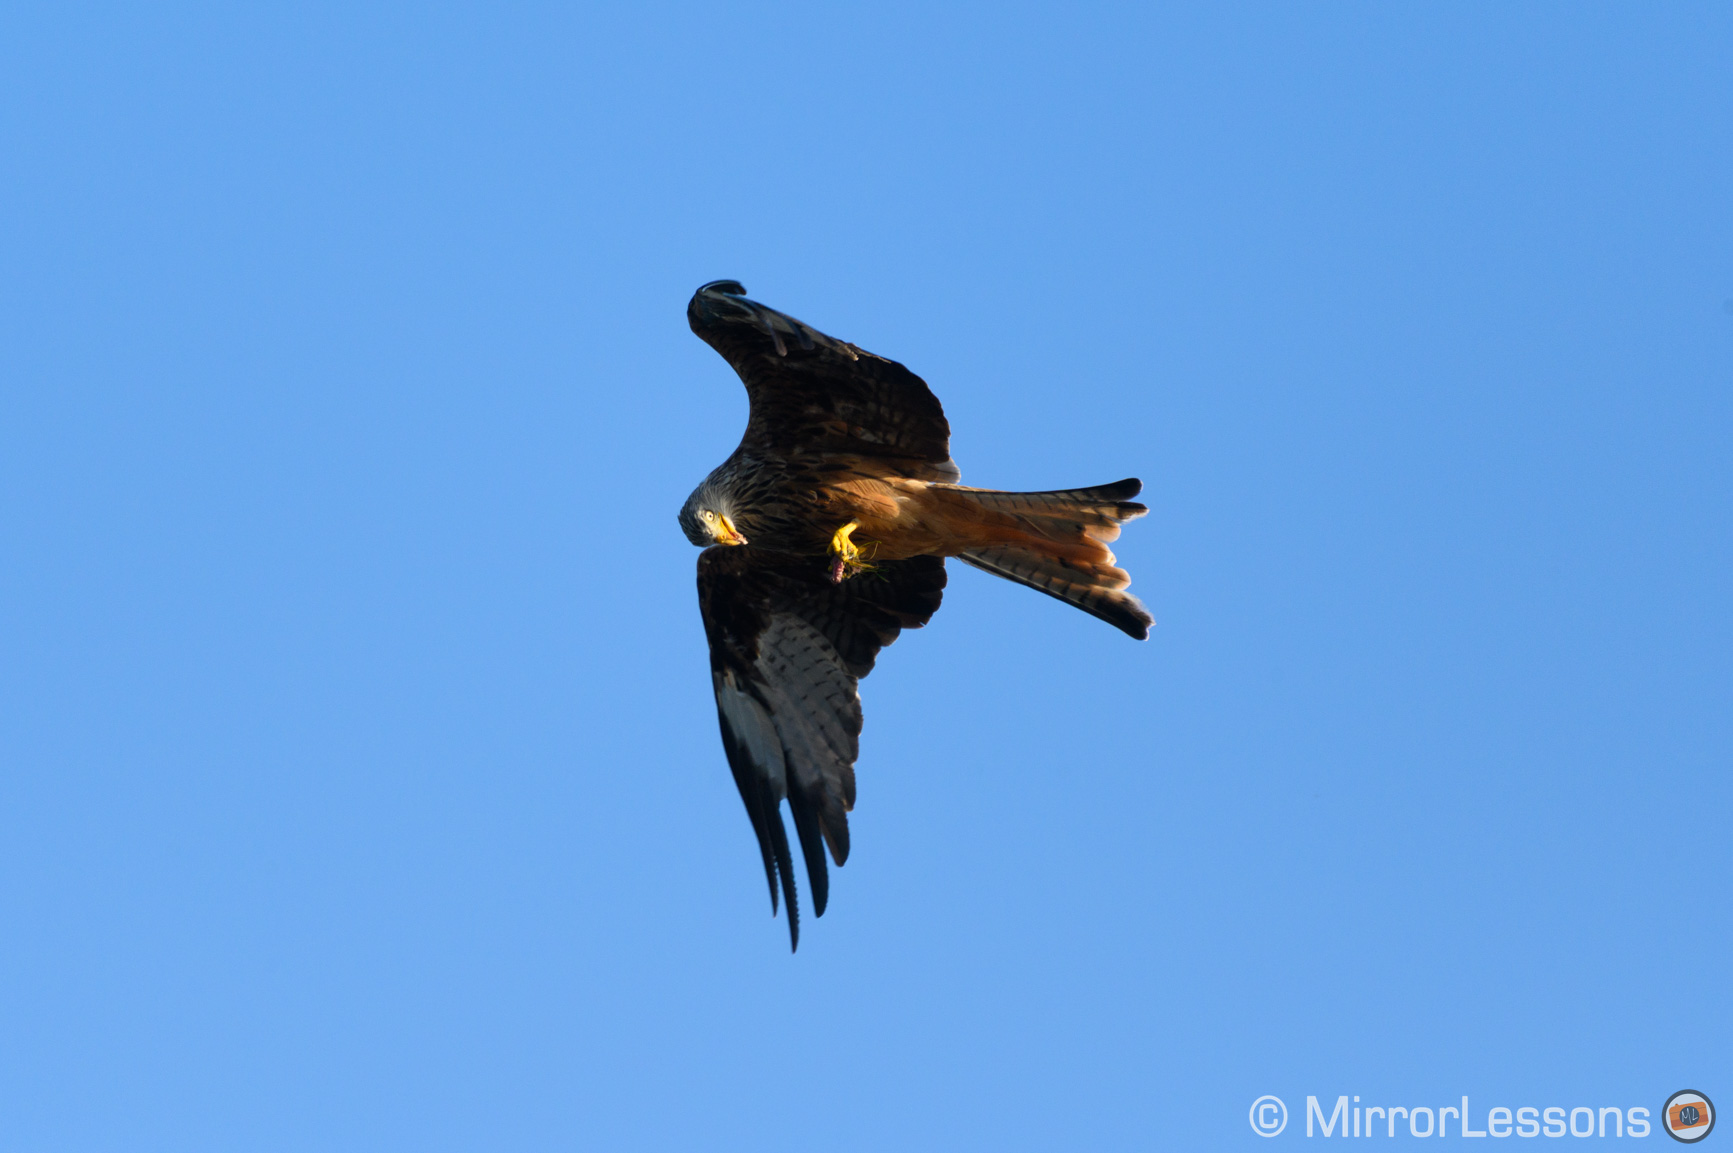
With the TC 2.0, our equivalent angle of view becomes 900mm! I was curious to see if I could get some nice shots up close with the kites at the same location. The maximum aperture becomes f/8 but the second day I was lucky because we had full sunshine and a bright blue sky, which helped the camera keep the ISO lower despite the f/8 aperture and fast shutter speed.

Best Score with Nikon Z50, TC 2.0x III and 300mm f4 PF
68%
86%
The performance was inferior but still remained more than decent. The TC 2.0 made the autofocus a bit slower. It can take a few extra seconds to fully lock onto the subject, and is a bit slow if it has to correct focus a lot. The settings used are the same as the ones mentioned above with the 1.4x TC.
Additional feedback about the Z50 for BIF
I got a slightly lower keeper rate when using the continuous mode H+ (69%/83%).
With the Auto-area AF setting, it was 68%/84% overall but it made a difference when the bird was against the plain sky, where I got an excellent 88%/100% score.
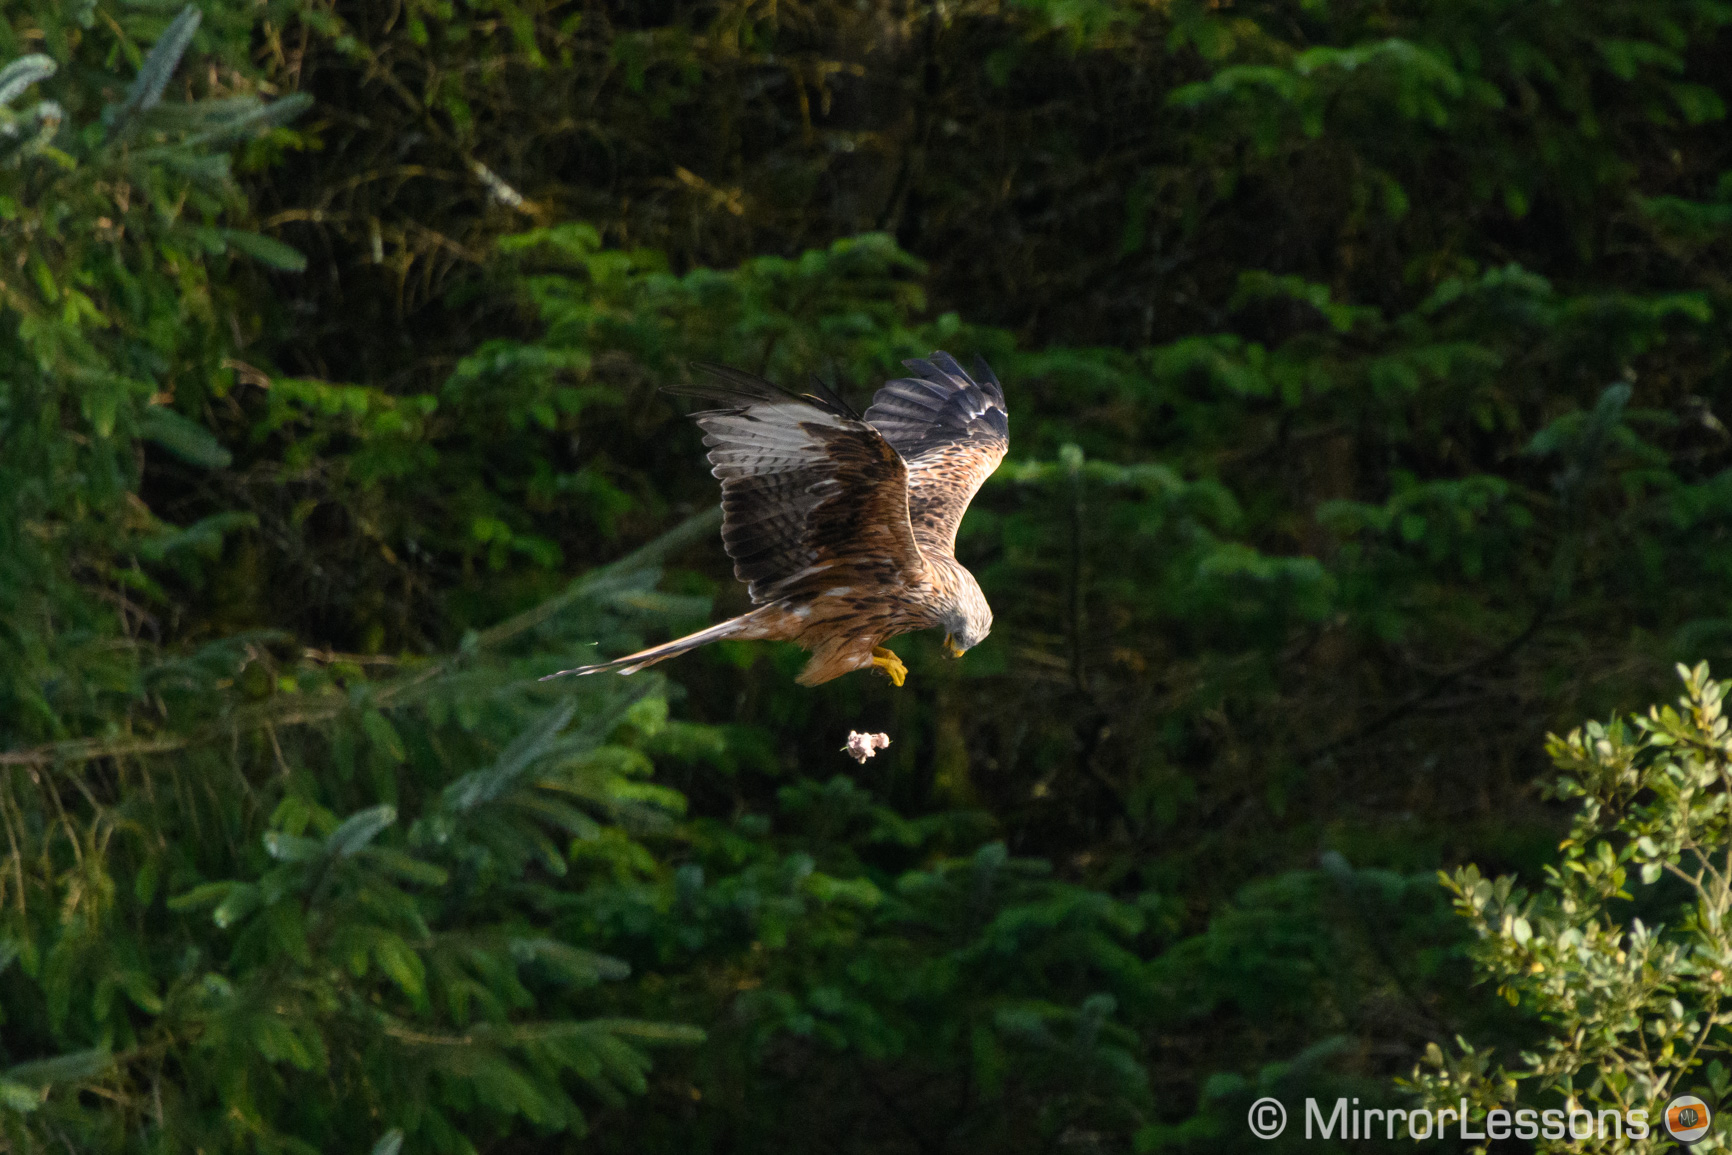
With the Wide-Area L, I also got a better score with the sky as the background (about 10% difference) which means that overall, the Z50 struggles a bit more with a busy background (where the score dropped to 63%/80%).
The camera is comfortable to hold despite the small size. It has a good grip so you can hold the camera firmly. Even if your middle finger struggles to fit, the reduced weight of the lens allows you to maintain a perfect balance.
The size and weight of the lens fits the Z50 very well despite the adaptor and TC in the middle. I’d say it’s perfectly balanced with the 1.4x teleconverter, whereas you feel the weight of the larger TC 2.0x a bit more but it’s not a big deal.
The battery showed full bars after more than 1000 shots, which is very good. However keep in mind that there isn’t a battery grip available.
There are however a few limitations to point out.
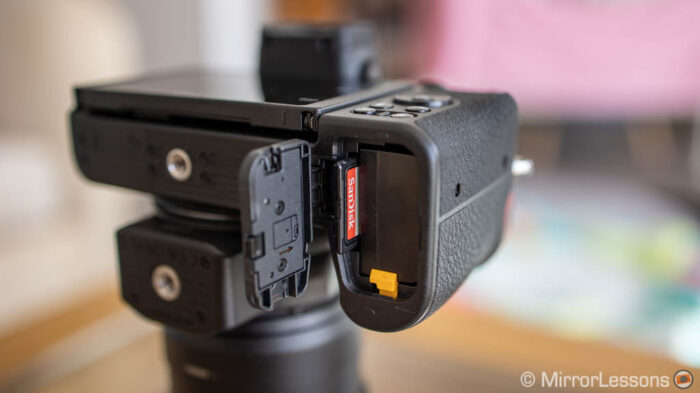
The viewfinder is good but a bit small compared to the Z6 or other mirrorless cameras like the X-T4. There is only one SD card slot, and without UHS-II support, there’s not a lot you can do to improve the already small buffer memory, which can be a bit frustrating at times when you want to take advantage of the maximum shooting speed. The Z50 is weather sealed but not at the same advanced level as the Z6 or Z7.
Analysis and keeper rate: Nikon Z6
With the Z6 I didn’t need to write a separate score depending on the teleconverter used, I got the same results with both the TC 1.4x and TC 2.0x. And boy, what a score it is!
Best Score with the Nikon Z6
86%
95%
With the following settings:
- H burst mode (5.5fps)
- Wide-Point L AF area
- Focus priority
- Focus Tracking with Lock-On: Quick (1)
The performance of the Z6 surprised me a lot. I got a much better result than my previous experience, when I used the Sigma 150-600mm Contemporary to review the camera last year. The Nikon has received various firmware updates that have improved the autofocus among other things, and while the lens might have played its part, I’d say the software has its share of responsibility too.
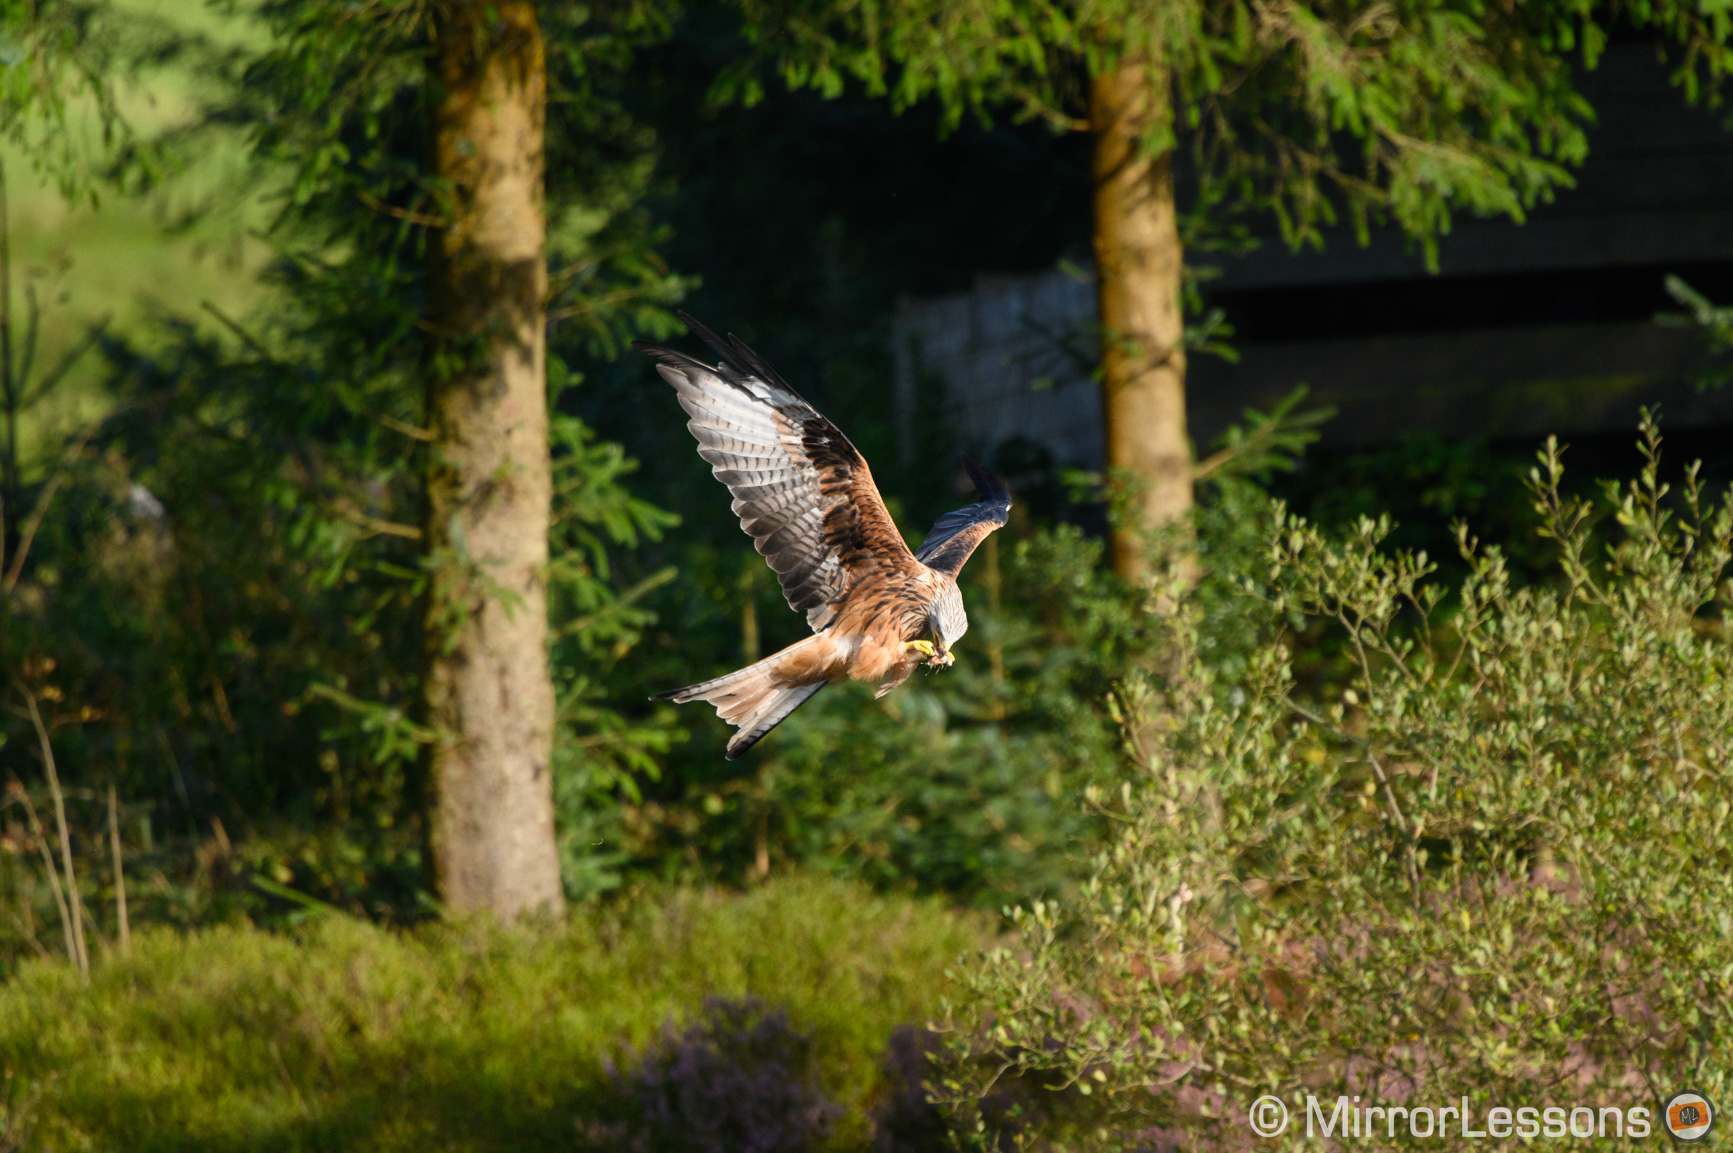
The Z6 has become the second best mirrorless camera I’ve tested for birds in flight!
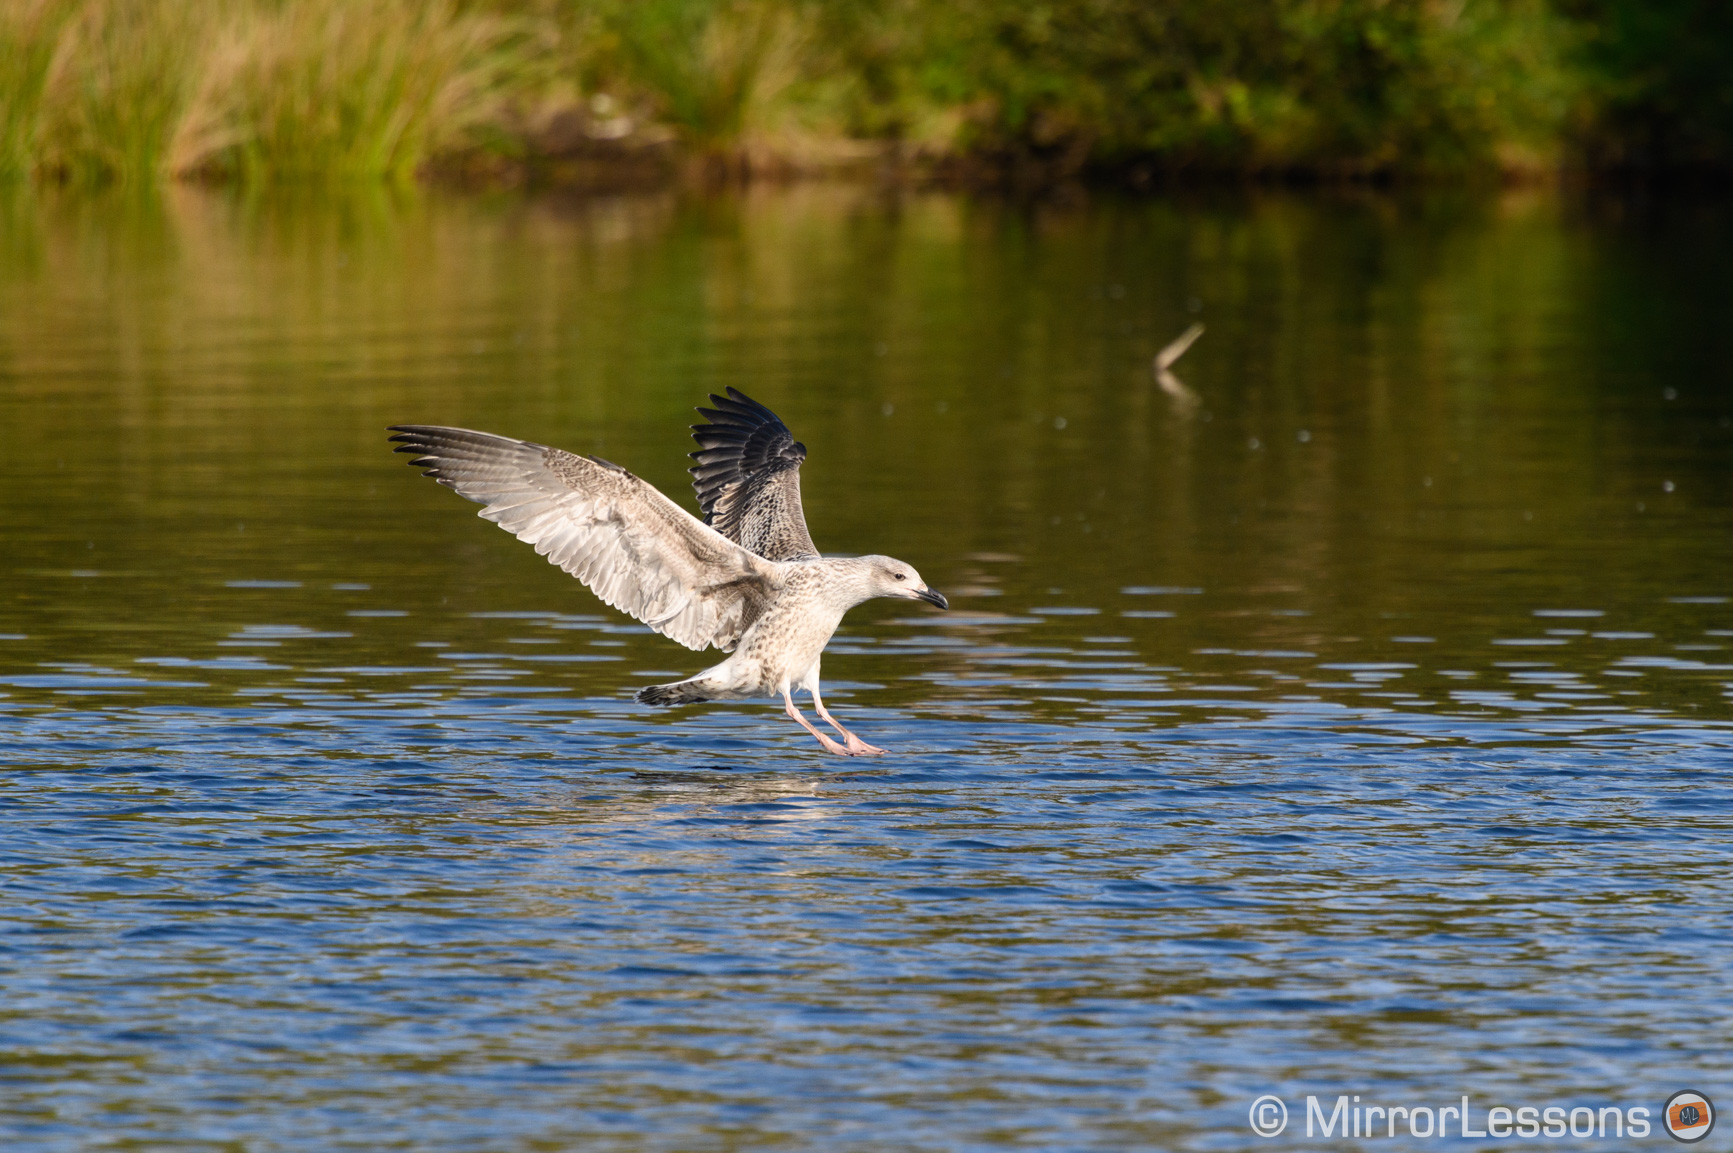
On the full frame / FX model, the 1.4x teleconverter gives an equivalent 420mm field of view, which is a bit short in that location (it would have worked fine at Gigrin farm). With the TC 2.0, you get a 600mm equivalent which is better.

Additional feedback about the Z6 for BIF
The Z6 is larger and heavier than the Z50, and you feel the difference, but you get a larger grip and the whole setup remains well balanced and comfortable to use without tiring your arms.
Unlike the Z50, the keeper rate remains very similar whether the bird is flying against a busy background or not.
The camera is weather sealed, has well thought out controls on the body and the viewfinder is excellent. It’s a shame that, like its little brother the Z50, the buffer is limited when shooting at the fastest speed, erasing one of the advantages of having a high speed (and expensive!) card such as XQD / CFexpress.
The battery life is good, and there is an optional battery grip if needed.
Conclusion
The Z50 was a pleasant tool to use for birds in flight. Its autofocus system is more than adequate and gave me a good keeper rate, which puts it at the same level as the Olympus E-M1X and Sony A6500.
The main advantage of using such a camera with the 300mm f4 PF is the compact size and lightweight set-up that doesn’t compromise on ergonomics thanks to the grip. With the APS-C format and the teleconverters, you get all the reach you need, although the faster aperture gets compromised as a result. Luckily, it has a good sensor that may not impress in terms of resolution (20MP) but has good high ISO performance.
The Z50 is not a pro body nor has it been designed for wildlife photographers, so you’ll have to accept a few limitations such as the small EVF, no battery grip or dual/UHS-II card slot. But it shows the potential for Nikon to release a mirrorless version of its D500 in the future, perhaps when there are more native lenses designed for this genre.
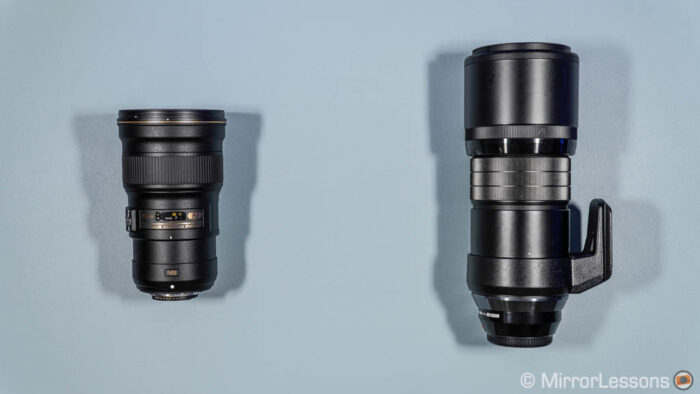
Speaking of lenses, I love the 300mm f4 PF! What a superb design: it is so compact, yet with excellent performance when it comes to AF and sharpness, while also offering lots of versatility thanks to the teleconverters.
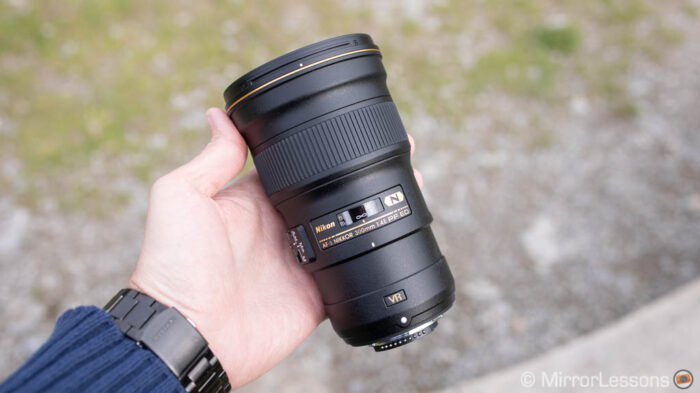
To put it into perspective, it is smaller (and cheaper) than the Olympus 300mm f4, a good example of how optical design can beat the assumption that a full frame lens must always be bigger. Hats off to you, Nikon!
Of course I cannot finish without mentioning the Z6. Because if the Z50 is good, the Z6 is up there with the very best. At this point I’m curious to see if the Z7, which also received AF improvements via firmware, would get a similar score, with the added advantage of more resolution for cropping in post. Time to visit the red kites again?!
Check price of the Nikon Z50 on
Amazon | Amazon UK | B&H Photo | eBay
Check price of the Nikon Z6 on
Amazon | Amazon UK | B&H Photo | eBay
Check price of the Nikon 300mm f4 PF on
Amazon | Amazon UK | B&H Photo | eBay
Check price of the Nikon TC 1.4 III on
Amazon | Amazon UK | B&H Photo | eBay
Check price of the Nikon TC 2.0 III on
Amazon | Amazon UK | B&H Photo | eBay