HDR is a popular technique in digital photography and over the years manufacturers have introduced various settings to help you make the most out of your camera. In this article, we take a look at the latest HDR tool introduced by Fujifilm on the X-Pro3, X100V and X-T4.
Ethics statement: the following is based on our personal experience with the X-T4. We were not asked to write anything about this product, nor were we provided any other compensation of any kind. Within the article, there are affiliate links. If you buy something after clicking one of these links, we will receive a small commission. To know more about our ethics, you can visit our full disclosure page. Thank you!
What is HDR?
HDR stands for High Dynamic Range and is a method that consists of merging multiple images with different exposures to create better tonal range. It is popular for various genres such as architecture and landscapes, amongst others.
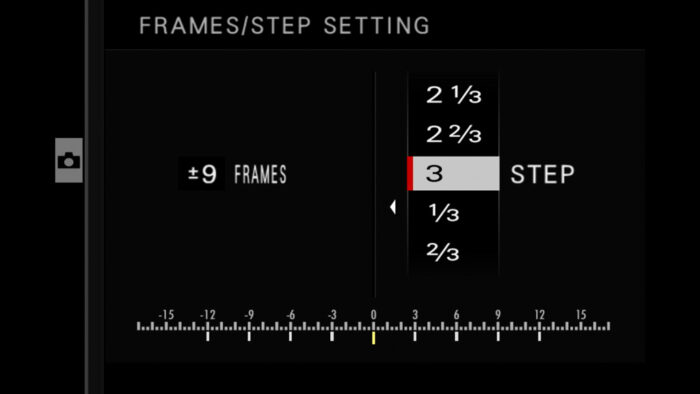
The way to get the best results is to use AE (Exposure) bracketing: you take a series of shots in RAW format (3 to 9 depending on the model) and the camera changes the exposure (shutter speed) between each shot in the order and differential you set up.
Later in post-production, you merge the images with a photo editor to create a file that has more tonal range than the single RAW file, allowing you to apply more intense post-processing without increasing the noise by too much.
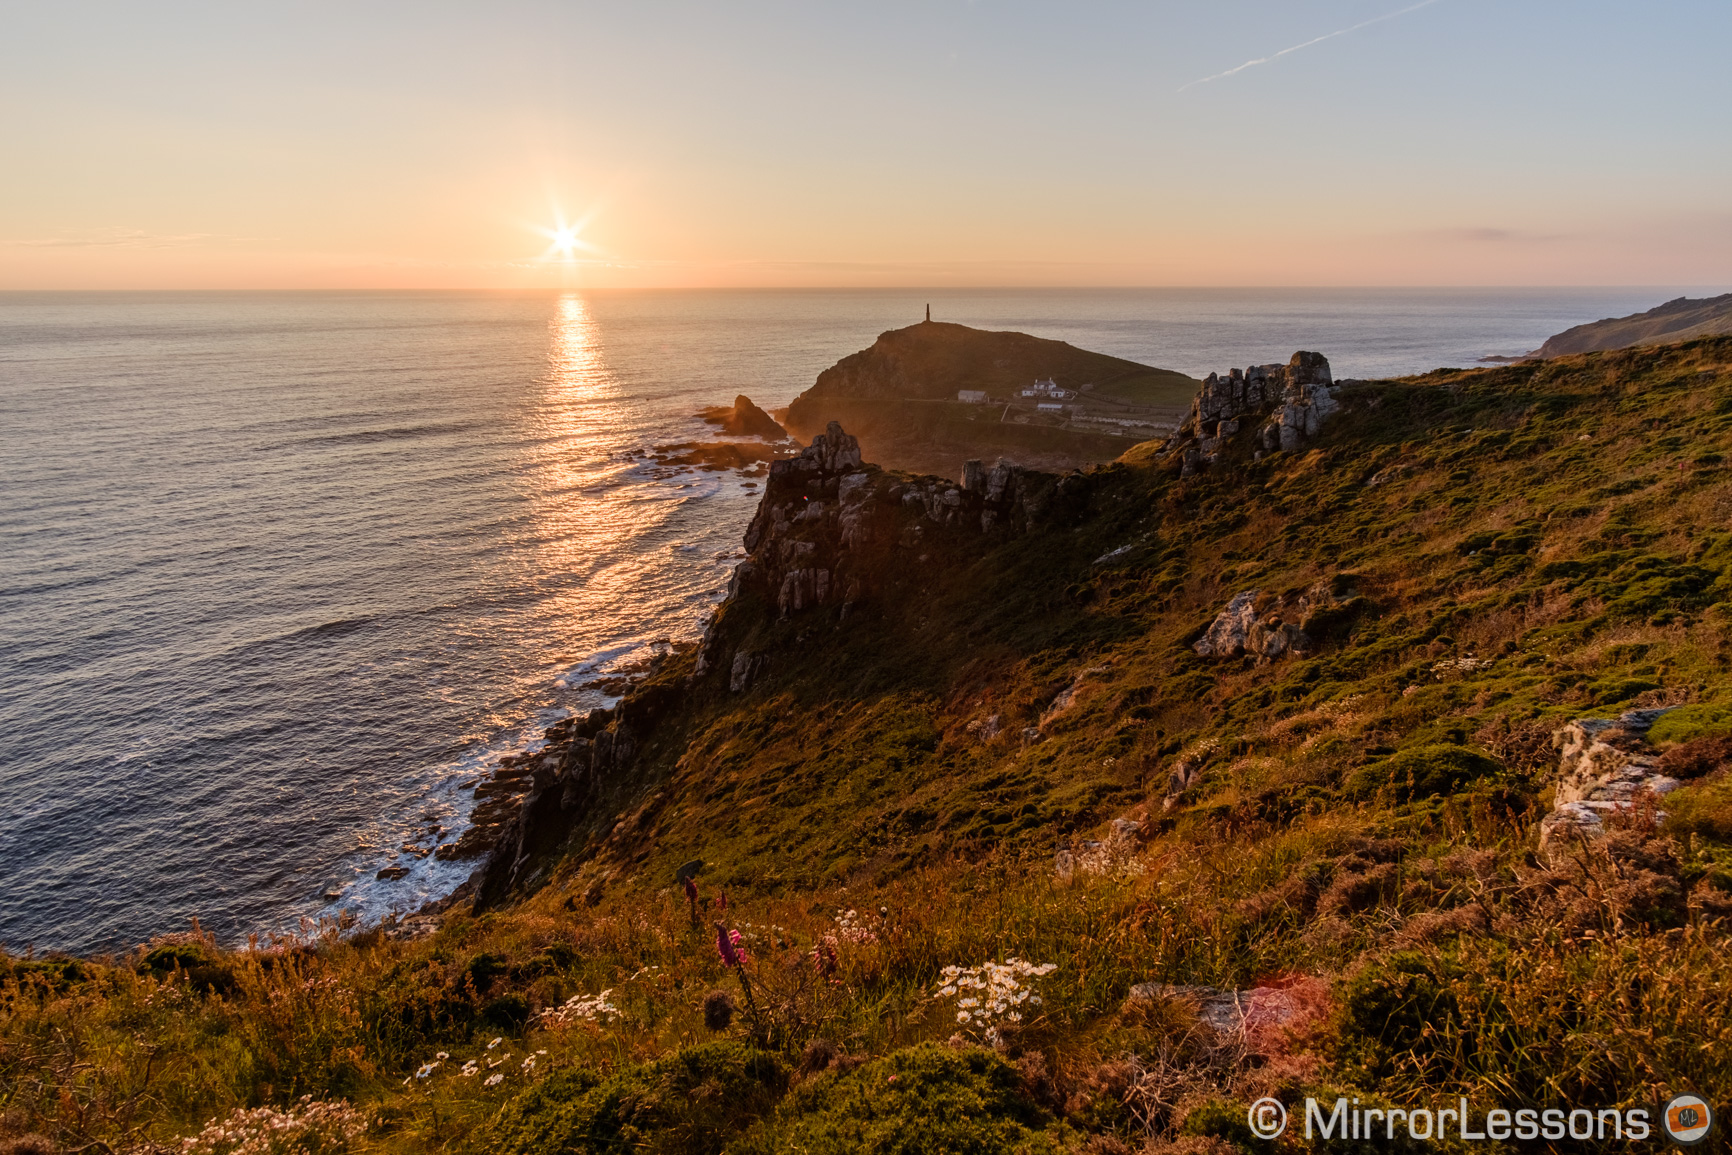
5 shots with 1Ev difference merged with Lightroom Classic CC
If you want to get the result in-camera rather than dealing with post production, you’ll often find an HDR mode on your camera that produces a final JPG image with more dynamic range than the default JPG.
How does the X-T4 / X100V / X-Pro3 HDR mode work?
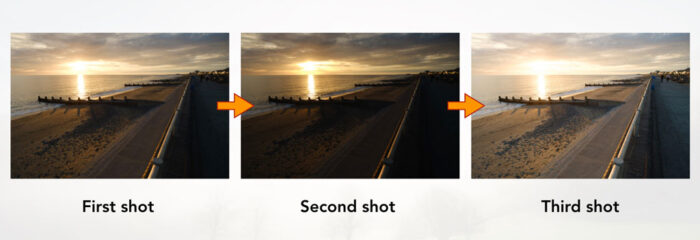
The camera takes three shots with different exposures (by changing the shutter speed value) and combines them into one single file.
The first shot reflects the exposure you set in camera before pressing the shutter release button, the second shot is underexposed (Darker) and the third is overexposed (brighter).
The three shots are not saved individually, only the final JPG is. However if you shoot RAW+JPG, a single RAW file is saved to the SD card alongside the “HDR” JPG file. The RAW file has the same exposure settings you set on the camera prior to releasing the shutter.
Trivia: if you’ve recorded RAW files while working with the HDR mode, you can use the in-camera RAW conversion tool to create JPGs with different HDR values. Although the RAW file itself behaves normally if you open it in this party photo editor, the camera seems to retain the necessary data to produce a HDR JPG with its internal software.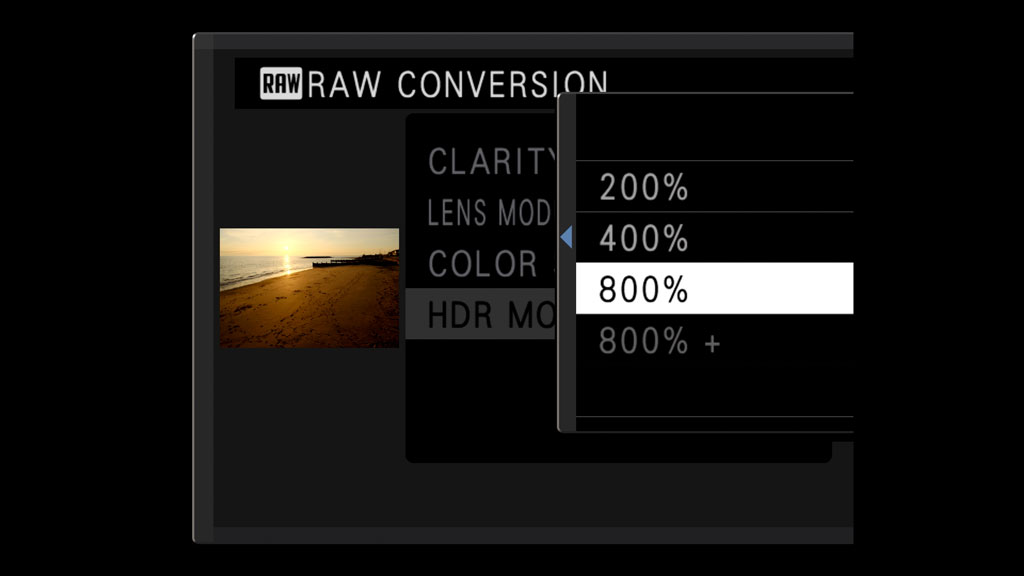
When you enable the HDR mode, the field of view is slightly cropped so that the camera software can correct and align the three images, allowing you to use this mode hand-held without worrying about artefacts. The output remains 26.1MP which means that the image is upscaled sligthly.
How to use the X-T4 / X100V / X-Pro3 HDR mode
On the X-T4, you can access the function with the drive dial on the top right of the camera.

On the X-Pro3 and X100V, press the Drive button on the rear and select HDR.
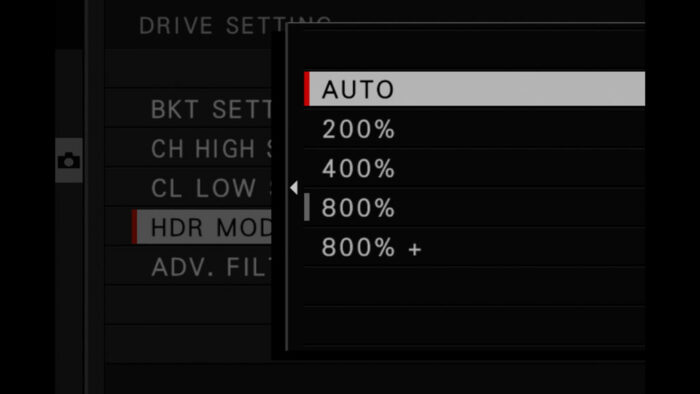
Then go to Shooting Setting / Drive Setting in the menu and enter the HDR page. There, you can choose the difference in brightness between the three exposures:
- Auto: the camera picks the value automatically
- 200%: the camera changes the exposure by ±1Ev
- 400%: the camera changes the exposure by ±2Ev
- 800%: the camera changes the exposure by ±3Ev
- 800%+: the camera changes the exposure to get the maximum difference possible
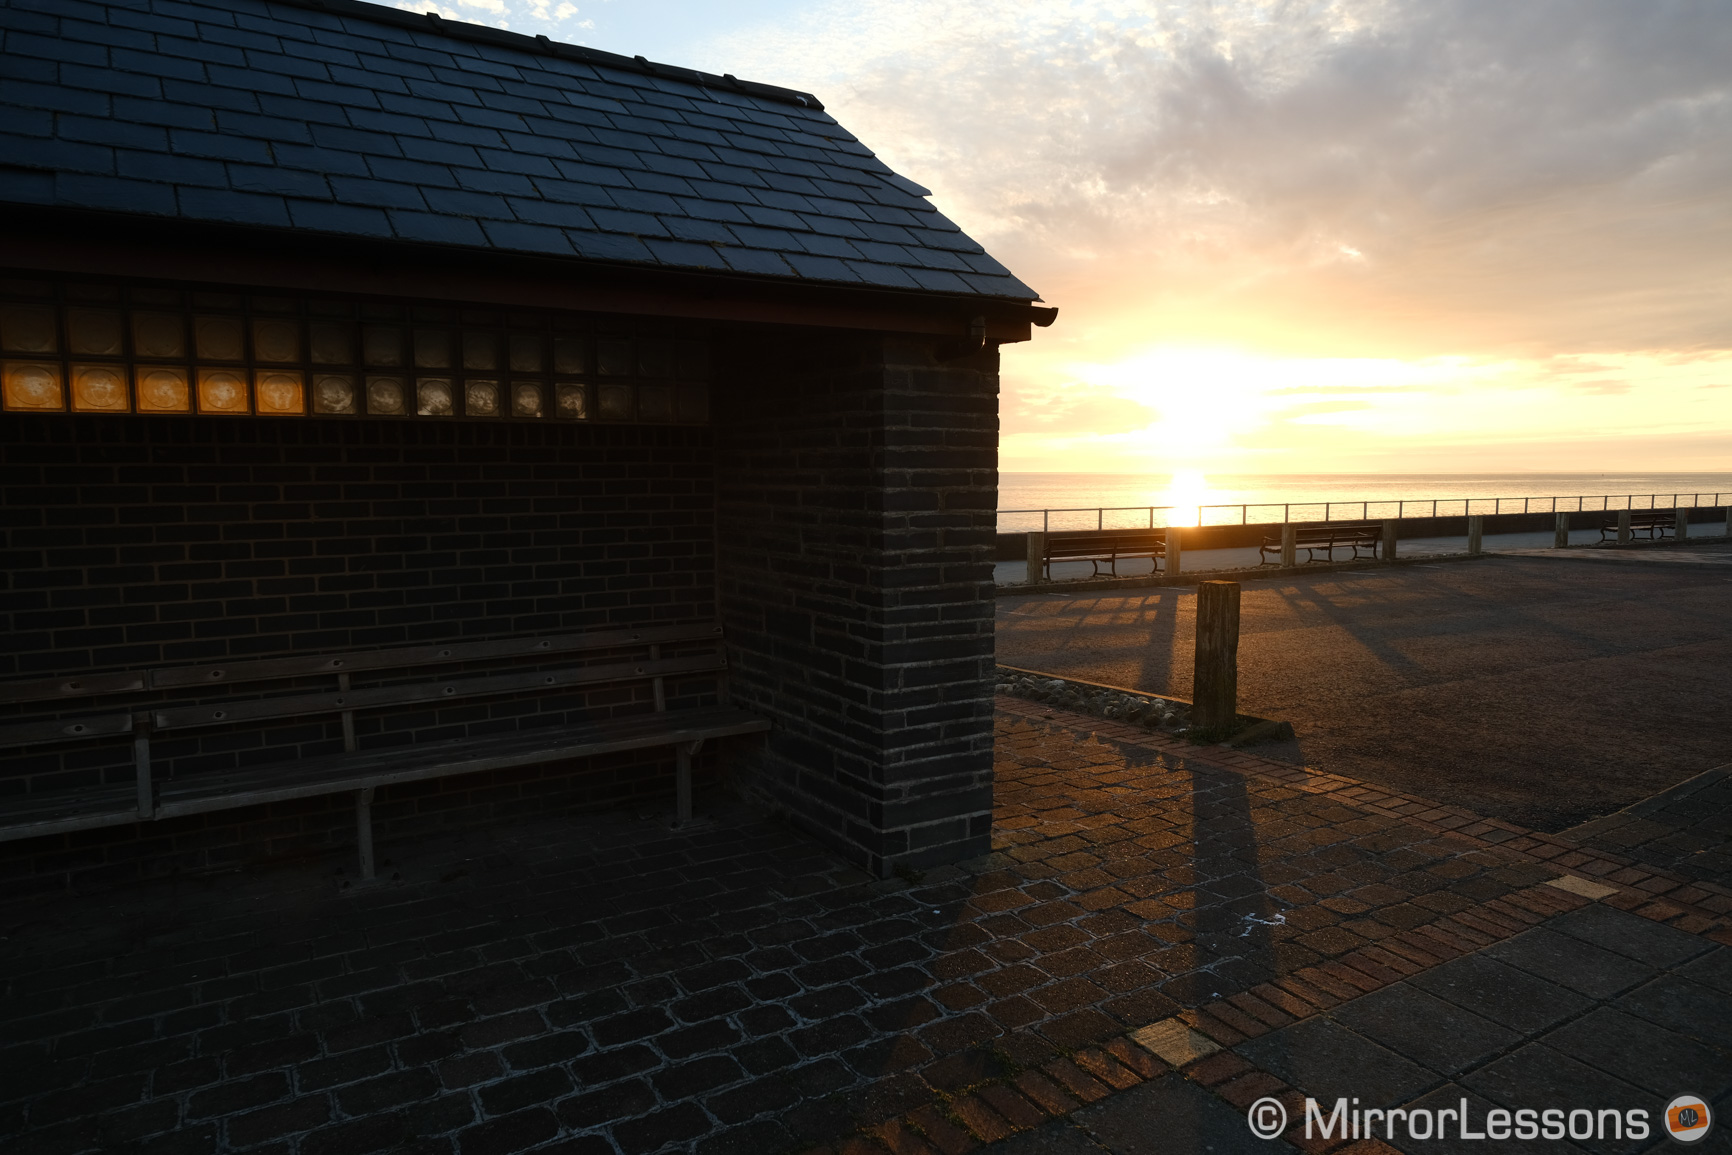
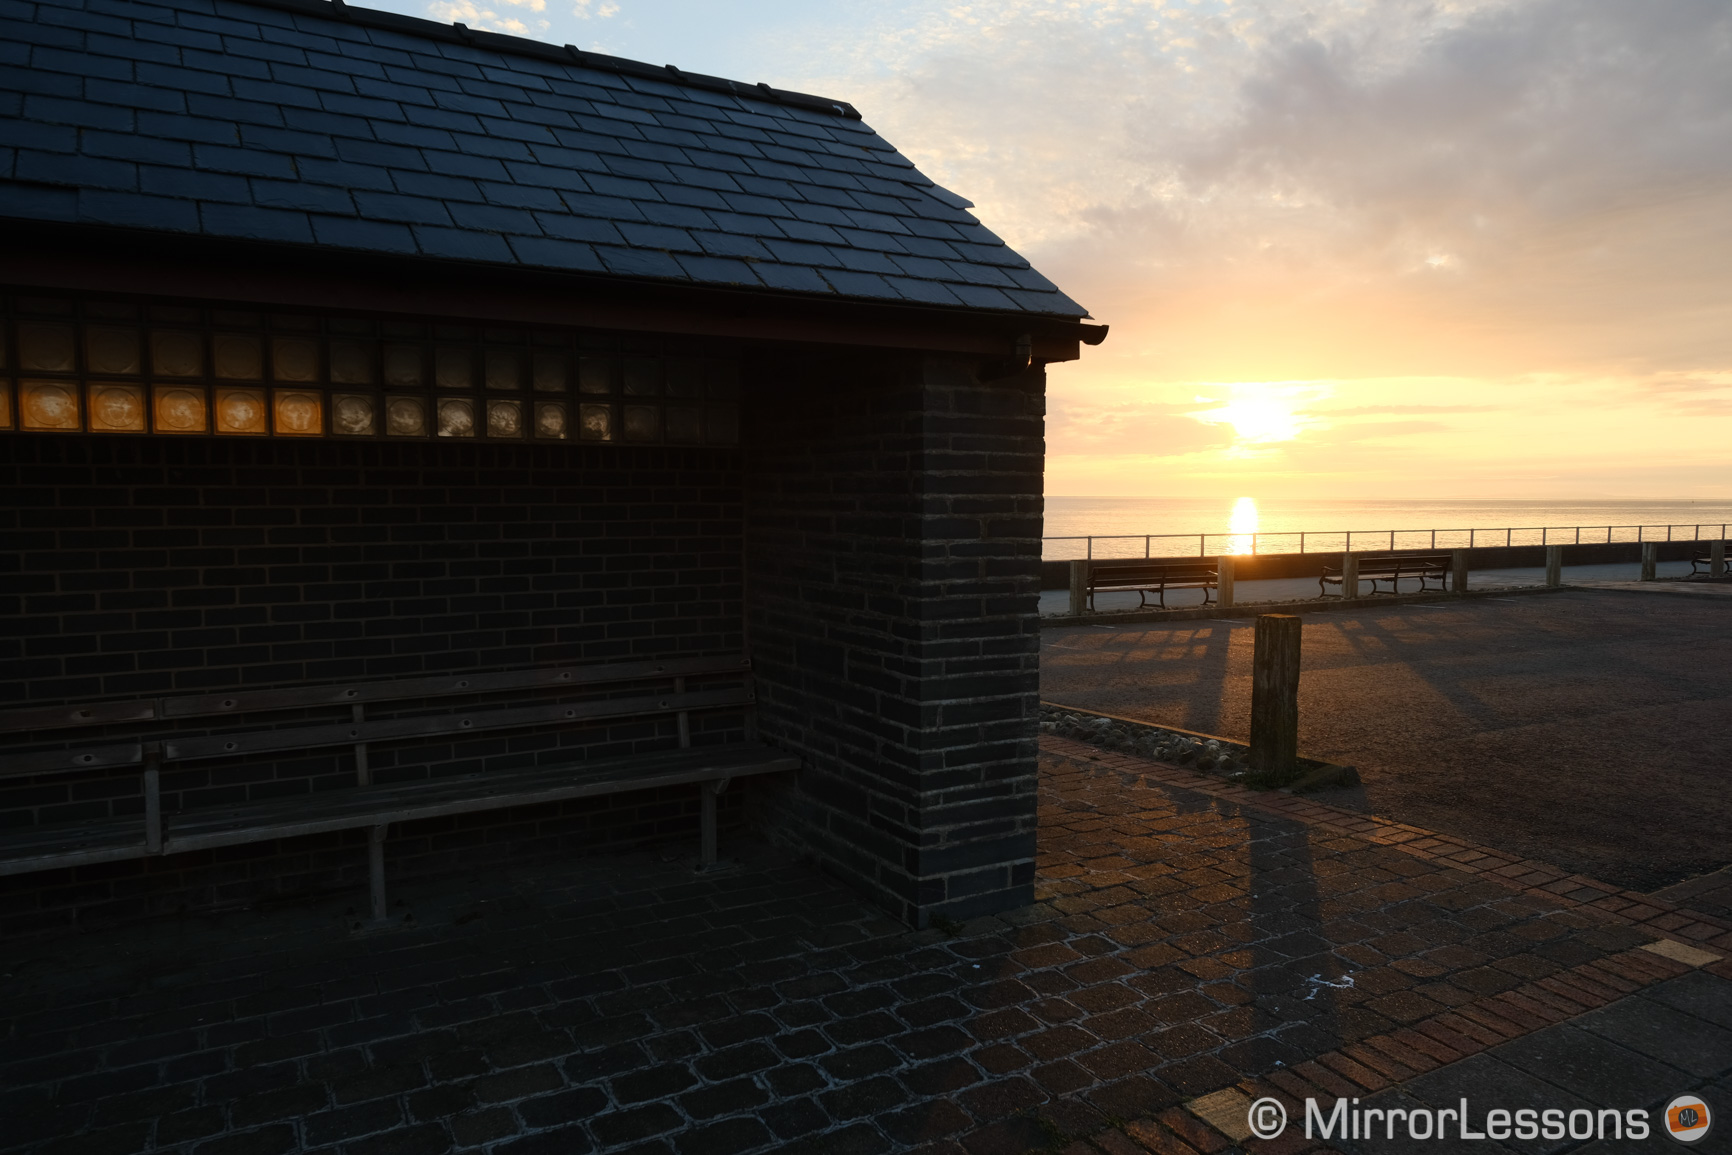
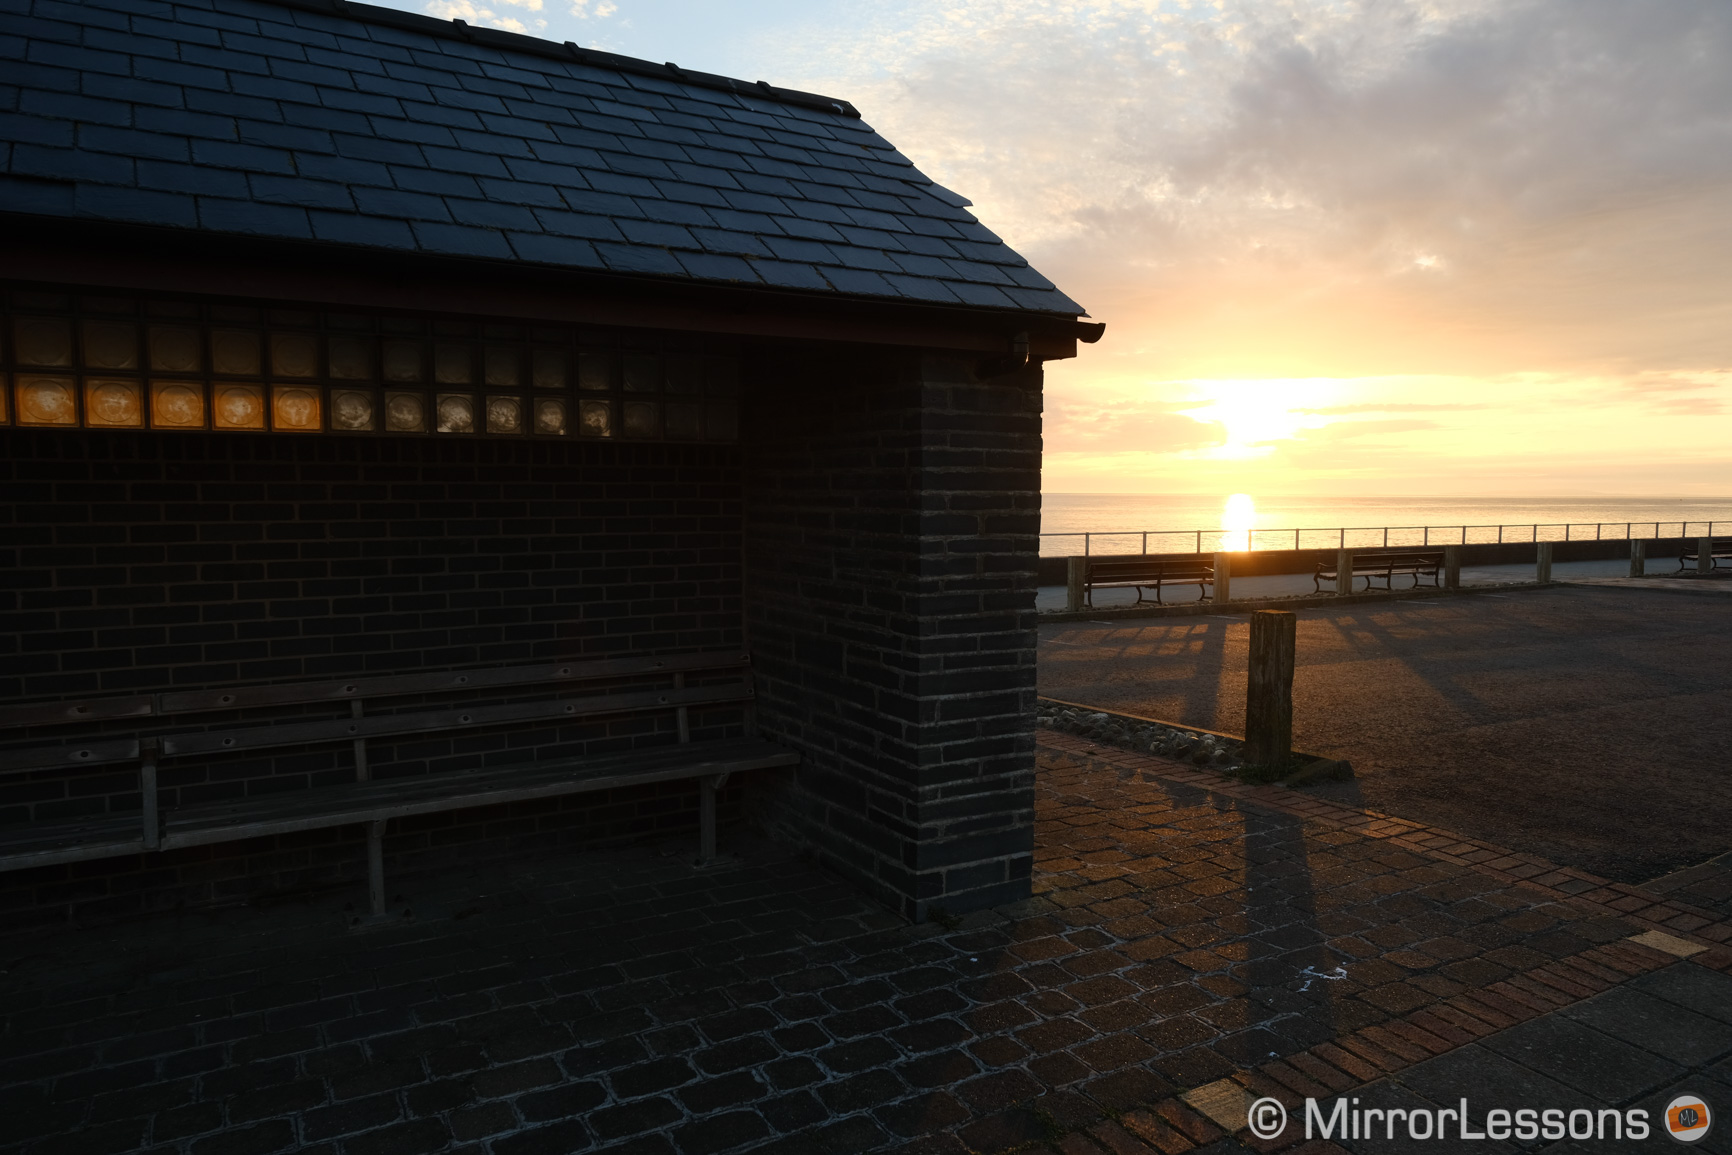
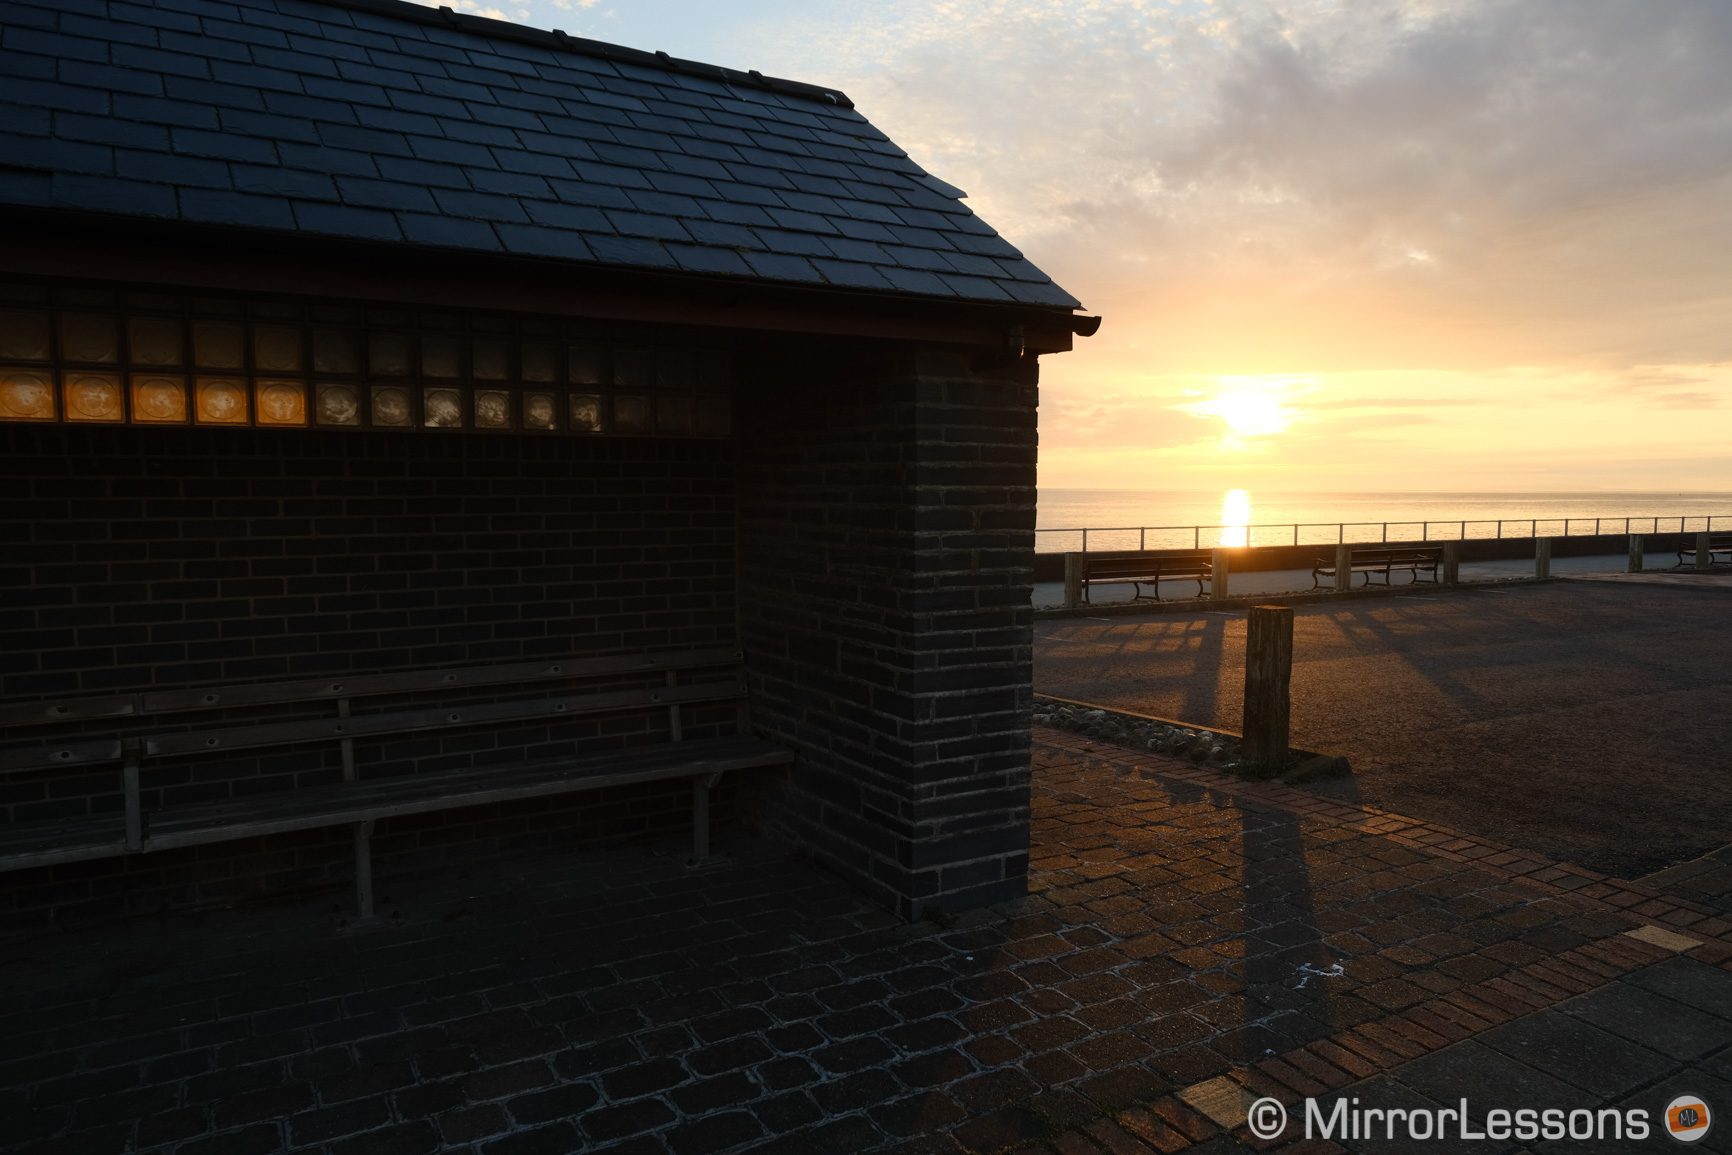
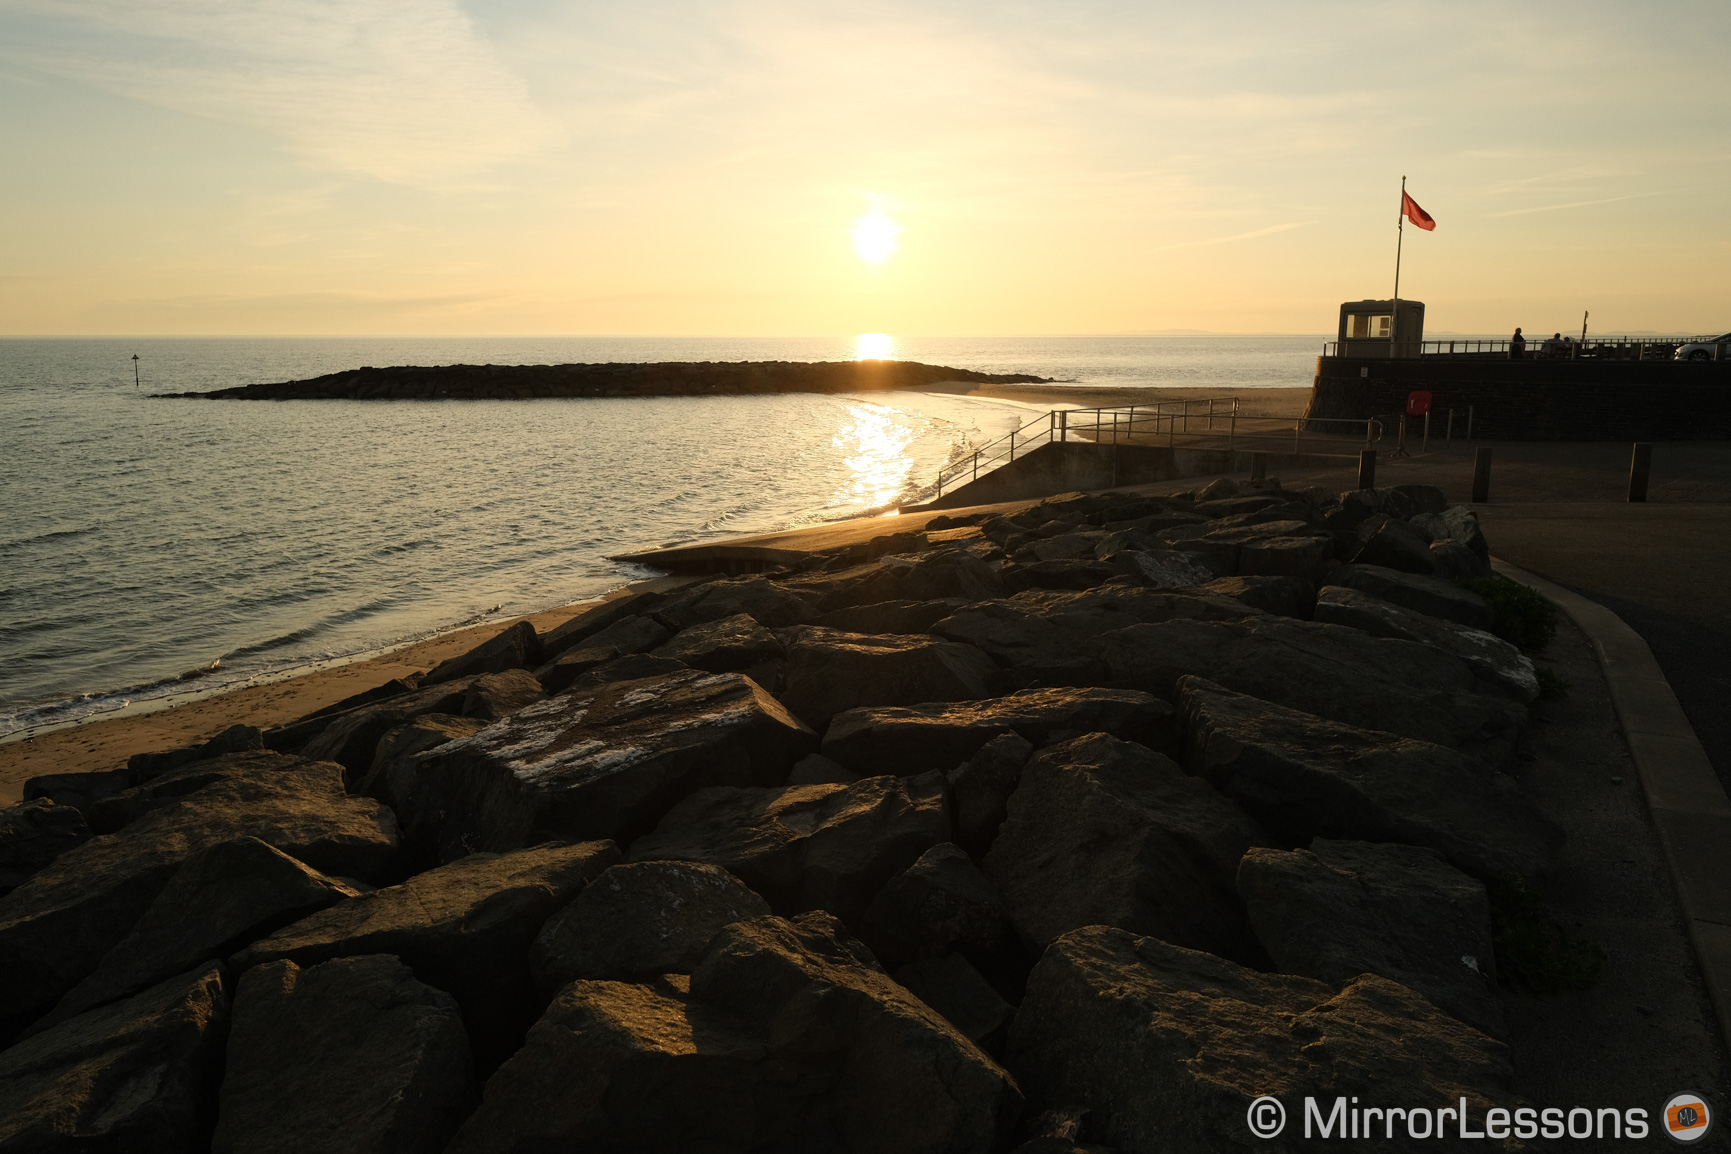
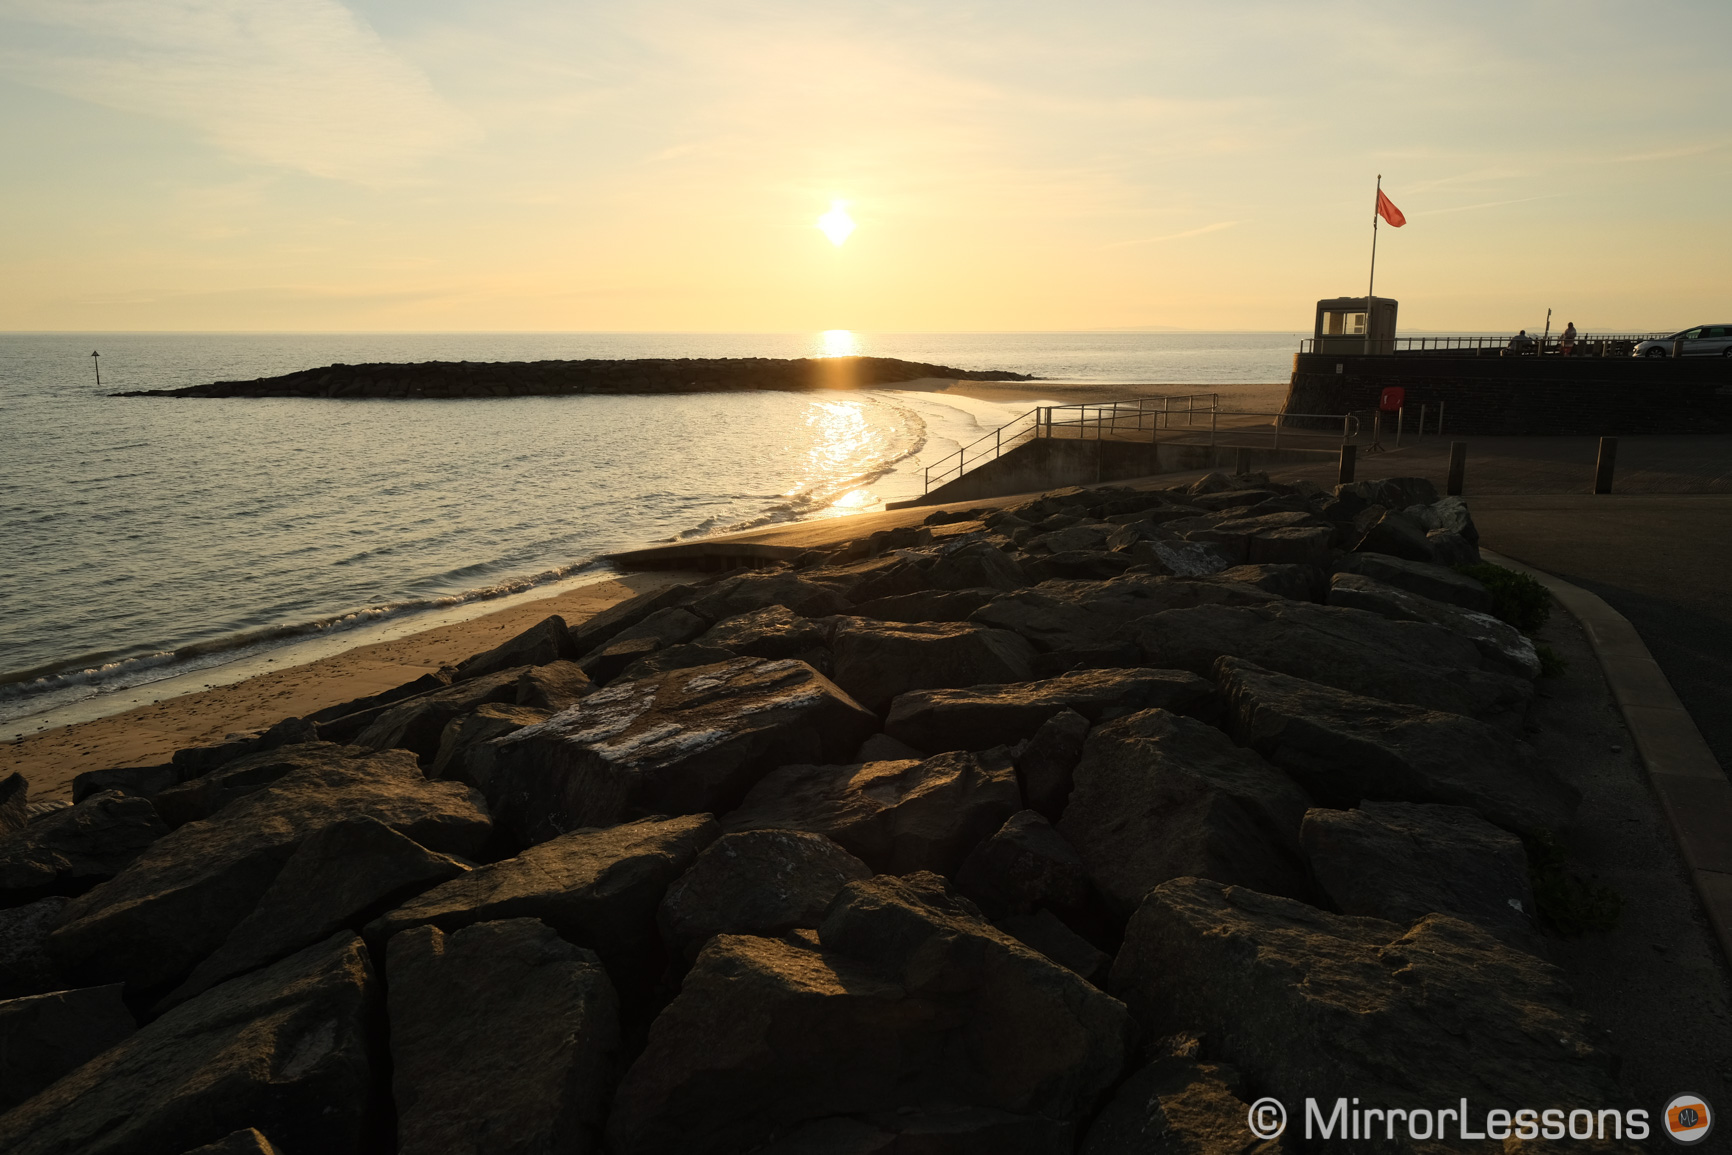
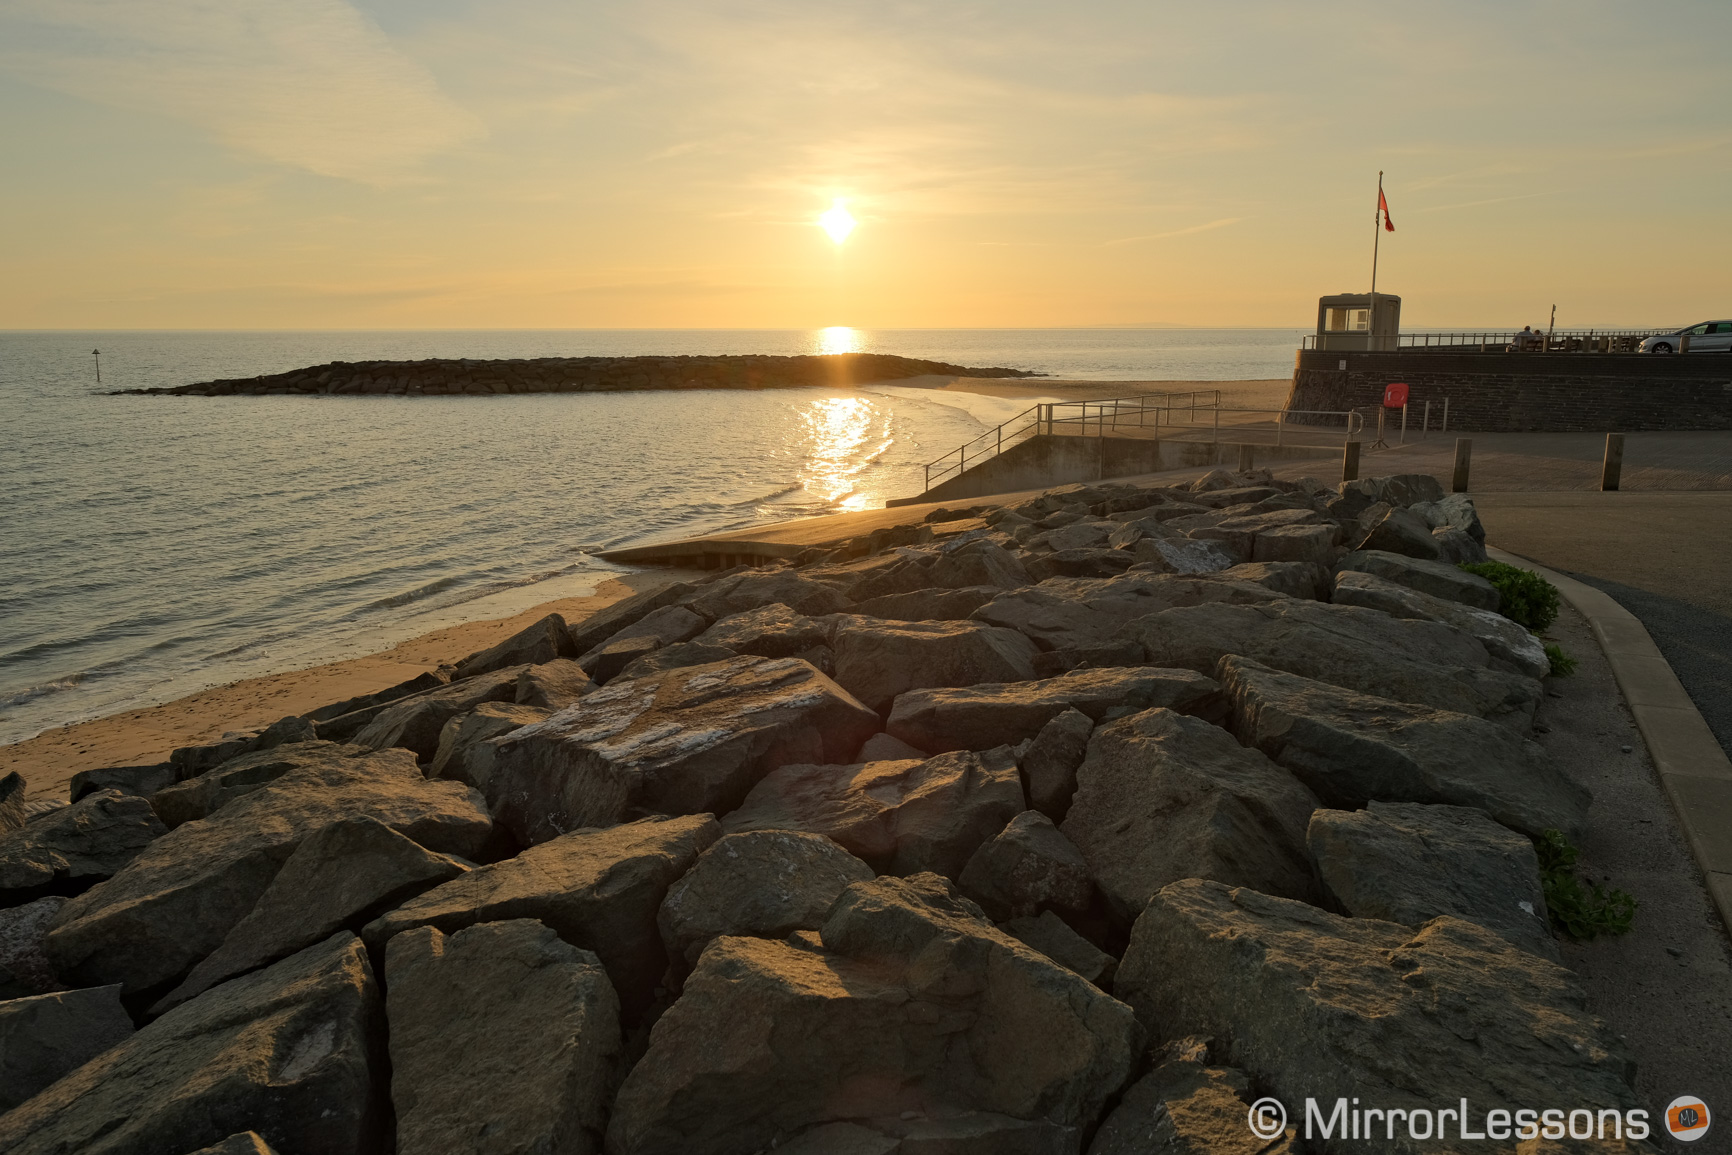
In the first example below, you can see the original exposure and the five HDR variations. From 200% to 800%, the camera preserves more highlight information but the shadows are about the same. Only the 800%+ really pushes both. Auto is very close to 400% in this example.


Quality and Limitations
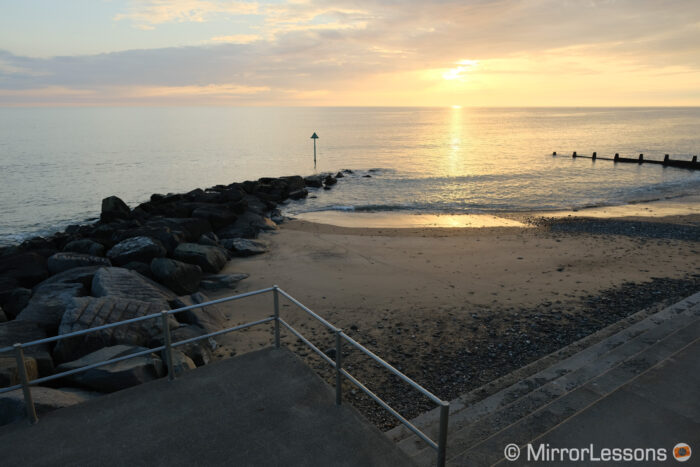
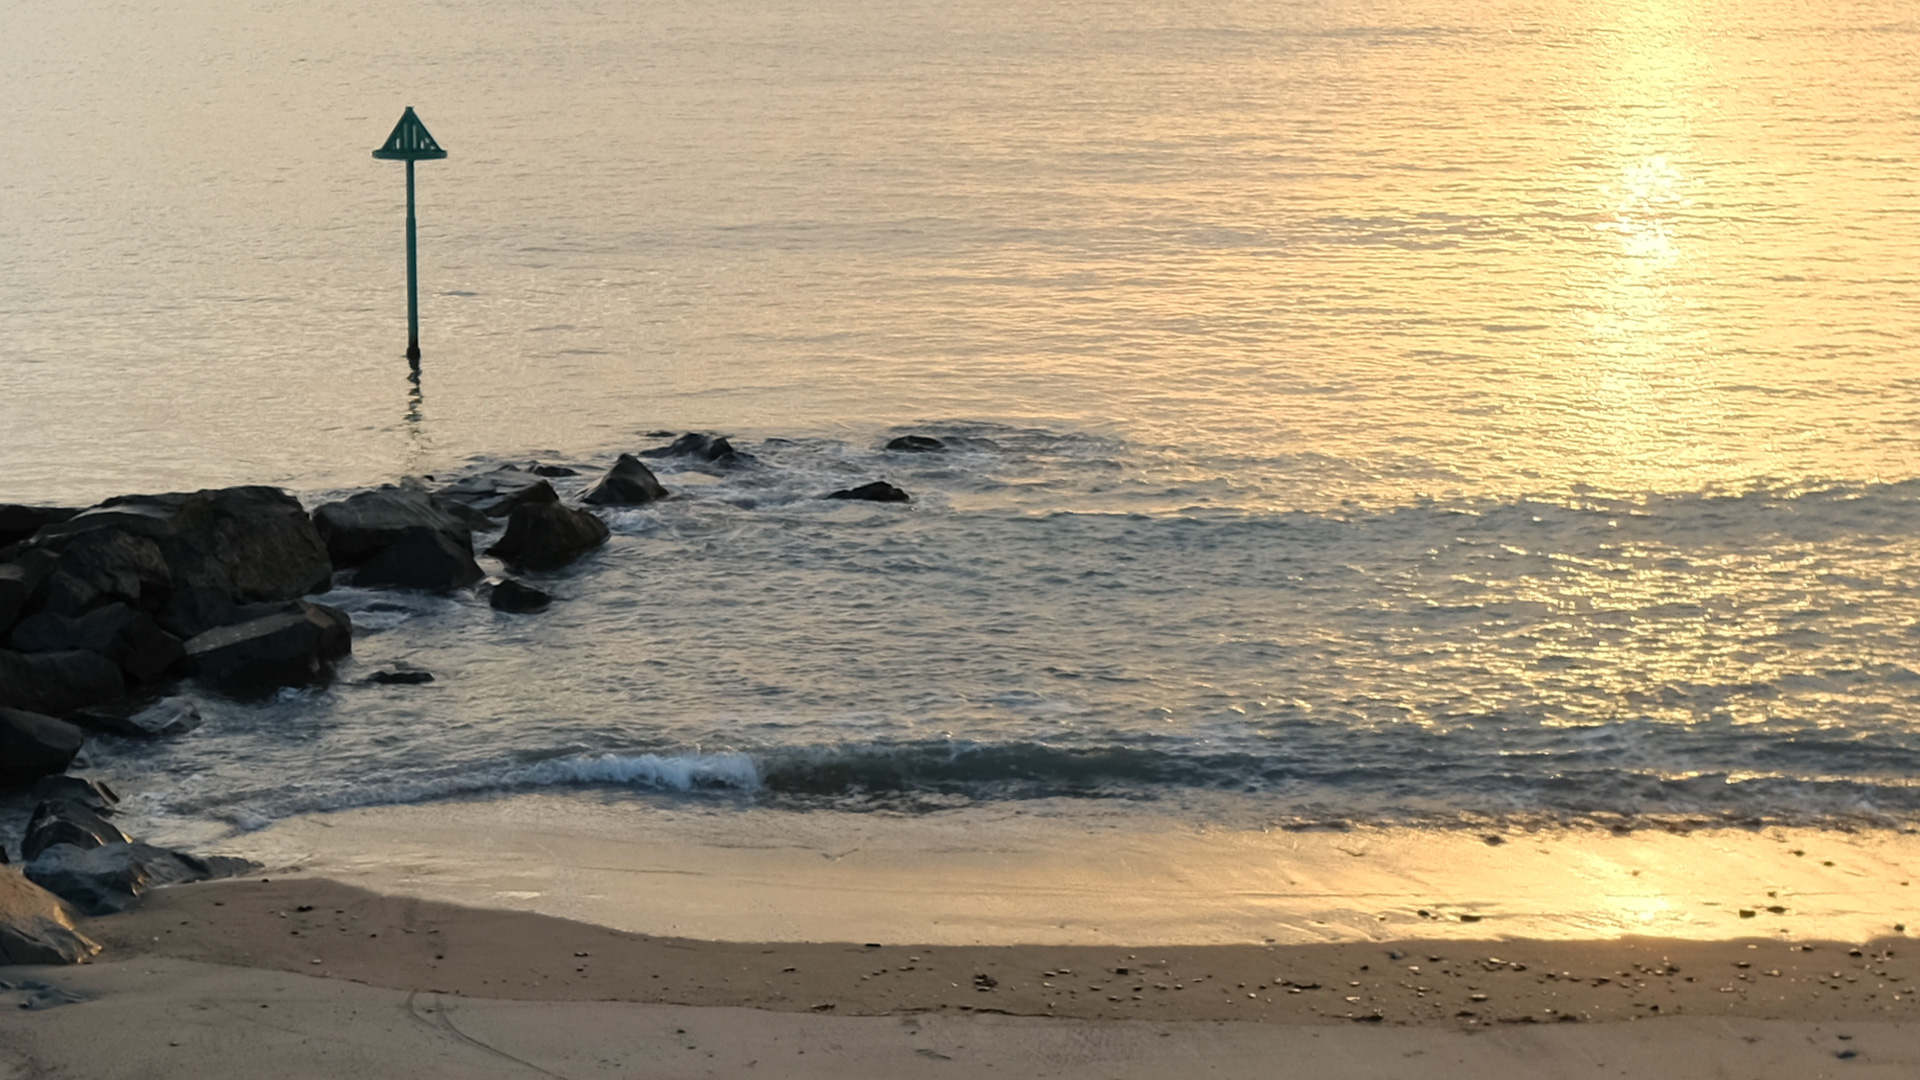
In addition to taking care of alignment, the X-T4 will also attempt to correct motion to avoid artefacts or unwanted ghost effects if something is moving in your scene.
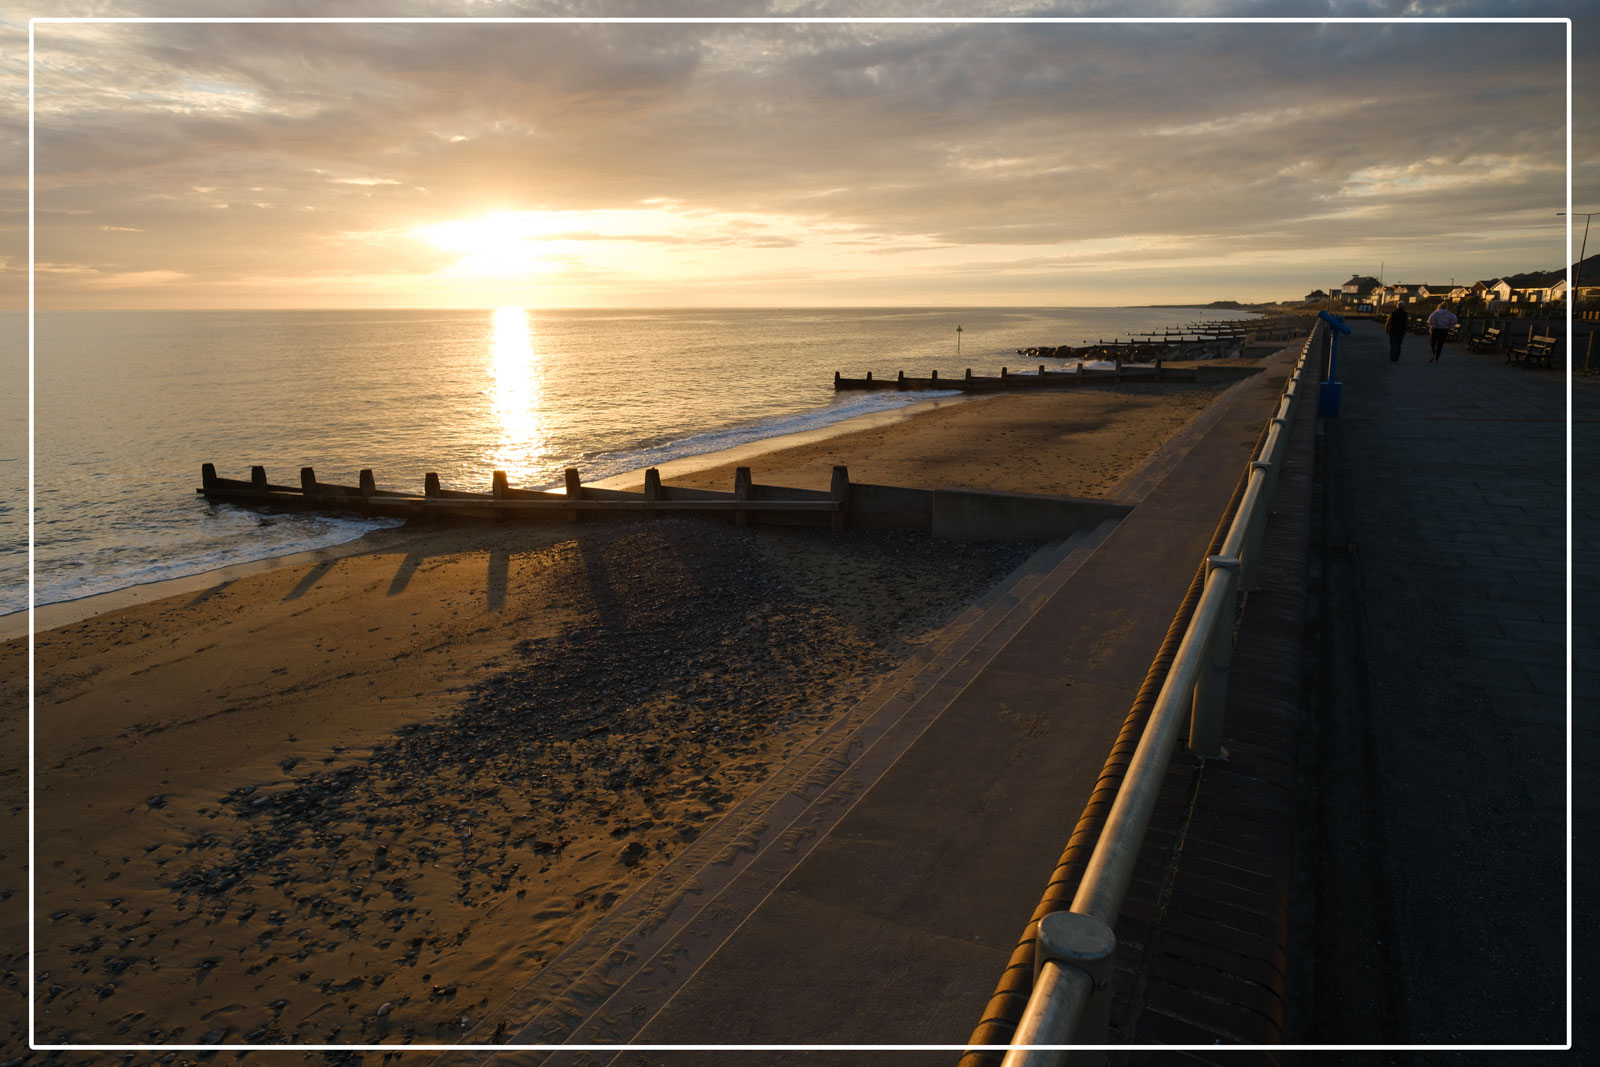
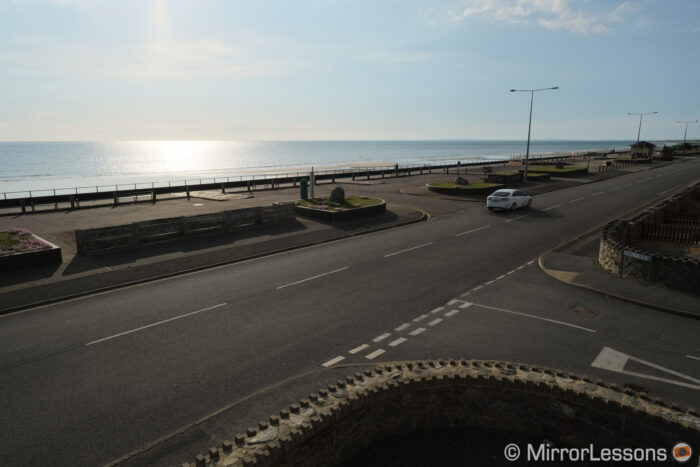
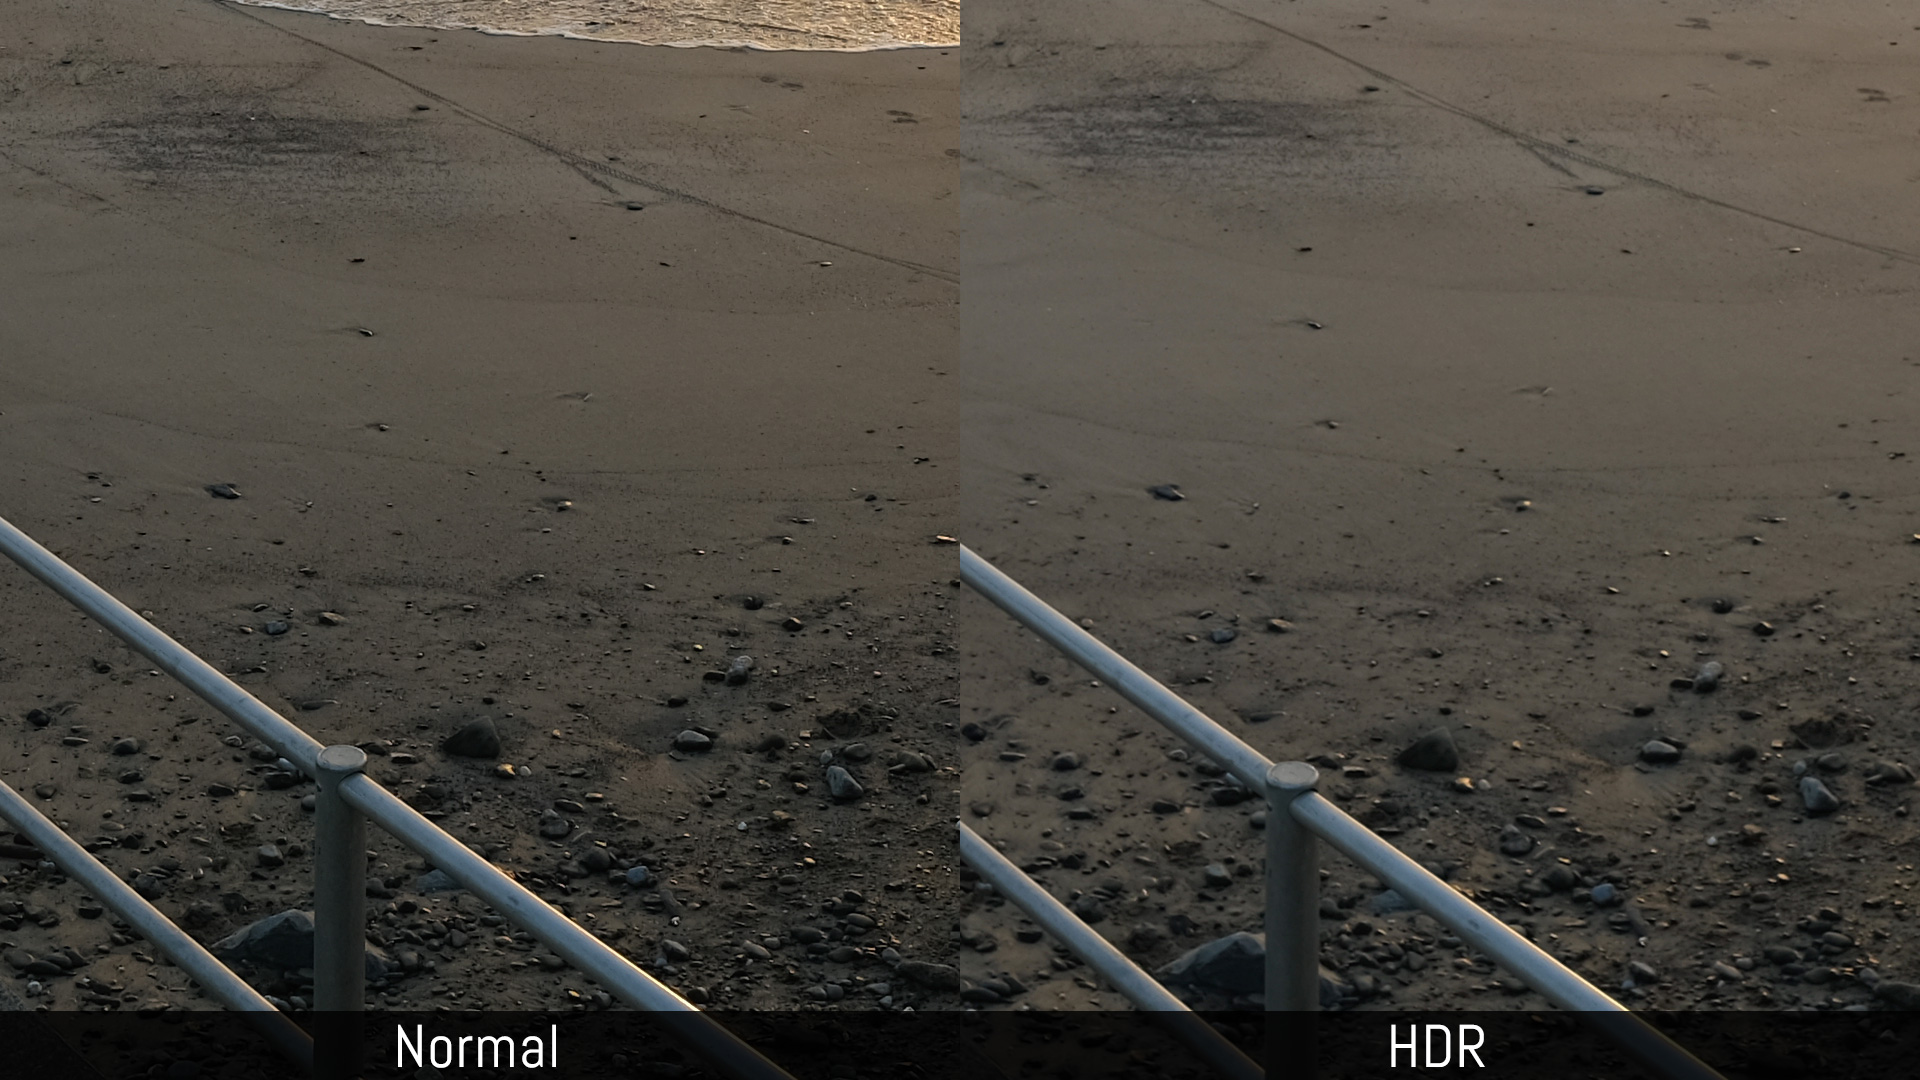
Even though the sea is moving in the background in the image below, you don’t really notice anything unusual.
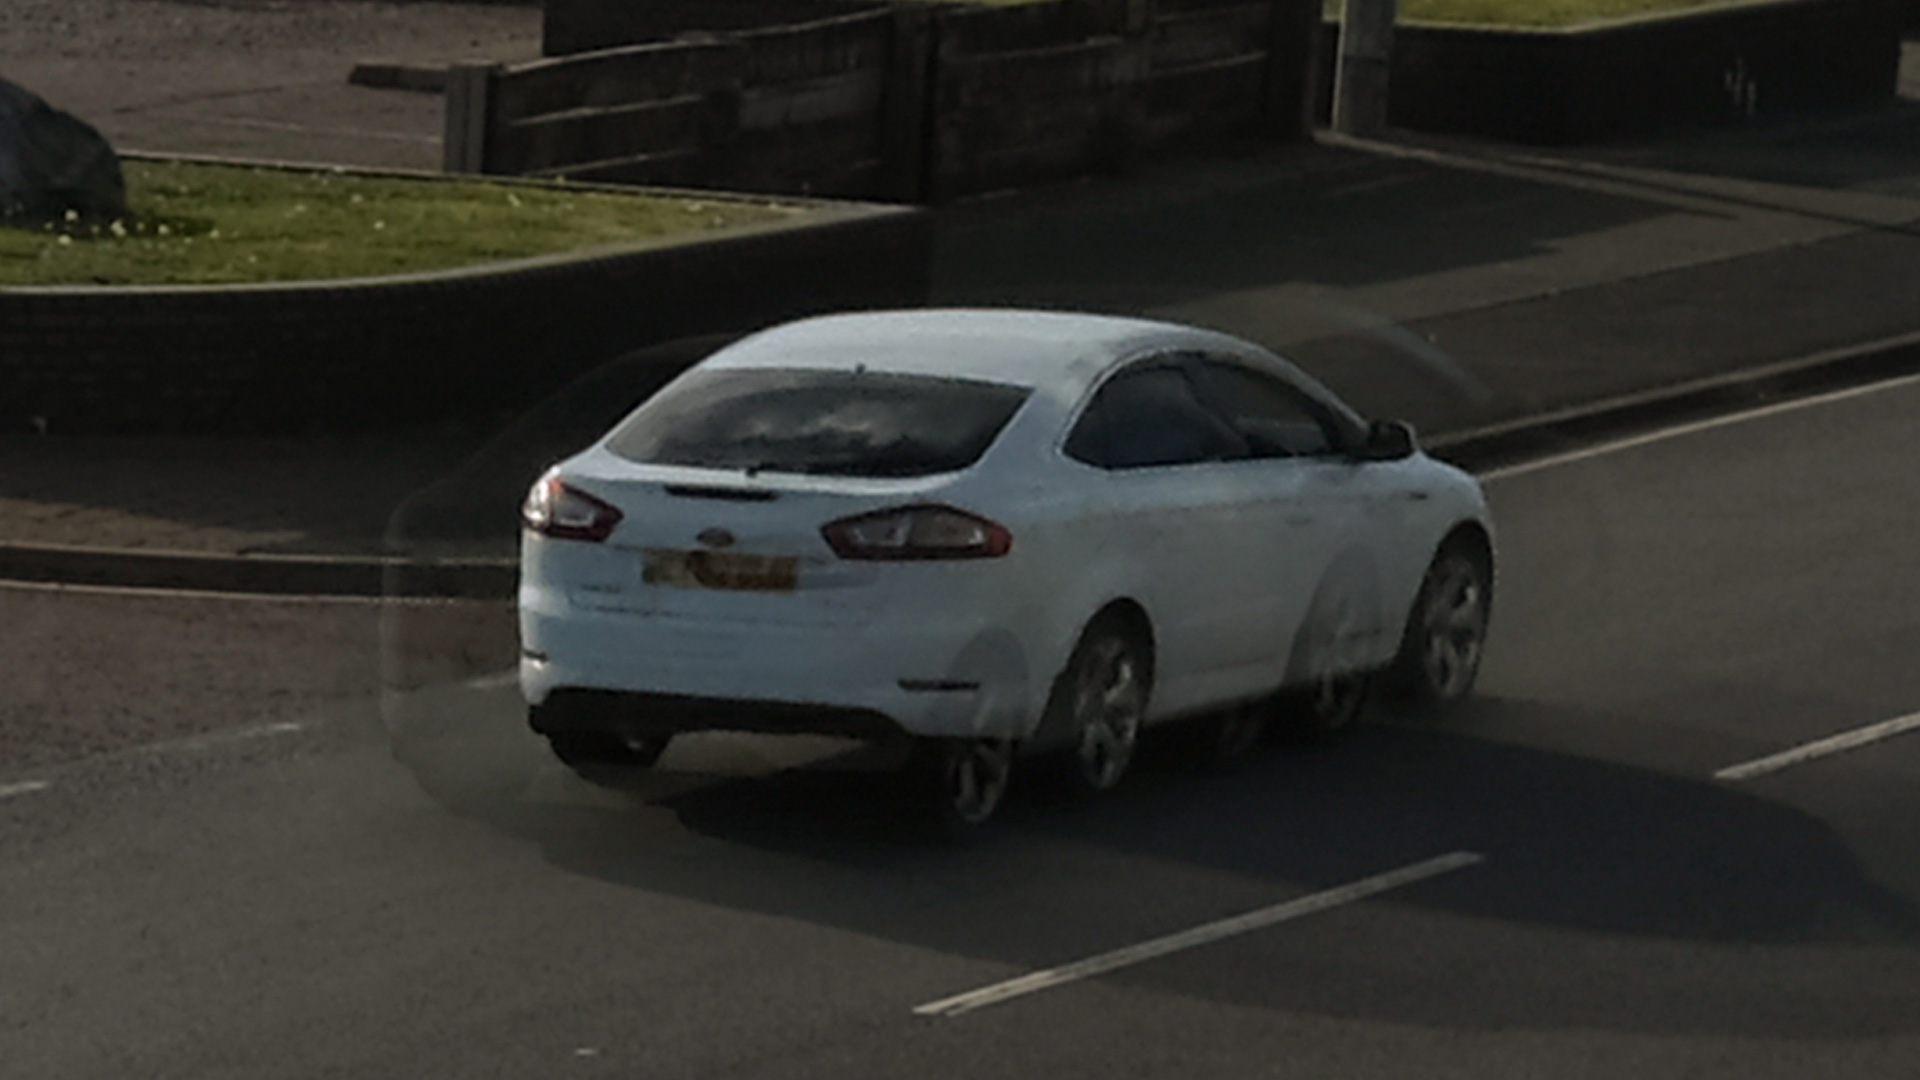
In this second example with a car passing by however, you can see a ghost effect, with the front and rear of the automobile being duplicated and semi transparent.
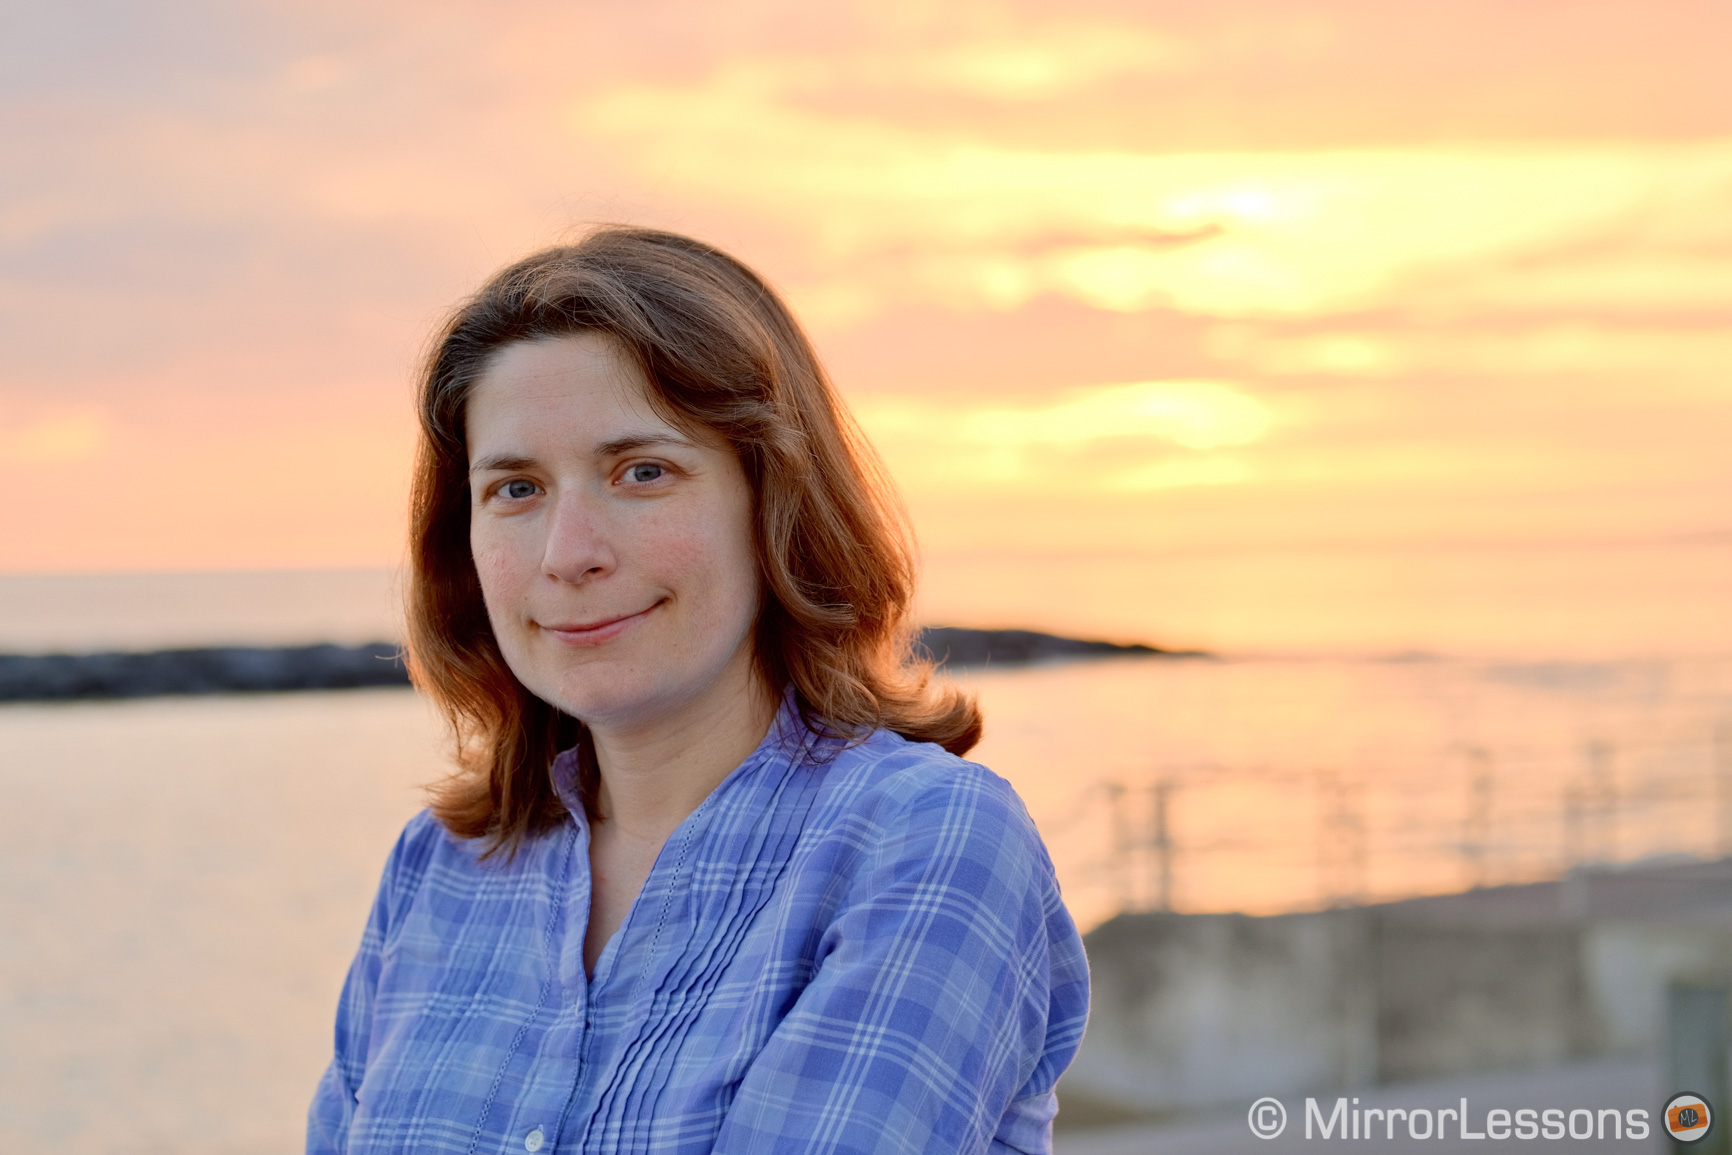
That said, small movements seem to be corrected well, so you can use it for portraits if you wish.
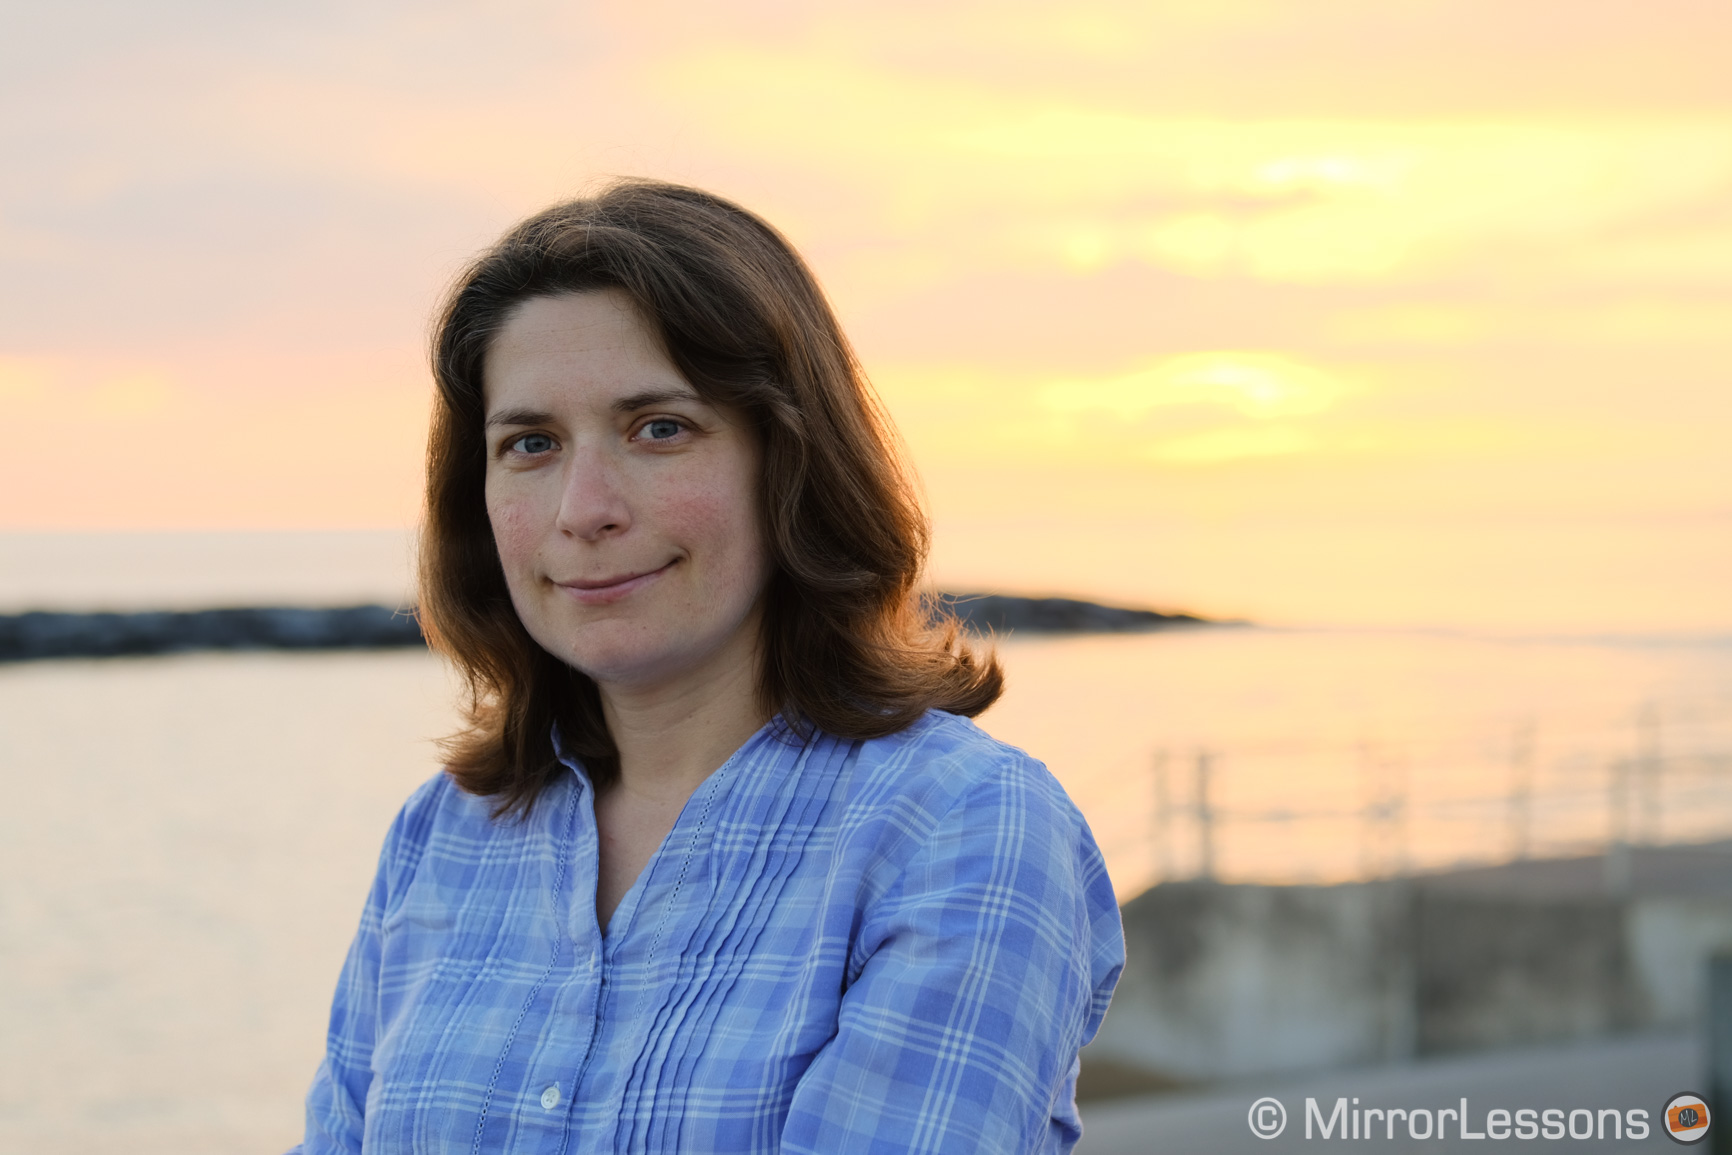
Be careful with 800%+ as it will give you a flat look with less contrast. A quick adjustment on your smartphone or tablet can give you better results.
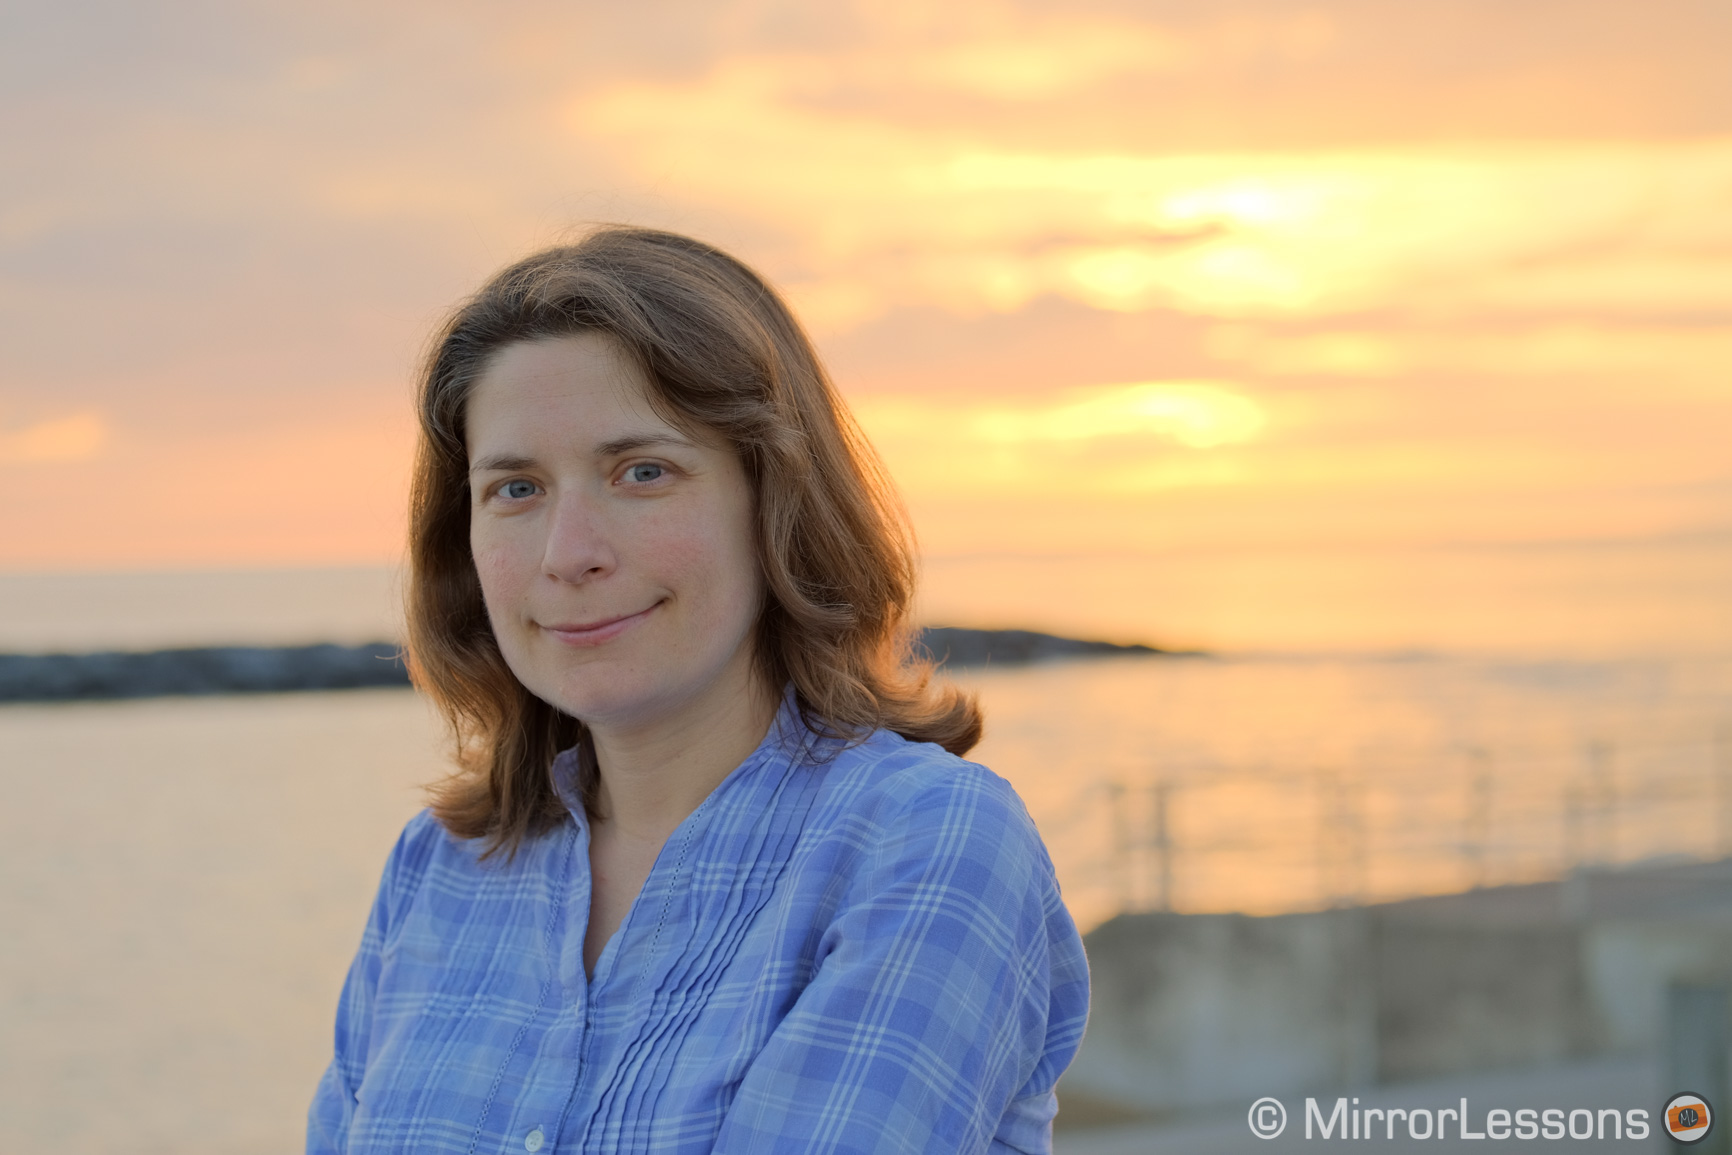
Quick edit of the previous portrait using the native iPhone Photos app
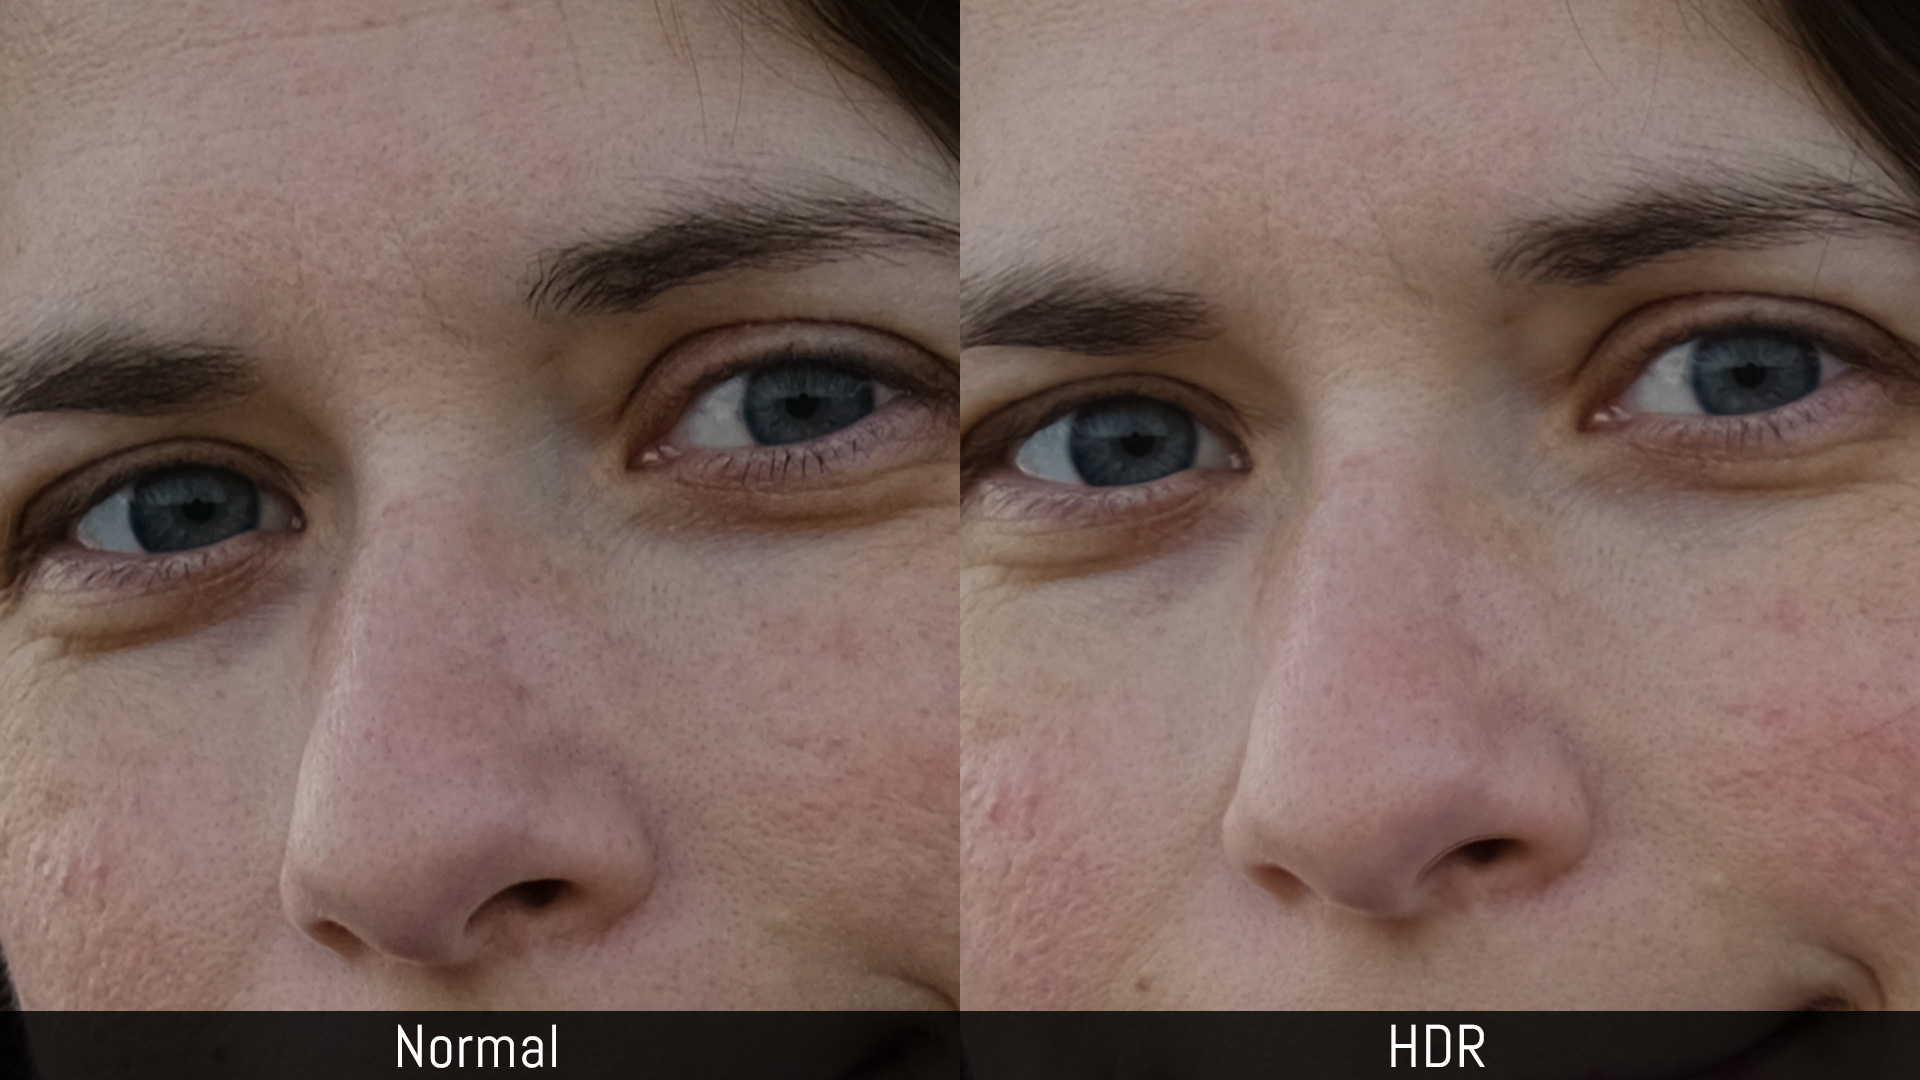
One thing you might have already noticed in the crops above is that the HDR version loses a lot of sharpness in comparison to the normal JPG.
I wasn’t expecting this the first time I tested the function, so I tried it again the following day by playing with the sharpness and clarity settings available on the camera.
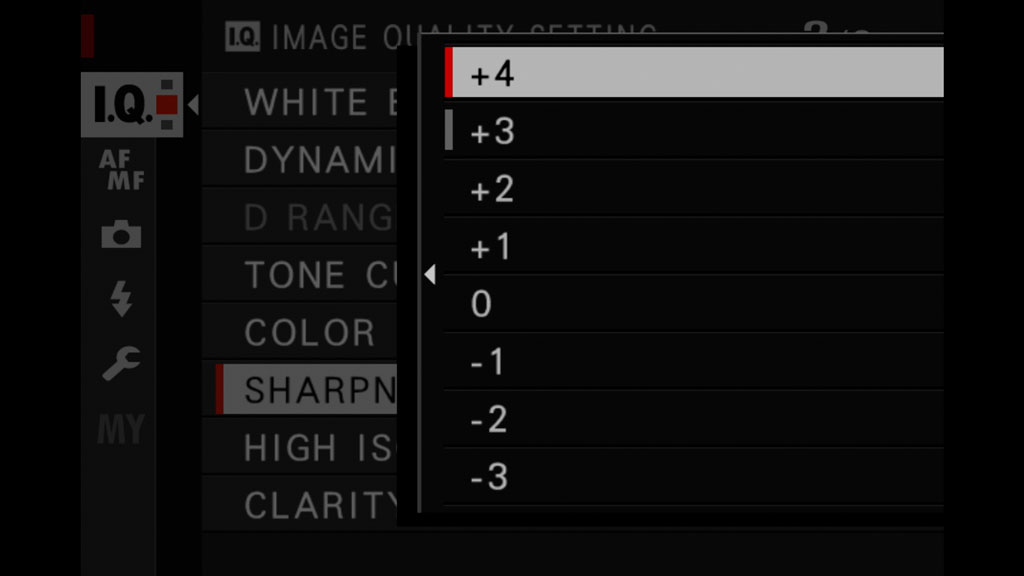
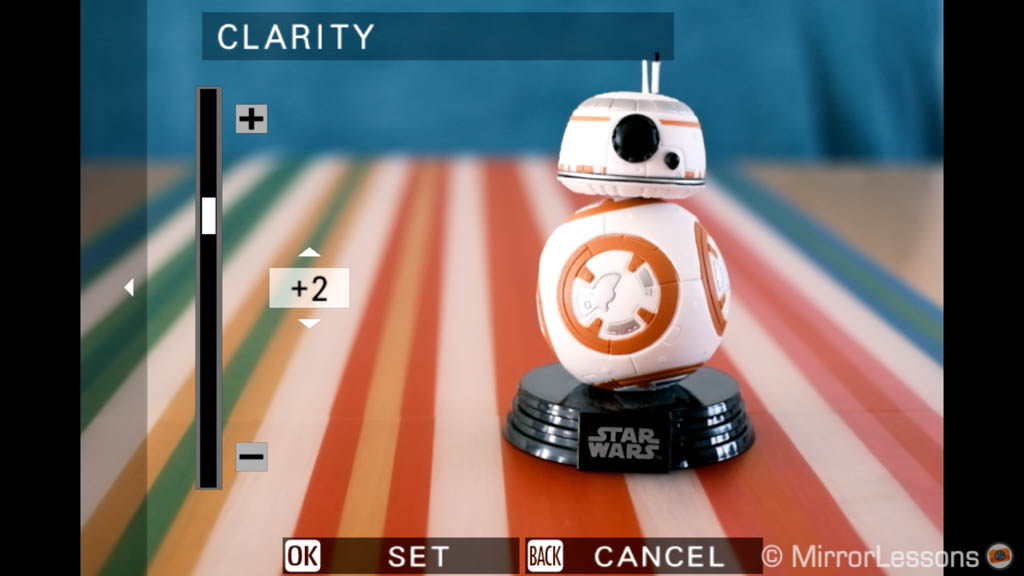
Pushing the Sharpness to +3 or +4 helps and you can also increase the clarity to +3 or +4. You may want to play a bit with these settings to get the output that suits your tastes better, but at least the details seem to be recoverable.

Fujifilm cameras offer a lot of image control over the SOOC JPGs, so you can try to combine the HDR mode with tone curve, colour and the film simulation modes to get a great result out of camera.
Note: With the 800%+ setting, Tone Curve and Clarity are not available. They are adjusted automatically by the camera.
How does it compare to the other DR settings?
Fujifilm cameras have various settings related to dynamic range: in addition to the tone curve (Highlight / Shadow Tone on older models), there is Dynamic Range and Dynamic Range priority.
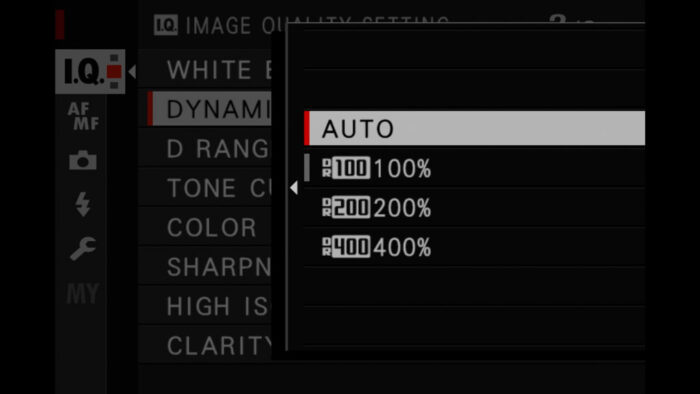
The DR setting works on two levels – DR200% and DR400% – but to make them effective you need to raise the ISO to 320 for the first and 640 for the second. Basically what happens is that the camera underexposes the image to save more details in the bright zones and boost the shadows to keep the exposure balanced.
Note : the D-Range Priority parameter is similar but you choose between Weak, Strong or Auto instead.
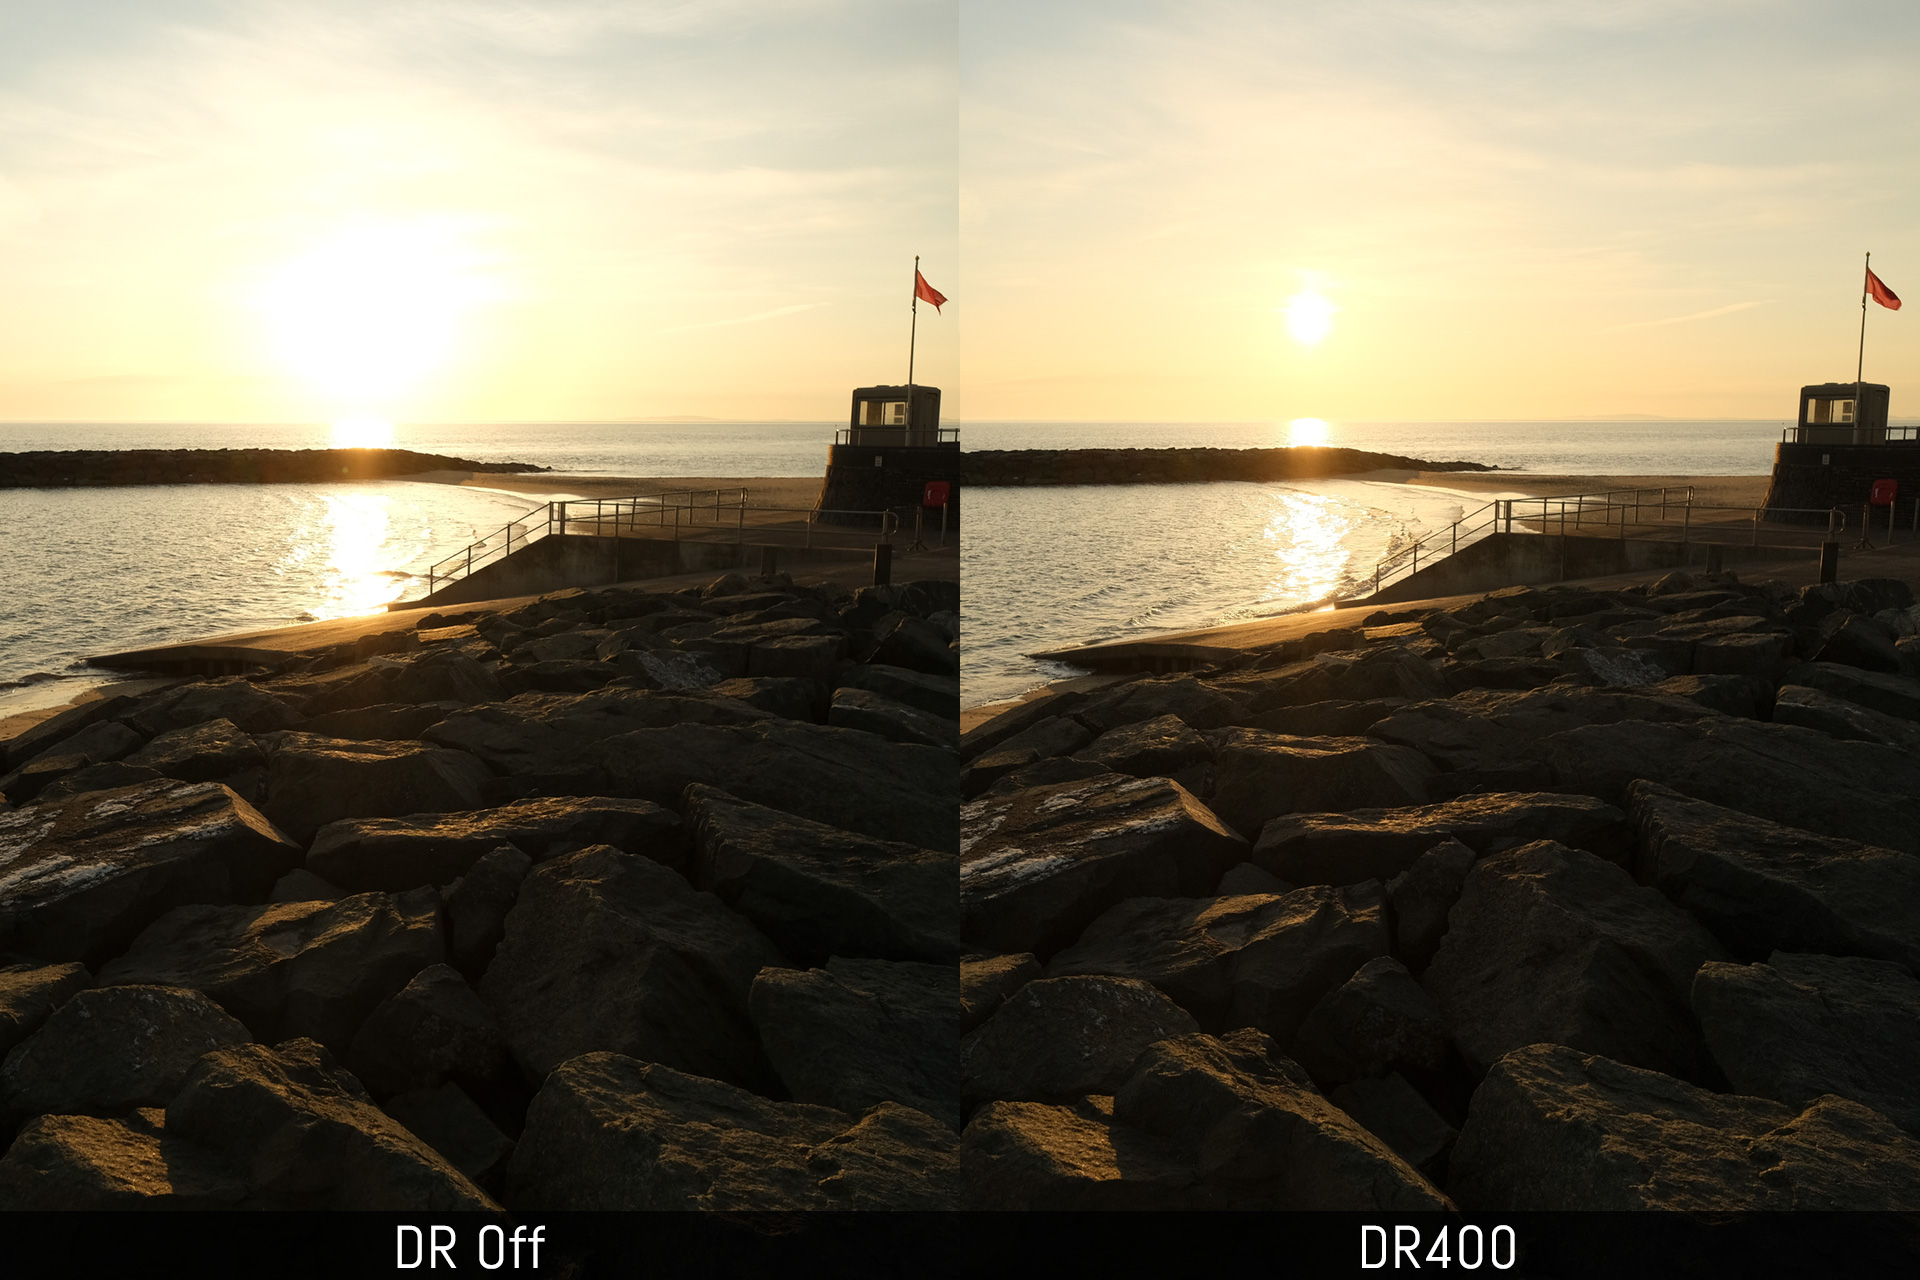
Although the DR setting can produce interesting results, the HDR mode retains more highlight information as you can see below, and of course the 800%+ setting will also open the shadows more.

Conclusion
When it comes to HDR, I personally prefer to deal with AE bracketing and merge the RAW files in post. There is more flexibility and precise control, as well as better quality output.
That said, if you like the idea of working with the results in camera and having ready-to-share images, the HDR mode can be a good tool to use on occasion. There are few limitations to be aware of, such as movements in your scene, and you need to tweak the sharpness parameters to make the most out of it, but this function can certainly deliver interesting results.
Do you own an X-Pro3 or X-T4? Let me know if you’ve tried this setting and how you like it!
Reminder: the links below are affiliate links. If you decided to buy something after clicking the link, we will receive a small commission.
Check price of the Fujifilm X-T4 on
Amazon | Amazon UK | B&H Photo | eBay