The EOS R3 is a mirrorless camera that follows in the footsteps of the 1D X Mark III and all the other Canon flagship DSLRs that, for years, have served the most demanding photographers, especially those working in sports and wildlife.
Having already tested the less expensive R5 and R6, I was eager to see how the R3 would position itself in my birds in flight rank, and also get a general sense on how far Canon has come with mirrorless technology.
To find out, I rented the camera for 10 days. Such a short period is not enough to bring you a full review, so I mainly concentrated on birds.
Ethics statement: we rented the Canon R3 for 10 days. We were not asked to write anything about this product, nor were we provided any compensation of any kind. Within the article, there are affiliate links. If you buy something after clicking one of these links, we will receive a small commission. To know more about our ethics, you can visit our full disclosure page. Thank you!
TABLE OF CONTENTS
1. Design and Ease of Use
2. Viewfinder and Monitors
3. Image Quality
4. Drive Speed and Buffer
5. Eye Focus and Tracking for Animals
6. Birds in Flight
7. Eye Control AF and Back Button Focus
8. Video
9. Additional specs and Feedback
10. RF 100-500mm Lens
11. Video Review
12. Conclusion
Main Specs
- Sensor: 24.1MP BSI Stacked CMOS
- Format: 35mm (full frame)
- Lens system: RF-mount
- Weatherproof: Yes
- Internal Stabilisation: Yes (5-axis)
- Autofocus: Dual Pixel CMOS AF II
- Continuous shooting: 12fps, or 30fps with electronic shutter
- ISO Sensitivity: 100 – 102400 ISO (pull 50, push up to 204800)
- Shutter Speeds: 1/8000s to 30s, 1/64000s with electronic shutter
- Viewfinder: 0.5-in OLED with 5.76M dots, 23mm eye point, 0.76x magnification, 120fps
- Rear monitor: Multi-angle 3.2″ LCD (4.15M dots) with touch sensitivity
- Movie recording: 6K DCI up to 60p, 4K up to 120p, 12-bit RAW (internal), 10-bit 4:2:2 with C-Log or HDR PQ
- Built-in Flash: No
- Extra Features: WiFi, Bluetooth, Bracketing, Tethering, Time-lapse, Dual SD slots, Eye Control
- Dimensions: 150x 142.6 x 87.2mm
- Weight: 1015g (including battery and memory cards)
- Firmware version: 1.2.1
- Release: 2021
Design and Ease of Use
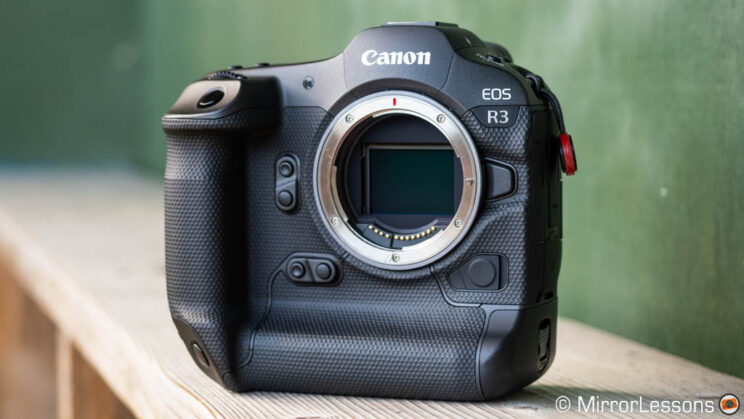
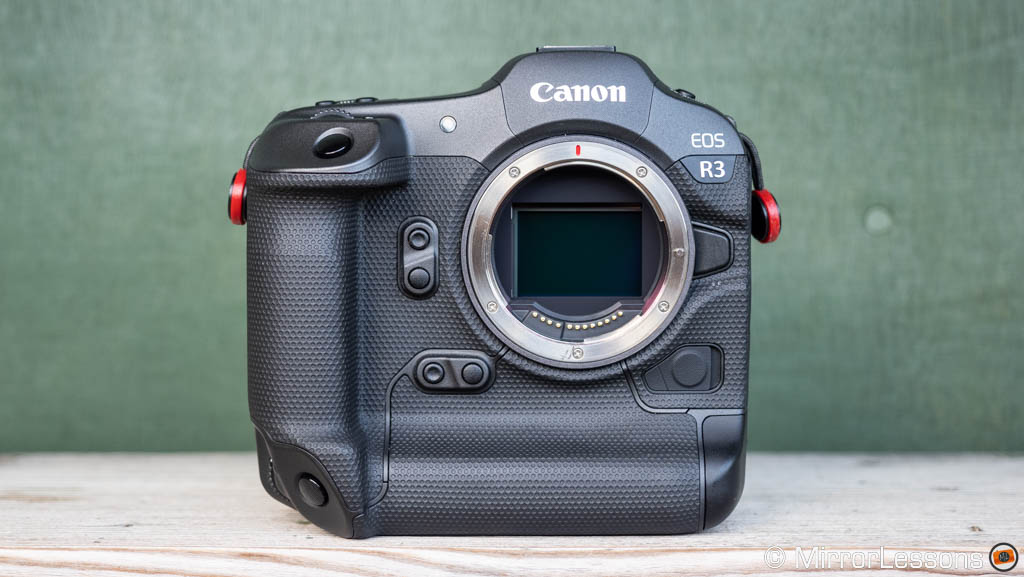
The first thought that came to mind, as soon as I took the R3 out of its case, was that it is smaller than I anticipated. Don’t get me wrong, we’re talking about a large mirrorless camera, bigger and heavier than most products I review (also because of the built-in vertical grip), but at the same time it is lighter than previous Canon’s flagship DSLRs that share the same design philosophy.
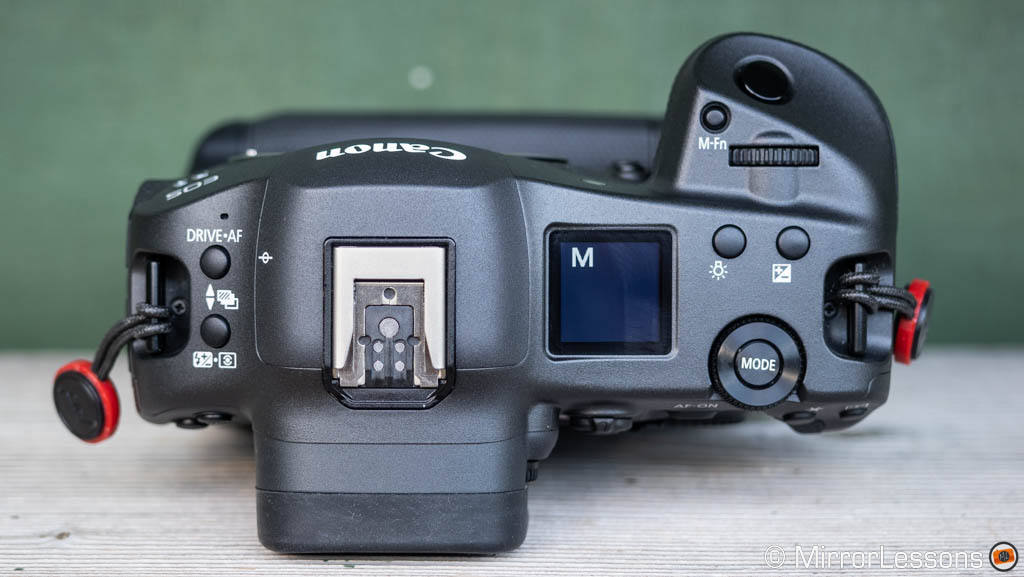
Canon has years of experience at the highest level of professional photography, and you perceive the brand’s know-how as soon as you start using the camera.
The build quality is fantastic, and the grip is large and comfortable. Many buttons and dials are replicated for the vertical orientation, so you can seamlessly switch between portrait and landscape mode, and find the same buttons at your fingertip. Naturally, the camera is weather sealed to the highest quality standard.
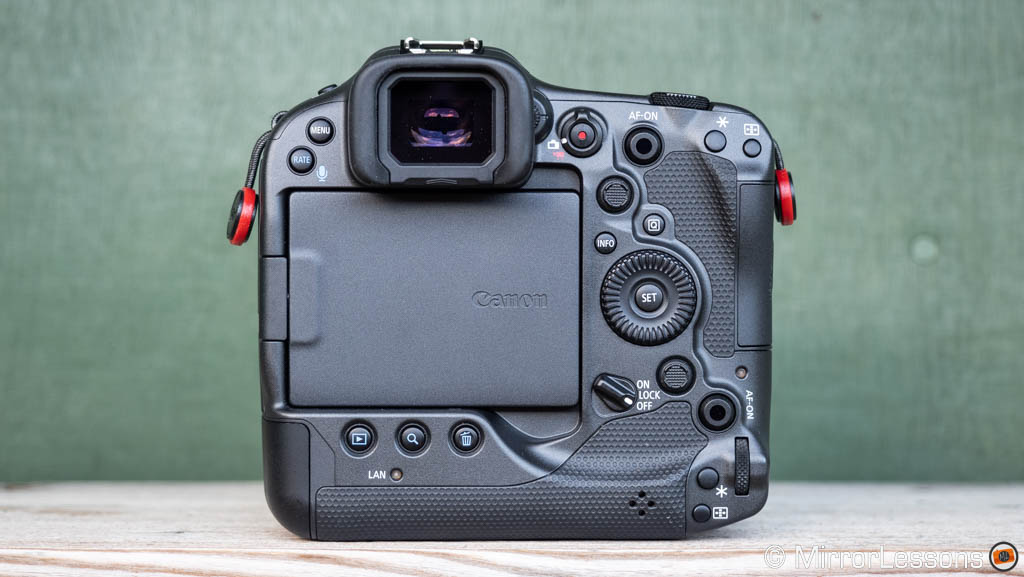
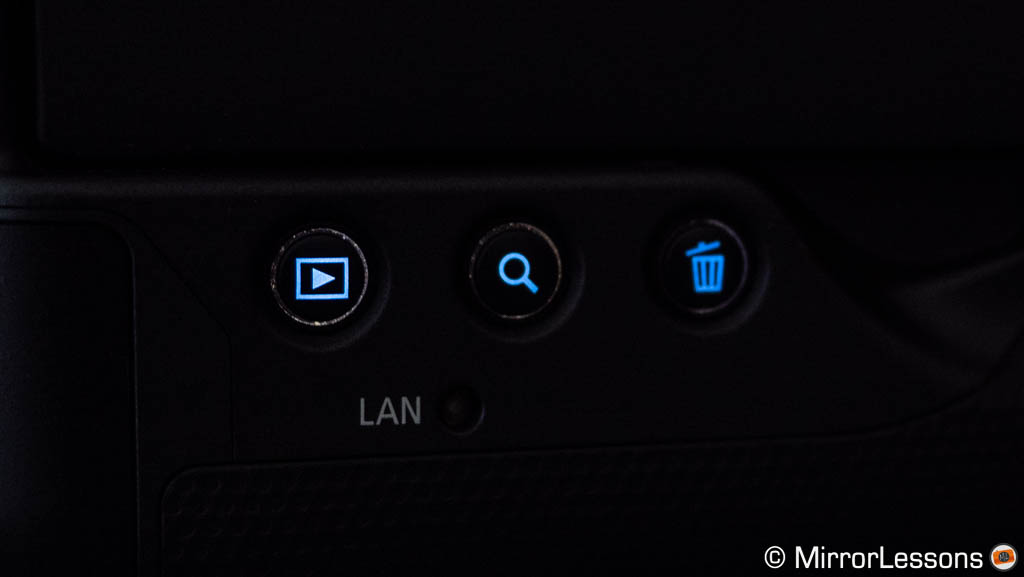
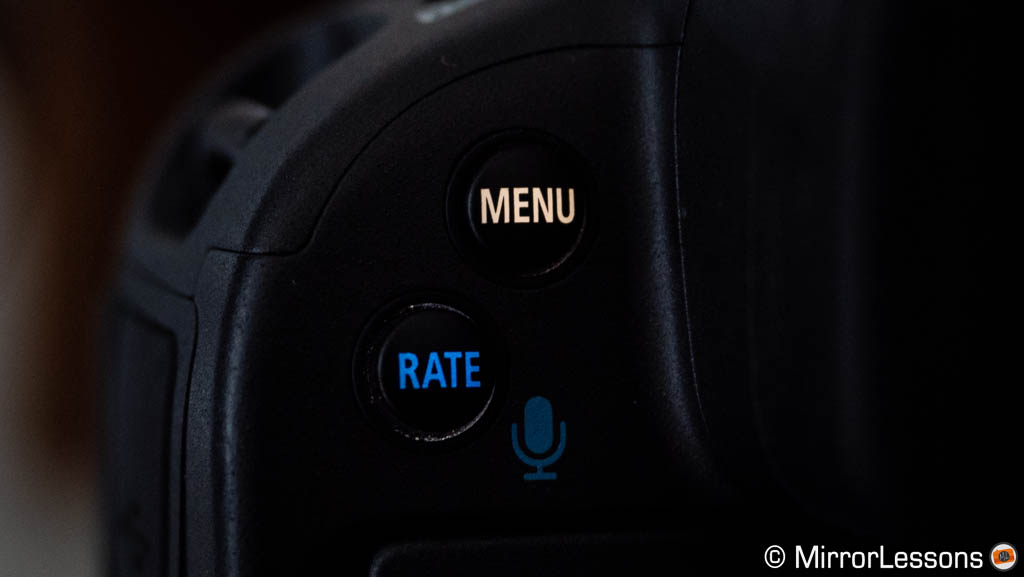
There are a lot of buttons and dials, and many can be customised. The blue buttons as well as the MENU button on the back can light up to be more visible when you work in low light conditions.
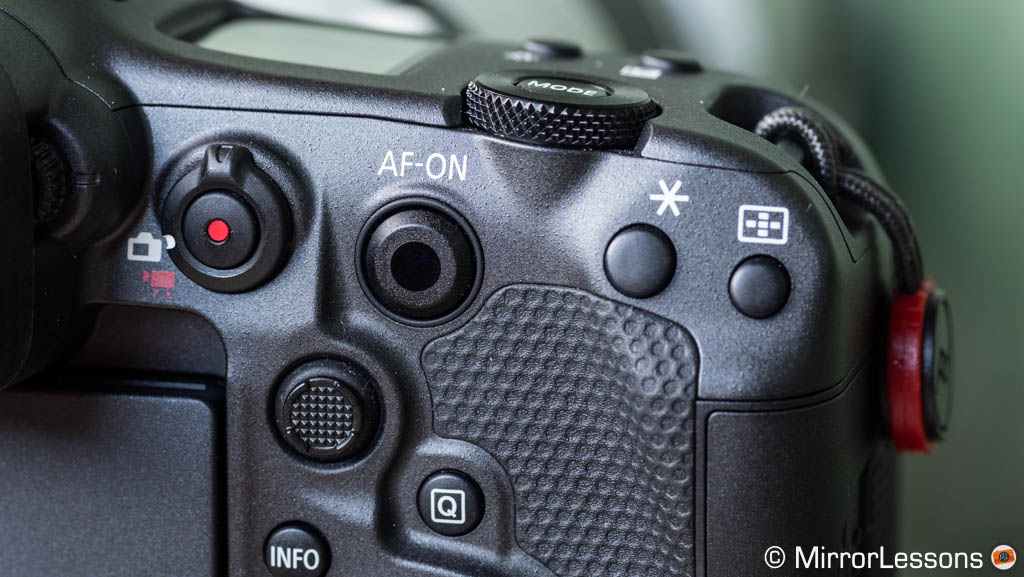
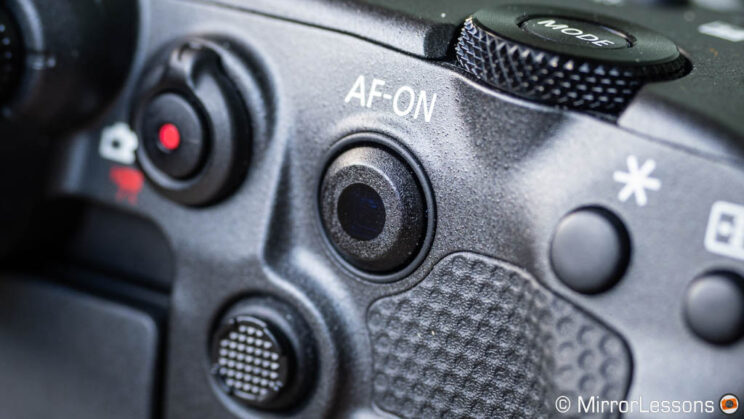
One button that deserves a special mention is the Smart Controller. It is a small touch pad that allows you to move the AF point by simply swiping your finger: you don’t have to physically move the button left or right, up or down. It is the same found on the 1D X III.
The Smart Controller is very precise and is the fastest way to move the AF area using a button. However, it is also very sensitive and, too many times, I found the AF point in one corner of the screen because I touched it (even just lightly) without realising.
You can configure the Smart Controller to make it active only when the camera is metering, and disable the one on the vertical grip. You can also vary the sensitivity, although this affects how fast the AF area is moved on the screen, not how sensitive the pad is. I’ve tried every option, but in the end it wasn’t working for me, so I disabled it and used the traditional AF Joystick instead. Thankfully, Canon has included both, so you can choose the one you prefer.
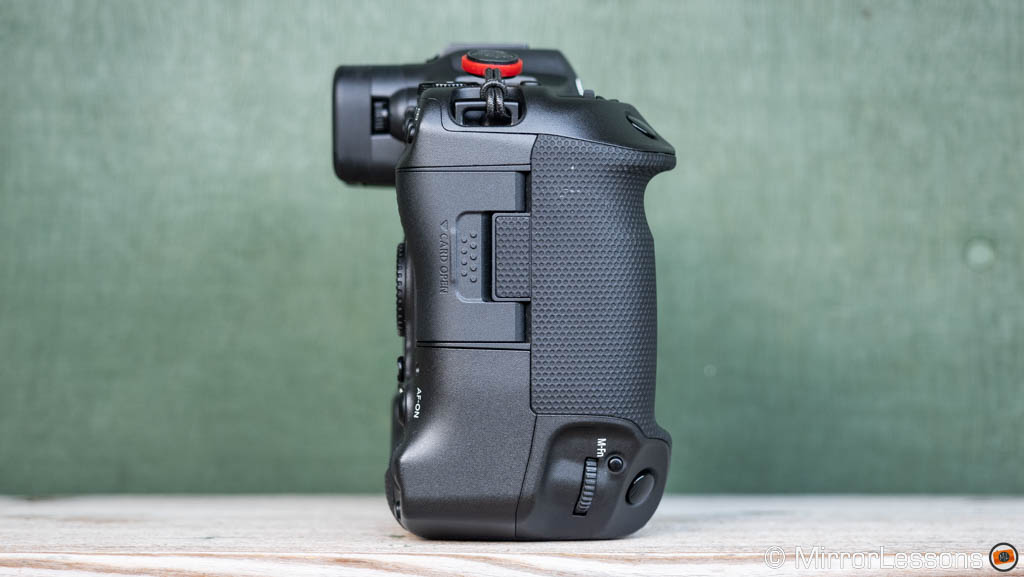
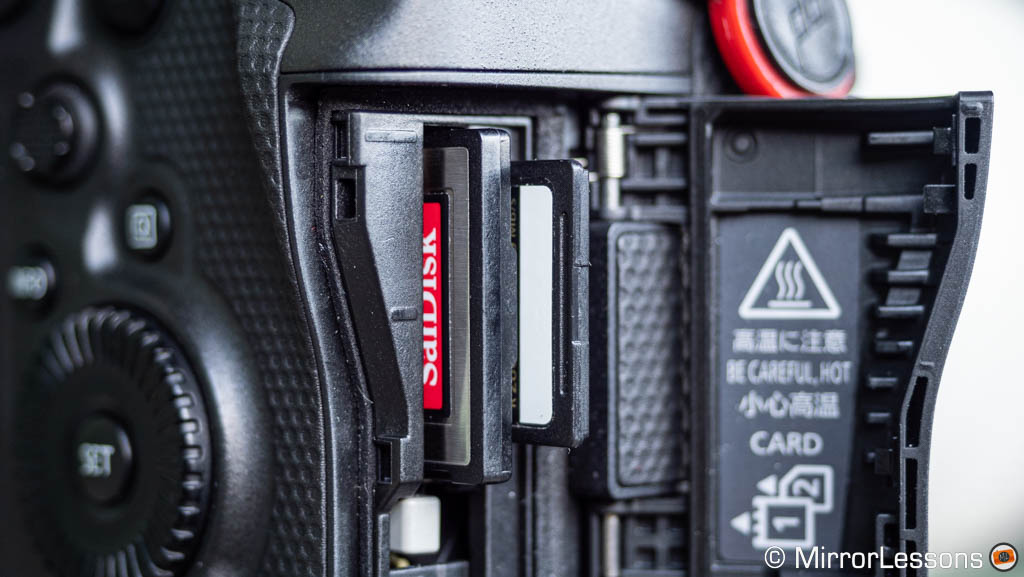
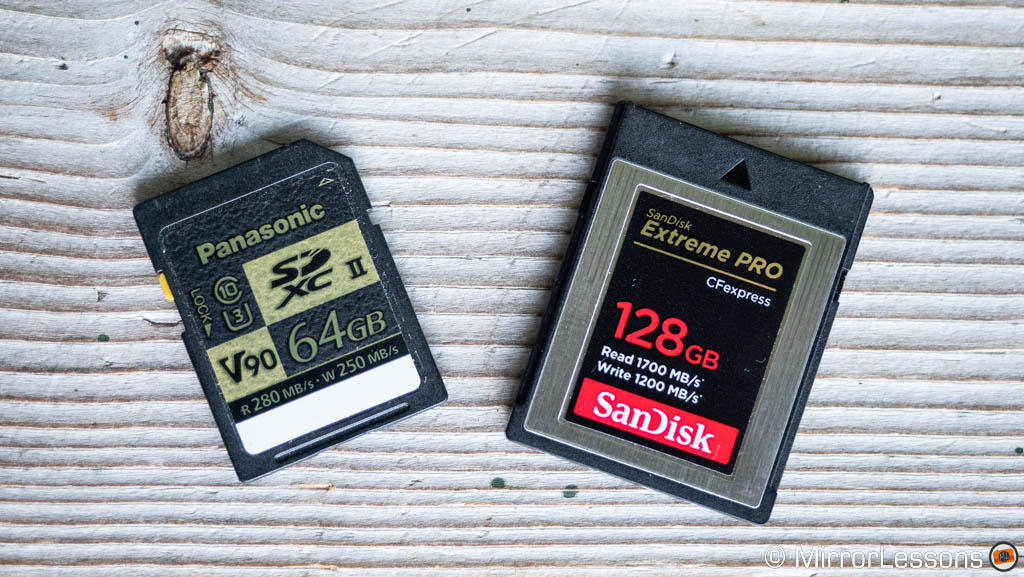
Concerning memory cards, there is one slot for CFexpress Type B, and one for SD cards (UHS-II). CFexpress cards are faster, and are required when you want to record 4K 120p or 6K RAW video. They also help clear the buffer more quickly as you’ll see further down.
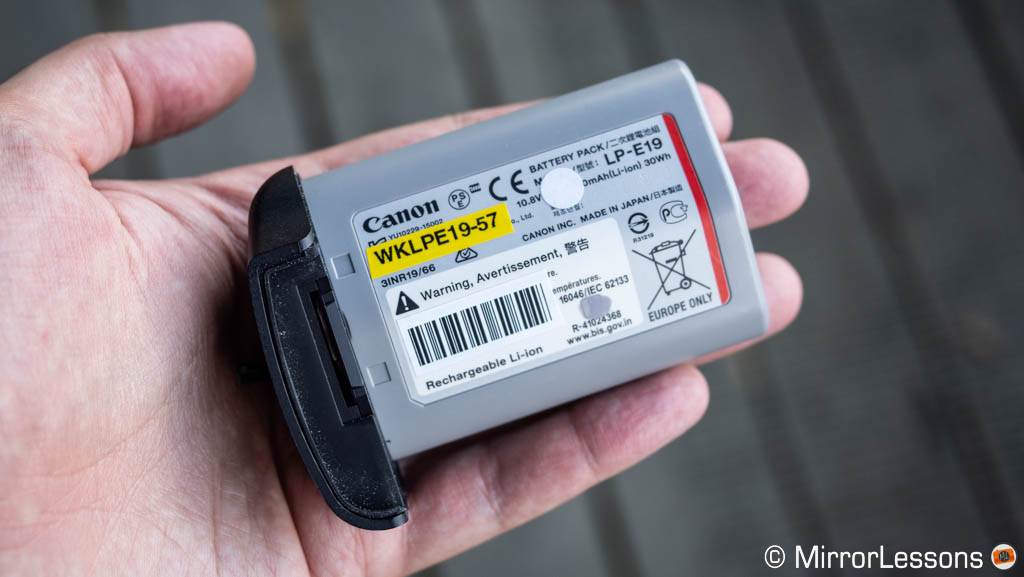
The battery is massive: it’s the LP-E19, the same used for the 1DX series, and the performance is very good overall. I managed to capture more than 6,500 images of birds in flight, using the fastest burst speed, C-AF and high frame-rate in the EVF, and still had 54% left. It is certainly one of the best performing batteries on the mirrorless camera market.
Overall, the design of the R3 left me with a very positive impression. To find a few things to complain about, I have to nitpick.
For example, I wish every option was available for all the function buttons, and there are also a few settings missing, like for example the possibility to assign Subject Detection (Human, Animal, Vehicle) to a button. I couldn’t find this option anywhere, so I had to customise the Q menu, getting rid of all the items except Subject Detection, so I could recall it quickly. Of course, this only works if you don’t use the default Q menu a lot.
The other annoying thing is My Menu. It’s very useful to save all the settings you like in the same place, but irritating in that you can’t move a setting from one page to another. You have to first delete it from a page, and then re-assign it to another page.
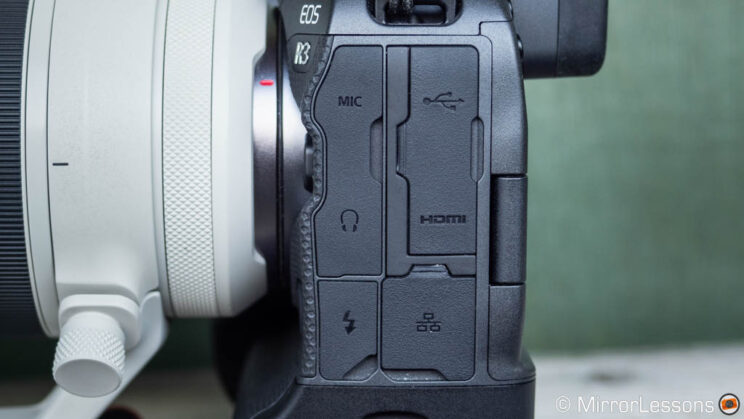
Finally, we have the connection ports on the side and, to be fair, the R3 is very generous. There is a microphone input, headphone output, flash sync, USB C (10Gbps), HDMI and a LAN port. The only disappointment is that HDMI is the small Micro Type D rather than the full size port.
Viewfinder and Monitors
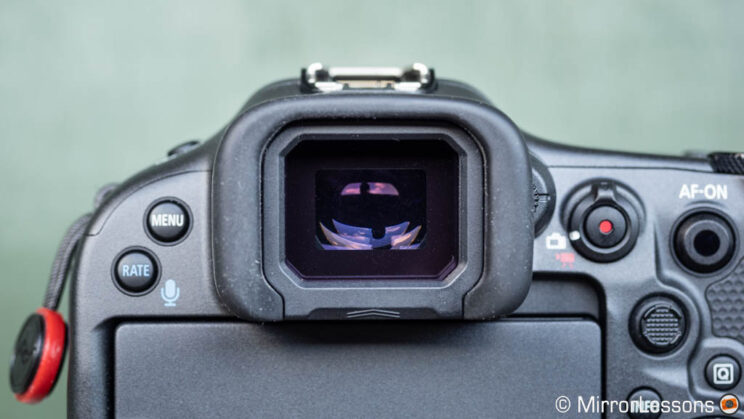
The electronic viewfinder on the R3 is excellent with 5.76M dots, 0.76x magnification, a refresh rate of 120Hz and an eyepoint of 23mm. It may not have the most impressive specs on the market, but the quality of the OLED panel is really high, and a joy to use. It is also very comfortable when wearing glasses.
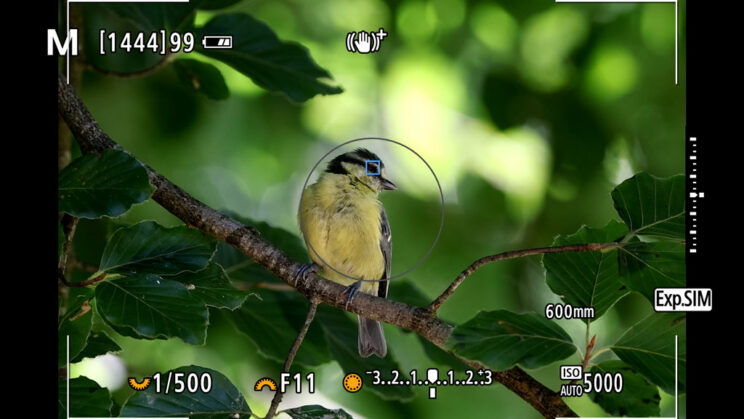
An interesting option for the EVF is called OVF Simulation View Assist. It disables the exposure, white balance and picture style preview, and gives you a brighter image with more dynamic range instead. The brightness is adjusted automatically to give you the best picture possible at any time.
It is not the first time that I’ve encounter this kind of setting, but what is interesting about Canon’s solution is that it exploits the capabilities of a modern OLED panel to give you a true HDR image, whereas other cameras user a less linear curve. DPreview has an interesting article if you want to read more about it.
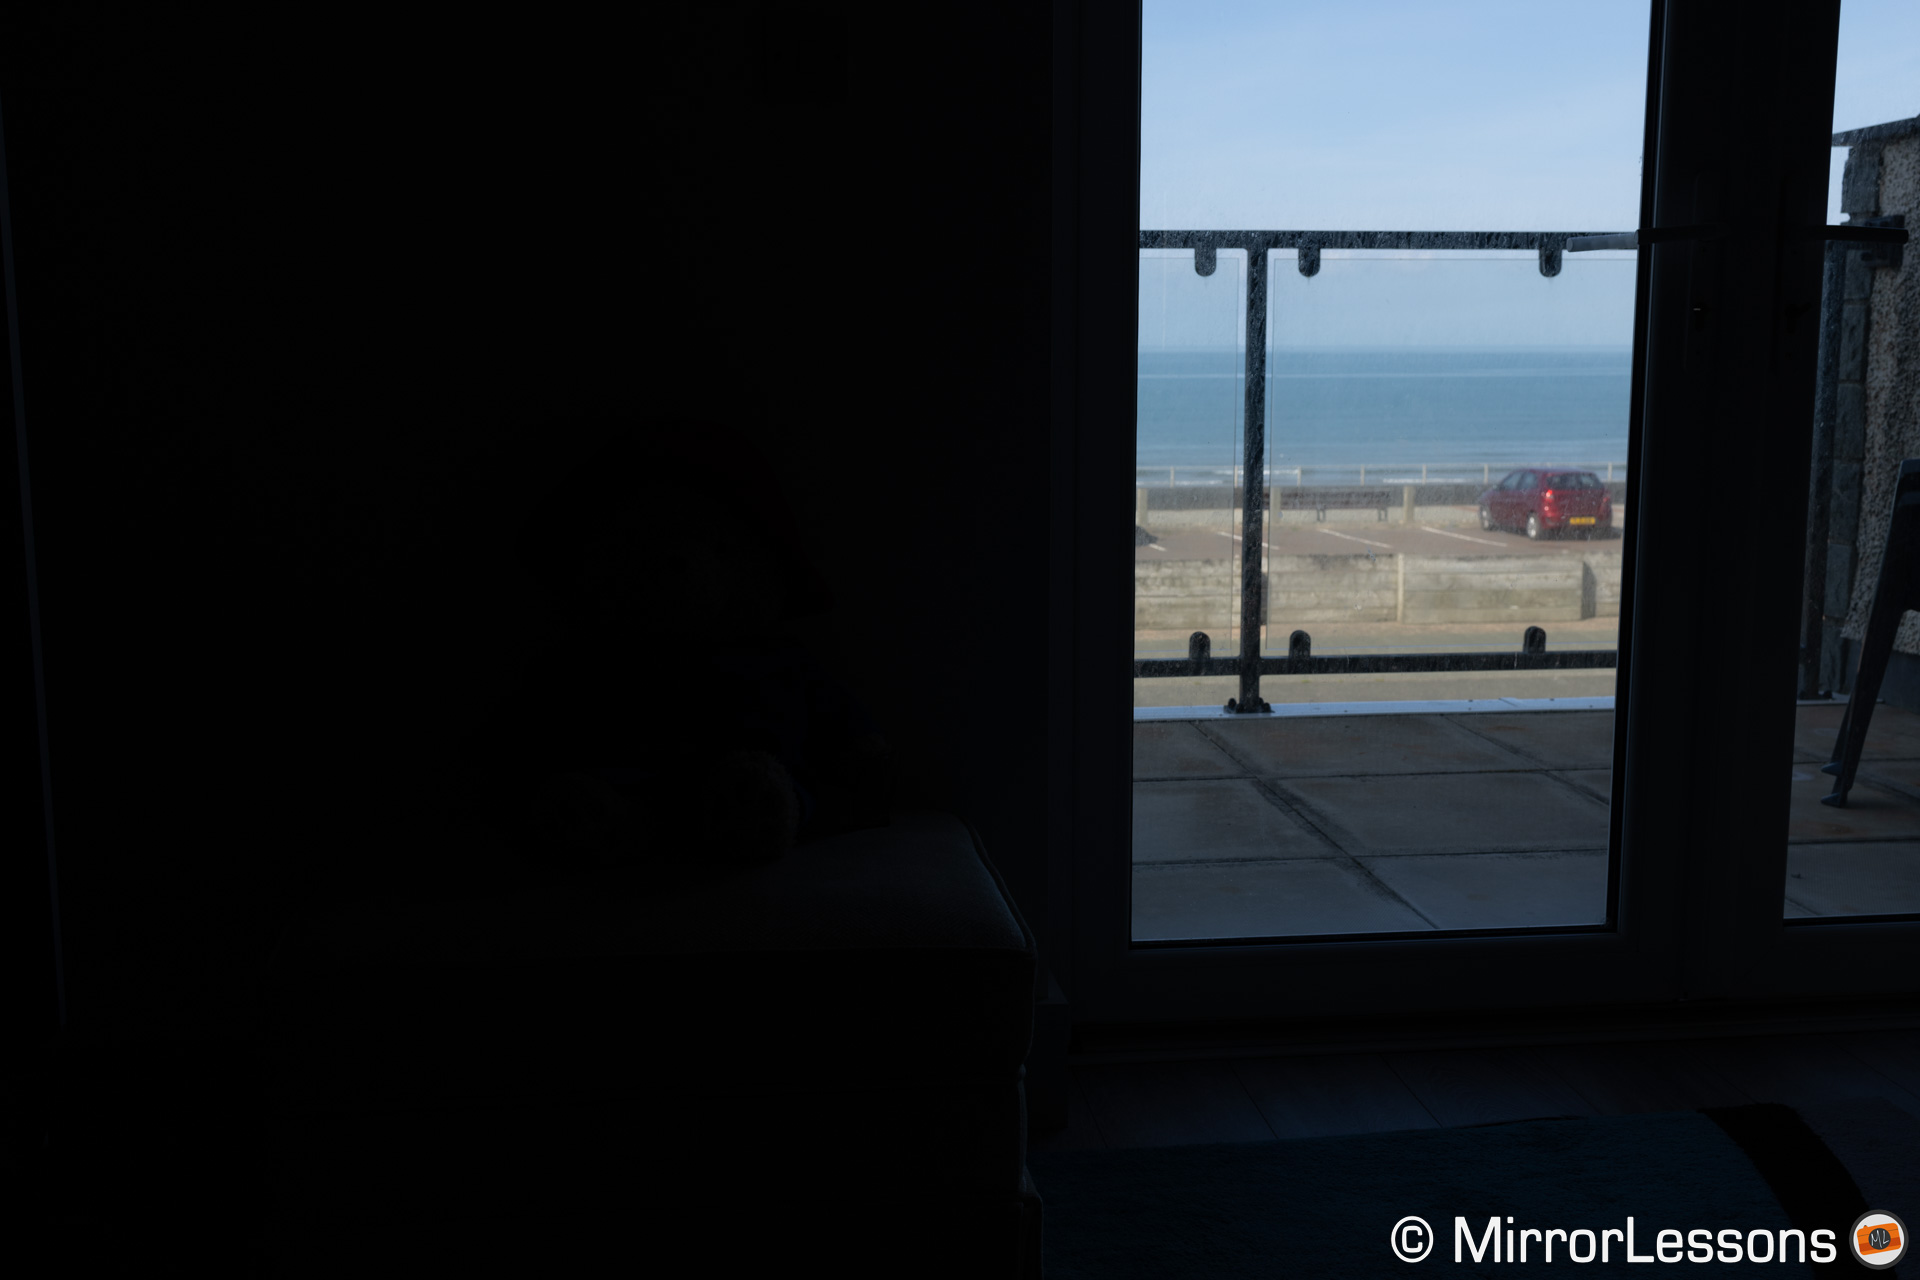
Although not exactly like an optical viewfinder (the point is to ease the transition for long time DSLR shooters), I found the live view quality much better, with a natural look that is easy to appreciate thanks to the extra details preserved in the dark and bright areas of the frame. You can get an idea with the two photos below. They were taken with my iPhone so they’re not a perfect representation, but good enough to show you the difference.

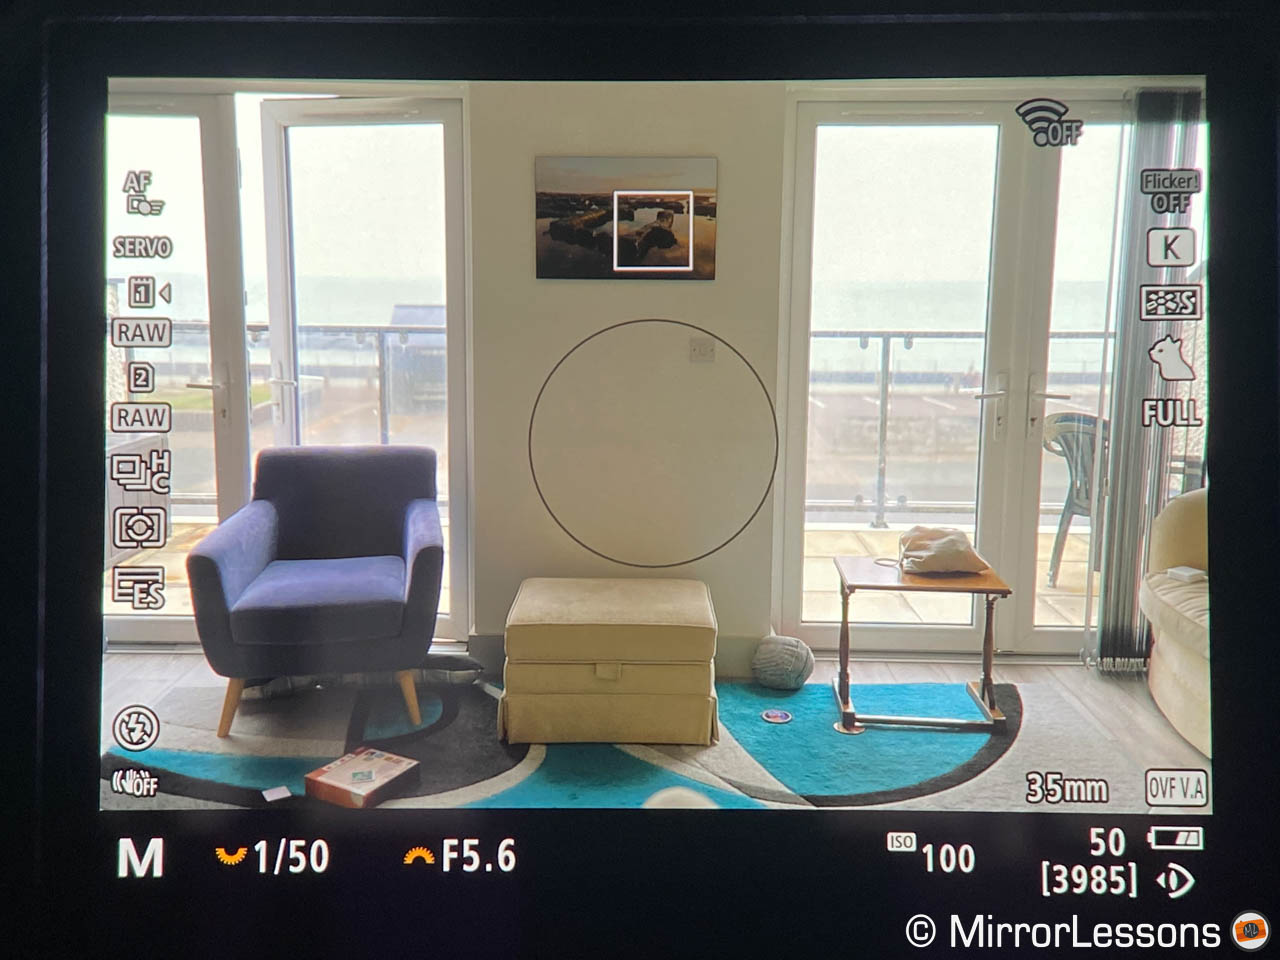
Of course, there are times when having the exposure preview is very useful (it’s one of the many benefits of mirrorless cameras after all) but, on occasion, it’s nice to prioritise a clearer and brighter view of your subject, especially when the animal moves fast through different light conditions (from light to shade for example).
Another favourite thing of mine on the R3 is the touch screen LCD monitor: it’s large (3.2-in) and, more importantly, has a superb resolution of 4.15M dots. It’s not every day you see a mirrorless camera with such a screen, and it’s a joy to use, especially if you focus manually. It works well outdoors in daylight, and you can program a button to give you a temporary boost in brightness.
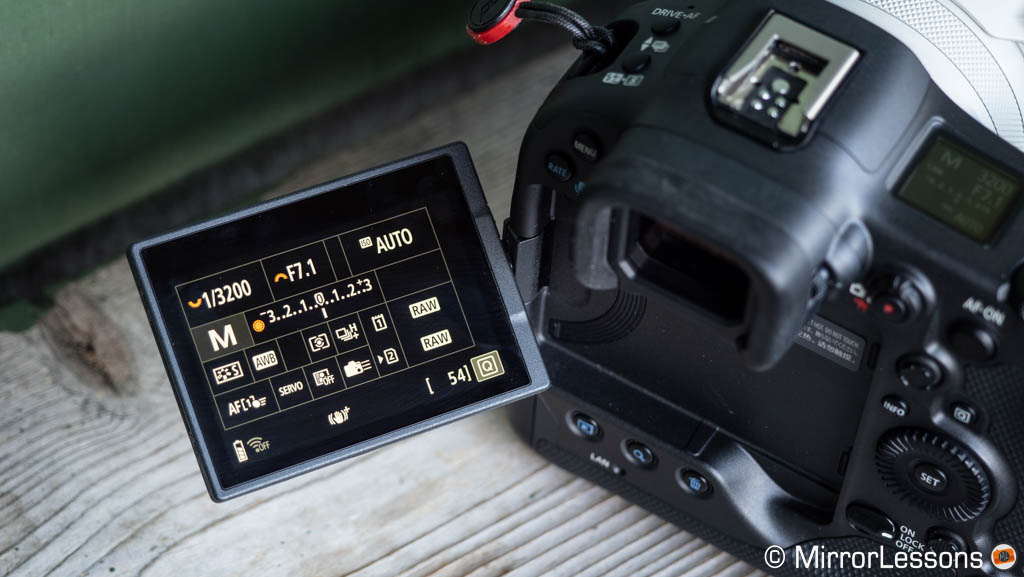
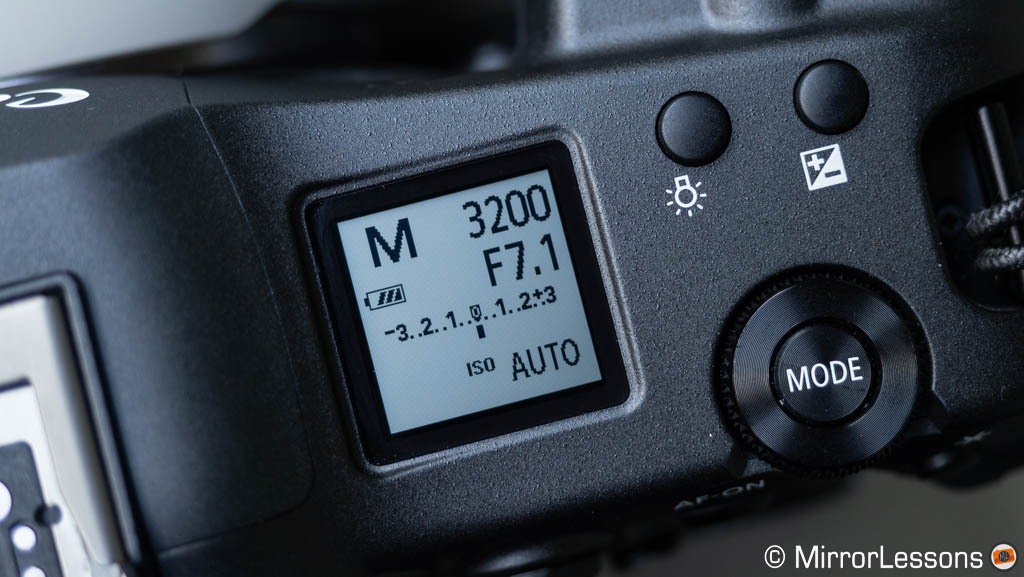
There is another small LCD screen found on top of the camera to check settings on the fly, and a small button near it (with the bulb icon) that lets you toggle between two pages of information. A longer press will invert the contrast.
Canon R3 Image Quality
The EOS R3 features a 24.1MP full frame BSI Stacked CMOS sensor, the first of its kind for Canon. In addition to the back-illumination structure, the stacked design allows the camera to process more data simultaneously, which helps with the drive speed among other things.

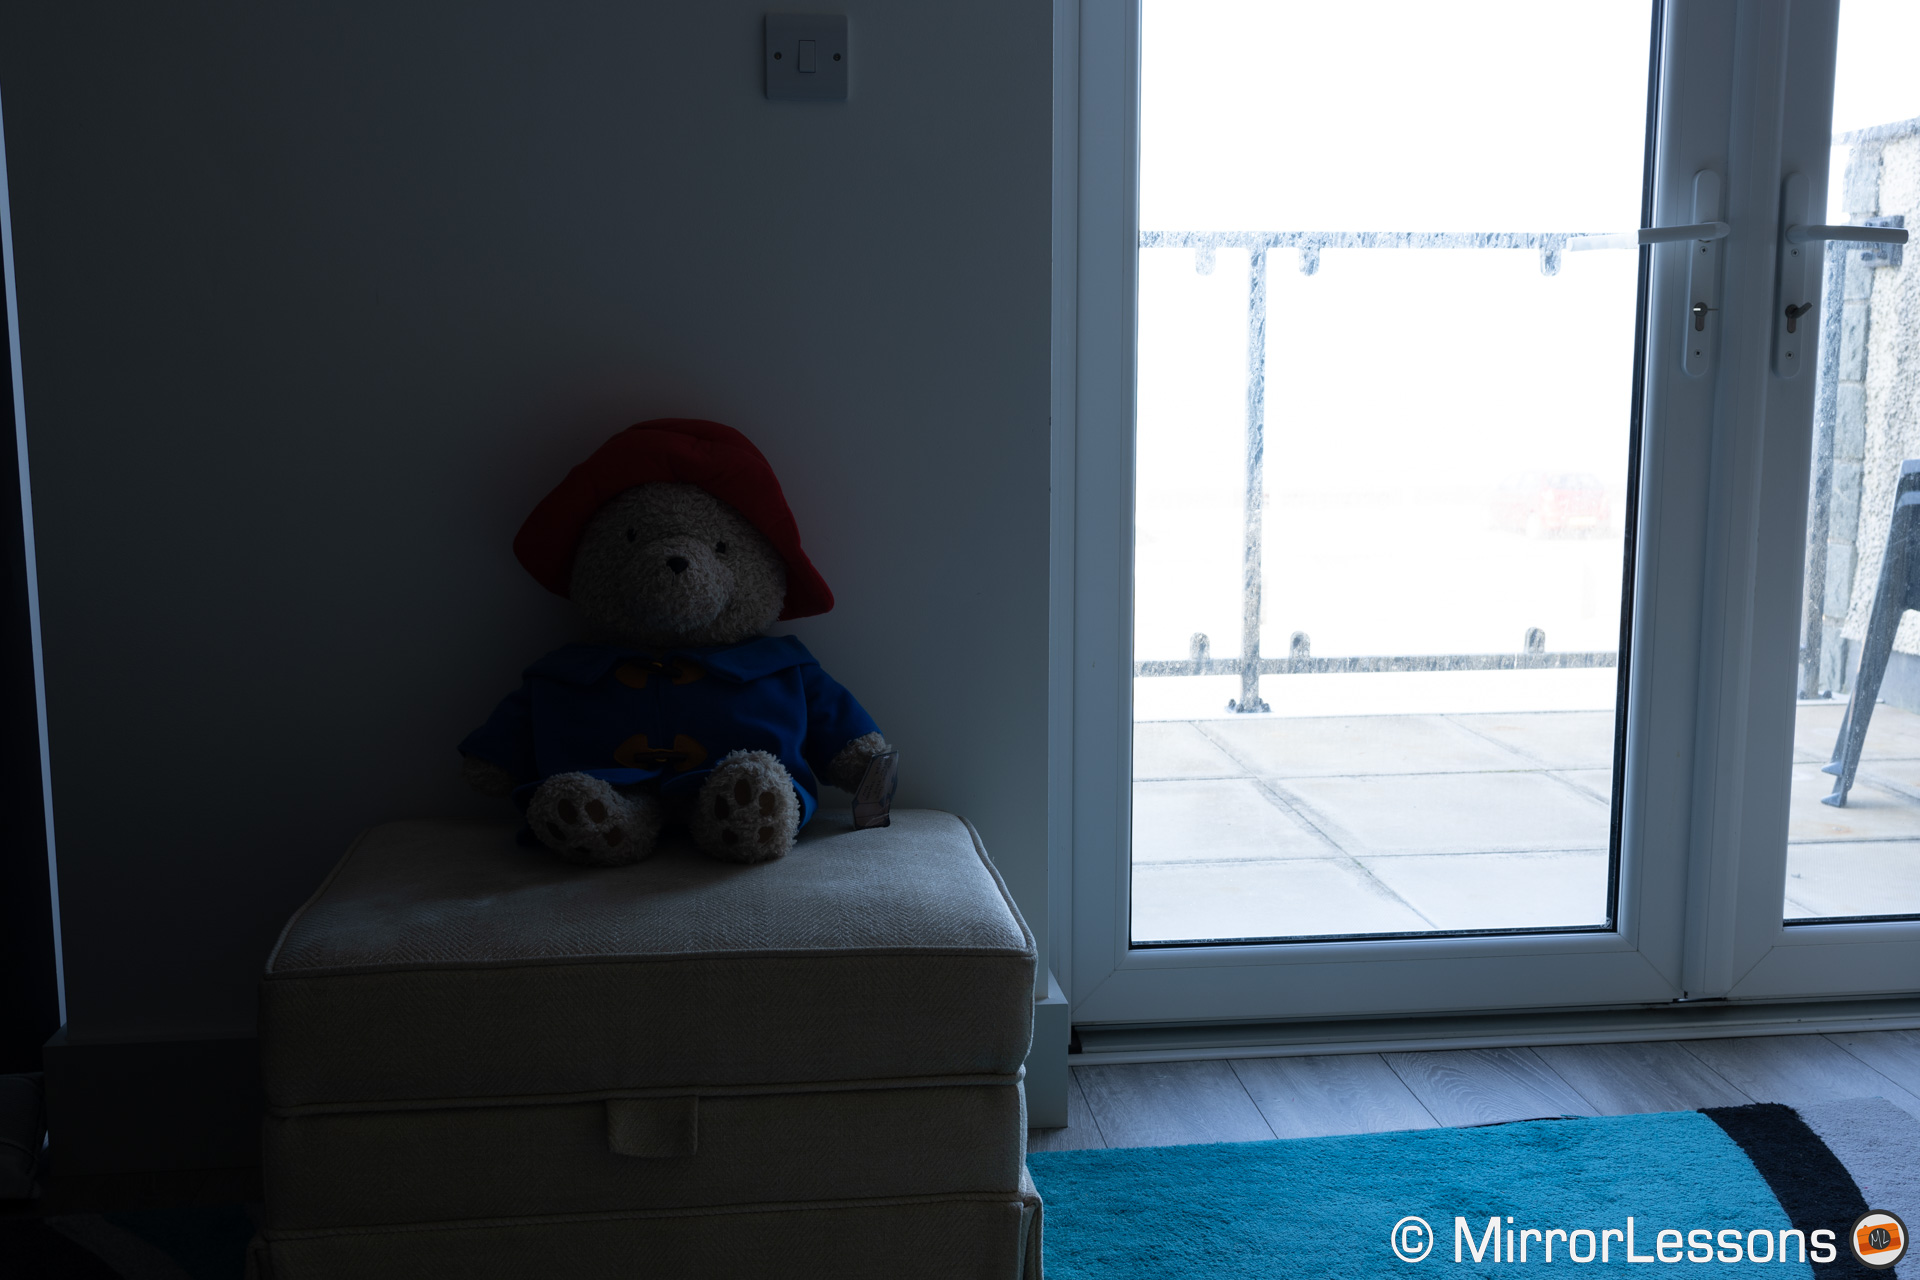
I didn’t go in-depth with my image quality test given the limited time I had, but I did the basics to analyse the Canon R3 dynamic range and high ISO.
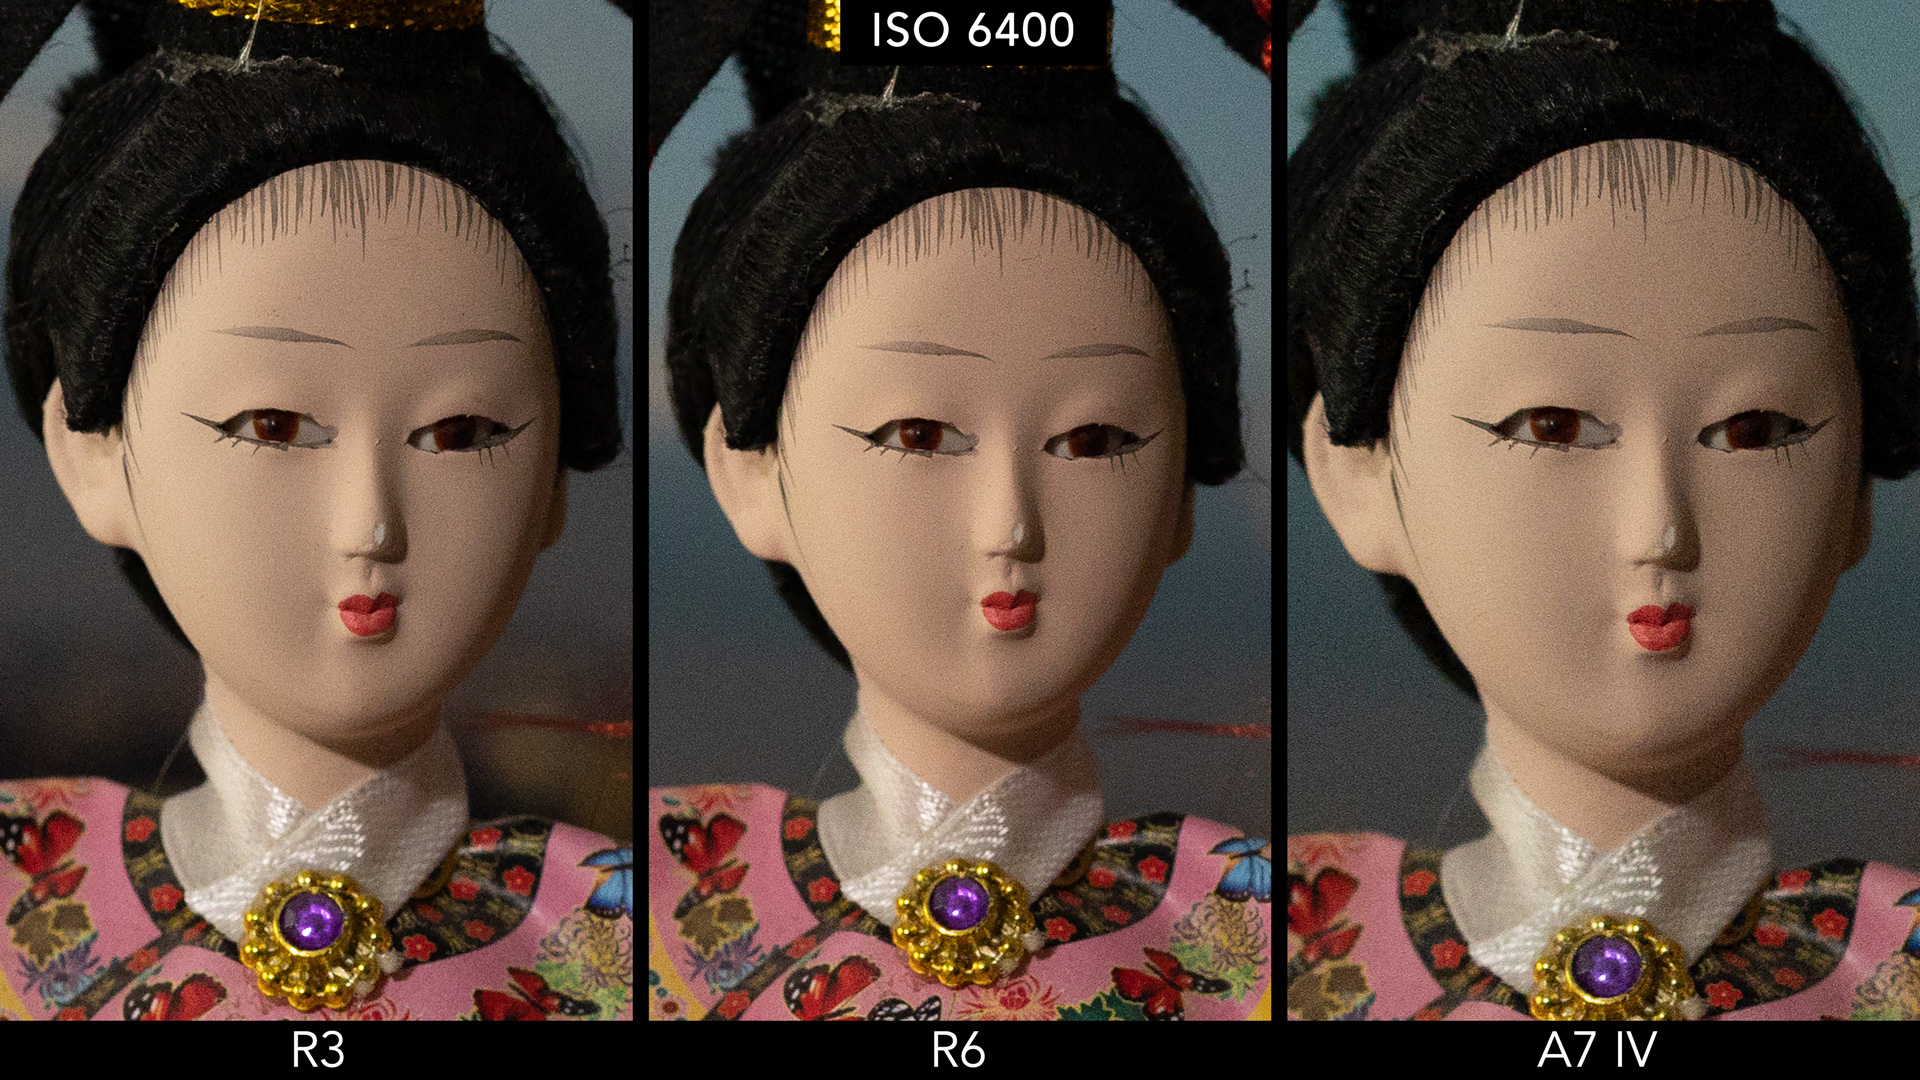
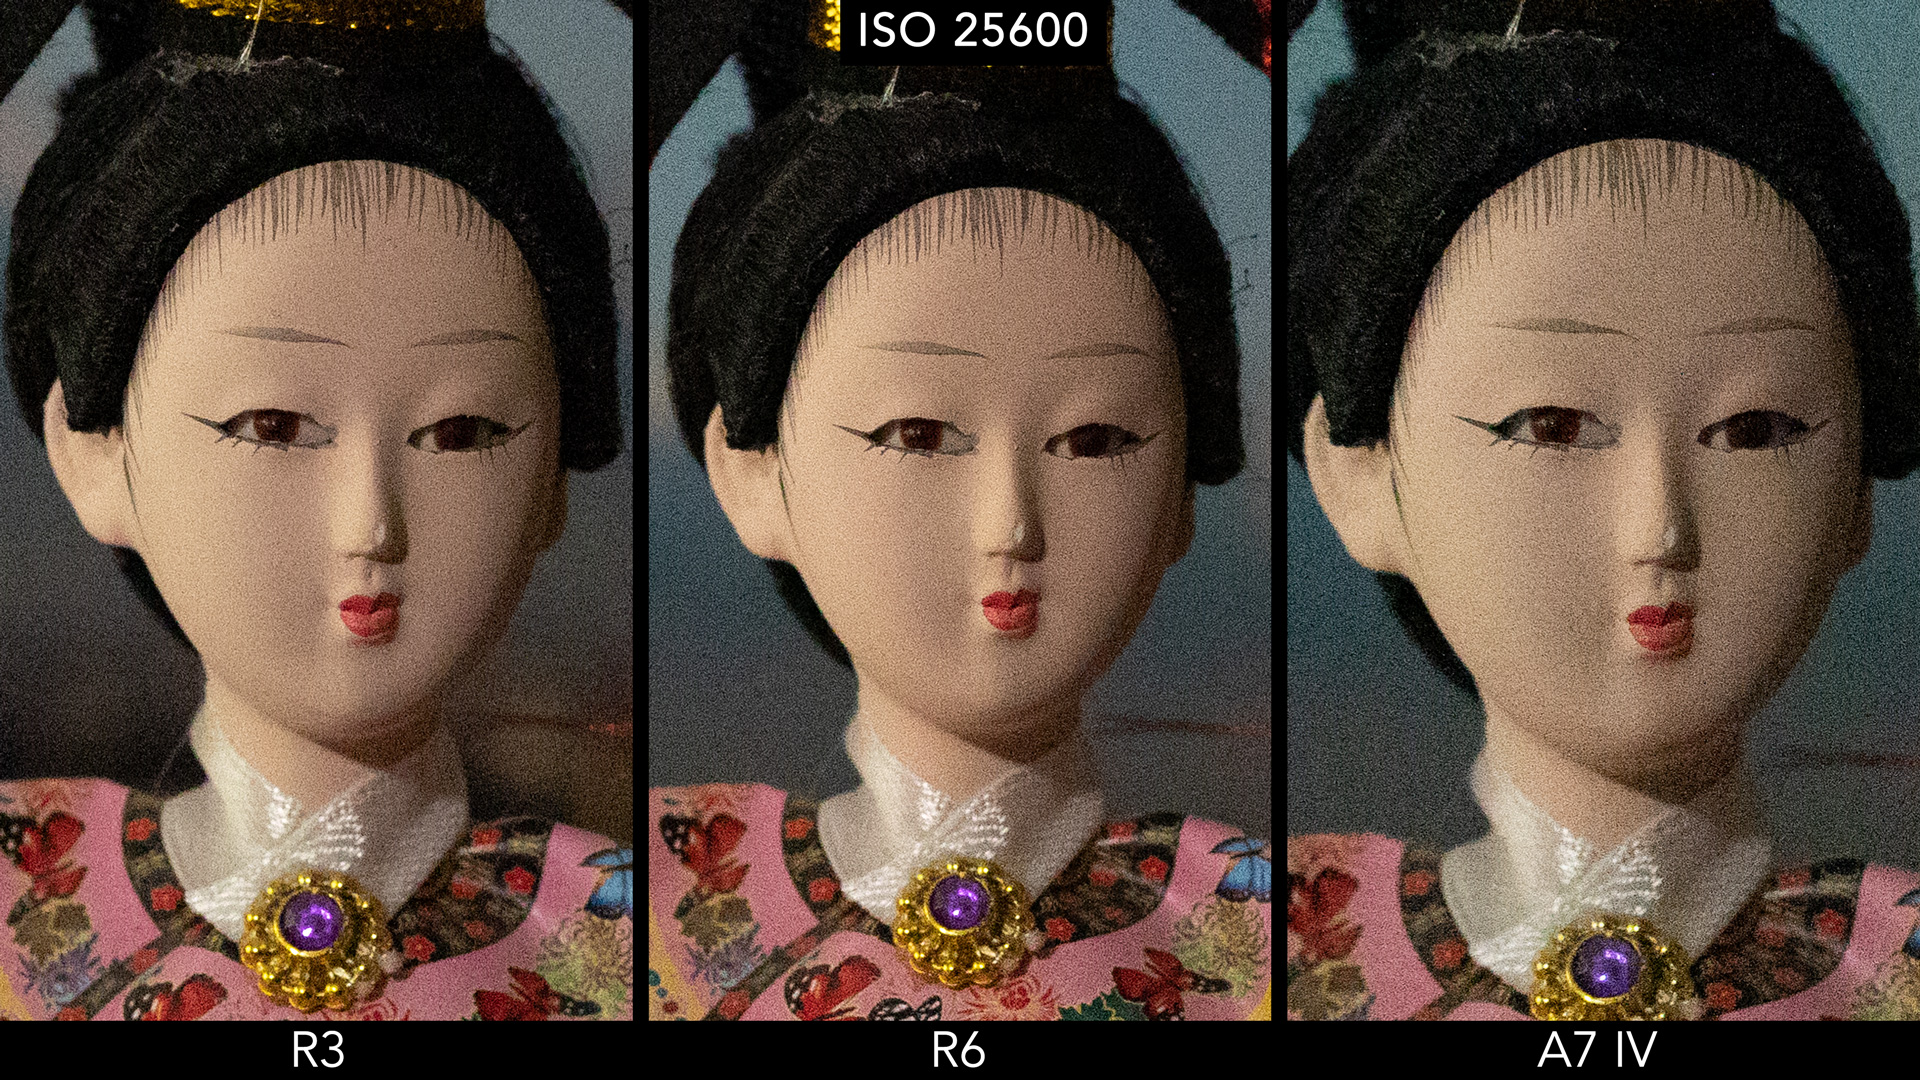
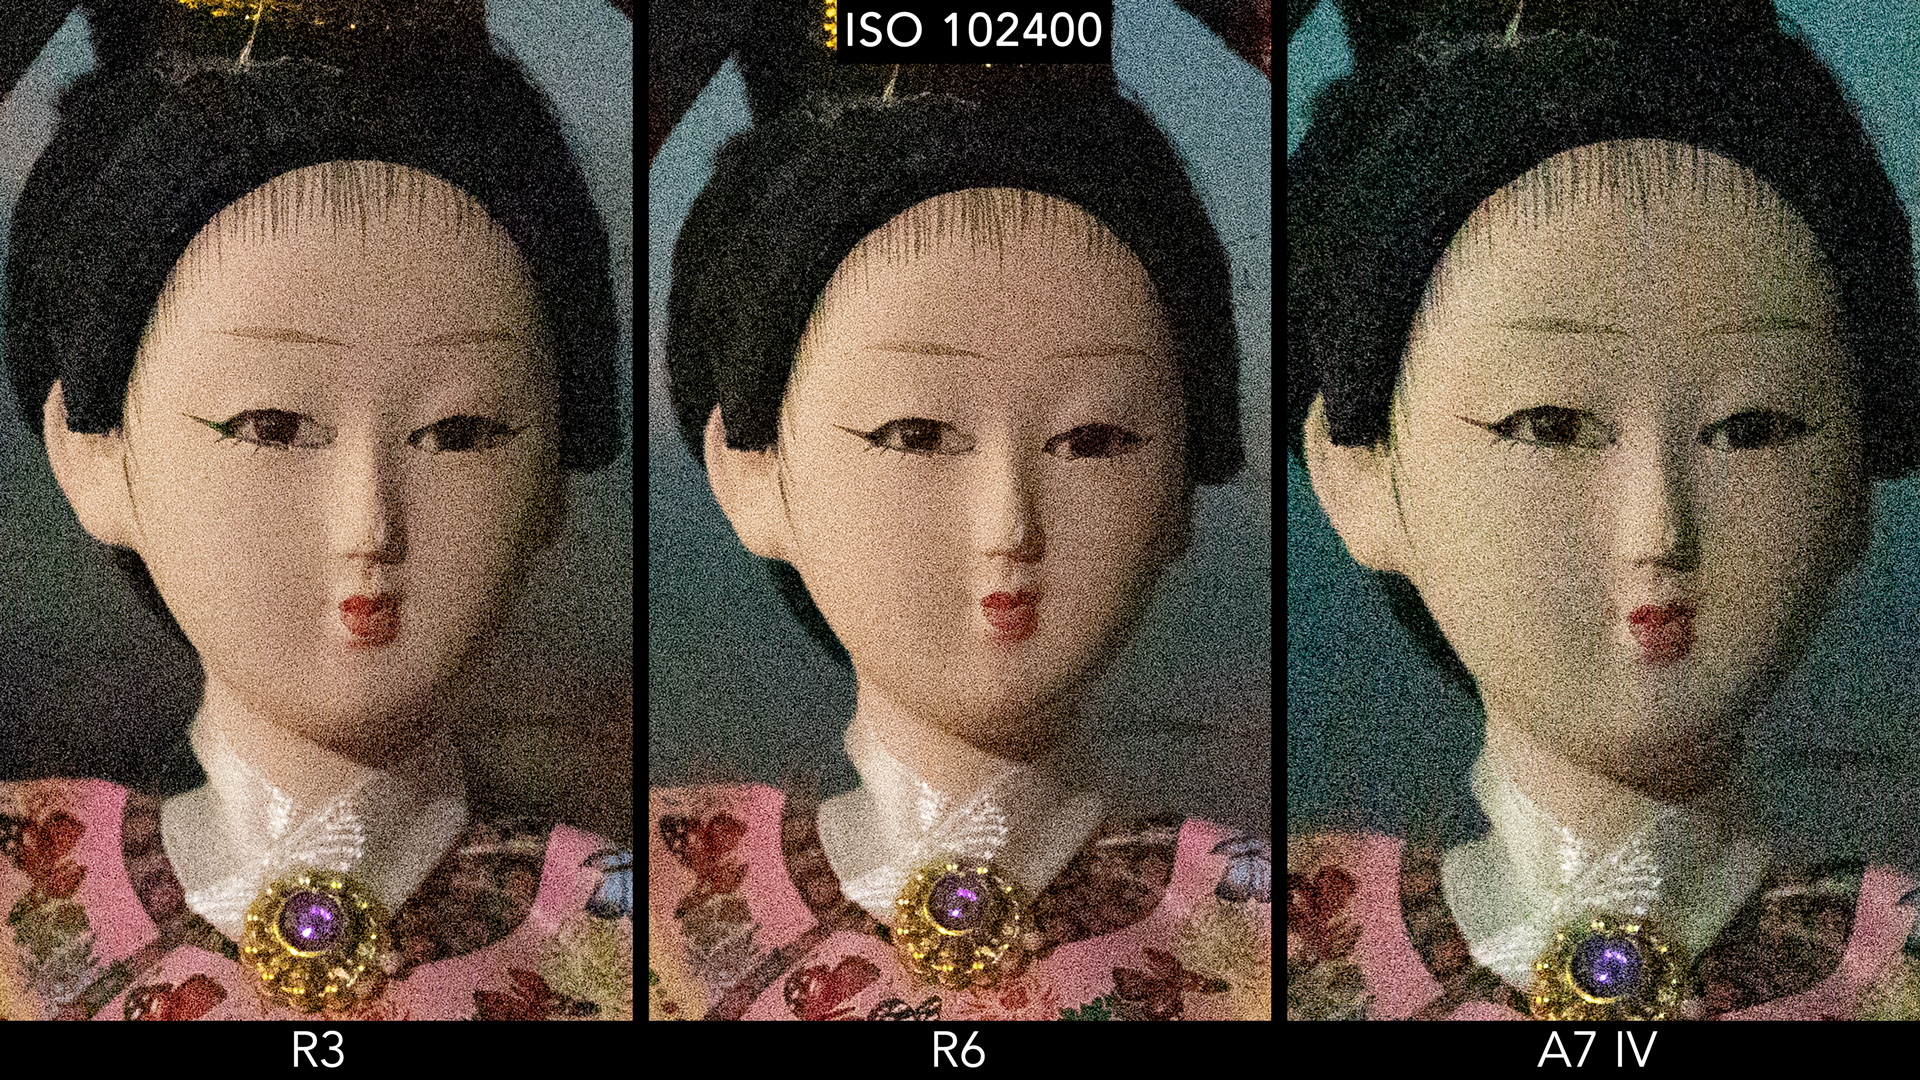
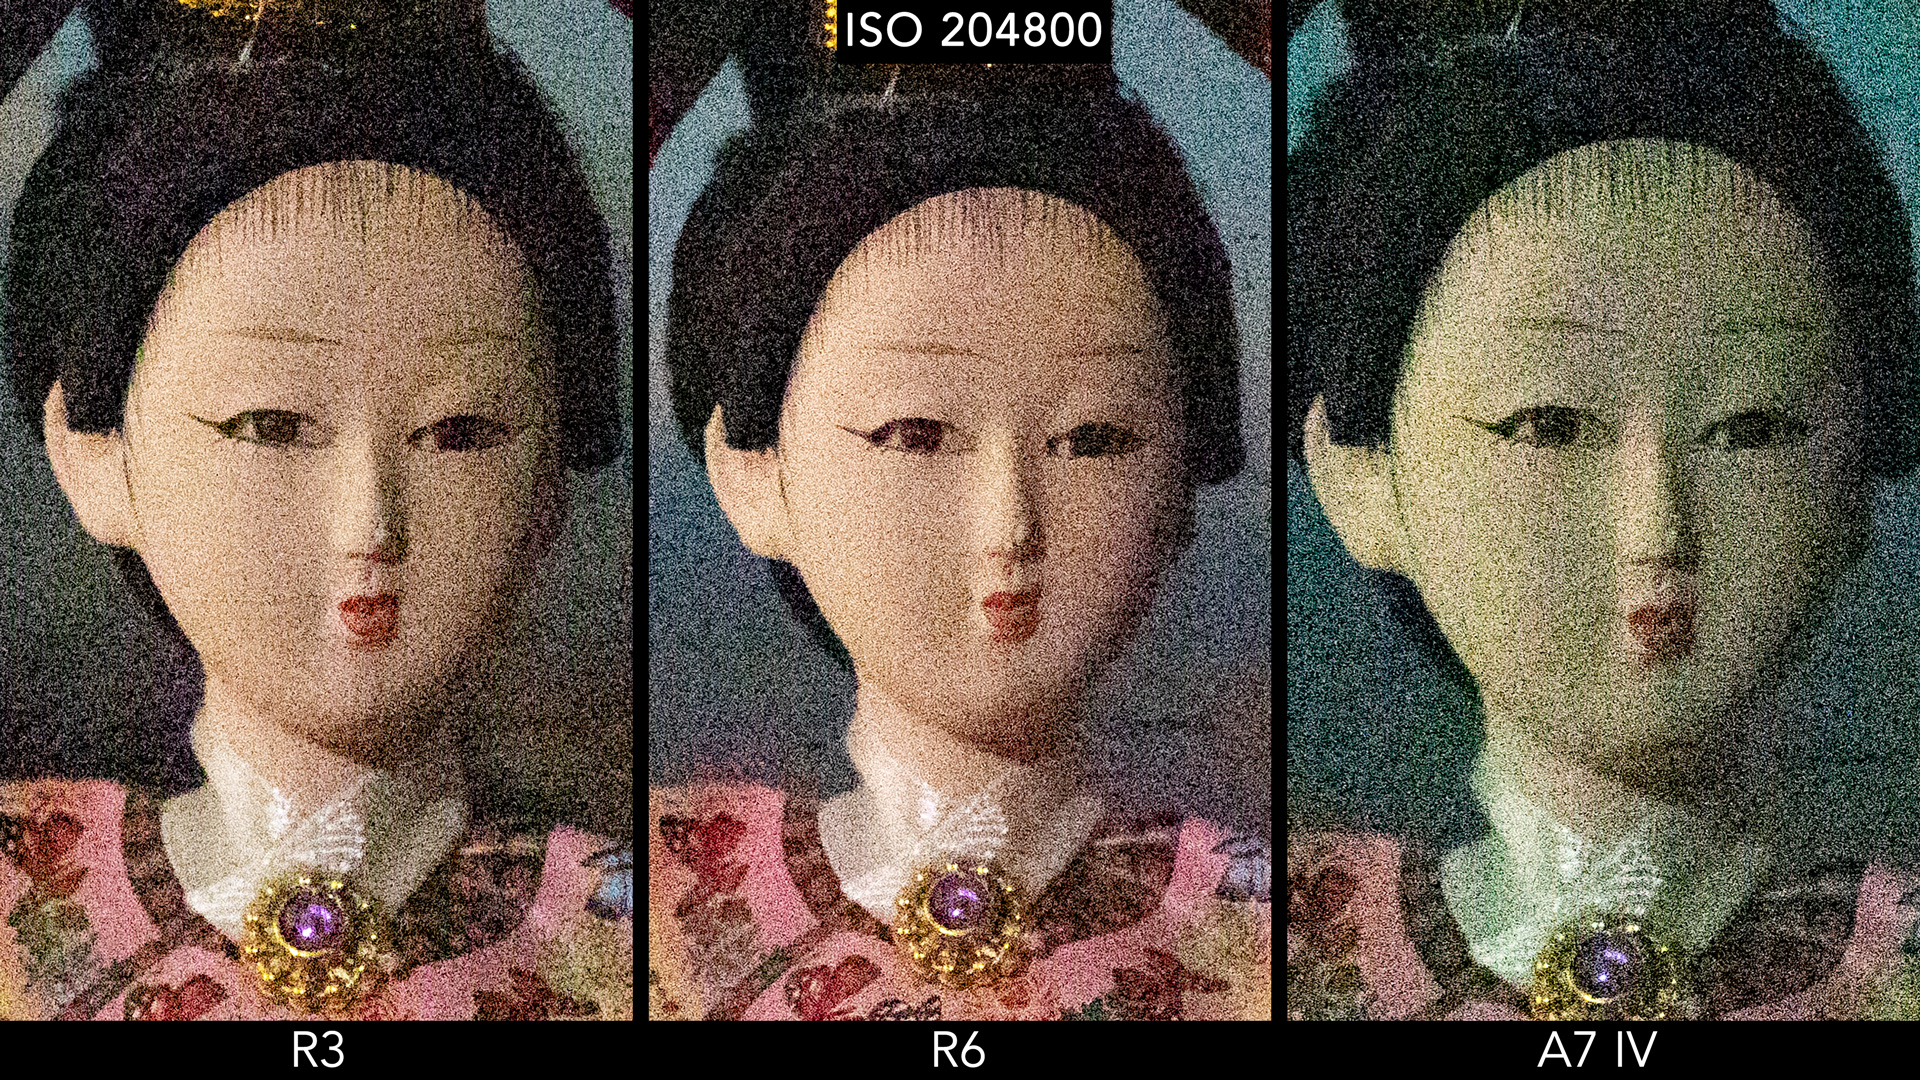
I put the camera against the R6 and Sony A7 IV to have a few references. Don’t look for a particular reason behind these two choices, these were the models I had with me at the time.
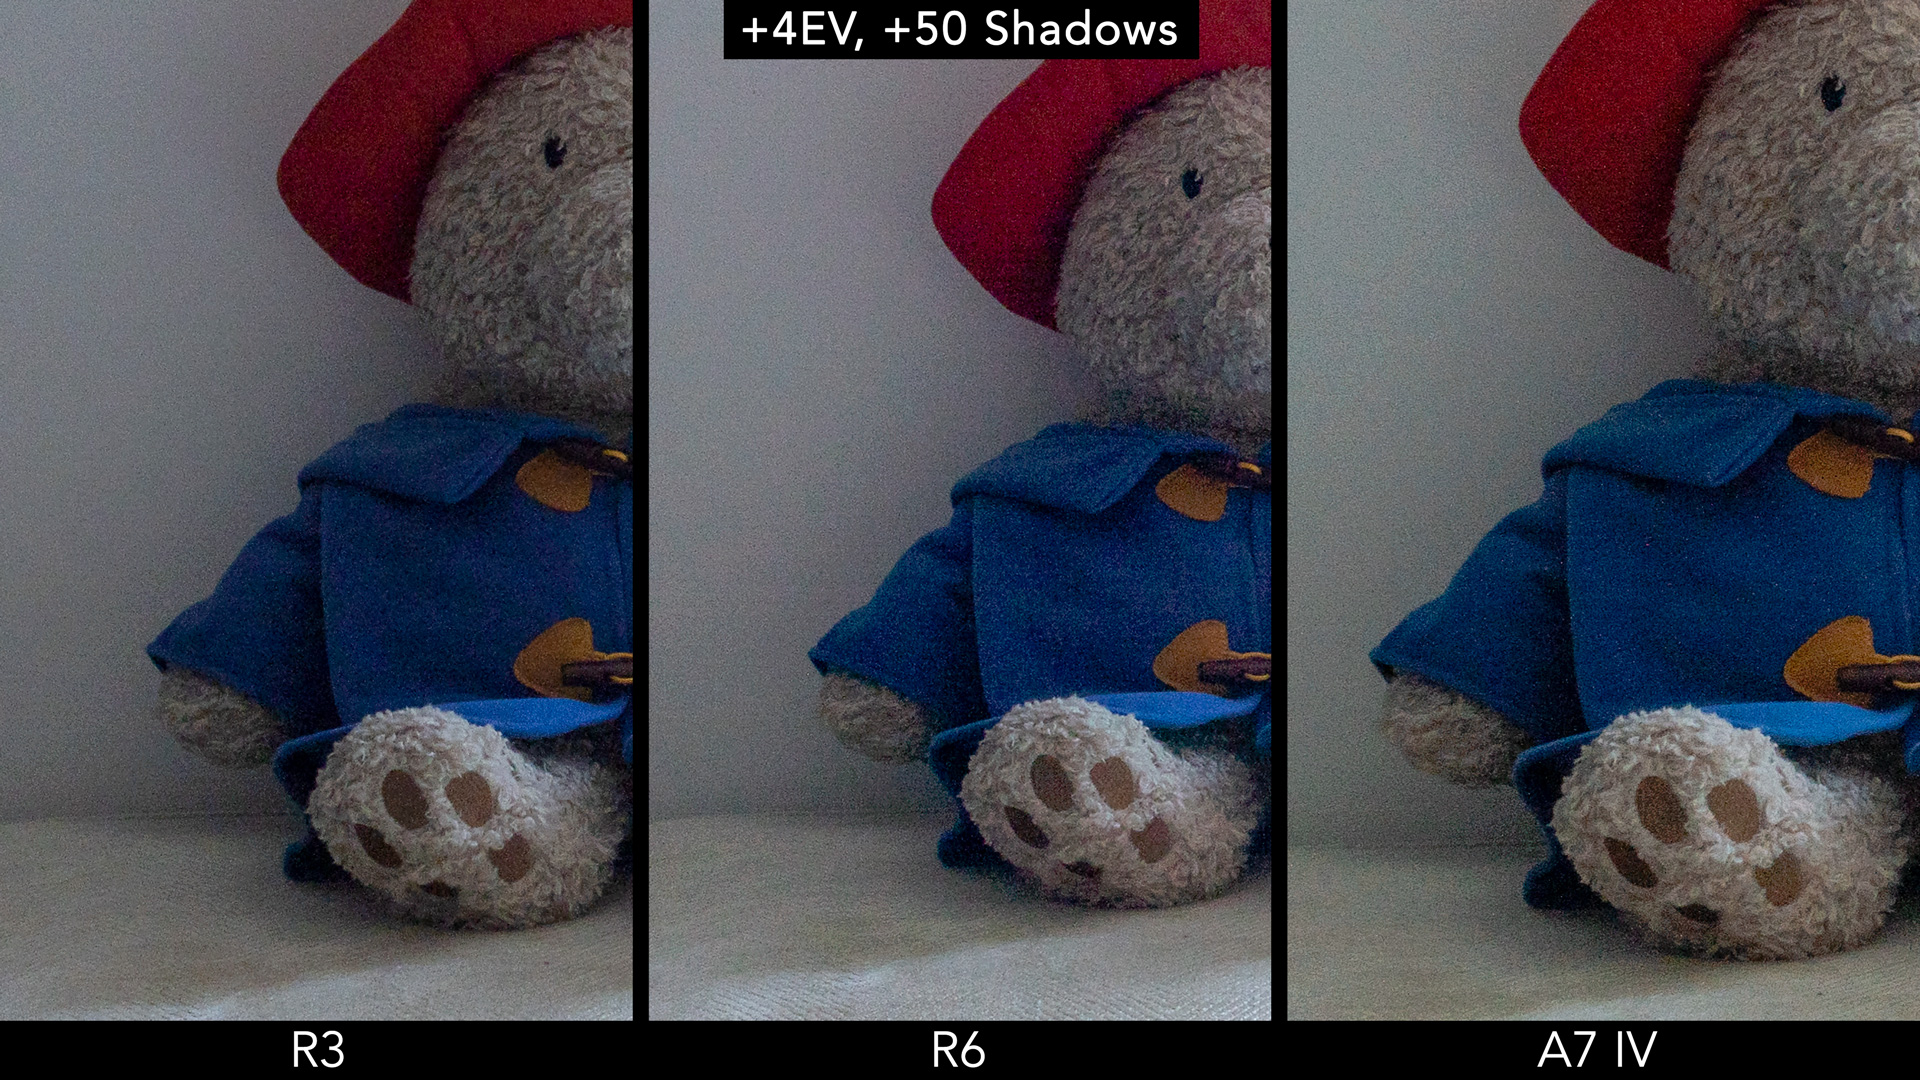
Here is how shadows look after an intense 5 stop recovery in Lightroom: you can see the improvement versus the R6, with less colour noise in the darker areas of the image. The quality with the A7 IV is comparable.

Of course this is quite the extreme test. It is useful to show you where the differences are, but if I do a 4 stop recovery instead, the results are much more similar.
With highlights, the R3 is able to recover slightly more details than the R6, but the A7 IV manages to do better than the two Canons.

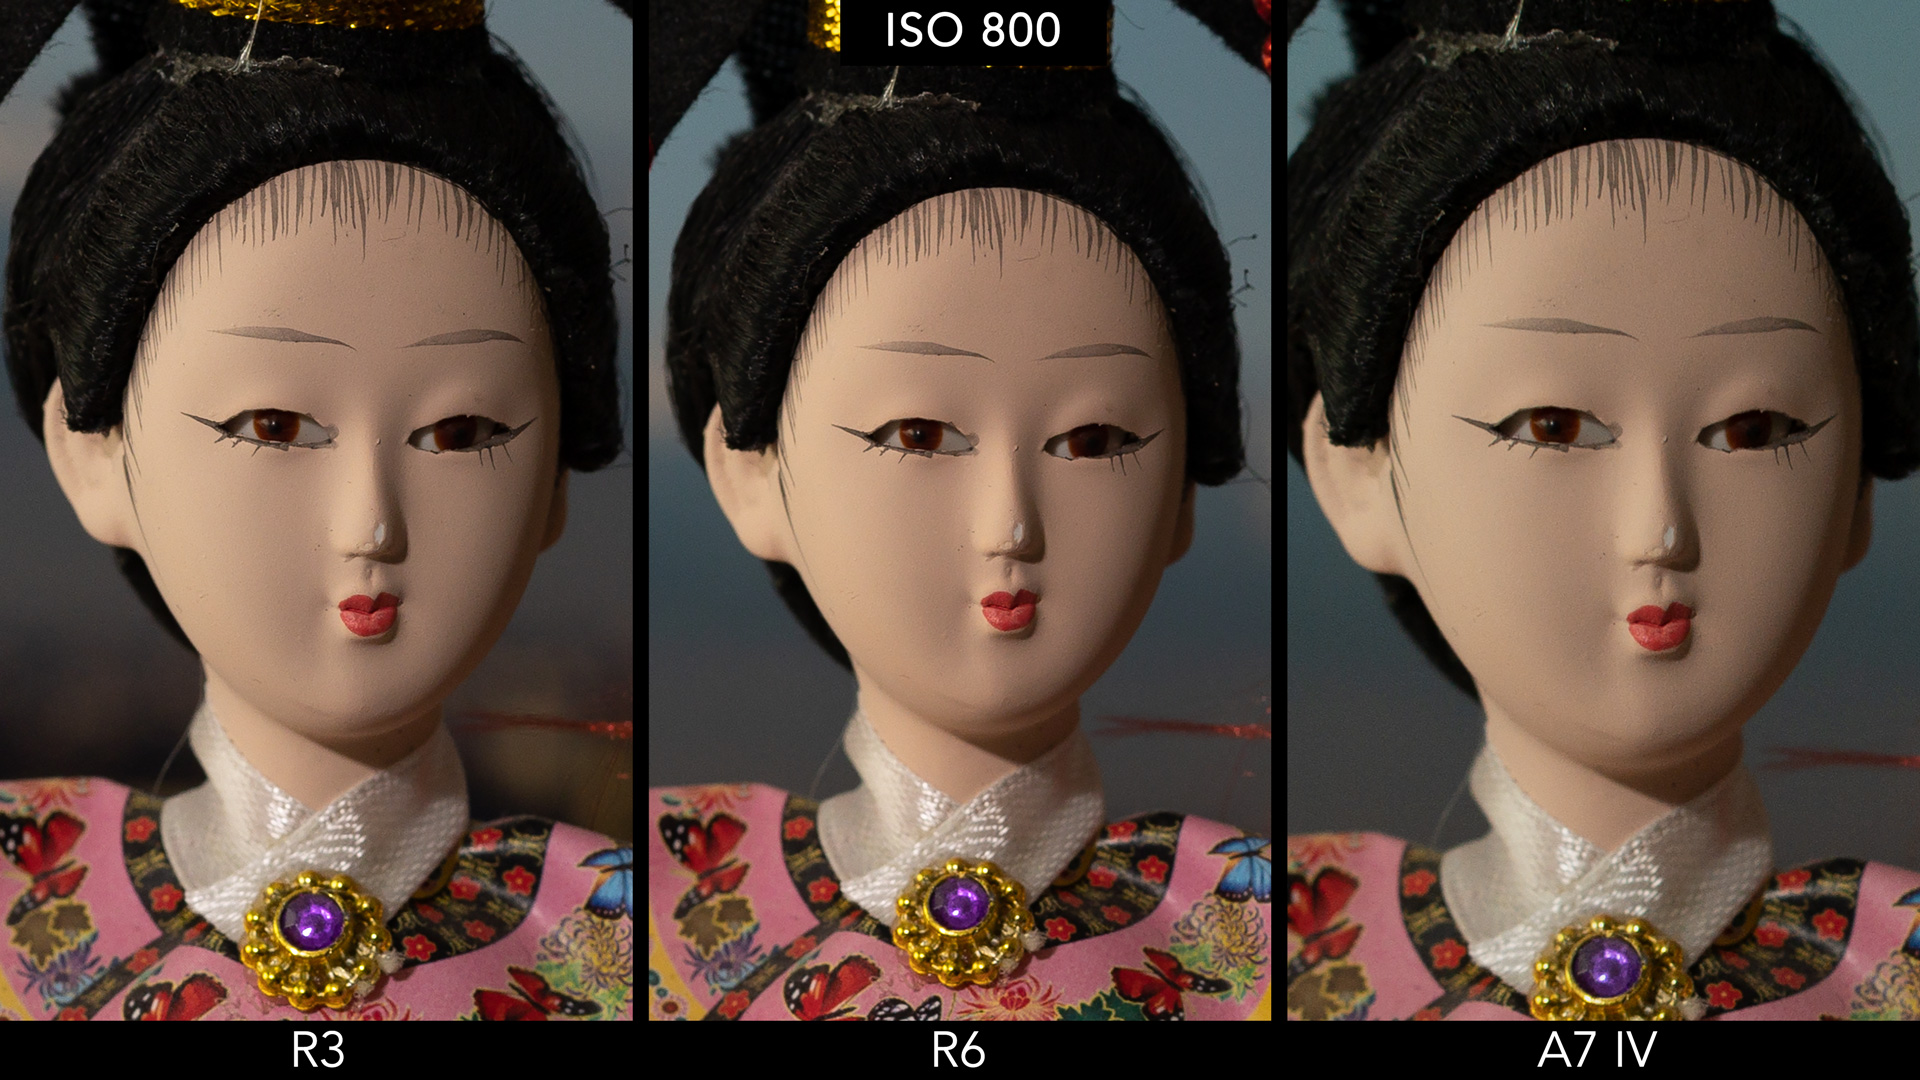
The R3 has an ISO range that goes from 100 to 102,400, or 50 to 204,800 if you include the extended values. This is the same range shared by the R6 and A7 IV.
I’ve compared Sony and Canon sensors before, and the same difference always emerges: Canon sensors are approximately half a second darker with the same exposure settings.
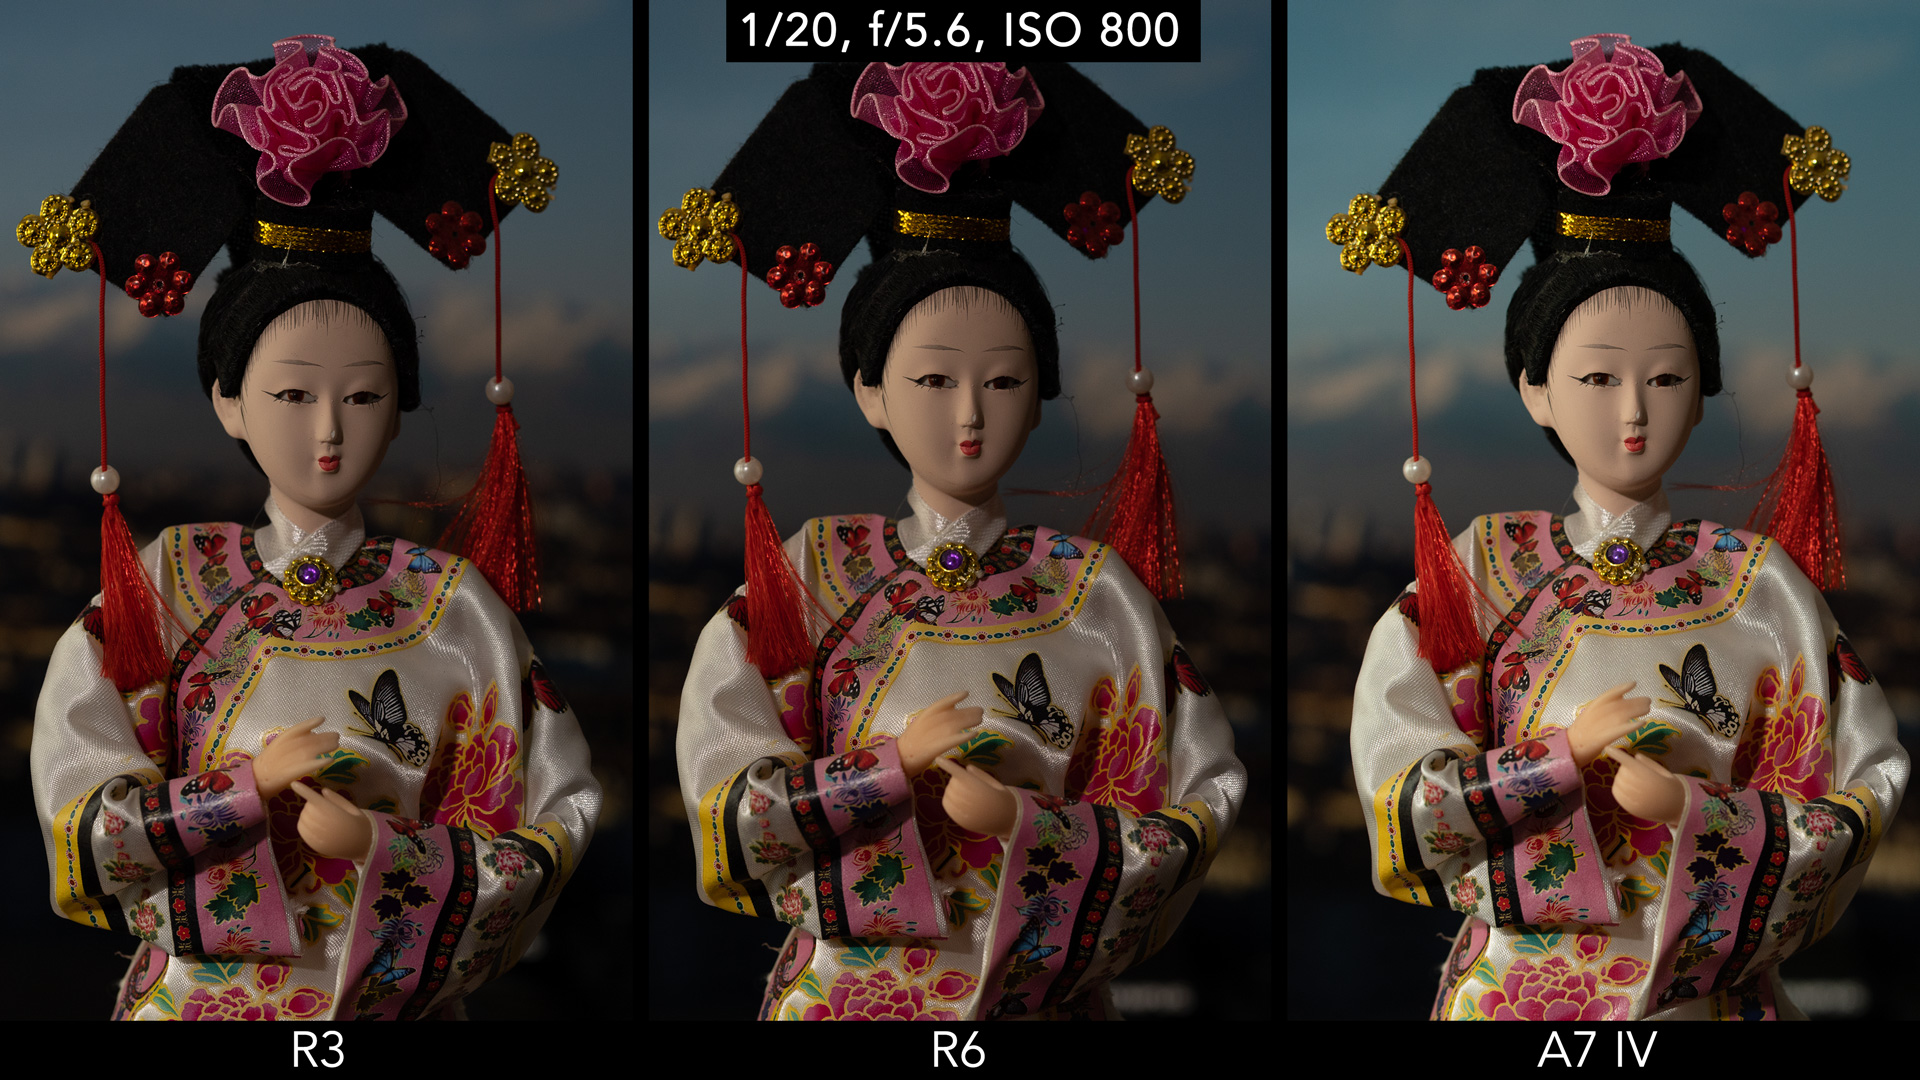
To make the side by side images easier to look at, I adjusted the exposure on the Canon models as much as possible to get an even brightness between the three cameras.
The A7 IV shows more noise, especially from ISO 3200, which is not surprising given the higher resolution on the sensor. The R3 seems to be the one that performs better through the entire range, although the advantage over the R6 is small.


Canon R3: Buffer and Drive Speed
The R3 can shoot at a maximum of 12fps if you use the mechanical shutter. Switch to the electronic shutter, and the speed goes up to 30fps, while retaining full exposure and autofocus capabilities. Other speeds such as 15fps (e-shutter), 8fps (m-shutter) and 3fps (both) are available.
The R3 can also raise the shutter speed to a maximum of 1/64,000s when using the electronic shutter (a new standard), although I didn’t have the chance to take advantage of this specifically.
The readout speed is very good, and distortions caused by fast camera movements when using the electronic shutter are not severe. As you can see below, slow movements are basically distortion-free, and I had to pan really quick to see that street light bend a little. With moving animals such as birds in flight, I didn’t find any problem.

All of this is possible thanks to the stacked sensor and the image processor. Furthermore, when using the electronic shutter, the R3 maintains live view on the EVF/LCD with no blackouts (like the Sony A1 and A9 series).
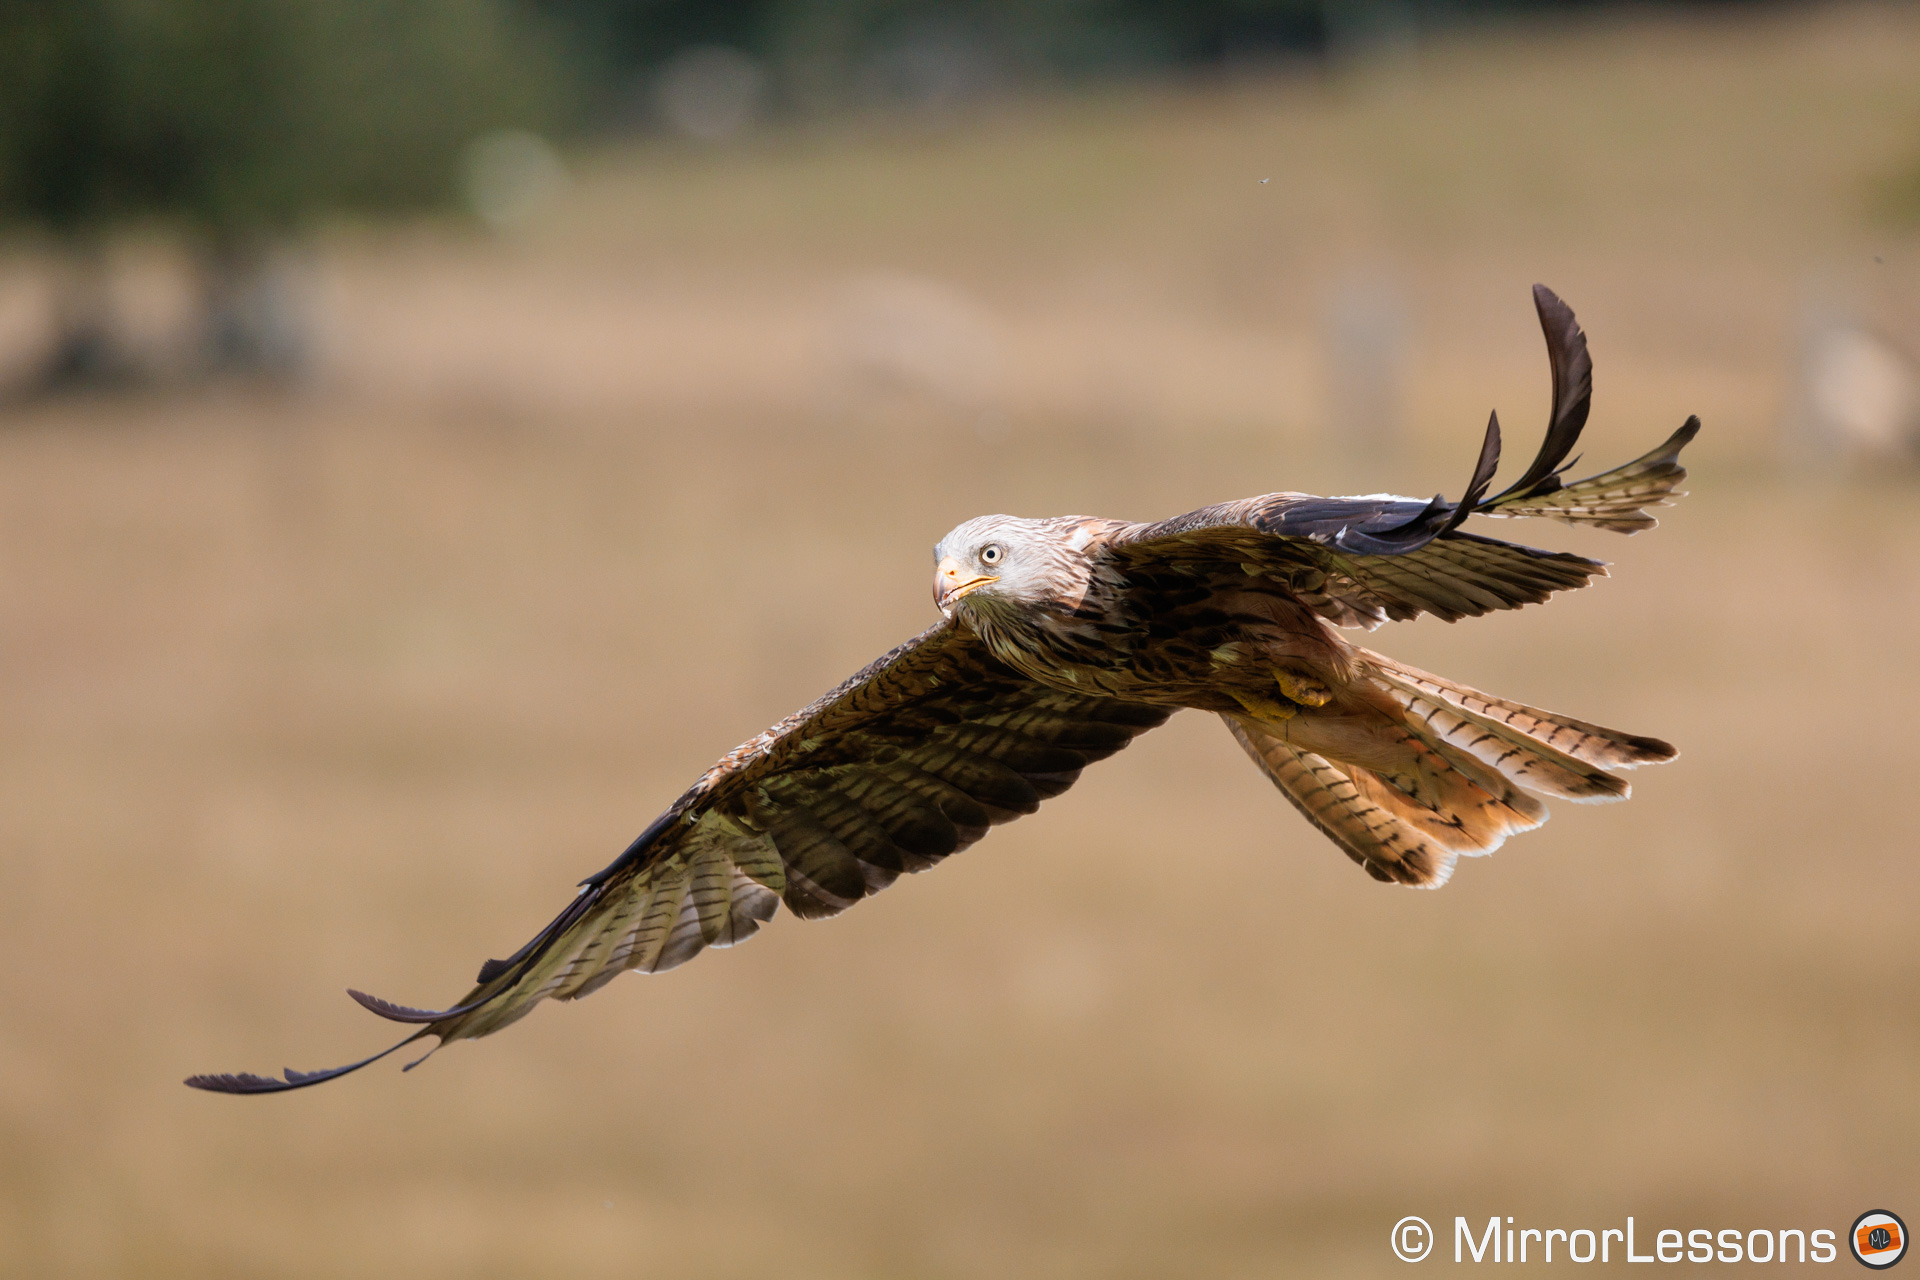
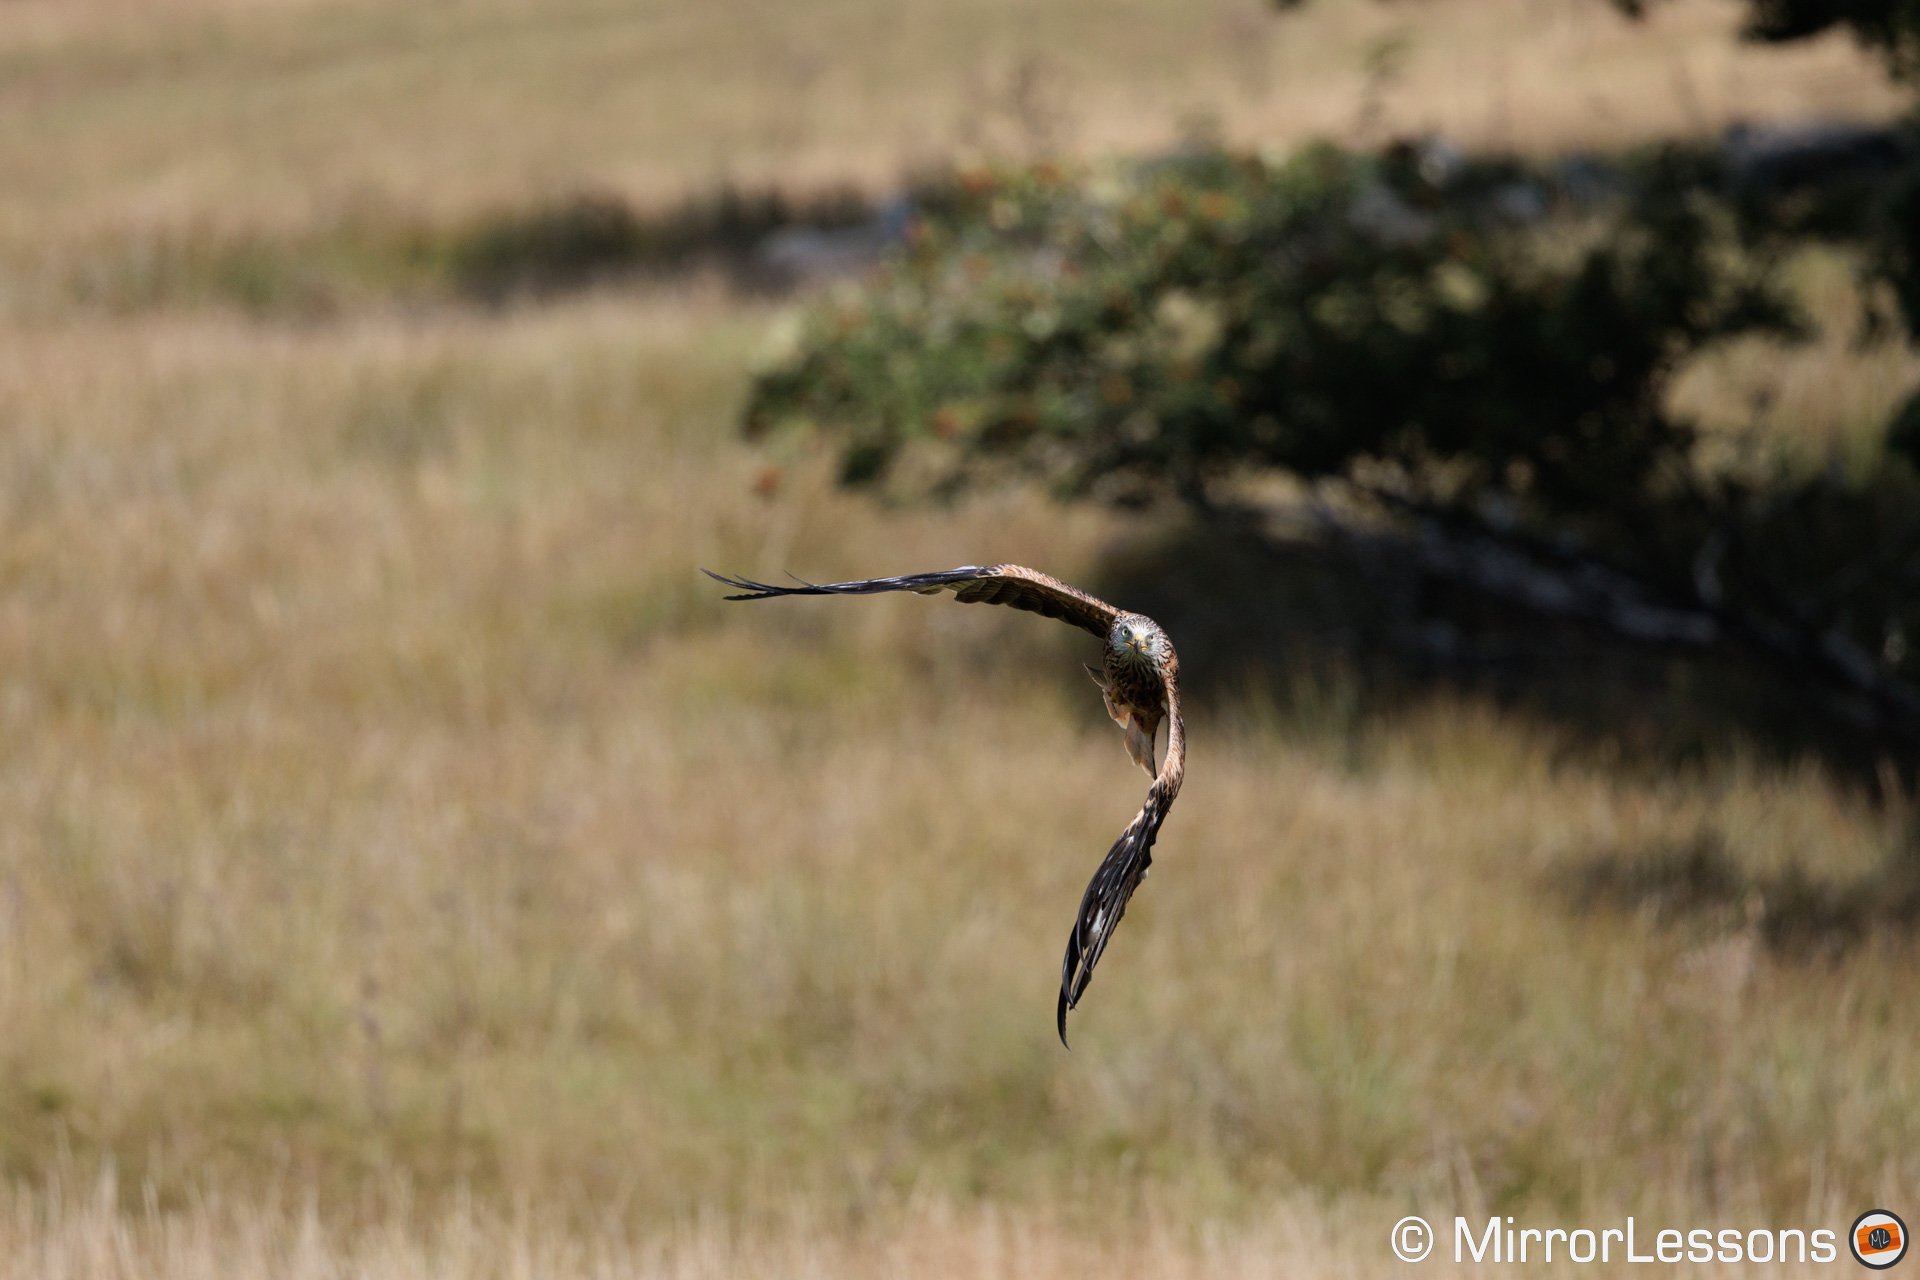
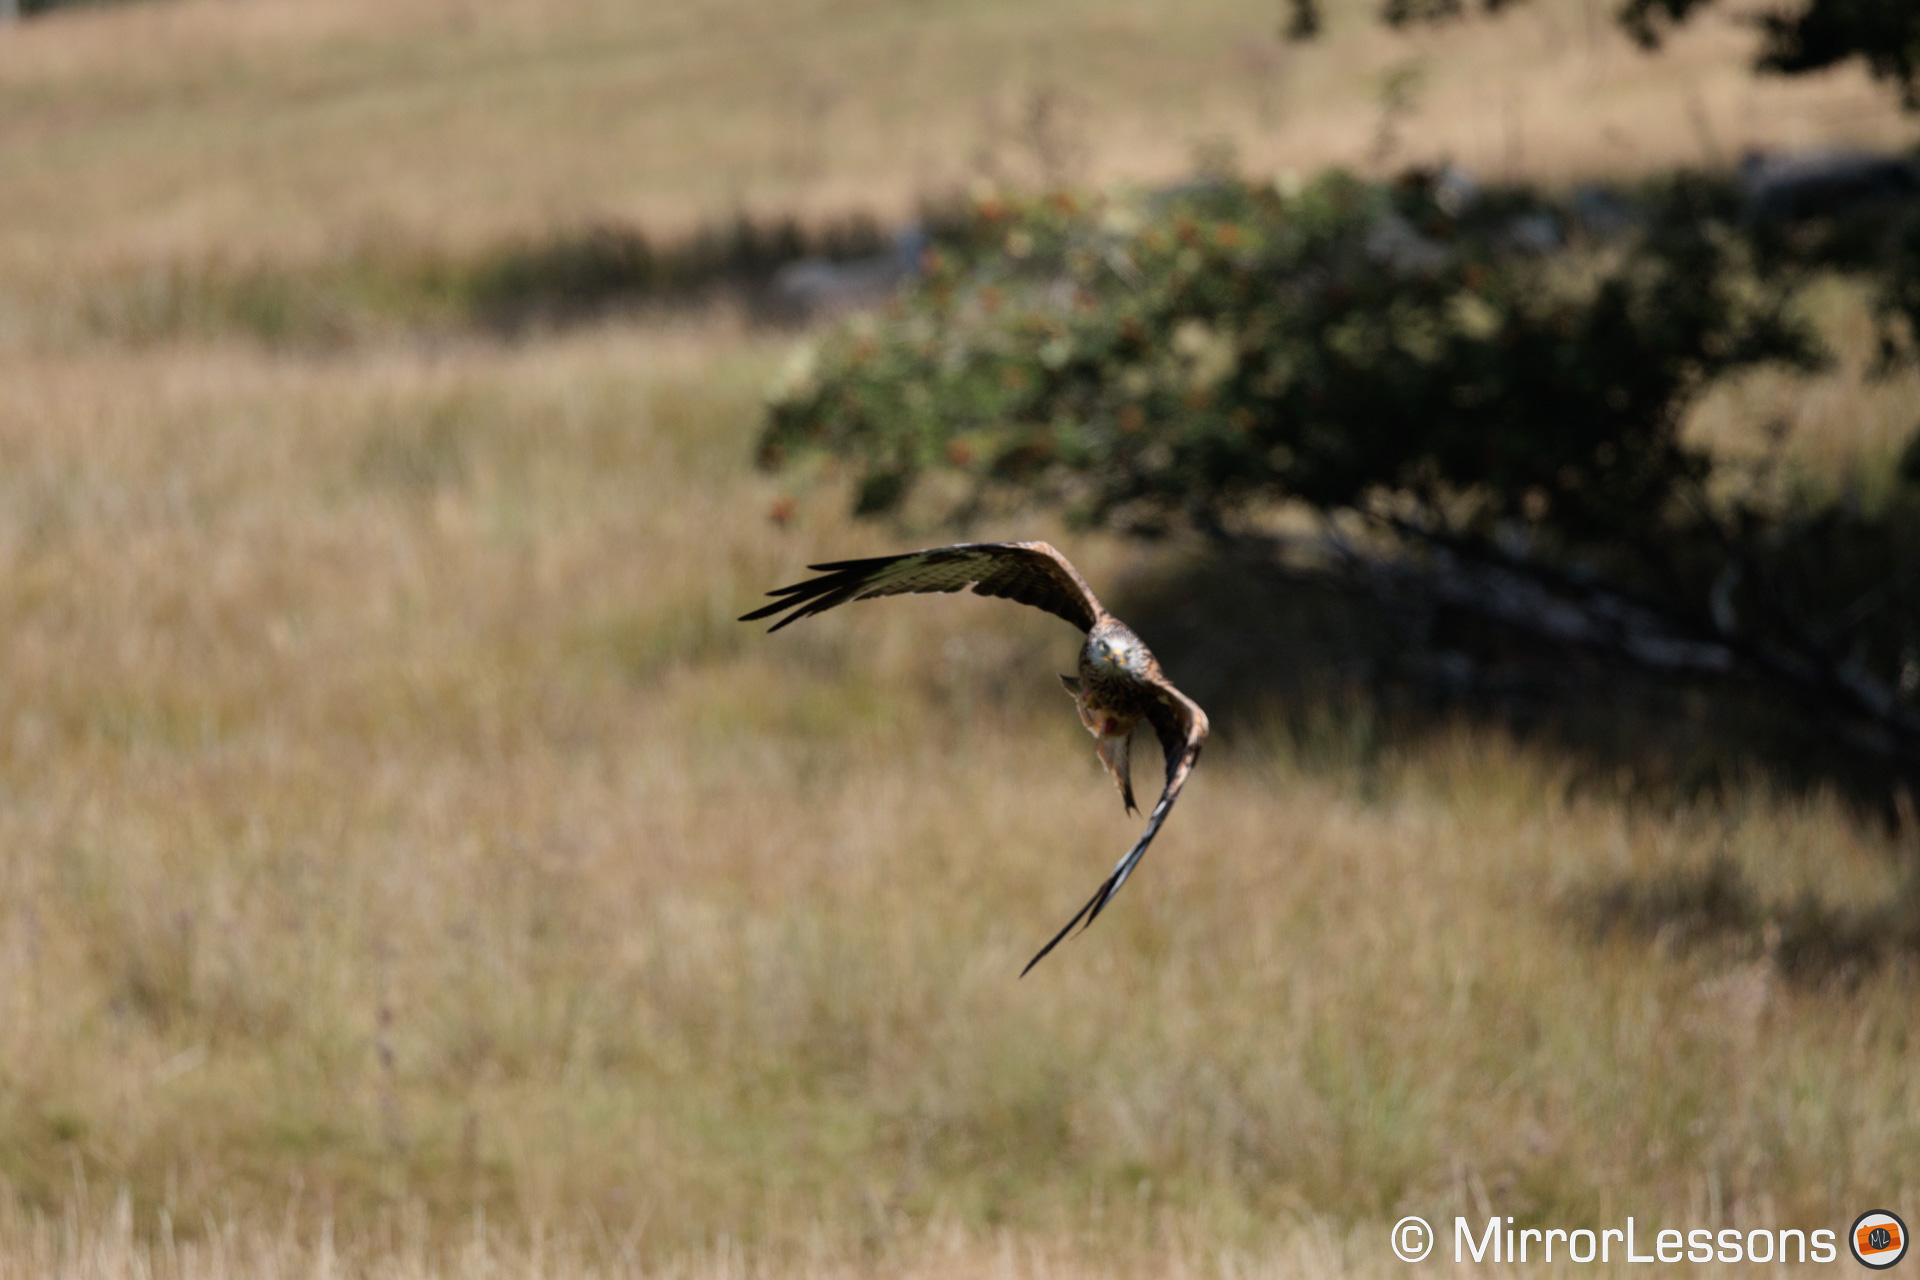
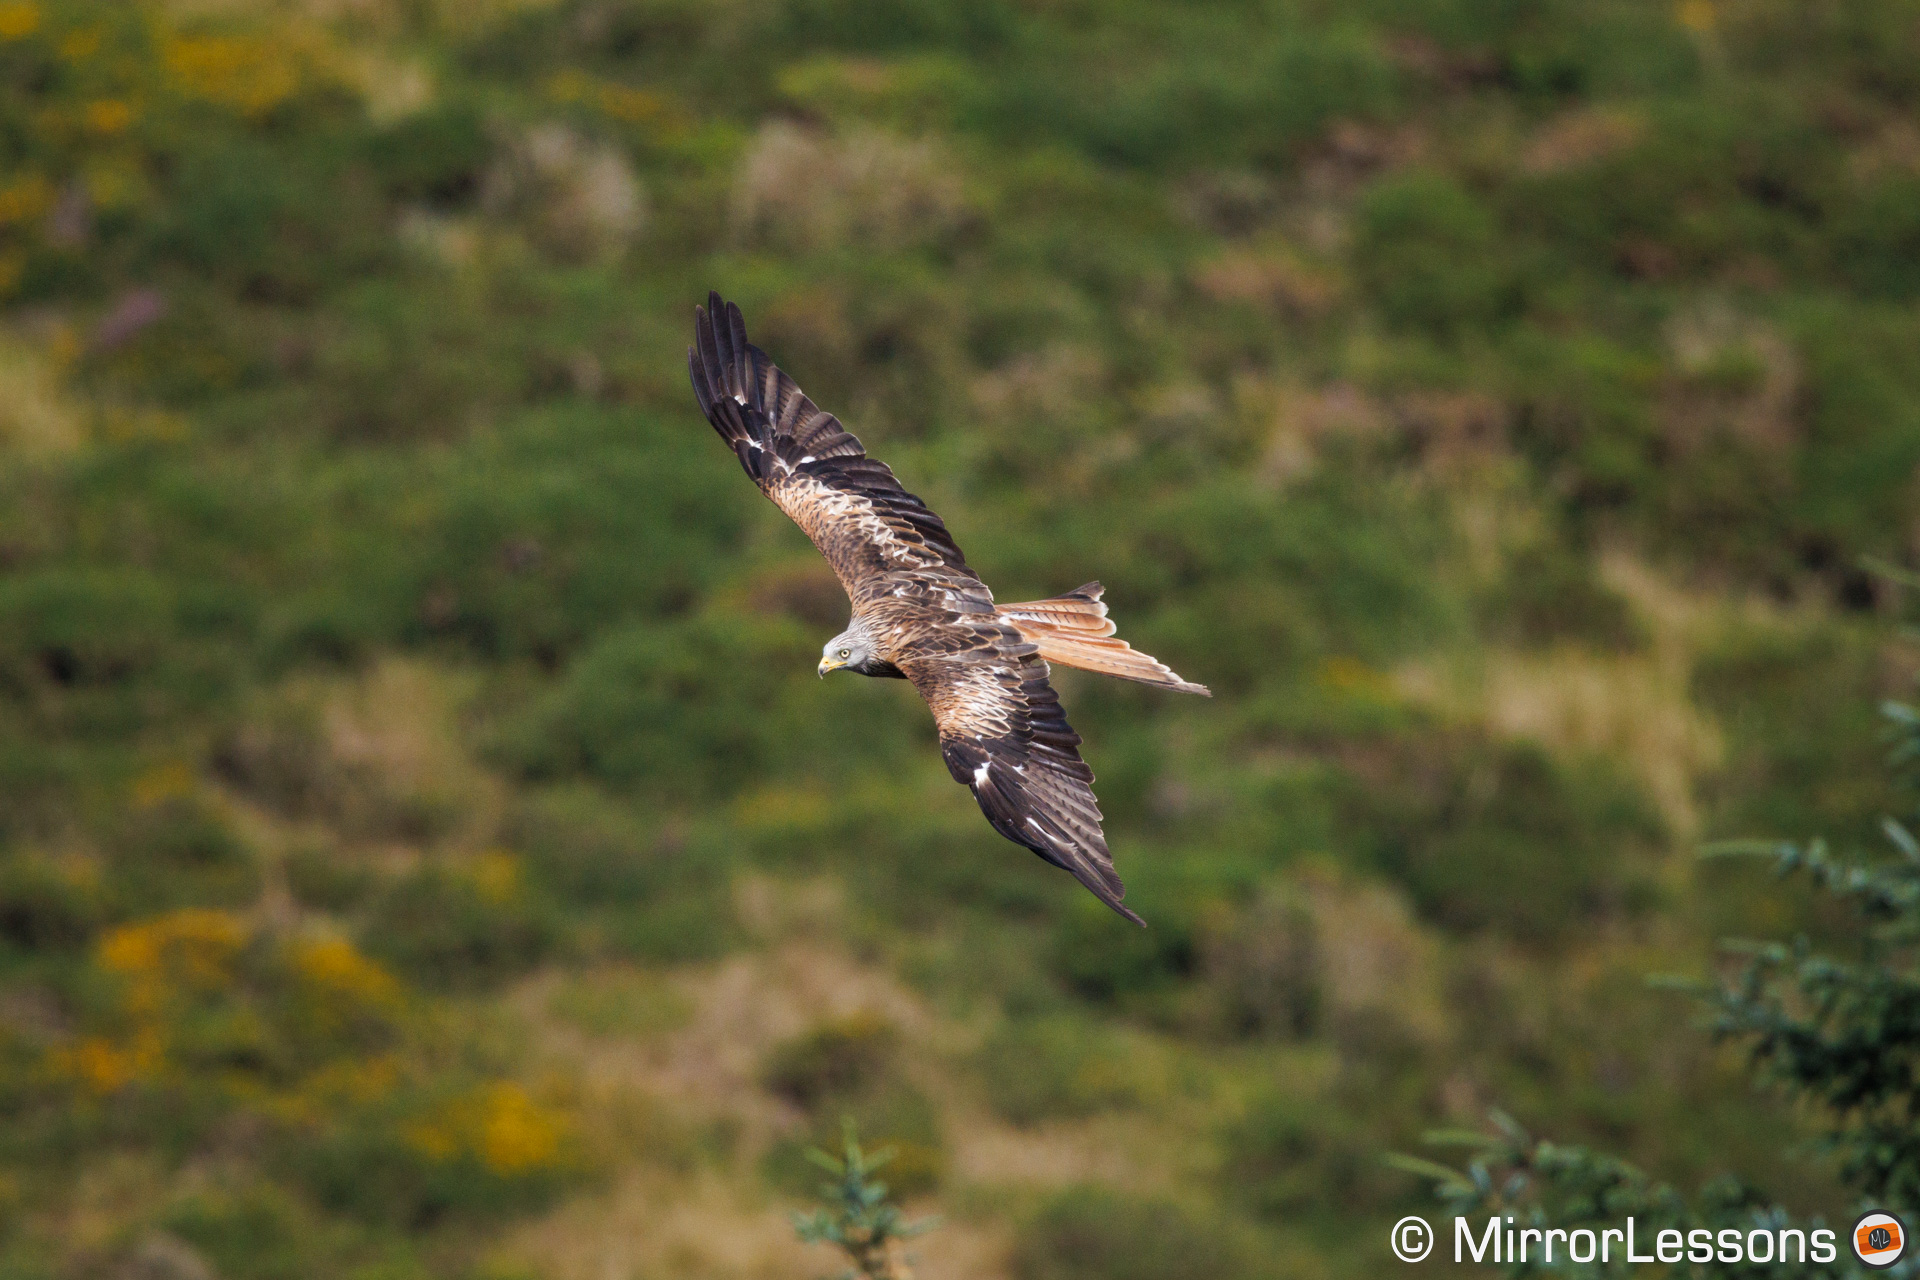
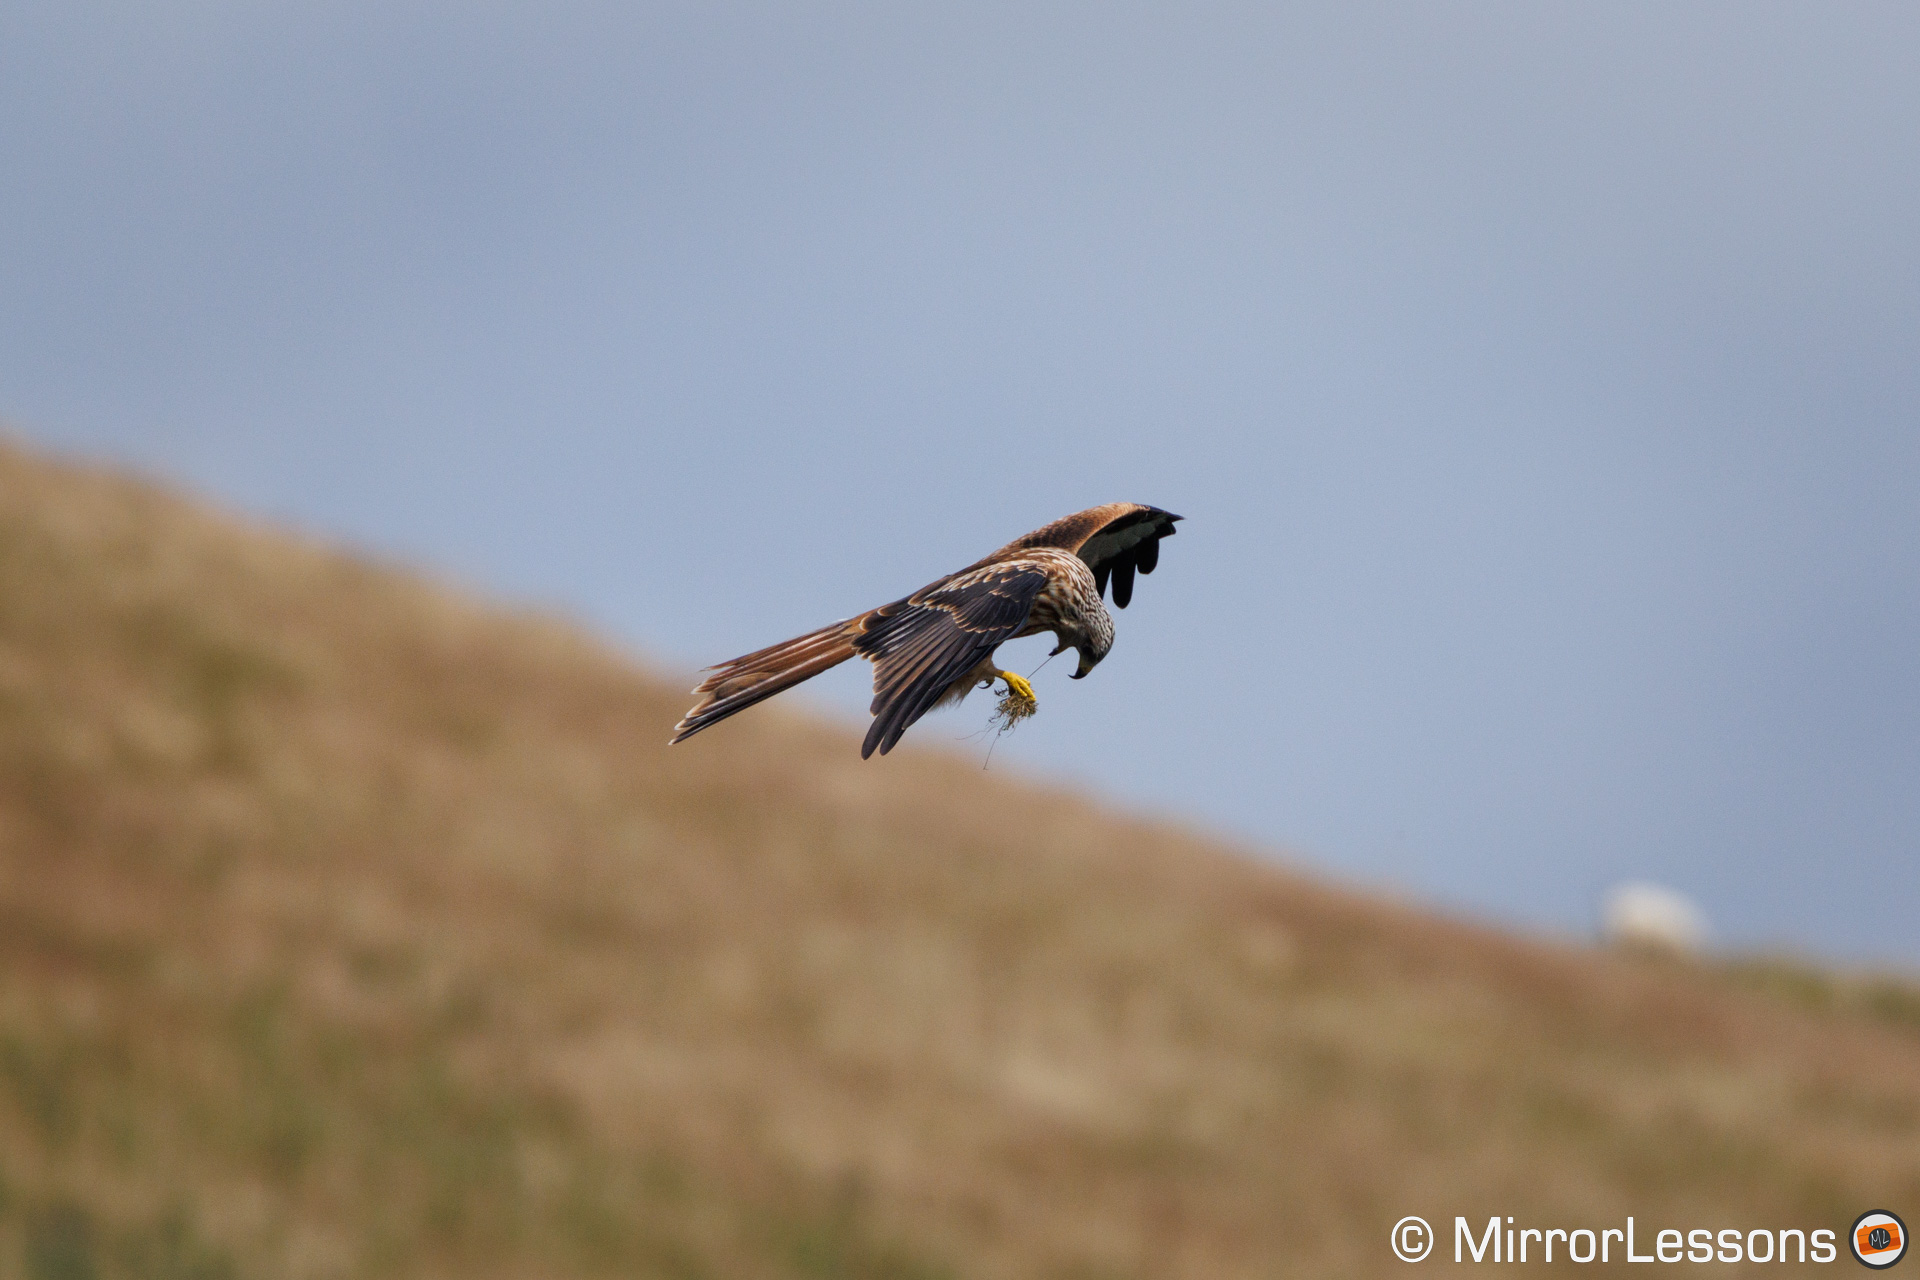
The blackout-free live view is the best experience you can wish for when tracking fast and unpredictable animals. It proved particularly useful when taking pictures of red kites at Gigrin Farm, where they can fly close to you before changing direction in a split second.
Thanks to firmware 1.2.1, the R3 can take images up to 195fps, for a maximum of 50 frames (Servo AF is disabled during the capture). This means that the 50 images are shot in 0.26 seconds when choosing the fastest speed.
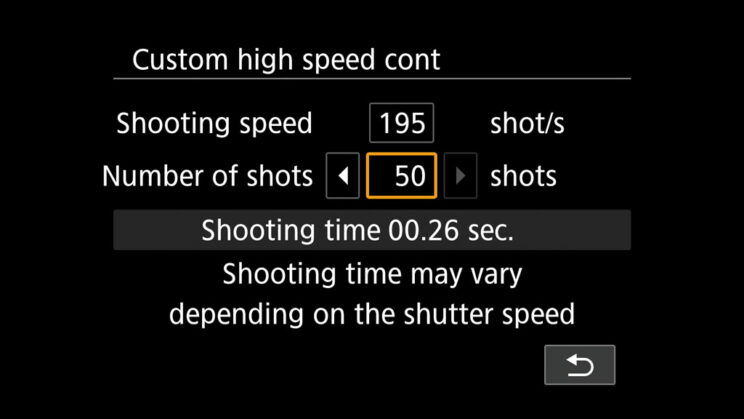
This sounds quite impressive, but to take advantage of such performance, you need to know very precisely when to press the shutter button. You can easily miss the action entirely and end up with 50 useless images, because you pressed the button too early or too late. Furthermore, it takes about 8 seconds for the camera to be ready to shoot again, even with the CF express card, and that can be a long time.
Such speeds would be more useful with a function similar to Olympus’s Pro Capture, where the camera starts to save images when the shutter button is half pressed. In fact, Canon itself has introduced a similar feature on the R7 APS-C camera, so I hope they can bring it to the R3 via firmware update.
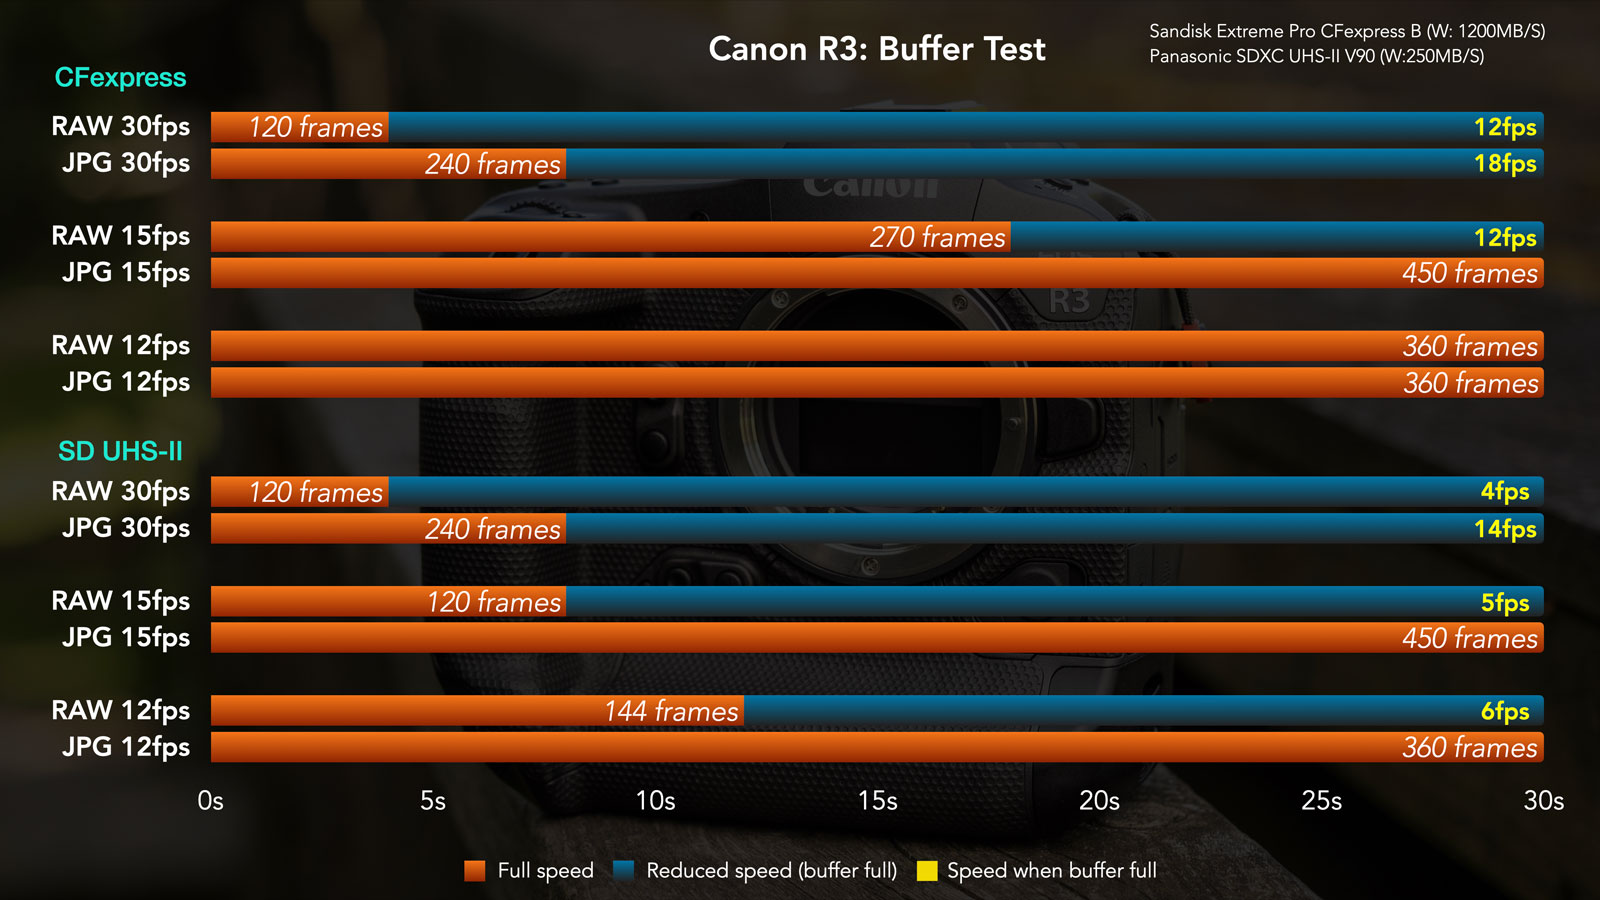
Finally, when it comes to buffer, the R3 shows a decent performance at 30fps, and a very good one at 15fps or slower.
At 30fps, the buffer is about the same whether you use a CFexpress card or a SD card but, once the buffer is full, the speed remains higher if you use the CFexpress. With slower bursts, the advantage of CFexpress is even more apparent.
Canon R3: Eye Focus and Tracking for Animals
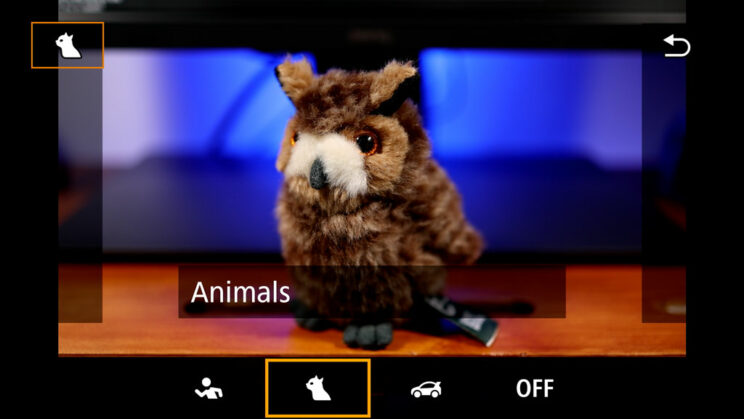
The R3 has an advanced autofocus system that can detect humans (eyes, head and torso), animals (eyes, head and body) and vehicles (including the driver’s helmet). The Animals setting comprises birds.
A welcome update on the R3 is that Subject Detection works with any AF area, and Tracking can also be activated at any time. You don’t need to use all the focus points like on the R5 or R6.
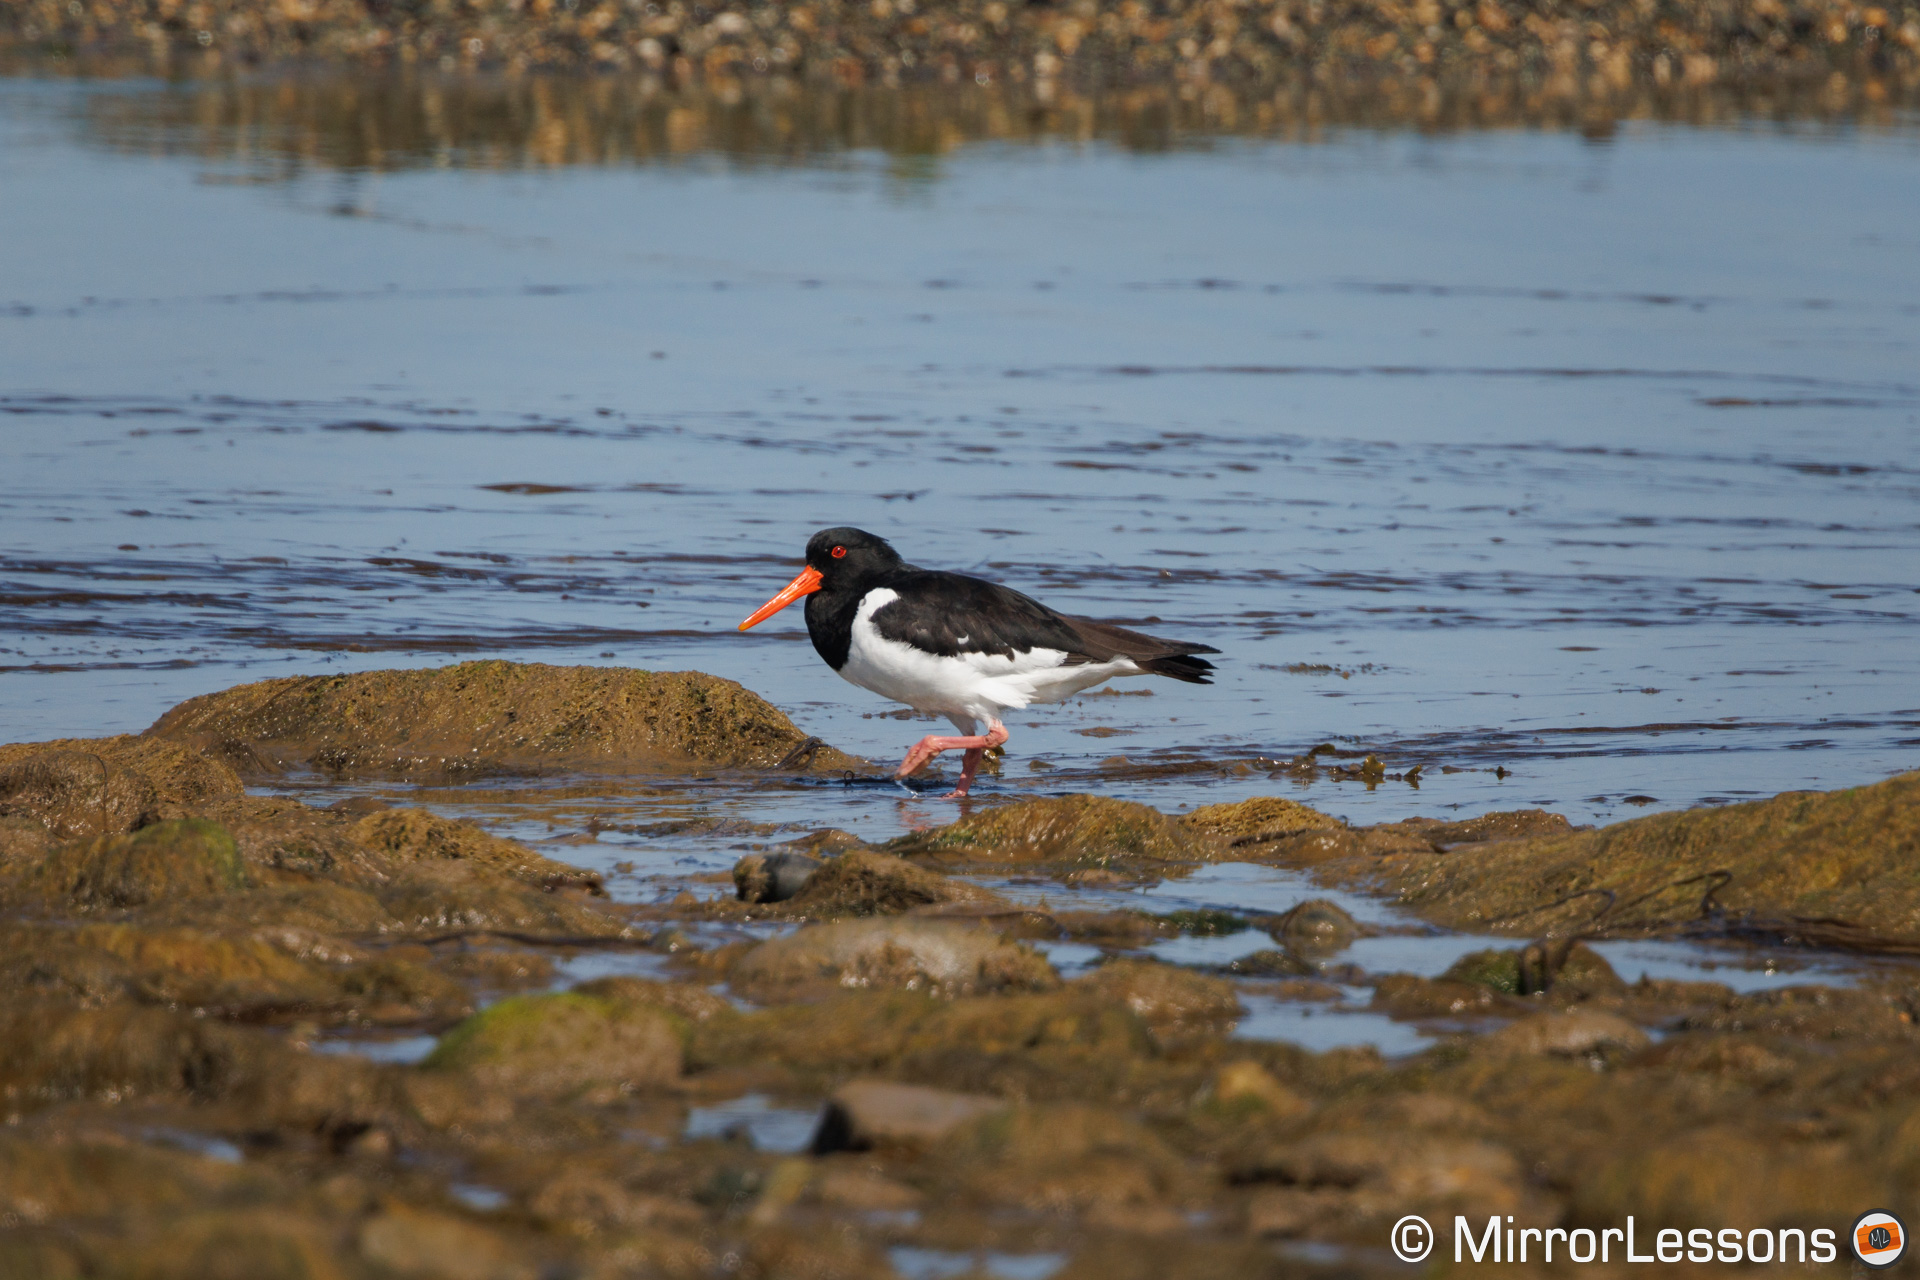
The performance of the R3 is very good overall. It can recognise animals at long distances (subject small in the frame), and will chose body, head or eye automatically depending on how close the subject is.
If multiple subjects are detected, you can quickly switch from one to the other with the AF Joystick (when the Tracking mode is activated).
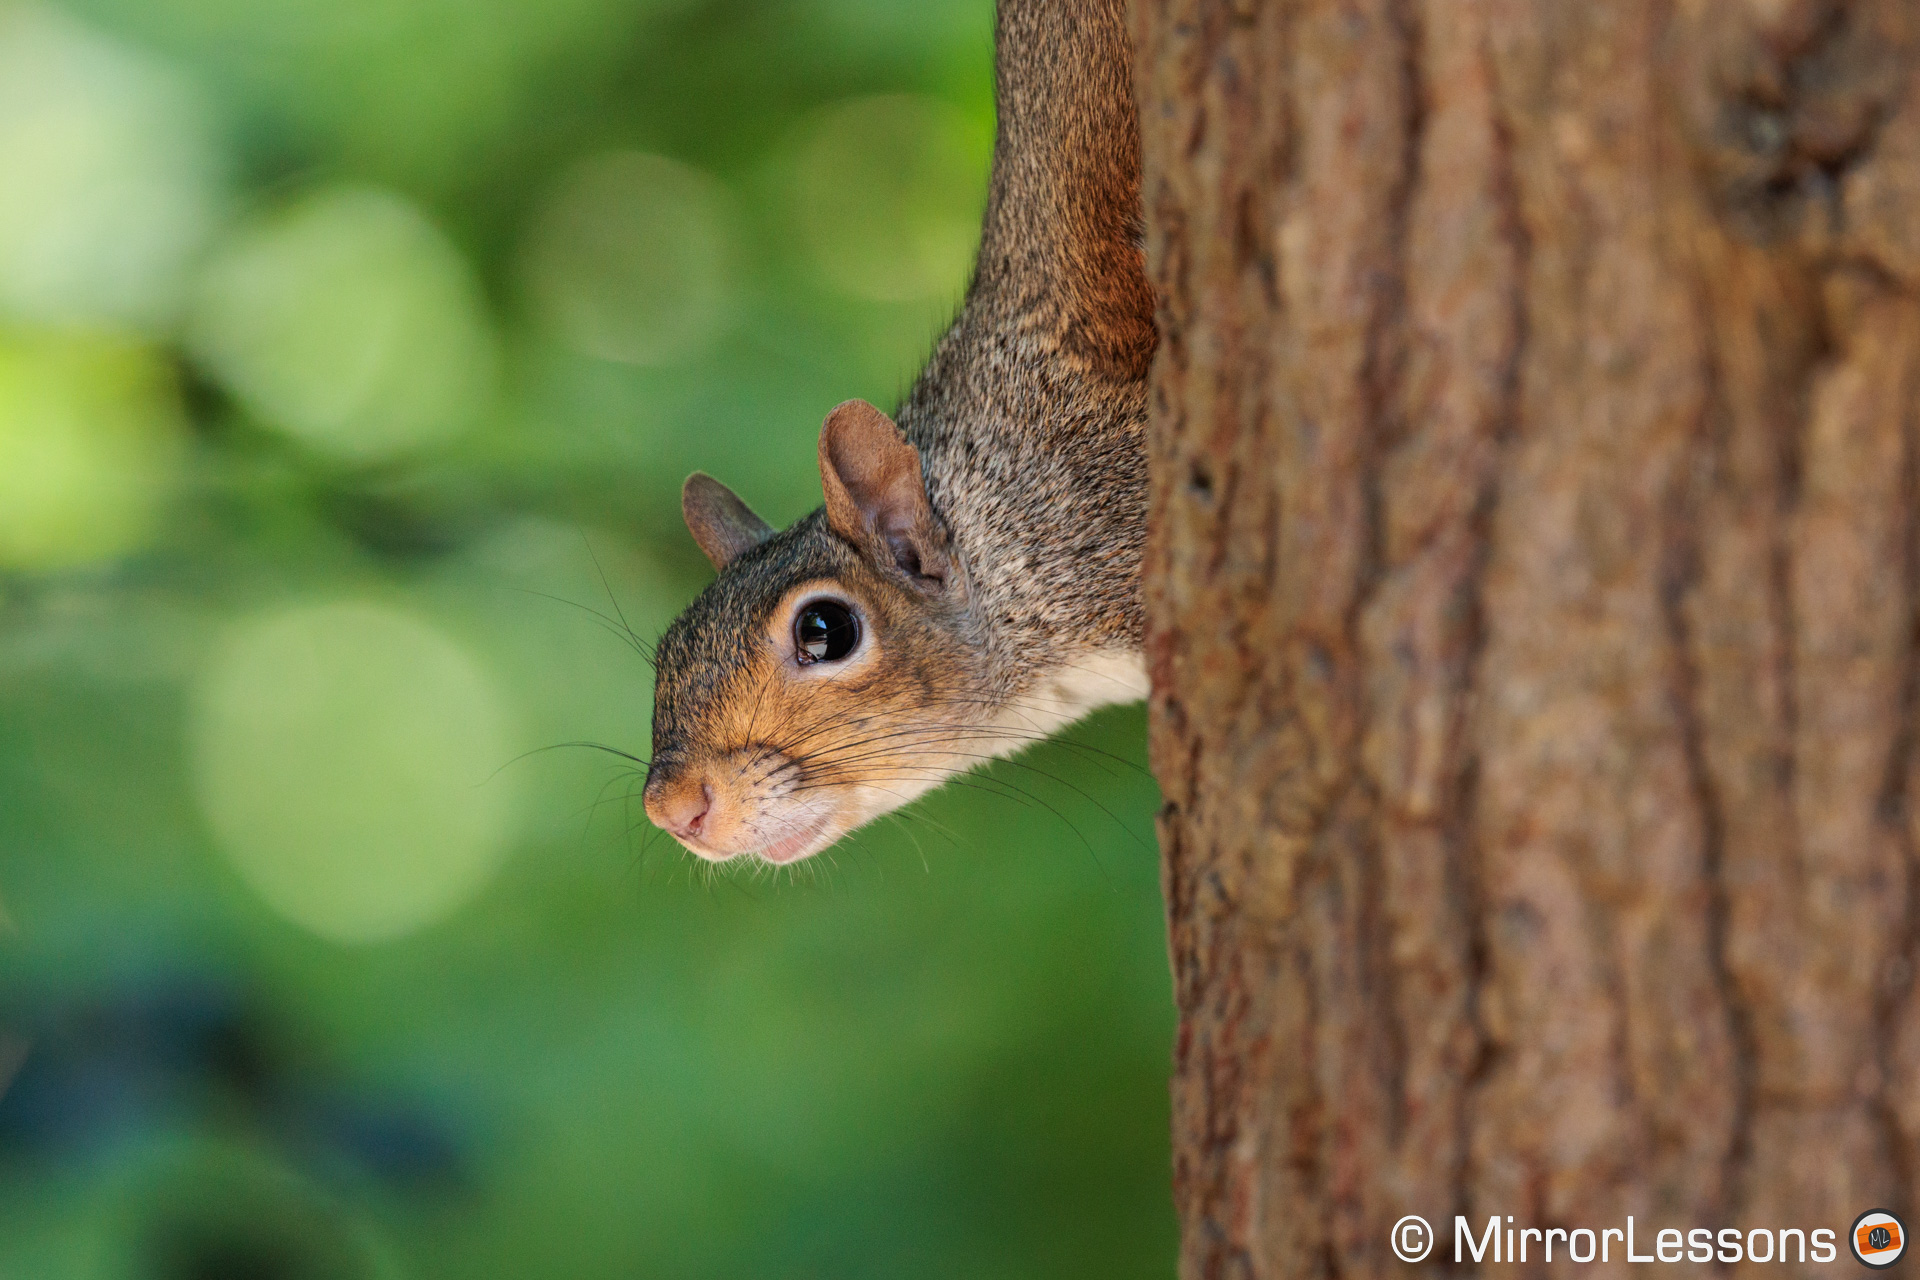
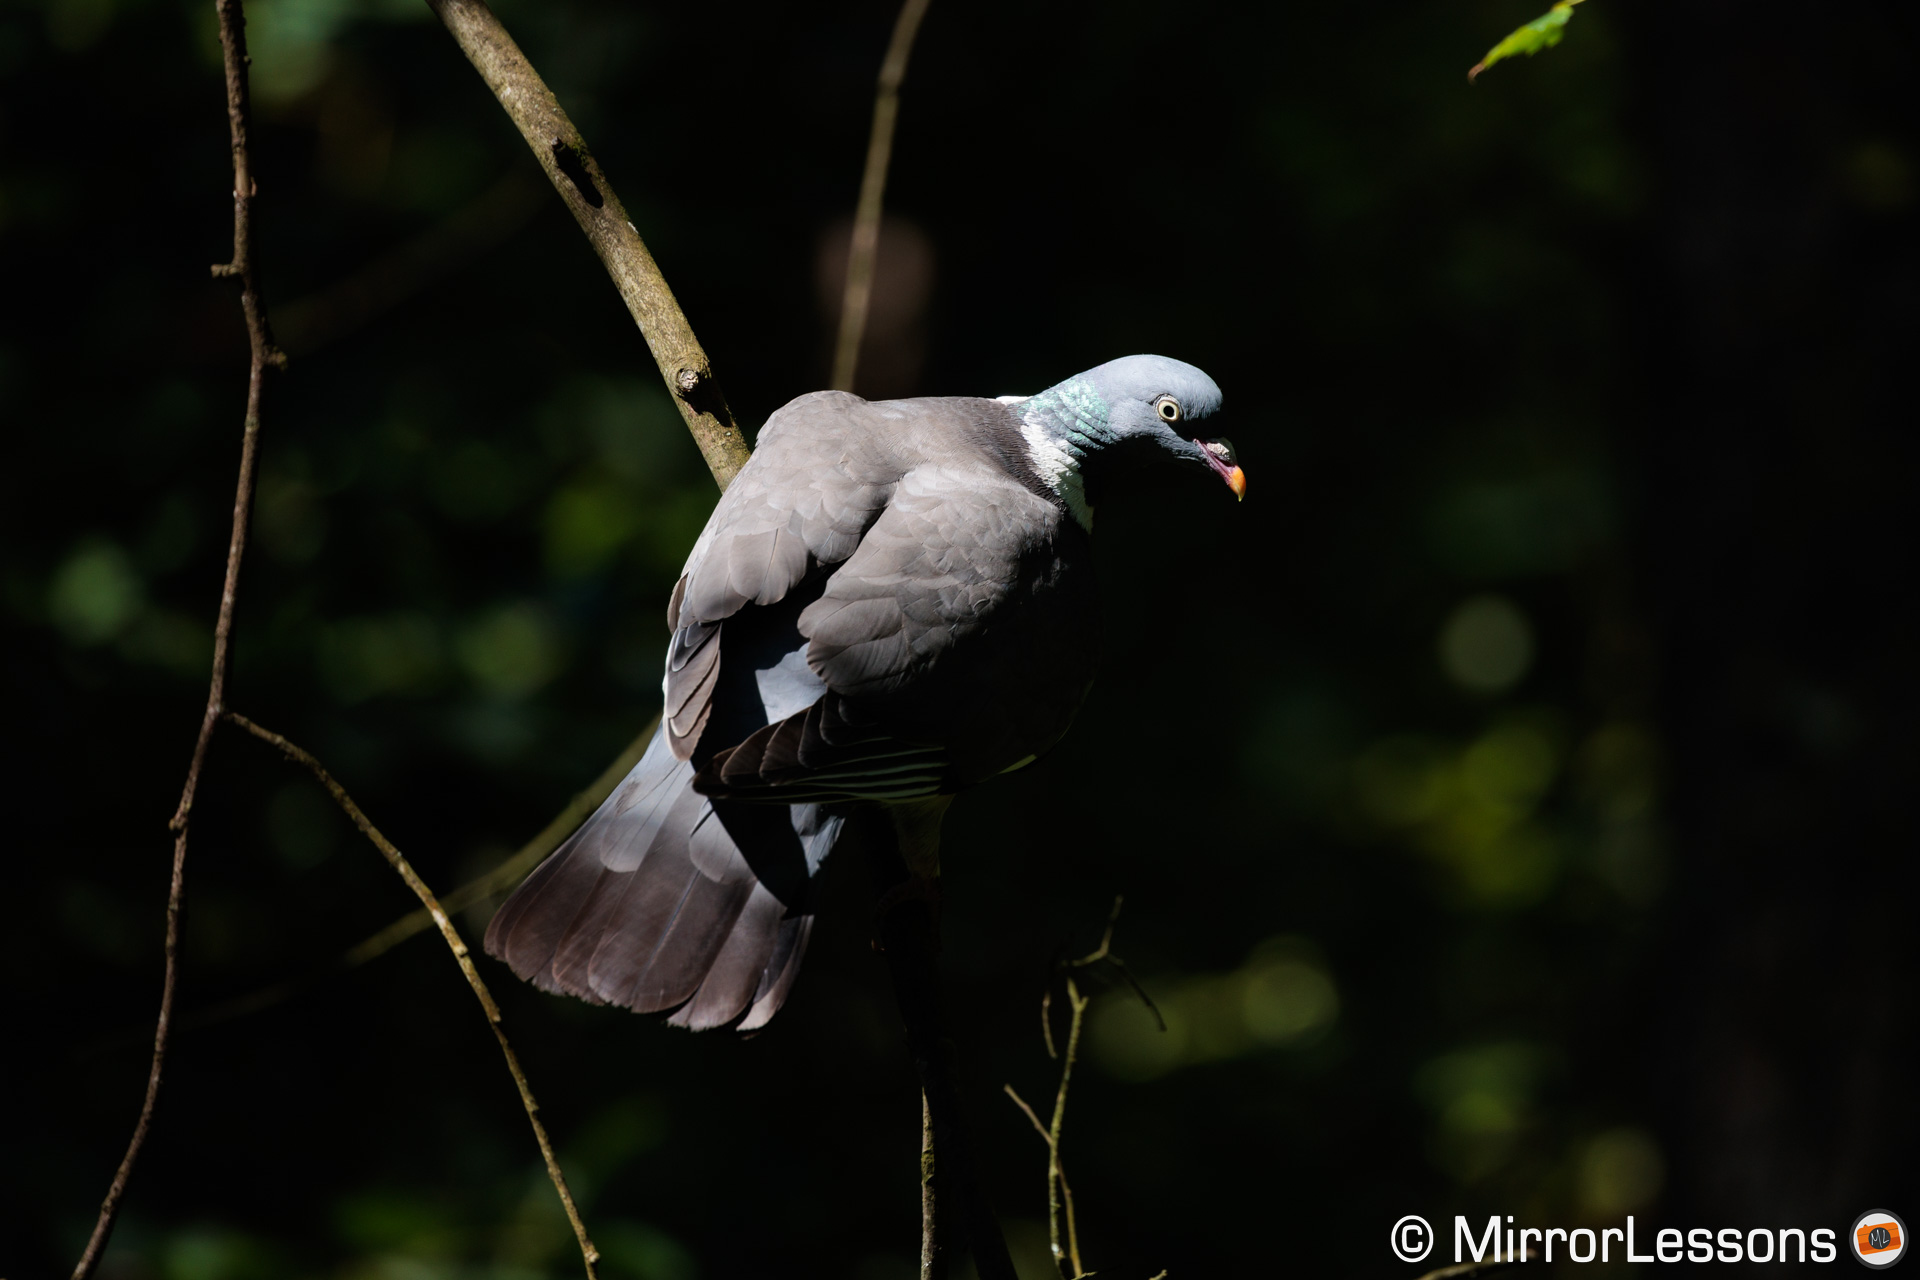
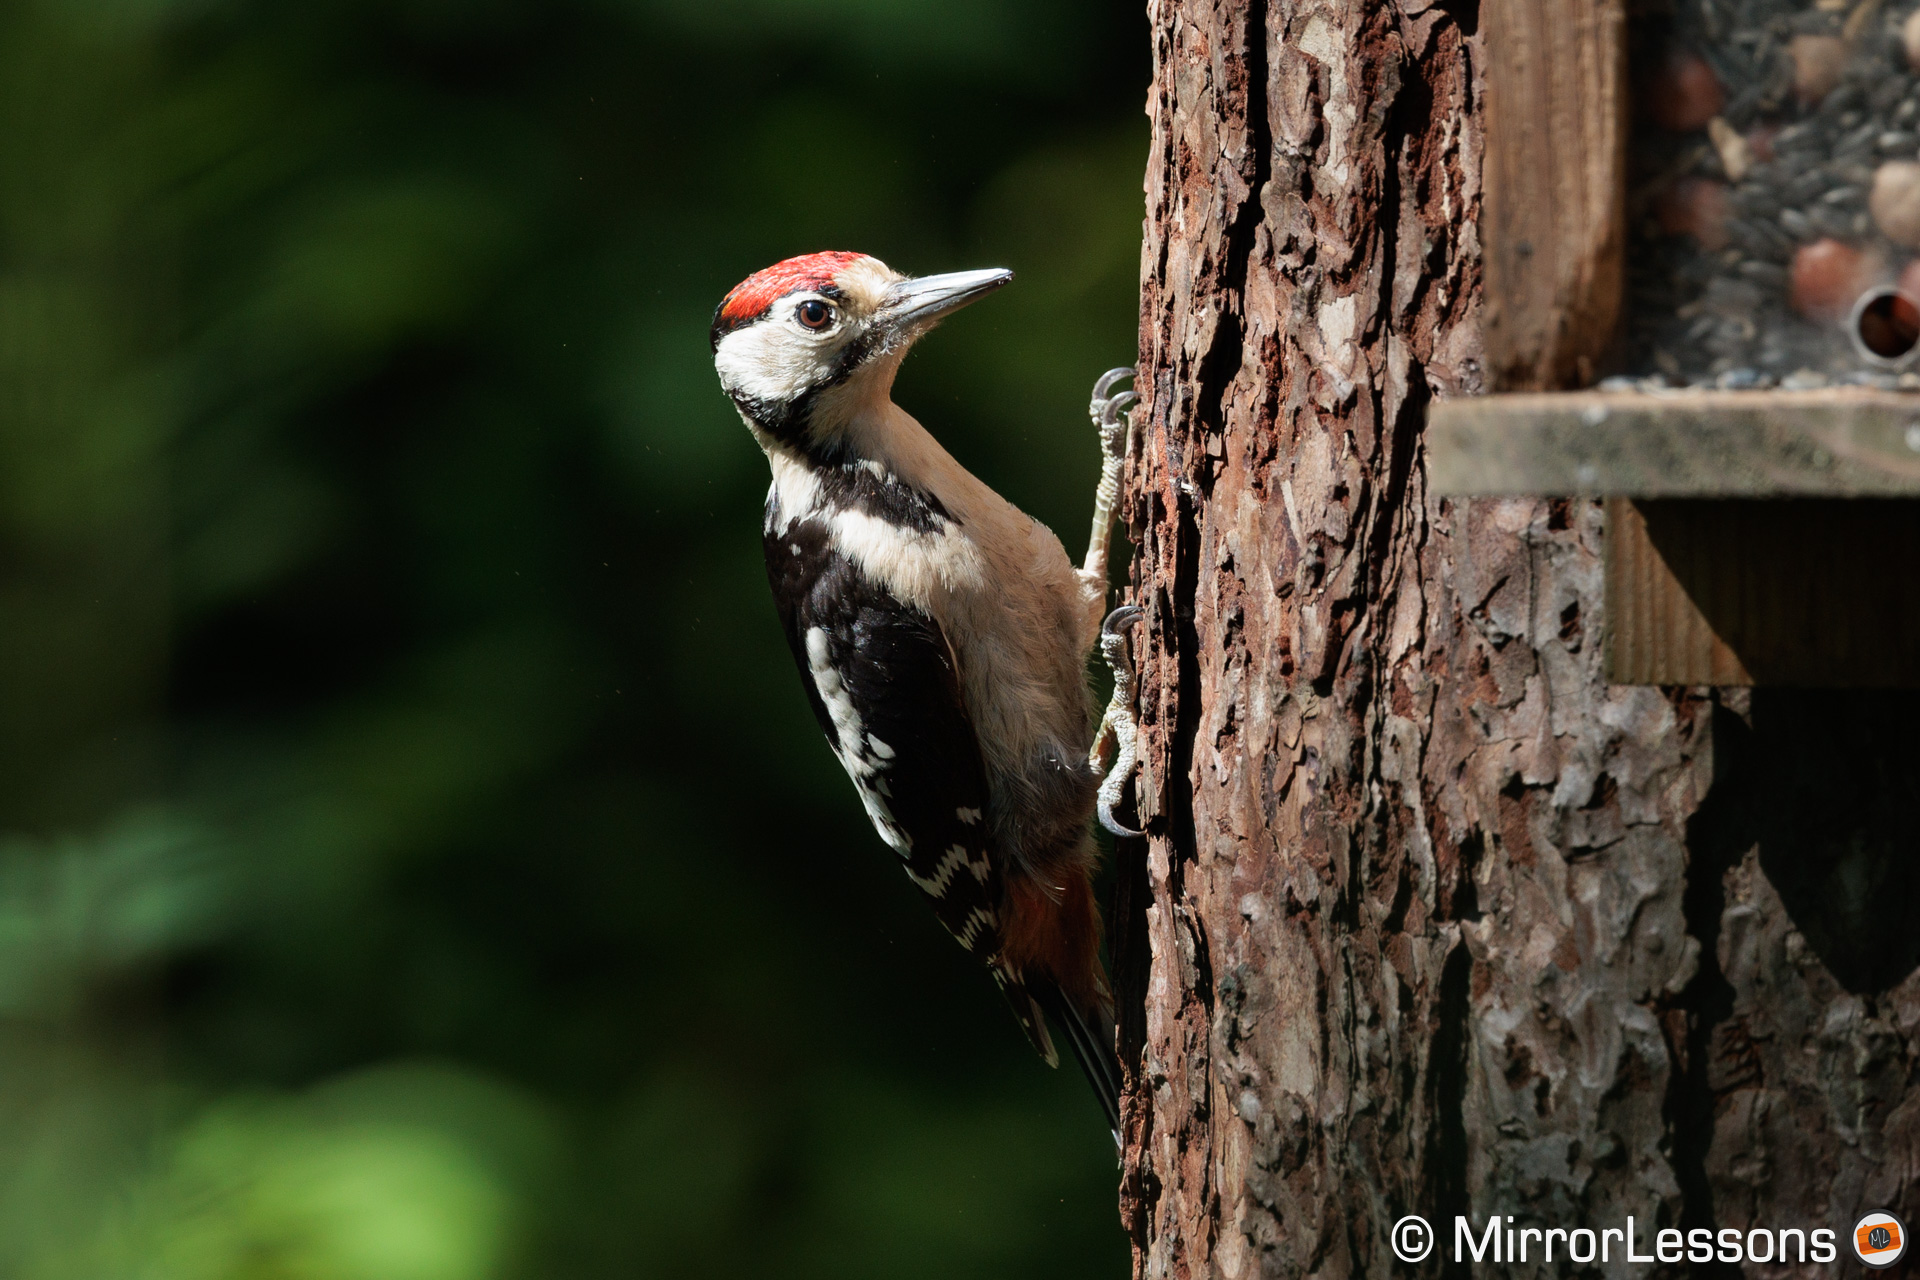
The R3 is capable of detecting the animal right away, and in all light conditions, whether you are dealing with sunlight, shade or backlight.
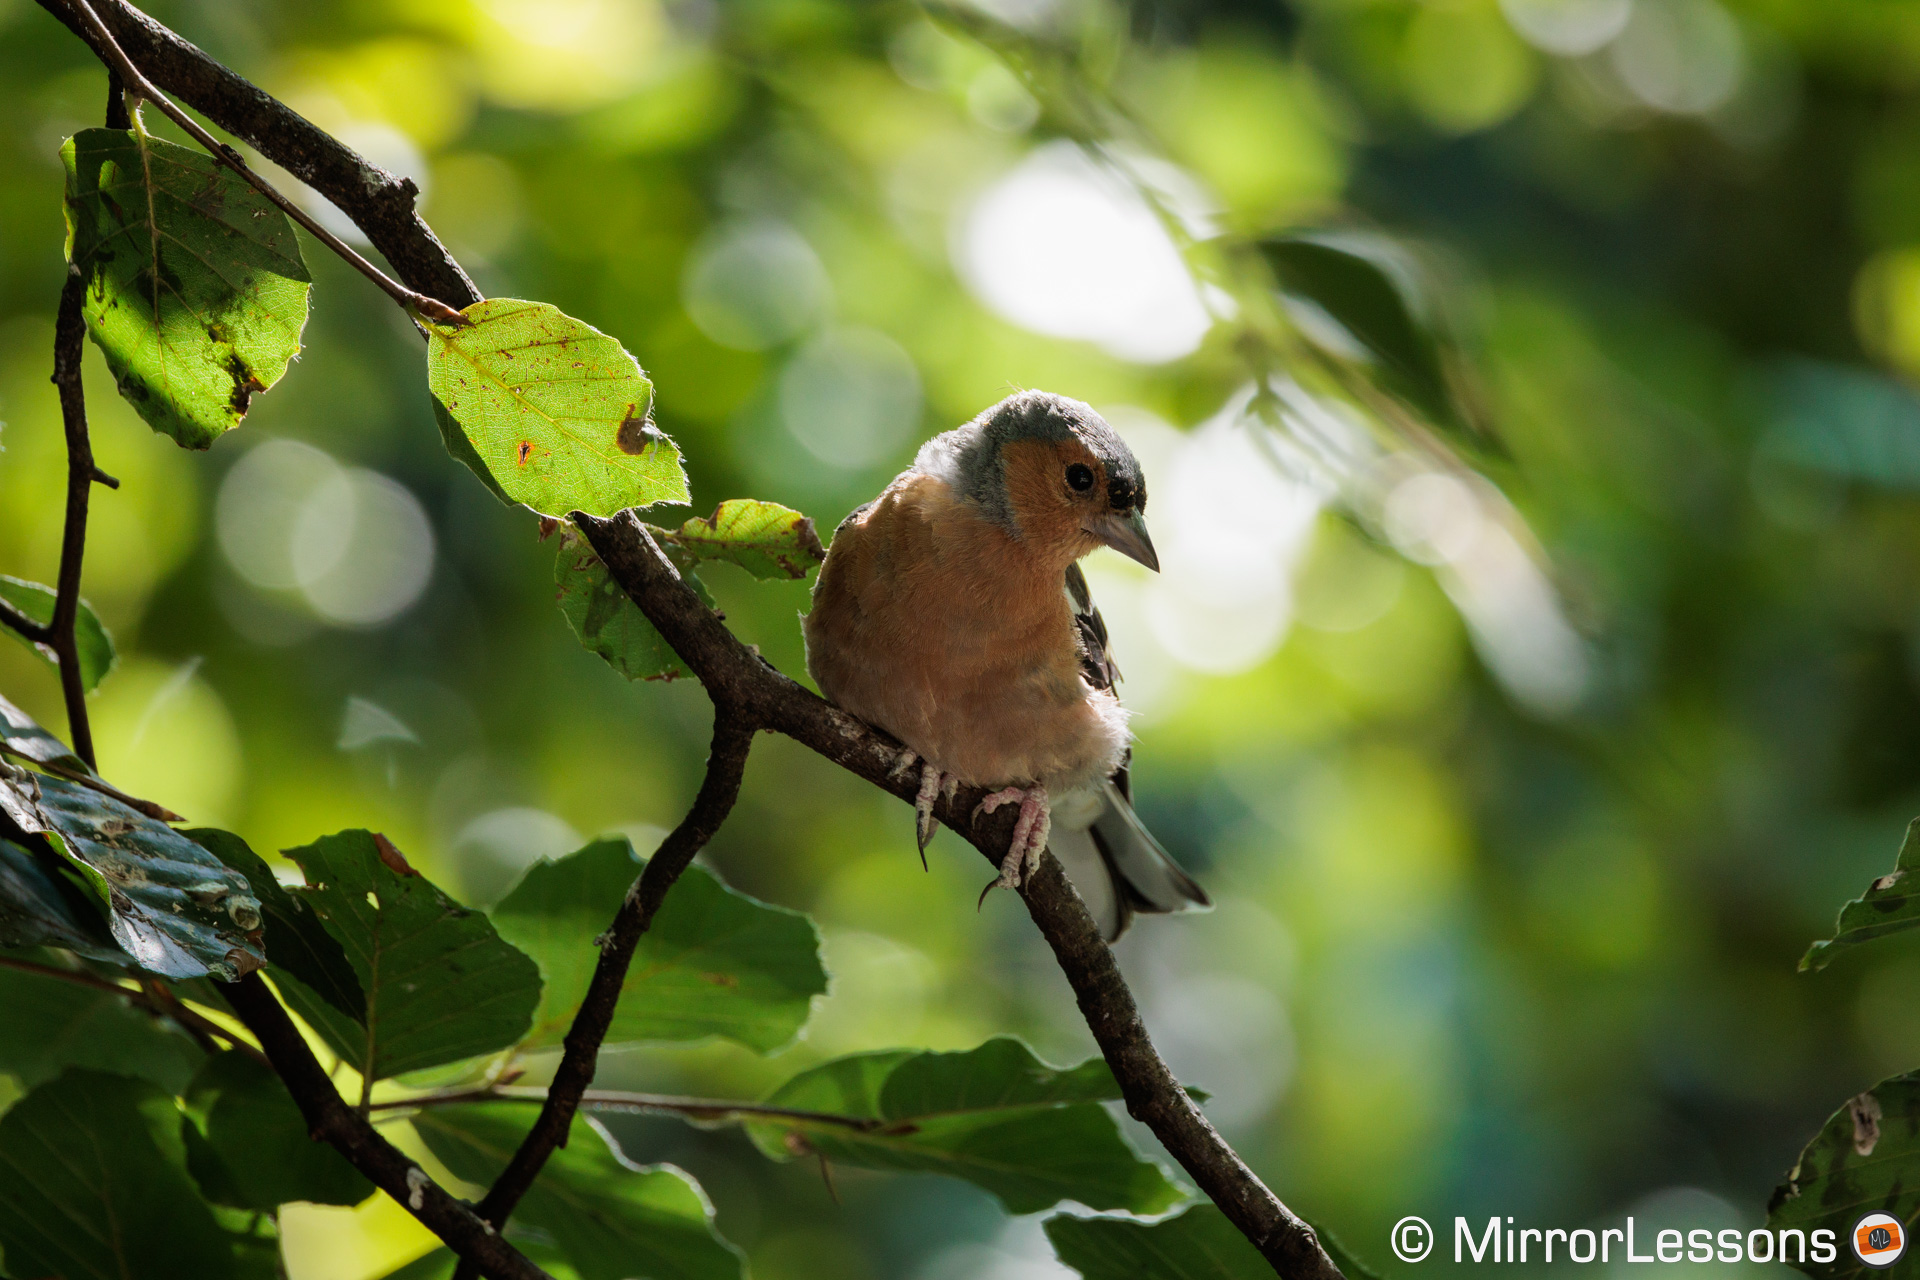
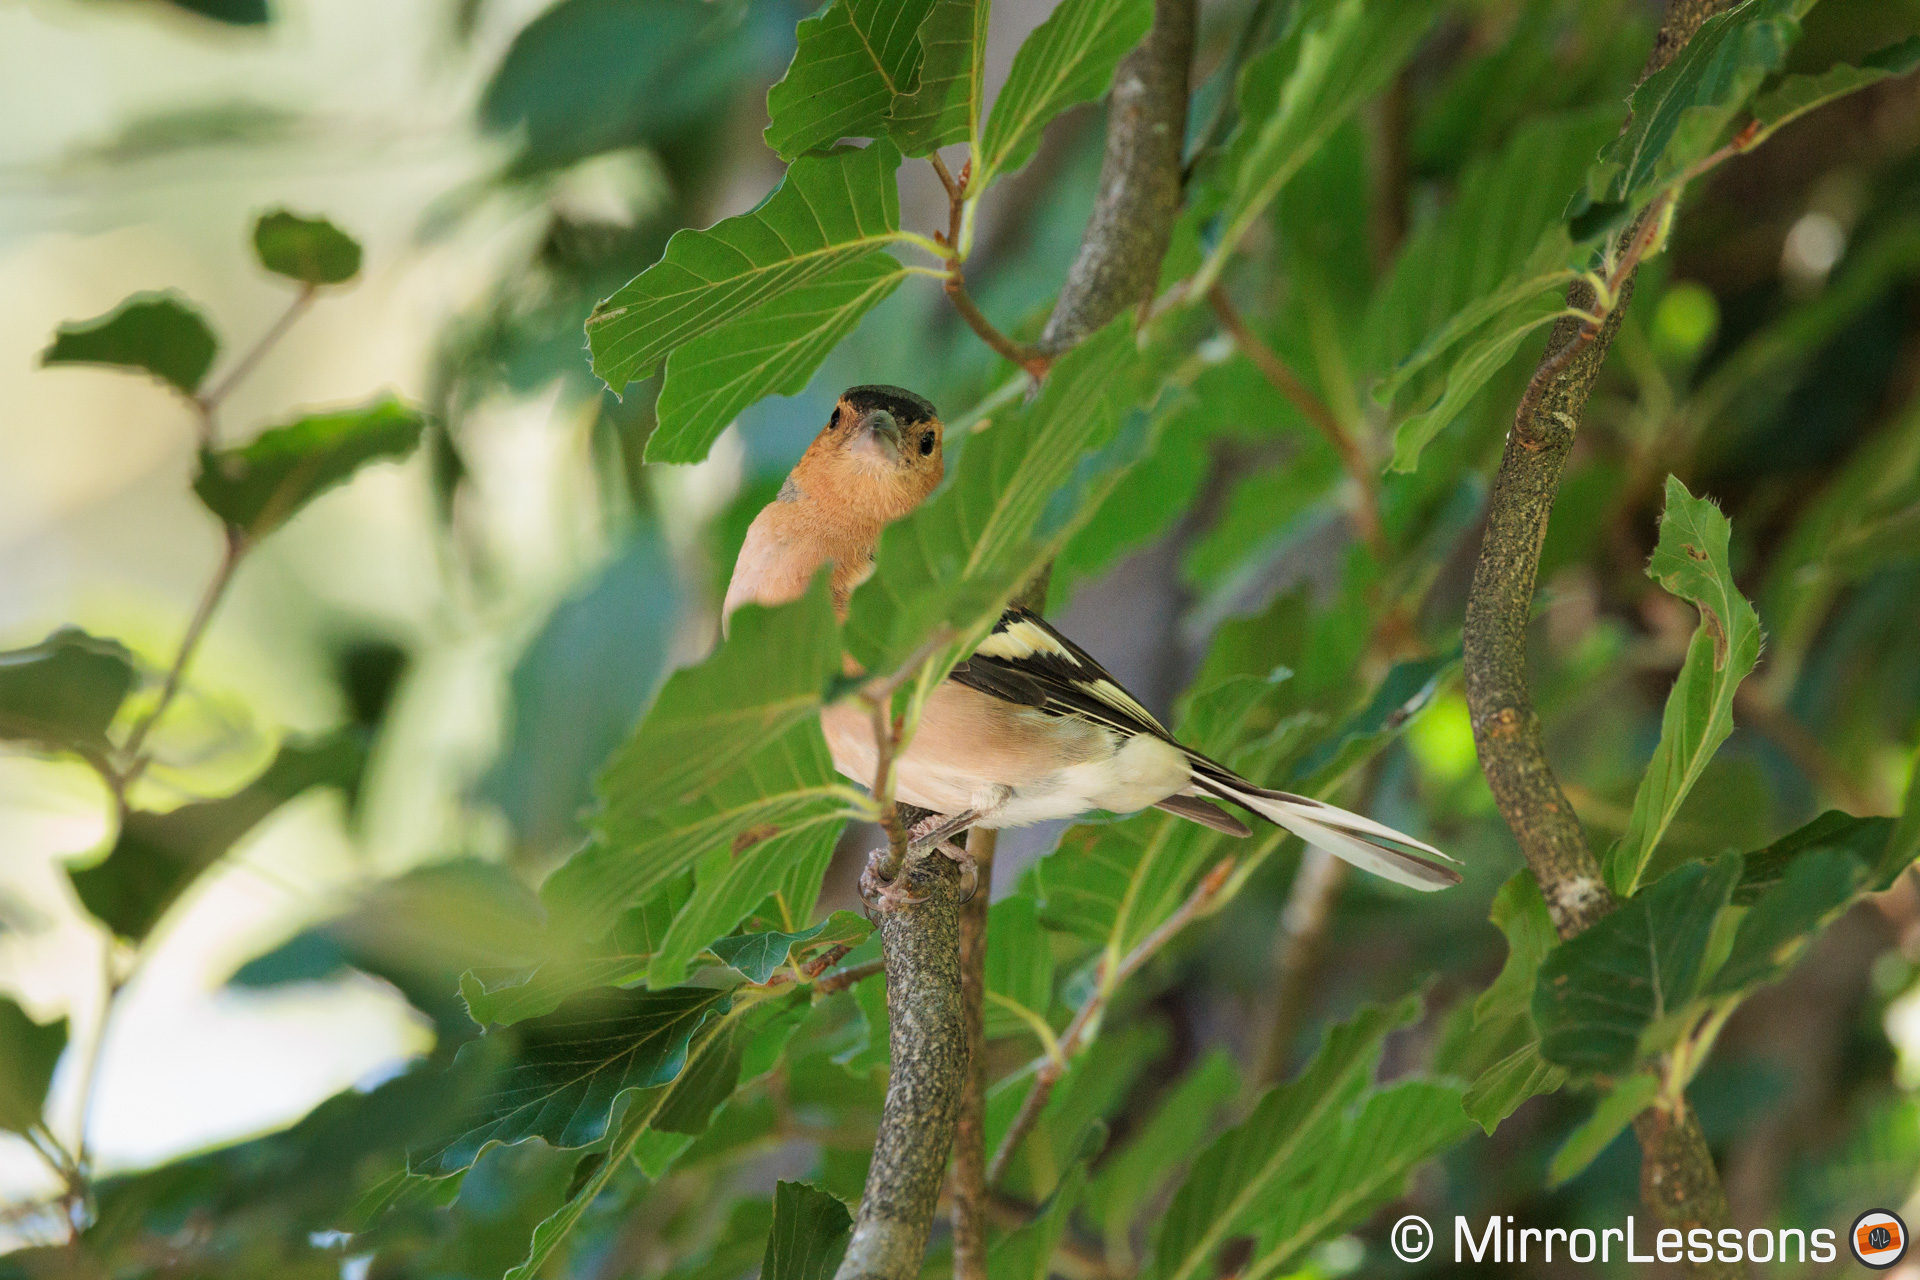
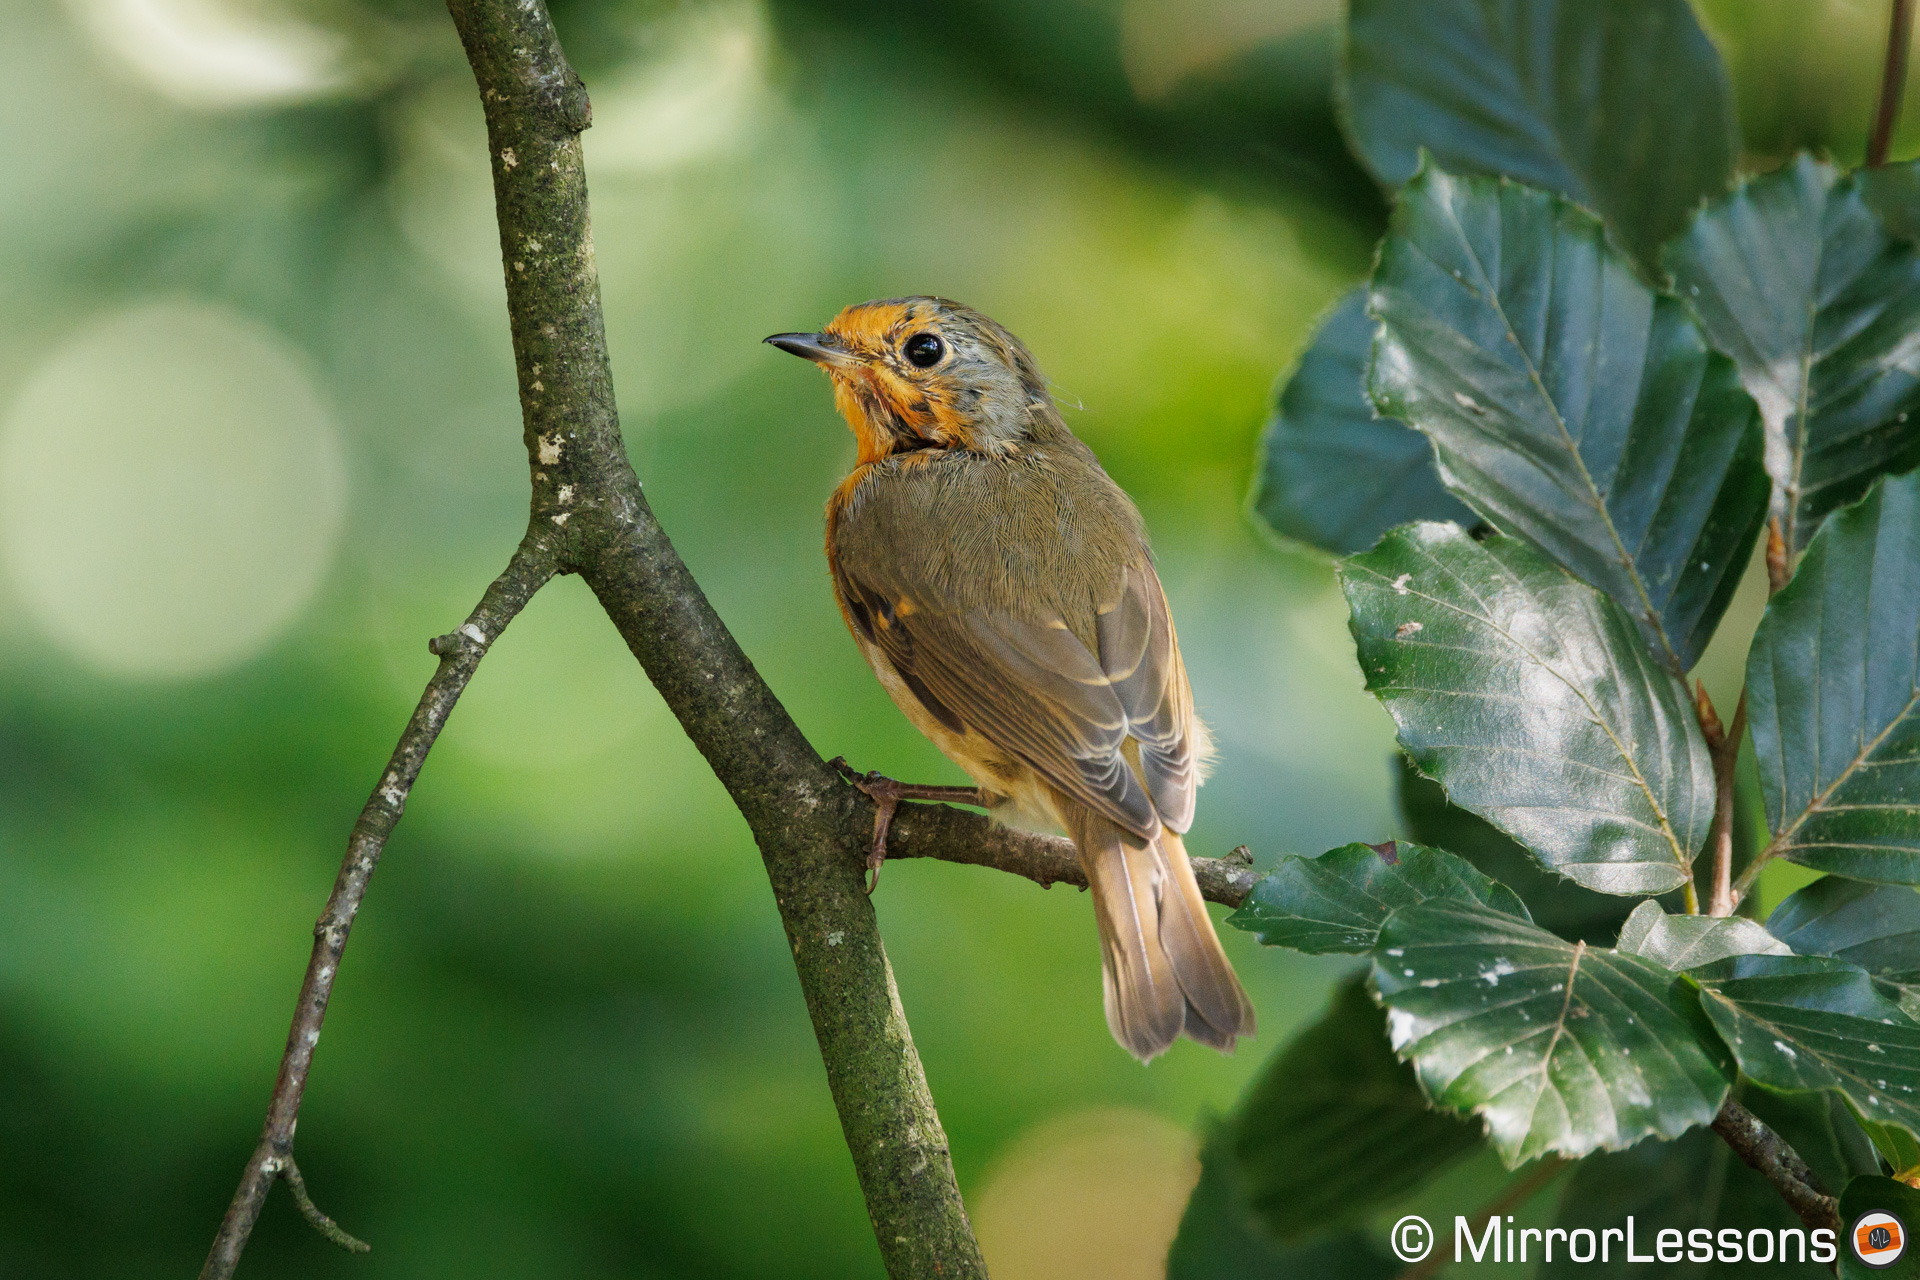
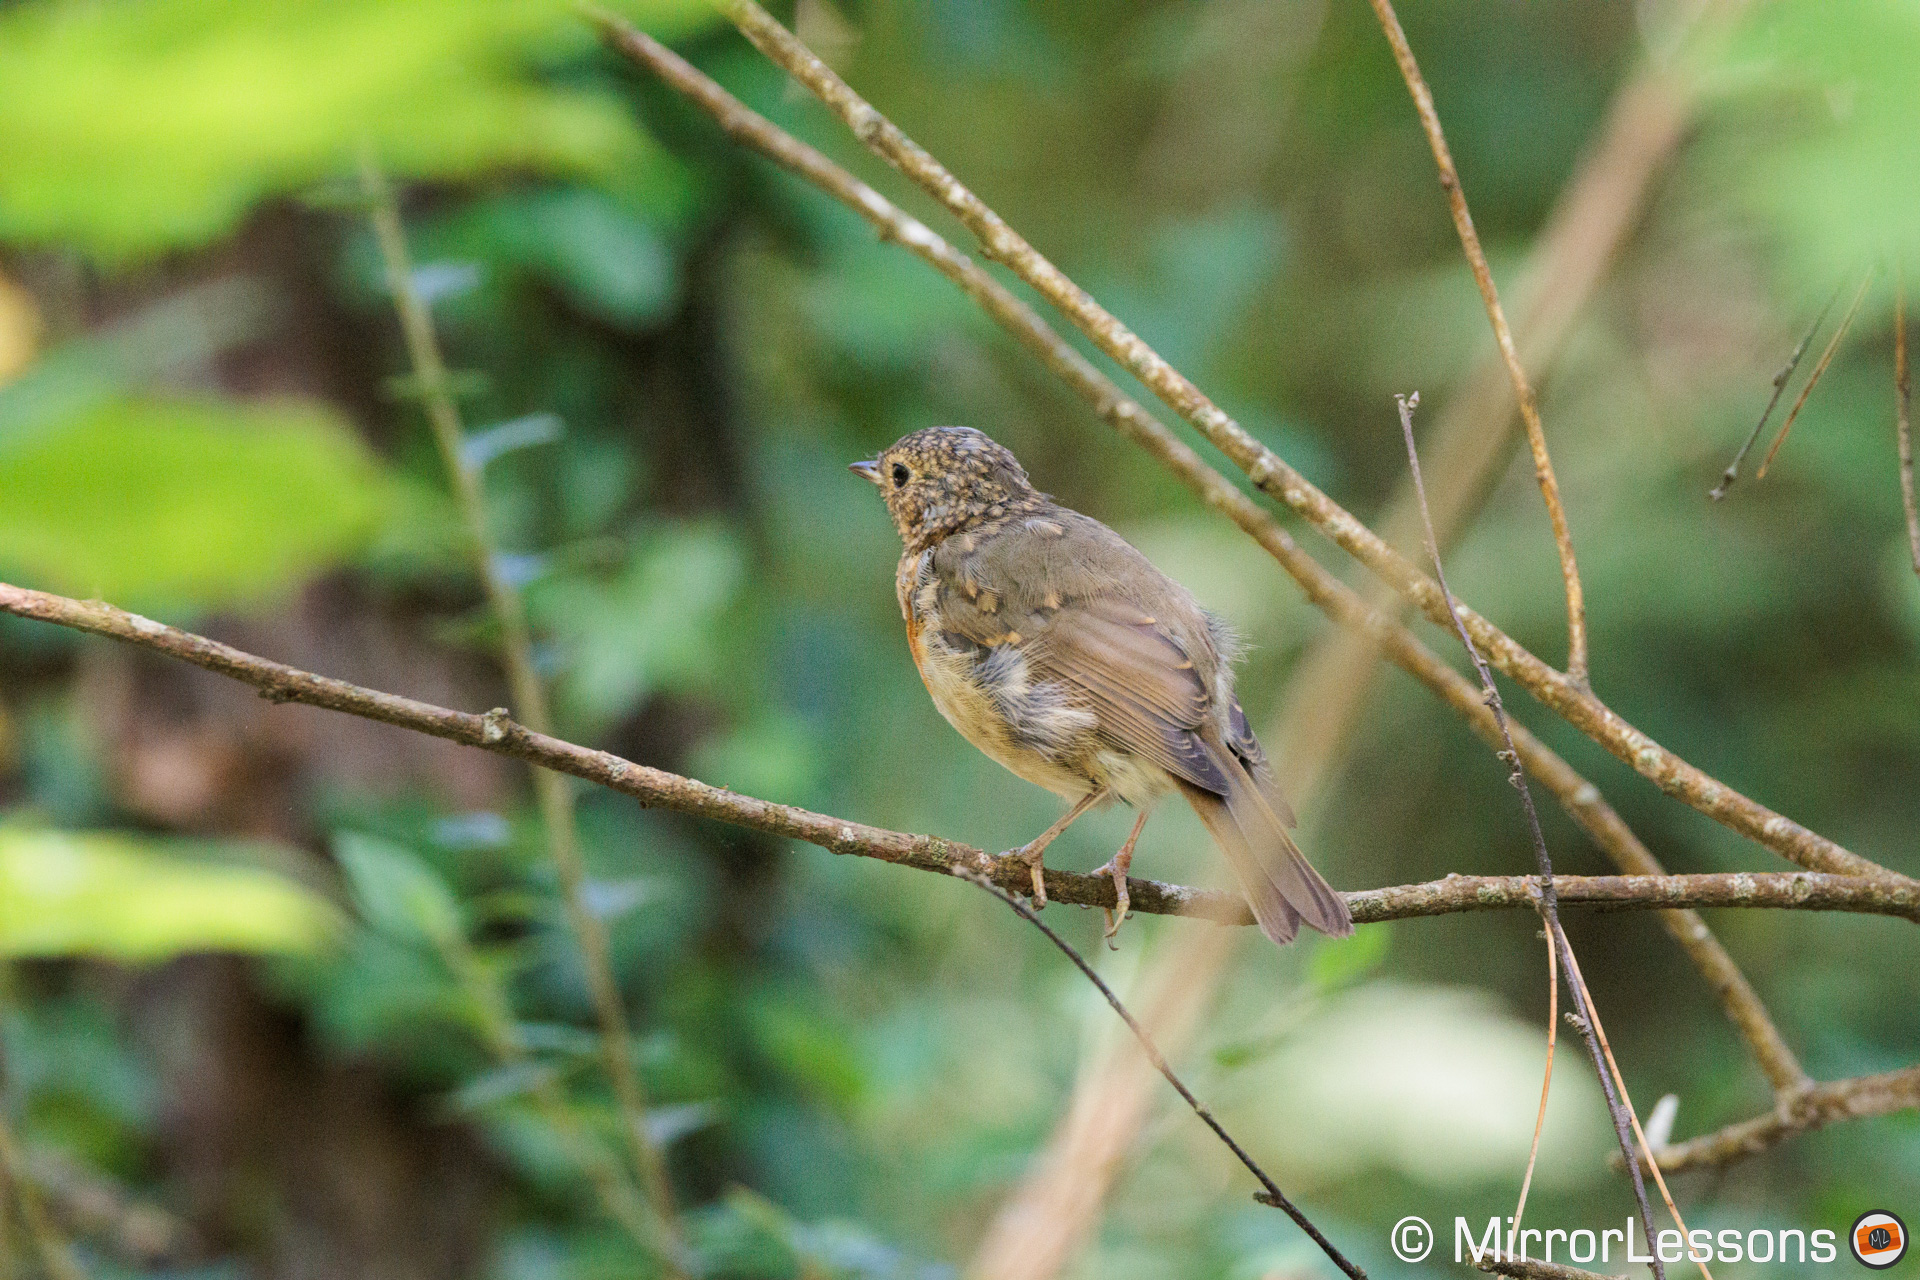
The camera can also recognise the subject even if it is not entirely visible. I have several examples of perched birds behind tree branches or leaves, and the camera still managed to nail focus correctly on the eye. Very impressive!
To be fair, I’ve experienced a similar behaviour with other products such as the Sony A1 or OM System OM-1, but the R3 gave me the impression of being one step ahead concerning the animal detection algorithm.
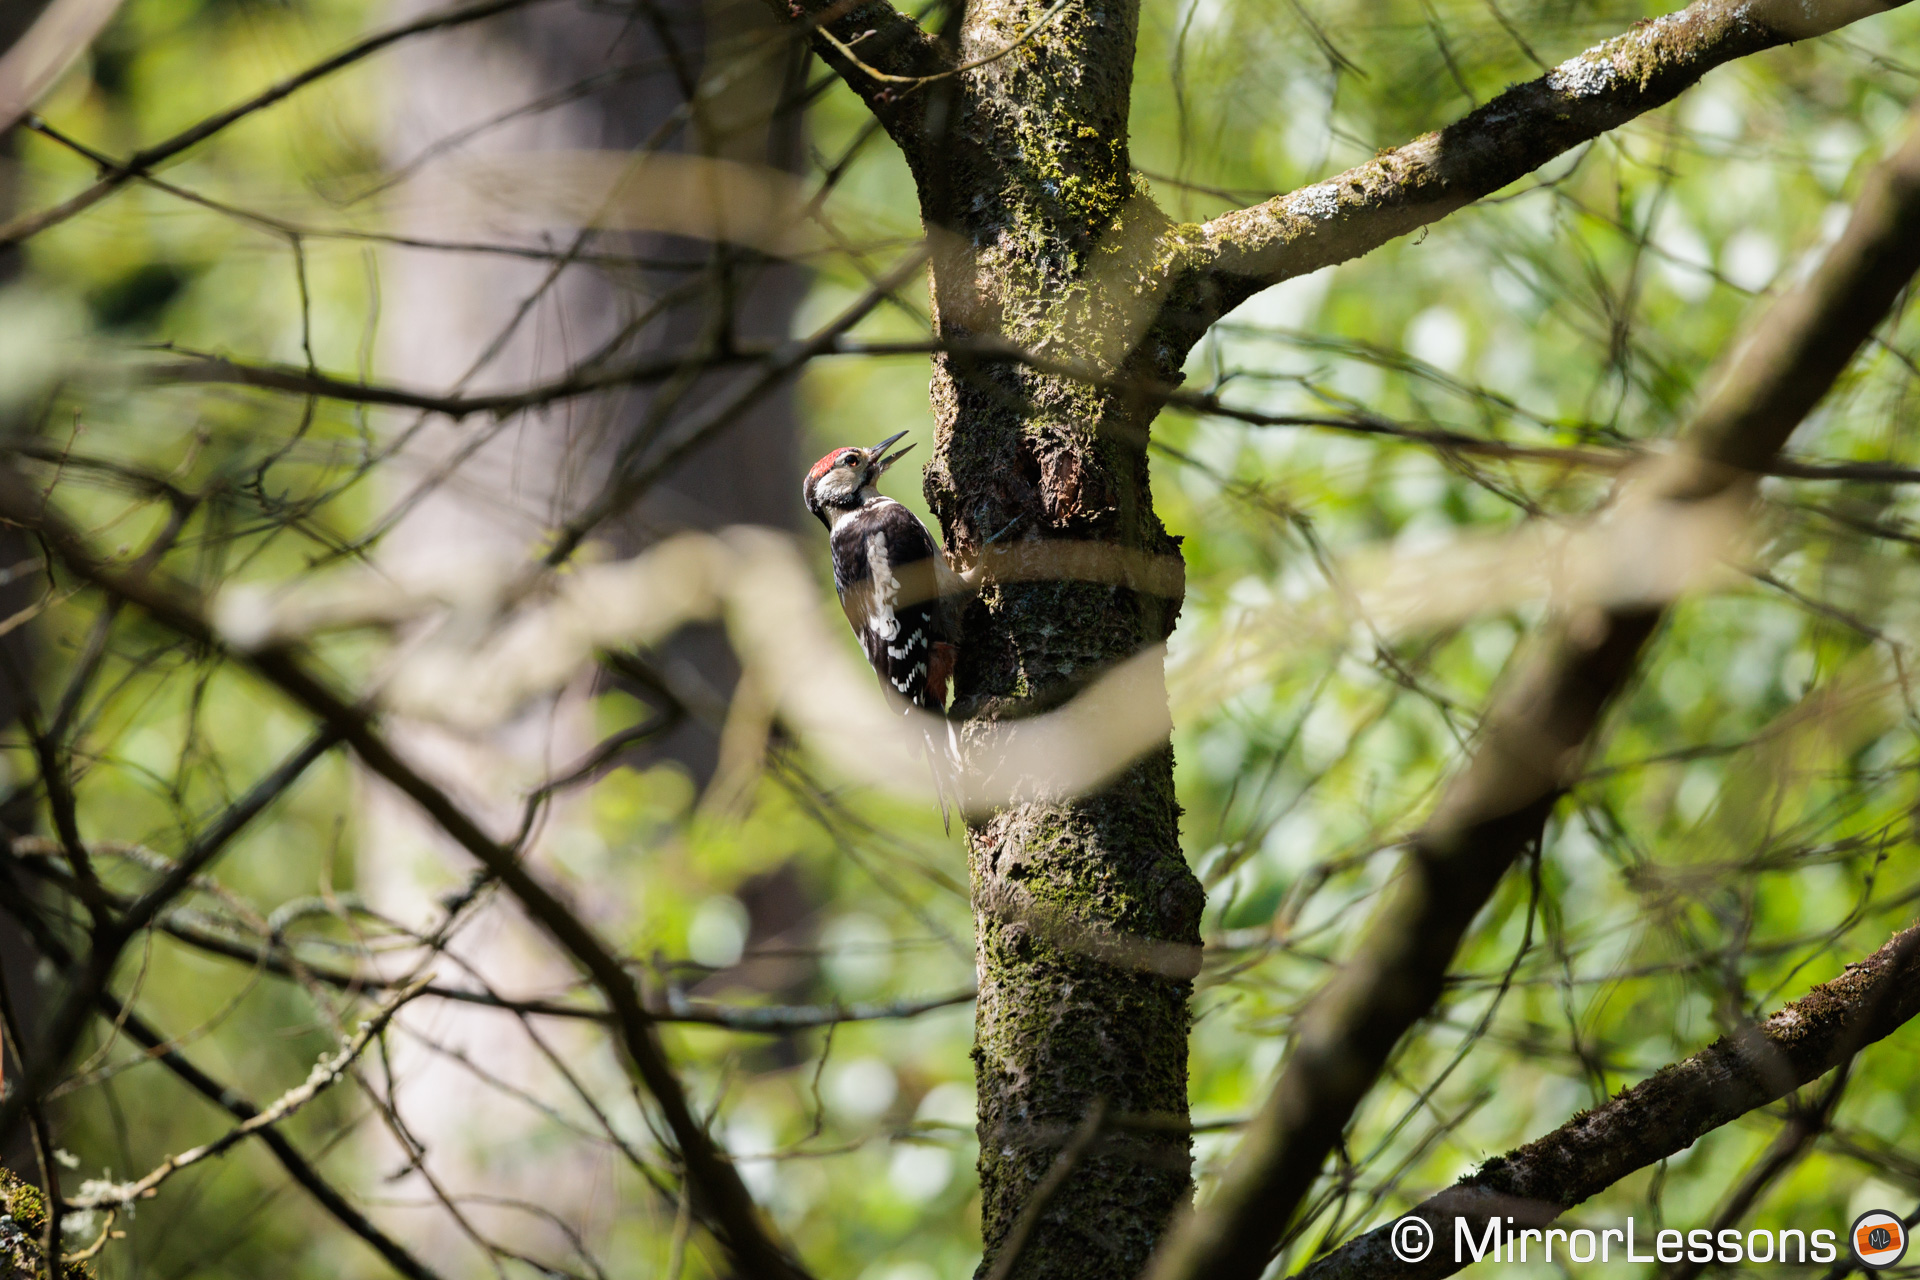
That said, recognising the animal in challenging situations is one thing, nailing focus every time is another: the result is not always perfect. Elements covering the subject can lead to inaccurate focus, and challenging light conditions can confuse the camera. In short, don’t take difficult scenes as a given!
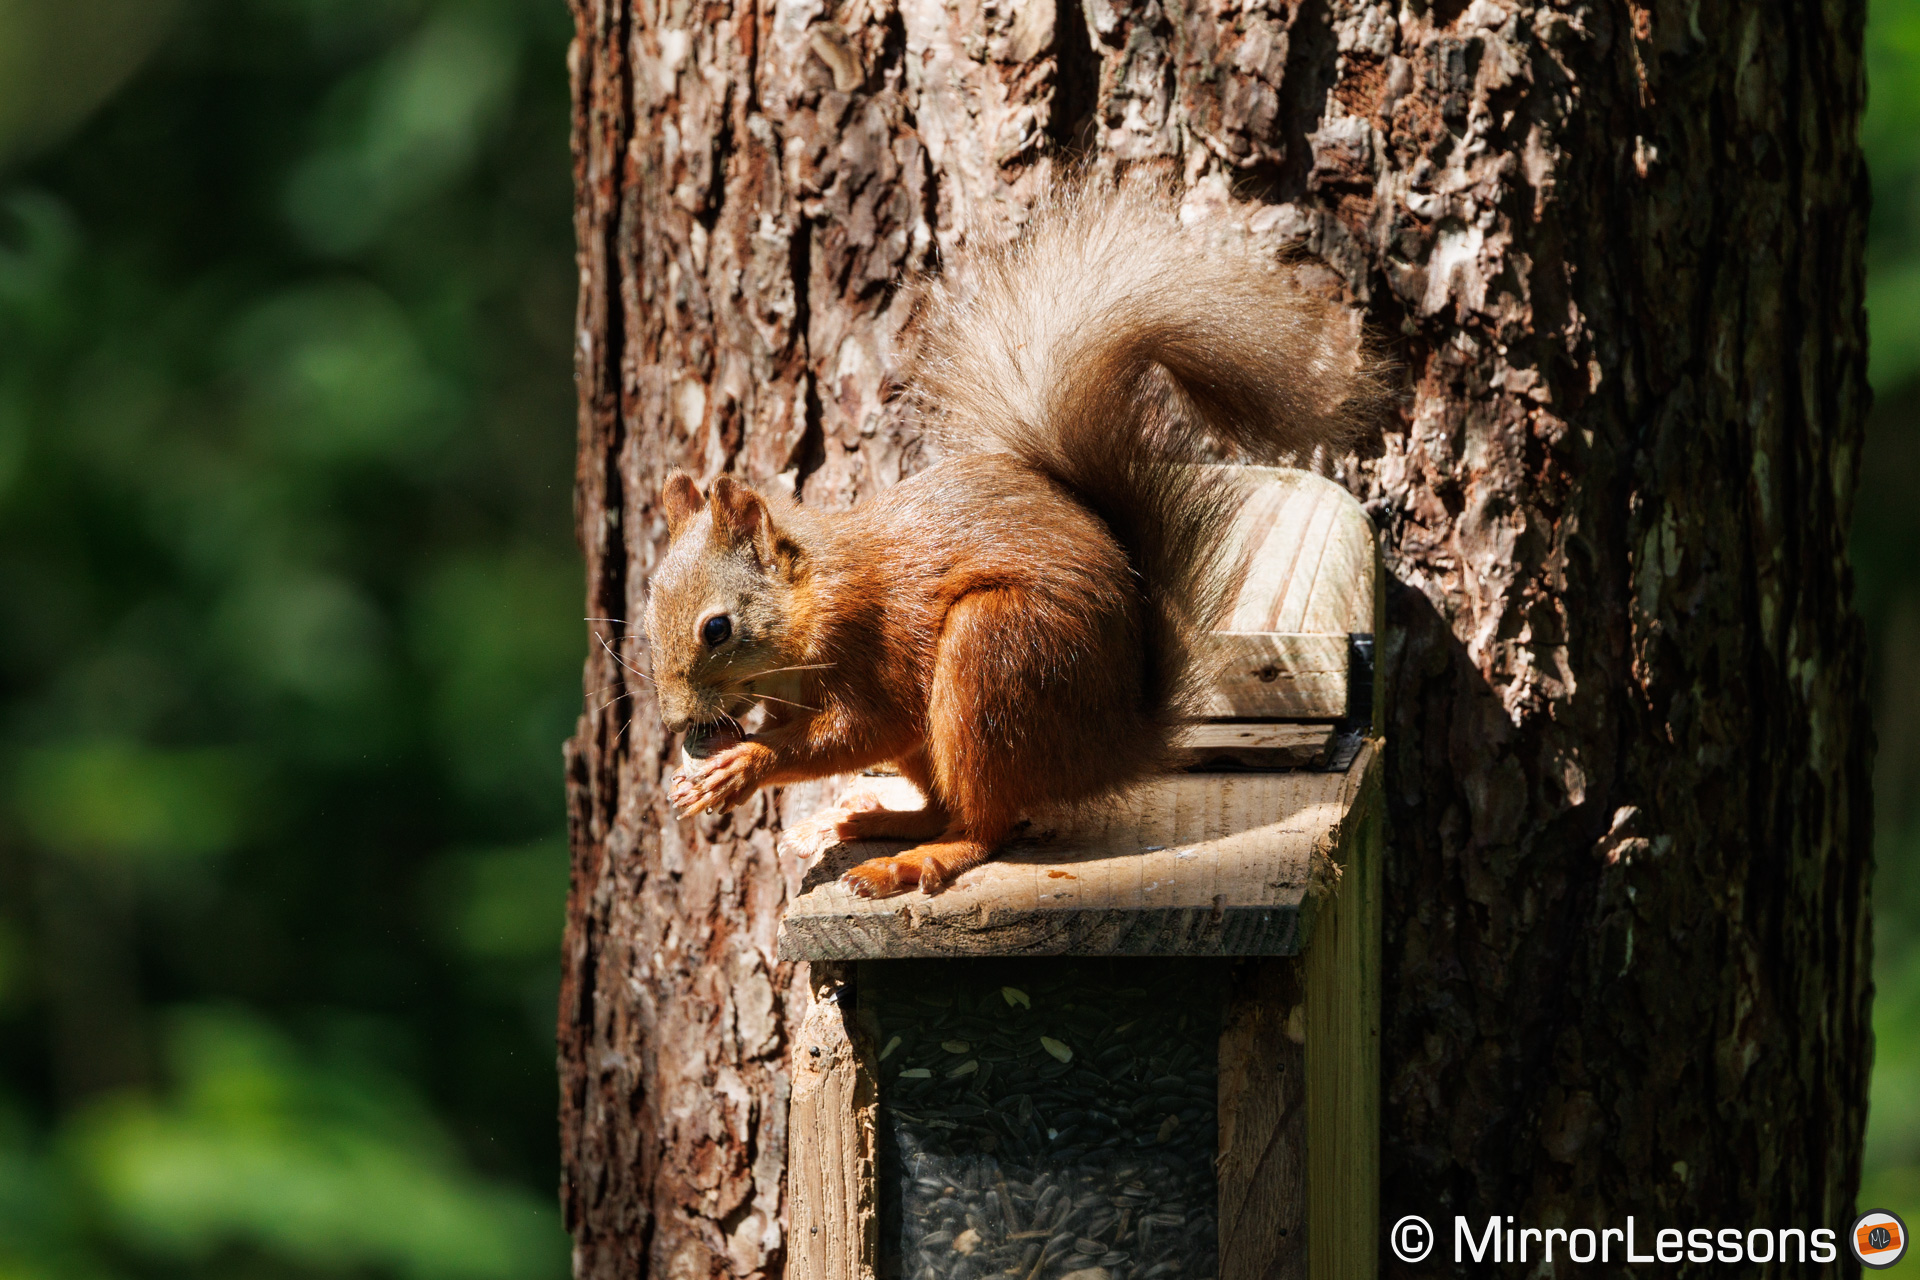
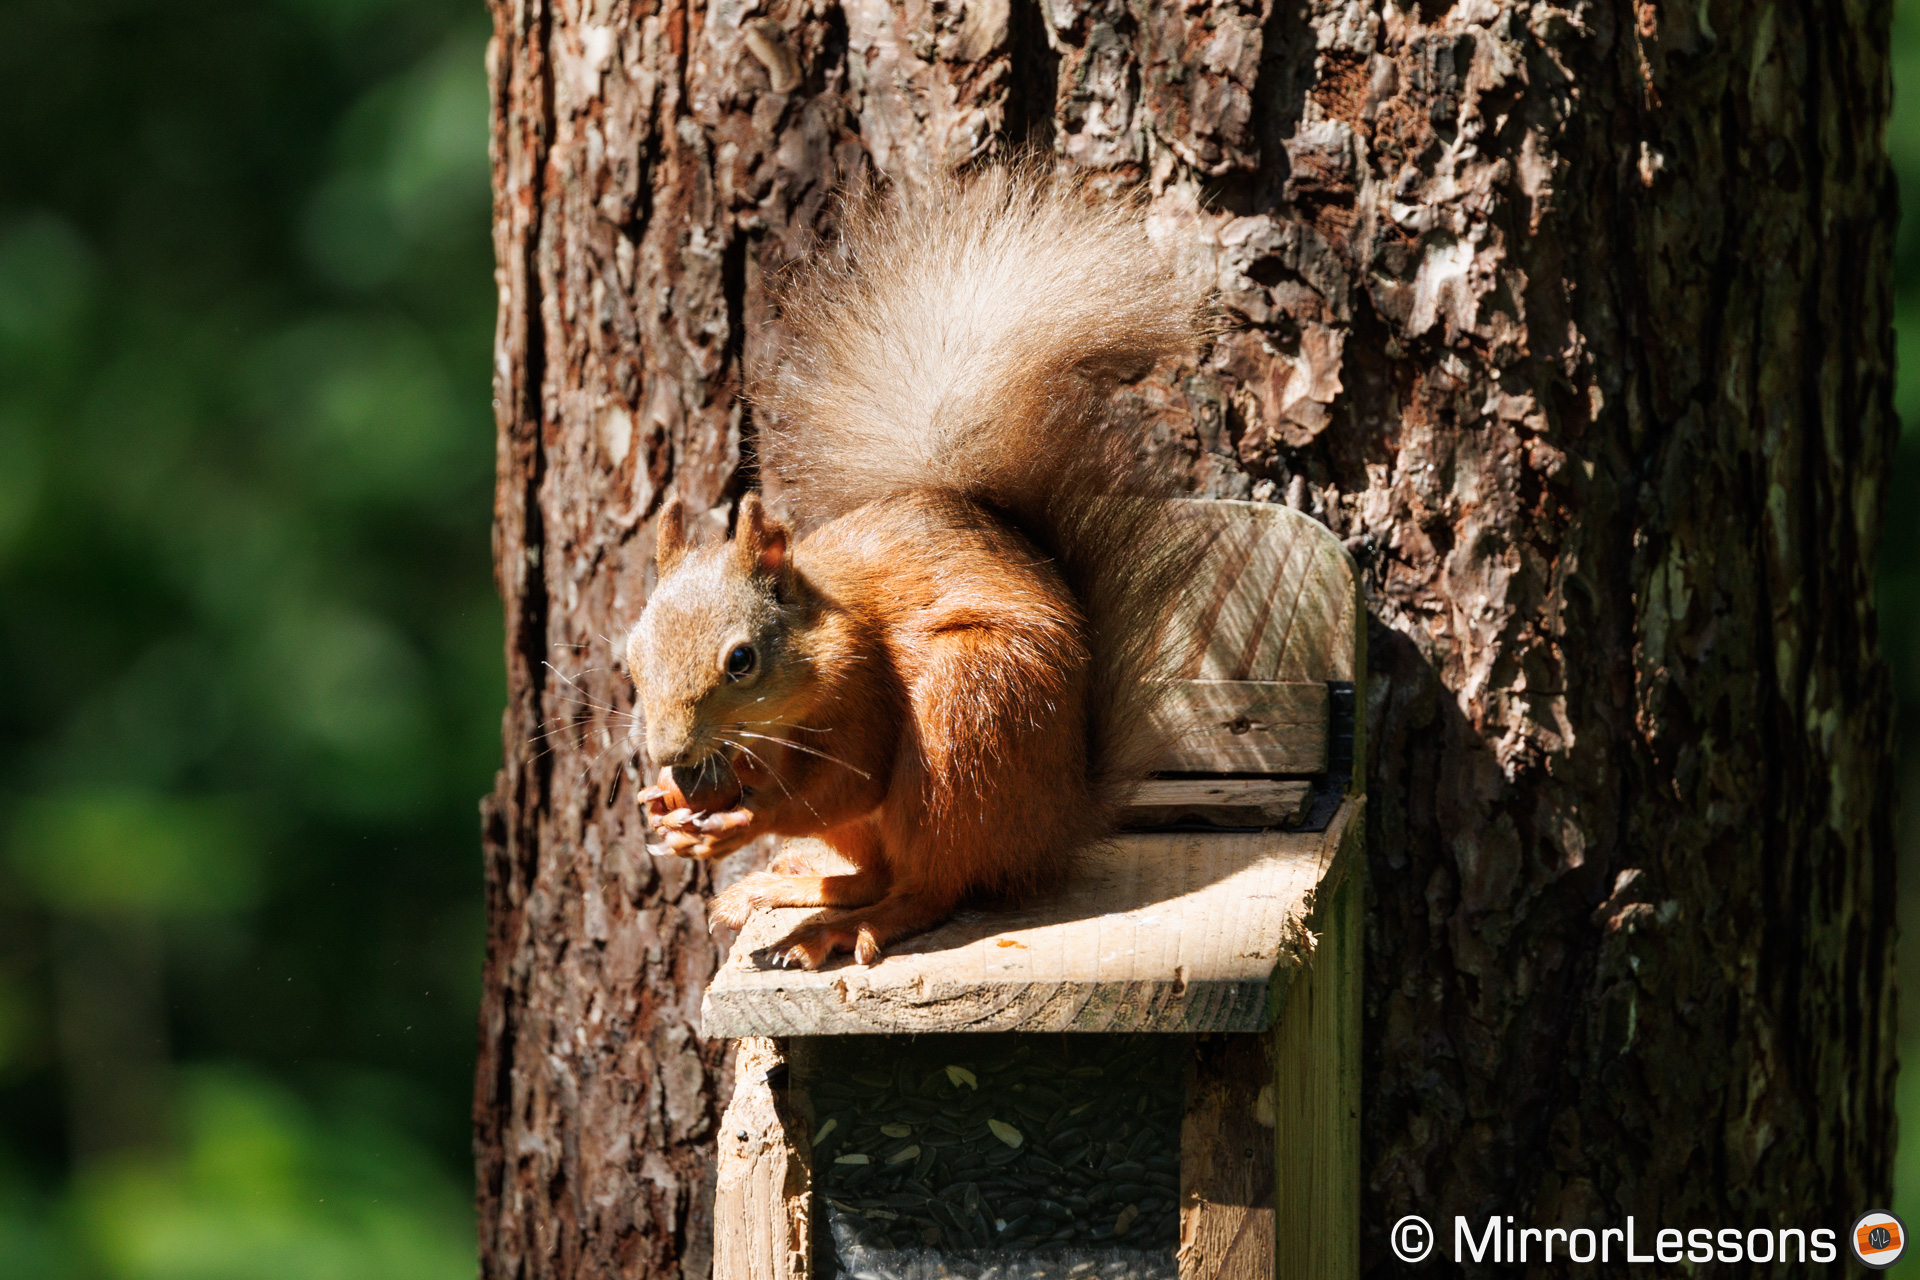
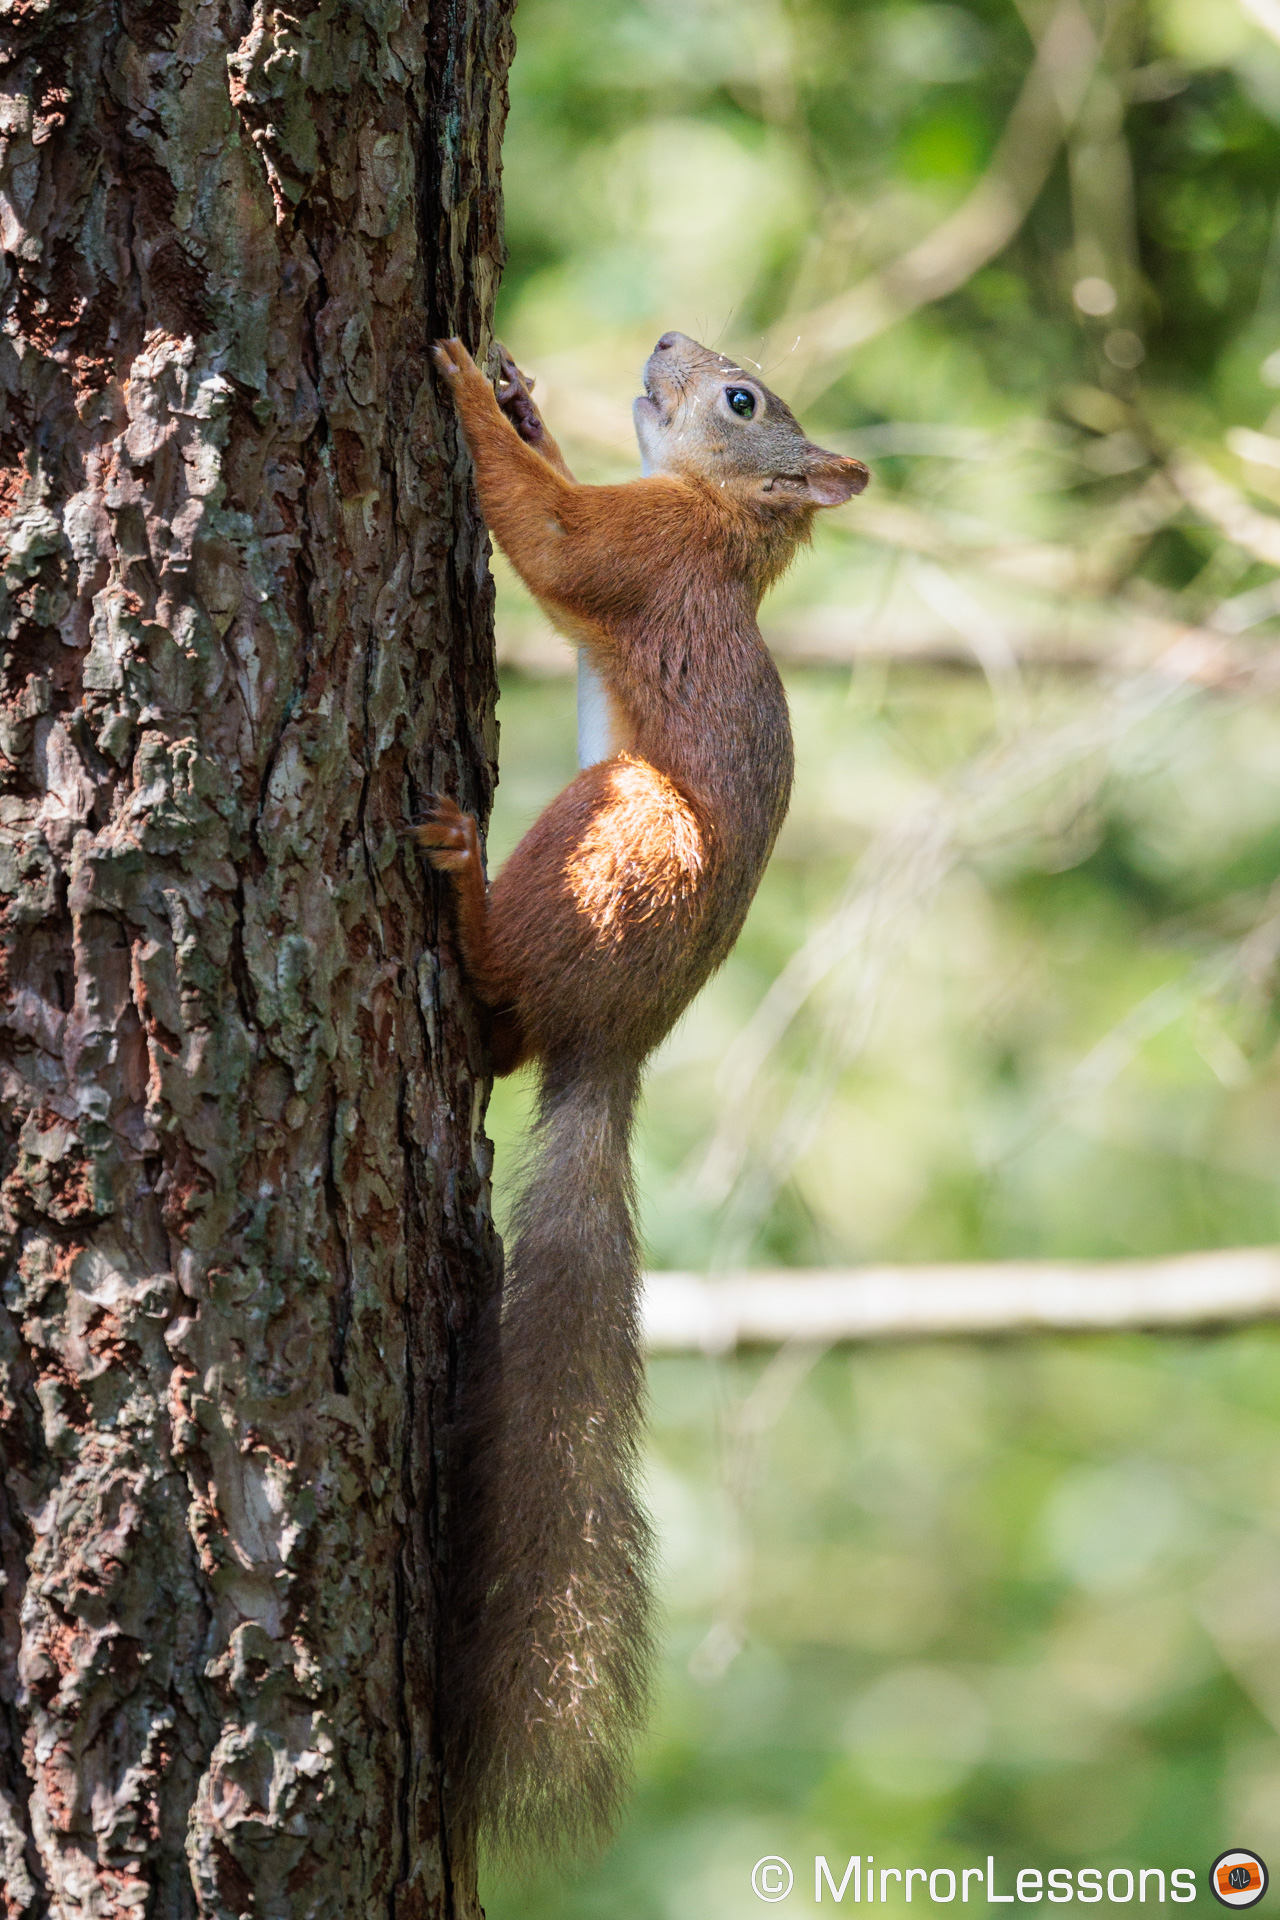
The R3 can also act a bit weirdly. Occasionally, it will mis-focus on the background although the subject is clearly identified, such as in the images with the red squirrel below.
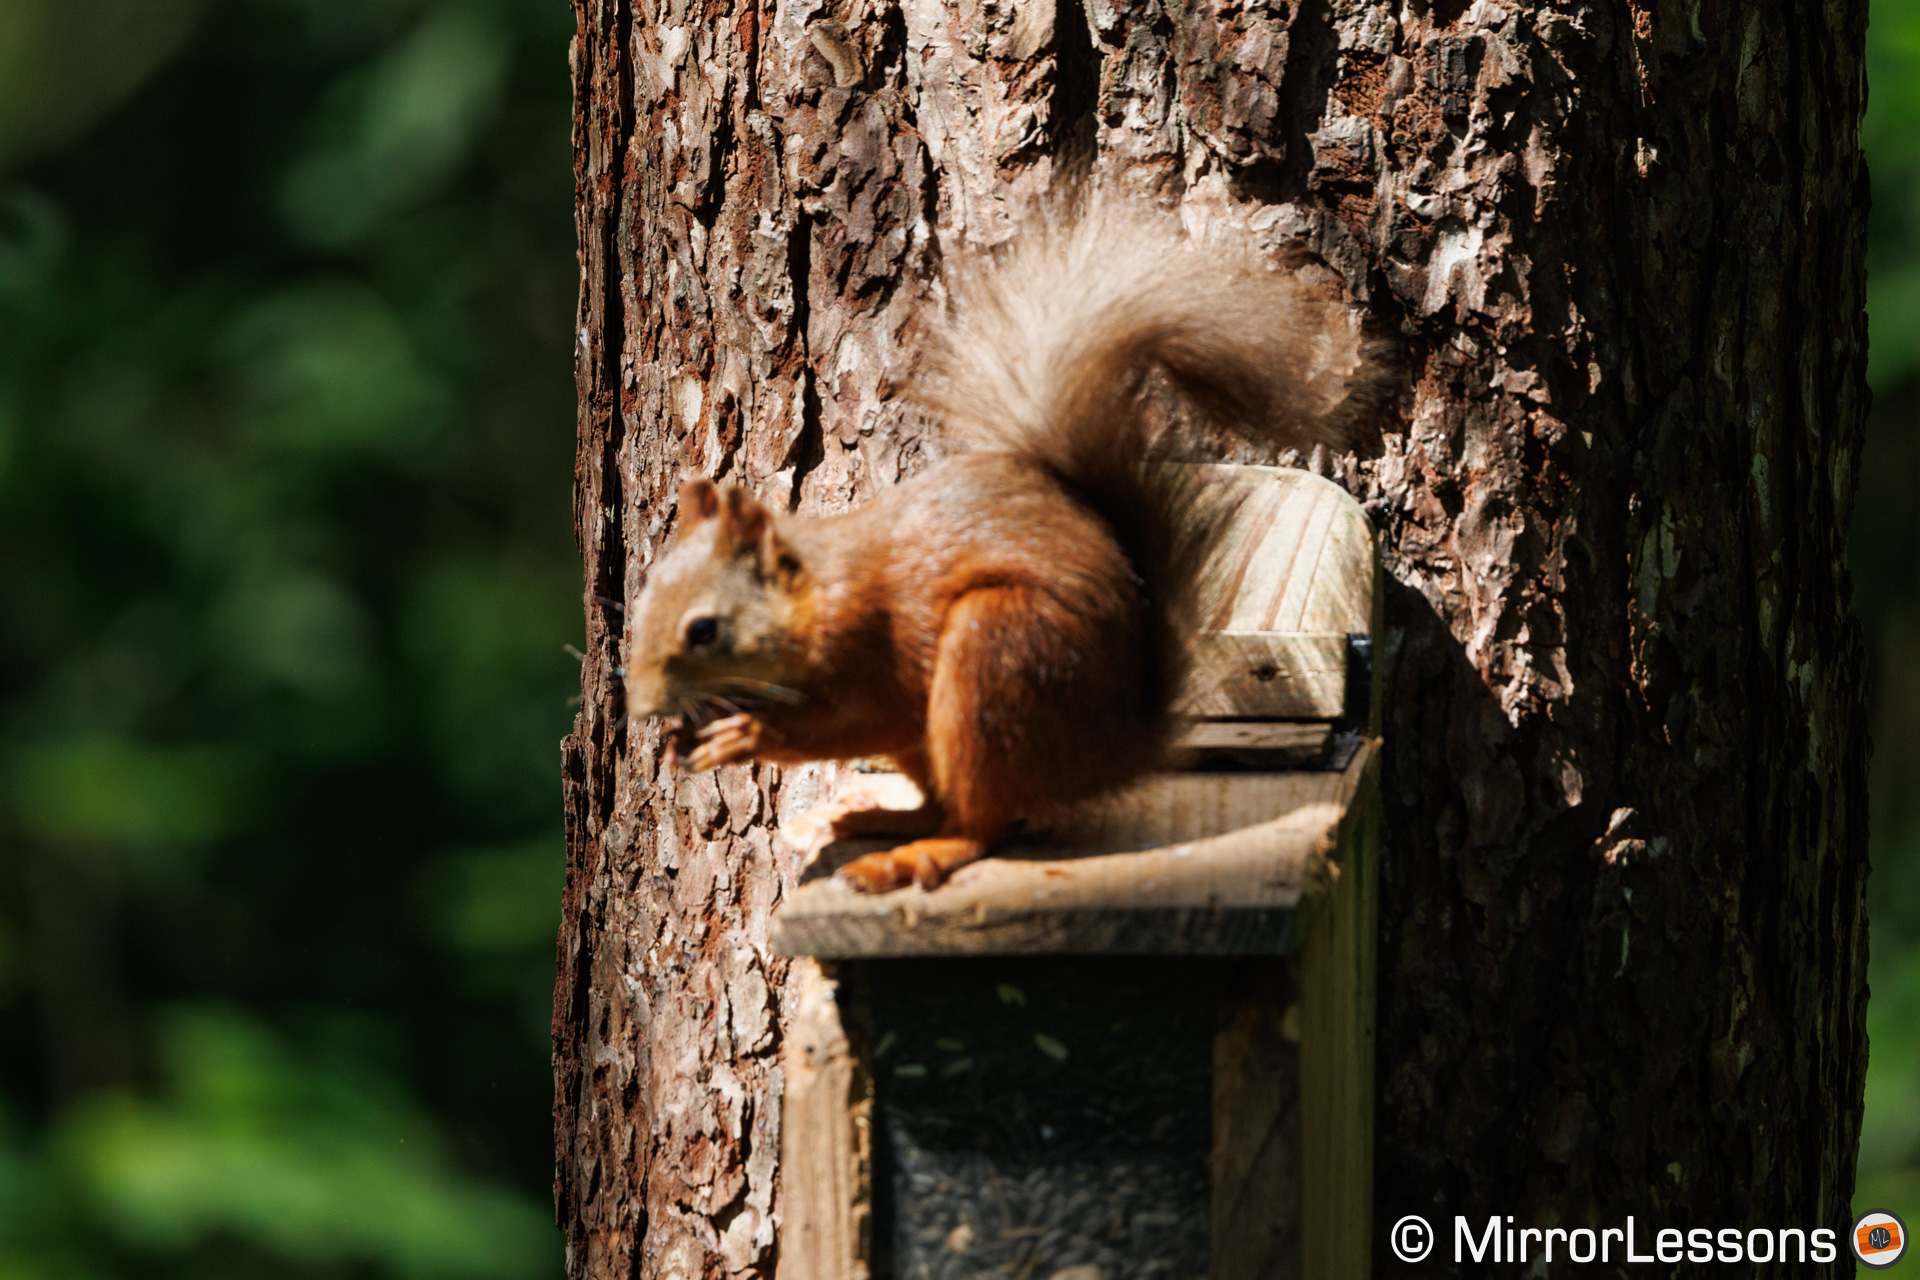
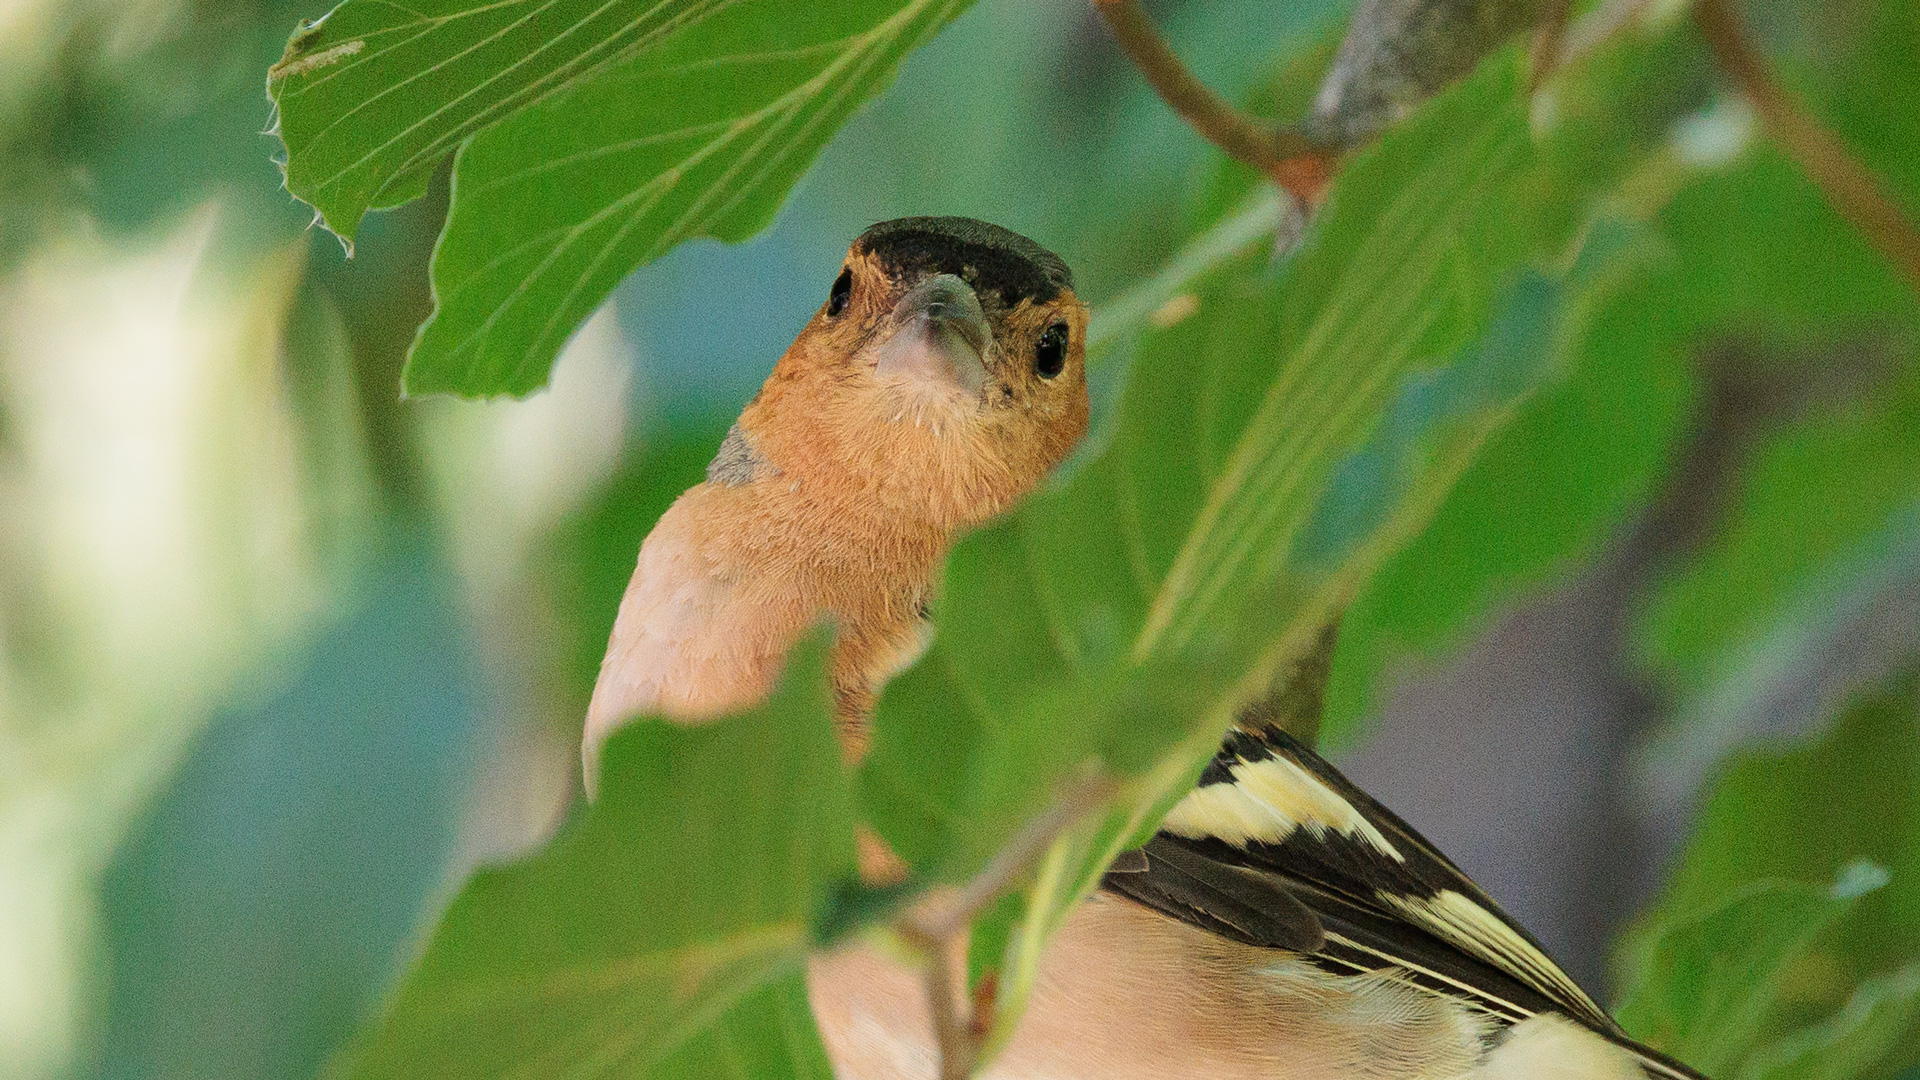
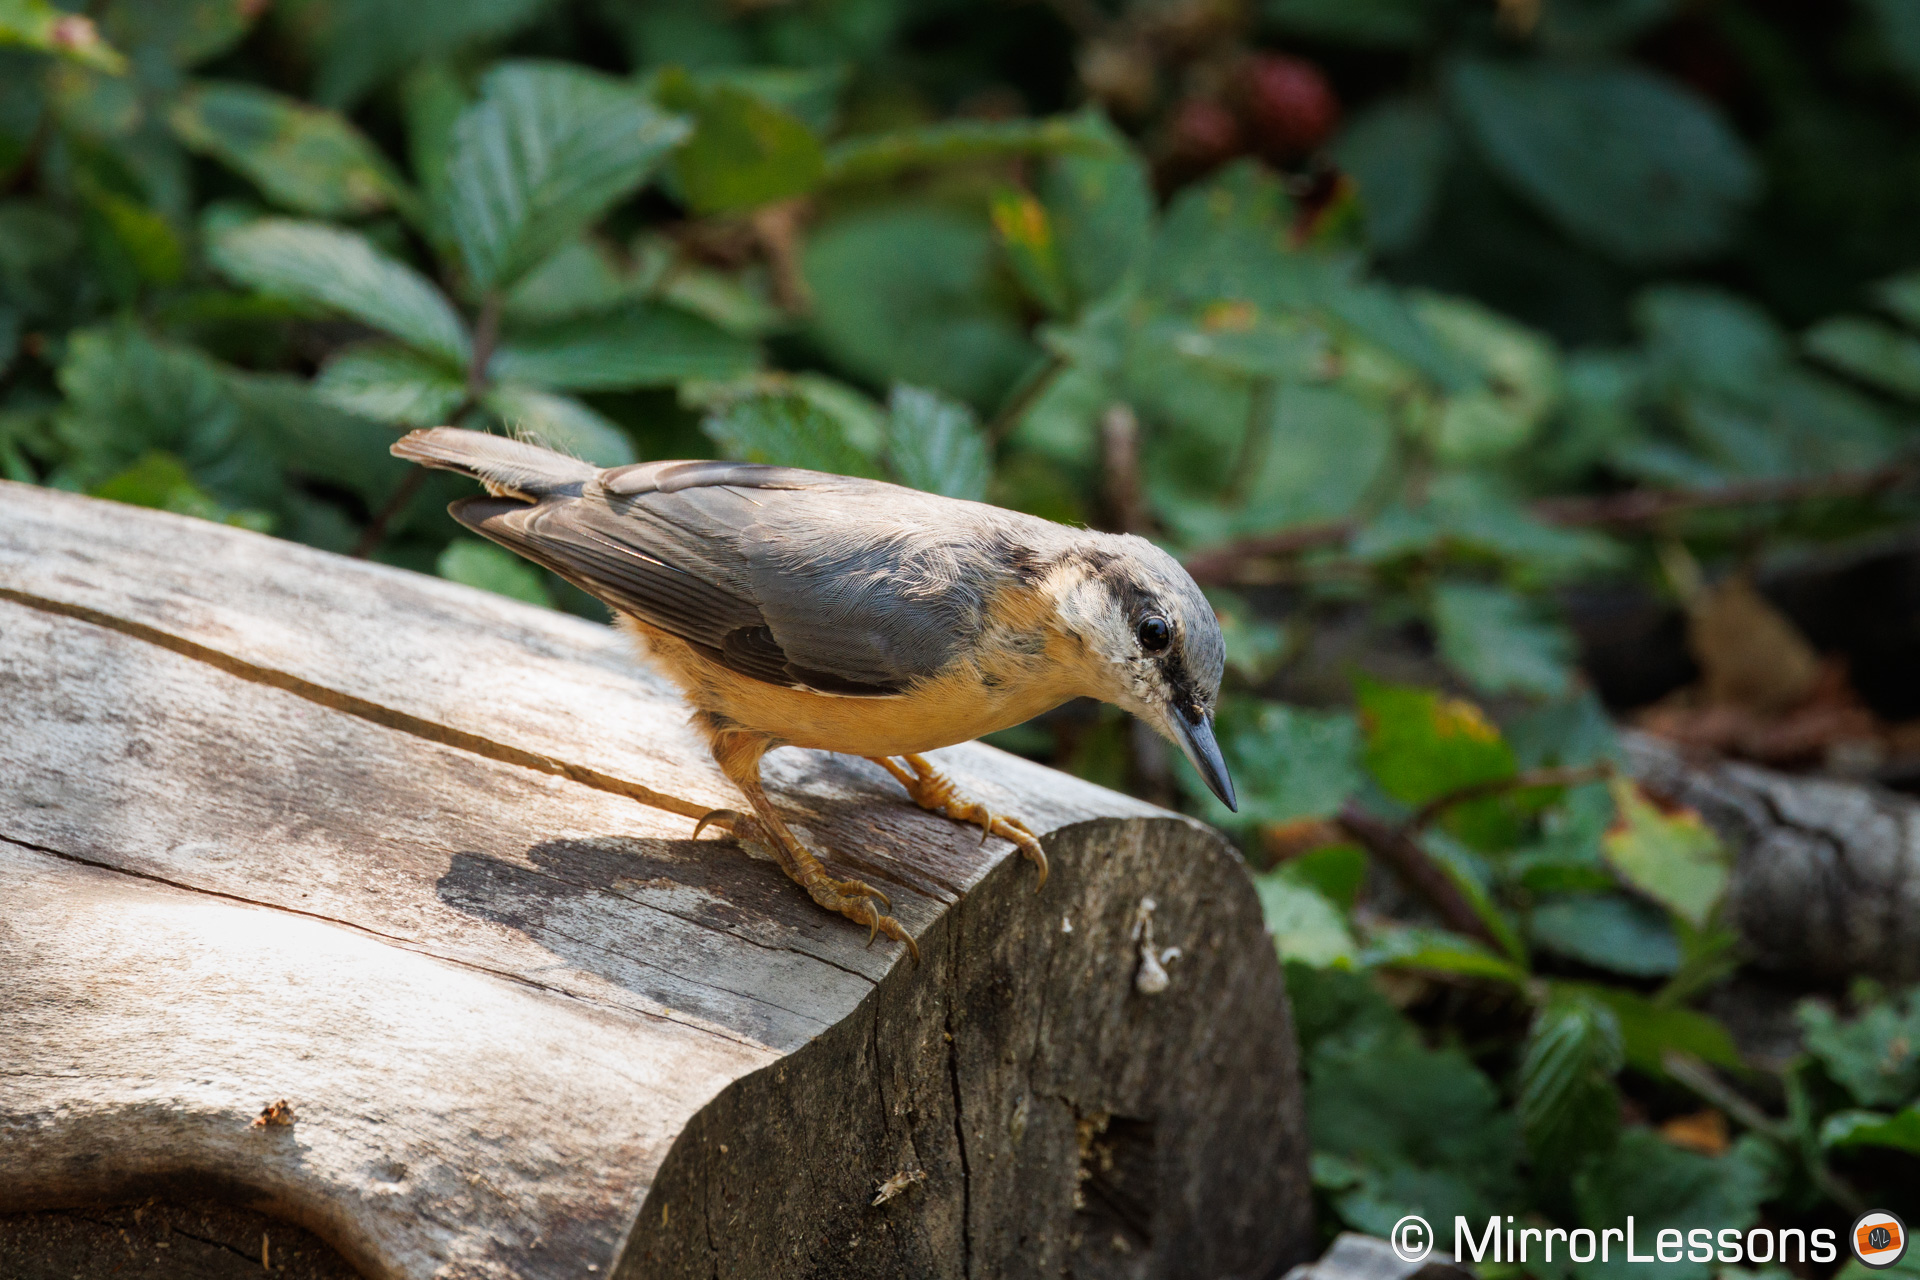
The R3 almost always recognises the body or head of a subject, but Eye Detection is less precise on animals than it is on humans. It comes and goes easily and, when it’s gone, the camera reverts to the head or body. That can lead to slightly soft results on the eye, depending on your depth of field.

It is fair to point out that tracking the eyes of animals is more challenging. For example, small birds never stay still, turning their head and bodies continuously, which means the eye is not facing the camera for long. So far, no mirrorless that I’ve tested is 100% perfect with this technology.
One thing in favour of the R3 is that it always corrects focus very quickly. The best chance to get good results is to take multiple shots (even a slow burst speed is sufficient) to ensure you get the photo you want.
Canon R3 and Birds in Flight
The R3 features Canon’s Dual Pixel CMOS AF II system, a technology shared with other cameras such as the R5 and R6, but the flagship model has a faster version capable of 60 calculations per second (like the Sony A9 series).
The locking speed is what impressed me the most about this camera (Canon claims 0.03s). I’ve already witnessed how fast it was with static subjects, but I was really surprised to see how quickly the R3 detects and acquirs focus on flying birds. It feels instantaneous and I think it might be the fastest camera I’ve tested so far regarding this particular aspect.
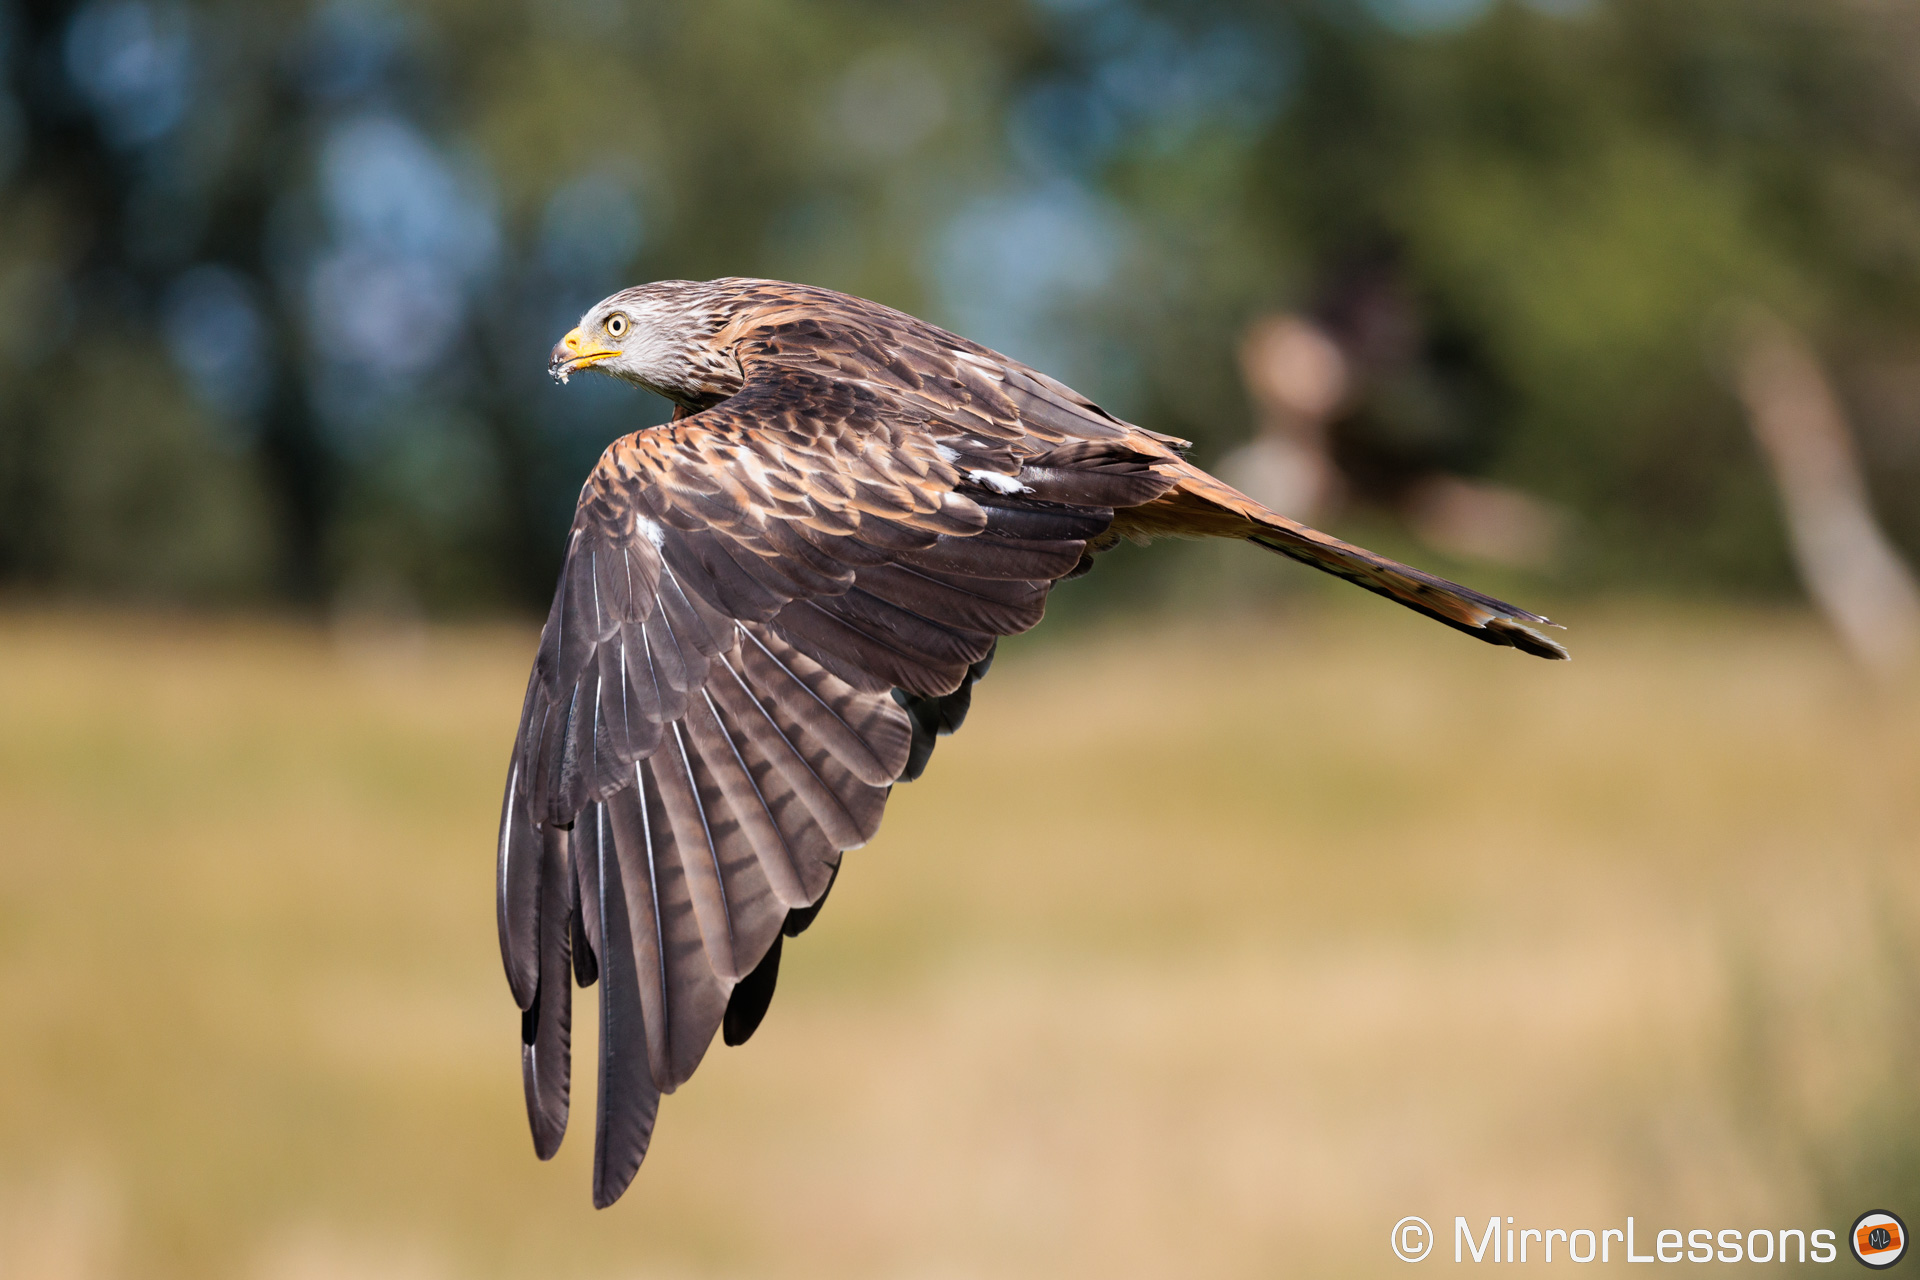
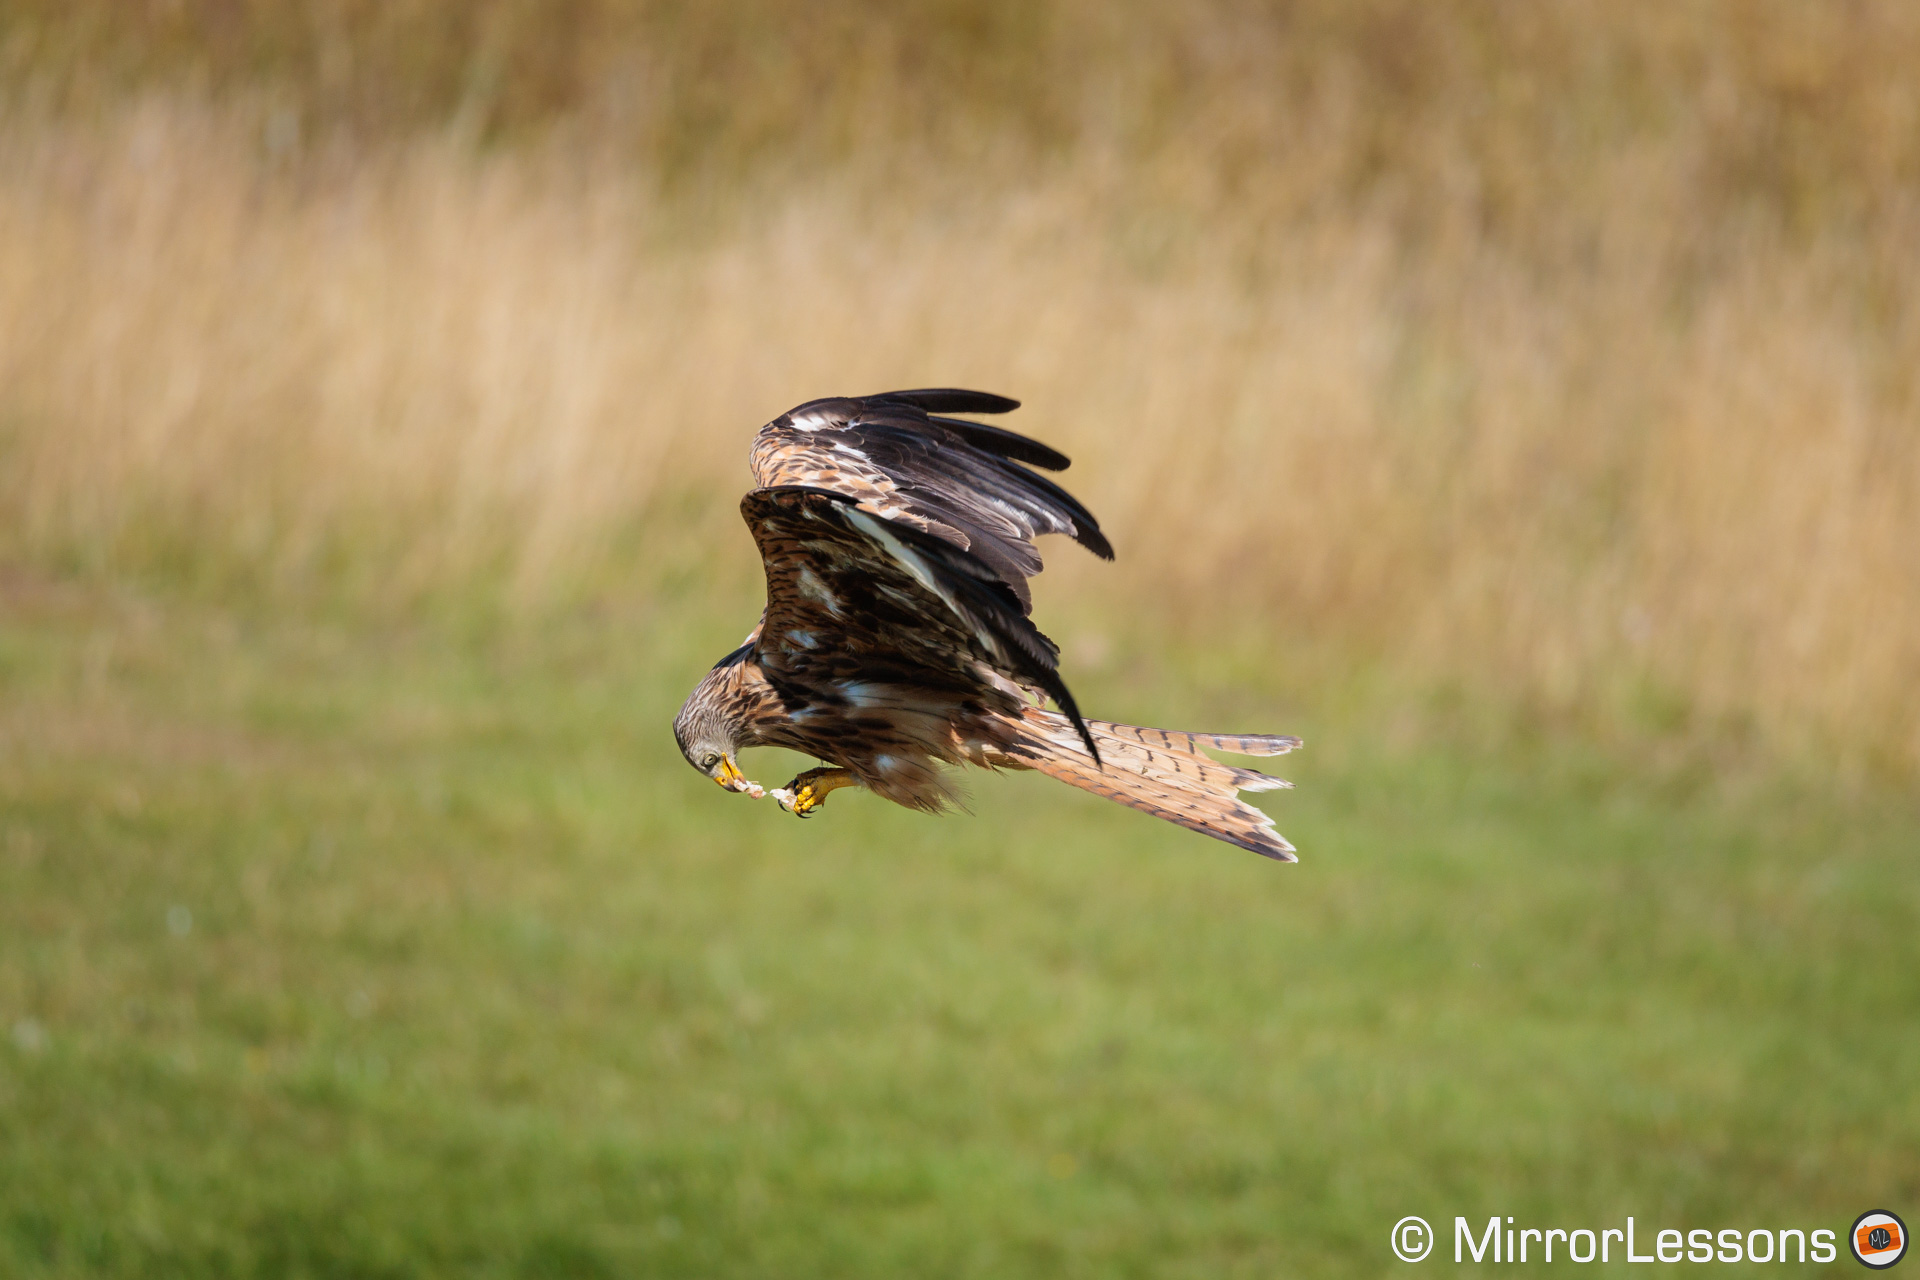
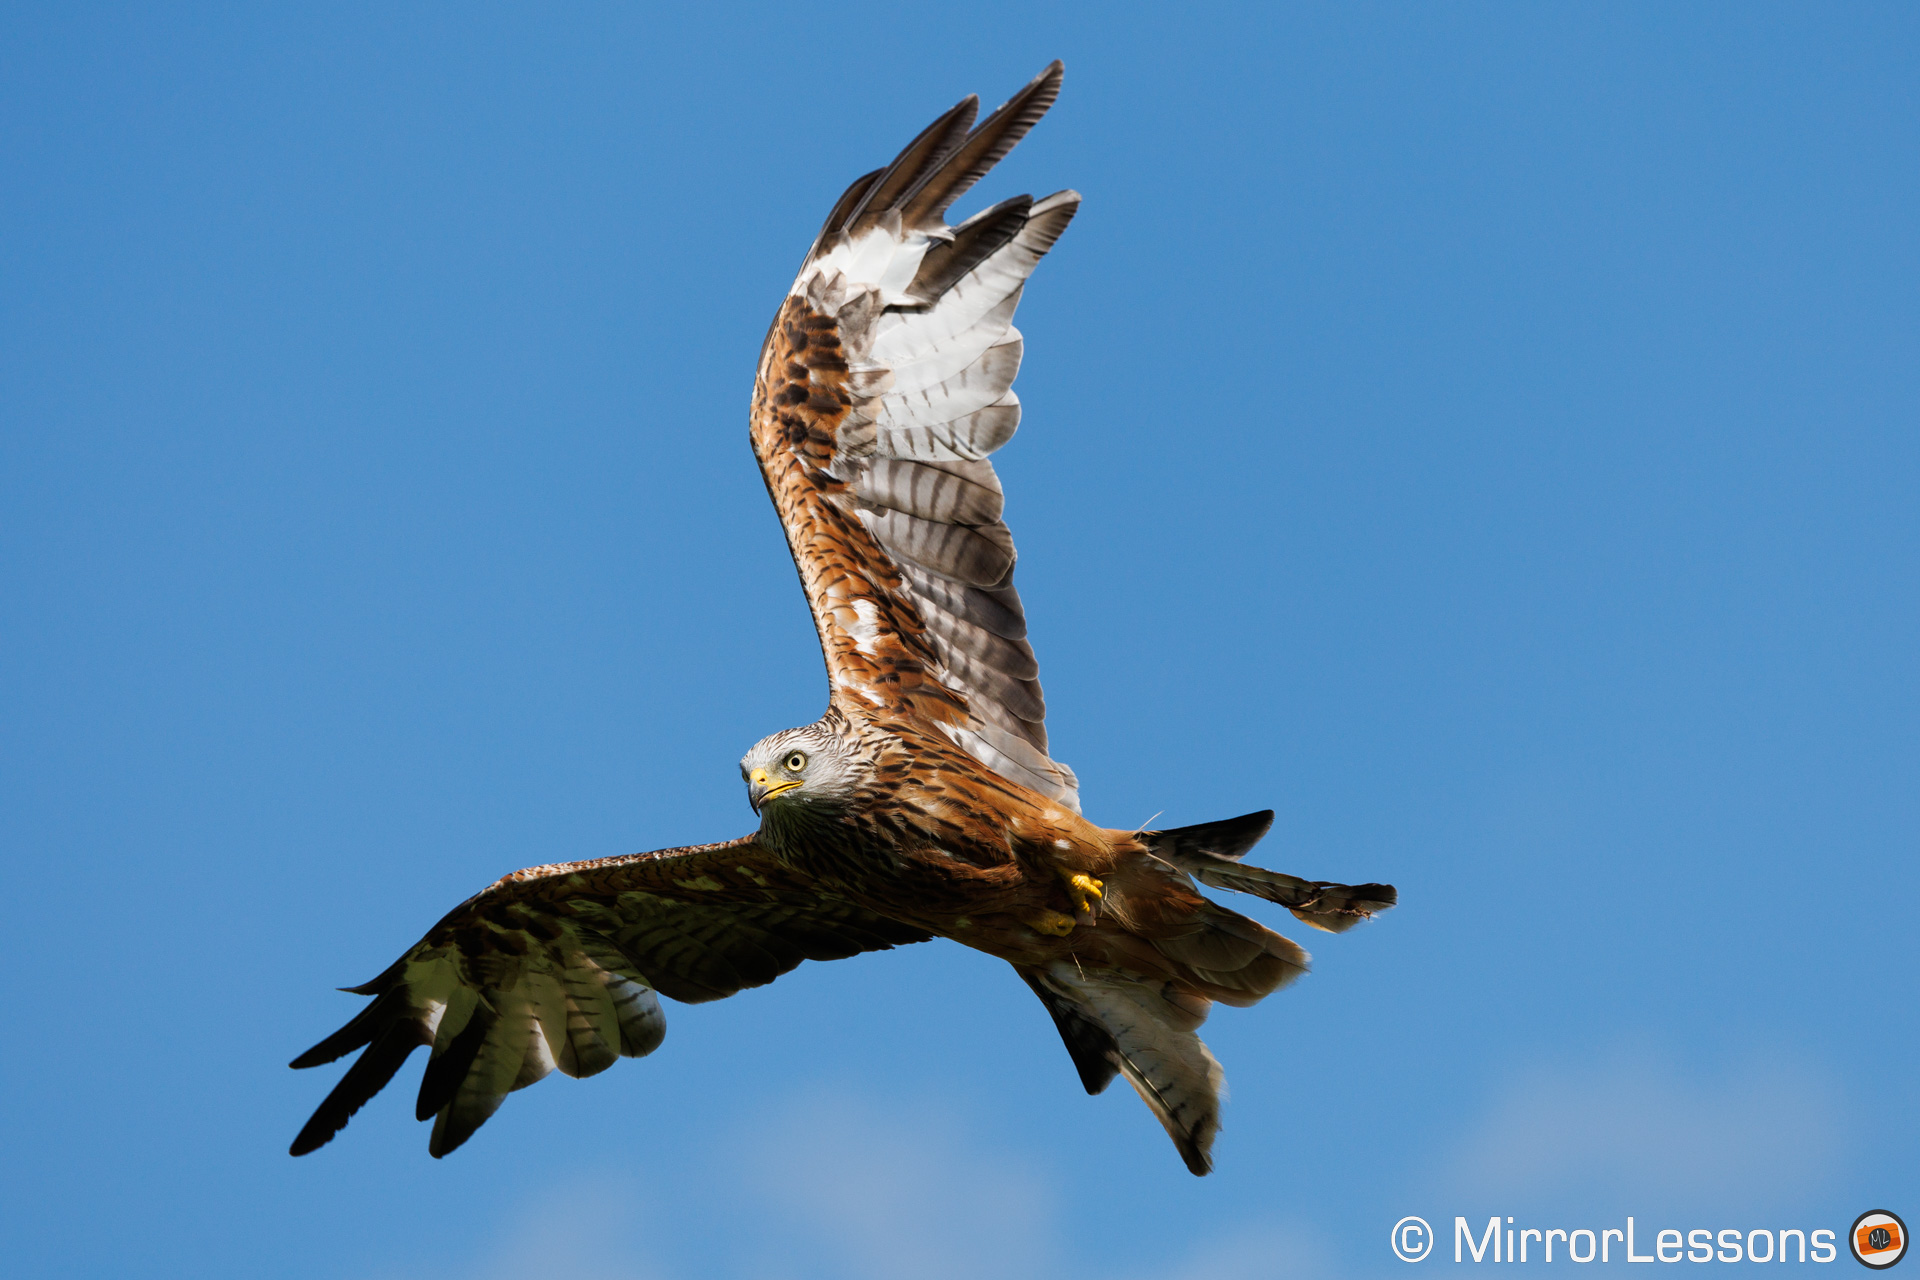
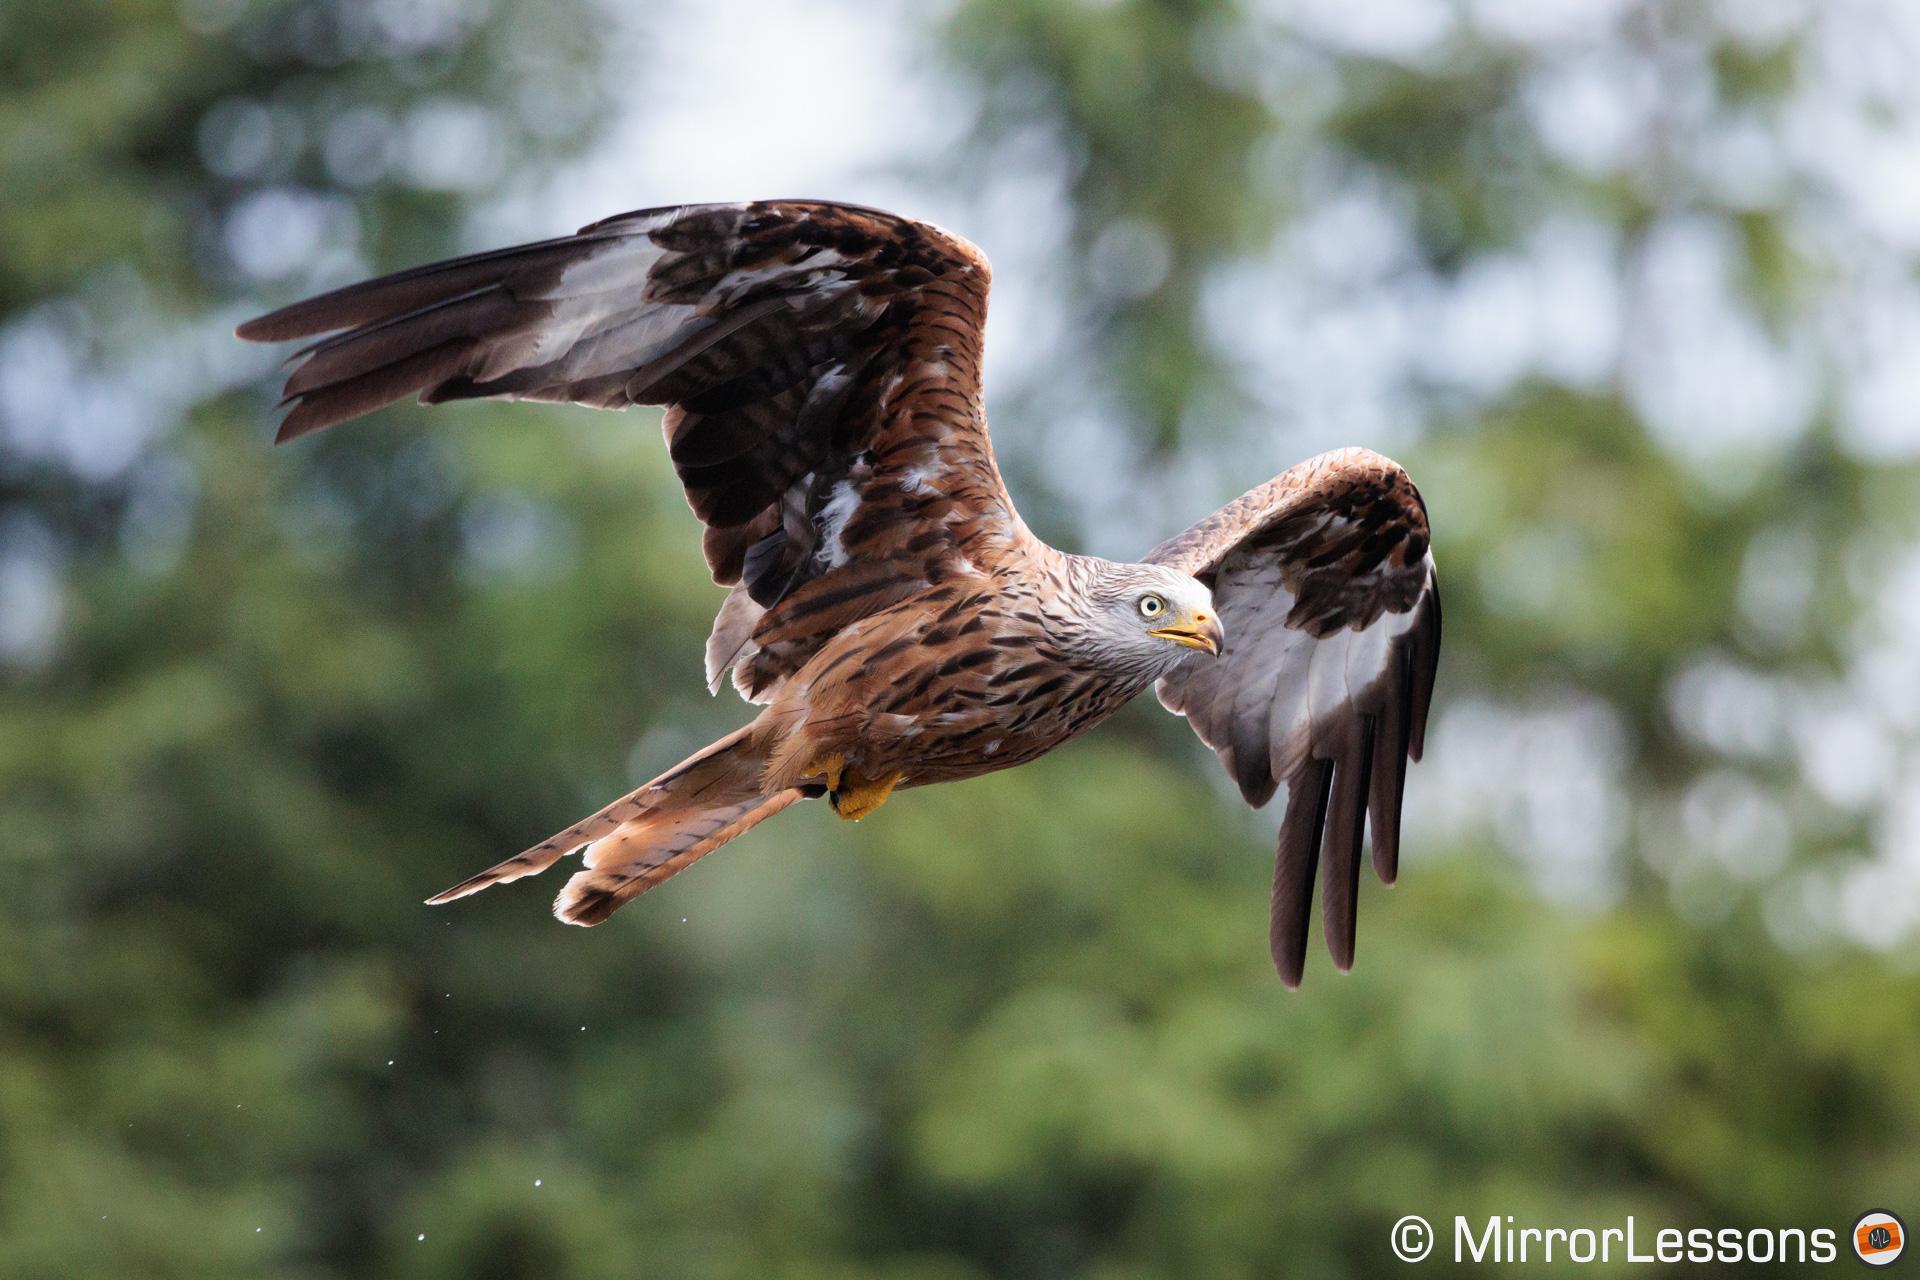
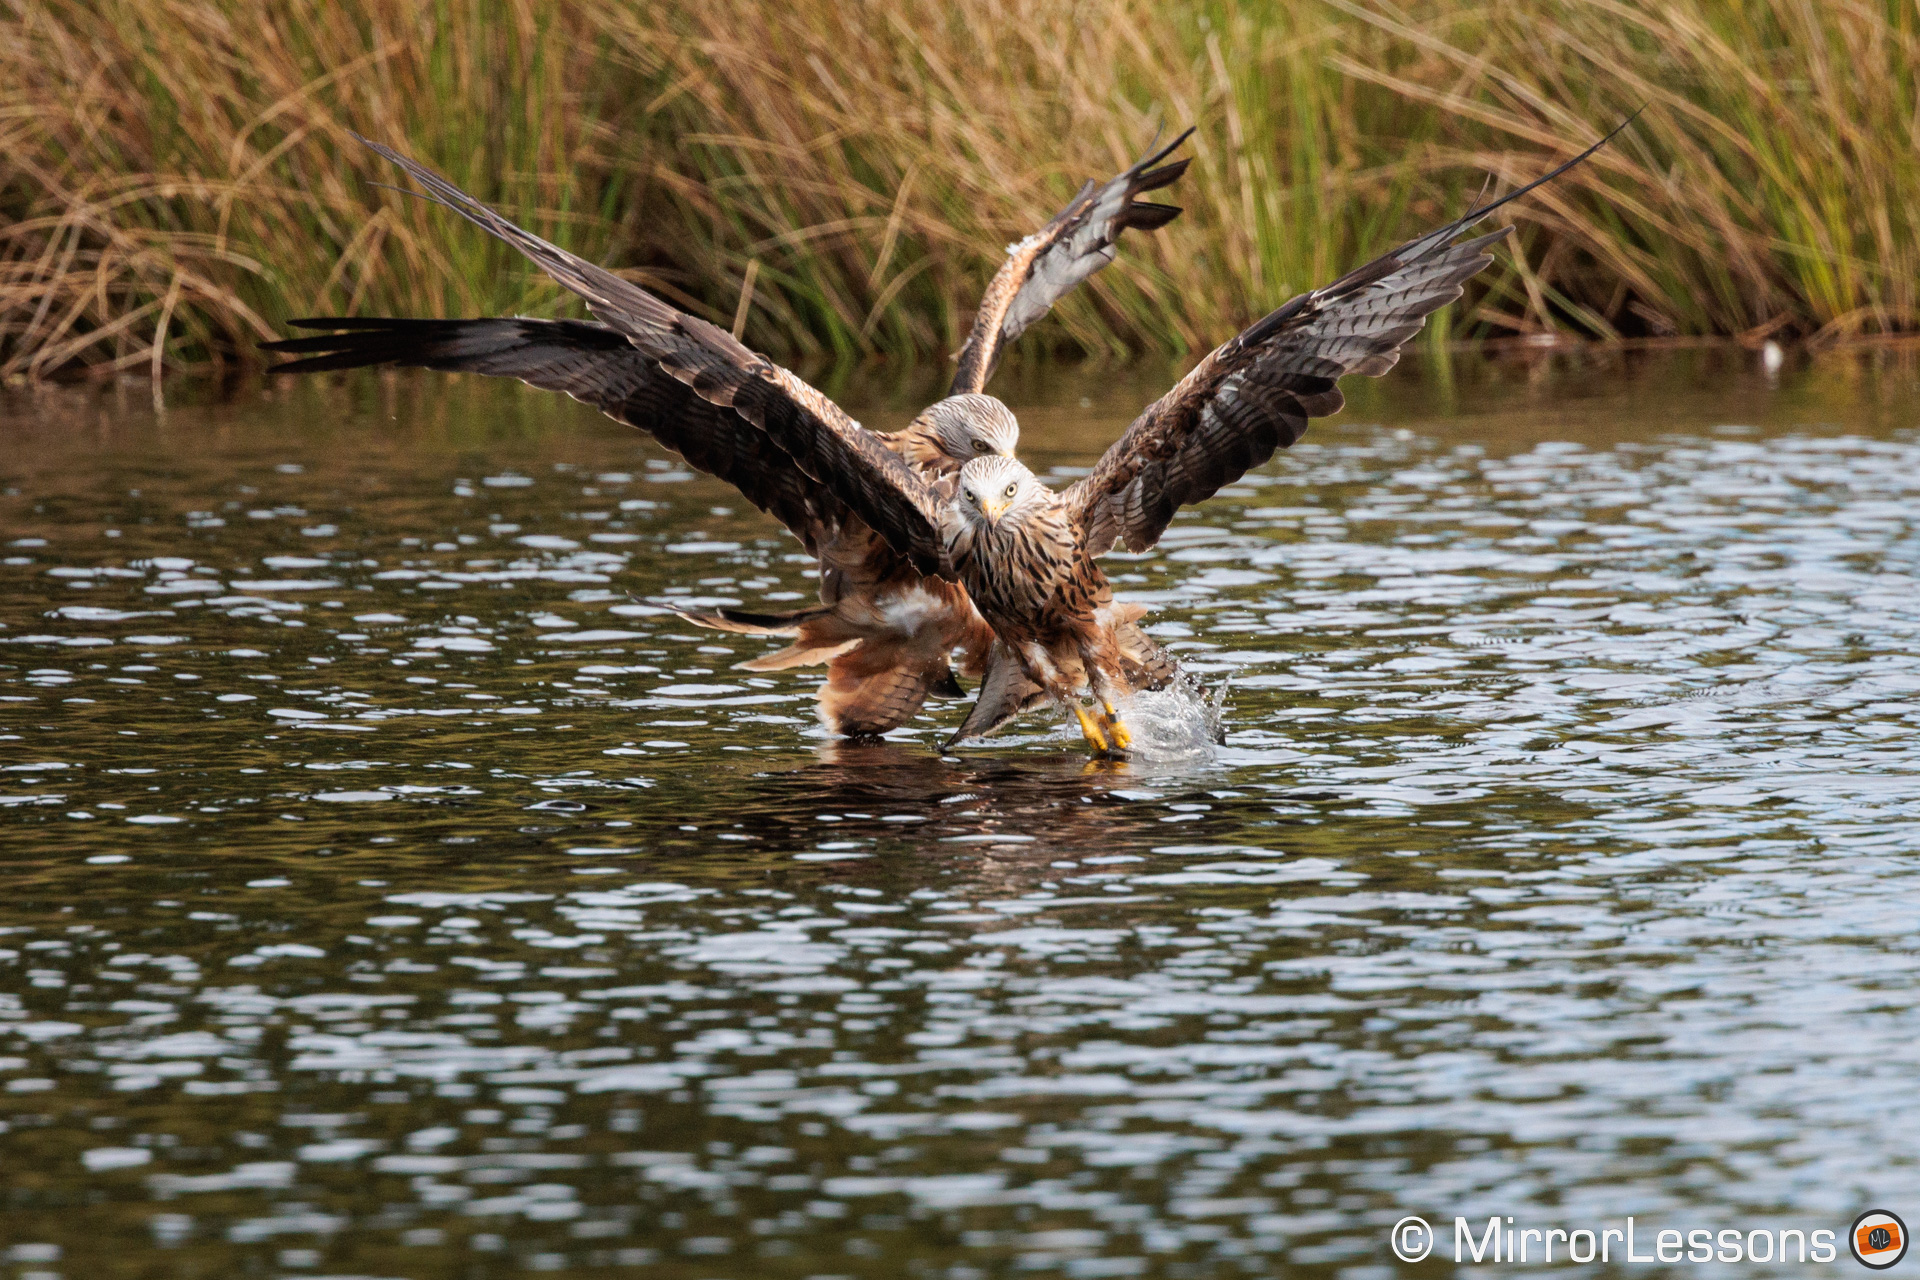
At Gigrin Farm (one of the two locations where I test the autofocus), kites can fly very close to you. It demands a great effort not only from the photographer, but also the camera’s autofocus as well as the speed of the lens’ AF motor, because the change in distance happens very quickly. For this particular action scene, many cameras I’ve tested have struggled to give me a decent shot, whereas the number of good photos I took with the R3 was high.
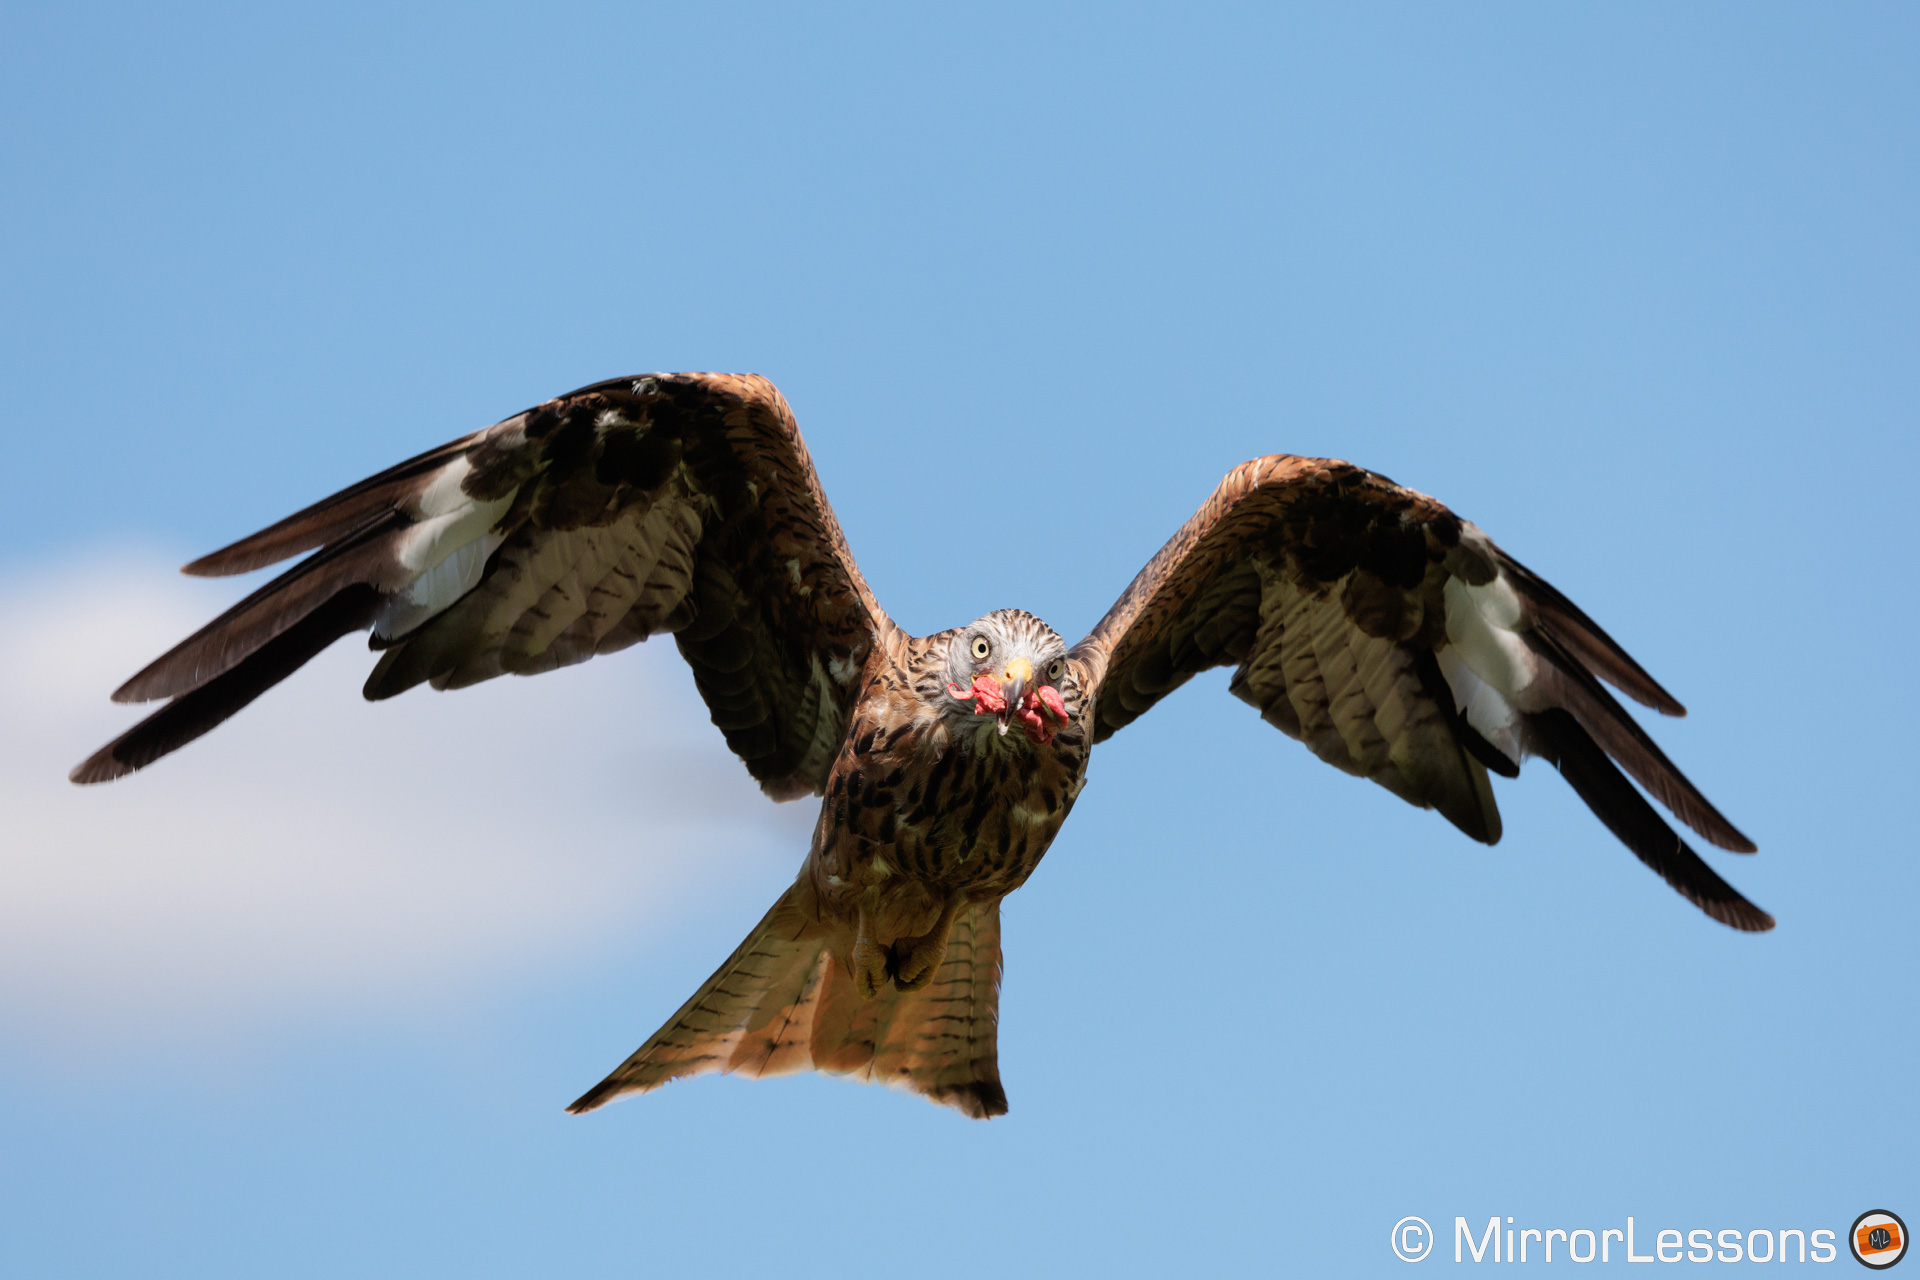
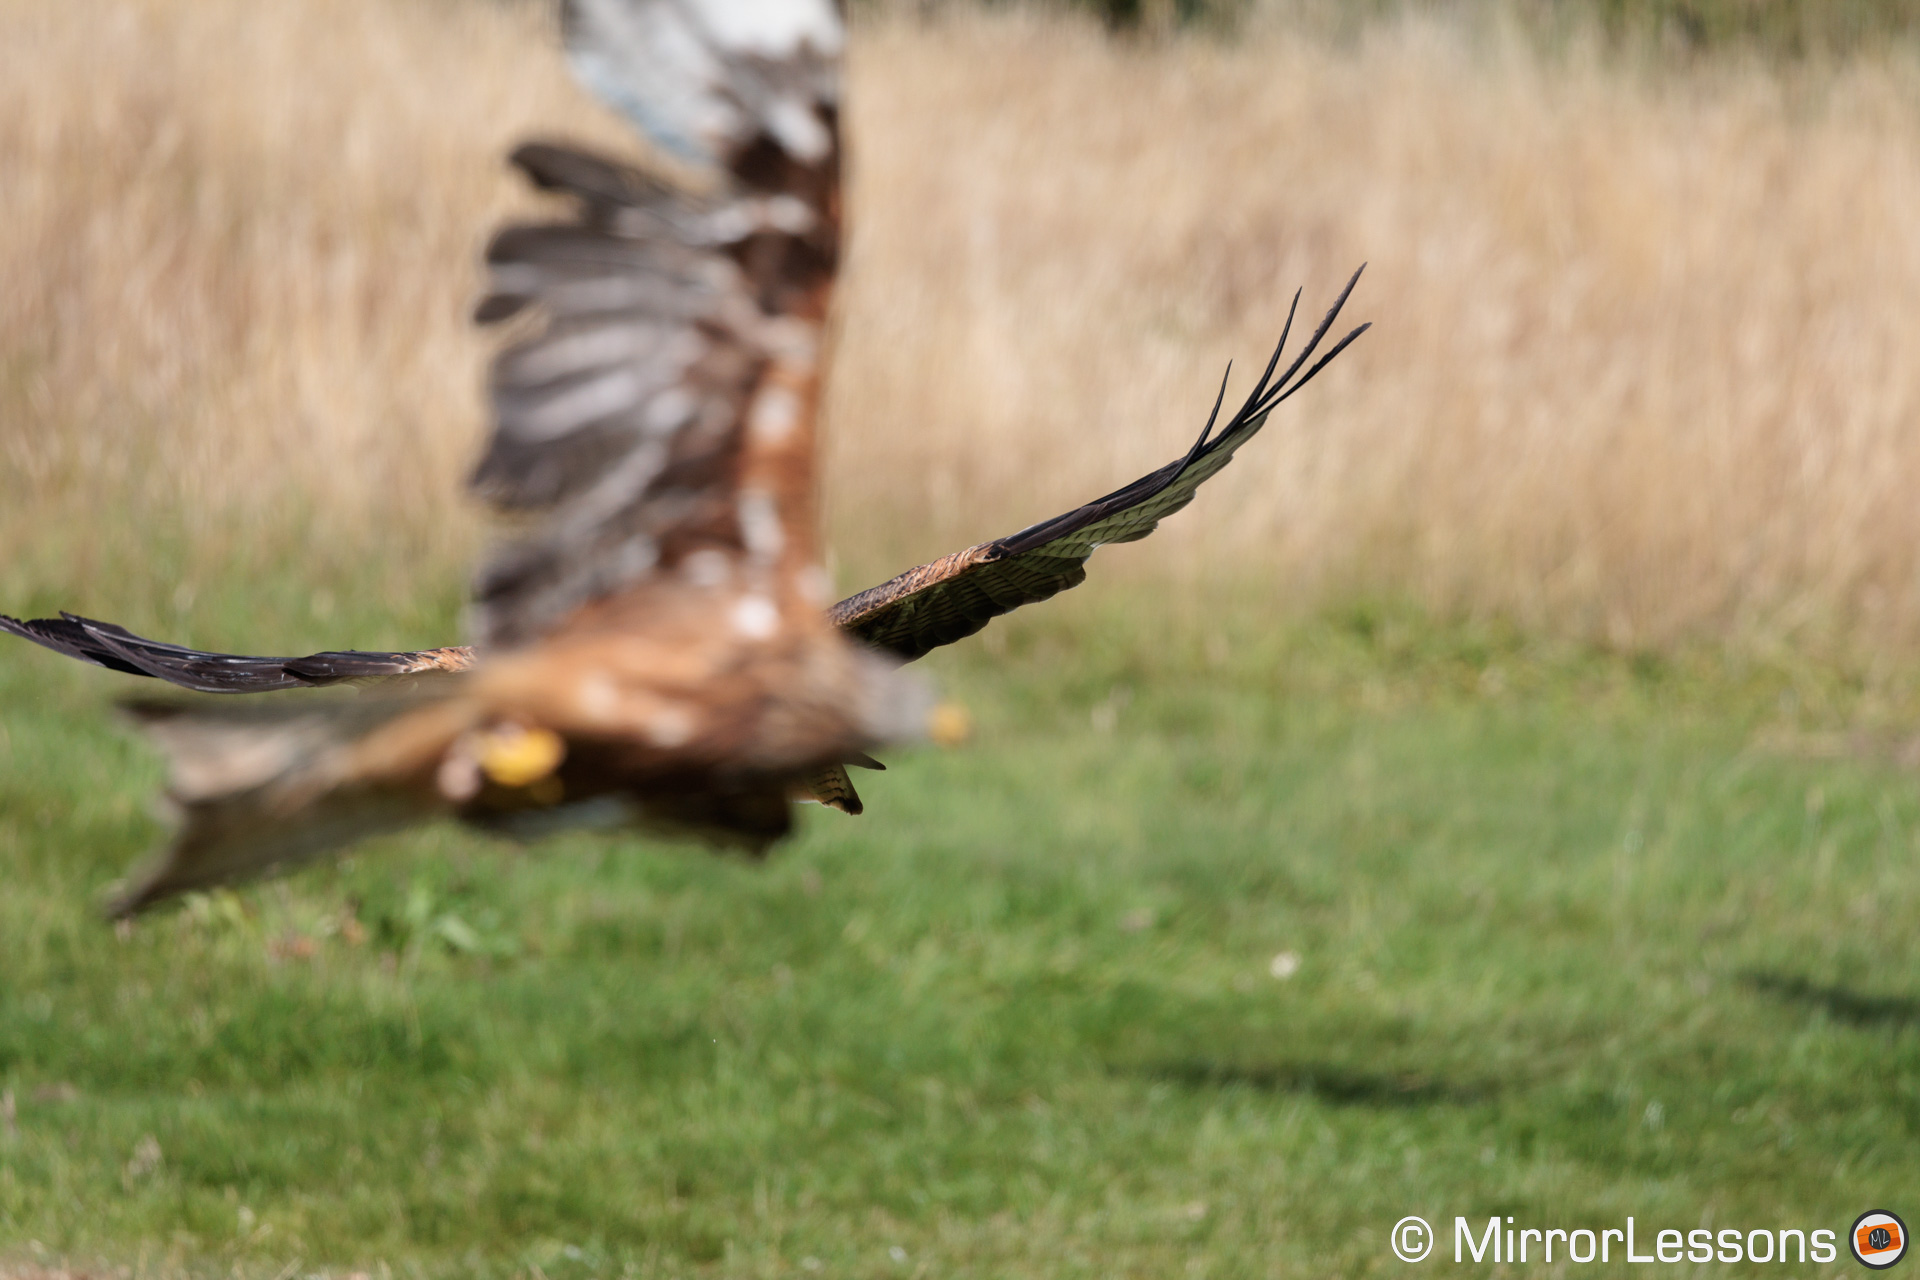
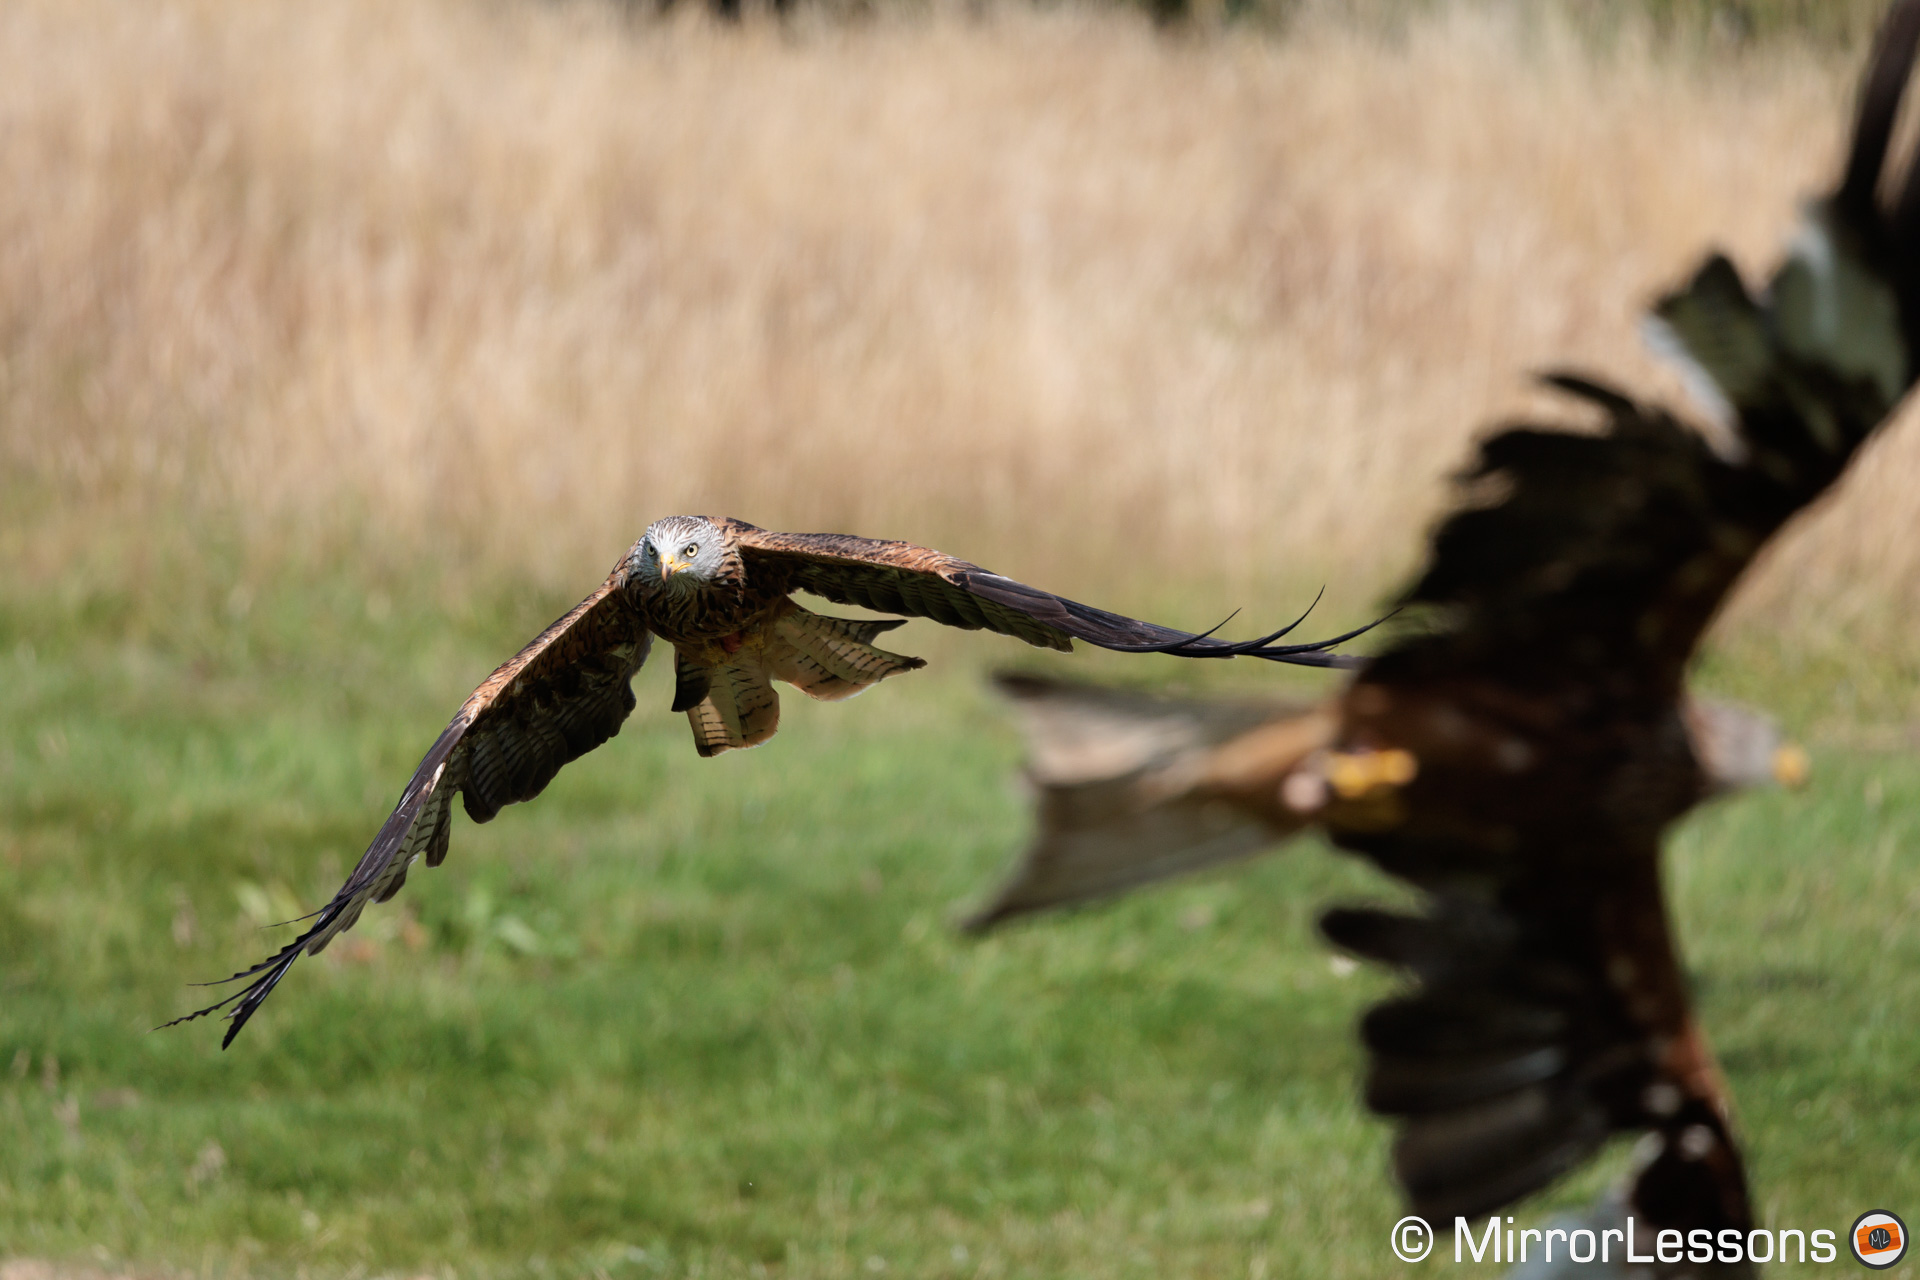
Another thing that surprised me is how the R3 understands the subject you’re following, and how it maintains focus even when other birds pass in front of it. The camera does a great job of ignoring potential obstacles that would normally confuse the AF, or prompt the camera to change subject. I have several examples of this behaviour, like the one below.

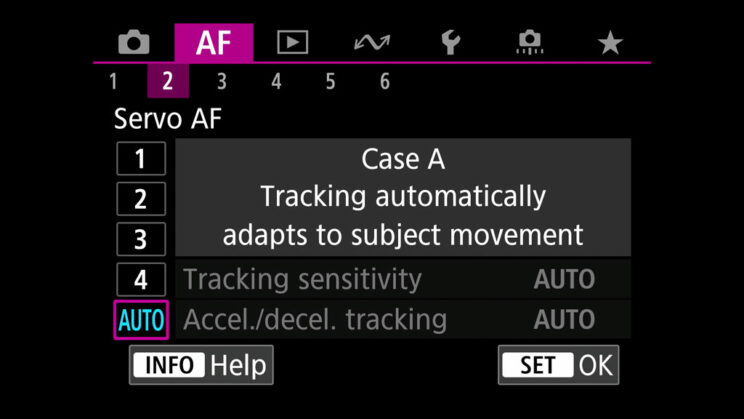
Normally, the solution to ignore momentary obstacles is to tweak the AF settings (Servo AF Case for Canon) to reduce the tracking sensitivity but, in my experience, this often decreases the keeper rate a little (with fast and erratic birds at least).
With the R3, setting Servo AF to Case 1, 2, 3 or leaving it to Auto didn’t make a difference with the red kites.
It’s not always 100% perfect, and you may get a sequence or two where the R3 gets confused about which bird to follow but, most of the time, the camera remains glued to your subject.
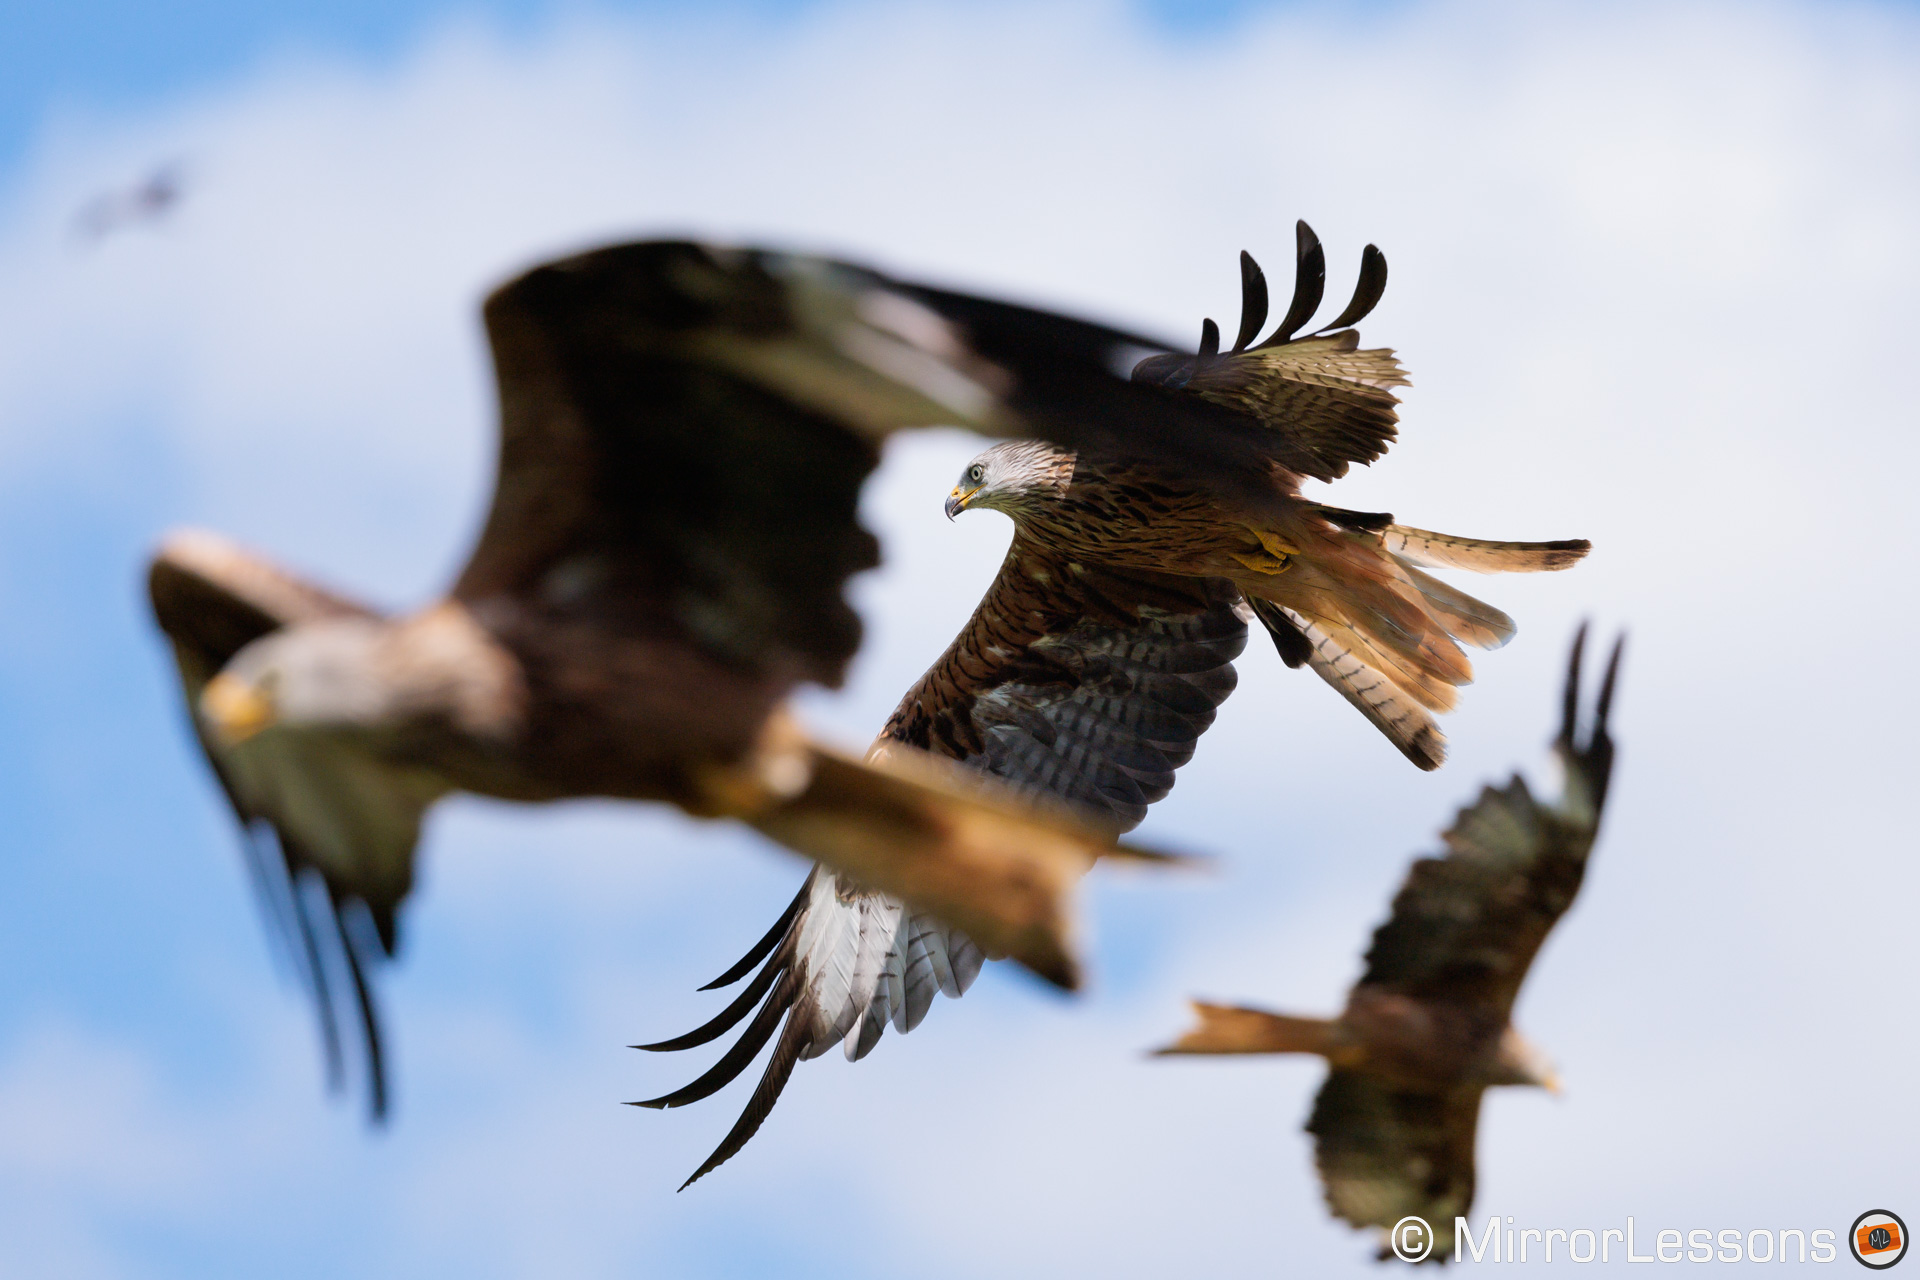
(My subject is the kite in the middle)
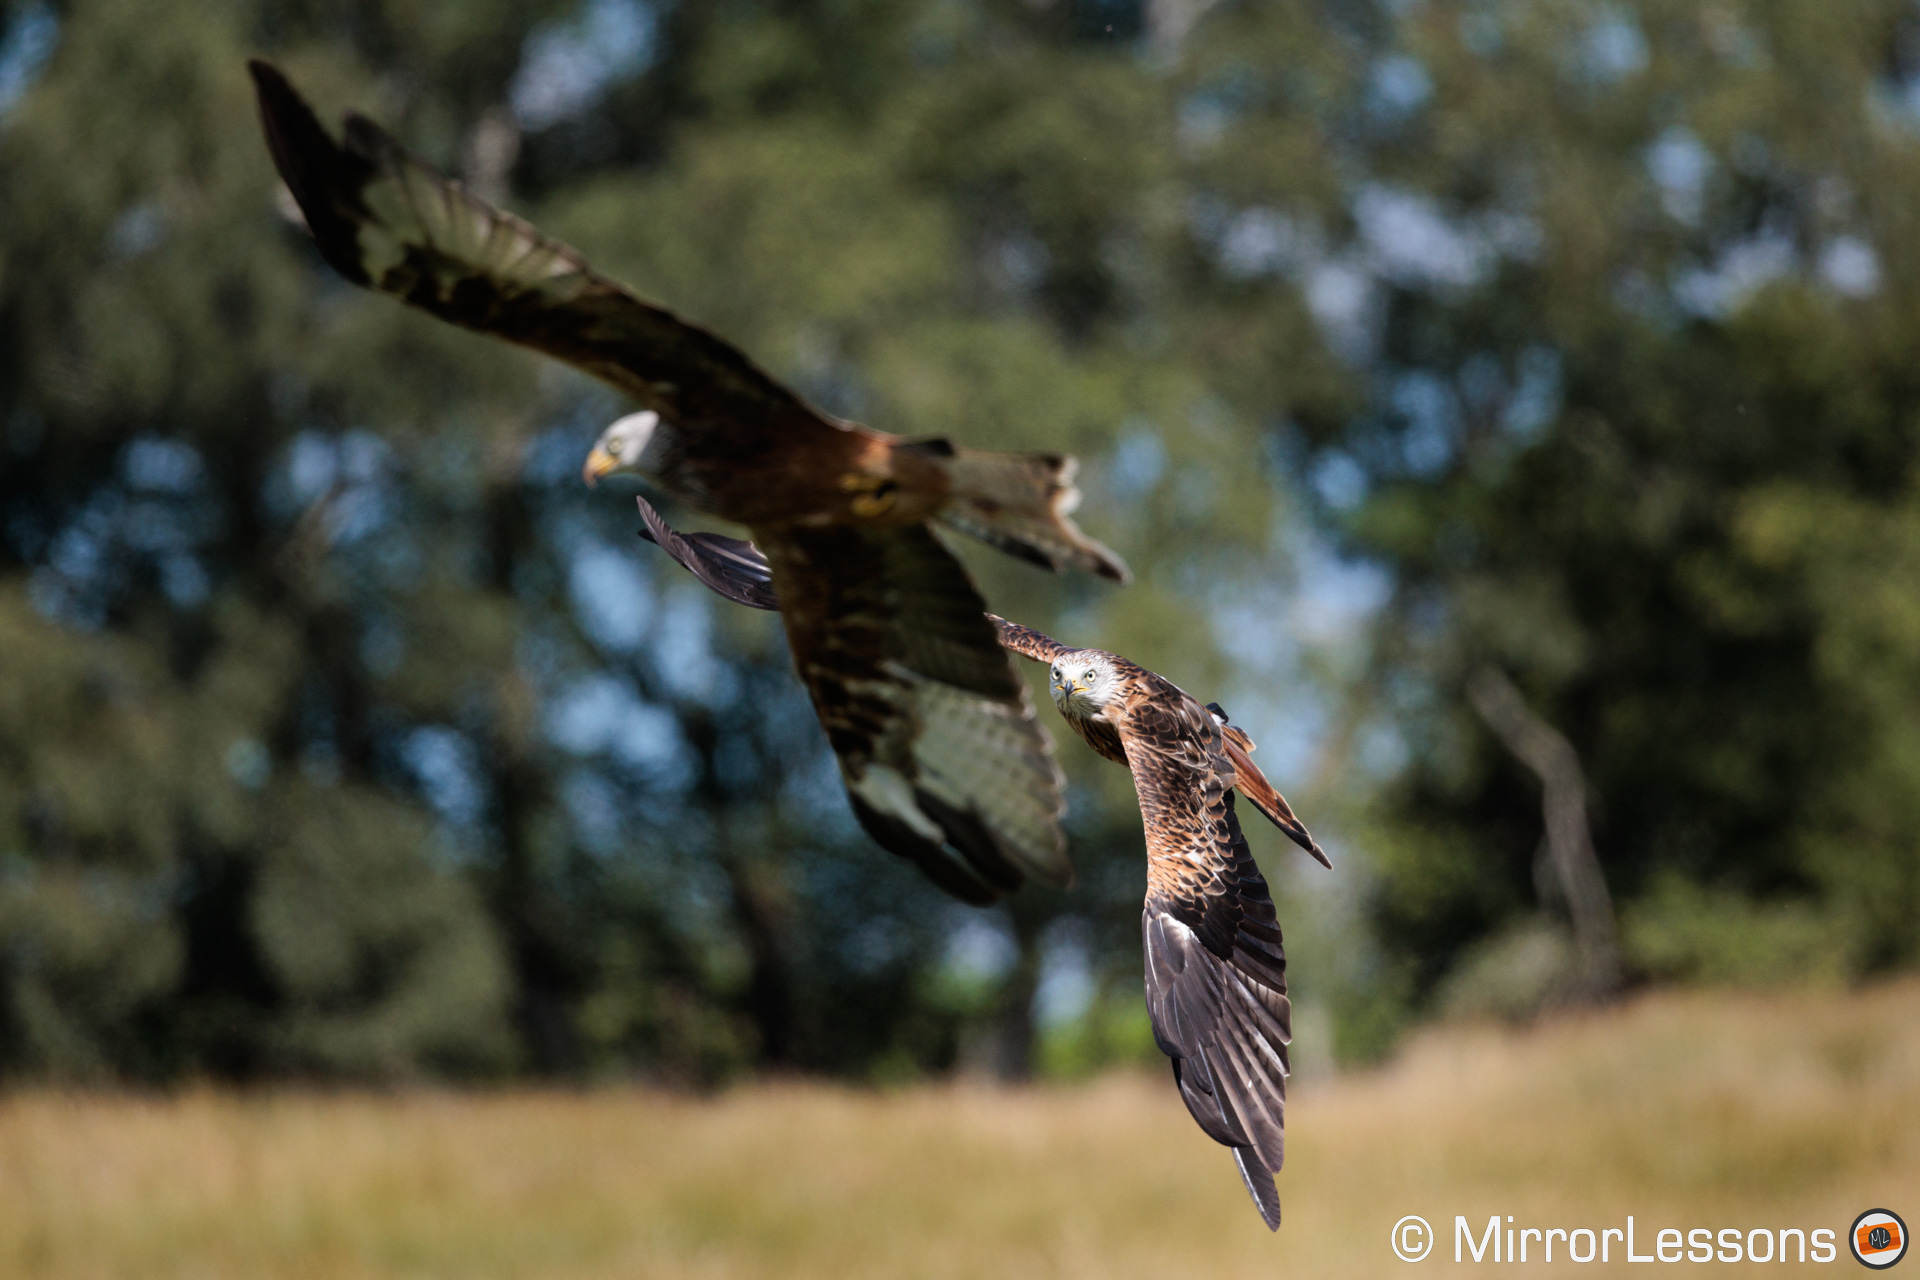
(I was following the bird on the right)
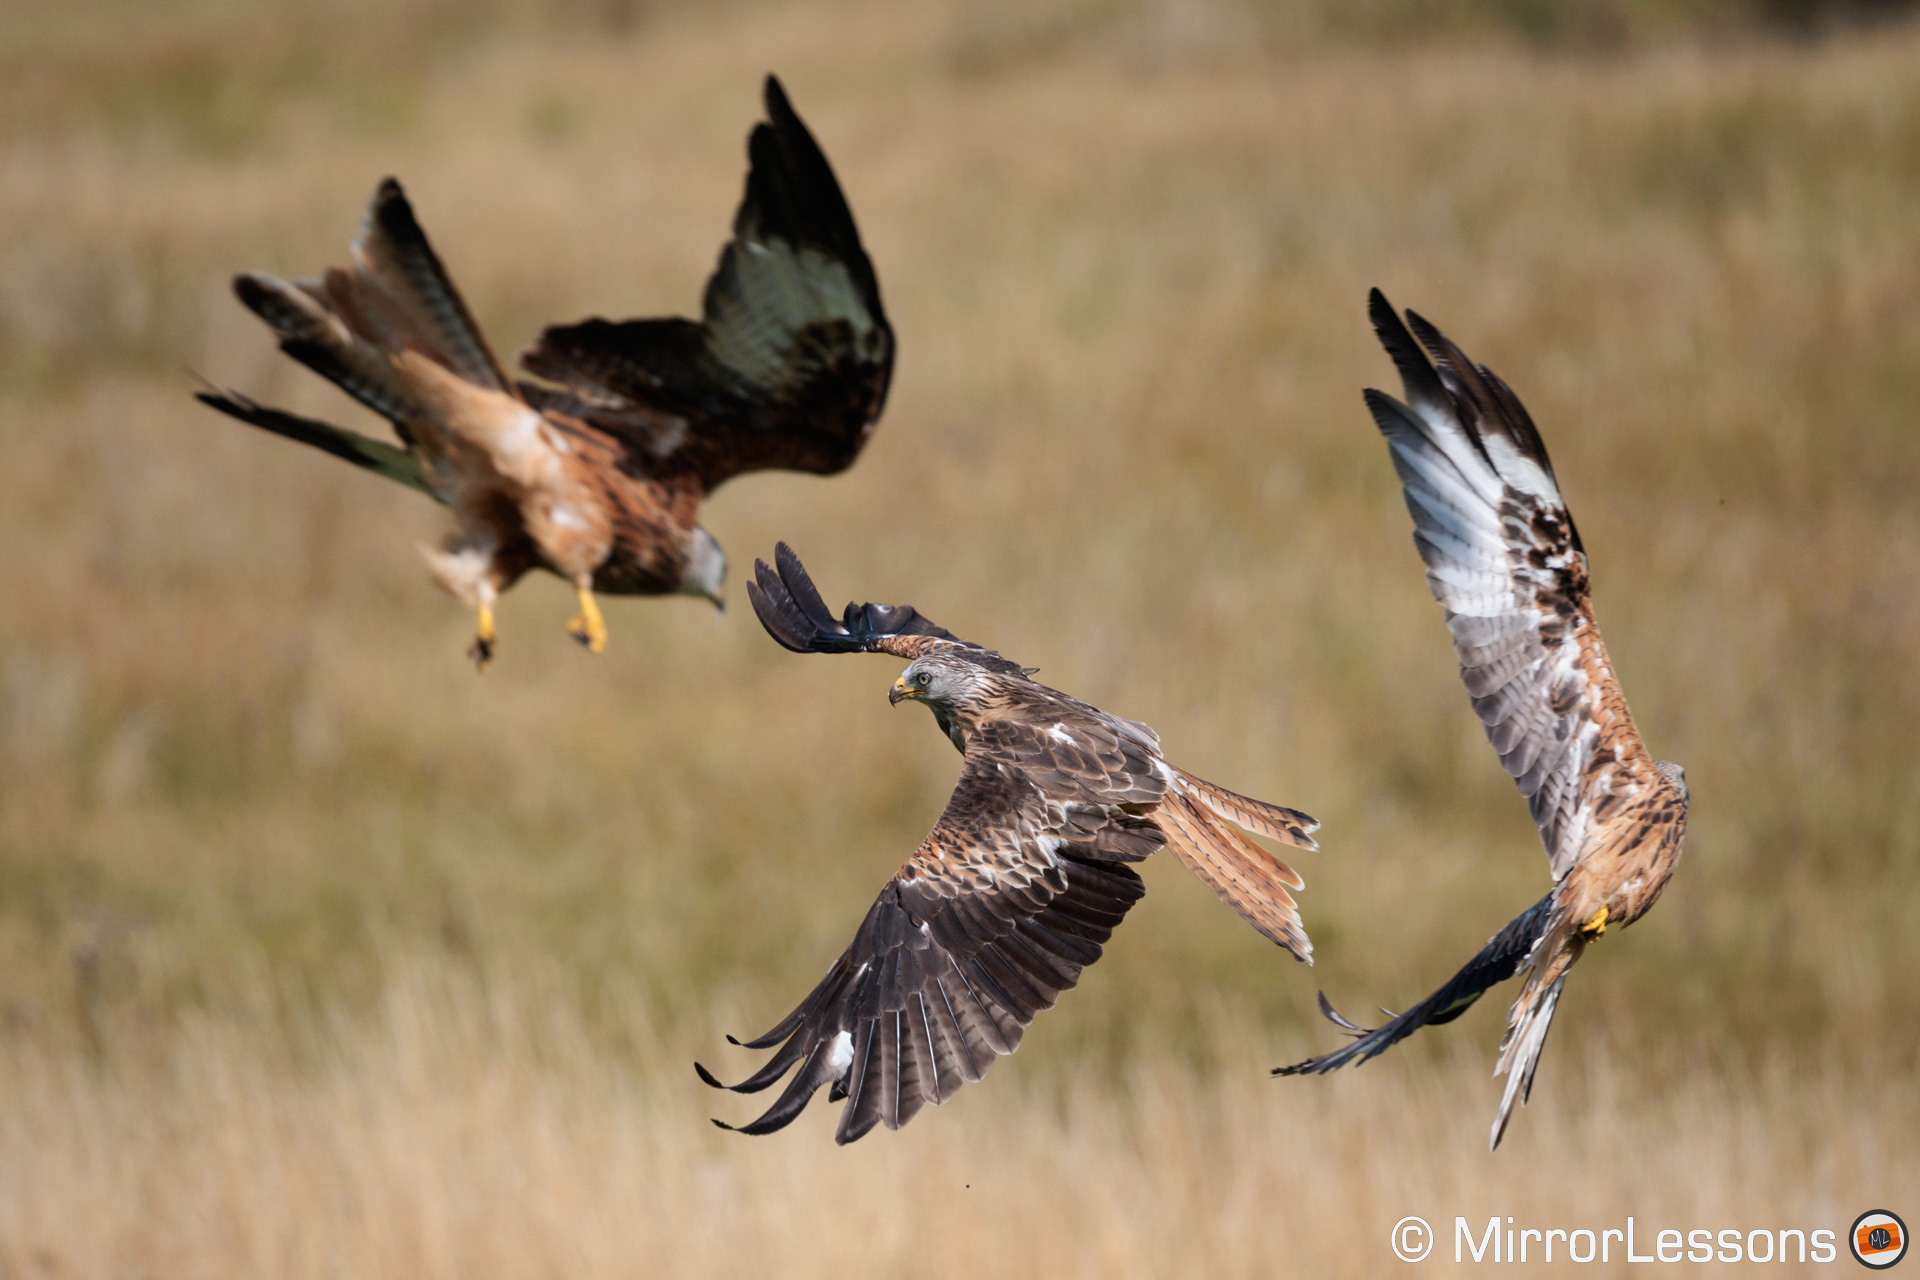
(I was tracking the bird at the centre)
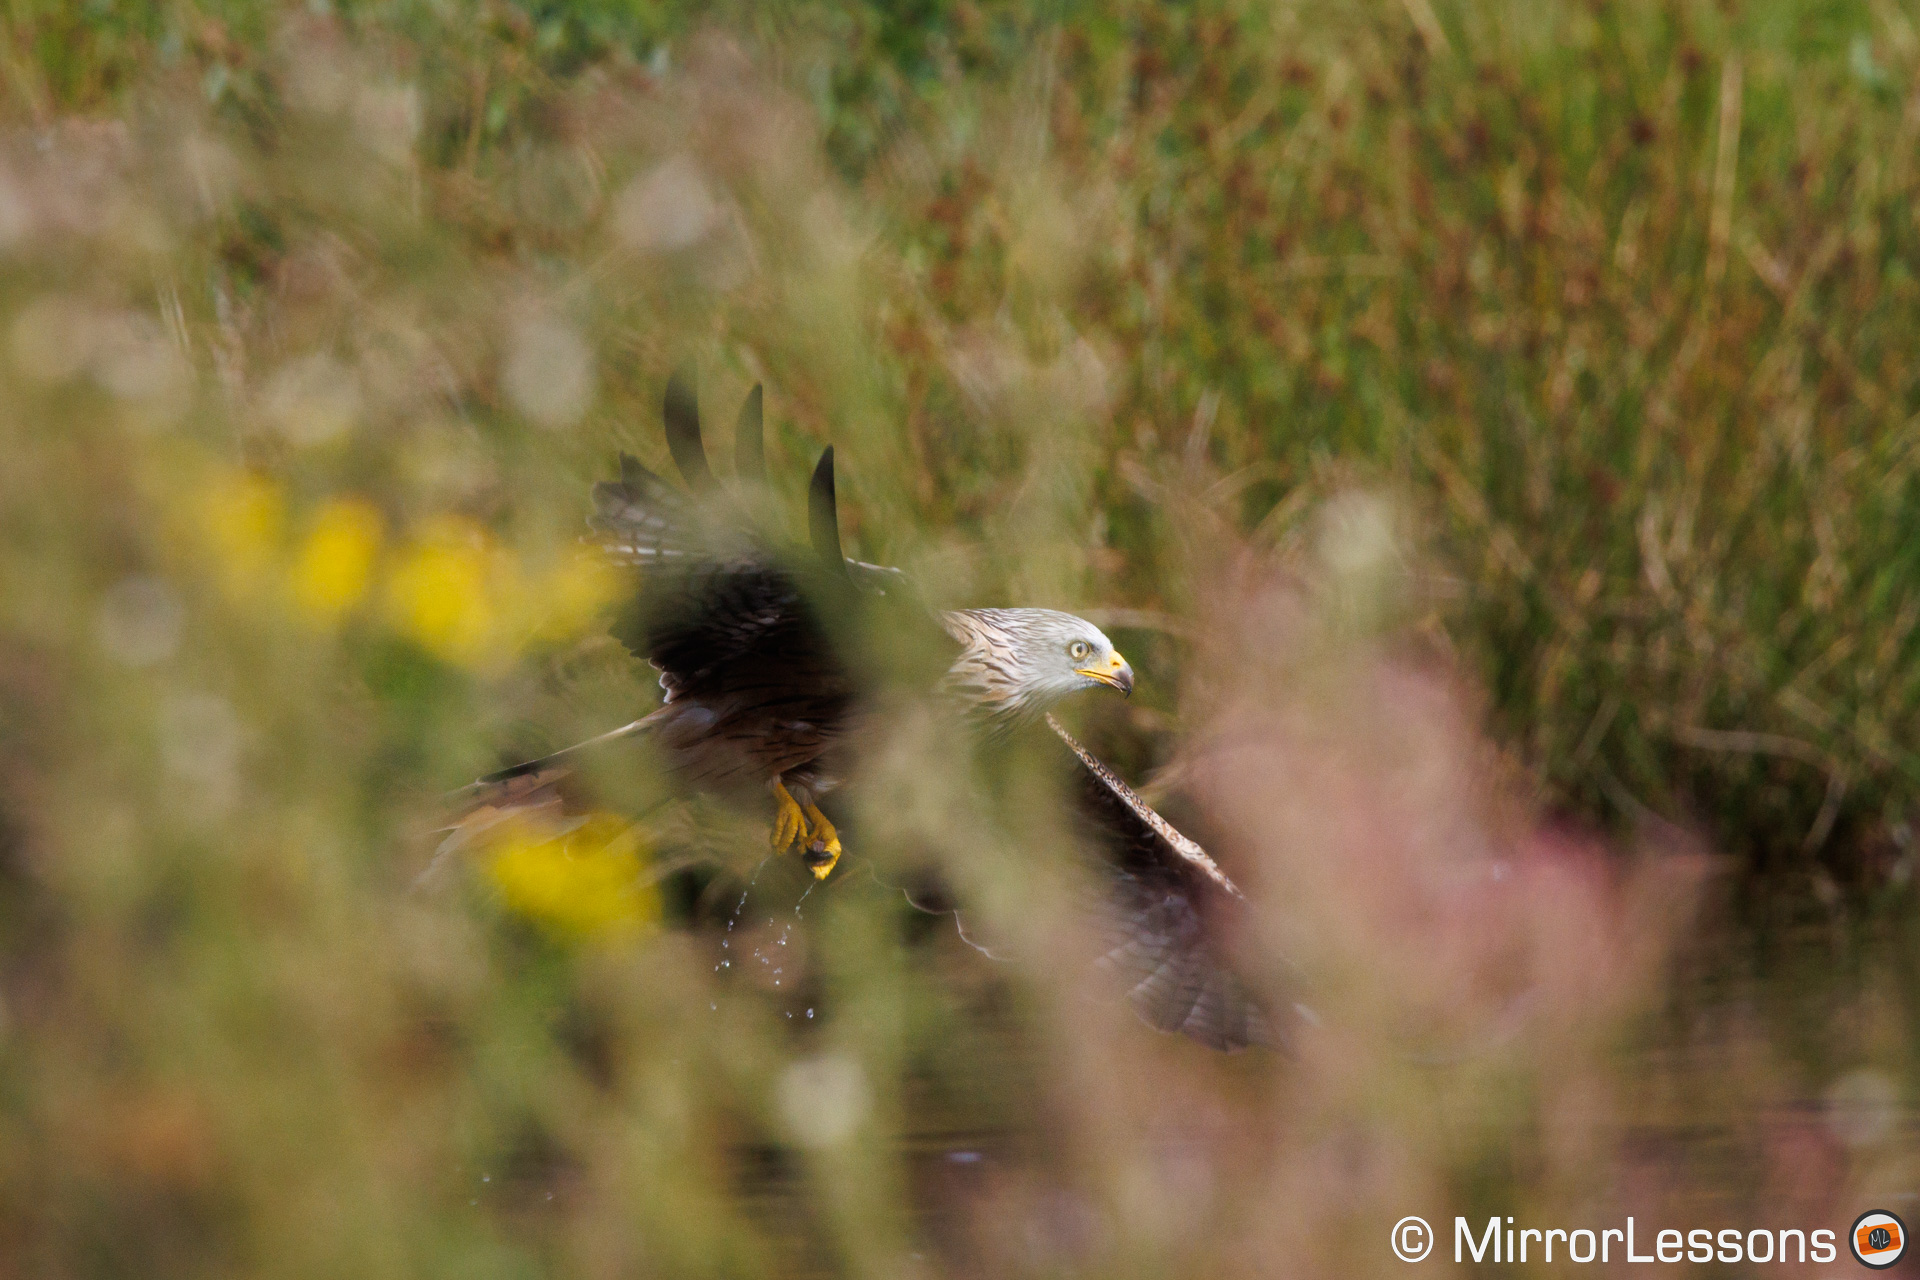
For the most part, the R3 performance is flawless, but it can struggle occasionally and catch you by surprise.
Like with static subjects, there are moments where it can mis-focus on the background. With the kites, I think it confused the colour and contrast of trees and yellow grass with the colours of the bird, as you can see in the example below.
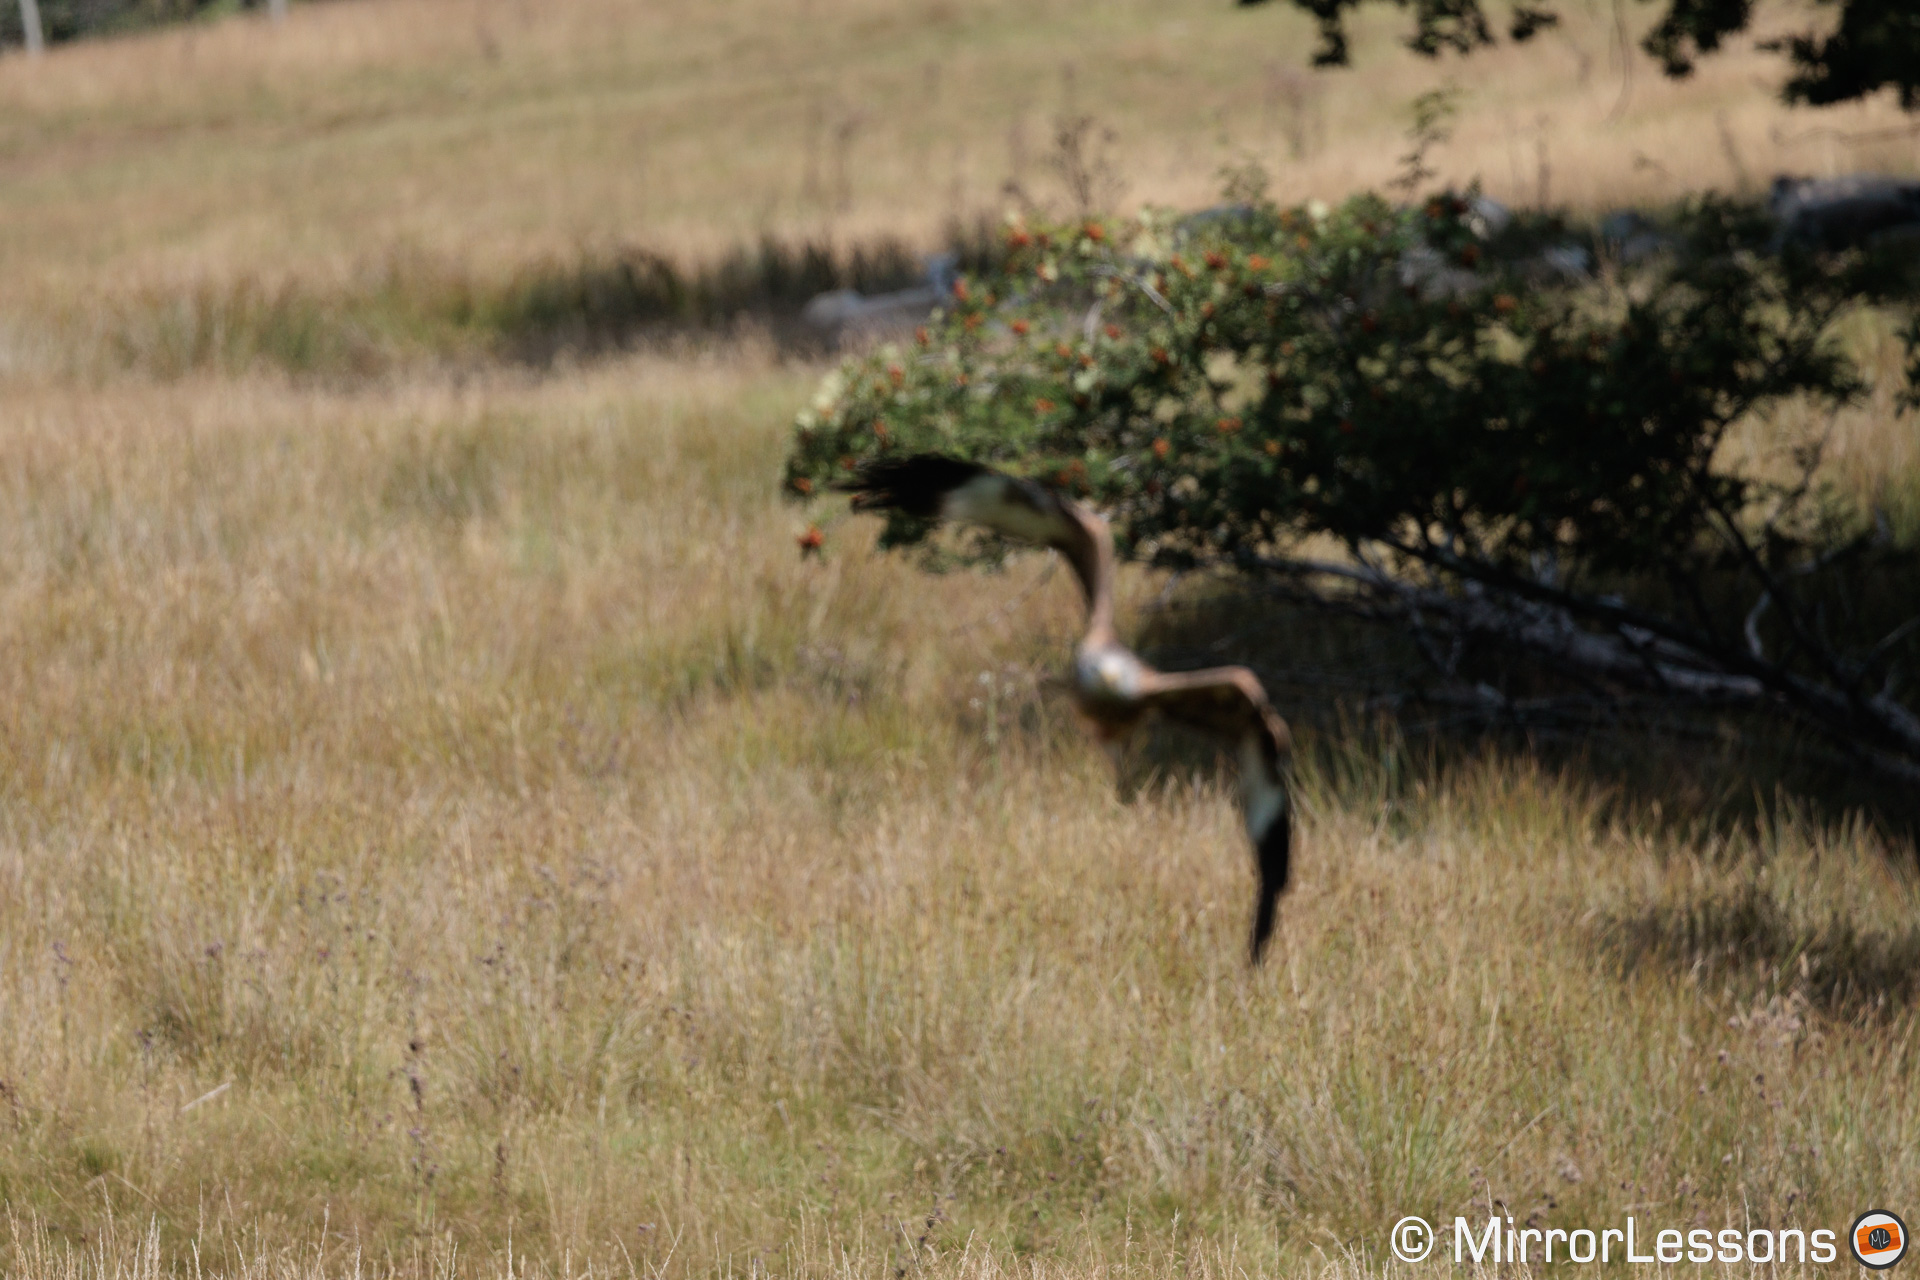
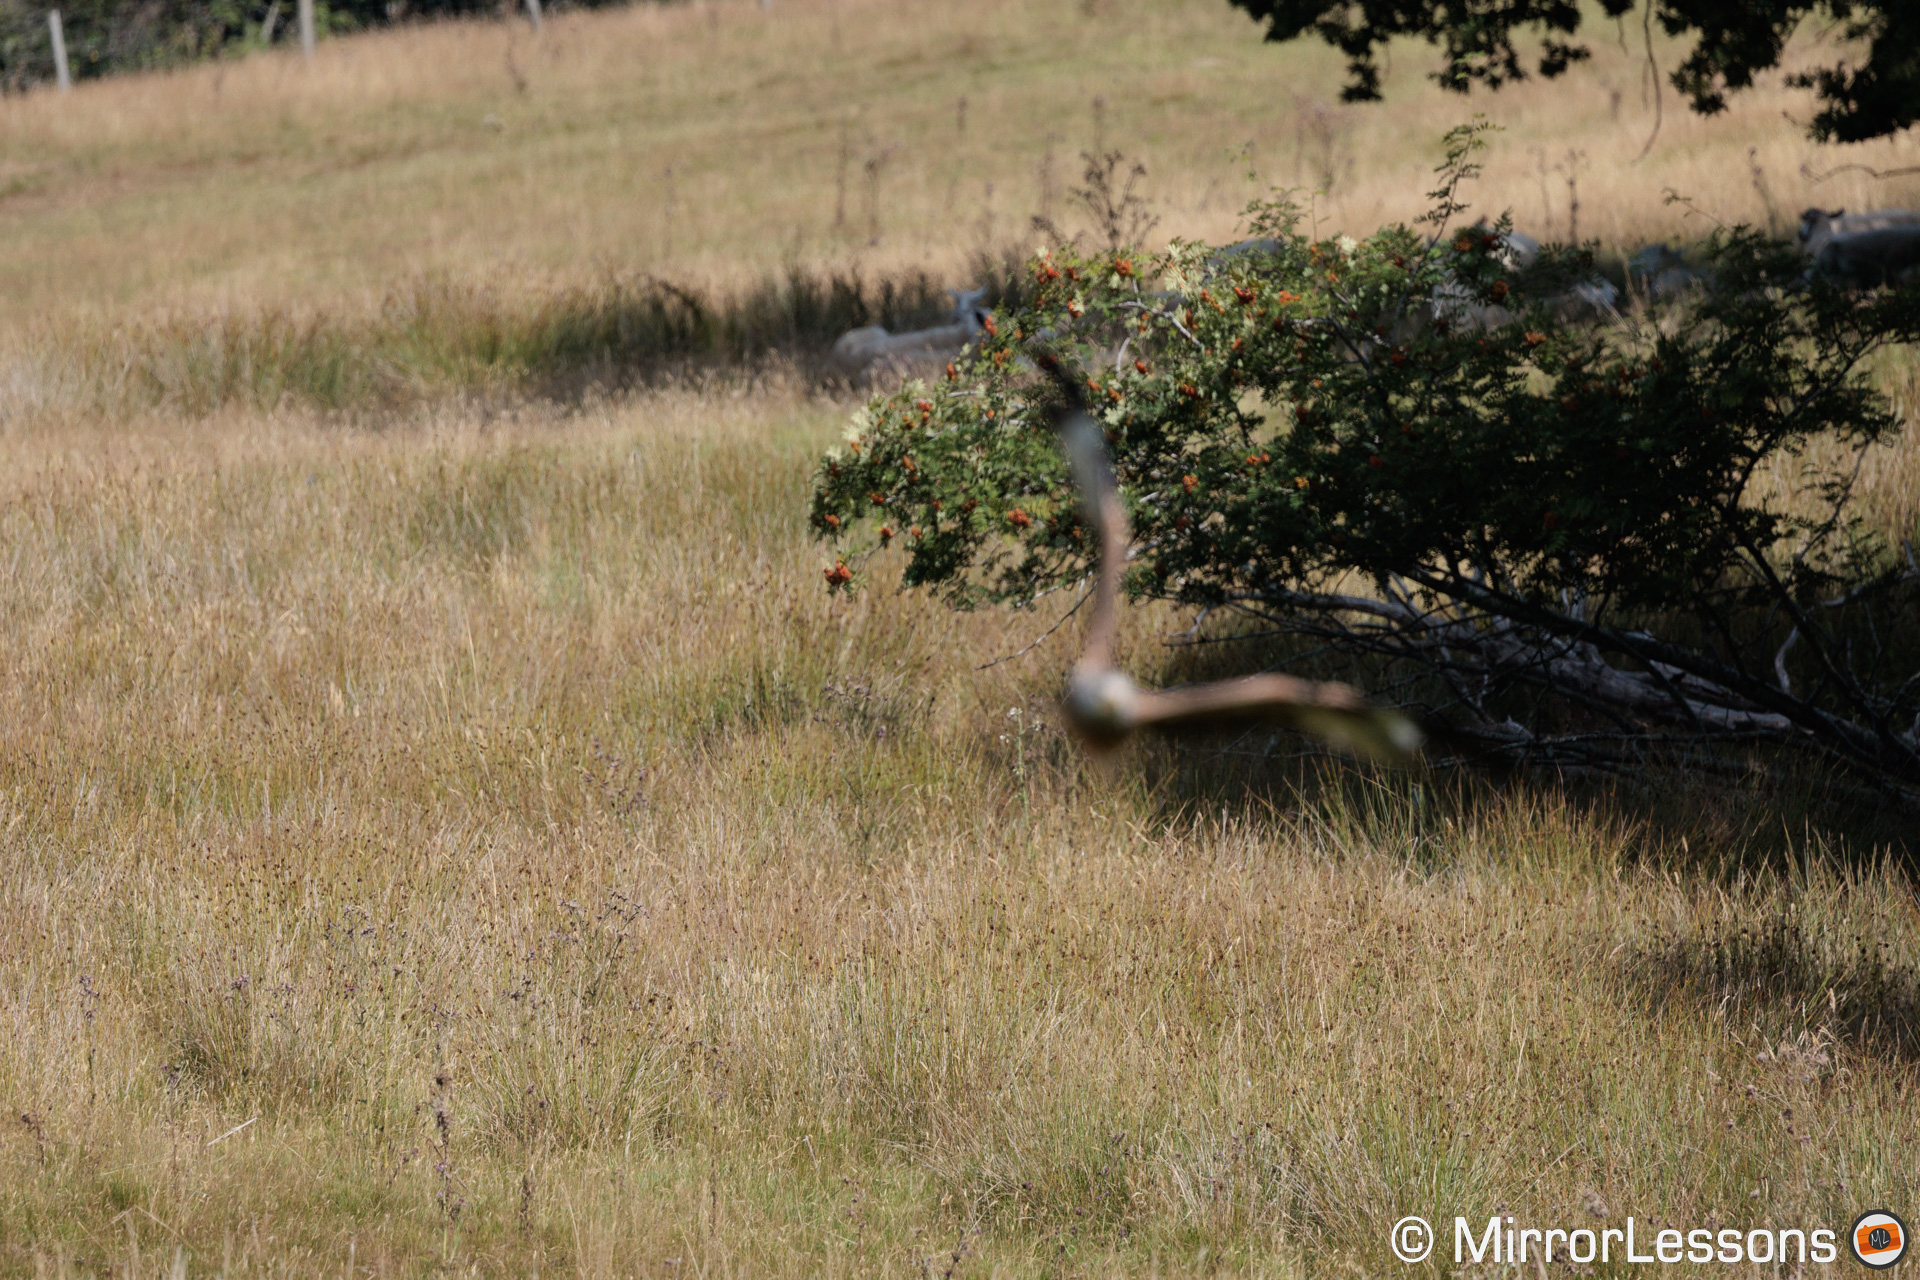
Using a smaller AF area (I set Flexible Zone 1 with a medium size) can help fix this problem, or at least reduce the chance of it happening. The camera still tracks the subject across the entire frame once it has locked on it, but the smaller AF area seems to give the R3 a hint not to look elsewhere.
Two other settings that can help reduce the chance of focusing on the background are:
- Lens drive when AF impossible: set this to on and the camera will keep trying to correct focus
- Switching tracked subjects: set it to 0 and the camera will always prioritise the subject it initially locked upon
To summarise, here is the best Birds in Flight Score I got with the R3 which, for the record, is nothing short of an excellent score.
94%
100%
Note: the green percentage includes perfectly sharp shots only, the blue percentage includes slightly soft results. Read more about my birds in flight test.
For those interested, the best score was obtained at the fastest burst of 30fps, with the following settings:
- AF area: Flexible Zone 1 (medium size)
- Subject Tracking: On
- Subject to Detect: Animals
- Eye Detection: Enable
- Switching tracked subjects: 0
- Servo AF: Case Auto
- Lens drive when AF impossible: on
- Drive: 30fps (electronic shutter)
- Stabilisation: IS mode 2 (lens)
The score remains similar when working at 15fps, whereas the results are a bit lower when working at 12fps with the mechanical shutter.
30fps
94%
100%
15fps
93%
99%
12fps
88%
95%
The performance when the bird is against a busy background or up in the sky is comparable, and in many of the setting combinations I tried, the results were separated only by one point in favour of the clean background.
For reference, this is how the R3 compares with other cameras. As you can see, the performance is very similar to the R6, the same as the A7 IV, and very close to the Sony A9 series but, in each case, the R3 does it with a faster drive speed.
A1
98%
100%
A9 II (20fps)
96%
99%
R3
94%
100%
A7 IV (10fps)
94%
99%
R6 (20fps)
93%
97%
R5 (20fps)
90%
99%
The A1 is currently the camera with the highest score in my test, but it’s important to note that I achieved that when working at 20fps. At 30fps, the A1 gave me the same points as the R3, although of course the Sony did it with a 50MP sensor.
A1 (20fps)
98%
100%
A1 (30fps)
94%
99%
R3 (30fps)
94%
100%
R3 (15fps)
93%
99%
I also tested the 100-500mm with the two teleconverters, and the performance remained on the same level, not far from the best score, when working at 15fps. At 30fps however, the score is a bit lower.
150-500mm + TC 1.4x (15fps)
90%
97%
150-500mm + TC 2x (15fps)
90%
97%
150-500mm + TC 1.4x (30fps)
83%
93%
150-500mm + TC 2x (30fps)
76%
88%
Canon R3 Eye Control AF and Back Button Focus
The R3 gives you a lot of possibilities for customisation, and has an extensive list of settings dedicated to the autofocus. I’m not going to describe all of them but instead, I’m going to talk about back-button focus and a unique feature you won’t find anywhere else.
If you don’t know what back button focus is, it means you focus by pressing a button on the rear of the camera (or any other position that is available) rather than half-pressing the shutter button.
While waiting for the camera to arrive, I spent a bit of time watching YouTube videos to see how other photographers were configuring the R3, and which settings they recommended. Although I am familiar with Canon’s menu system and its AF parameters, I wanted to be as prepared as possible given the short time I would have with the camera.
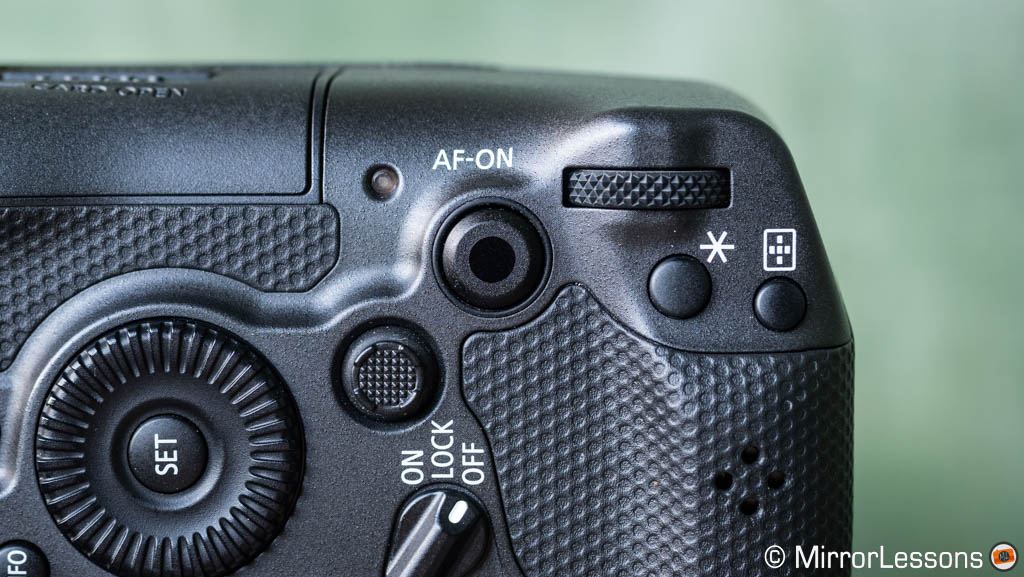
The video from Pangolin Wildlife Photography caught my attention when the host Sabine Stols talked about a three-way back button focus solution. Following her suggestions, this is how I configured the R3:
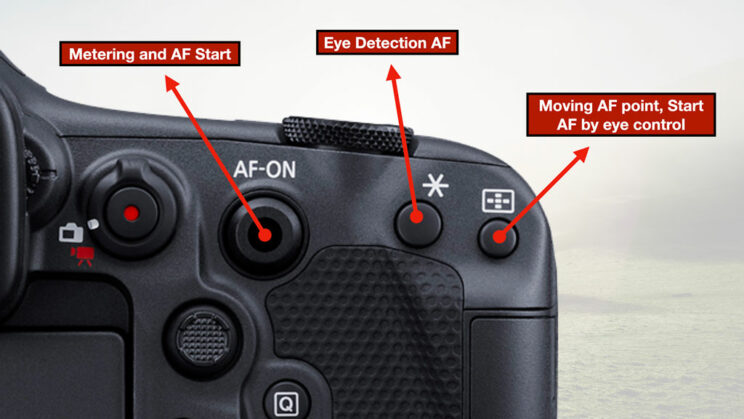
AF-ON button: Metering and AF Start
This is the standard mode and what you find on most cameras. It initiates the autofocus according to AF area and / or the Subject Detection option.
AE Lock Button: Eye Detection AF
It focuses on the eye of the subject (when detected) across the whole frame, overriding any AF method. Sony cameras also have the same option. This is especially useful if a person or animal suddenly enters the frame and you want to go for the eye as quickly as possible, without worrying about the size or position of the AF area.
Left or right eye?
If you want to give priority to the left or right eye, you have two options when taking pictures of a person:
– You can move the AF area (smaller is better) near the eye you want. It doesn’t have to be precise as long as it is closer to one than the other.
– You can activate the tracking mode, use the joystick to go left or right, and then use either the AF-ON button or the Eye AF button.
With animals, Eye Detection AF doesn’t seem to follow the position of the AF area. If you manually select via the tracking mode and the joystick, it doesn’t necessarily stick to the eye you selected once you pressed the Eye AF button, so that is something to keep in mind. Of course, this will be less of a problem when only one eye is visible.
AF point Selection Button: Start AF by Eye Control
The camera focuses where your eyeball looks, overriding any AF area. This works with Eye Control, a unique technology which is exclusive to the Canon R3.
What is Eye Control? In short, there are 8 LEDs in the viewfinder that emit different wavelengths of infrared light to create reflections of your eye, which are then read by a special sensor. This is based on the Purkinje images and Canon’s extensive knowledge from its Medical Systems division. You can read more about it on the Canon website.
Eye Control needs calibration. You can save different presets if, for example, different people use the camera. It works if you wear glasses too.
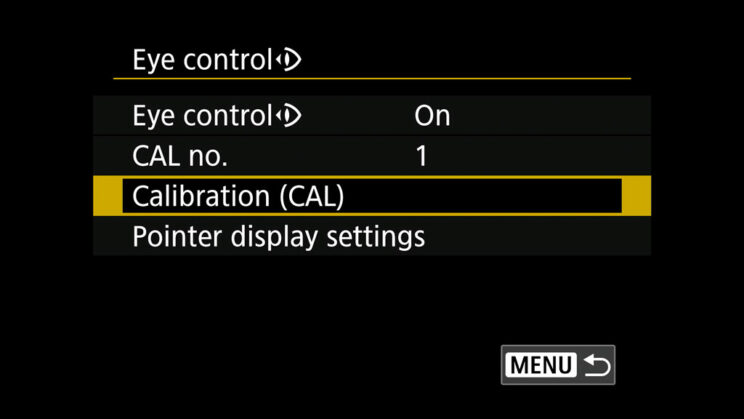
Canon recommends re-calibrating when you decide to wear contact lenses rather than glasses, or when you change location (indoors in low light versus outdoors for example).
The R3 can learn the characteristics of your eye better with multiple calibration, and indeed I found that it was more precise after doing it a few times. Thankfully the process only takes a few seconds.
Eye Control is very precise and you quickly realise how powerful this feature is. It is the quickest way to change focus position and, by consequence, the quickest way to focus.
In my 10 days with the R3, I didn’t use it all the time, but I grew more confident as the day went by. If I had had more time with the camera, it may have become my primary method to engage the AF.
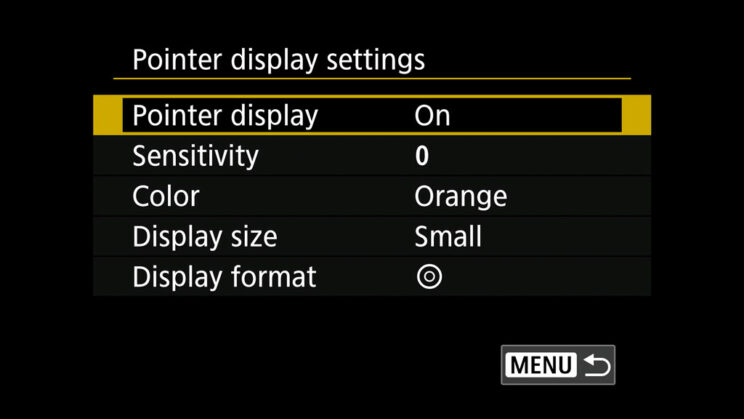
The thing with Eye Control is that it can put you off at first. I found myself in need of a few days just to get used to it, and trust it. What helped me was disabling the pointer display that indicates exactly where you’re looking.
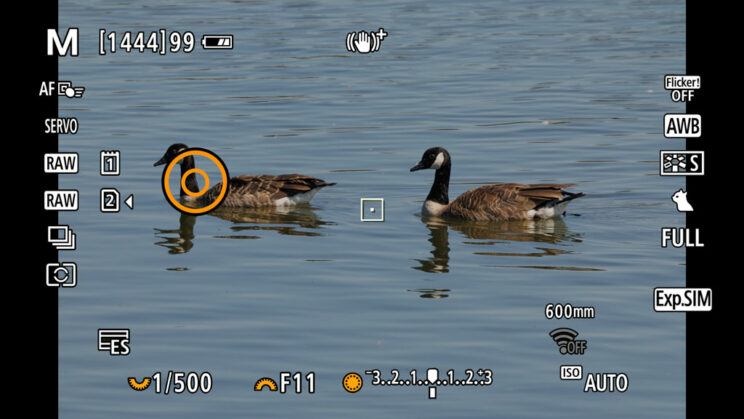
The pointer is useful at first to understand how Eye Control works, but it can also be distracting because the pointer never stays still, which makes sense because your eyeball is not perfectly immobile either. That can also mislead you into thinking you need to position the pointer precisely on the subject, which is not the case, and you end up spending more time looking than you need.
You can make the pointer smaller, change its sensitivity in response to your eye movement, and even change its colour, but in the end I found it easier to just turn it off.
Eye Control works by looking and focusing right away, without a second thought. Just look and press the button, it works! Once the button is pressed, the camera tracks the subject and Eye Control is disabled until you lift your finger and start again. Simple and clever.
Not having the pointer also means you don’t need to disable Eye Control when you don’t want to use it. Just use another focus button and Eye Control doesn’t work.
This is the beauty of the 3-way back button focus I described in this chapter:
- Want to focus the standard way? Press the first button.
- Want to prioritise the eye of the animal above all else? Press the second button.
- Want to focus with your eyeball? Press the third button.

I know all this can sound a bit complicated, and indeed it takes a bit of time to familiarise yourself, but once you get the hang of it, it becomes quite powerful.
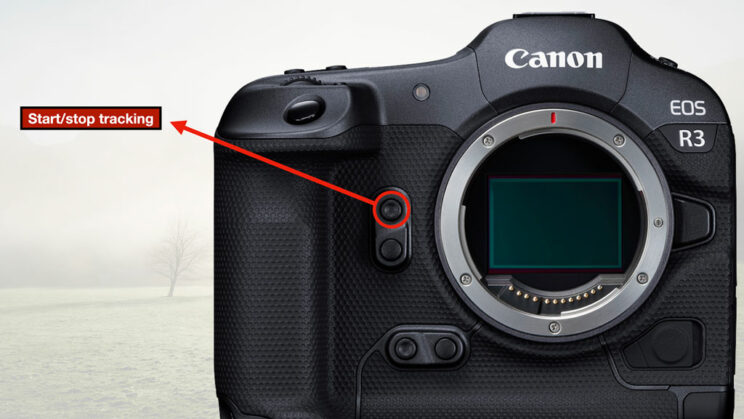
In fact, the R3 is the most advanced camera I’ve tested when it comes to autofocus control. I also added the Start/stop tracking option to one of the buttons at the front to have everything at my fingertips.
Canon R3 for Video
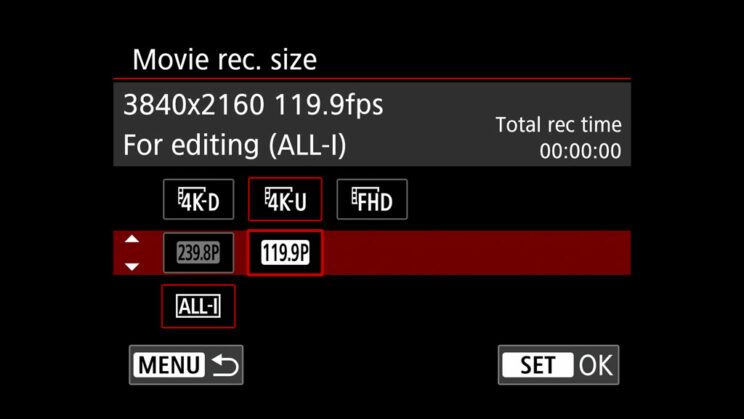
The Canon R3 is a formidable tool for video-makers. It can record 6K up to 60fps in 12-bit RAW, and 4K 120p in 10-bit 4:2:2. There are HDR and Log profiles, and no recording limitation.
My time with the R3 was too limited to test the movie capabilities, but I grabbed a bit of footage of wildlife, using the 100-500mm hand-held.
I was quite impressed with the performance of the stabilisation system (body, lens and digital IS combined).
I recorded in 4K 120p to get a close-to 5x slow motion on a 25p timeline. This solution helped me to grab longer portions of video that were smooth and steady.
I recorded with the Canon Log3 gamma, but I didn’t check the extra settings and the sharpness strength is at minimum by default, so I added a bit of sharpening in post with Final Cut Pro.
The autofocus works really well: the camera was able to follow the red kites without trouble, even when using the teleconverters. Correcting focus from the background was also fast, and you can tweak the AF performance in the menu to fine-tune the result further.
Note: the footage can be seen in my video review on YouTube further down.
Additional specs and feedback
A quick summary of other interesting things I didn’t have the chance to test in-depth.
First, we have 5-axis in-body image stabilisation with a maximum compensation of 8 stops (according to the lens used). This is the same rating shared by other models such as the R5 and R6. Most RF lenses have optical stabilisation, and the camera combines the two technologies to further improve the performance.
My impression is that the R3 behaves in the same way. Images taken hand-held around 1s are possible, although you will get a better keeper rate from half-a-second, or faster.
Flash sync with the electronic shutter works up to 1/180s, a good result and one of the few cameras able to sync that fast with the e-shutter.
Autofocus in low light is very good, with a rating of -7.5EV at f/1.2.
I was called last minute by the local cinema in the town where I live to take a few pictures of a special live streaming event, to capture the atmosphere of the spectators and light design in the building. I took the RF 24-105mm F4, which is certainly not the ideal lens for a low light situation, but the R3 performed well, never missing focus even when the contrast was really bad.


The RF 100-500mm F4.5-7.1 L IS USM Lens
Before heading to the conclusion, a few words about the lens I chose to test the R3.
There are better lenses you could use with this camera, mainly super telephoto primes such as the RF 400mm F2.8, the 600mm F4 and the 800mm F5.6, but none of them were available to rent at the time I picked the R3. I wanted to test the camera with a native RF lens, and I also liked the idea of travelling as light as possible.
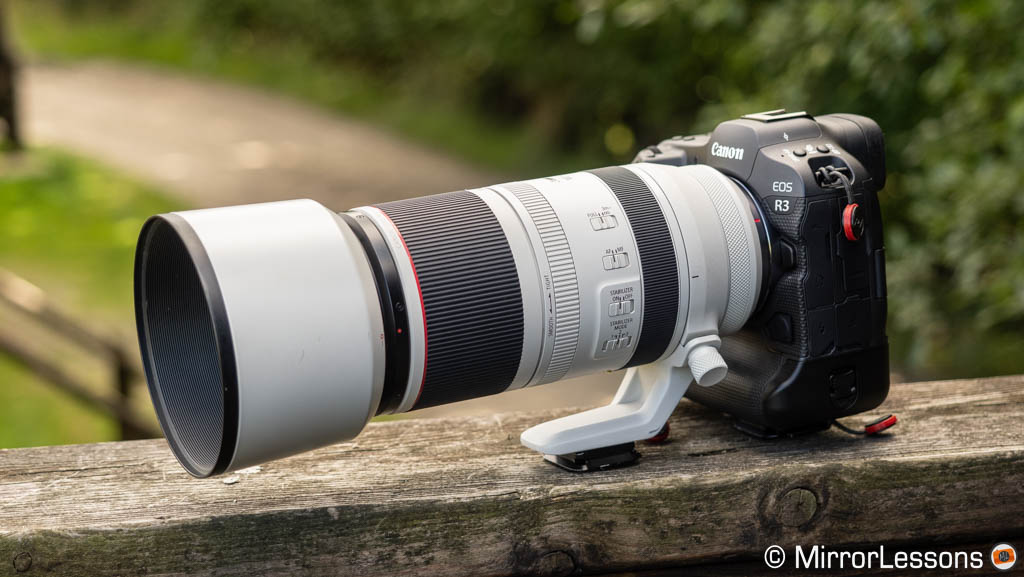
I went for the 100-500mm because it is a lens I knew already, having tested it on the R5 and R6, so it was an easy choice for me.
The lens doesn’t have the most attractive fastest aperture, but it is compact, not too heavy, and the performance is really good: it’s very sharp and the AF motor can cope with the most demanding situations.
There are a lot of controls on the barrel of the lens, and I particularly like the ring that makes the zoom tighter or smoother. When set to tight, the zoom doesn’t extend when your gear is hanging from your shoulder.
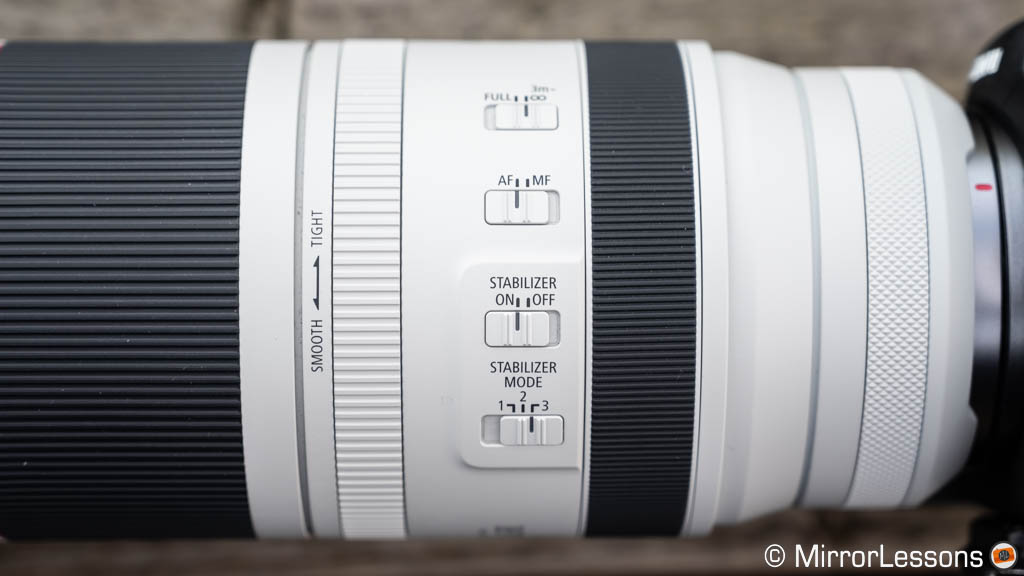
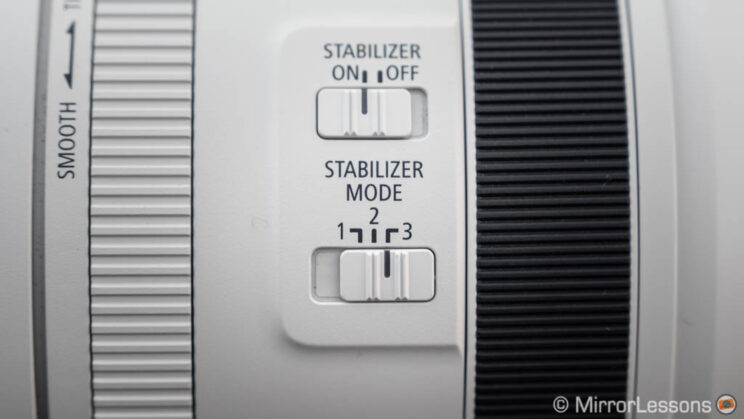
There are three modes for the stabilisation. I use mode 1 for static subjects, and mode 2 for birds in flight, where the lens can detect your movement and compensate vertically or horizontally only.
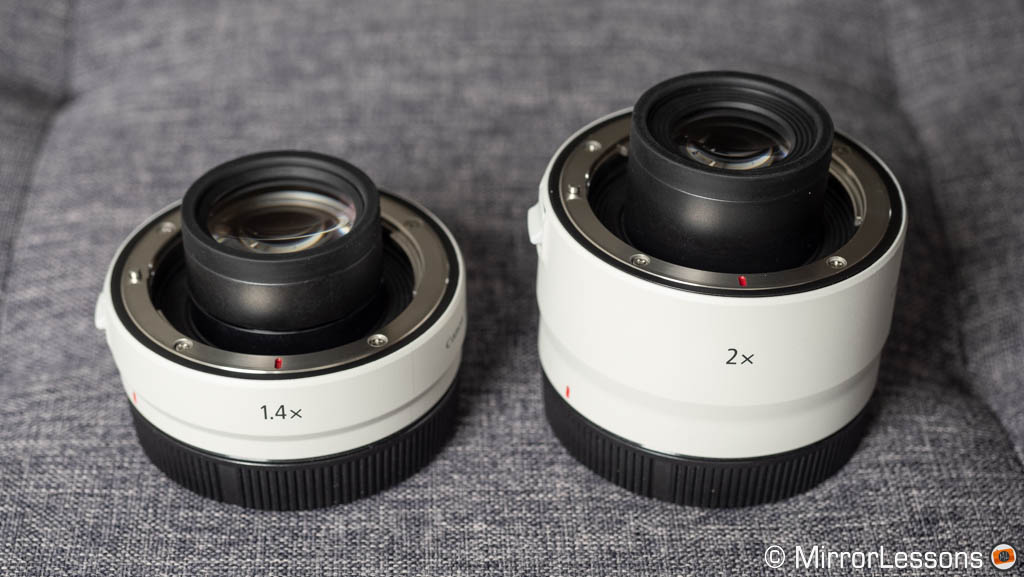
The slow aperture of the 100-500mm becomes more annoying when using the two teleconverters. The maximum reach becomes 700mm with the 1.4x (at f/10), and 1000mm with the 2x (at f/14).
As long as you are outdoors in the sunshine, there is not much to worry about, but inevitably in the woods or in less than ideal light conditions, the ISO goes up very quickly.
Also, small birds perched on trees can cause lots of back and forth movements, especially if the background is brighter than the subject. One potential fix in this case is to use a larger autofocus area rather than the single point.
There is another annoying aspect of using teleconverters on this lens: because of the compact design, you need to set the zoom ring to 300mm minimum, or they won’t fit physically. This means you can’t fully retract the zoom when a converter is attached, and that may force you to remove the extender before packing the lens away in your bag.
The extenders themselves are excellent: the loss in sharpness is minimal, even with the 2.0x teleconverter, which is usually the one that penalises you the most.
Despite a few quirks, the 100-500mm is a very good lens in my opinion, but I wish it could be less expensive: Canon is asking a lot for it, and the extenders are not cheap to buy either.
Video Review
As usual, you can find a version of this content on our YouTube channel.
Conclusion
The Canon R3 has left a real impression on me, and I would have loved to spend more time with it. It is a stunning package that leaves nothing to be desired, and no detail is overlooked.
The image quality is fantastic, probably the best Canon sensor I’ve ever tested. Some of you might have preferred more resolution, but the advantage here is the high ISO performance, with very usable images at 25,600 ISO. Dynamic range is also excellent.
The R3 offers a state of the art autofocus system and it has a unique characteristic that resonates with innovation – Eye Control – which works surprisingly well. The software is also very impressive, and the capability to detect and follow animals is the best I’ve seen. Only the occasional lack of consistency stops this camera from being the very best in the field.
Then we have great continuous shooting speeds (with live view and no blackouts), stunning performance for video, excellent image stabilisation and tons of other things.
The camera is a joy to use thanks to the well designed body and controls and, surprisingly, carrying it around all day in the summer heat was less tiring than I thought.
The prices for the body only are $6000, £5880 or €6000 respectively (as of August 2022), so it is an expensive camera, but make no mistake: it’s not overpriced. It is a flagship – with a capital F – mirrorless camera.
Reminder: the links below are affiliate links. If you decided to buy something after clicking the link, we will receive a small commission.
Check price of the Canon EOS R3 on
B&H Photo
Check price of the Canon RF 100-500mm on
Amazon | Amazon UK | B&H Photo | eBay
Check price of the Canon RF 1.4x Extender on
Amazon | Amazon UK | B&H Photo | eBay
Check price of the Canon RF 2x Extender on
Amazon | Amazon UK | B&H Photo | eBay