The original X100 launched the APS-C X-series in late 2010. Almost 10 years later, the fifth iteration has joined the ranks, introducing numerous changes that customers have been requesting for ages while also integrating the latest technology the brand has to offer.
The X-Pro3, the third-generation of the first interchangeable lens camera launched by Fujifilm, has some unexpected features, showing the brand’s willing to continuing experimenting with original solutions.
Behind the obvious differences, these two cameras have a lot in common. So, before diving into the nitty-gritty, here is a quick recap of all the things that are the same.
What the X100V and X-Pro3 have in common:
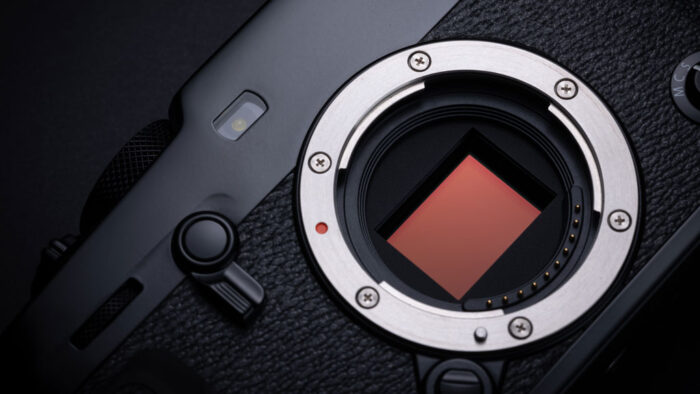
- 26.1MP BSI X-Trans IV APS-C sensor
- 160-12800 ISO range (80 to 51200 with extended values)
- Colour profiles (including Classic Neg), Colour Chrome Effect, Clarity, HDR Mode and many other settings
- 117/425 hybrid AF system with improved face and eye detection
- Up to 20fps of continuous shooting speeds with the electronic shutter (30fps in crop mode)
- 4K and DCI 4K up to 30fps (no crop, oversampling)
- 1080p up to 120fps (High Speed mode)
- F-Log (internal, 8-bit)
- Hybrid viewfinder: OVF with 0.52x magnification, 95% coverage
- Hybrid viewfinder: EVF with 3.69M dots, 0.66x magnification, 100fps refresh rate
- 2.5mm remote/audio input
- headphone output via USB C port
- NP-W126S battery (with similar rating and USB charging option)
Ethics statement: the information found in this post is based on official specifications and our personal experience with Fujifilm cameras. We were not asked to write anything about these cameras, nor were we provided any compensation of any kind. Within the article, there are affiliate links. If you decided to buy something after clicking the link, we will receive a small commission. To know more about our ethics, you can visit our full disclosure page. Thank you!
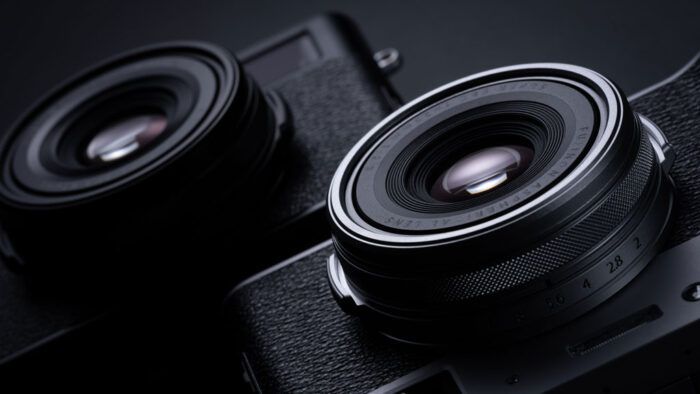
1. Lens system
There is no way around it, if you are hesitating between these two cameras, the first thing you need to consider is the lens.
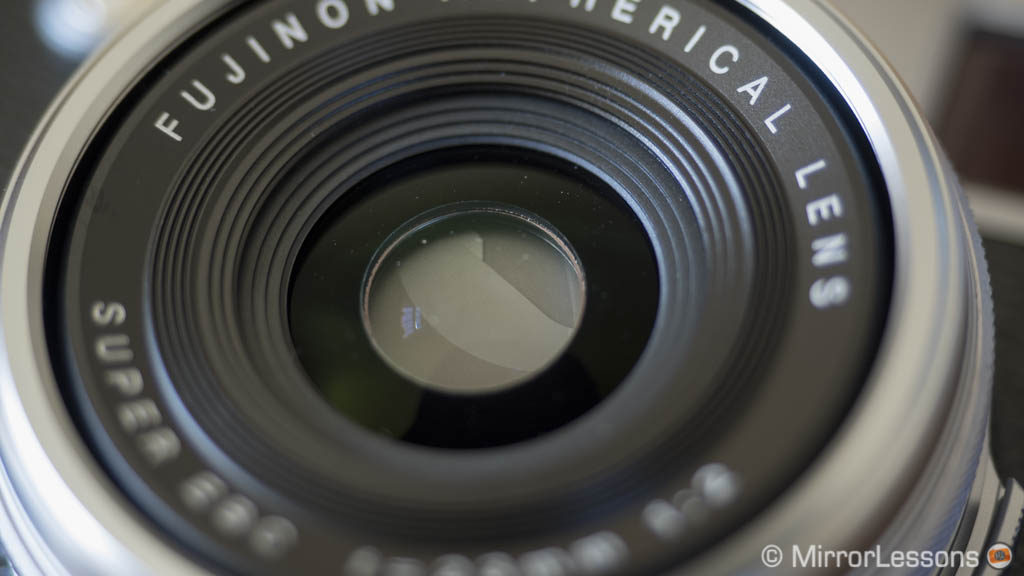
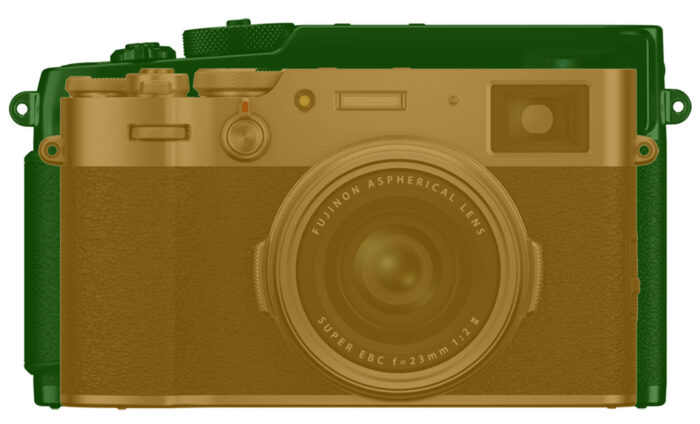
The X100V has a non-removable 23mm f2 “pancake” lens, which equals 35mm in full-frame terms concerning the field of view. Non-removable is the keyword here because if you don’t like the 35mm angle of view, this camera is not for you. Granted, there are converters available (28mm and 50mm equivalent), but I think it’s important to consider the native lens first and make sure you’re fine with it.
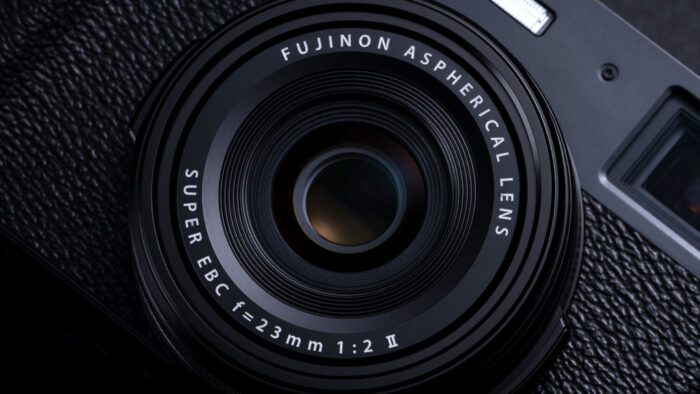
The lens on the X100V has been updated for the first time since the launch of the X100 series: it delivers better sharpness in the corners and at close focus distances, especially when using fast apertures.
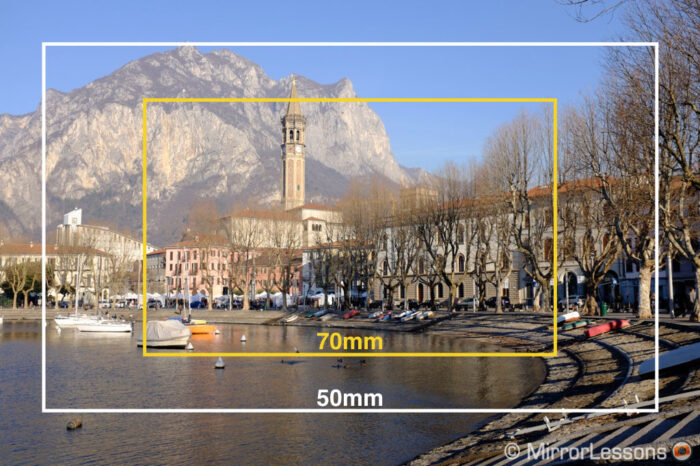
Another way to get more fields of view on the X100V is to use the digital teleconverters. The interesting thing about this feature is that although the camera crops the sensor to get the desired field of view (50mm or 75mm equivalent), it delivers a JPG with the same resolution as the sensor, which means that the image is interpolated and resized. Purists might consider this a cheat, but it’s an option nonetheless.
The X-Pro3 features the X-mount to which you can attach all compatible lenses. You can go from an extreme wide angle to long telephoto lenses, as well as use fast primes for portraits.
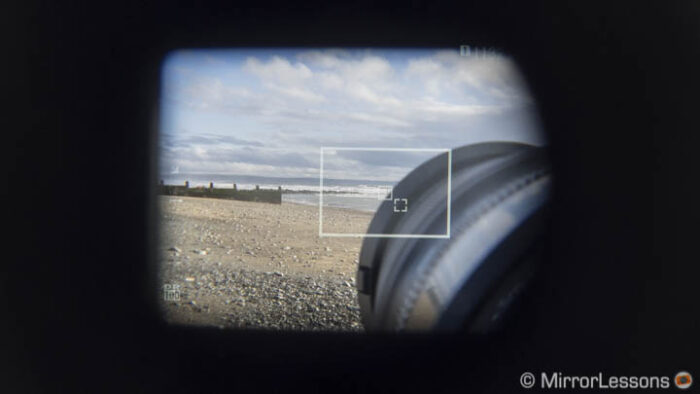
The advantage of the X-Pro3 is obvious, but there are a few things you need to keep in mind if you’re keen on using the optical viewfinder.
First, it is optimised to cover focal lengths between 23mm and 50mm (35mm and 75mm equivalent). Another issue is that the bigger the lens is, the more the view in the OVF will be blocked. Of course you can switch to the electronic VF to compose better (that’s the beauty of the hybrid viewfinder after all), but it remains something worth considering if the OVF is the main selling point for you. The best optical viewfinder experience with the X-Pro3 comes with a set of smaller primes.
Note: the OVF view on the X100V can also be partially obstructed with a lens hood or lens converter.
One advantage of the X-Pro3, even if you decide to stick with a 23mm lens, is that you can have better autofocus because of the lens AF motor. The one attached to the X100V doesn’t have an internal mechanism and has always been a bit slow. Fujifilm hasn’t mentioned any improvements in this area for the mark II version. On the other hand, we know that a lens like the XF 23mm f2 WR has an excellent internal focus mechanism that is really fast and reactive.
2. Shutter mechanism
Following on from the nature of the lens system (fixed vs interchangeable), we find a second difference between these two cameras: the shutter mechanism.
The X100V uses a leaf shutter which is built into the lens, and consists of metal blades that close by overlapping.
The X-Pro3 uses a more traditional focal plane shutter, where two metal curtains open and close in front of the image sensor.
The two mechanisms have their own set of advantages and disadvantages. The leaf shutter allows you to synchronise flash at fast speeds (without the need for HSS flashes) and has a more discreet sound. However, it can create problems in your image if you use a combination of a large aperture and fast shutter speed.

This happens because the leaf shutter cannot cover the large aperture quickly enough when using an aperture of f2 or f2.8. The out-of-focus zones end up with this unpleasant motion blur-like effect.
Fortunately, there are two ways to avoid this: use the built ND filter to bring the shutter speed below 1/1000s (more on this below), or switch to the electronic shutter. The camera will display the shutter speed value in red when you are at risk.

The X-Pro3 has a faster maximum speed of 1/8000s (vs 1/4000s) and, unlike the X100V, doesn’t risk producing an unpleasant bokeh when using a fast aperture and speeds higher than 1/1000s. The maximum flash sync is 1/250s or lower however, unless you use powerful HSS units that can work at higher speeds.
3. ND Filter
One nice feature you’ll find on the X100V is a built-in ND filter that compensates for 4 stops of exposure. This can be handy for various situations.
You’ll want to turn it on if you’re using a fast aperture to keep the shutter speed below 1/1000s, because as explained above, you don’t want to end up with unattractive bokeh in your photo.
You can also use it if you want to reduce your shutter speed as much as possible, to smooth out the movement of water for example. Now of course 4 stops might not be enough depending on where you are and how much light there is, but I’m assuming it can work in some scenarios.
The ND filter doesn’t seem to work for video according to the initial reviews, which is a shame as it could be very useful.
On the X-Pro3, there are no built-in ND filters. Technically, you don’t need one as the camera can shoot up to 1/8000s without any bokeh issues if you’re using a fast aperture. For any other creative uses, you’ll have to rely on physical filters.
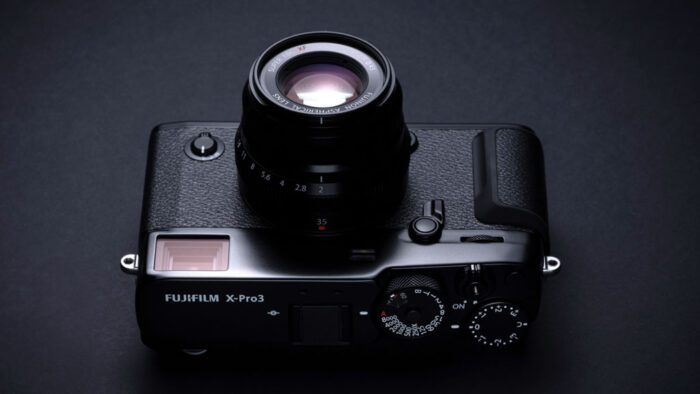
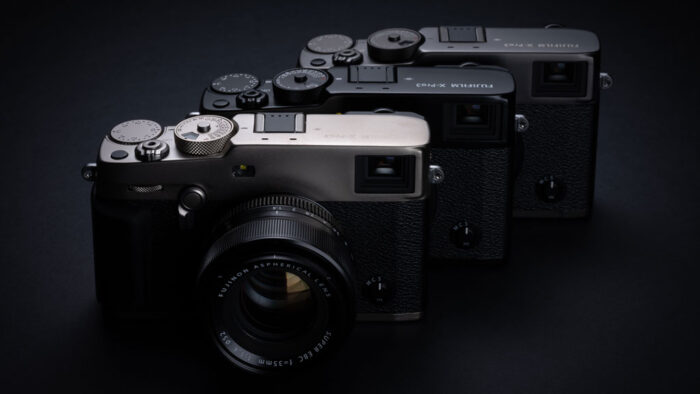
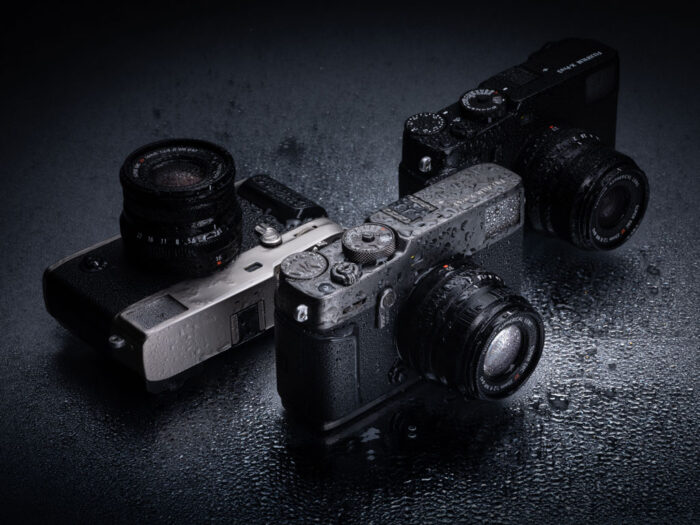
4. Design and materials
The two cameras sport a very similar rangefinder design that gives a nod to classic film cameras. The X-Pro model is larger however, but surprisingly not by a lot.


- X100V: 128 x 74.8, 53.3mm, 478g
- X-Pro3: 140.5 x 82.8 x 46.1mm, 497g
The build quality and materials set the two cameras apart. The X-Pro3 has an unusual titanium construction that makes the camera more resistant and adds a distinctive premium feel to it. Furthermore, in addition to the standard black version, there are two stronger versions called Dura Black and Dura Silver, where the titanium surface has been hardened with a special coating to make the camera more resistant to scratches.
The X100V features top and bottom aluminium plates with a satin coating. Here the aim is not so much the resistance but more the premium feeling and elegant finish.
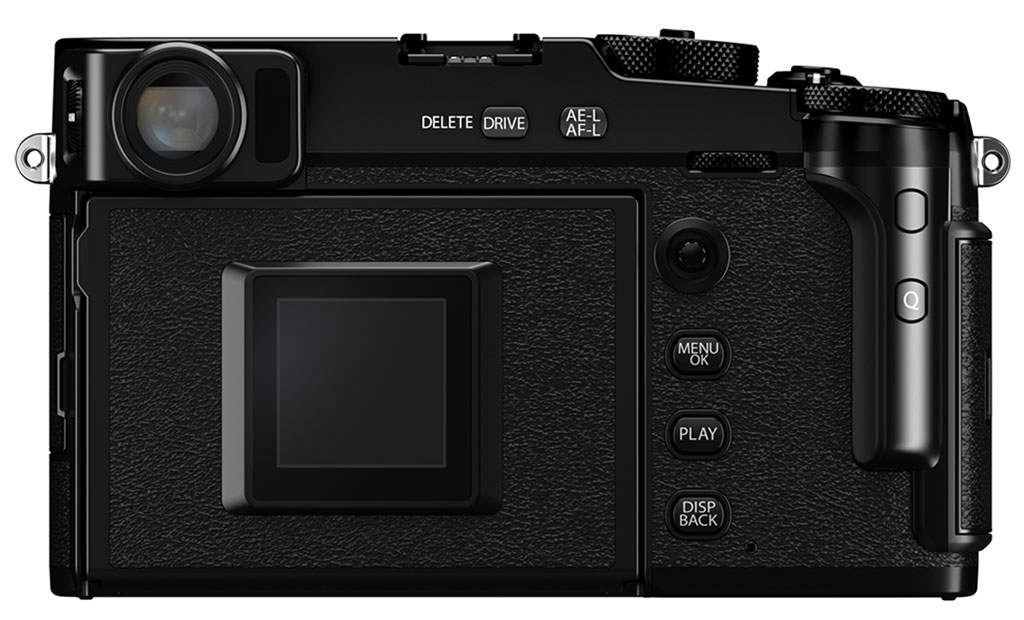
Concerning the button layout, they are pretty much identical. The X-Pro3 has an extra function button on the rear, located on the thumb grip.


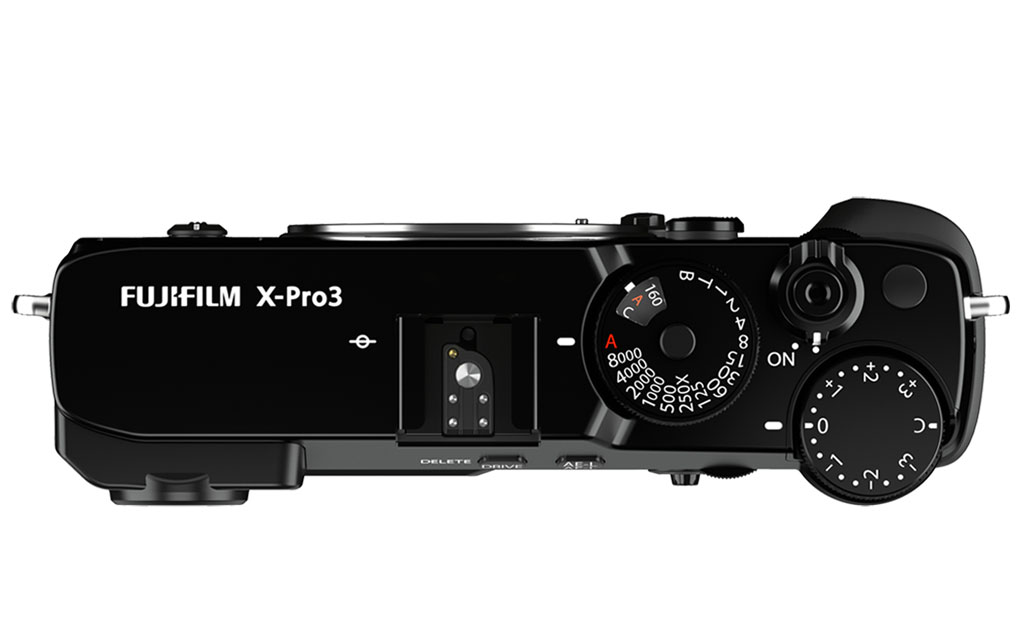
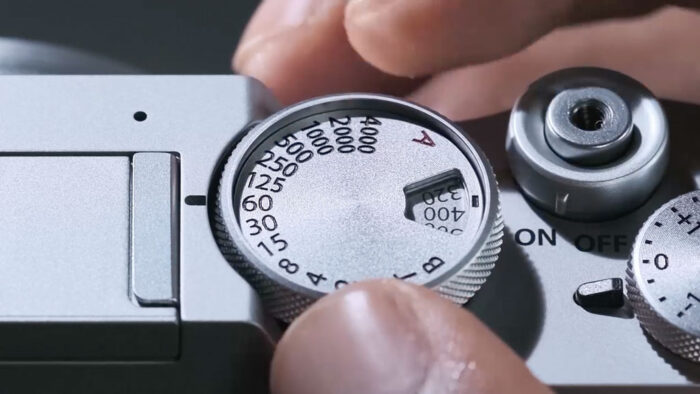
Both cameras have a twin shutter speed / ISO dial on top but the one on the X100V has been revised. You no longer need to hold up the external ISO ring to change the values: simply pull it up once, and then slide it down once you’re done. Curiously, this hasn’t been implemented on the X-Pro3 despite having the same mechanism (twin shutter speed/ISO dial).
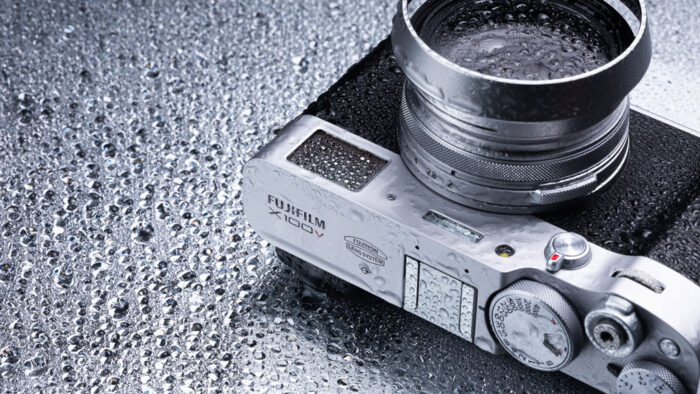
5. Weather Sealing
The X100V is the first camera in the series to offer weather-sealing, a feature that users have been requesting for some time. However, there is an important detail to keep in mind: the lens itself is not weather-sealed because of its non-internal AF mechanism.
So to complete the weather sealing on the camera, you need to attach an adapter ring and either a protective filter, or alternatively one of the lens converters. This means spending a few extra bucks, but I guess it is better than nothing if weather-sealing is a must for you.
The X-Pro3 has an improved weather-sealing in comparison to its predecessor, and is now protected across 70 different areas around the body. It can withstand dust, moisture and cold temperature down to -10˚C. It is worth pointing out that for a full protection, it is better to mount a lens that is also weather-sealed (fortunately many zooms and primes are).
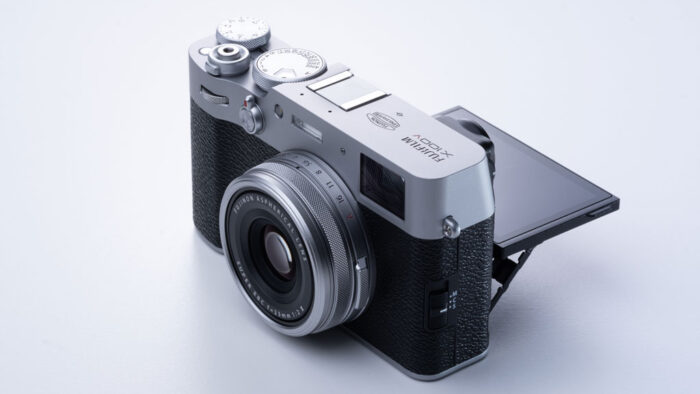
6. LCD Monitor
Both cameras feature a tilting LCD screen, but the concept behind them is very different.
The X100V has a classic tilting mechanism that goes up and down (2-ways) and is found on many digital cameras. It is useful to shoot from a low position the ground or higher up when extending your arms. This is another long-awaited addition that has finally made it onto the new camera.
The X-Pro3 offers a unique approach. On the outside, you see a small square screen (1.28-in) that shows you the main settings in use, or displays the film simulation mode with an old fusion film box graphic.
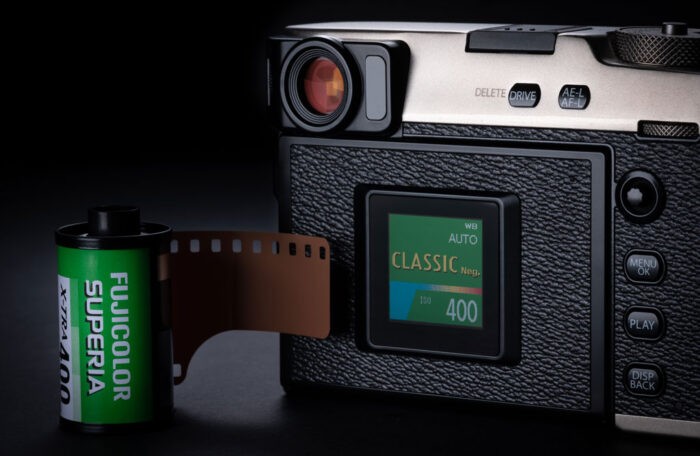
The main screen is hidden, and you need to tilt it down to reveal it. This solution, while it might please certain photographers, is more limited in comparison to the X100V solution because you can’t orient the screen towards the bottom if you’re shooting from higher up.
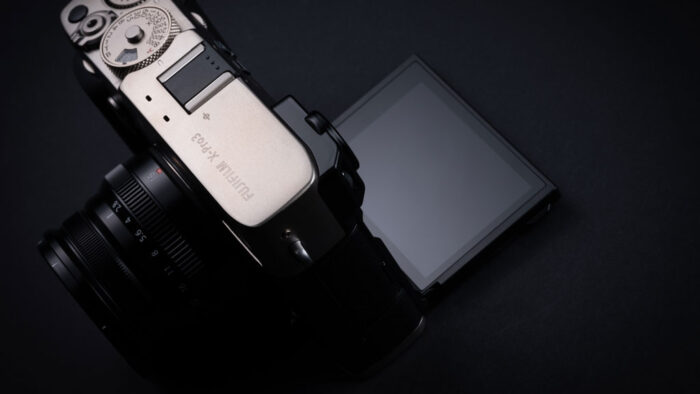
The specifications of the two main screens are identical: 1.62 million dots of resolution and a size of 3 inches. Both have touch capabilities, and there are different things you can do: change settings in the Quick menu, select a focus point, take a shot, activate a function or prioritise a face for the autofocus.
7. Flash
A small yet important difference to mention is that only the X100V has a built-in flash. It is not very powerful of course (GN 4.4 at ISO 100) but can occasionally save the day.
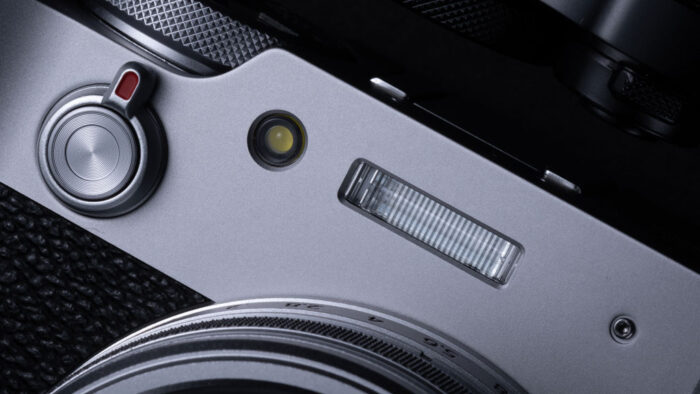
The X-Pro3 doesn’t have a built-in flash and no unit is provided in the box (not even the small EF-X8).
Both cameras are compatible with external flashes of course, including the ones designed by Fujifilm and third-party brands.
As already mentioned in the shutter paragraph, the X100V leaf shutter mechanism allows you to synchronise speed lights at every shutter speed, whereas you’ll need a flash with HSS on the X-Pro3 to do the same (normal sync is limited to a maximum of 1/250s or slower).
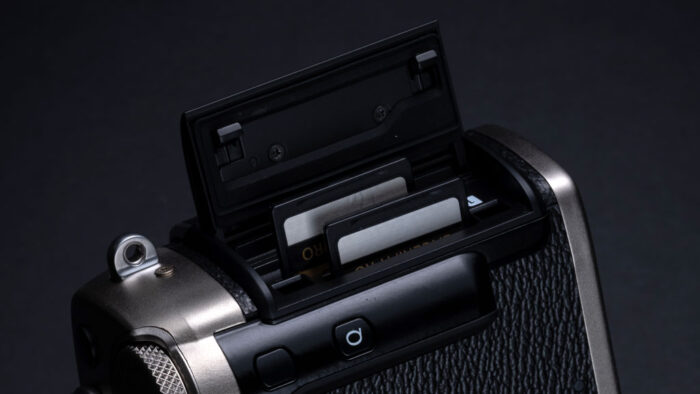
8. Memory Card
The X100V has one slot for a UHS-I SD card, and is located at the bottom in the battery compartment.
The X-Pro3 comes with two memory card slots accessible on the side and is compatible with the faster UHS-II type.
The advantage of two card slots is well-known: you can back up everything on the second card, as well as separate JPG and RAWs or video files.
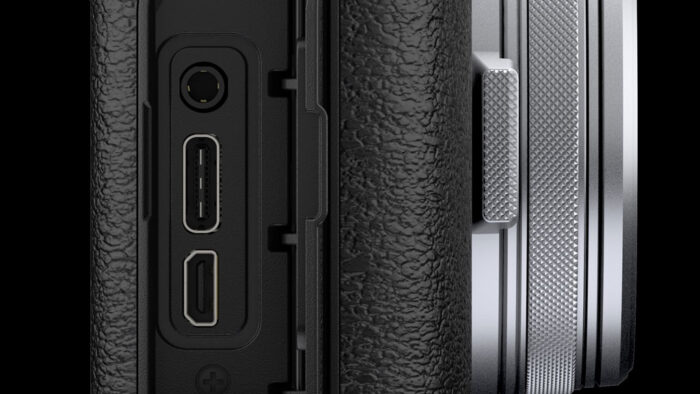
9. HDMI Port
Fujifilm decided to omit the micro HDMI port from the X-Pro3, despite including it on all the other X-series cameras (including the predecessor X-Pro2).
The X100V has one which can output 10-bit 4:2:2 video if you fancy recording higher quality to an external recorder. (The recorder will most likely be bigger than the camera, which might look a bit awkward and lack practicality, but why not!?).
10. Price
As always with our preview articles, the price is the final difference.
The X100V is being launched at $1400, £1300 or €1500, whereas the X-Pro3 can be found for $1800, £1700 and €1950, which is more expensive. Not only, but with the X100V you already have the lens, whereas with the X-Pro3 you will need to widen your budget to add an XF lens, unless you already own some.
Conclusion
The X100F and X-Pro3 have a lot of things in common, yet are quite different products. The lens system has a huge impact on how you can perceive or even use one or the other. At the same time, they can also complement one another quite easily.
With the X100V, I think Fujifilm has attained a mix of quality and practicality that might be close to perfection (although no camera is perfect). Now that it has a tilting screen, an updated lens and a weather sealing option, it really looks like one of the very best high quality compact cameras you can buy, or one of those “desert island cameras” you want to have with you every day.
That being said, the X-Pro3 can assume the same role, especially if you stick a compact prime lens on it, not to mention that you have the advantage of using other lenses for different genres.
Personally, I’ve always loved the X100 series so I know which one I would pick. How about you?
Check price of the Fujifilm X100F on
B&H Photo
Check price of the Fujifilm X-Pro3 on
Amazon | Amazon UK | B&H Photo