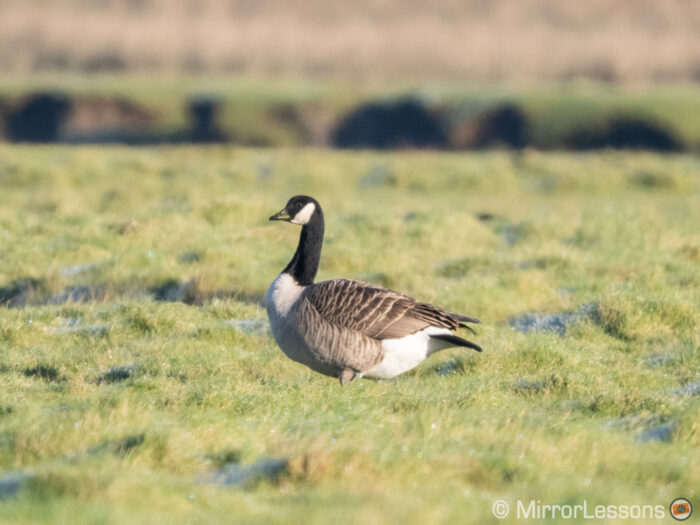
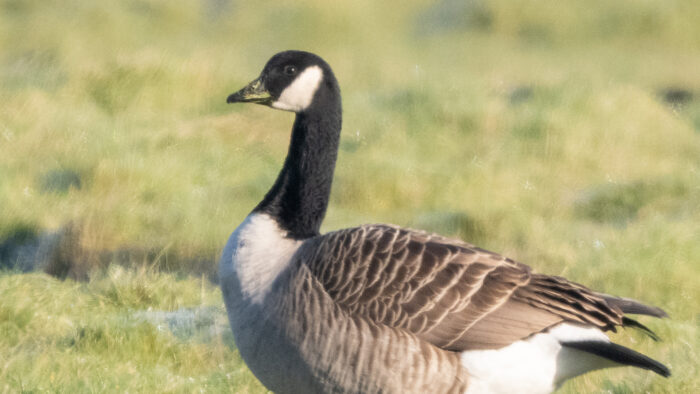
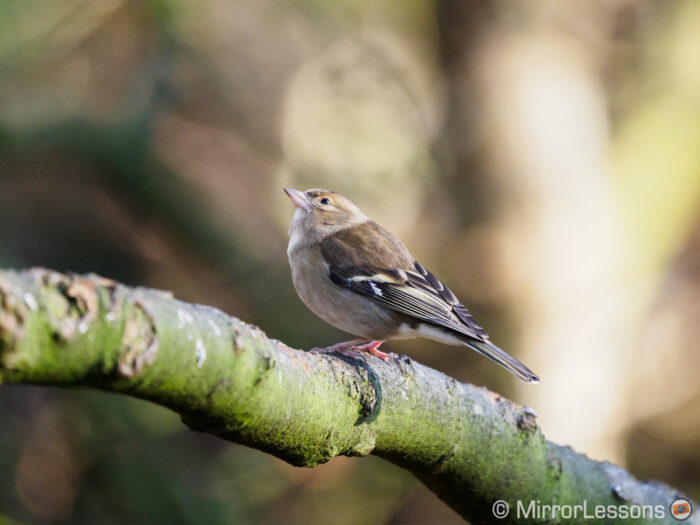
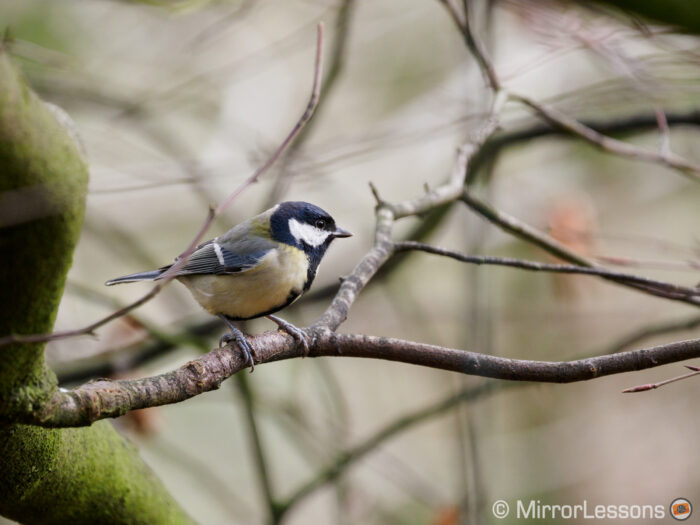
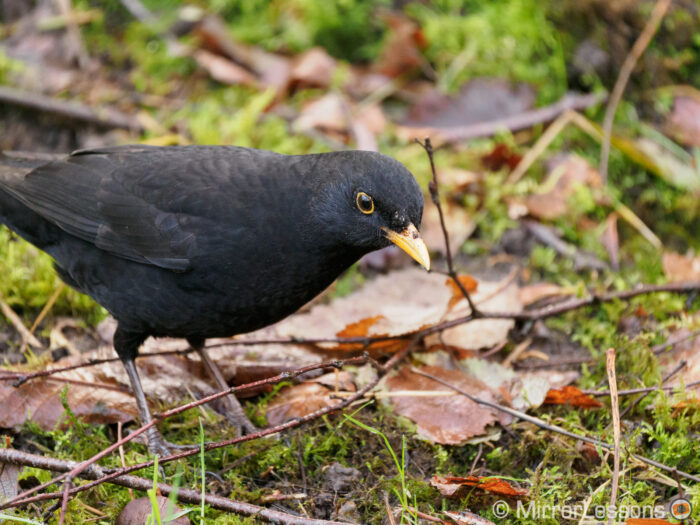
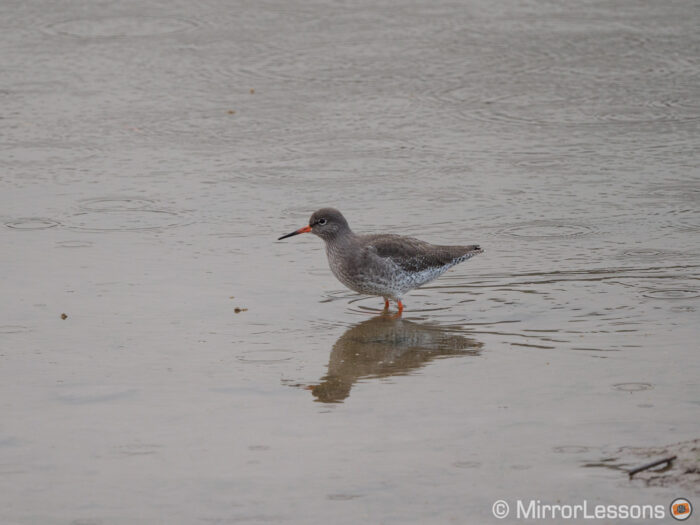
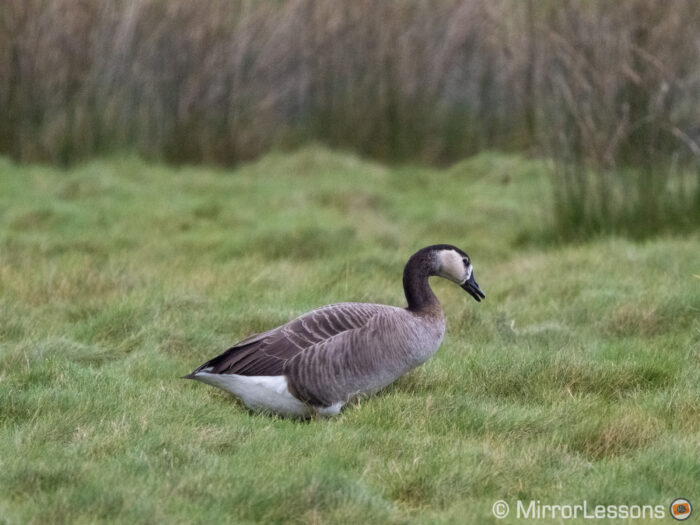
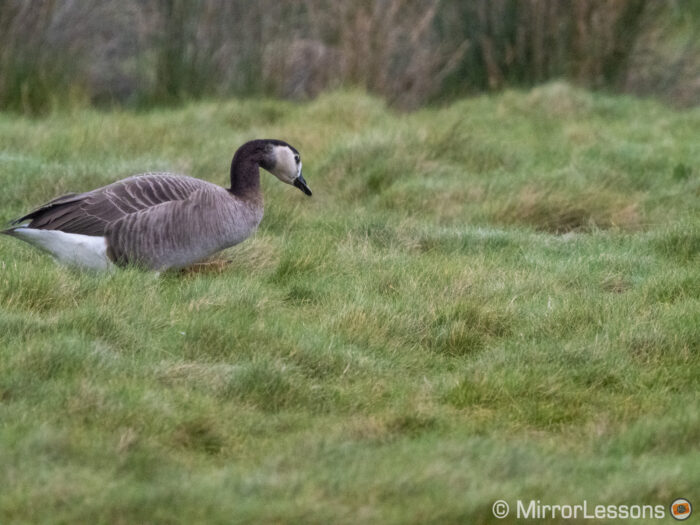
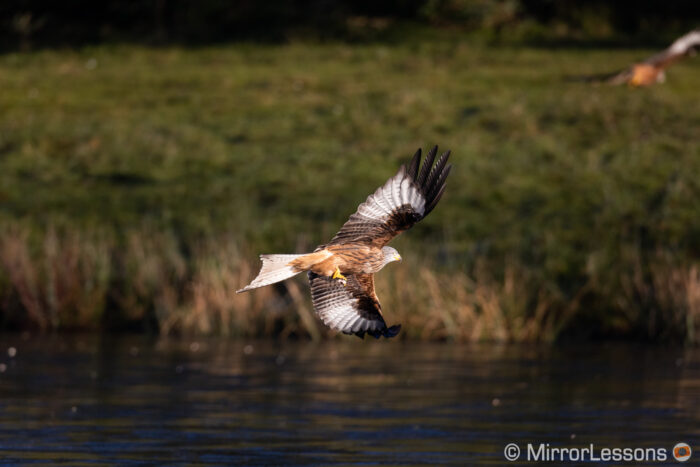
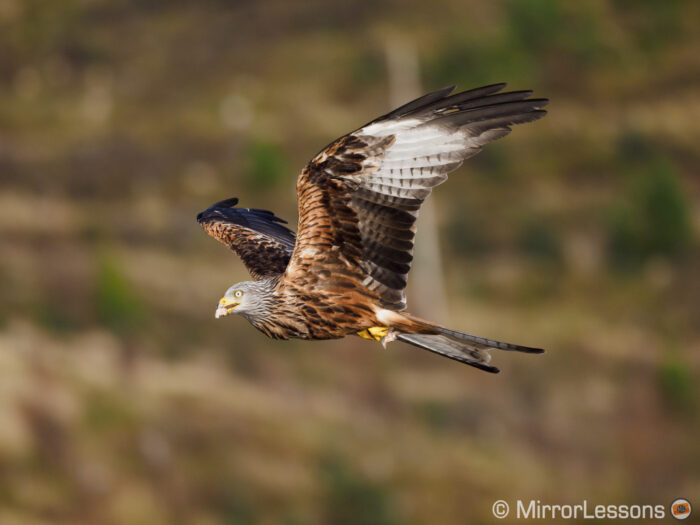
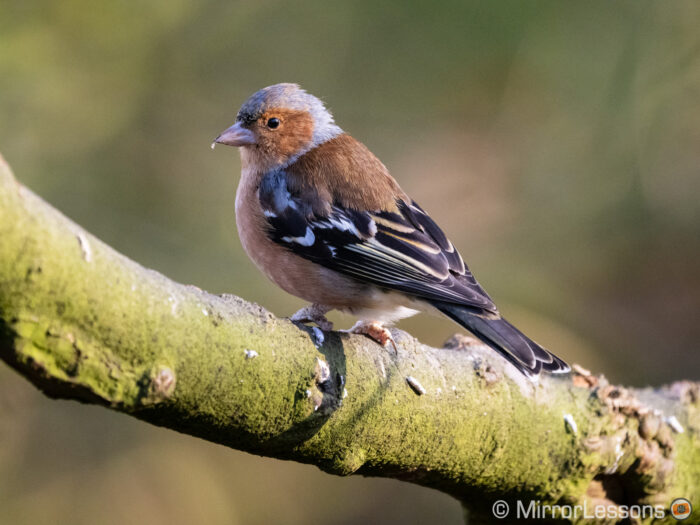
The Olympus 150-400mm f4.5 Pro is the largest and most expensive micro four thirds lens released to date. It was highly anticipated by wildlife professionals and enthusiasts before the official price cooled the hype. Has Olympus gone too far, or is this a “one of kind” lens that you won’t find elsewhere?
To find out, I spent some time with the lens at various nature reserves and my beloved red kite feeding station. I tested it on the E-M1X and firmware 2.0 which adds bird detection autofocus. Last but not least, I compared the most expensive telephoto lens for micro four thirds with one of the most expensive lenses you can find for a full frame camera. Have I grabbed your attention? Let’s get started then!
Thank you note: I would like to express my gratitude to Olympus Europa and Olympus UK for sending us a copy of the new lens so early. I know that samples are very limited at the time of publishing, so I am grateful to be among the first to test it.
I would also like to thank Hireacamera for supporting this article and providing us with a copy of the Canon 800mm 5.6. I’ve been using their services for the past four years with great satisfaction, and I was very pleased when they decided to help us on this occasion.
For the record: This is not a sponsored message. Neither Olympus nor Hireacamera paid me to produce this content.
Ethics statement: Within the article, there are affiliate links. If you buy something after clicking the link, we will receive a small commission. To know more about our ethics, you can visit our full disclosure page. Thank you!
TABLE OF CONTENTS
1. Video review
2. Specifications
3. Design
4. Focal lengths and angles of view
5. Optical Quality
6. Autofocus with E-M1X and Bird Detection
7. Image stabilisation
8. Olympus 150-400mm Pro vs Canon 800mm f5.6
9. Conclusion
Video review
The content of this article is available in video format if you prefer. Please give us a thumbs up and subscribe to our YouTube channel!
Specifications
Olympus M.Zuiko Digital ED 150-400mm f/4.5 TC 1.25X IS PRO
- Mount: Micro Four Thirds
- Format coverage: 4/3
- Focal length: 150-400mm (187.5‑500mm with TC 1.25x)
- Equivalent 35mm format: 300-800mm (375‑000mm with TC 1.25x)
- Weather sealing: Yes
- Maximum aperture: 4.5 (5.6 with TC 1.25x)
- Minimum aperture: 22 (29 with TC 1.25x)
- Number of aperture blades: 9 circular
- Angle of view: 8.2‑3.1° (6.6‑2.5° with TC 1.25x)
- Closest focusing distance: 1.3m
- Lens configuration: 28 elements / 18 groups
- Special elements: 2 Ed, 4 Super ED, 2 HR and 1 aspherical element
- Lens surface coating: Z nano coating
- Max. image magnification: 0.13x (wide) / 0.29x (tele), 0.22x (wide) / 0.50x (tele) with TC 1.25x
- Max. image magnification (equiv. 35mm): 0.25 x (wide) / 0.57 x (tele), 0.44x / 1.01x with TC 1.25x
- Optical stabilisation: Yes (4.5Ev, 8 Ev with Syns IS)
- Dimensions: ø115.8 x 314.3mm
- Filter diamater: ø95mm
- Weight: 1875g
Design
The lens is weather sealed and it stands out as being one of the most well built lenses in the M.Zuiko Pro series, not that I was expecting anything less.
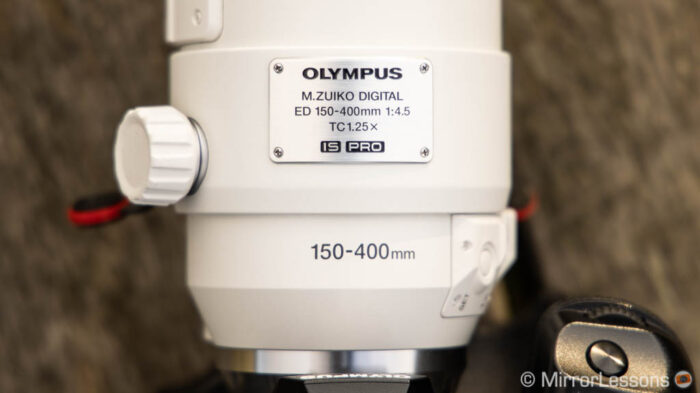
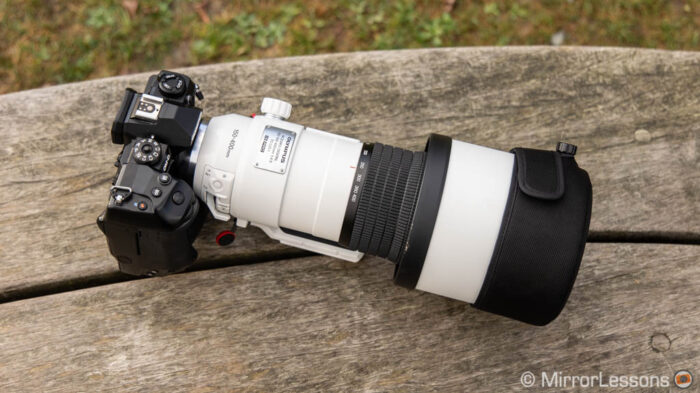
In photos, it often looks larger than it actually is. As soon as I took it out of the box, I was impressed by its reasonable size and how lightweight it was. Olympus managed to keep the whole package under 2kg thanks to the use of magnesium alloy and carbon fibre with enforced polycarbonate. The hood is also made of carbon fibre.
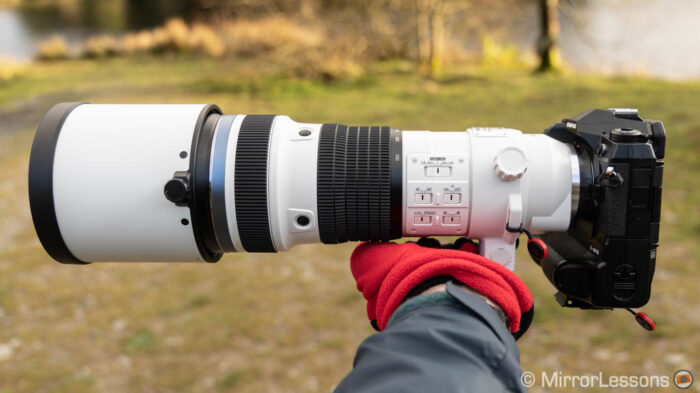
The barrel is finished with white paint that features a multi-layer coating to reduce internal heat.
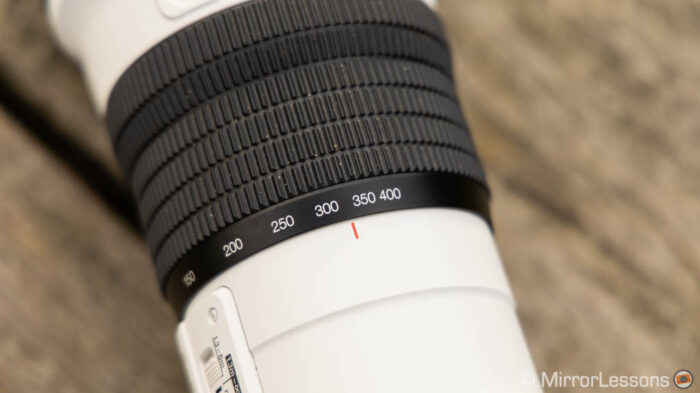
The zoom ring and focus ring are covered in rubber. The zoom ring is very smooth to turn yet it allows you to control the rotation very precisely. The focus ring is of course a fly-by-wire type but I found it pleasant to turn and use.
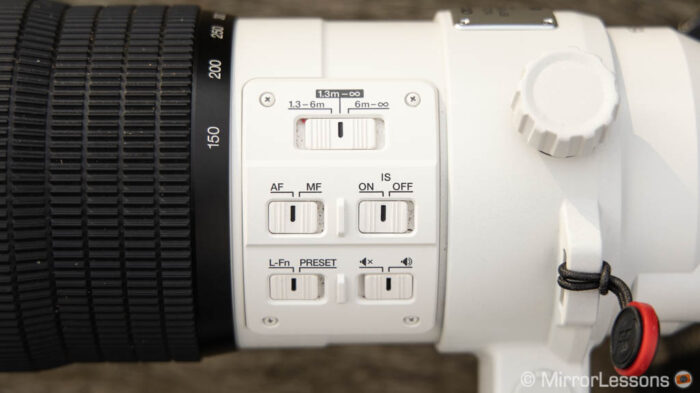
On the side there is a large panel with five switches that allow you to control the following:
- Focus limiter: 1.3-6m, 1.3m-∞ and 6m-∞ (note that this can be overridden with the AF Limiter setting found on many OM-D models)
- AF / MF: Autofocus and Manual Focus
- Image stabilisation: On or Off
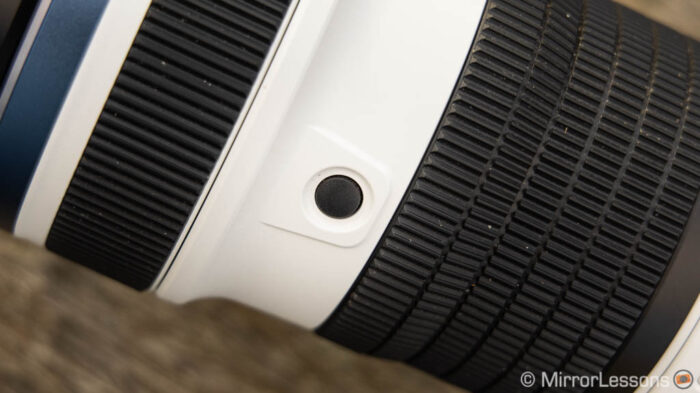
- L-Fn / Preset: it controls the function of the four rounded buttons located around the barrel, between the focus and zoom ring. Set to L-Fn, they work according to the function you assign in the camera’s menu (default is AF stop). Set to Preset, they allow you to focus at a precise distance saved with the SET button (more on this below)
- Beep On / Off: allows you to activate or deactivate the confirmation sound when saving a focus distance with the SET button.
On the rear of the lens there is the lever to engage the 1.25x teleconverter, and a lock button to secure its position. The position of the lever is clever, and allows you to move it easily with your hand while holding the camera and composing.
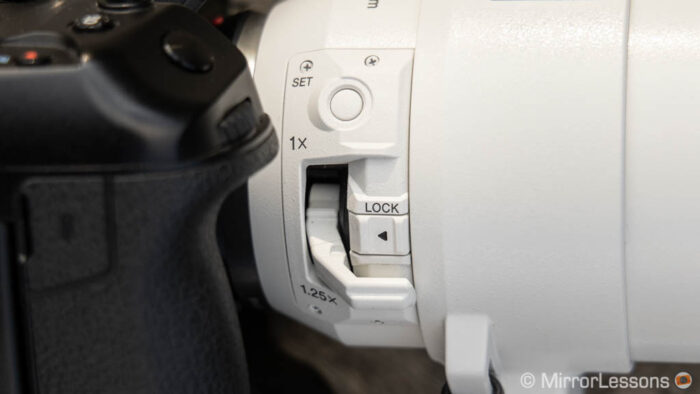
Next to the 1x marking you find the small white Set button which allows you to save a specific focus distance that you can call up at any time with one of the four Fn buttons (when the switch is set to Preset).
Next to the switches panel we find a large tripod collar that can be unlocked and rotated. The tripod foot section has two 1/4” screw holes and the design is compatible with Arca Swiss tripod heads, so if you have a tripod like this, you can attach the lens directly without the need for a plate.
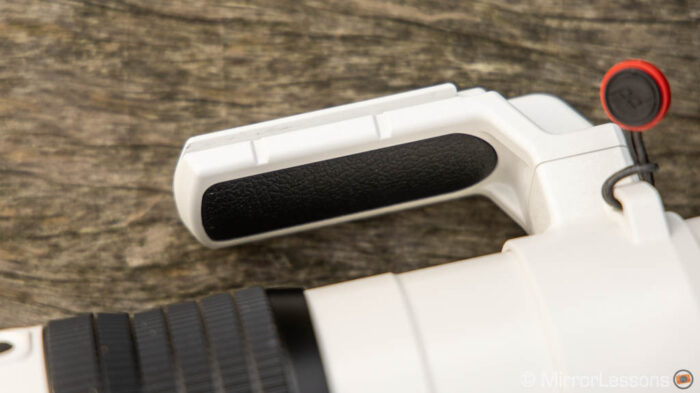
The collar cannot be removed from the lens. The tripod foot can be detached by unscrewing the four hexagonal screws.
Focal lengths and angles of view
The 150-400mm Pro gives you unique possibilities when it comes to the field of view and maximum reach, not only thanks to the built-in teleconverter but also the compatibility with the optional MC-14 and MC-20.
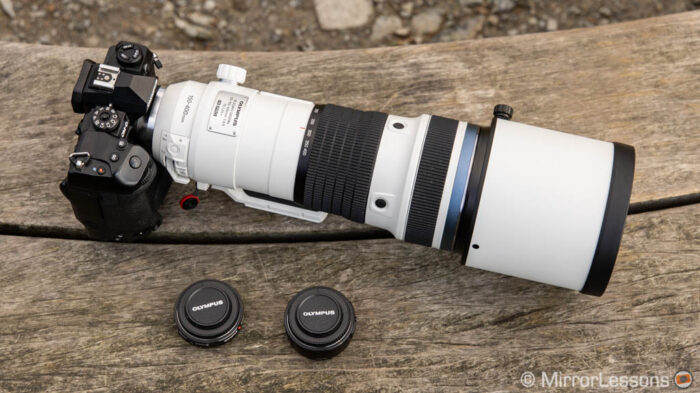
Below is a table that summarises the angles of view you can get and the equivalent in 35mm format, with and without the teleconverters.
| Focal Length | Full Frame equivalence | Angle of View |
|---|---|---|
| 150mm | 300mm | 8.2˚ |
| 400mm | 800mm | 3.1˚ |
| 500mm (TC 1.25x) | 1000mm | 2.5˚ |
| 700mm (TC 1.25x + MC-14) | 1400mm | 1.8˚ |
| 1000mm (TC 1.25x + MC-20) | 2000mm | 1.2˚ |
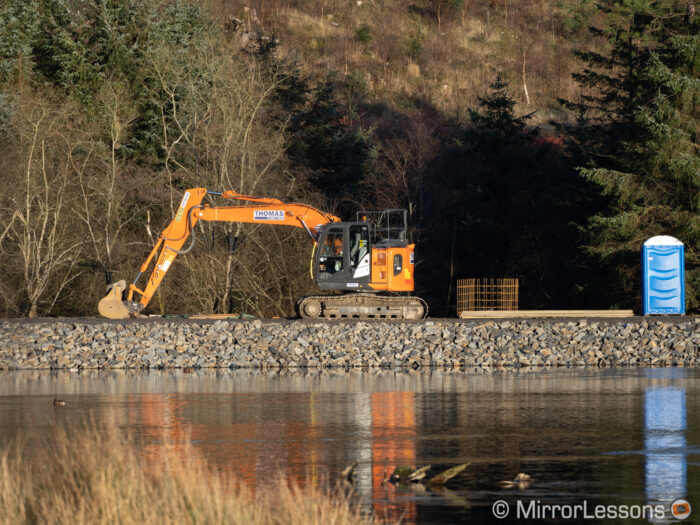
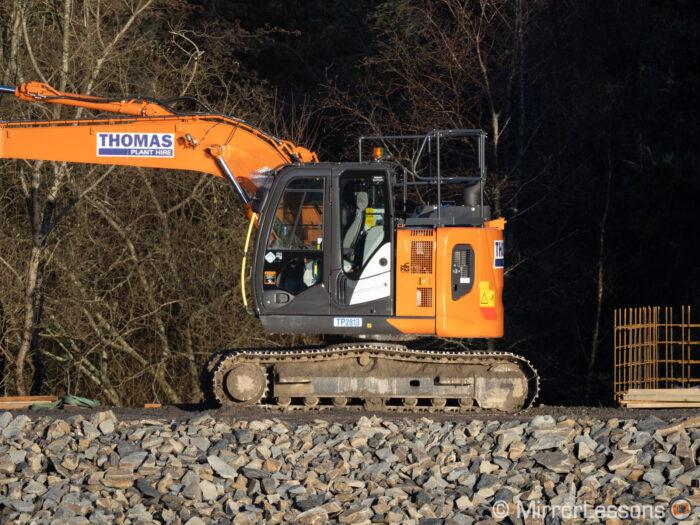
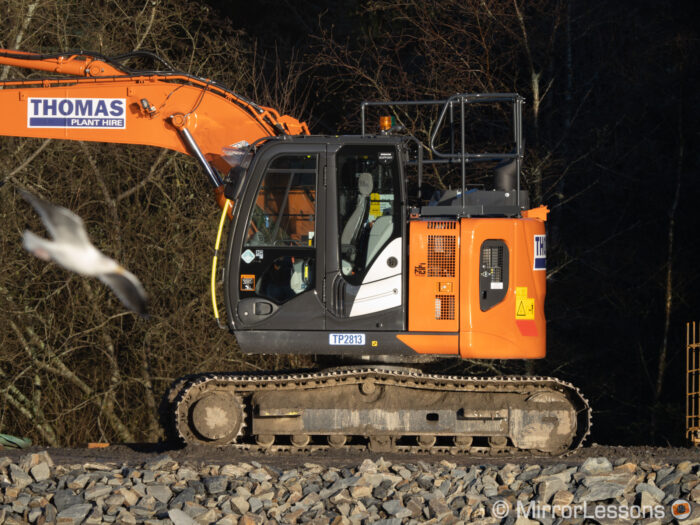
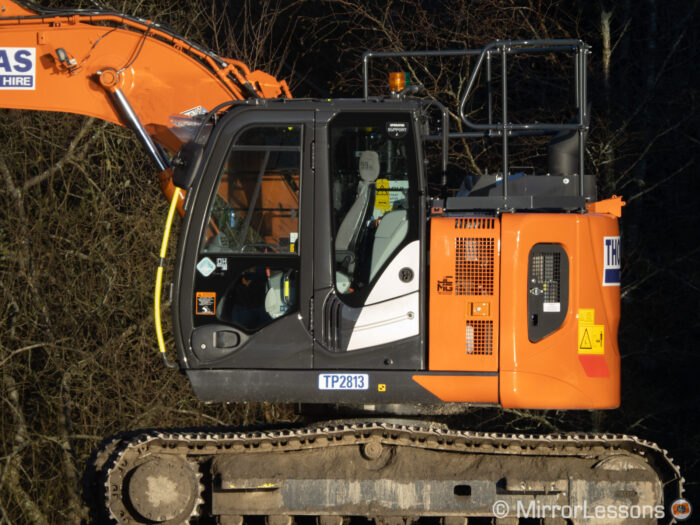
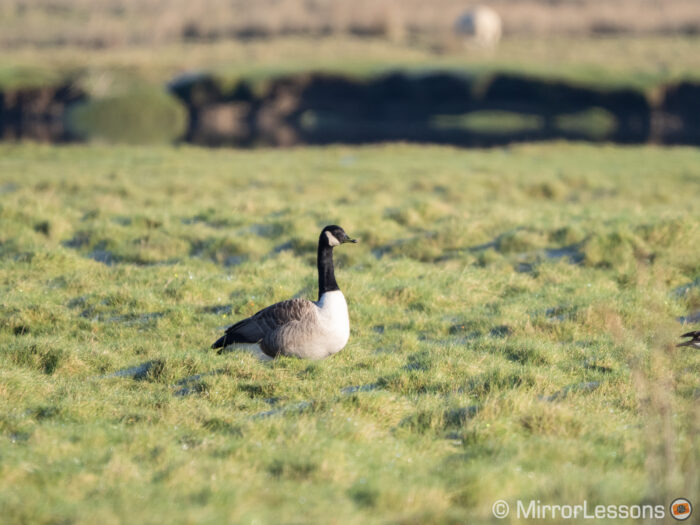
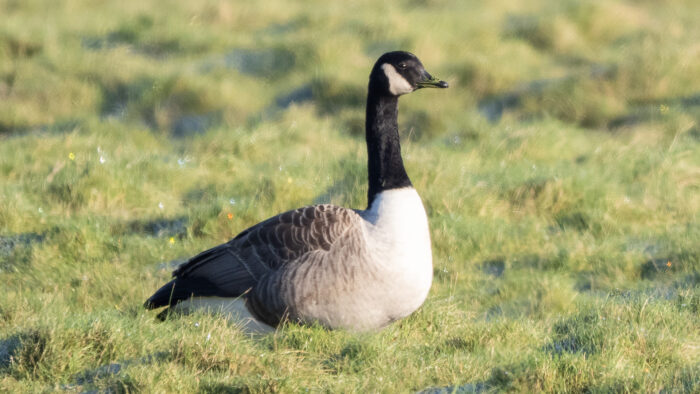
Below is a set of images that show you exactly how close you can get.
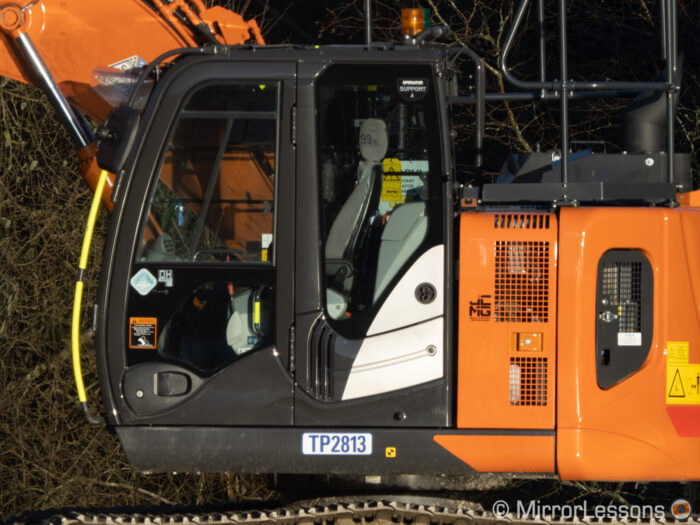
The fastest aperture changes when using the teleconverters. This second table shows how with each combination.
| Teleconverter | Fastest aperture |
|---|---|
| None | 4.5 |
| TC 1.25x | 5.6 |
| MC-14 | 6.3 |
| TC 1.25x + MC-14 | 8 |
| MC-20 | 9 |
| TC 1.25x + MC-20 | 11 |
Optical Quality
I’ve done the usual tests to assess the quality of the lens, but so as not to make this article too long, I’ve decided to show you the most relevant examples, while also including real world images as much as possible to make the read more interesting.
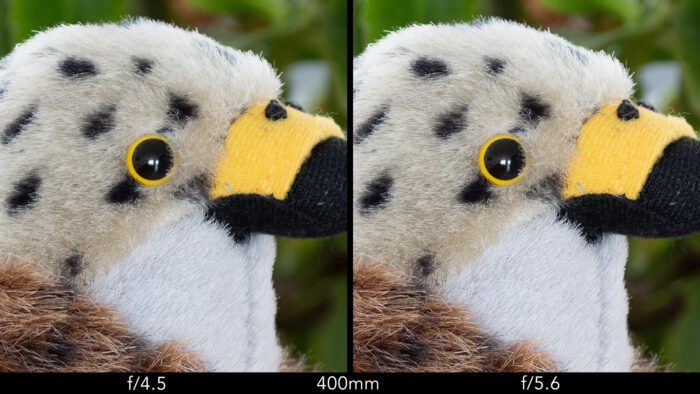
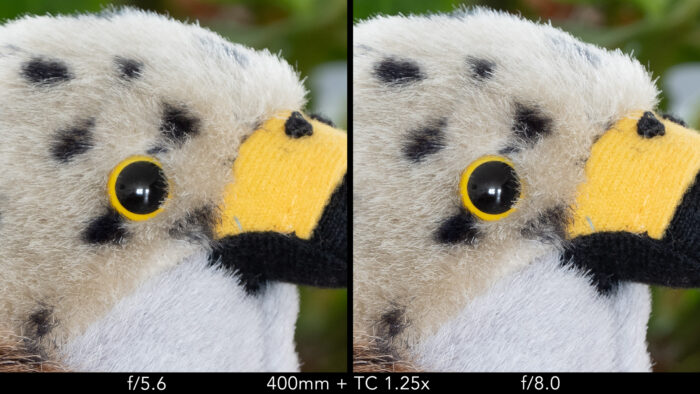
Concerning sharpness, the performance is really good. It’s sharp across the frame and throughout the zoom range. The quality is excellent right from f4.5 and the lens already peaks at the fastest aperture for most of the zoom range. Only at 400mm is 5.6 a bit sharper than 4.5 but it is a very small difference.
With the built-in teleconverter, the result is a bit softer at the fastest aperture of 5.6 and peaks at f8. But here as well, we’re talking about a very small difference.
Beyond f8 the quality is not bad up to f16 but, like any micro four third lens, diffraction makes the results a bit softer so the best apertures to use are between 4.5 and f8.
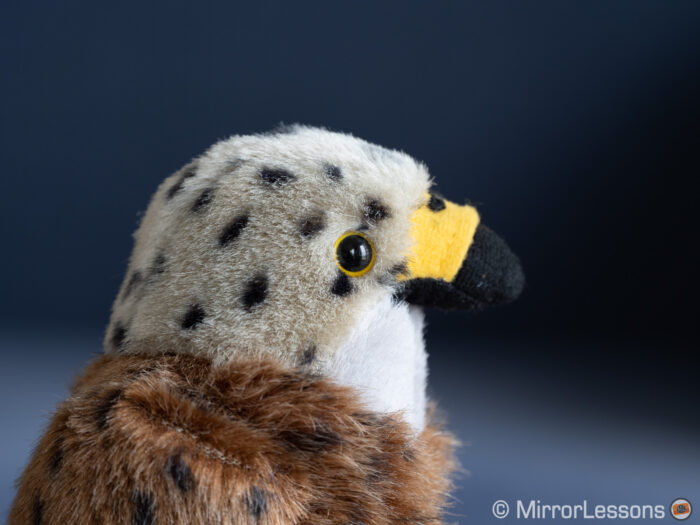
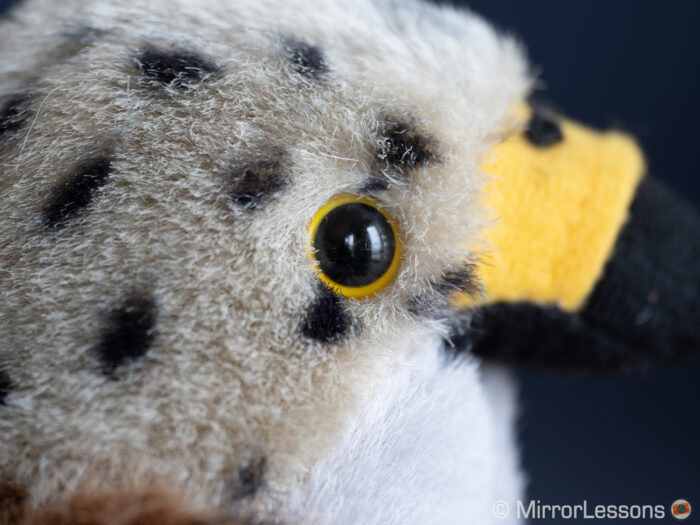
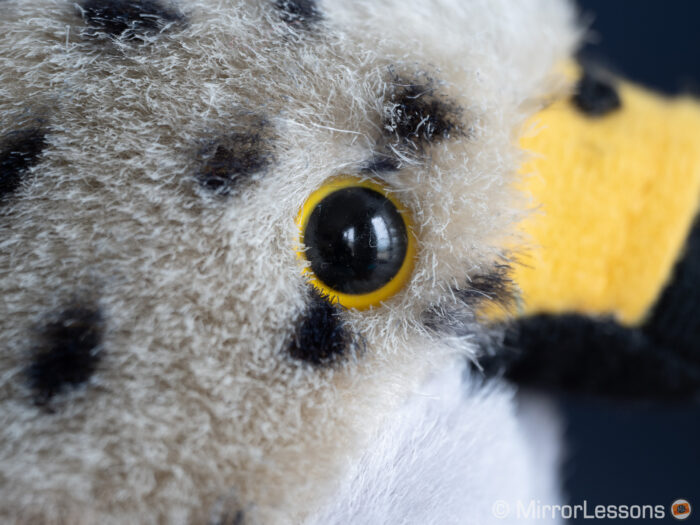
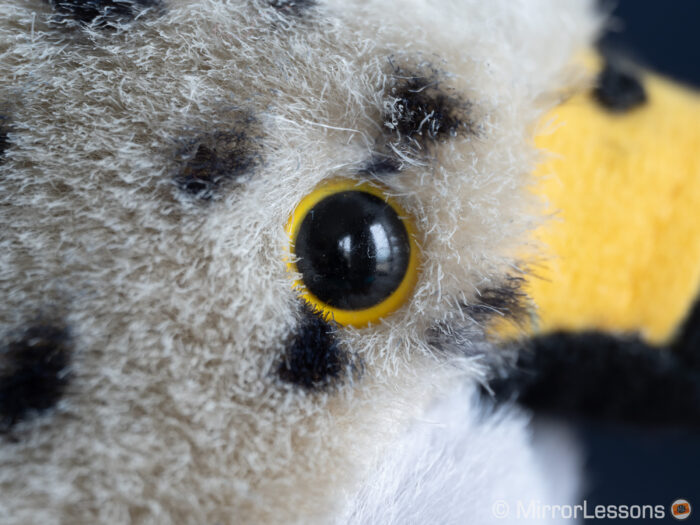
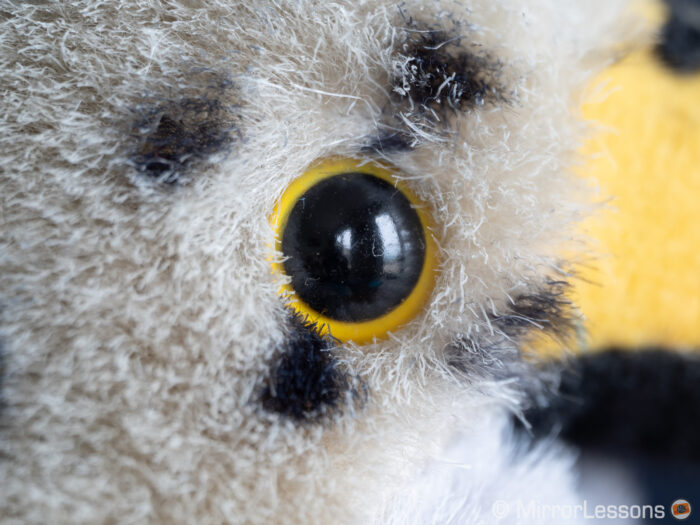
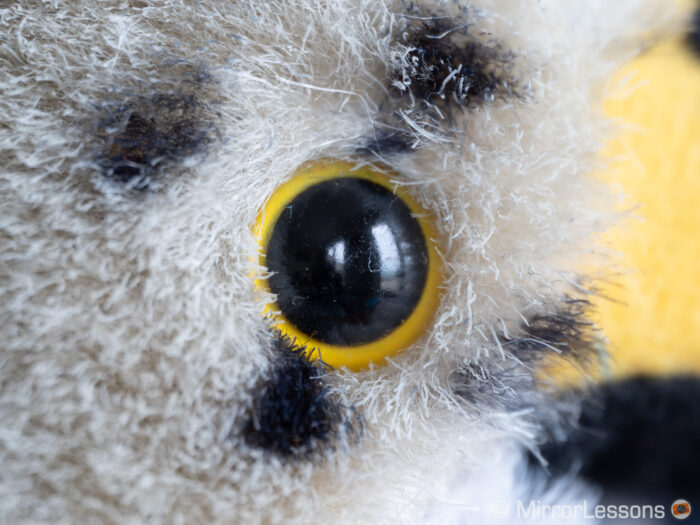
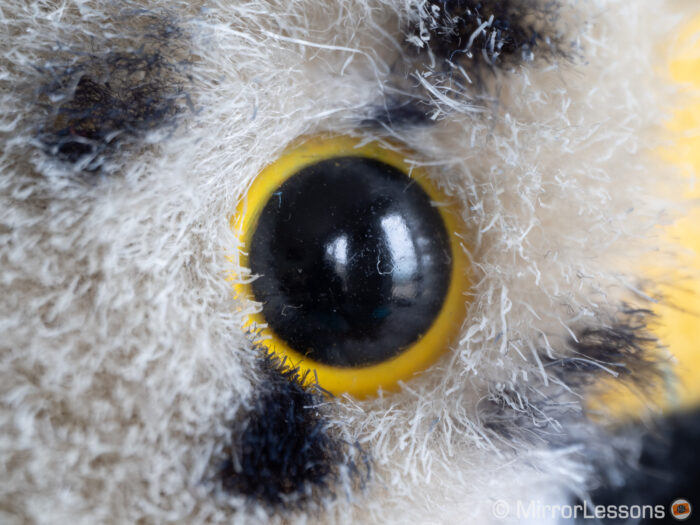
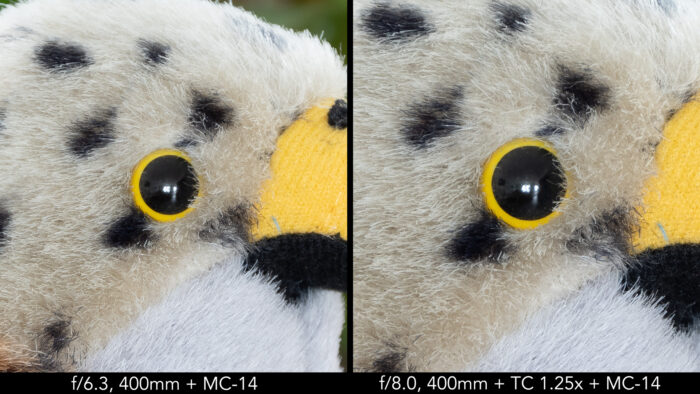
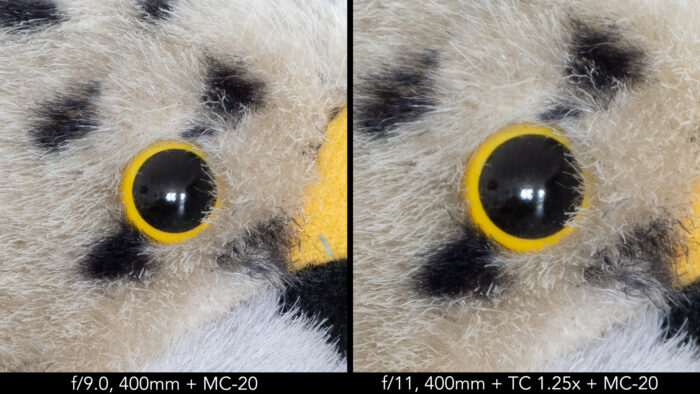
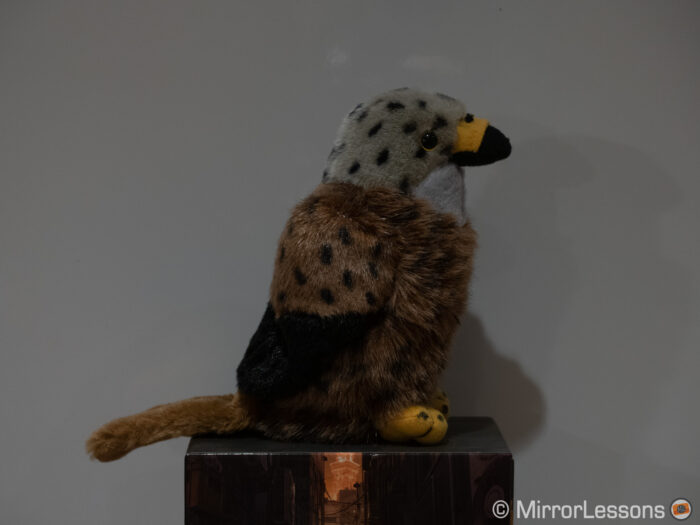
What impressed me the most about this lens was the close focus capabilities. Not only is 1.3m really short for a zoom of this kind, but the minimum distance remains more or less identical, all the way up to 400mm, with the built-in teleconverter and with the optional MC-14 and MC-20!
The lens goes from a magnification of 0.29x at 400mm to 0.71x at 1000mm with the MC-20 (0.58x to 1.42x in full frame terms). This means you can catch the eagle flying in the distance as well as insects crawling next to you!
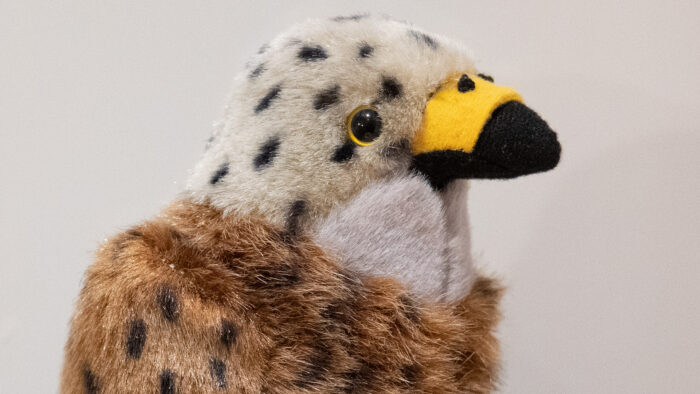
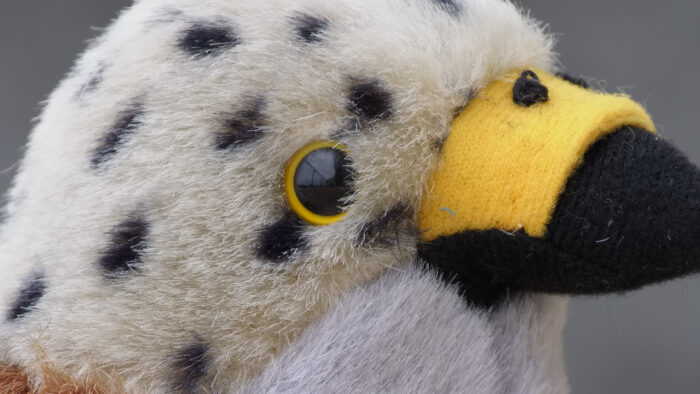
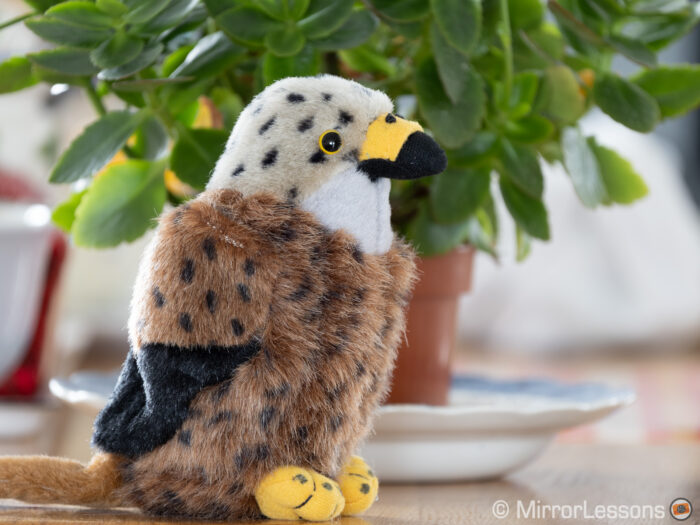
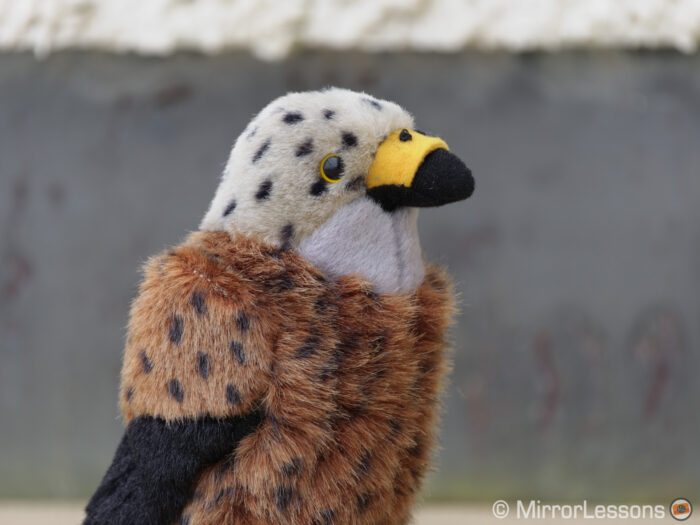
Below you can see an example of just how close you can get with the lens and teleconverters, and how well sharpness is maintained. For reference, the diameter of the stuffed toy eye is 8mm.
Speaking of the optional teleconverters, sharpness remains very good when attached between the camera and the lens. Only with the MC-20 and the built-in teleconverter does the image get a bit softer.
At a long focusing distance, sharpness can decrease more significantly, especially if affected by atmospheric distortion (also known as heat wave or thermal distortion), which can be present in the winter as well. This is a known issue when using super telephoto lenses of any kind.
The bokeh rendering is good, although like many lenses of this kind, lots of elements close to one another such as bare branches on a tree can make the out of focus areas a bit distracting.
I didn’t find any traces of chromatic aberration or distortion, and vignetting is almost non-existent at 4.5. No flare either, although I have to be honest and say that I forgot to test this aspect specifically by shooting into the sun.
Autofocus with E-M1X and Bird Detection
The AF motor of the 150-400mm Pro is deadly silent and fast. The performance doesn’t change no matter which the focal length you use, or if you activate the built-in converter, and this is also valid for fast moving subjects such as birds in flight.
With super telephoto lenses, the lens can occasionally focus either too far or too close, and the camera struggles to re-acquire focus because the image is too out-of-focus to detect anything. (If that happens, stop pressing the focus button and re-engage it to get things moving again.)
To be fair, it didn’t happen a lot with the Olympus lens, only a few times while trying to capture small birds on a tree, with branches and backlight confusing the camera’s AF system. That said, once the focus was reengaged, the lens corrected the distance very quickly. No need to intervene and rotate the focus ring manually.
Note: you can help the lens and the camera avoid such situations by using the focus limiter switch on the barrel, or the custom AF limiter settings in the menu.
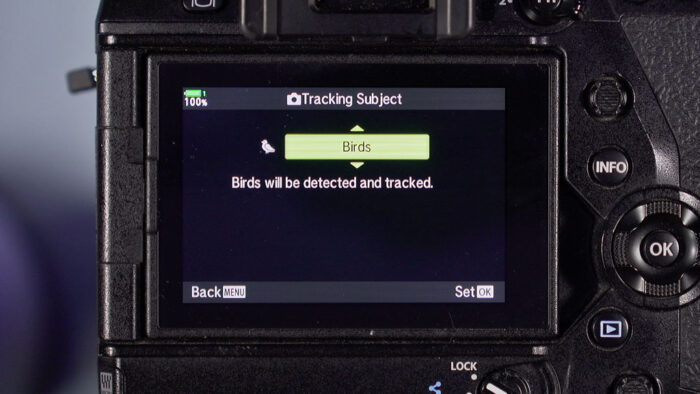
Along with the lens, Olympus sent me a sample of the E-M1X so that I could test firmware 2.0 and the updated Intelligent Subject detection mode that now works for birds (the other subjects being planes, motorsports vehicles and trains).
With the rise of intelligent autofocus, we’ve seen animal detection become a common feature of various mirrorless cameras (Sony, Panasonic and Canon all have it), so I was really eager to try this on the E-M1X and see if it would improve the keeper rate score for birds in flight.
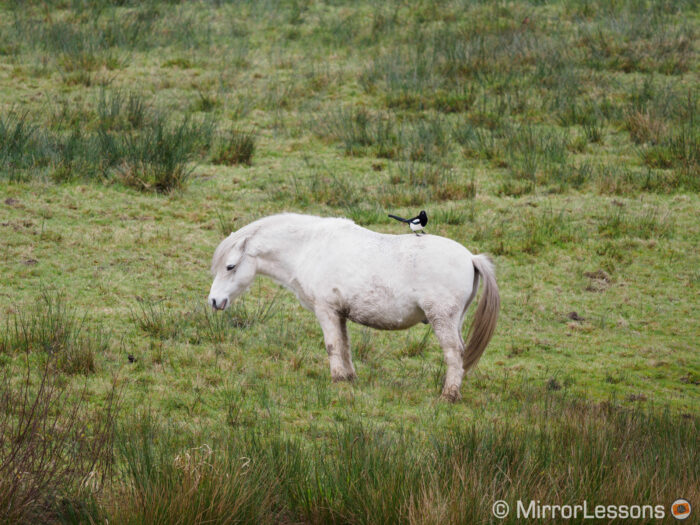
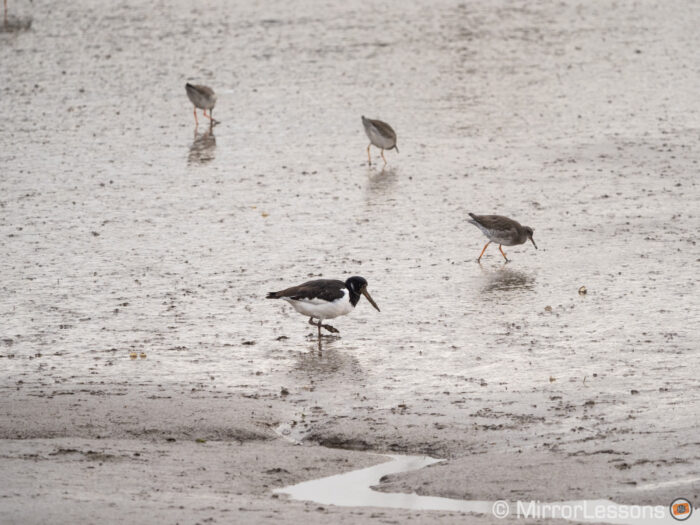
Let’s have a look at the positives first: the E-M1X detects a bird very quickly, and can do so even if the subject is far away and small in the frame. In fact, there wasn’t a single time that it didn’t recognise a bird during my tests. The shot that surprised me the most is the one below with the magpie on the horse’s back. The camera initially focused on the horse, but then switched to the bird almost immediately.
The other interesting thing is that once it recognises the bird, it moves the tracking area to the head very quickly, which is the part of the body you want in focus.
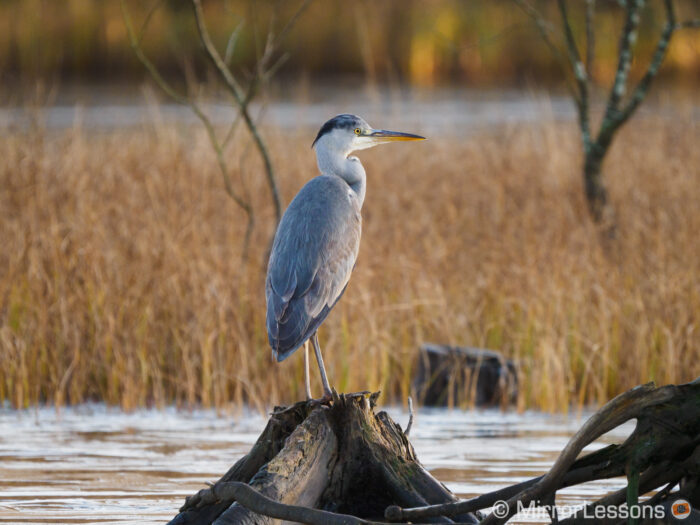
If it doesn’t detect a bird, it works like the normal tracking mode. Sometimes it can detect more birds than there are in the frame, getting confused by a log sticking out of the water or an out-of-focus leaf hanging from a branch. But that didn’t pose a problem because as long as a bird was in the picture, it always got priority.
If there are multiple birds in your photo, the E-M1X will track the one that is nearest to the autofocus point you have selected (1-Target, 5-Target, 9-Target or 25-Target). If you use all the 121 points, then it will focus on the bird that is the closest to the centre of the frame.
There isn’t a way to quickly select which subject to track when multiple birds are detected. The workaround is to select a small AF Target mode and move it near the subject of interest: then the camera will prioritise that one. This isn’t a quick solution necessarily, but Olympus told me that they’ve already received feedback about improving this.
Now for the less positive stuff: with static subjects or subjects that move slowly, bird detection works well but it is not perfect and sometimes the bird can be slightly out of focus. It is important to take multiple shots and keep the C-AF sensitivity to 0 (or even lower) so that tracking is not too erratic.
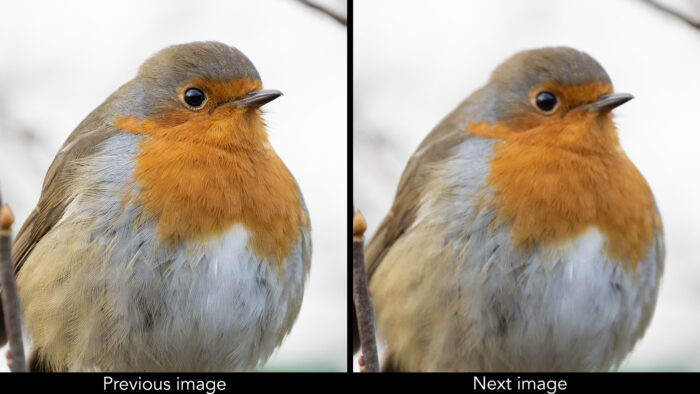
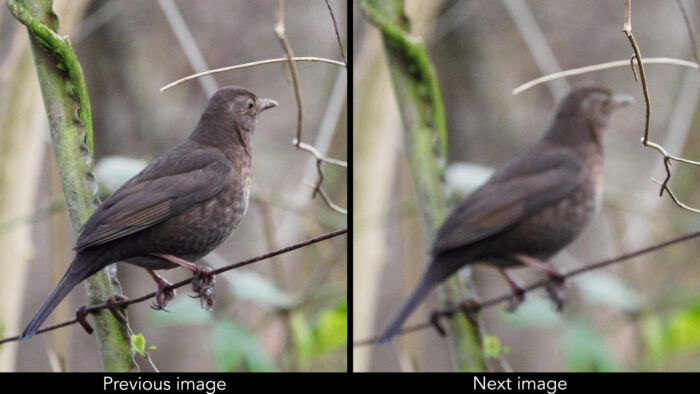
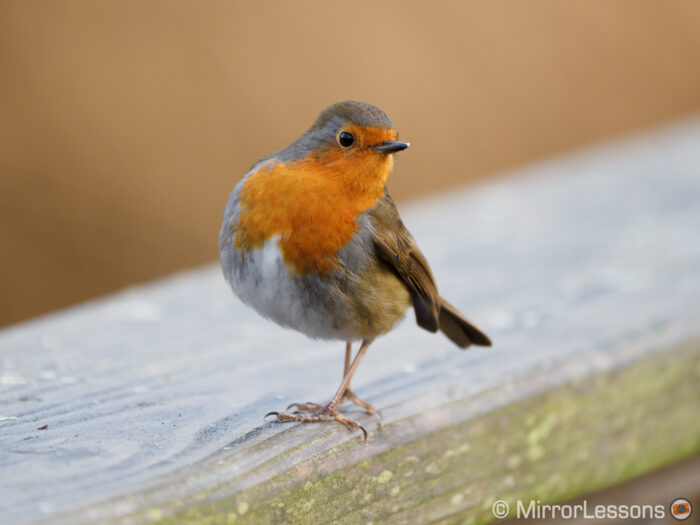
If you’re photographing a small bird perched on a tree, the branches and other natural elements around it can confuse the system easily. The camera will often focus on the nearest branch instead of the bird. They don’t necessarily have to cover the bird for this to happen, as you can see below.
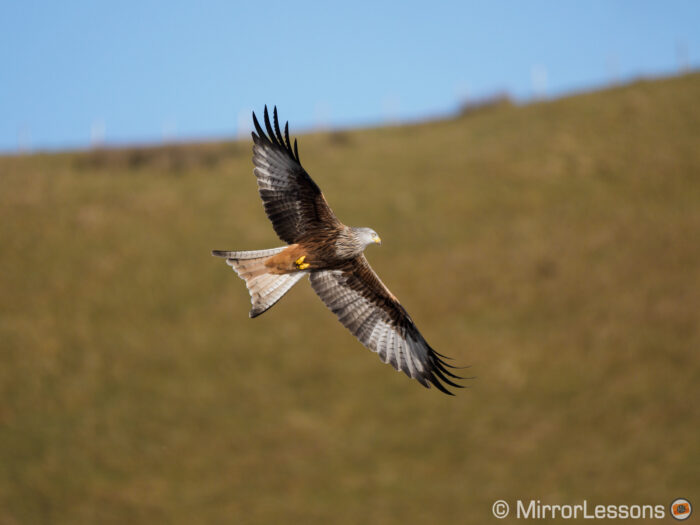
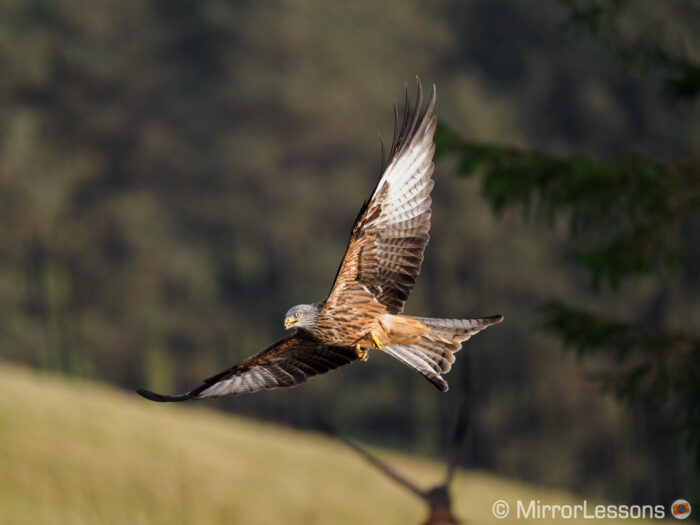
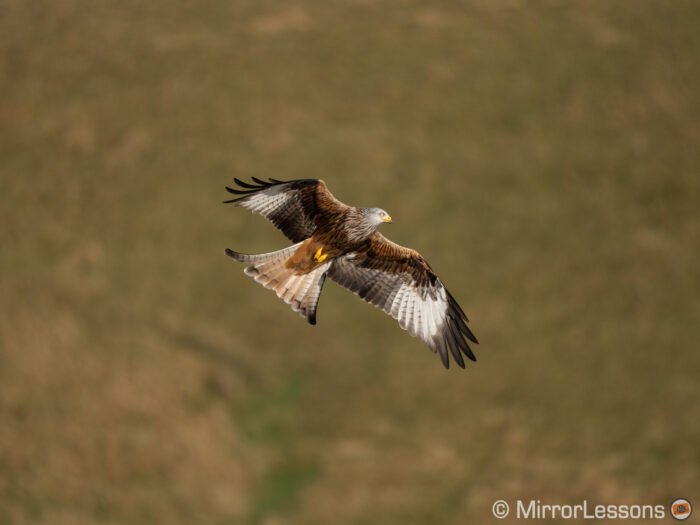
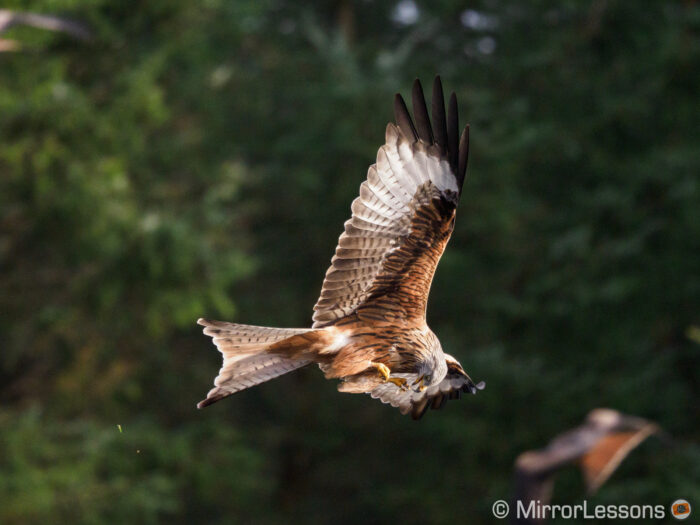
Then we have my usual birds in flight test with the red kites. I set up the camera with the settings that have given me the best results over the years with multiple OM-D cameras. I’m not going to describe them all because you can learn all about them in our dedicated article. Obviously in this case, I used C-AF + Tracking instead of just C-AF.
Unfortunately, bird detection didn’t give me the results I was hoping for. It works better than tracking alone but it can be a bit slow to lock onto the subject. It can mis-focus on the background and sometimes it struggles to maintain focus, and you can see that in the live view of the camera because the focus area becomes orange.
Below is the score I got with bird detection followed by the one I got when using other settings (C-AF and 25-Target remain the best parameters in my experience).
With C-AF Tracking and Bird detection:
68%
86%
With C-AF and 5×5 Area:
74%
91%
Note: The green score is for 100% sharp images only, the blue score also includes slightly soft results that are 90 or 95% sharp. You can read more about my birds in flight tests, and see other rankings, in our best mirrorless cameras for birds in flight article.
Image stabilisation
The 150-400mm Pro has an official rating of 4.5 stops of compensation (at 150mm) on its own. If you pair it with the E-M1X that features 5-axis image stabilisation, you get an impressive 8 stops of compensation.
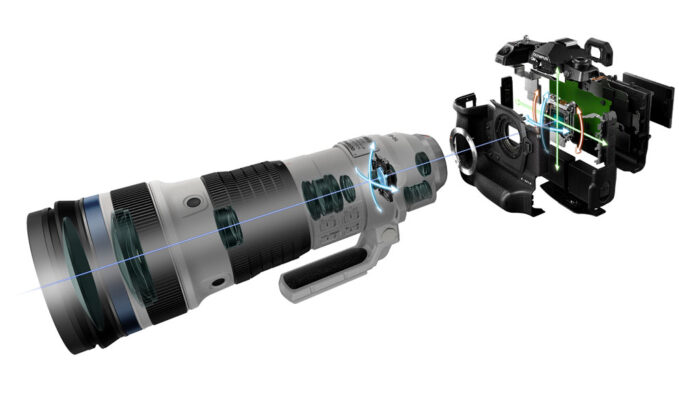
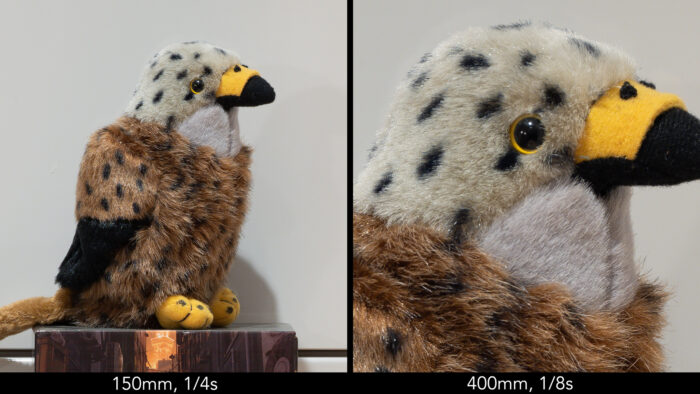
Just for the sake of it, I did my usual indoor test to see how far I could push the system at slow shutter speeds. I got a sharp shot at 1/4s and 150mm, and 1/8s and 400mm which is really good. Note that the performance is more consistent once you go faster than 1/8s and 1/15s respectively. With the built-in teleconverter, it’s better to stay above 1/30s.
Of course when taking pictures of live animals, you need a faster shutter speed unless they are perfectly still. So what is useful to know is that at 400mm, with or without the built-in teleconverter, you can shoot at 1/100s or 1/200s with a perfect keeper rate.
The stabilisation system makes it possible to shoot at 2000mm equivalent hand-held too, which is impressive. It does requires some skill however because any small movements of your body can change the composition drastically with such narrow angle of view. Keeping the subject at the centre of the frame can be a challenge, so perhaps some of you will prefer to use a tripod for certain shots.
What is even more impressive is the performance for movie recording.
Around five years ago, I made a short video of grey seals resting in Angel Bay (North Wales) with the original E-M1 and the 300mm f4 Pro. The latter was the first Olympus micro four thirds lens with optical stabilisation and Sync IS compatibility. The result I got from that set-up was mind blowing at the time, and it is still one of the very best stabilisation tests I’ve ever done.
I wanted to see if I could do even better with the E-M1X and the new lens. Fortunately the seals continue to be regular visitors, so I went back and unsurprisingly, I got another set of stunning results.
Shooting at 400mm and 500mm with the TC 1.25x (1000mm equivalent), I was able to get very steady shots when using the M-IS1 setting (digital stabilisation) and IS Level set to +1. M-IS1 also adds a 1.19x crop that is welcome for wildlife shots.
The result is not 100% perfect as it would be on a tripod. You have to be ever so careful about any small movements with your body (including breathing), but it really is not far off. Simply stunning.
If you want to pan, it’s better to set IS Level to -1 so that it doesn’t try to over-correct your movements. The footage will be less steady but also smoother.
You can see examples of stabilisation for video below in our full review on YouTube at minute 15:16.
Olympus 150-400mm Pro vs Canon 800mm f5.6
Here comes the part that might have attracted your attention in the first place when you read the title.
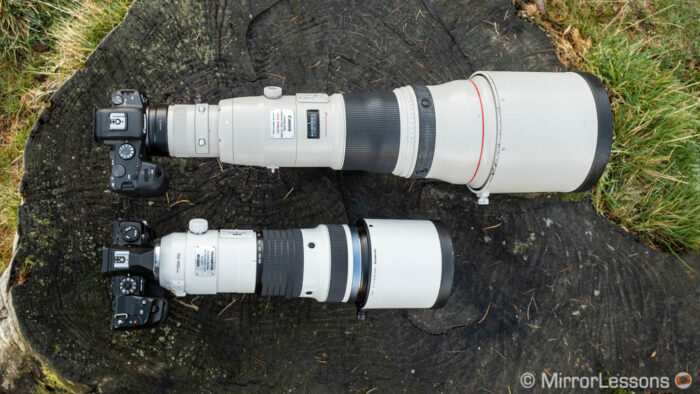
Why this comparison?
Since the release of the 300mm f4 Pro (and perhaps even earlier with the 40-150mm 2.8 and the first teleconverter), Olympus has focused on building a professional system that offers a lightweight alternative to DSLRs. Then came the E-M1X, the first mirrorless with a built-in battery grip, and now the new 150-400mm Pro lens.
So, if we consider the Olympus lens to be the very best the brand has to offer, how does it compare to the very best a full frame system has to offer? This is where the Canon 800mm comes into play.
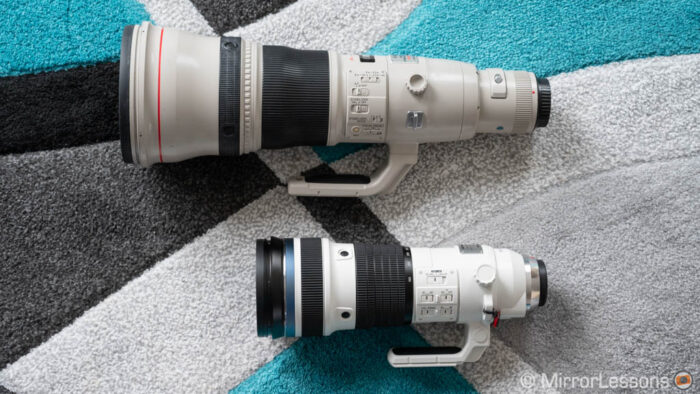
I could have built this comparison in a different way by choosing other lenses. For example, Canon has a 200-400mm f4 TC 1.4x and a 180-400mm f4 TC 1.4x, two lenses that share more technical similarities with the Olympus zoom. However the field of view would have been significantly different because of the difference in sensor size between the two systems.
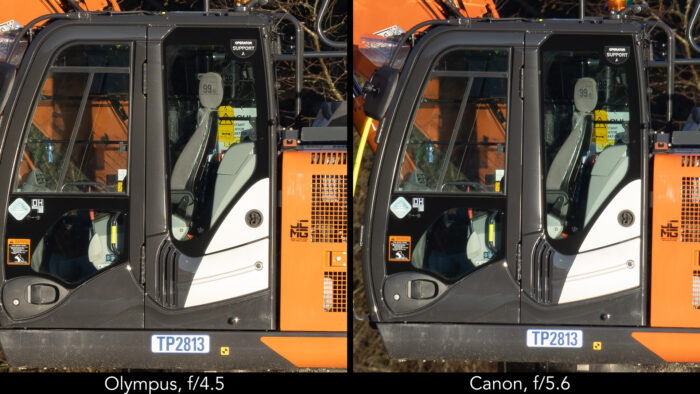
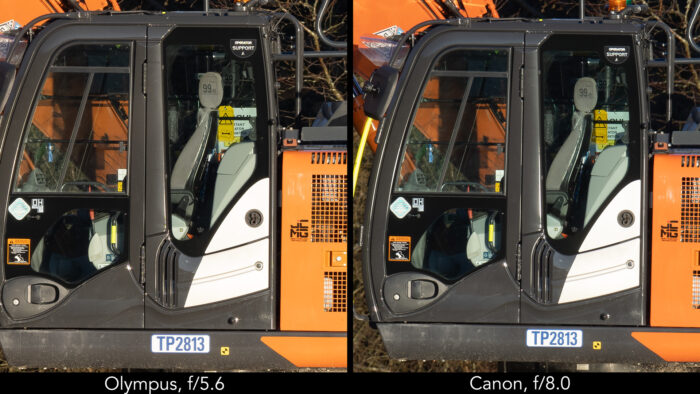
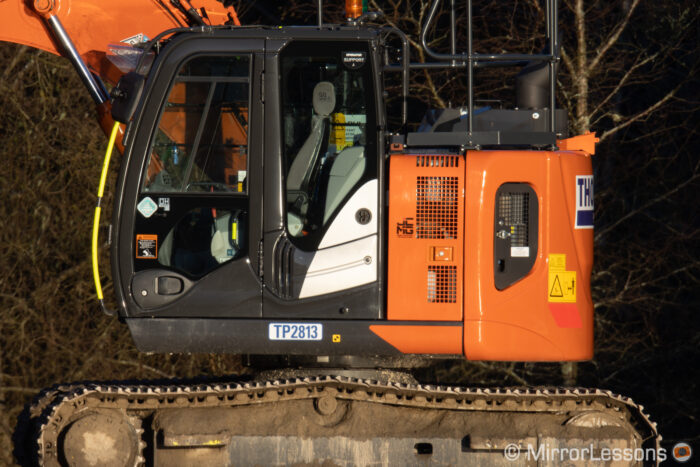
800mm is the longest reach currently available in Canon and Nikon’s catalogue. (In the past Canon also made a rare 1200mm f5.6.) I thought it would be interesting to choose reach, or angle of view, as the leading topic for this comparison, and more specifically, how close each system allows you to get to the subject.
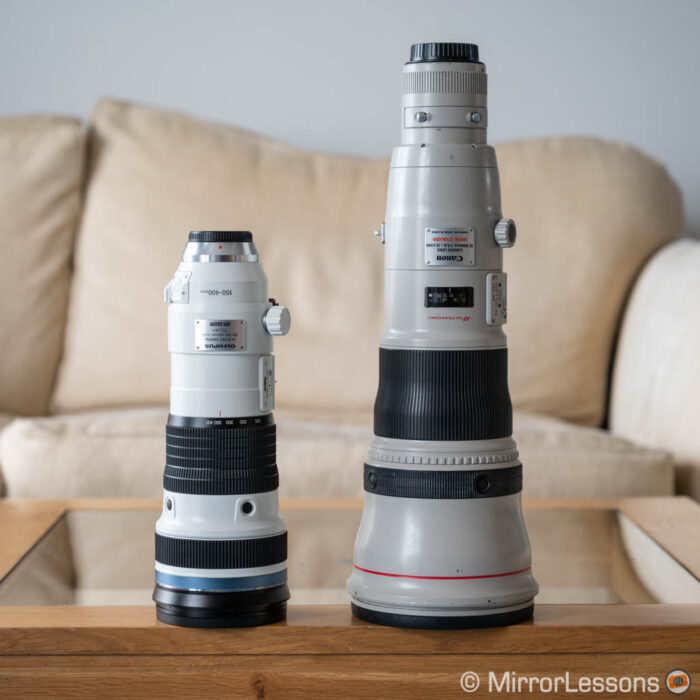
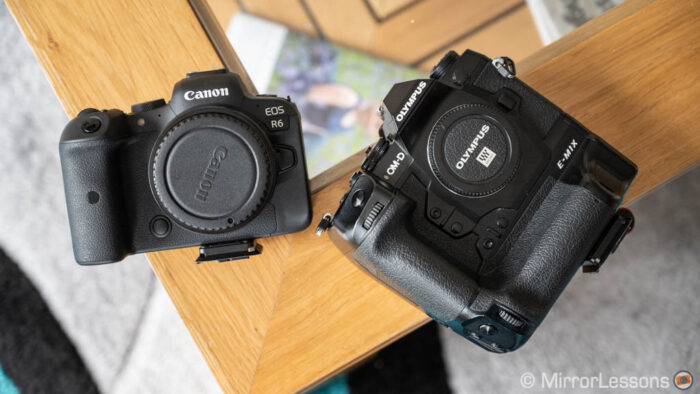
As for the camera, I chose the EOS R6 for convenience (I own one) but also because it has Animal Detection AF, which allowed me to make this comparison more complete. It also has the same resolution as the E-M1X, which is 20 megapixels.
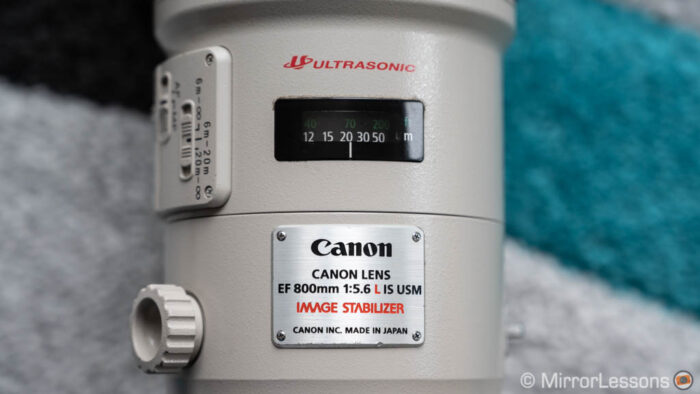
Canon EF 800mm f/5.6L IS USM
The Canon 800mm f5.6 was announced in 2008, so it’s a 12 years old lens at the time of making this test which is important to mention. But it is still on sale and in actual fact, the price has gone up.
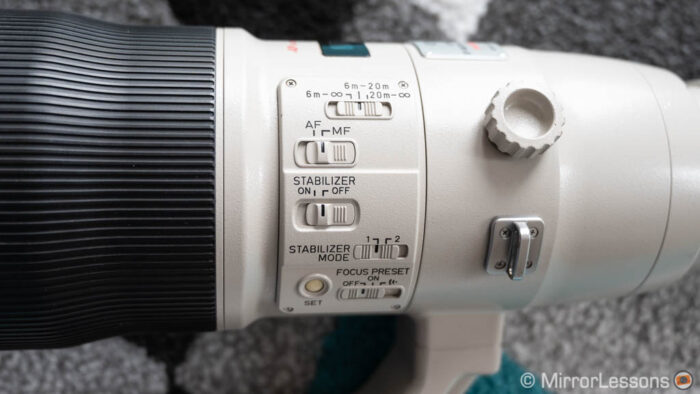
Apart from the obvious difference in size and weight (4.5kg vs 1.9kg), the lens features optical stabilisation (4Ev rating) and similar switches on the barrel for the focus limiter, AF/MF, IS On/Off, Focus Preset and SET button (the latter works in the same way as the Olympus lens).
It also has a switch to change the stabilisation mode: Position 1 corrects in every direction whereas Position 2 only corrects vertical shakes (if you pan horizontally) or horizontal shakes (if you pan vertically). Note that for the Olympus gear, you can choose different stabilisation modes from the camera.
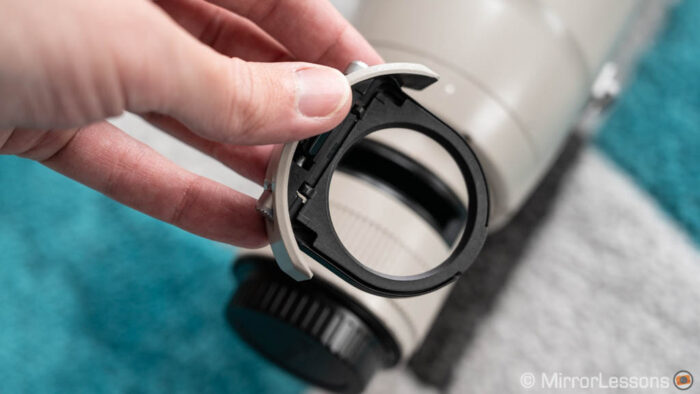
There is no built-in teleconverter but it has a drop-in filter holder that takes gelatin filters. This is another difference with the Olympus lens which can take 95mm circular filters on the front element.
Concerning the optical performance, sharpness is good at f5.6 but the lens peaks at f/8. The Olympus zoom is sharper, especially when compared at the fastest aperture.
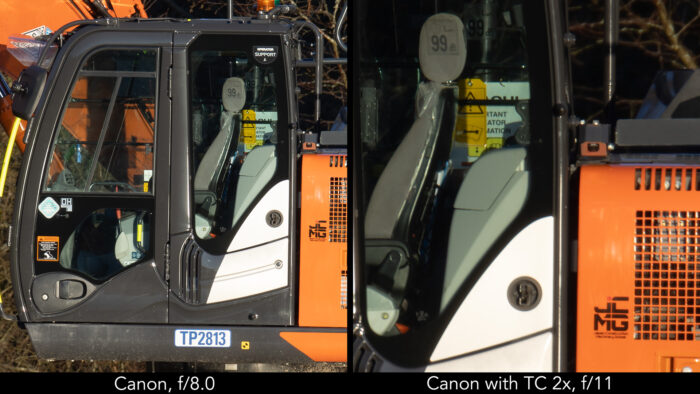
With maximum reach being the main topic of this comparison, I also tested the lens with the Canon Extender EF 2x III which gives you a 1600mm equivalent field of view.
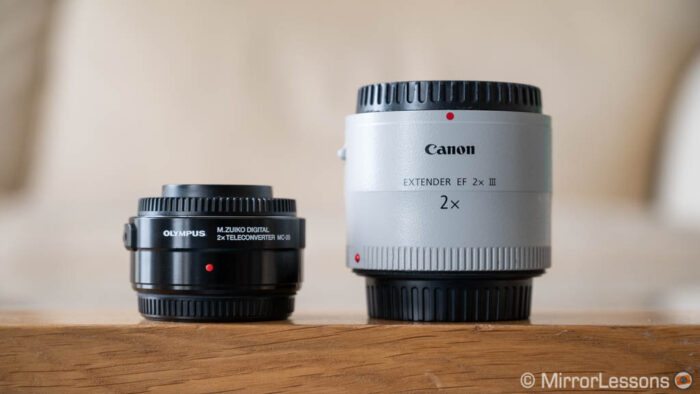
This is the maximum you can get with the Canon set-up, which is 400mm less than what the Olympus set-up can do.
With the Canon 2X extender, the quality decreases a little.
Micro four thirds vs full frame sensor
Initially I was hoping to capture the same subject / scene with both systems to analyse real world images, but I quickly realised I was being too optimistic. (The birds weren’t keen on staying in the same spot for long!)
So instead, I decided to spend each day with a different system (I went out with the two together only once) and then, once at home, I simulated the scenarios where a different sensor can play a relevant role.
For birds, there are two typical situations where the sensor can help. The first is when the light is not ideal: you are forced to raise the ISO because the subject is in the shade and/or you need a fast shutter speed to freeze the movement.
The second area where the sensor can make a difference is dynamic range. For birds in flight, you can occasionally wind up with a few shots whose exposure is incorrect, either because the photographer made a mistake or because the camera metered incorrectly due to the contrast between the bird and the background being difficult to read. In this case you need to correct the image in post production using the RAW file.
Even without an incorrect exposure, you may want to open the shadows to reveal more details on the subject, or to recover some highlights if the bird has a lot of white plumage.
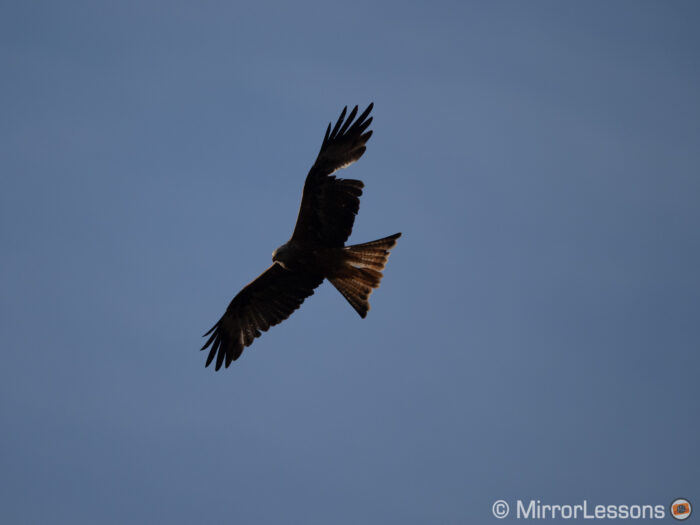
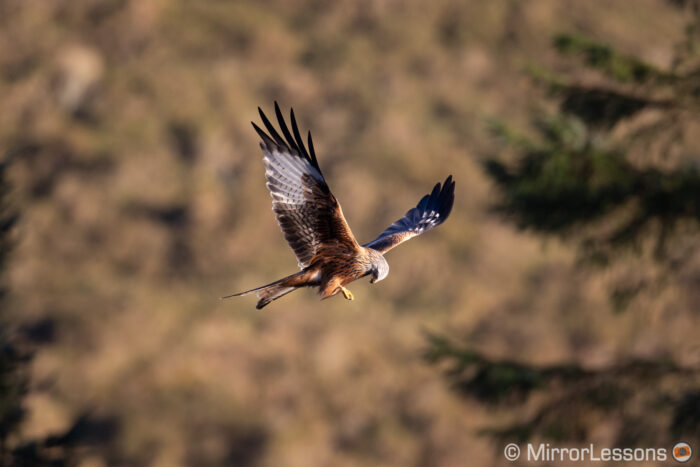
Example of under-exposed shot. Here I forgot to quickly re-adjust exposure compensation when changing subject and position.
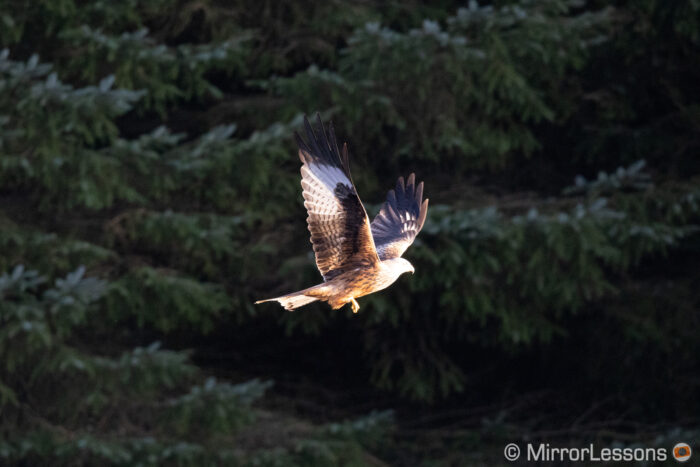
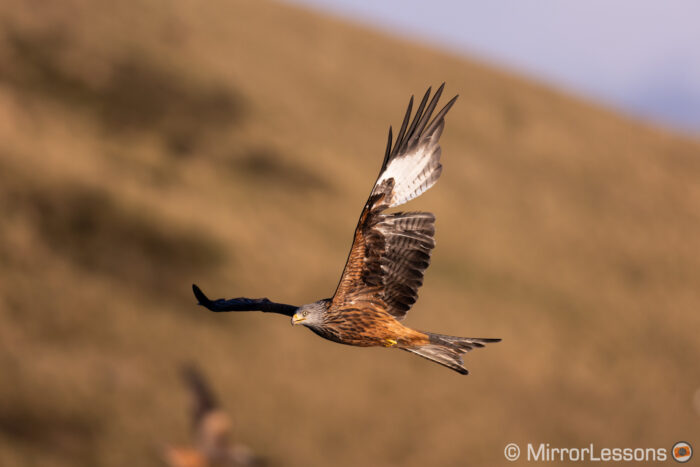
Example of over-exposed shot: the trees in the background are in the shade, there is a strong light coming from the right (sun low in the sky). The bird has more dark than white plumage, so the camera prioritised the dark zone of the image, but the head of the kite is too bright as a result.
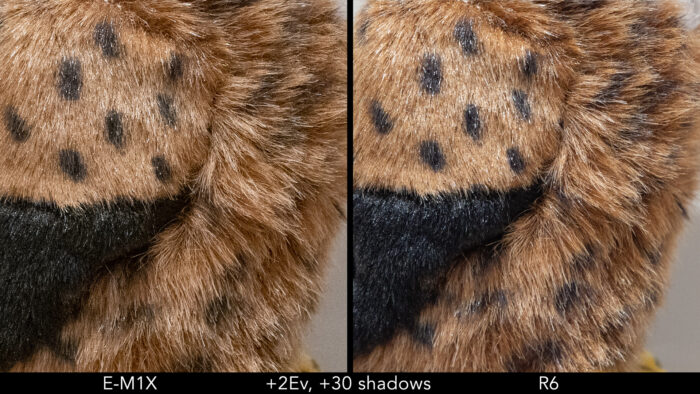
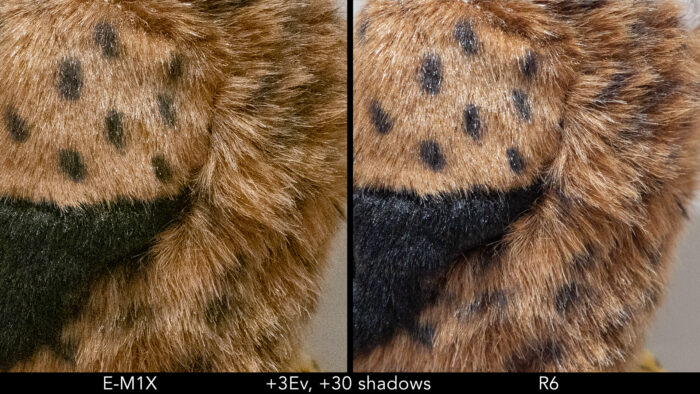
Let start with dynamic range. The first test below is a shot I purposely underexposed to see how much information I could recover in the shadows. Up to 2 stops of recovery, the E-M1X defends itself well. It produces more noise in the darker areas but the difference becomes more apparent with a 3 stop recovery where colours also start to change.
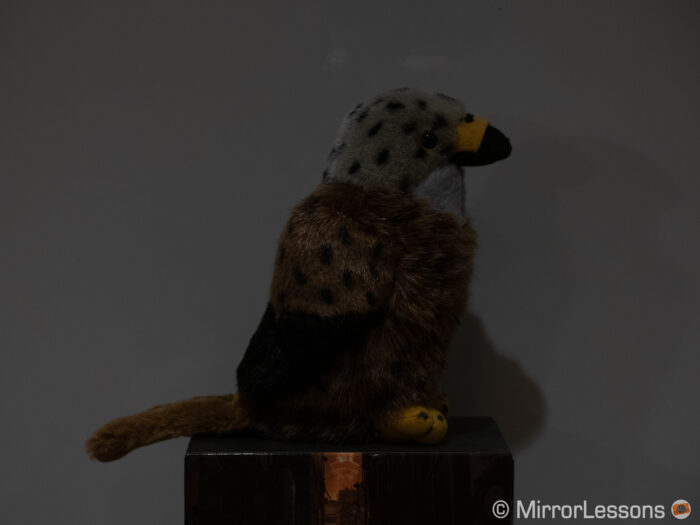
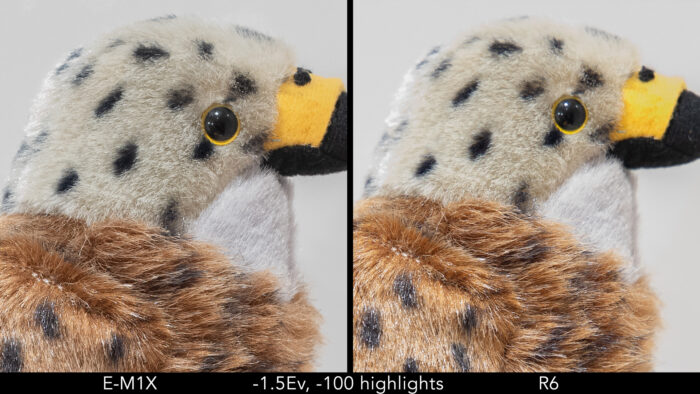
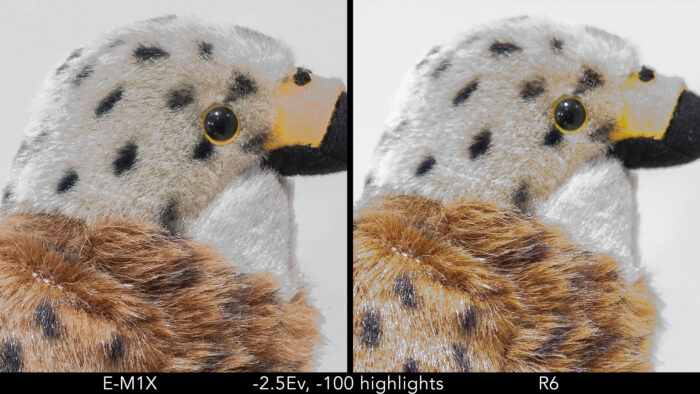
Then I overexposed the same scene to see how much detail I could recover in the highlights. Here I got an unexpected result.
With a 2 stop overexposed image, both cameras managed to recover roughly 100% of the detail in the bright zones.
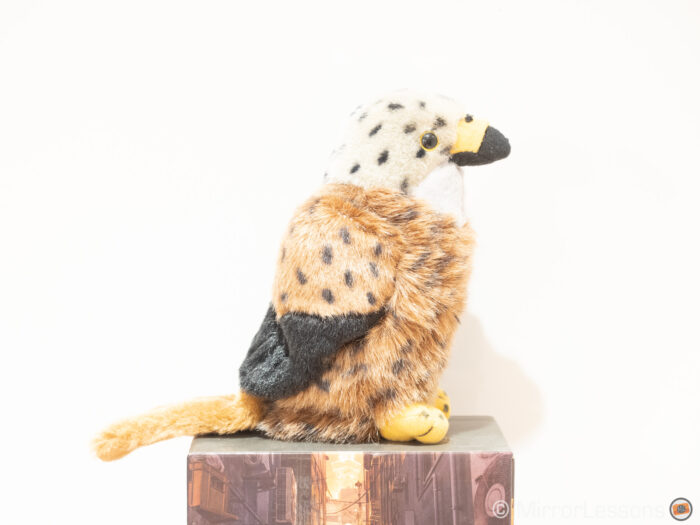
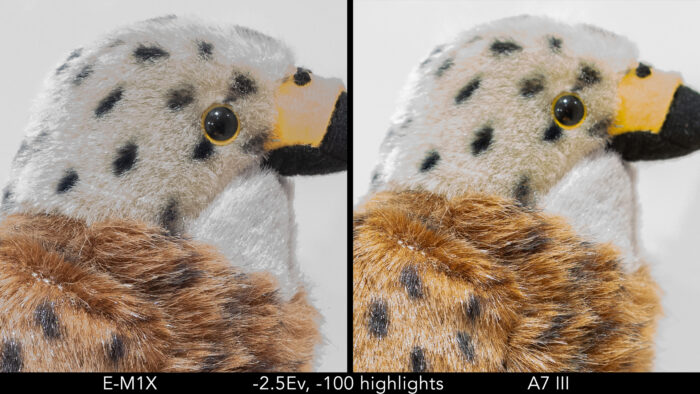
With 3 stops of overexposure, the OM-D camera beats the EOS model: neither can recover all the details but the Olympus preserves more data and more colours. I did this test twice just to make sure I wasn’t messing something up in my settings but I got the same findings.
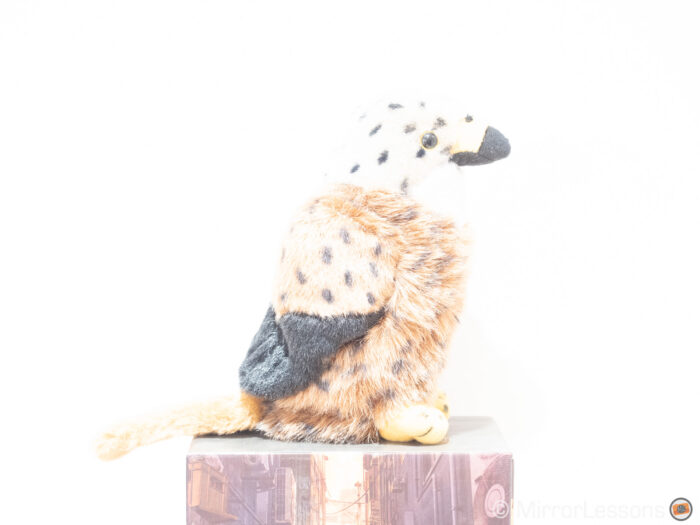
This second test triggered my curiosity, so I threw my Sony A7 III (one of the best full frame sensors on the market) into the mix to see how it would compare. The Sony does better than the Canon, but it’s interesting to see that the E-M1X is not far off. This shows that it is not always black and white when it comes to sensor size and image quality.
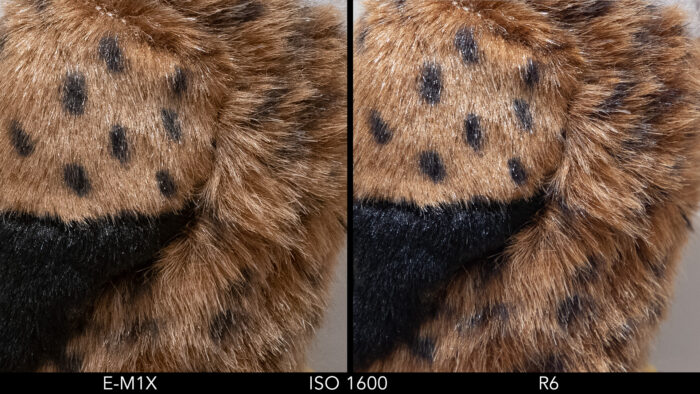
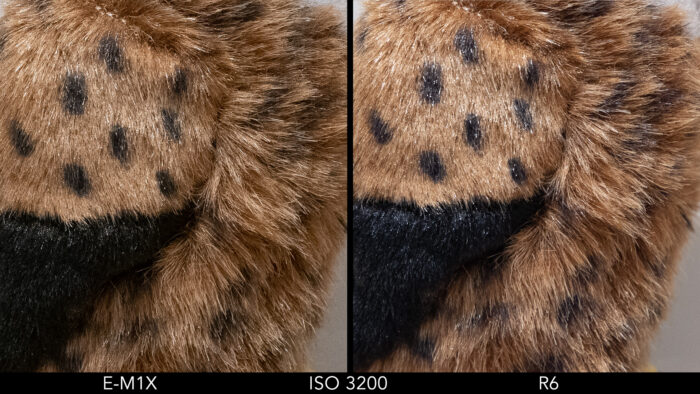
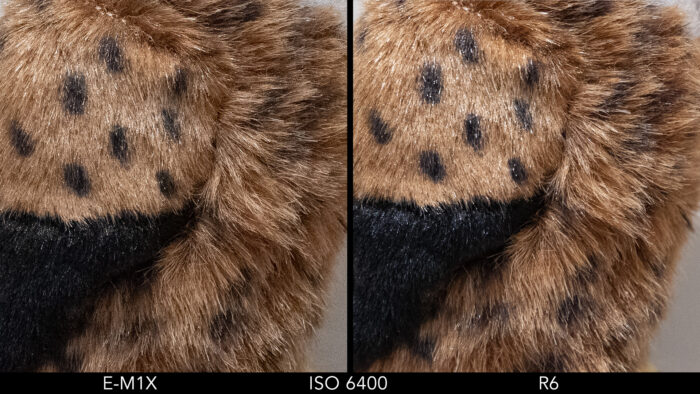
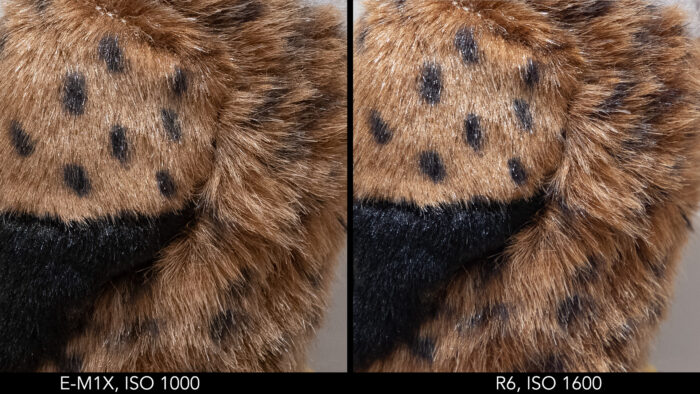
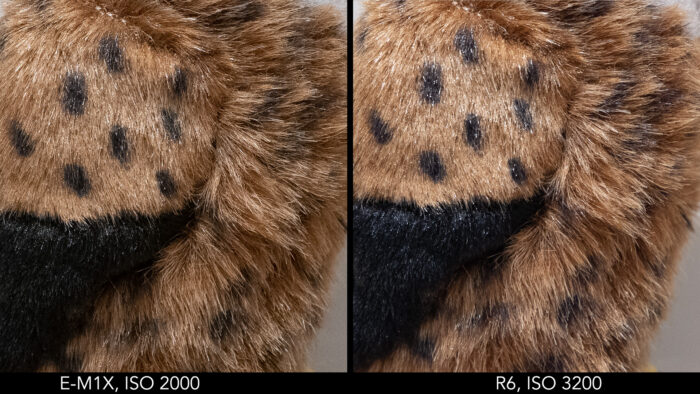
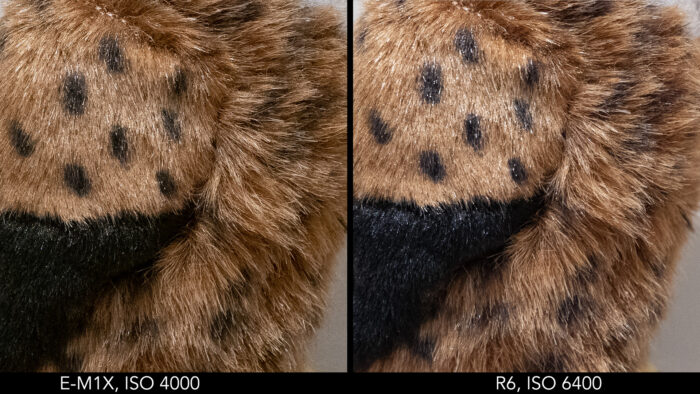
Now let’s move on to the ISO performance. Here I concentrated on three values you’ll most likely come across for wildlife: 1600, 3200 and 6400 ISO.
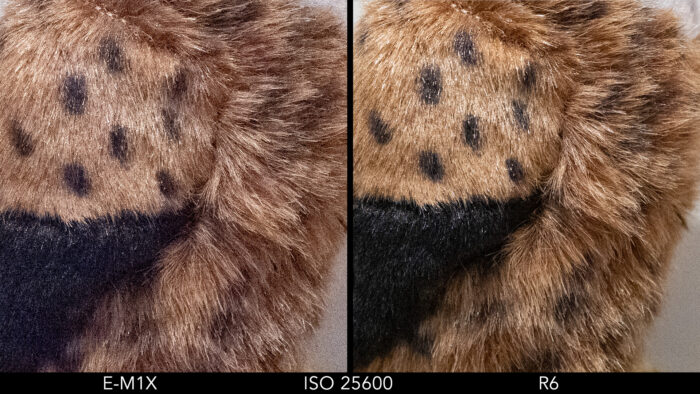
No surprises here: the Olympus has more noise and details are more washed out as a result. This is especially relevant from ISO 6400.
If I take into account the two telephoto lenses that are part of this comparison, the E-M1X has 2/3 stop advantage at the fastest aperture (4.5 vs 5.6). So technically, I could lower the ISO by 2/3 of a stop on the Olympus camera. This improves the quality a little but the R6 files remain very clean.
The R6 has a wider ISO range that goes all the way up to 204800 ISO. The highest levels produce too much noise, but in extreme situations, a level like 25600 ISO will give you decent results. This value is where the E-M1X ISO range stops and the difference in quality is more relevant.
I usually keep my R6 to a maximum of 12800 ISO when using Auto ISO, whereas I choose 6400 for the OM-D camera.
I could develop this ISO comparison further by using the apertures where each lens peaks in terms of sharpness at their longest focal length (f5.6 vs f8 that the Canon lens), but I think you get the point with the examples above. Plus as I mentioned earlier, the Canon lens is 12 years old. I’m sure if Canon were to design a new one now (perhaps for the RF mount), the optical quality would improve.
Autofocus: Animal Detection vs Bird Detection
The Canon 800mm behaved well overall when paired with the EOS R6 and EF to RF adapter but, if the image was too blurred to start with (focus distance too short or too long), I had to to prefocus manually and move the focus distance close to the subject, otherwise the AF motor would not engage. Perhaps one of the reasons for this behaviour is a less-than-perfect compatibility with the adapter and R6, or simply because the lens is old.
That said, when it matters most, the 800mm didn’t disappoint. Coupled with the super AF system of the EOS R6, it gave me a much better score than the OM-D setup. Unlike the E-M1X, animal detection is one of the settings that gives you the best performance. Furthermore, the score you see below is the same I got with the RF 100-500mm lens. So whether you use the most recent lens for the RF mount, or an old EF lens adapted, the R6 seems to be able to deliver the same performance.
93%
98%
Canon’s animal detection mode can also recognise a variety of animals, not just birds.
Stabilisation
The 800mm has a more than decent optical stabilisation. When paired with the EOS R6, 3 axis on the sensor (roll, x, y) are combined with the lens IS (pitch and yaw). Note that the camera has 5 axis stabilisation, but with an EF lens, it uses just three axes.
Given the size and weight of the lens, hand-held shooting is not something you want to do for long. I did it a couple of times but after ten minutes, you start to be uncomfortable due to the weight.
Shutter speeds such as 1/200s are not entirely safe, you can get a sharp shot but the keeper rate is about 60%, so to ensure sharp results at all time you need to stay above 1/400s at the very least. Obviously, with a tripod, you have more leeway to use a slow speed, if the subject allows it.
This is certainly one of the biggest differences between these two systems and lenses, not only concerning the minimum “safe” shutter speed but also portability. With the Olympus set-up, a tripod becomes an option rather than a necessity. The same reasoning applies for video.
Micro Four Thirds vs Full Frame system
There are more things I could have talked about such as aspect ratio, depth of field equivalence, colours and so on, without forgetting that there is more than one full frame system out there, but I don’t want to make this article longer than it needs to be.
There is one last thought I would like to share and that concerns sensor resolution.
For wildlife, you may have the longest lens available and the best teleconverter, but your subject can still be too far away. Working with more resolution means you have more room for cropping in post, or the possibility to use a crop mode on the camera if it is available (APS-C mode for example).
In my tests I used the EOS R6 for convenience (I own one), but I could have gone with an EOS R5 which has 45MP, and that would have allowed me to:
- use the APS-C mode (17MP) or crop in post to go beyond 2000mm (APS-C mode + 800mm + 2x TC = 2560mm equivalent)
- use a 600mm lens and get a similar reach to the Olympus gear (APS-C mode + 600mm lens + 2x TC = 1920mm equivalent)
The bottom line is that there are multiple combinations and extra resolution can help with that.
The E-M1X has a high resolution mode that works hand-held and gives you an 80MP file. The good news is that it works even at 400mm as you can see below, which is quite impressive (Olympus is truly a master of sensor shift technology).
However your subject needs to be still, which isn’t a given when shooting wildlife. If the animal moves even a tiny bit, there will be a loss in detail and some artefacts.
I couldn’t make the HRS work for the birds I photographed, but it is not impossible and other photographers have succeeded. You can see the excellent work of Thomas Stirr on his website for example.
Conclusion
The Olympus 150-400mm Pro is an impressive lens, of that I have no doubt, but it comes with a price that doesn’t go unnoticed, so let me try to answer the question I wrote in the introduction: is it worth it, or has Olympus gone too far?
From a micro four thirds user perspective, a lens tagged at $7500 (or £6500 / €7150) is quite the jump from anything else that has been released before. For those who have invested in the system not only for the portability but also for the possibility of buying quality gear without breaking the bank, it can come as quite the shock.
From a Canon or Nikon user perspective, the high price might not come as a surprise. The 800mm lens I compared it to can be found for $13,000. The Nikon version is 3K more expensive. The 200-400mm f4 and 180-400mm f4 with the built-in teleconverter are also priced above 10k. So suddenly, the cost of the Olympus lens doesn’t look all that bad.
To answer the question then, my answer is no: I don’t think Olympus has gone too far. The lens has an exceptional build quality never before seen on a micro four thirds product (carbon fibre among other premium materials). It features perhaps the most complex optical design the brand has ever produced. It gives you the versatility of macro and a long reach that is not available elsewhere (to my knowledge at least). And it does so in a package that, despite being the largest in the system, remains portable, tripod-free and doesn’t wear you down after walking all day.
All that is left to consider is whether a lens such as this can make a difference to your work or not, and if so, whether it is worth the price, knowing that there is no wrong answer.
I’m sure some people will think that micro four thirds, with its small sensor, doesn’t deserve such an expensive lens, and my comparison above probably won’t change your mind. But for those of you who are open to the idea of sacrificing a bit of quality for better portability, I hope this article has helped you see that, despite the obvious differences in image quality we all know, the Olympus defends itself well.
Last but not least, I have to mention the difficult moment we’re facing worldwide at the time of writing, and the delicate situation surrounding the recent sale of Olympus’ Imaging Business. It’s not the easiest time to make such an investment, nor is it the ideal moment for the brand to launch such a lens.
I know many of you have doubts about the future of the brand, and in truth, I’ve received various emails asking whether I would advise them to continue investing on Olympus and micro four thirds gear. The honest answer to that is: I don’t know. I don’t have any inside information and I don’t want to make arbitrary predictions for the sake of it.
All I can hope is that the system will survive and continue to improve by bringing us new cameras, new sensors and better AF system. It certainly deserves a place on the camera market, just like this 150-400mm lens.
Check price of the Olympus 150-400mm Pro on
B&H Photo
Check price of the Olympus OM-D E-M1X on:
Amazon | Amazon UK | B&H Photo | eBay
Check price of the Canon 800mm f/5.6 on
B&H Photo
Check the price of the Canon EOS R6 on
Amazon | Amazon UK | B&H Photo | eBay
Second-hand Olympus gear on
MPB US | MPB UK
Second-hand Canon gear on
MPB US | MPB UK

