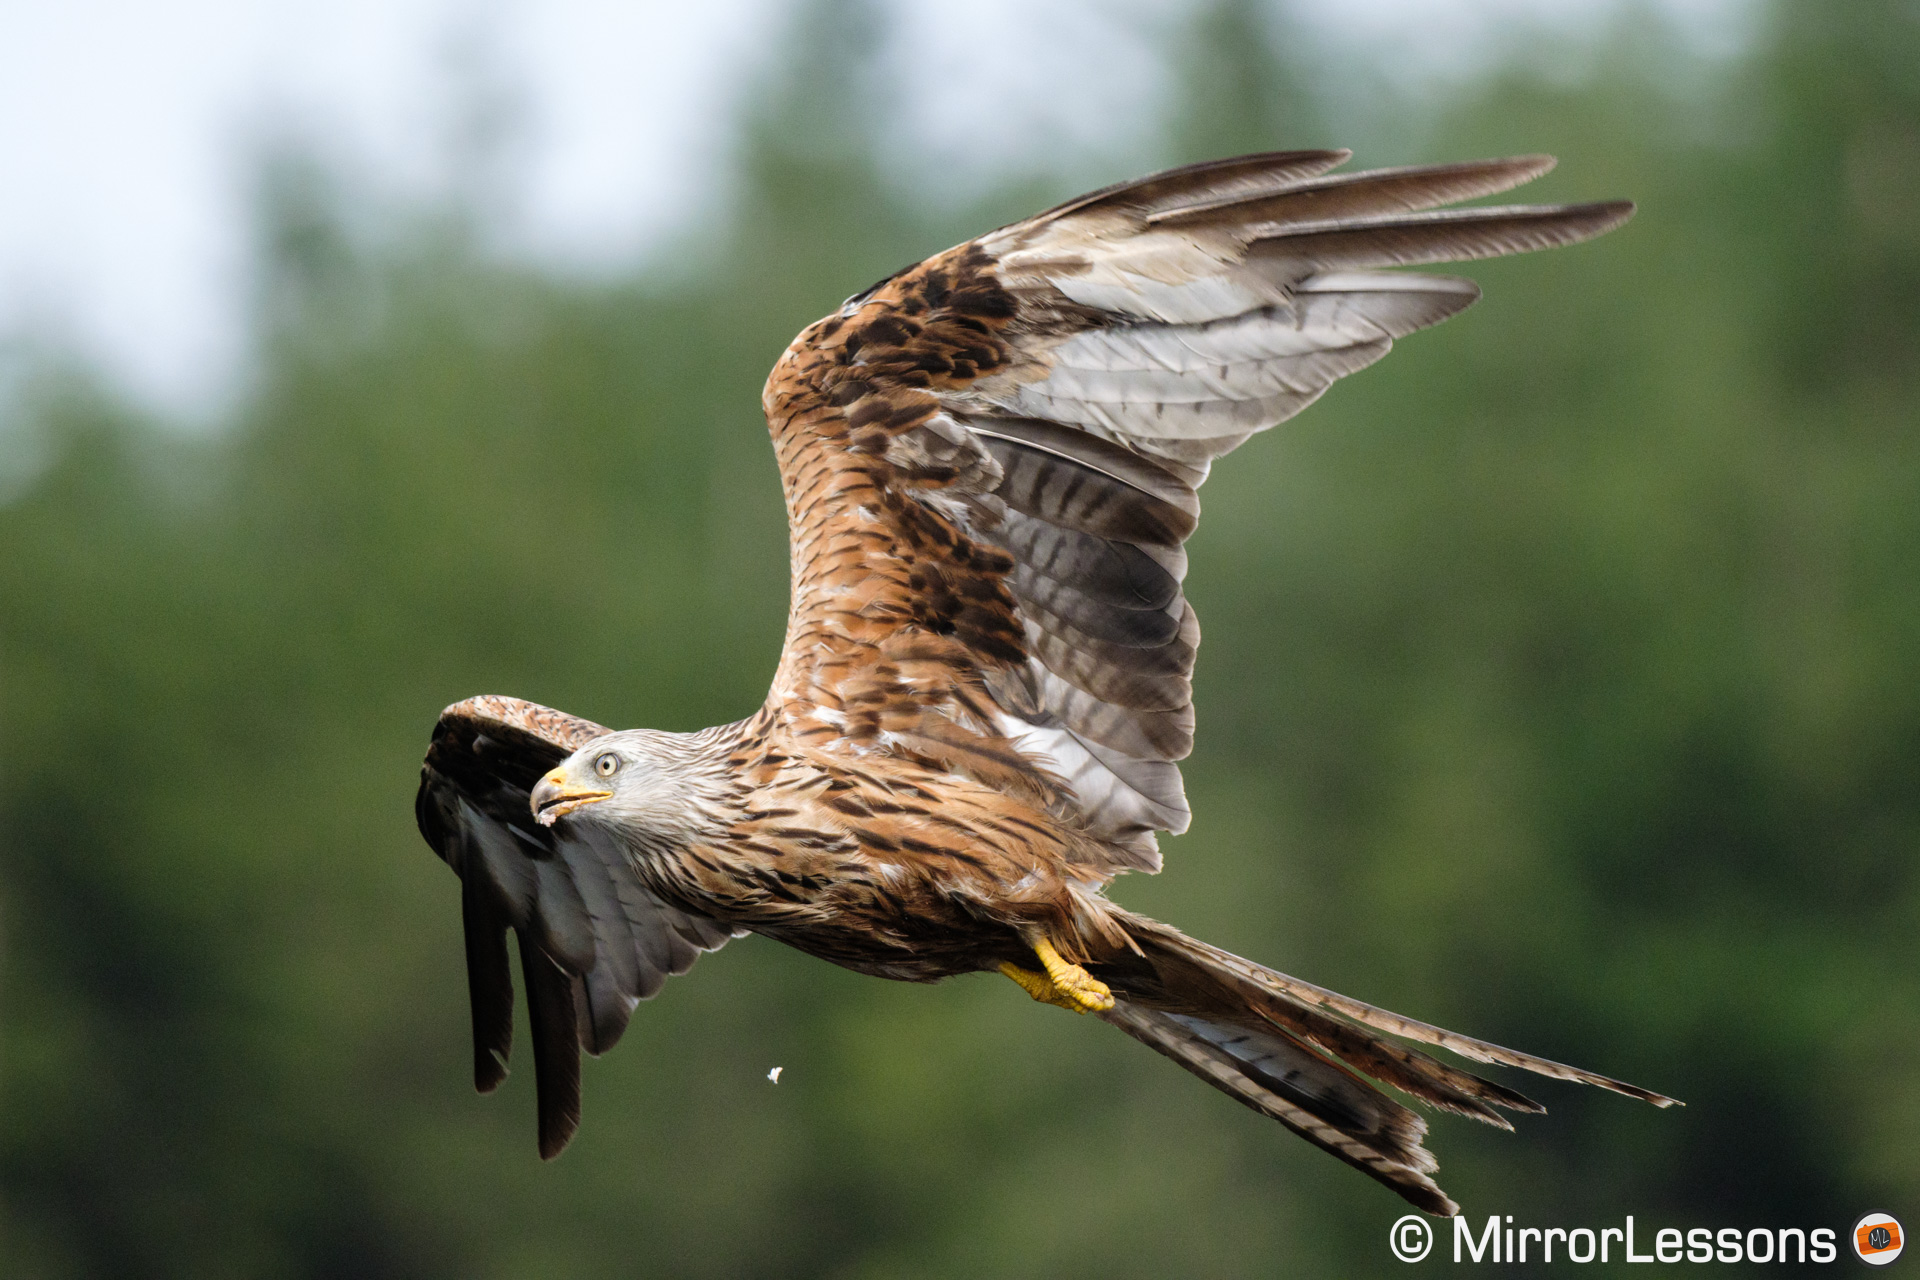
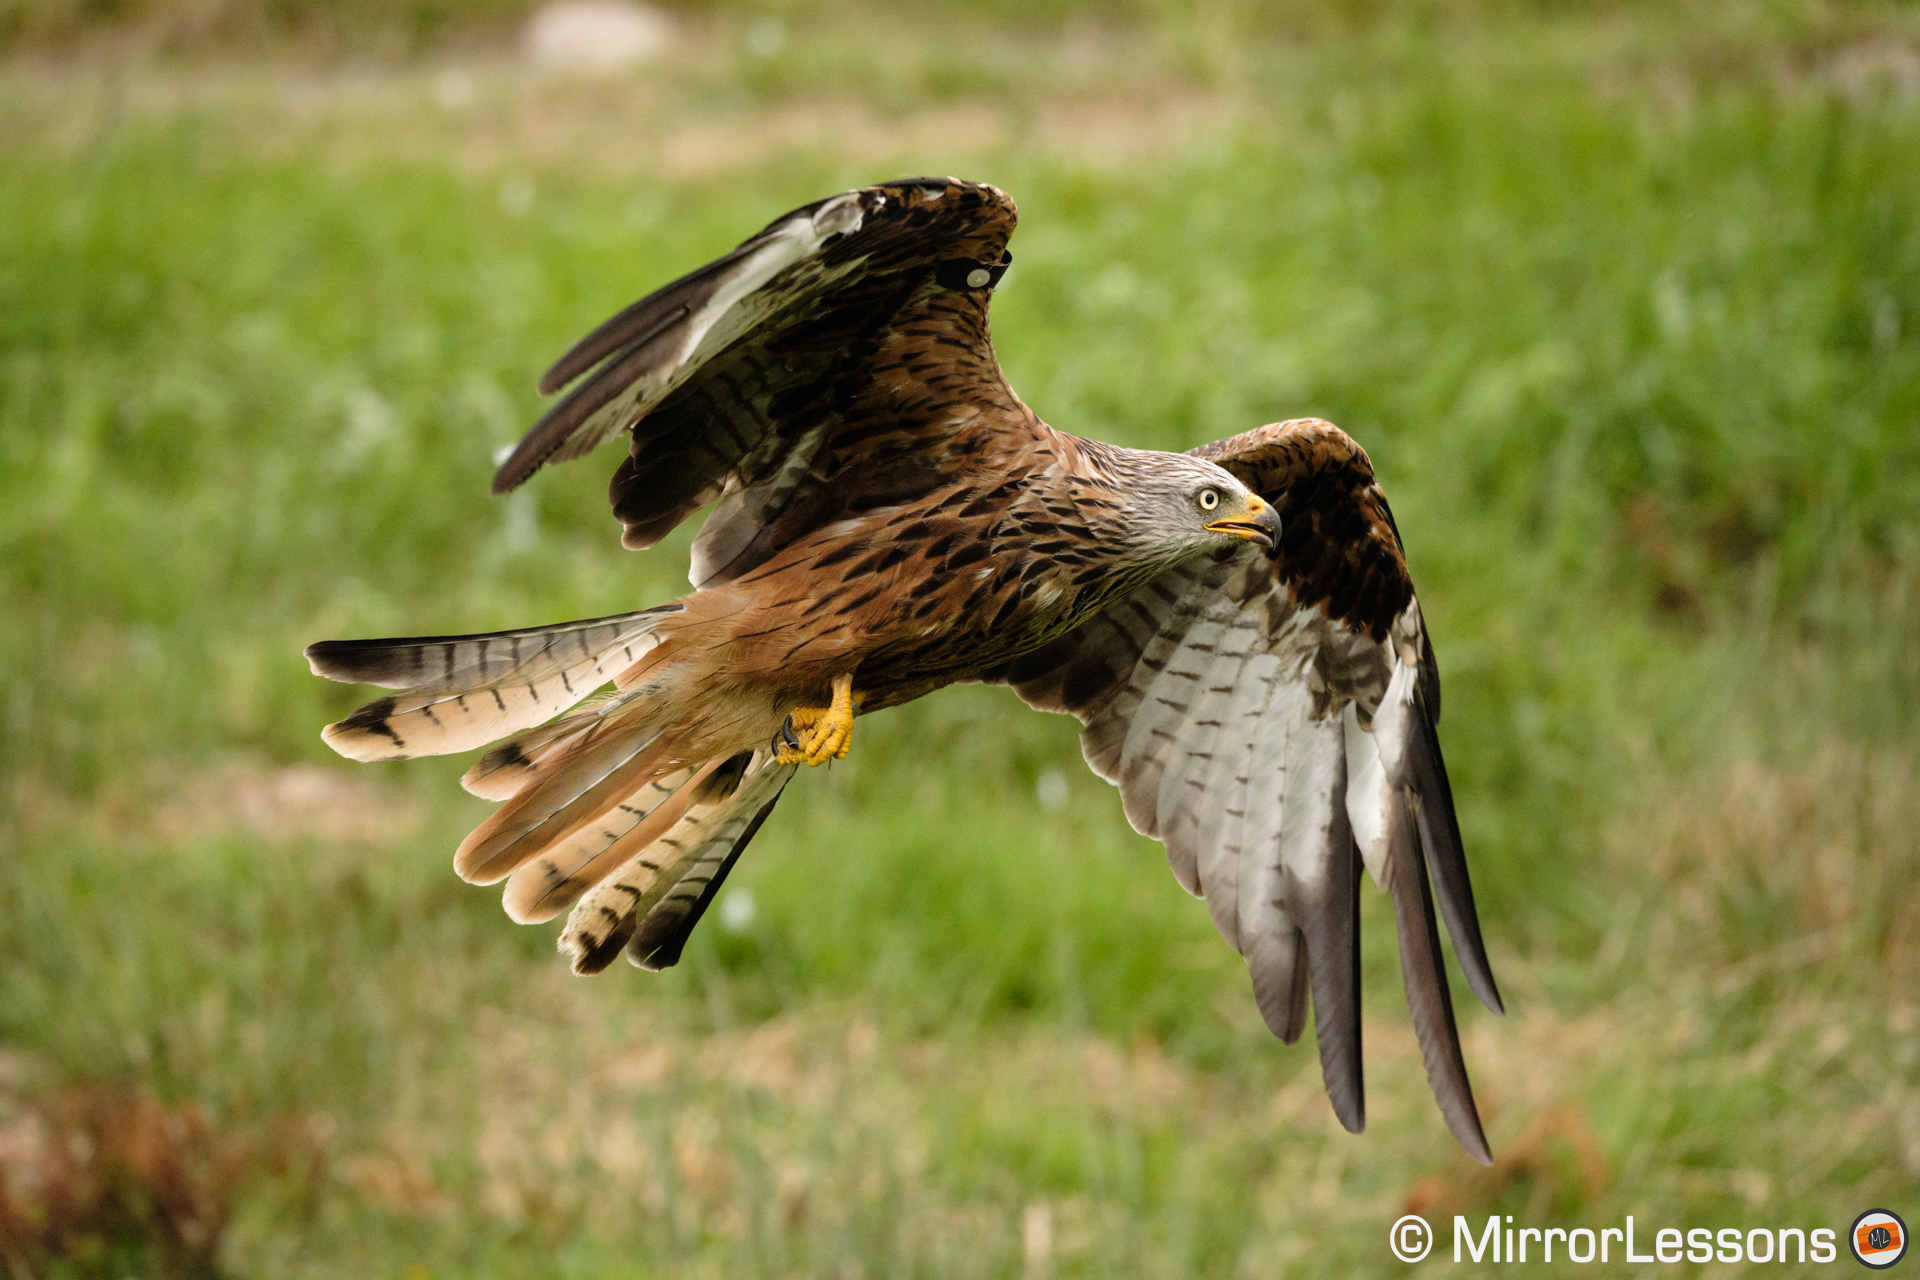
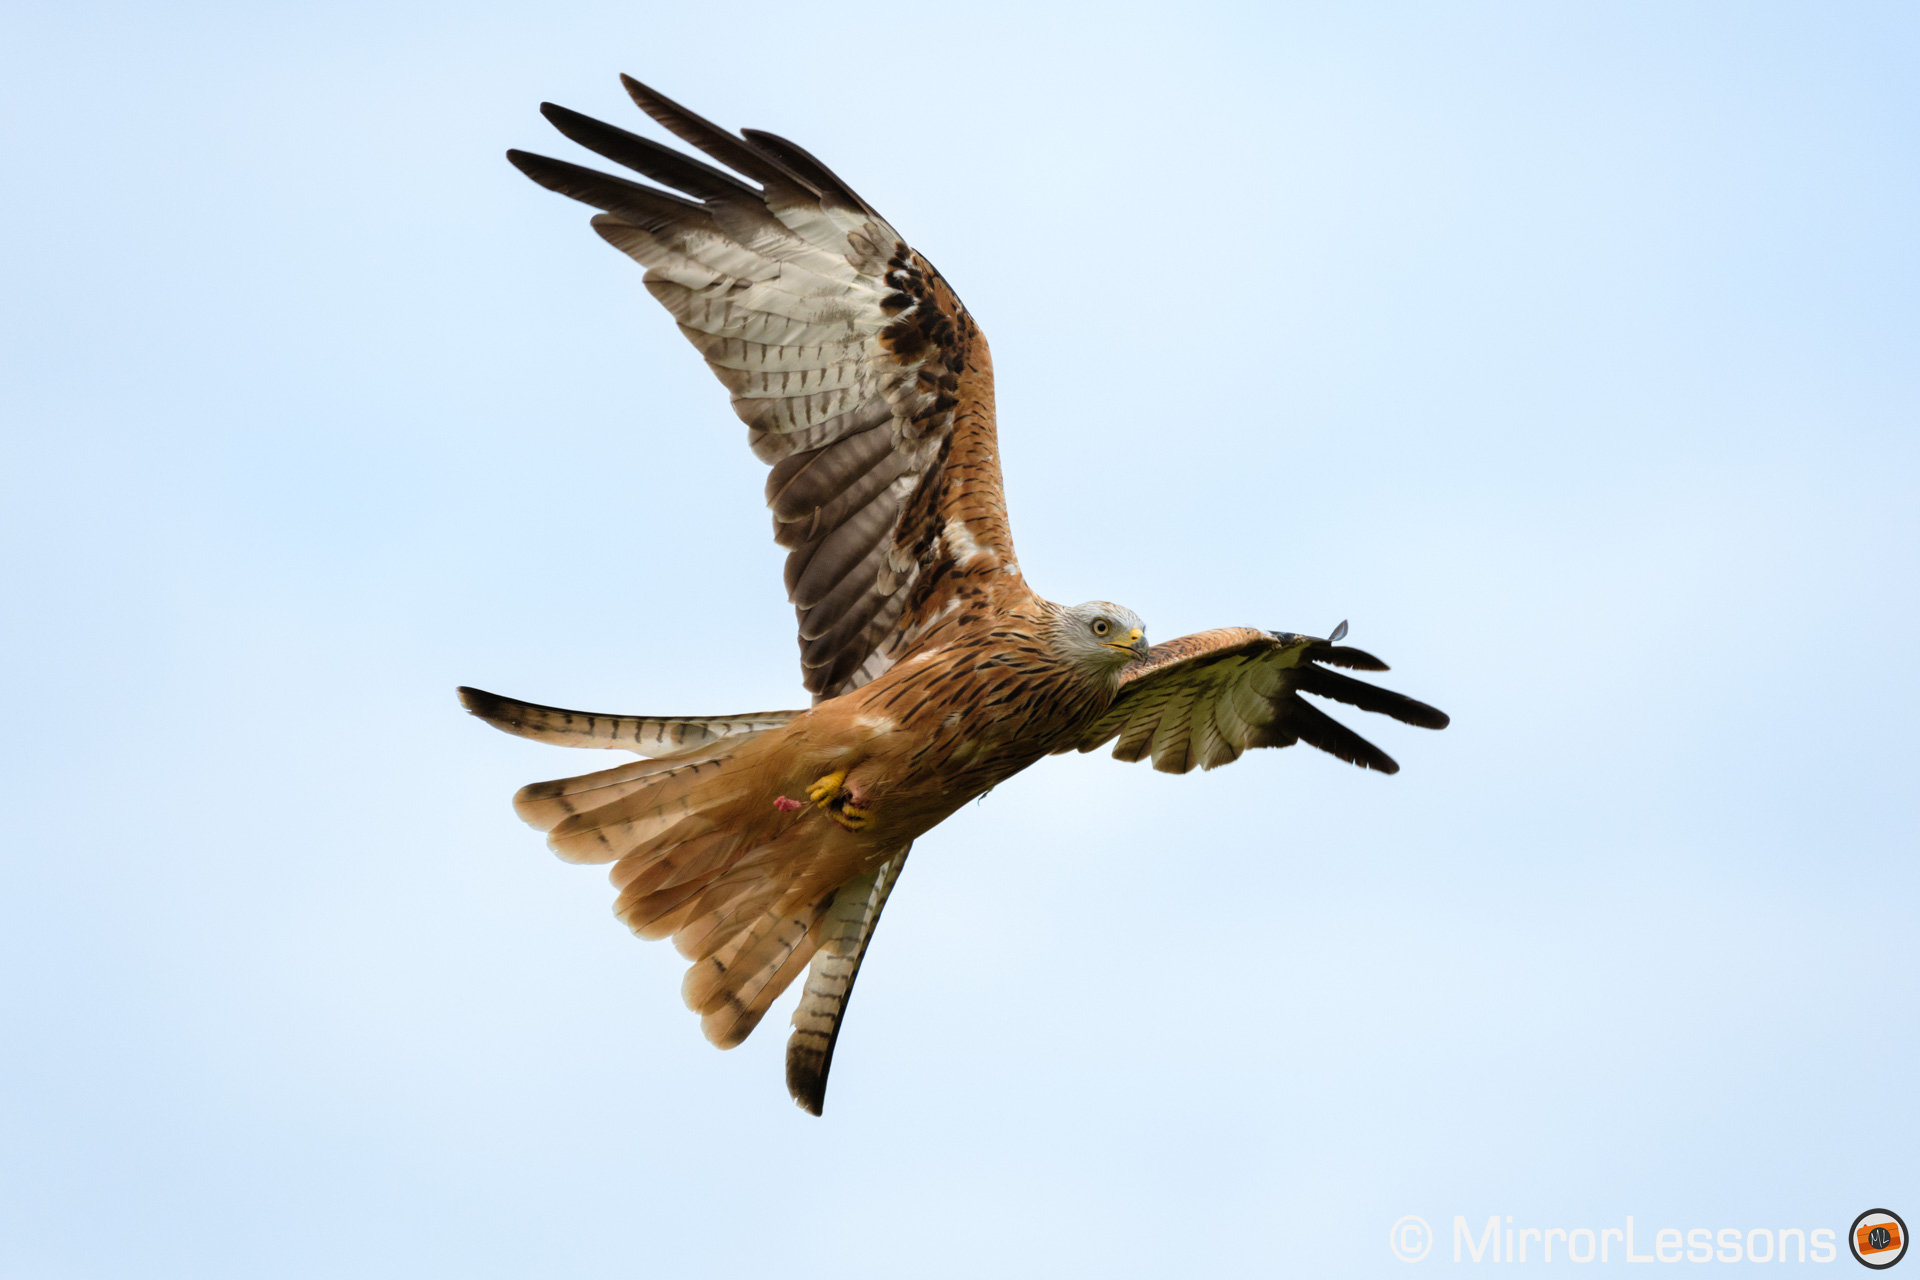
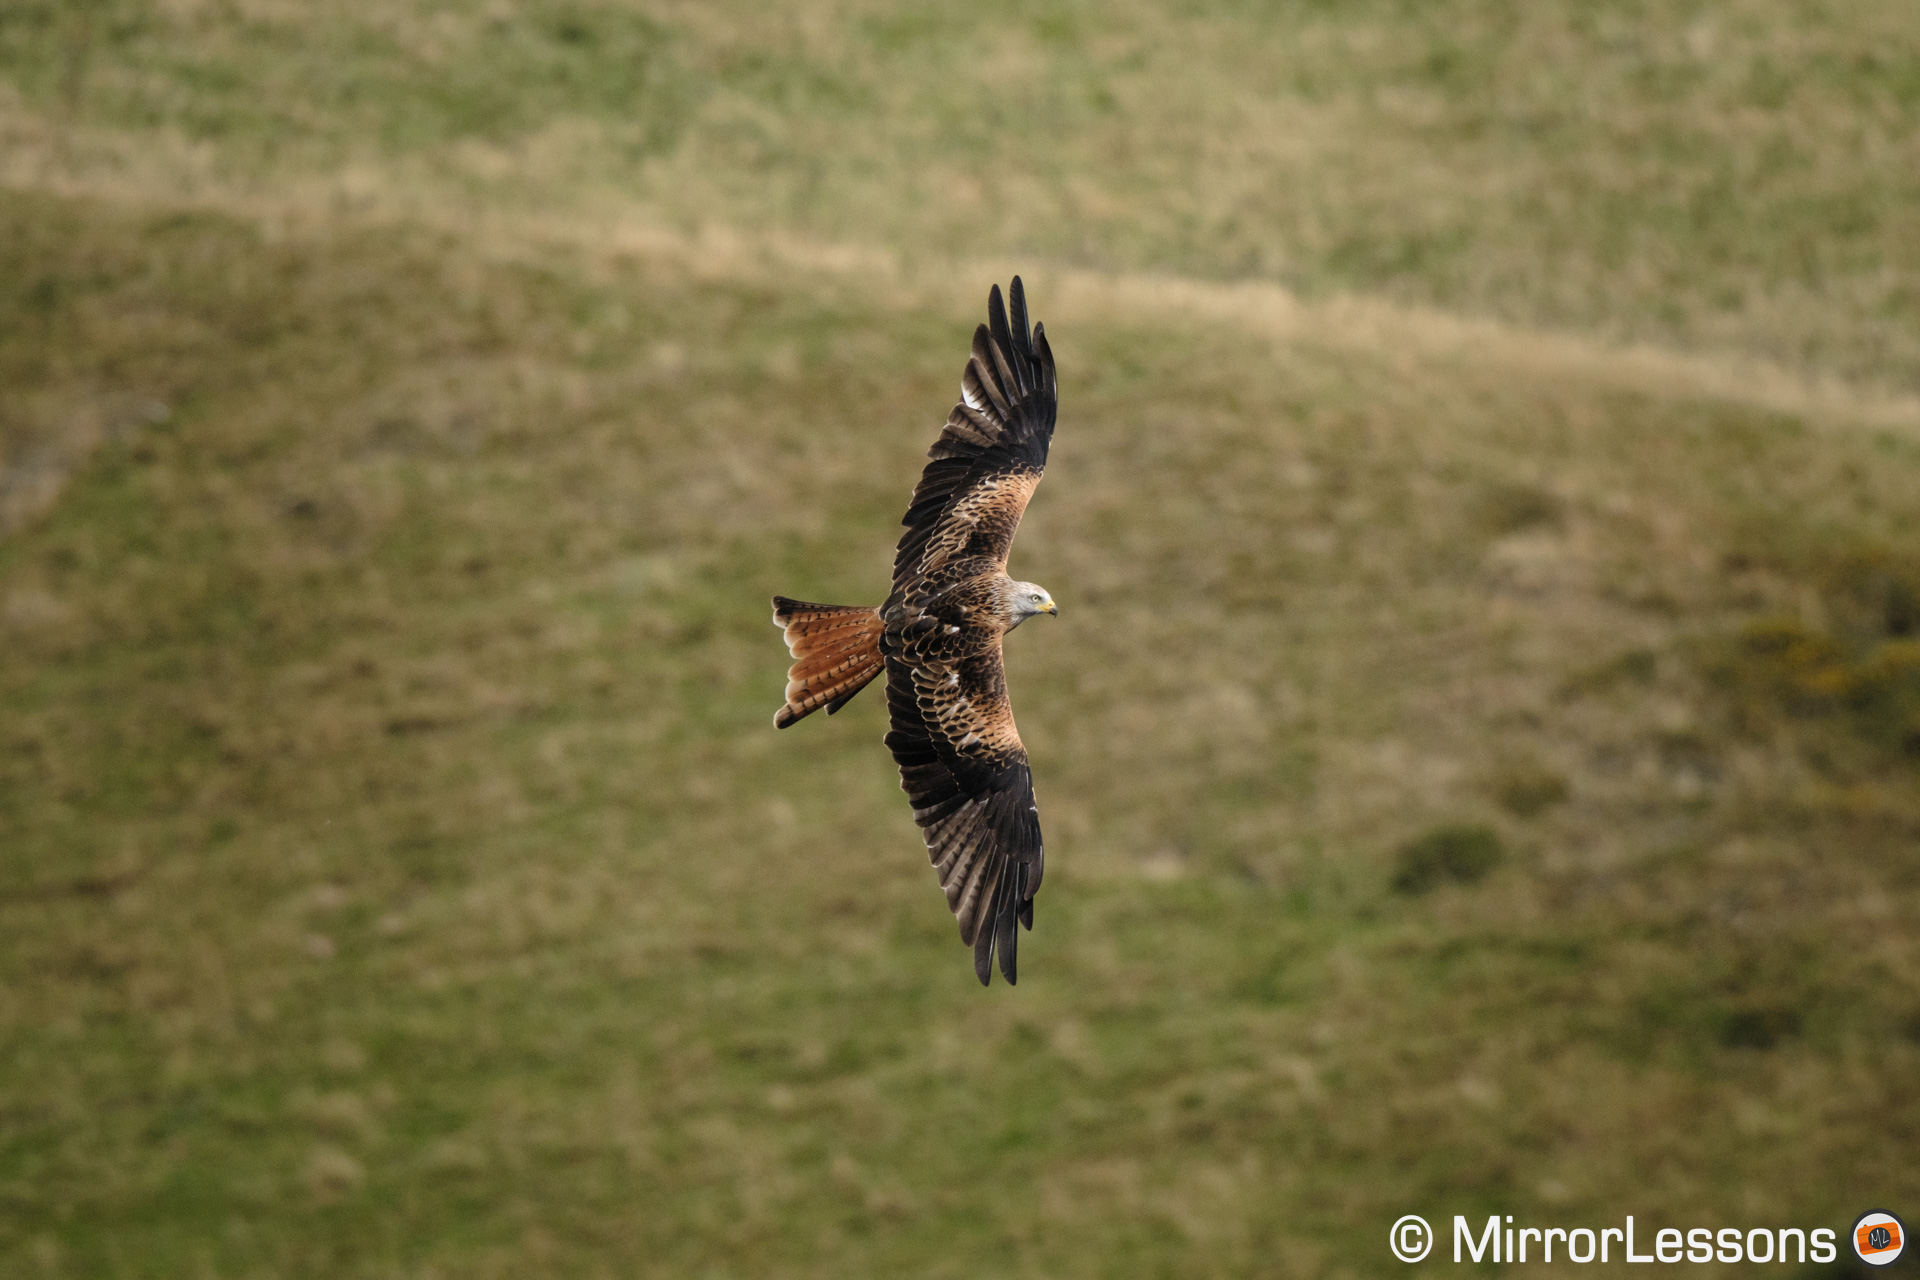
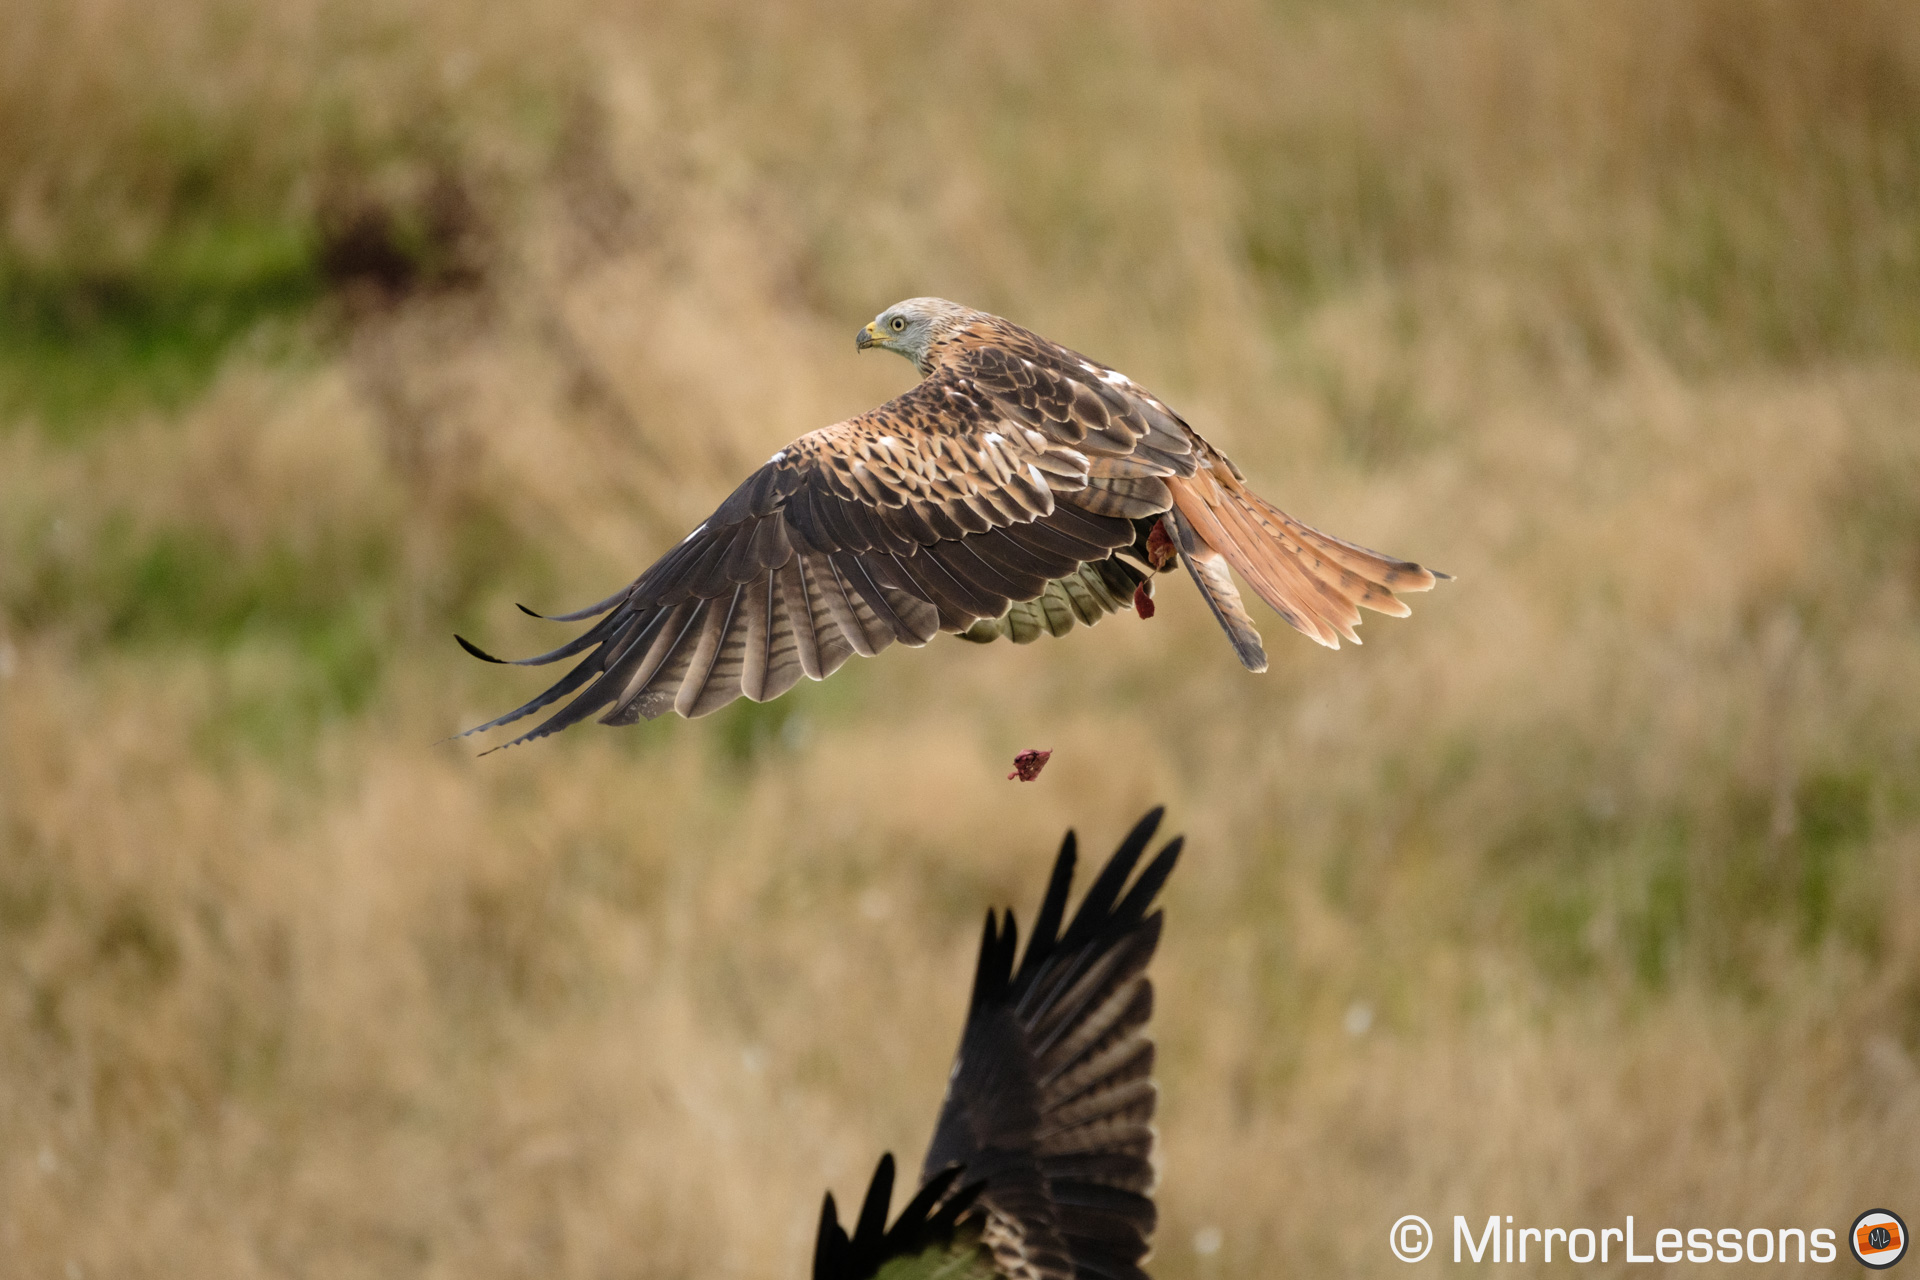
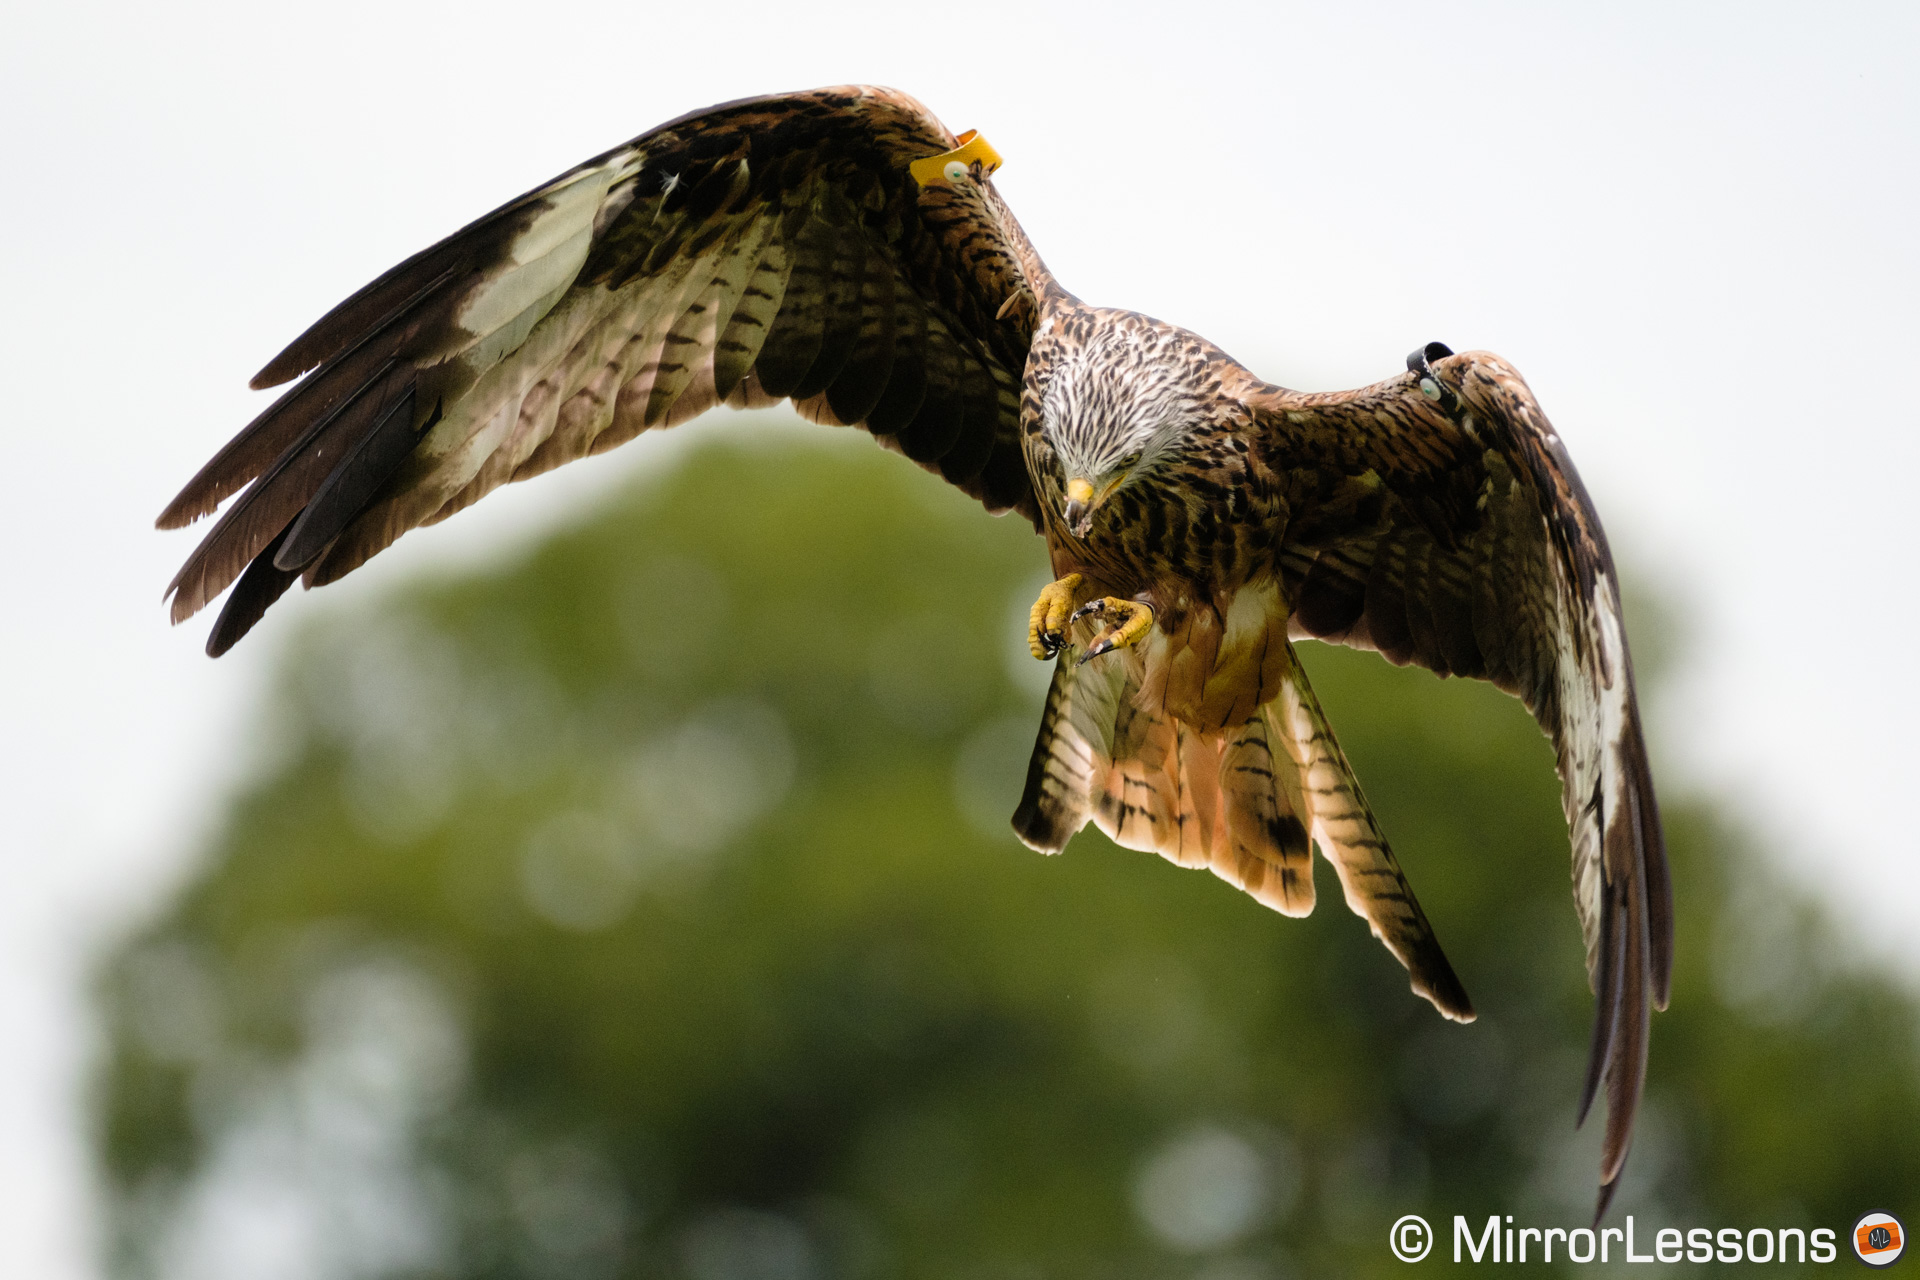
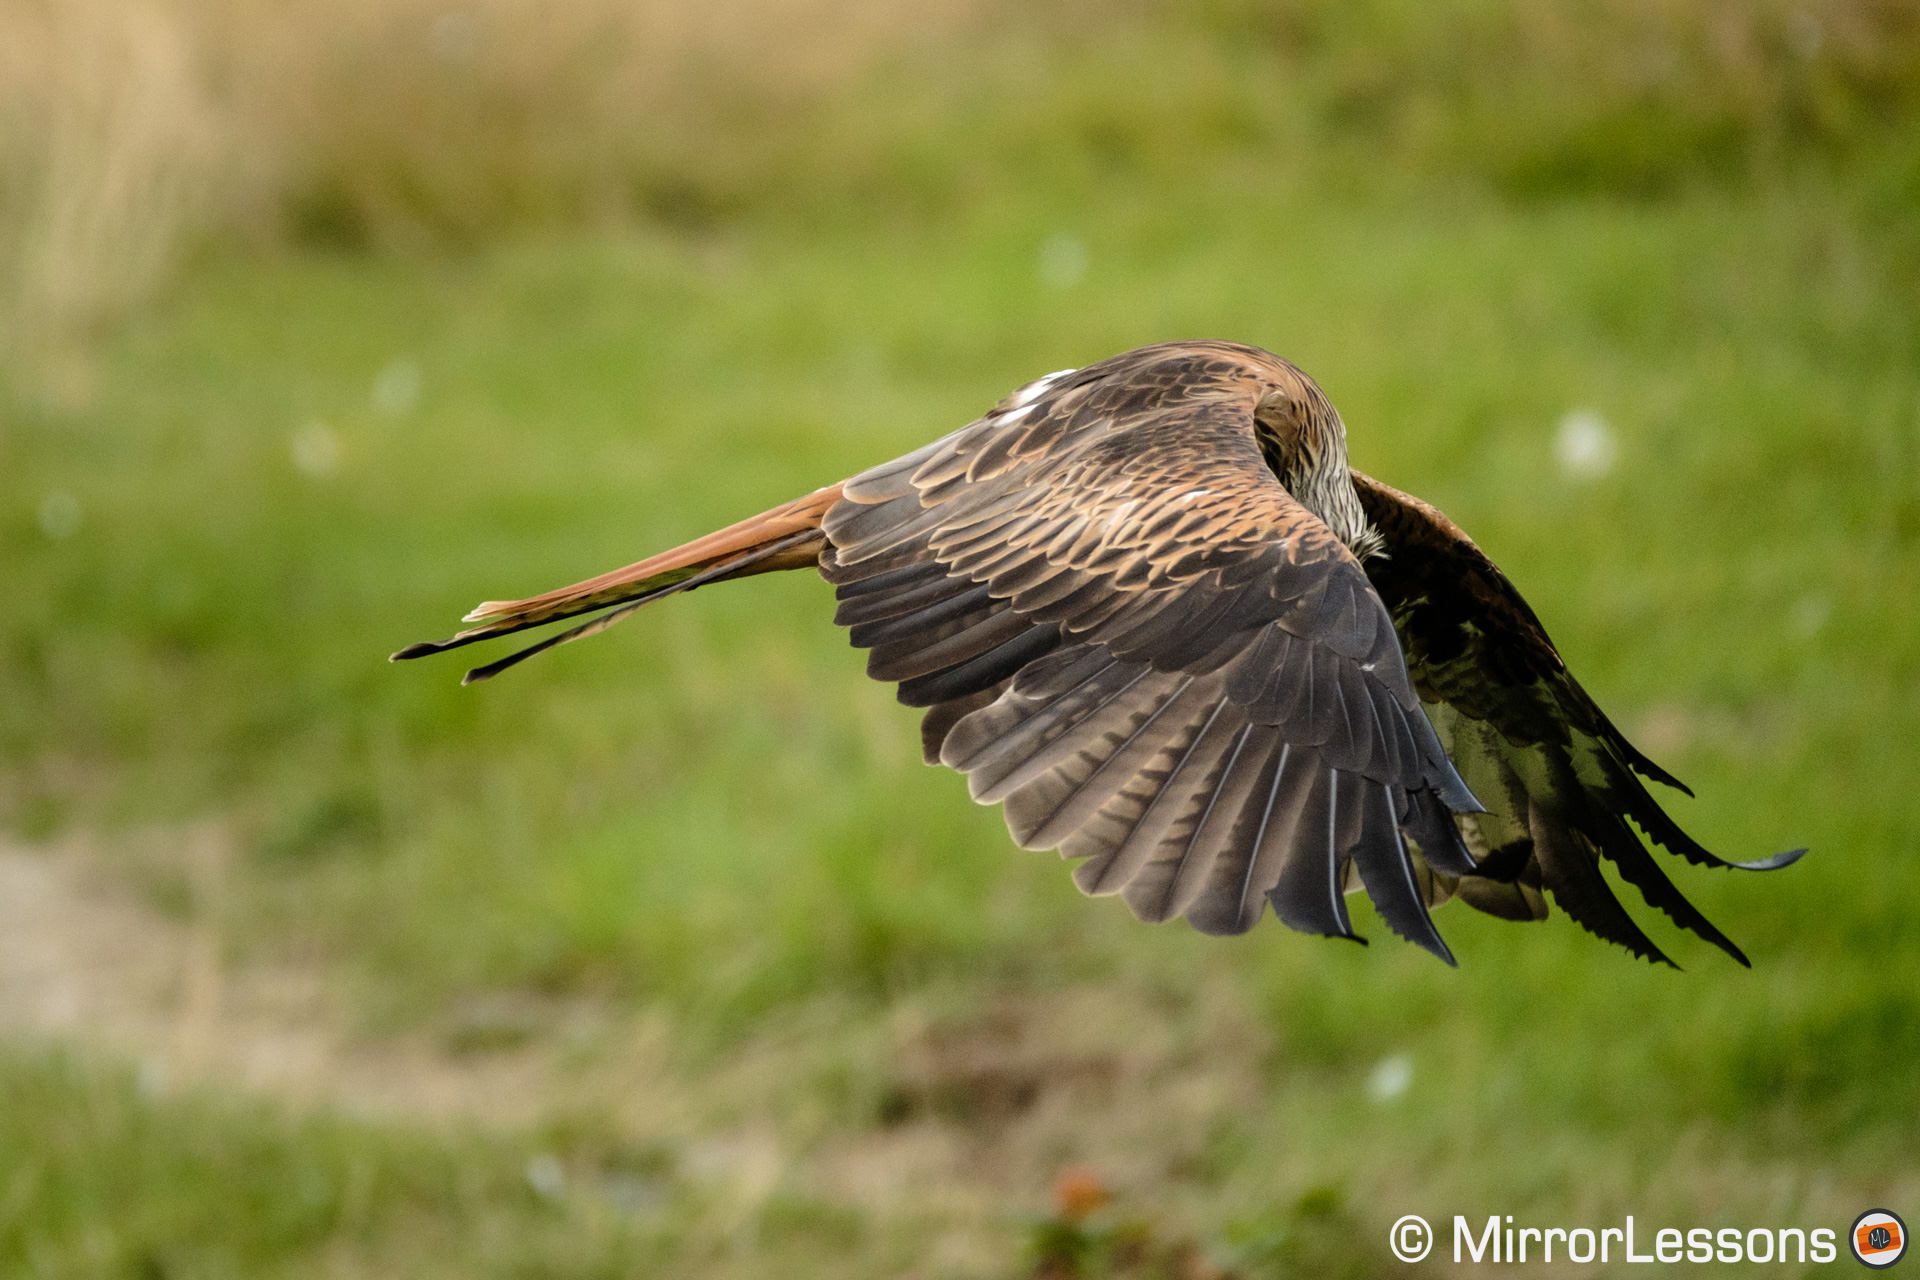
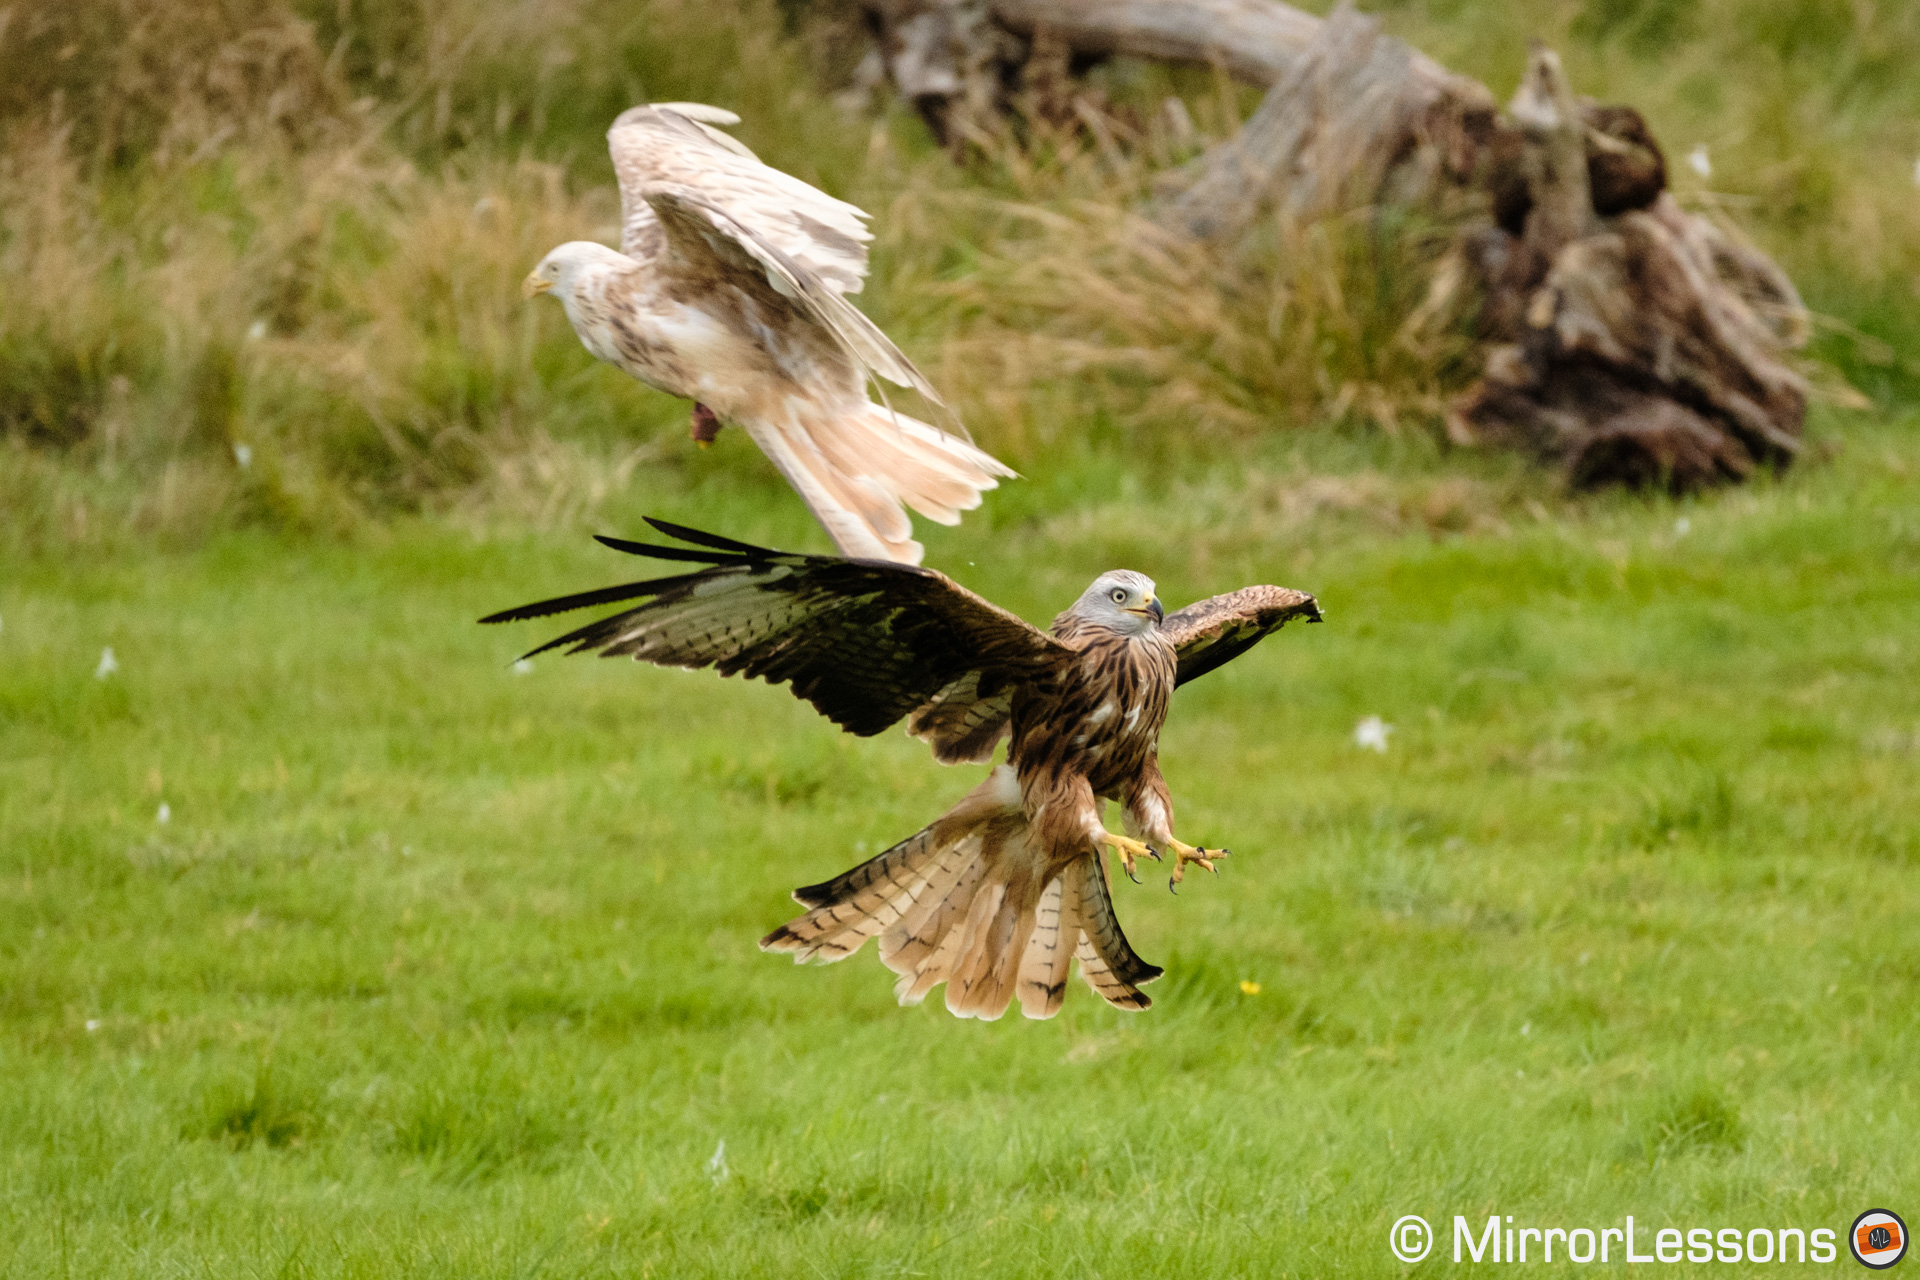
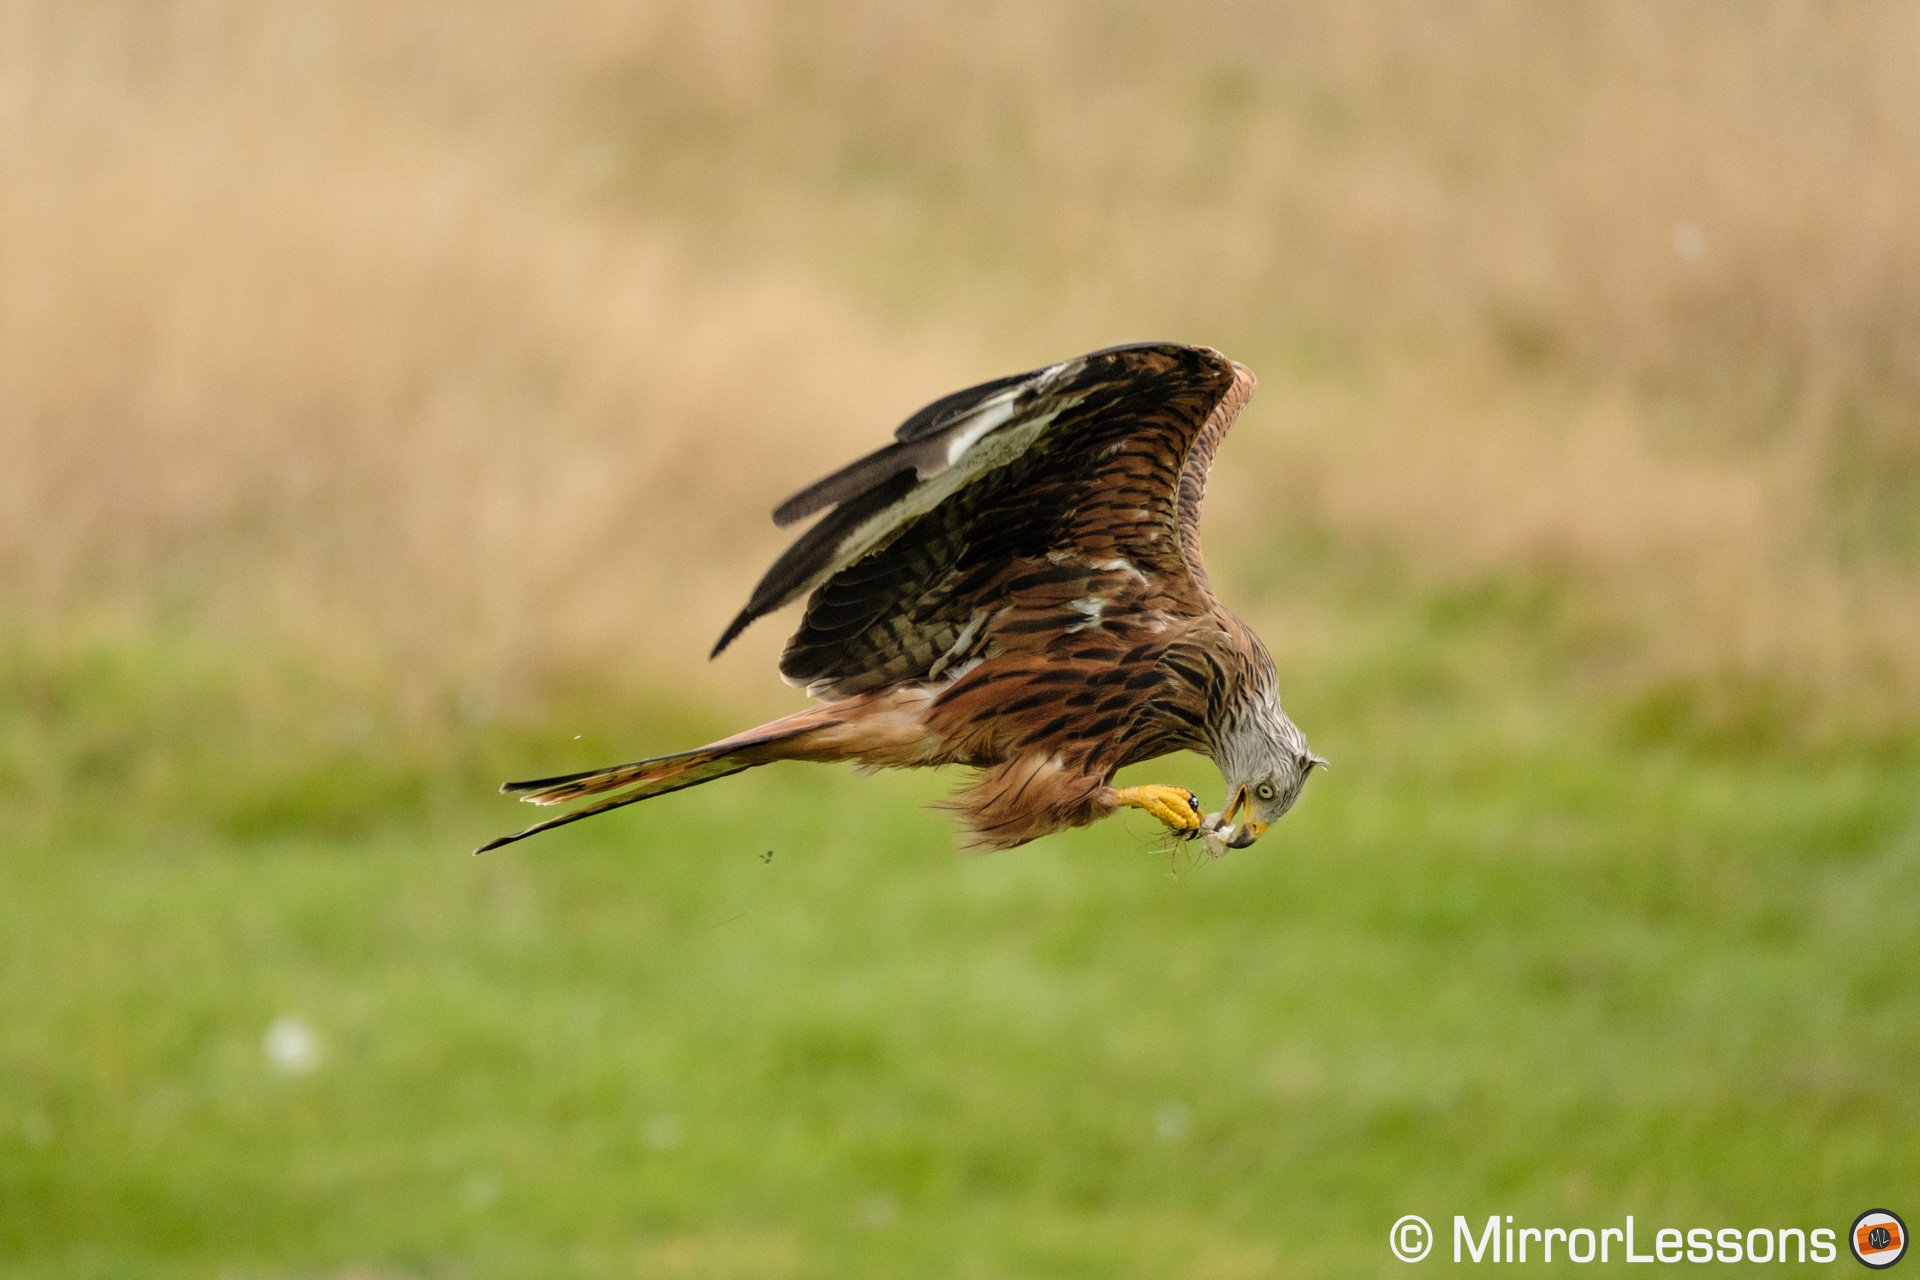
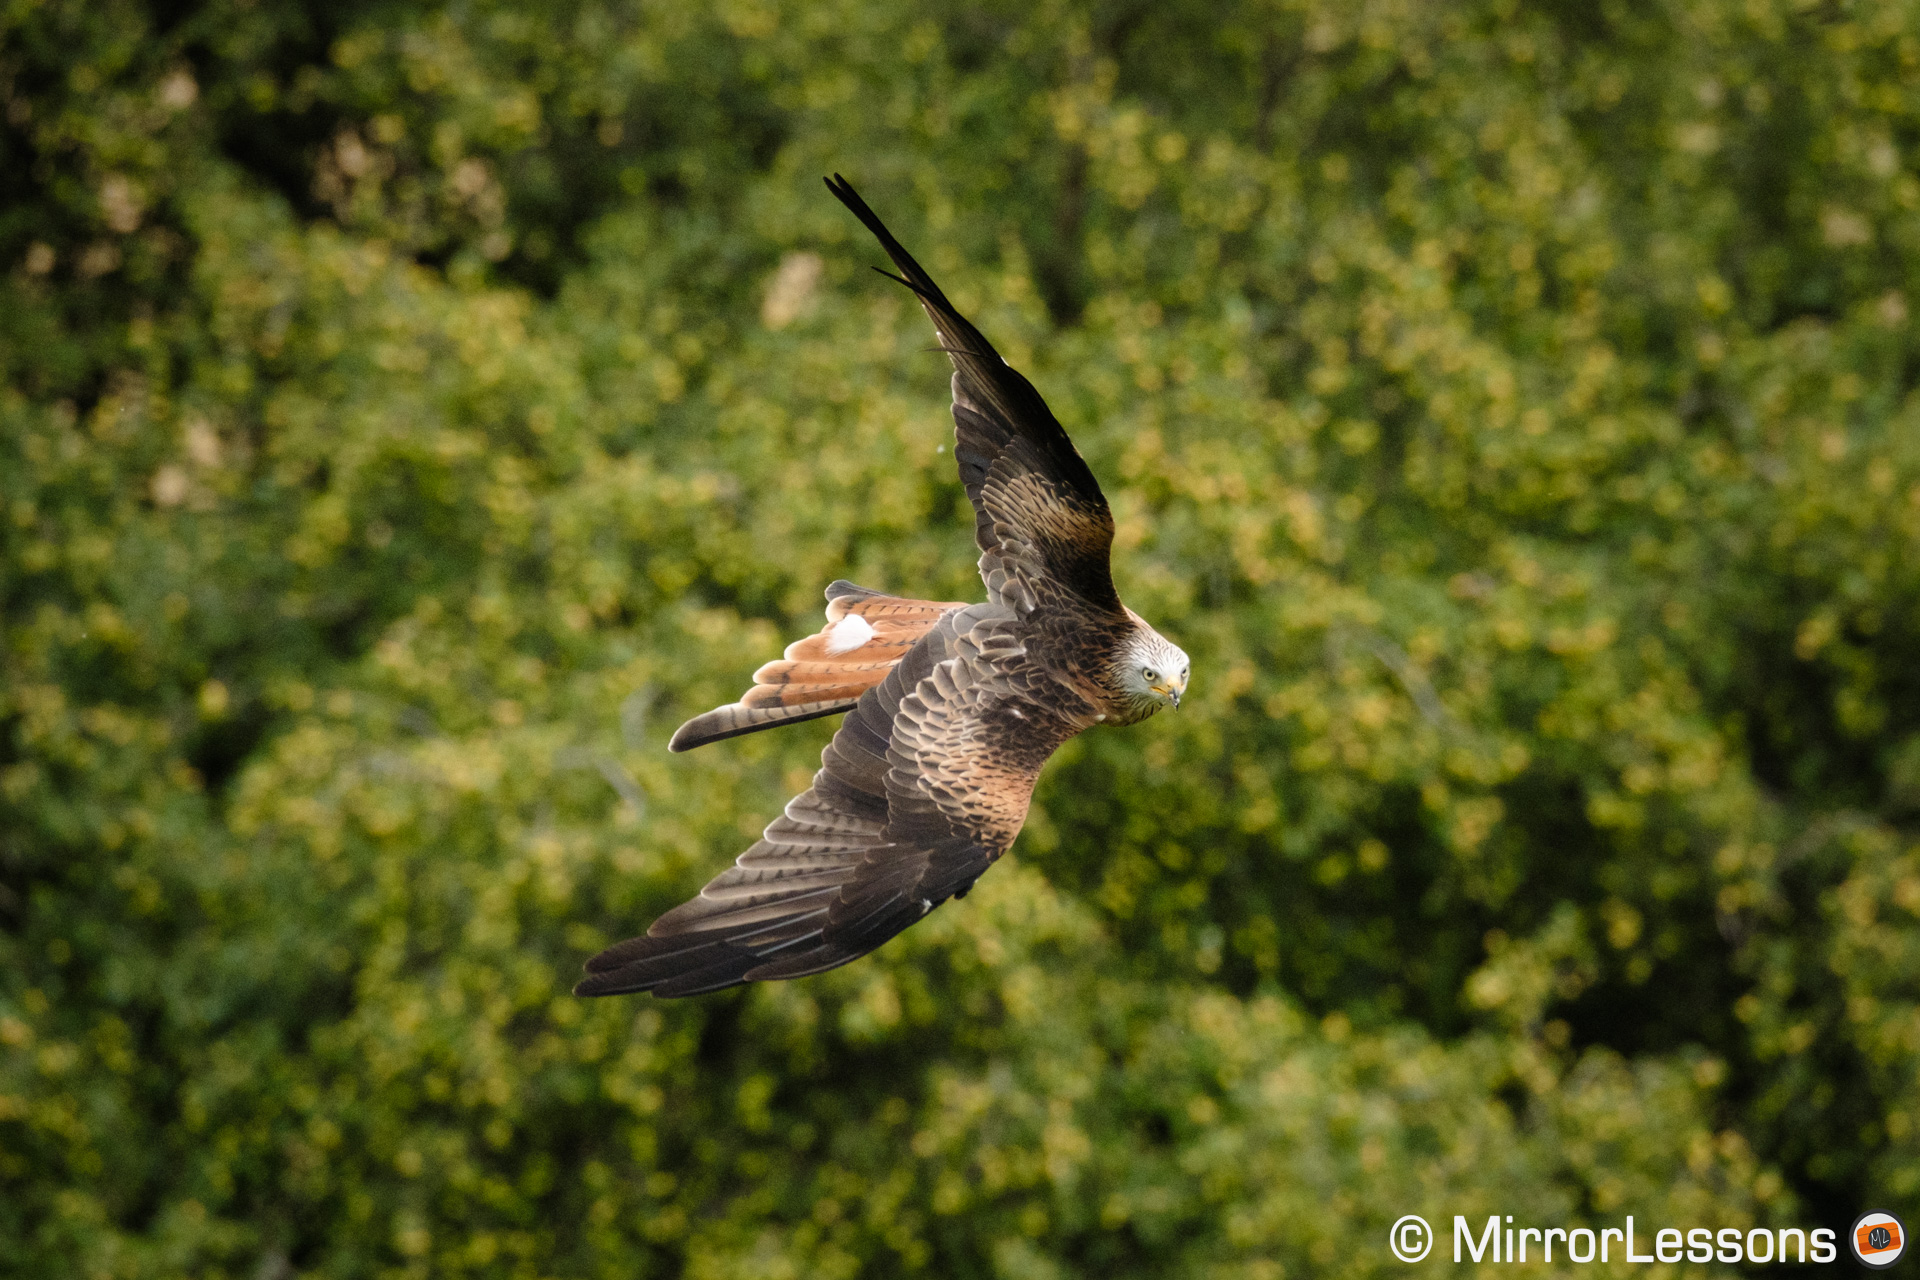
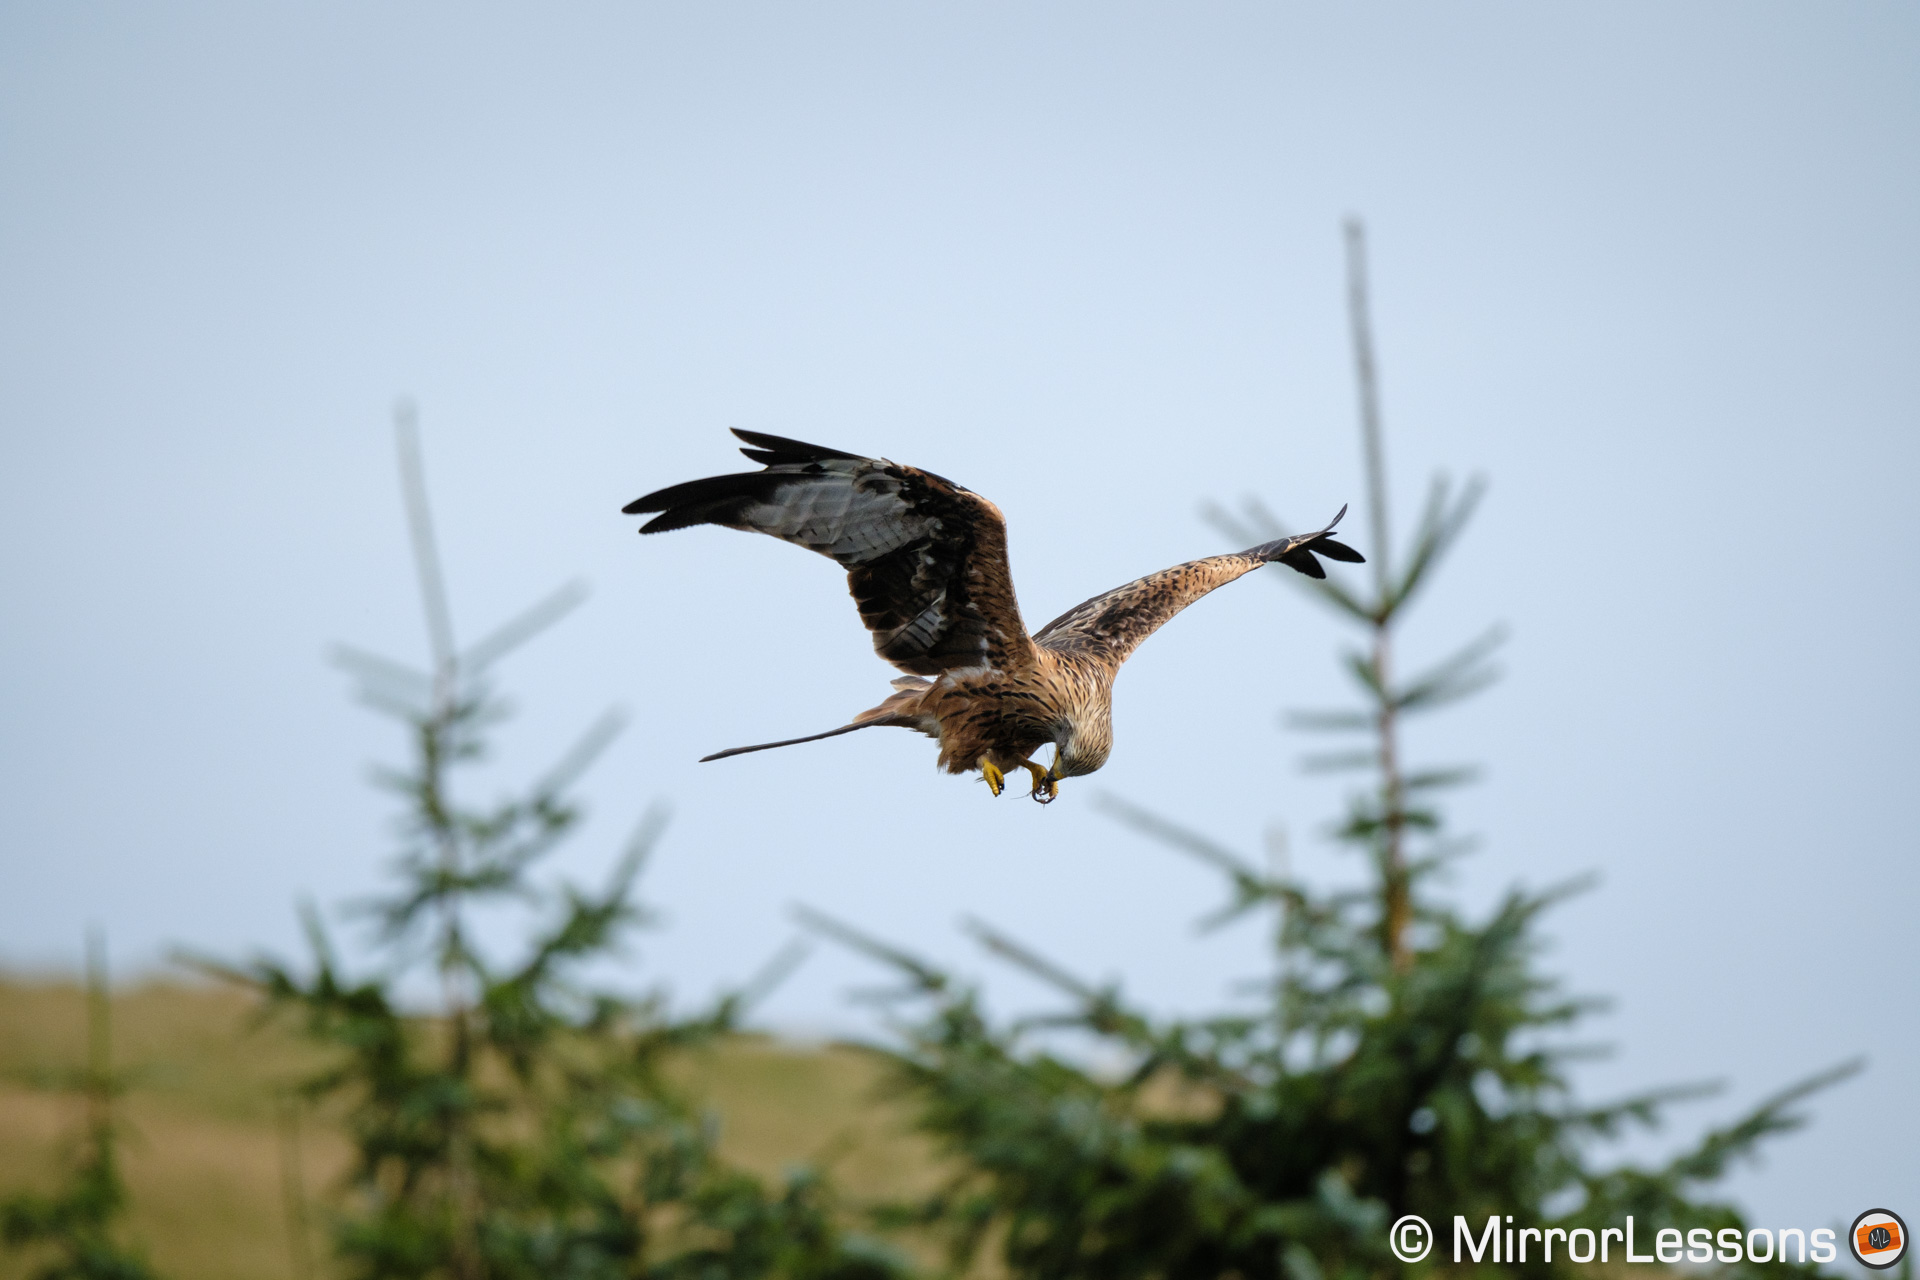
Fujifilm waited a while before updating the original X-H1, a camera released in 2018 with good intentions but at the wrong time. It had too little to offer considering its high price tag (which was the same as that of the much sought-after Sony A7 III, released in the same year). It was inferior to the less expensive X-T3, and special offers decreased its value by half before the camera was discontinued less than two years after its announcement.
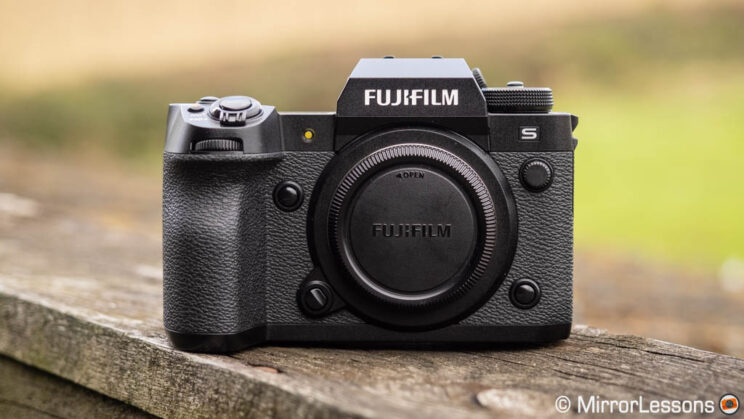
For the second generation of what we can consider the flagship of the APS-C X-series, Fujifilm has decided to release two models with an identical body design but different characteristics: the X-H2, which packs a new 40MP sensor (the highest ever for the APS-C format), and the X-H2S, whose keyword is “speed”. It is the latter that we will analyse in this article, with our usual focus on wildlife photography.
Note that links to more articles about this camera will be available at the bottom of this post.
Ethics statement: we rented the X-H2S for two weeks. We were not asked to write anything about this product, nor were we provided any compensation of any kind. Within the article, there are affiliate links. If you buy something after clicking one of these links, we will receive a small commission. To know more about our ethics, you can visit our full disclosure page. Thank you!
Table of Contents
1. Main Specs
2. Design and Ease of Use
3. Viewfinder and LCD Monitors
4. Image Quality
5. Drive Speed and Buffer
6. Subject Detection AF
7. Birds in Flight
8. Movie Capabilities
9. Firmware Updates
10. Video Review
11. Conclusion
Main Specs
- Sensor: 26.1MP APS-C X-Trans 5 HS CMOS
- Lens system: X-mount
- Weatherproof: Yes
- Internal Stabilisation: 5-axis (up to 7 stops)
- Autofocus: Hybrid with up to 425 points (13×9 and 25×17 grids selectable)
- Continuous shooting: up to 40fps with electronic shutter
- ISO Sensitivity: 160 – 12800 ISO (pull 80, push 51200)
- Shutter Speed: 15min to 1/8000s, or 1/32000s with electronic shutter
- Viewfinder: 0.5in OLED with 5.76M dots, 24mm eyepoint, 0.80x magnification and 120fps
- Rear monitor: 3-ways articulated 3″ LCD with 1.62M dots
- Movie recording: 6.2K ‘open gate’ at 30p, 4K up to 120p, internal 10-bit 4:2:2 and Prores HQ, RAW via HDMI, F-Log2, HLG
- Built-in Flash: No
- Other Features: WiFi, Bluetooth, Panorama, Timelapse, Bracketing, Multiple exposure, Tethering, Two memory cards (CFexpress Type B and SD UHS-II)
- Dimensions: 136.3 x 92.9 x 84.6mm
- Weight: 660g (including battery and memory card)
- Firmware version: 3.01
Design and Ease of Use
The X-H2S is very close to the X-T4 when it comes to width and height, but it is the substantial grip on the front that makes the S model stand out from other Fujifilm products (except for the older X-H1 and sibling X-H2).
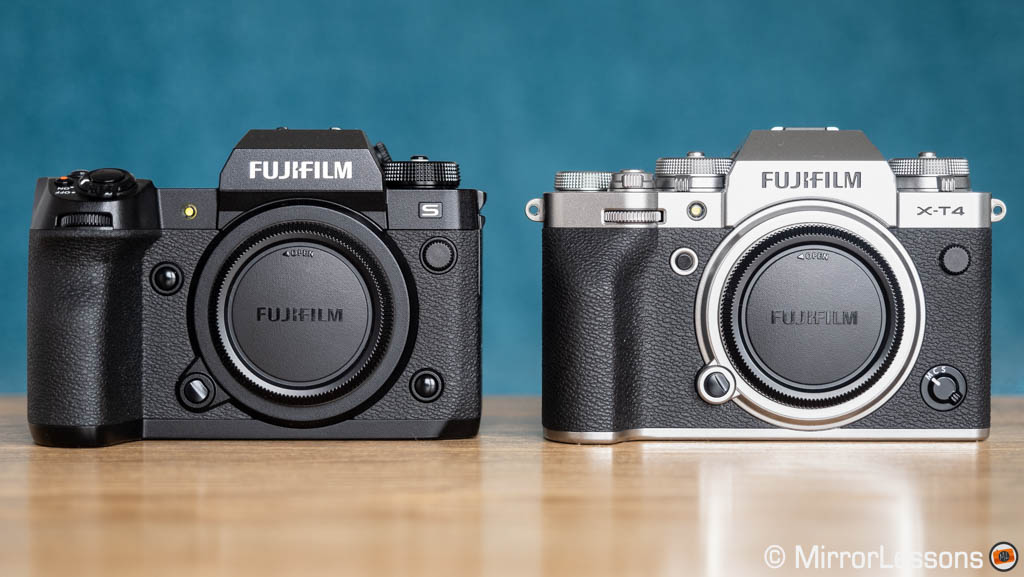
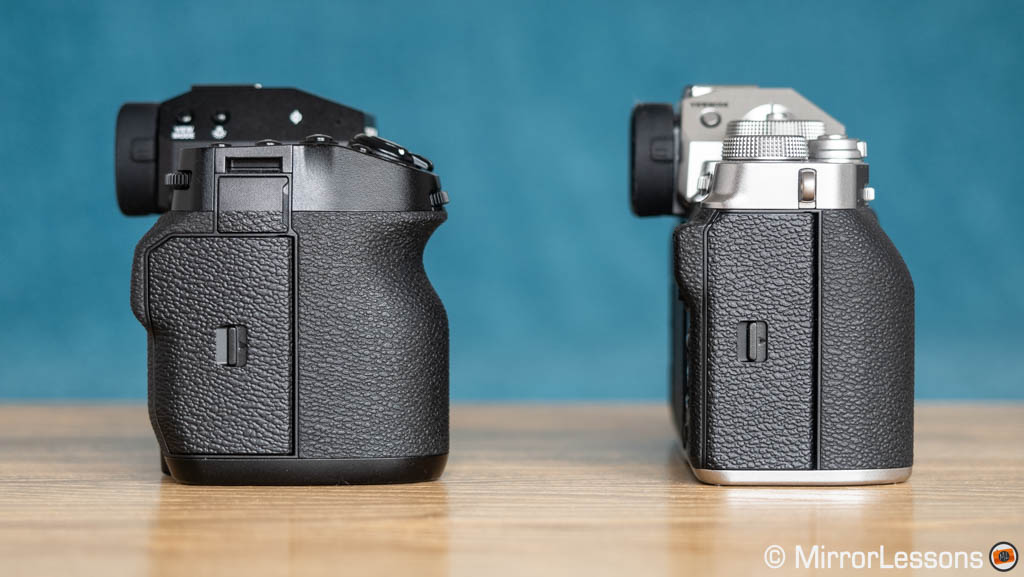
It’s the kind of grip you want when working with long lenses such as the 100-400mm, or the new 150-600mm. It’s solid, large enough to feel good in your hand, and there is enough space to rest your fingers comfortably. I didn’t feel the need for an extender or vertical grip.
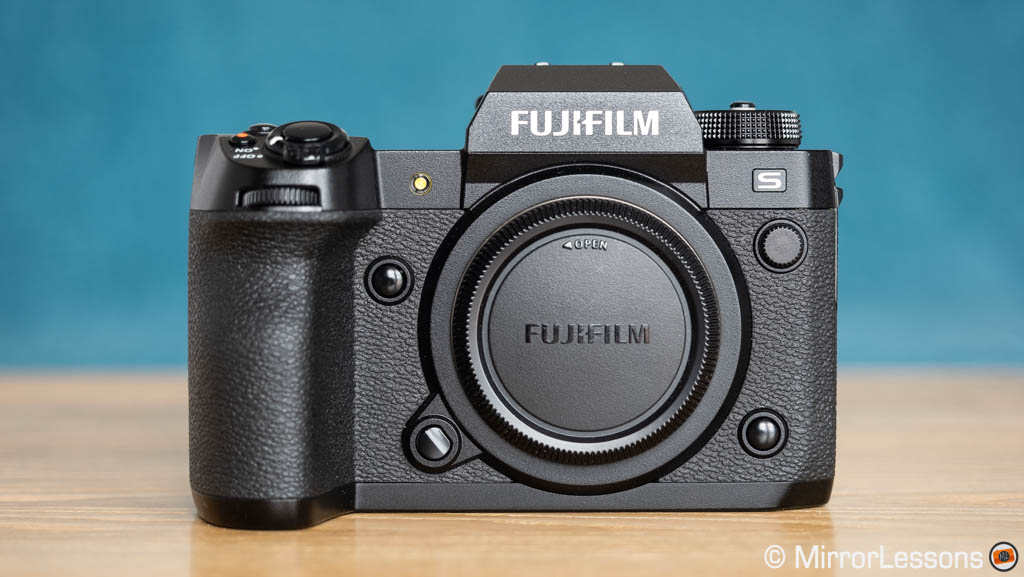
The build quality gave me a very positive impression, although I can’t comment on its durability over a long period since I only used it for a couple of weeks. Unsurprisingly, it is weather-sealed, with a freeze-proof rating down to -10˚C.
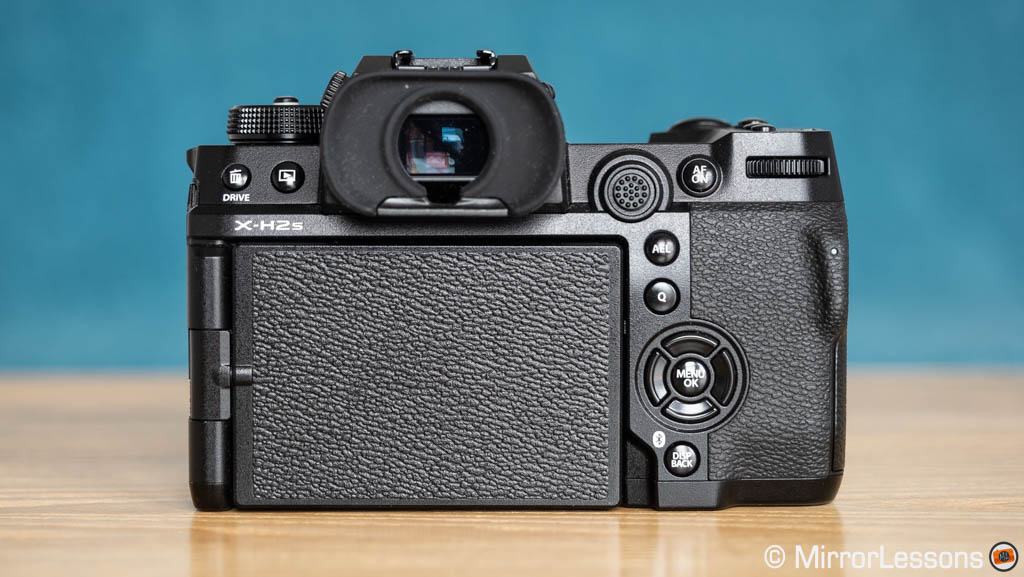
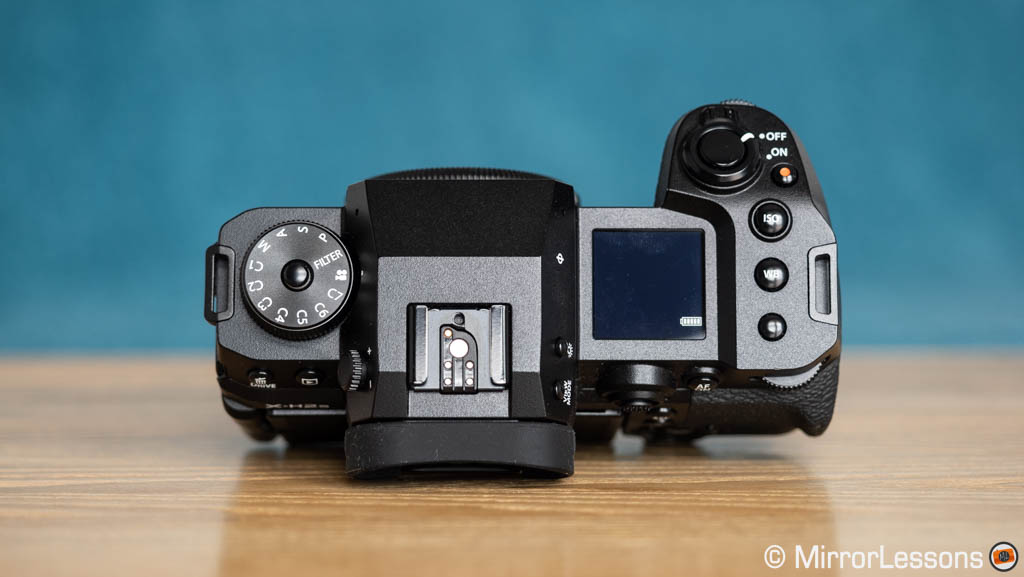
The buttons are a welcome improvement: they’re not very big but they are round, with enough depth and tactile feedback to be used with precision. I much prefer them to the small flat buttons you find on the X-T4 and other Fuji models.
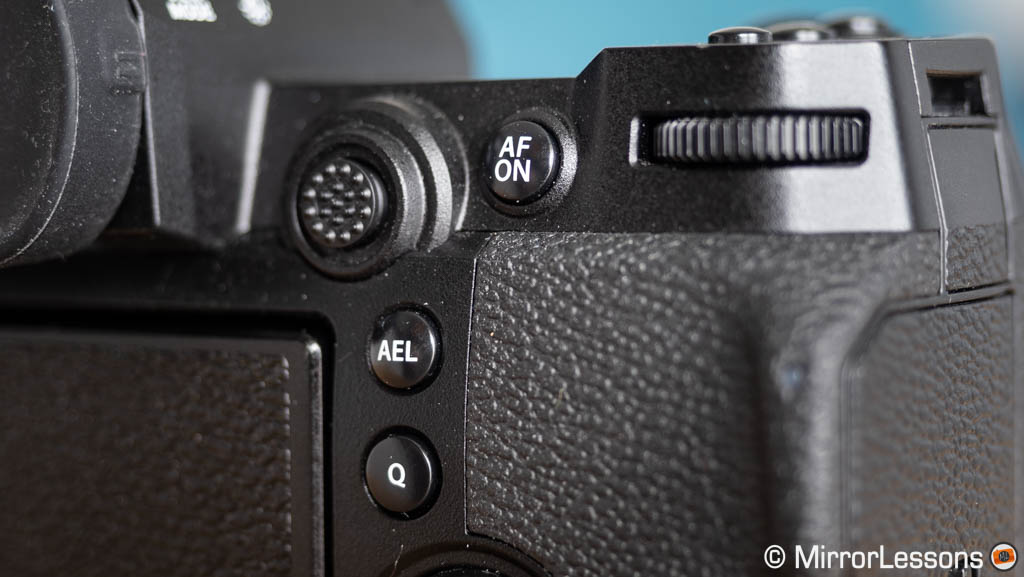
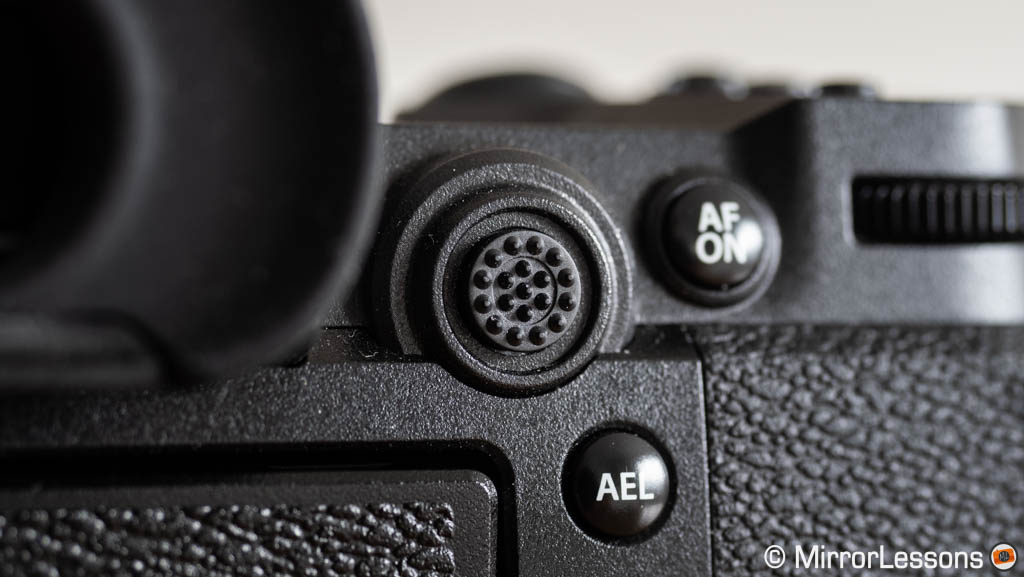
The larger AF Joystick is another good step forward in comparison to the tiny version you find elsewhere in the X series. It is more comfortable and more precise to use. There are also more options for it: you can choose to move the AF point directly, or open up the entire AF grid from which you can change the size of the AF area.
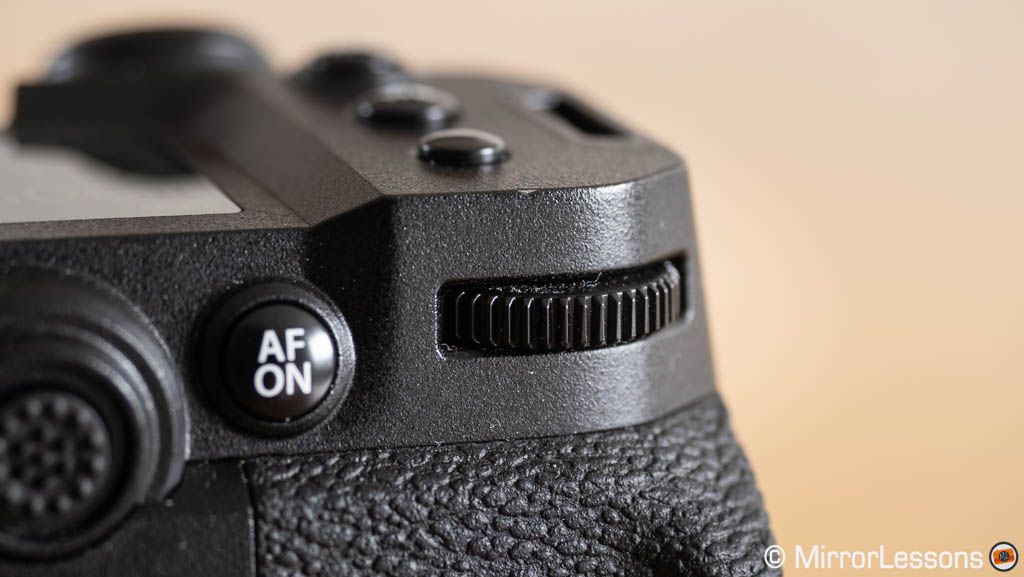
The front and rear dials protrude enough from the main frame that they can be turned easily. However, I found the rear dial often experienced a delay when being turned. Nothing happens when you start to rotate it, and once the software catches up, you realise you have turned it too far. This happened most frequently with exposure compensation, and was quite annoying. I’m not sure if only my sample was affected, or if there are other X-H2S owners who have experienced the same thing.
The camera offers 14 function buttons that can be customised with more than 70 options. You can also edit the Quick menu and create a My Menu section so, overall, there are lots of options for personalisation. The icing on the cake is the main dial on top with seven custom modes (C1 to C7) that can be assigned to stills or video use.
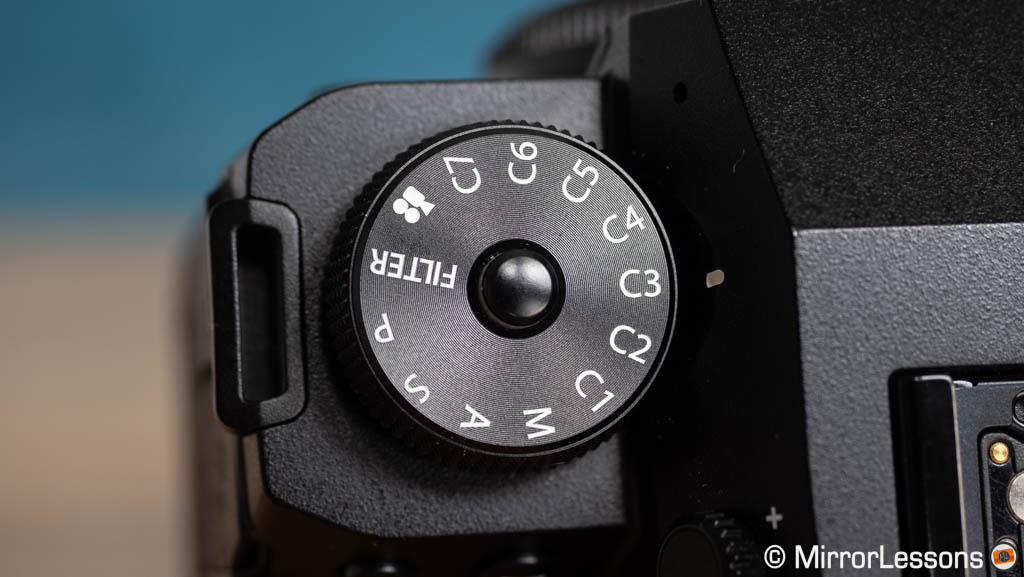
My only criticism concerning the customisation is that certain settings are not available for the function buttons, so you have to go through the Quick menu or My Menu, which aren’t as fast or straightforward as a button. Among the missing options, there is the Subject Detection setting.
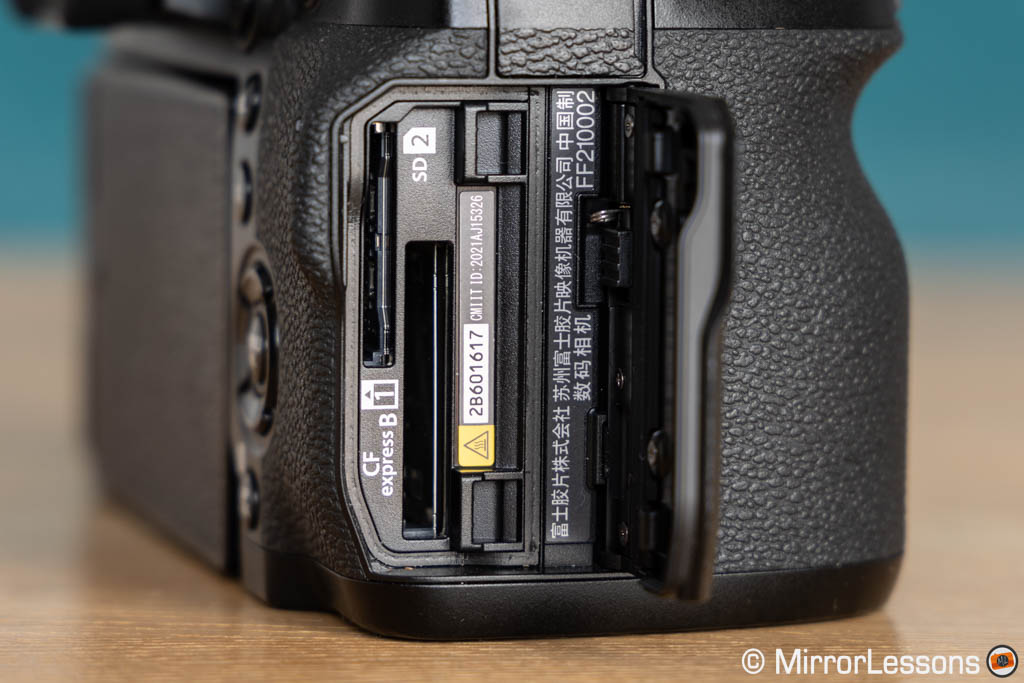
Moving on to the right side of the camera, you’ll find two memory card slots: the first takes the larger CFexpress Type B card, which is required for certain video formats. The second is compatible with SD UHS-II cards.
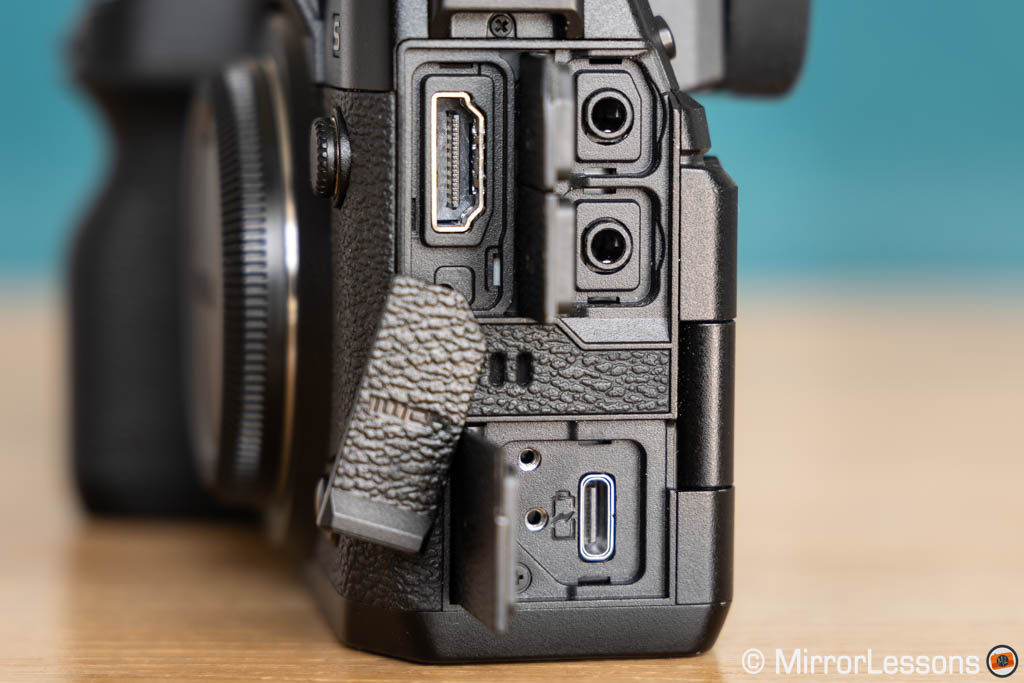
On the left, you’ll find the following connectors:
- Full sized HDMI
- Microphone in and headphone out (3.5mm jack)
- USB Type C (10Gbps) with charging / power delivery
There is also a flash sync port at the front, and a 2.5mm remote input above the card compartment. The various doors to access the connectors are well built and easy to open/close.
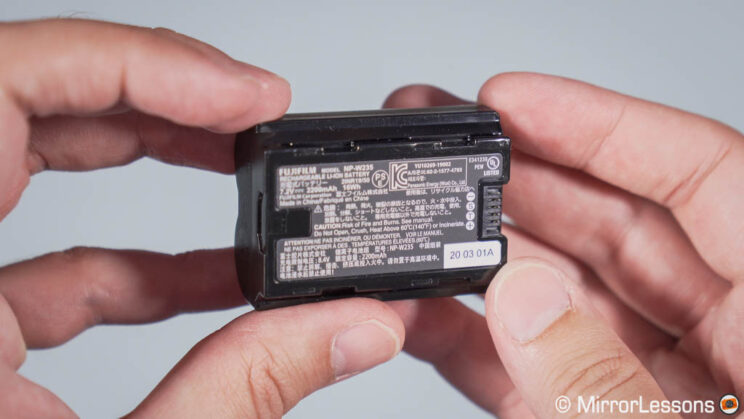
Finally, we have the battery. It is the same type used by the X-T4, the NP-W235, and offers adequate performance, without being class-leading.
My first outing was a bit disappointing: an hour and a half boat trip to photograph seals drained the battery approximately 60%, with a total of 600 images taken, using a low burst speed and without recording video.
Later on in the week, I was also able to record more than 4,000 images of red kites in flight, using the fastest continuous shooting speed, with the battery draining again by roughly 60%.
The main culprit is the Boost mode, which improves the quality in the EVF but also drains the battery more, whether you’re shooting or just waiting to shoot. You can of course turn it off, but it also guarantees the AF works at its optimal performance, so keep that in mind.
As for video, the camera can record 1h50min of 4K 50p footage on a single charge, which is good. I tested it without C-AF, IBIS or Boost mode, all of which will reduce the battery life.
Viewfinder and LCD monitors
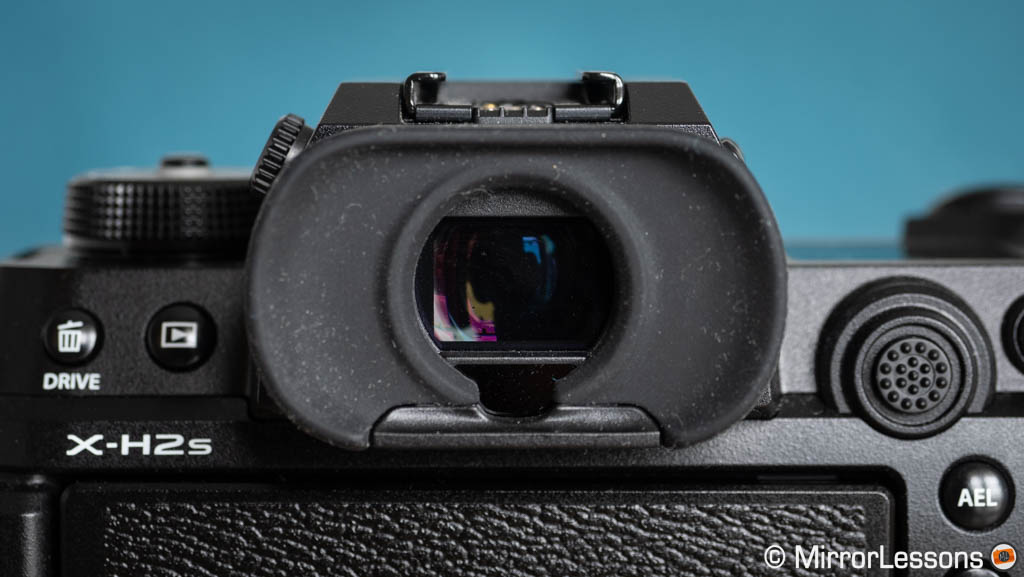
The X-H2S features a very good viewfinder with 5.76M dots, a large magnification of 0.8x, a maximum frame rate of 120p (when Boost mode is enabled) and a 24mm eyepoint.
I find it comfortable to work with when wearing glasses, but I find the eyecap a little too thick, and you lose sight of the four extreme corners of the frame.
When activating the boost mode, there are several options you can choose: you can give priority to the resolution, or lower the frame rate to improve the brightness in low light. Or you can prioritise a fast frame rate (120p) for a smoother view when shooting fast action.
Interestingly, there is also a 240p option but Fujifilm specifies it is an equivalent value. I couldn’t find a detailed explanation for this, but I suspect in this mode the panel works in interlaced mode rather than progressive, doubling the perceived frame rate by merging two fields taken at a slightly different time into the same frame. When the 240p mode is active, the brightness of the viewfinder decreases, so it is mainly useful outside in bright light.
The rear monitor is your classic 3-inch multi-angle LCD. It has a resolution of 1.62M dots and is touch sensitive: you can move the AF point, prioritise a subject, take a picture or change settings via the four customisable flick gestures.
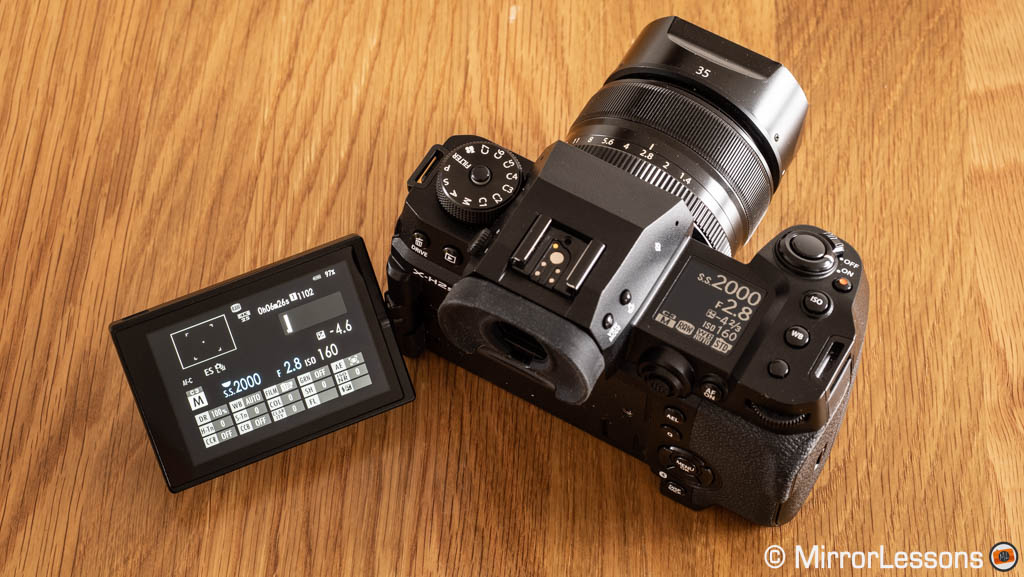
Finally, there is a handy LCD on top that gives you a good range of information. It’s quite large for a monitor of its kind, and I really appreciated having it there.
You can customise the information that it displays (separately for stills and video), and there is a small button on the EVF that allows you to invert the contrast. Even when turned off, it shows you how much space is left on the memory card, as well as which card you’re recording to and the battery life left.
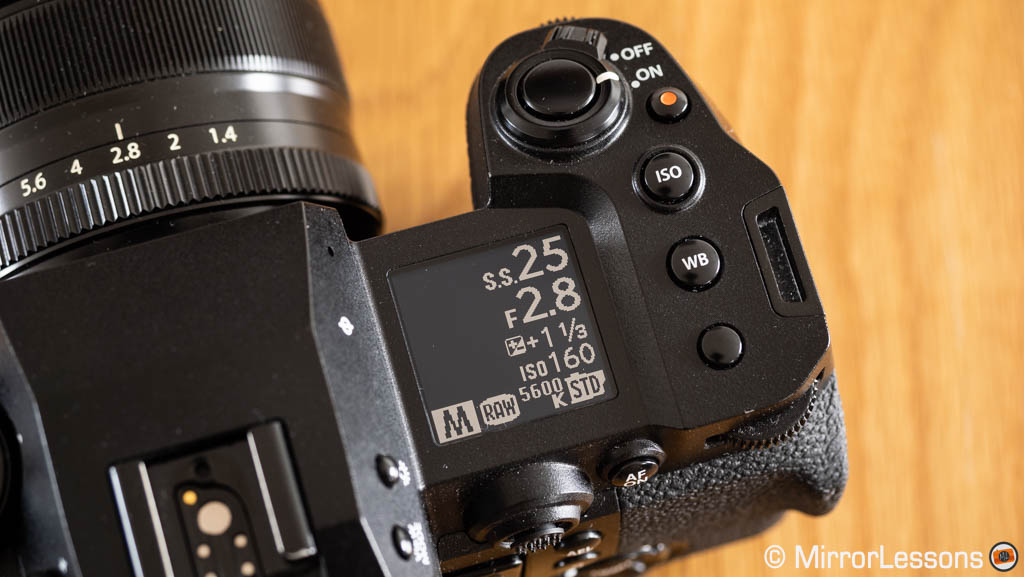
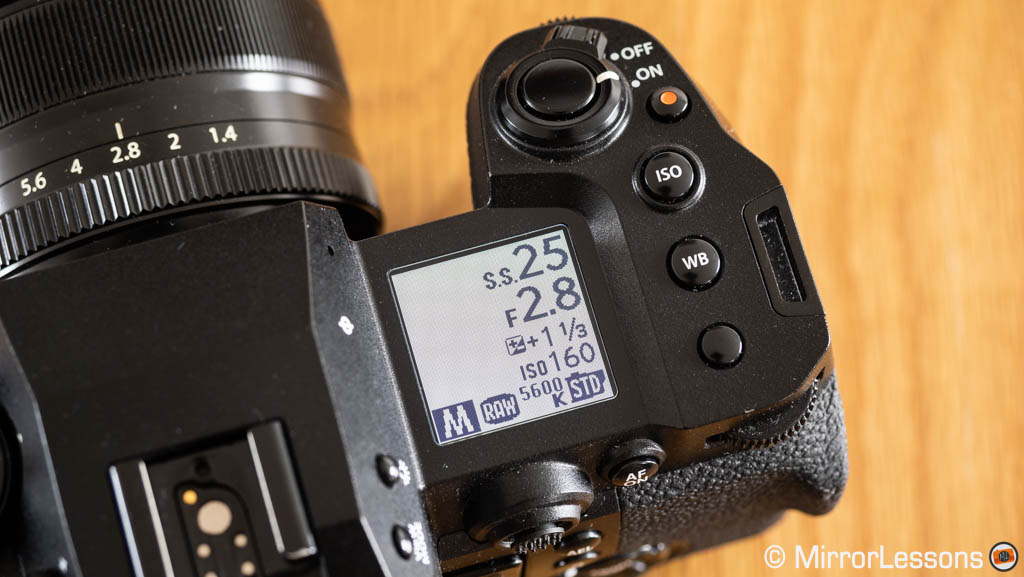
Image Quality
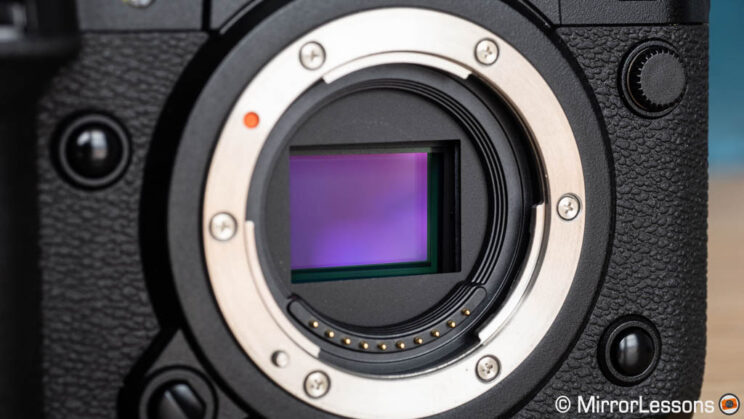
I’ll be brief here because the sensor is very similar to that of the X-T4: same pixel pattern (X-trans), same resolution (26.1MP) and same BSI structure.
The main difference is that the X-H2S sensor is stacked, allowing the camera to have a faster readout speed and, consequentially, achieve a faster drive speed as well as reduce the rolling shutter effect (more on this in the next chapter).
You can shoot in RAW, JPG or HEIF. If you use the built-in RAW converter, you can also save TIFF files. RAW comes with three compression levels, and this is how much space each version takes on average:
Uncompressed RAW
55MB
Lossless Compressed RAW
23MB
Compressed RAW
18MB
The question here is: does the stacked version of this sensor alter the image quality in comparison to the non-stacked sensor? To find out, I tested the X-H2S and X-T4 side by side.
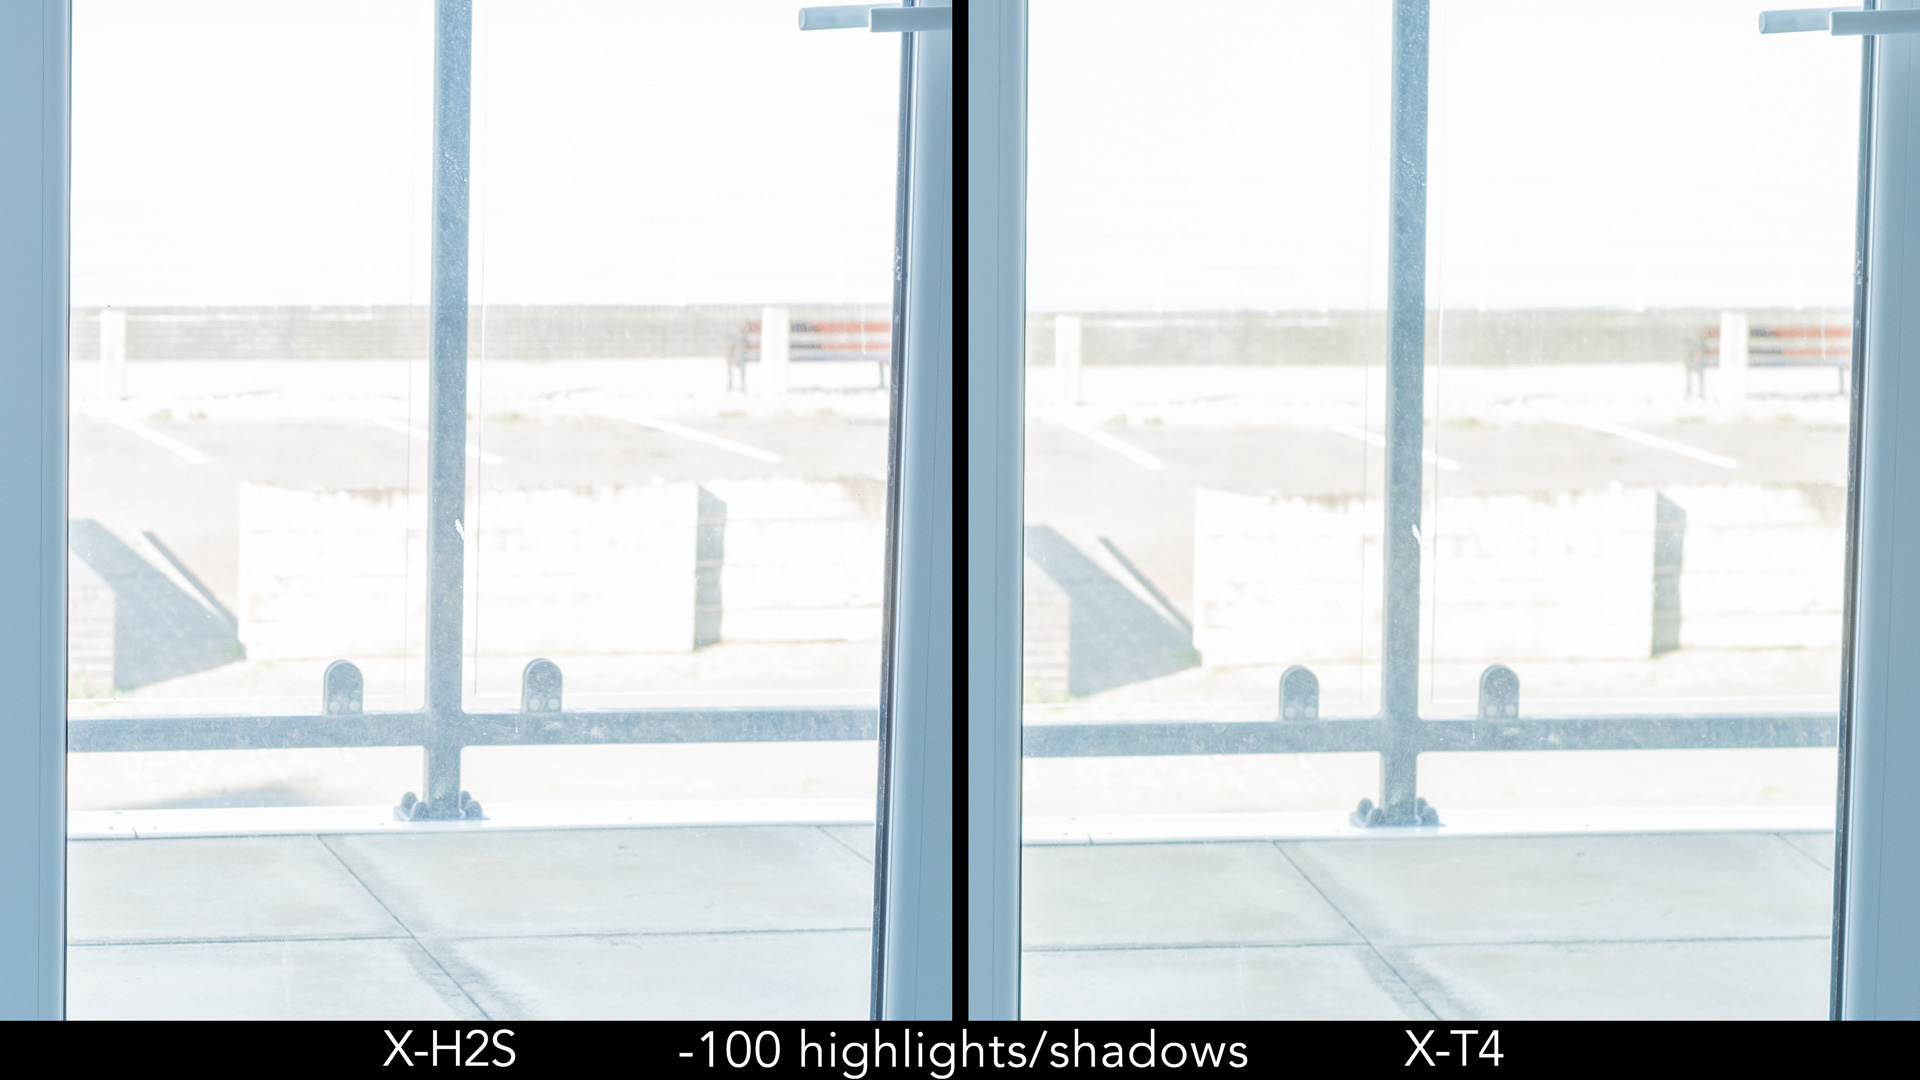
Our first dynamic range test shows an equal amount of details recovered in the highlights, and the same quality in the shadows.
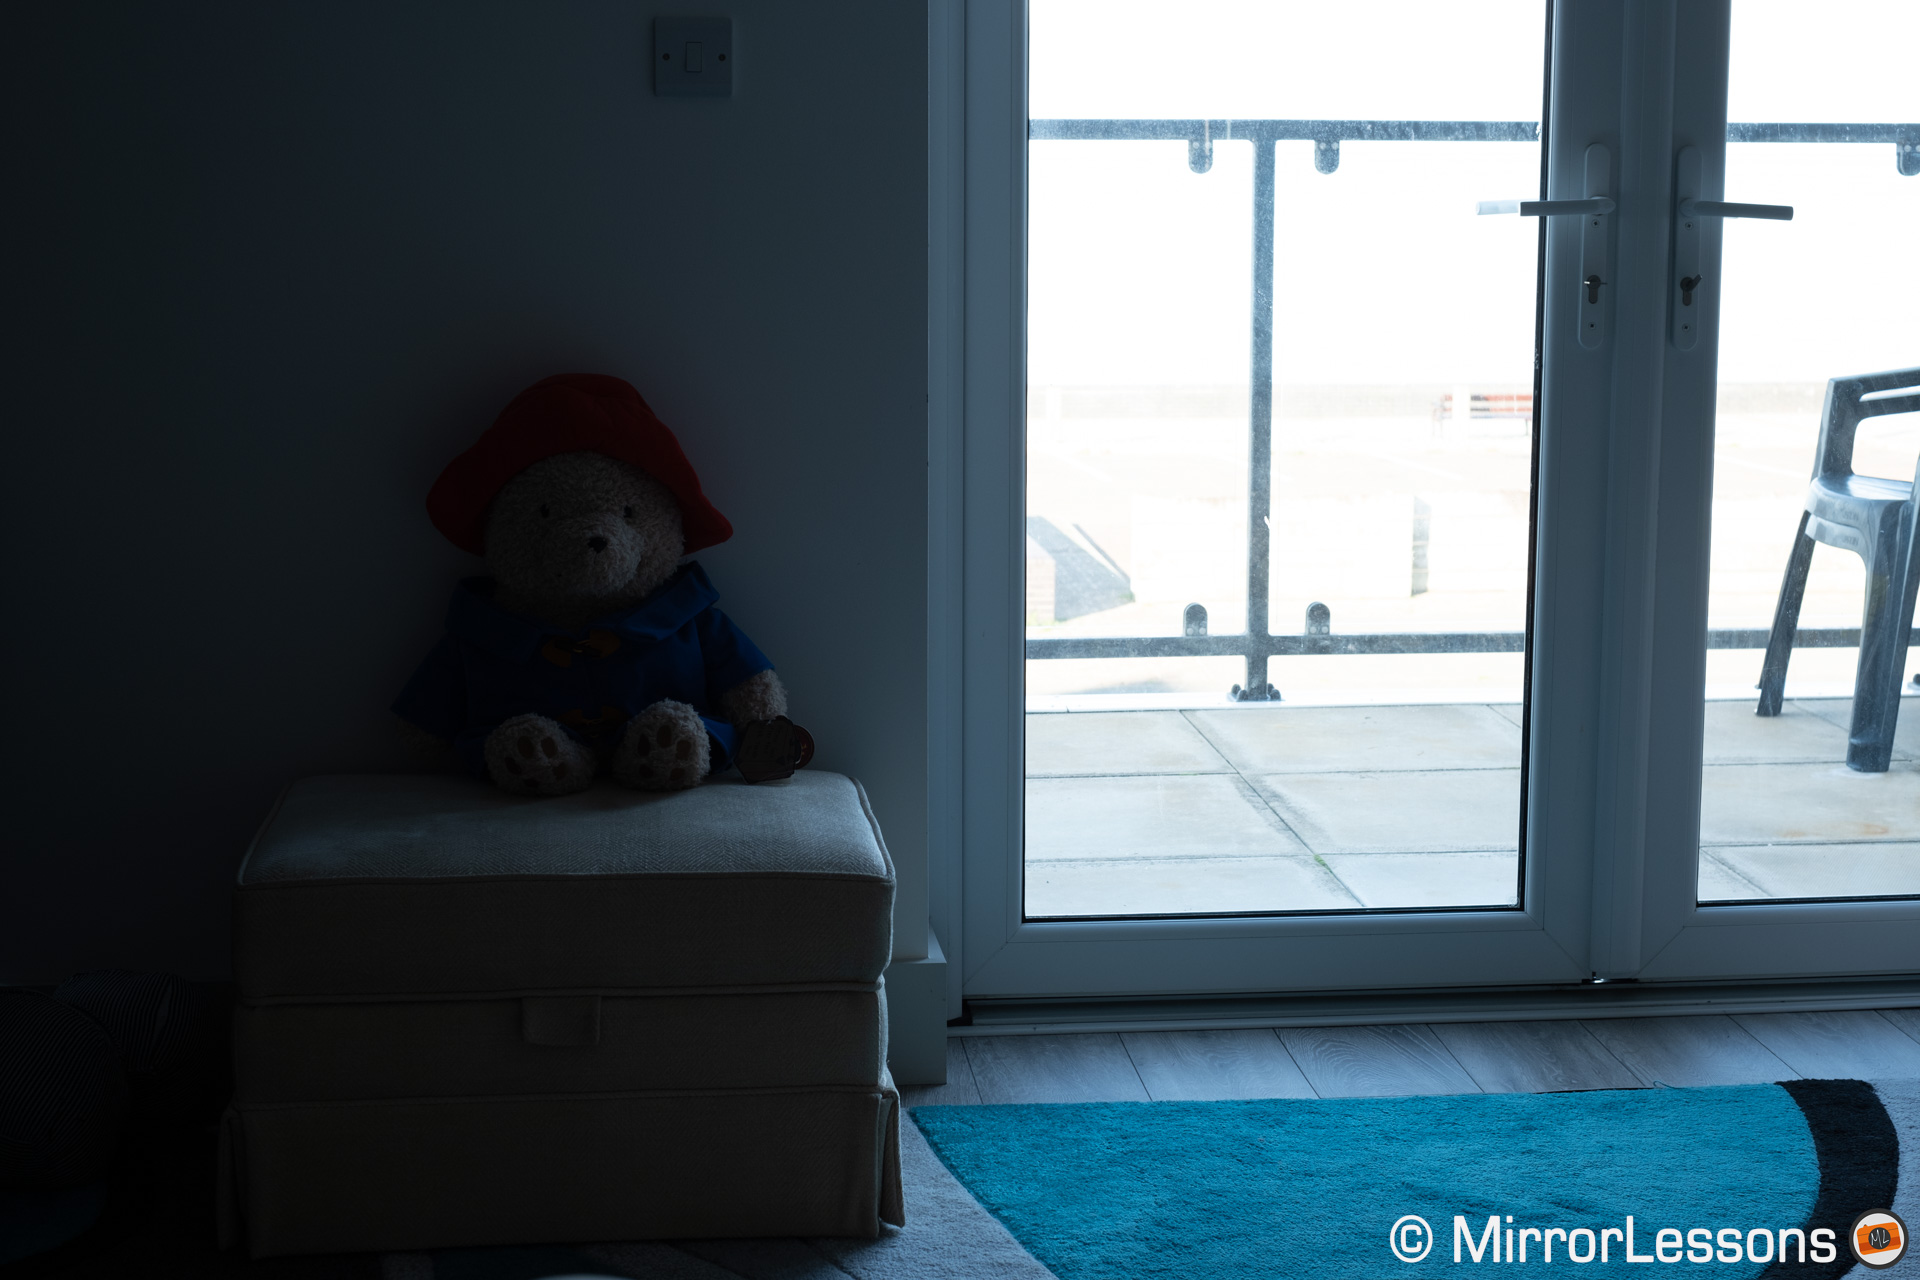
¹⁄₄₀ sec, ƒ / 5.6, 160 – 35 mm
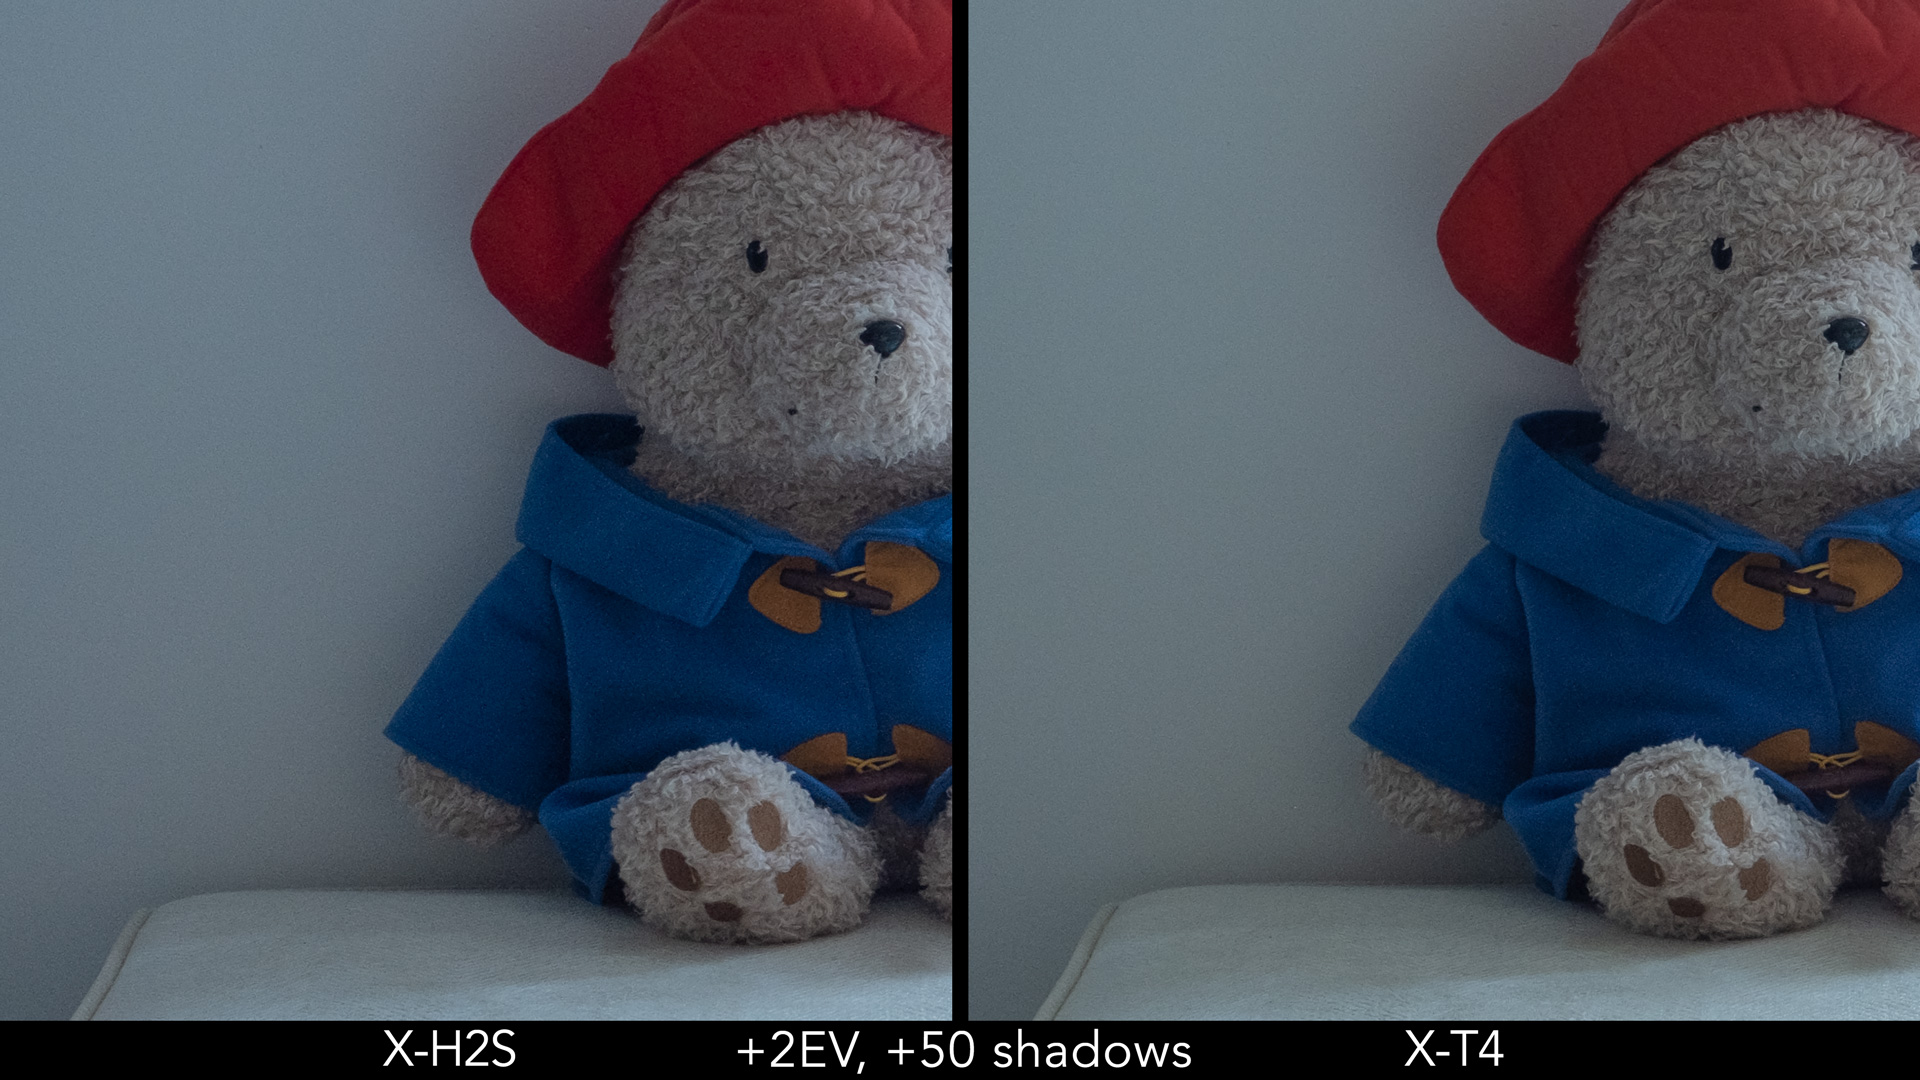
The shadow recovery here is two stops, which hardly shows you how far you can go with such modern digital sensors.
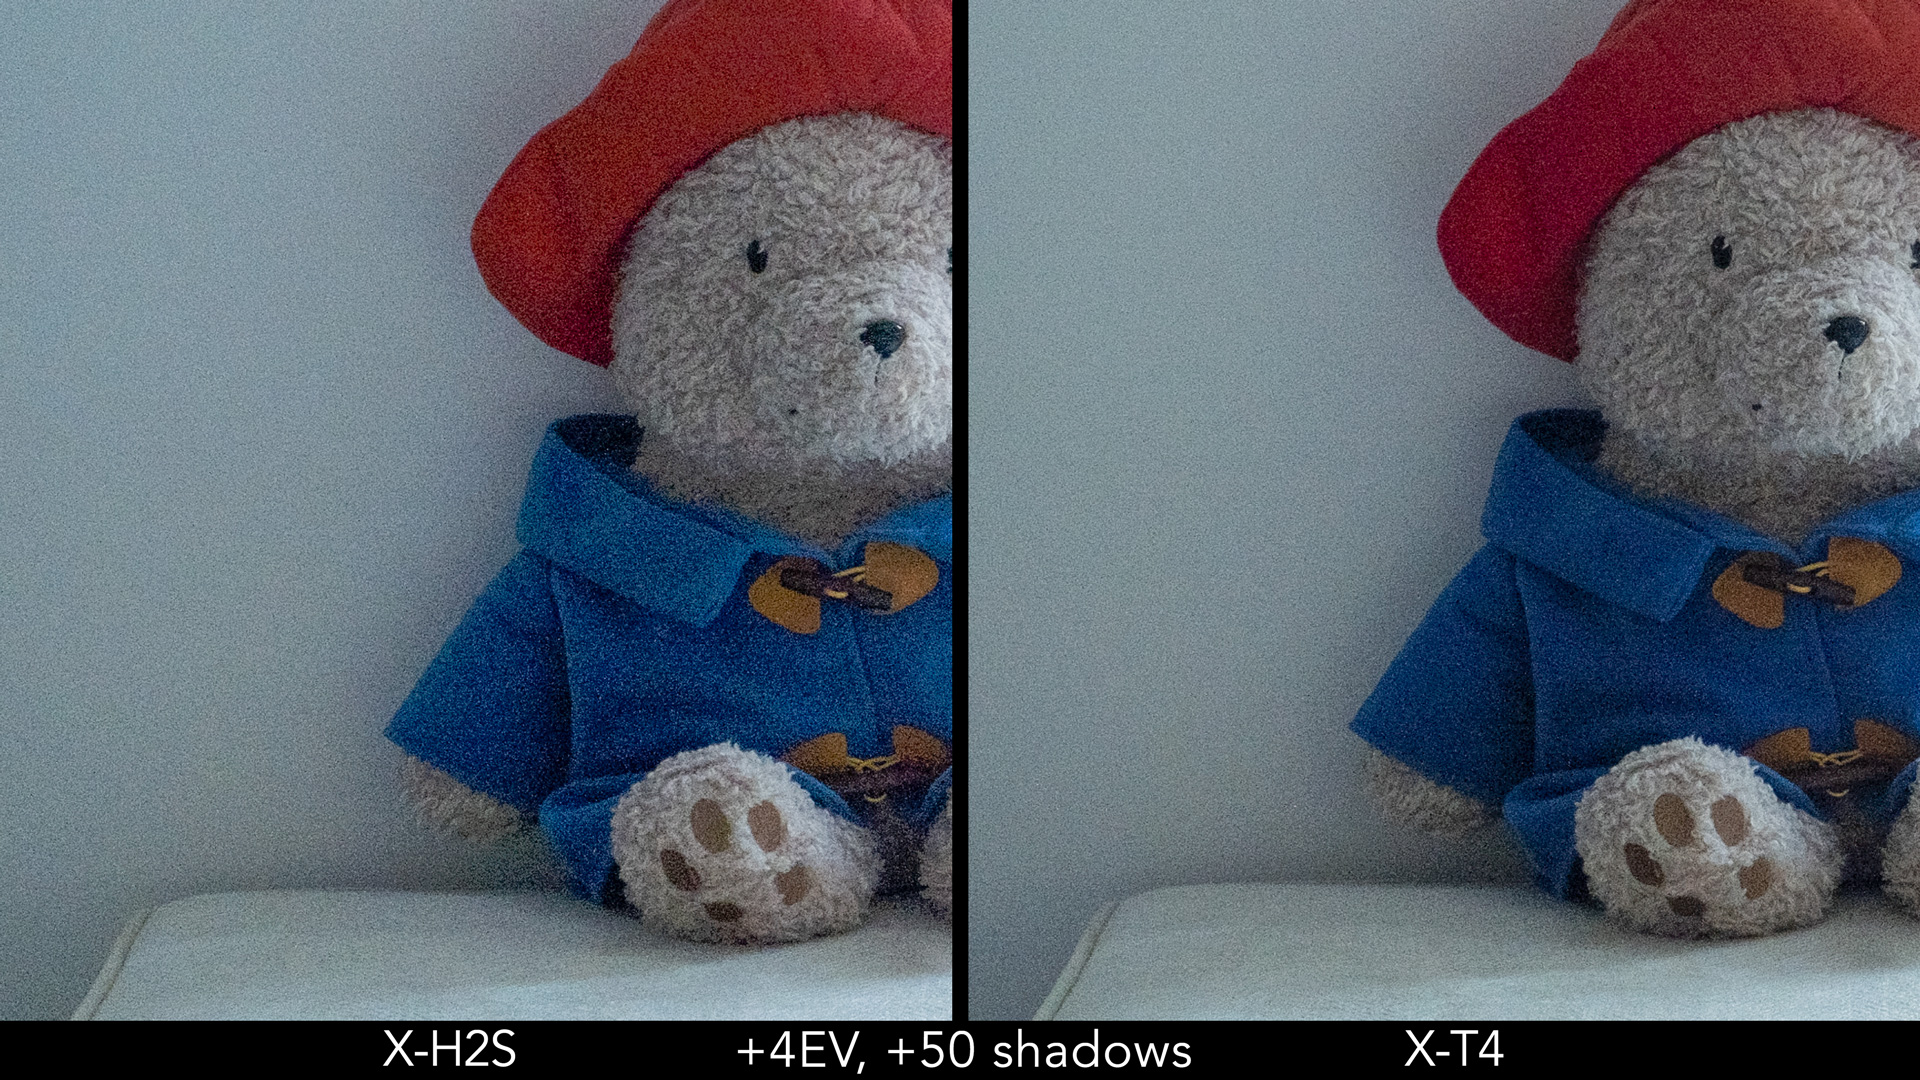
With a more severe exposure recovery of 4 stops, you can see that the X-H2S produces more noise in comparison to the X-T4.
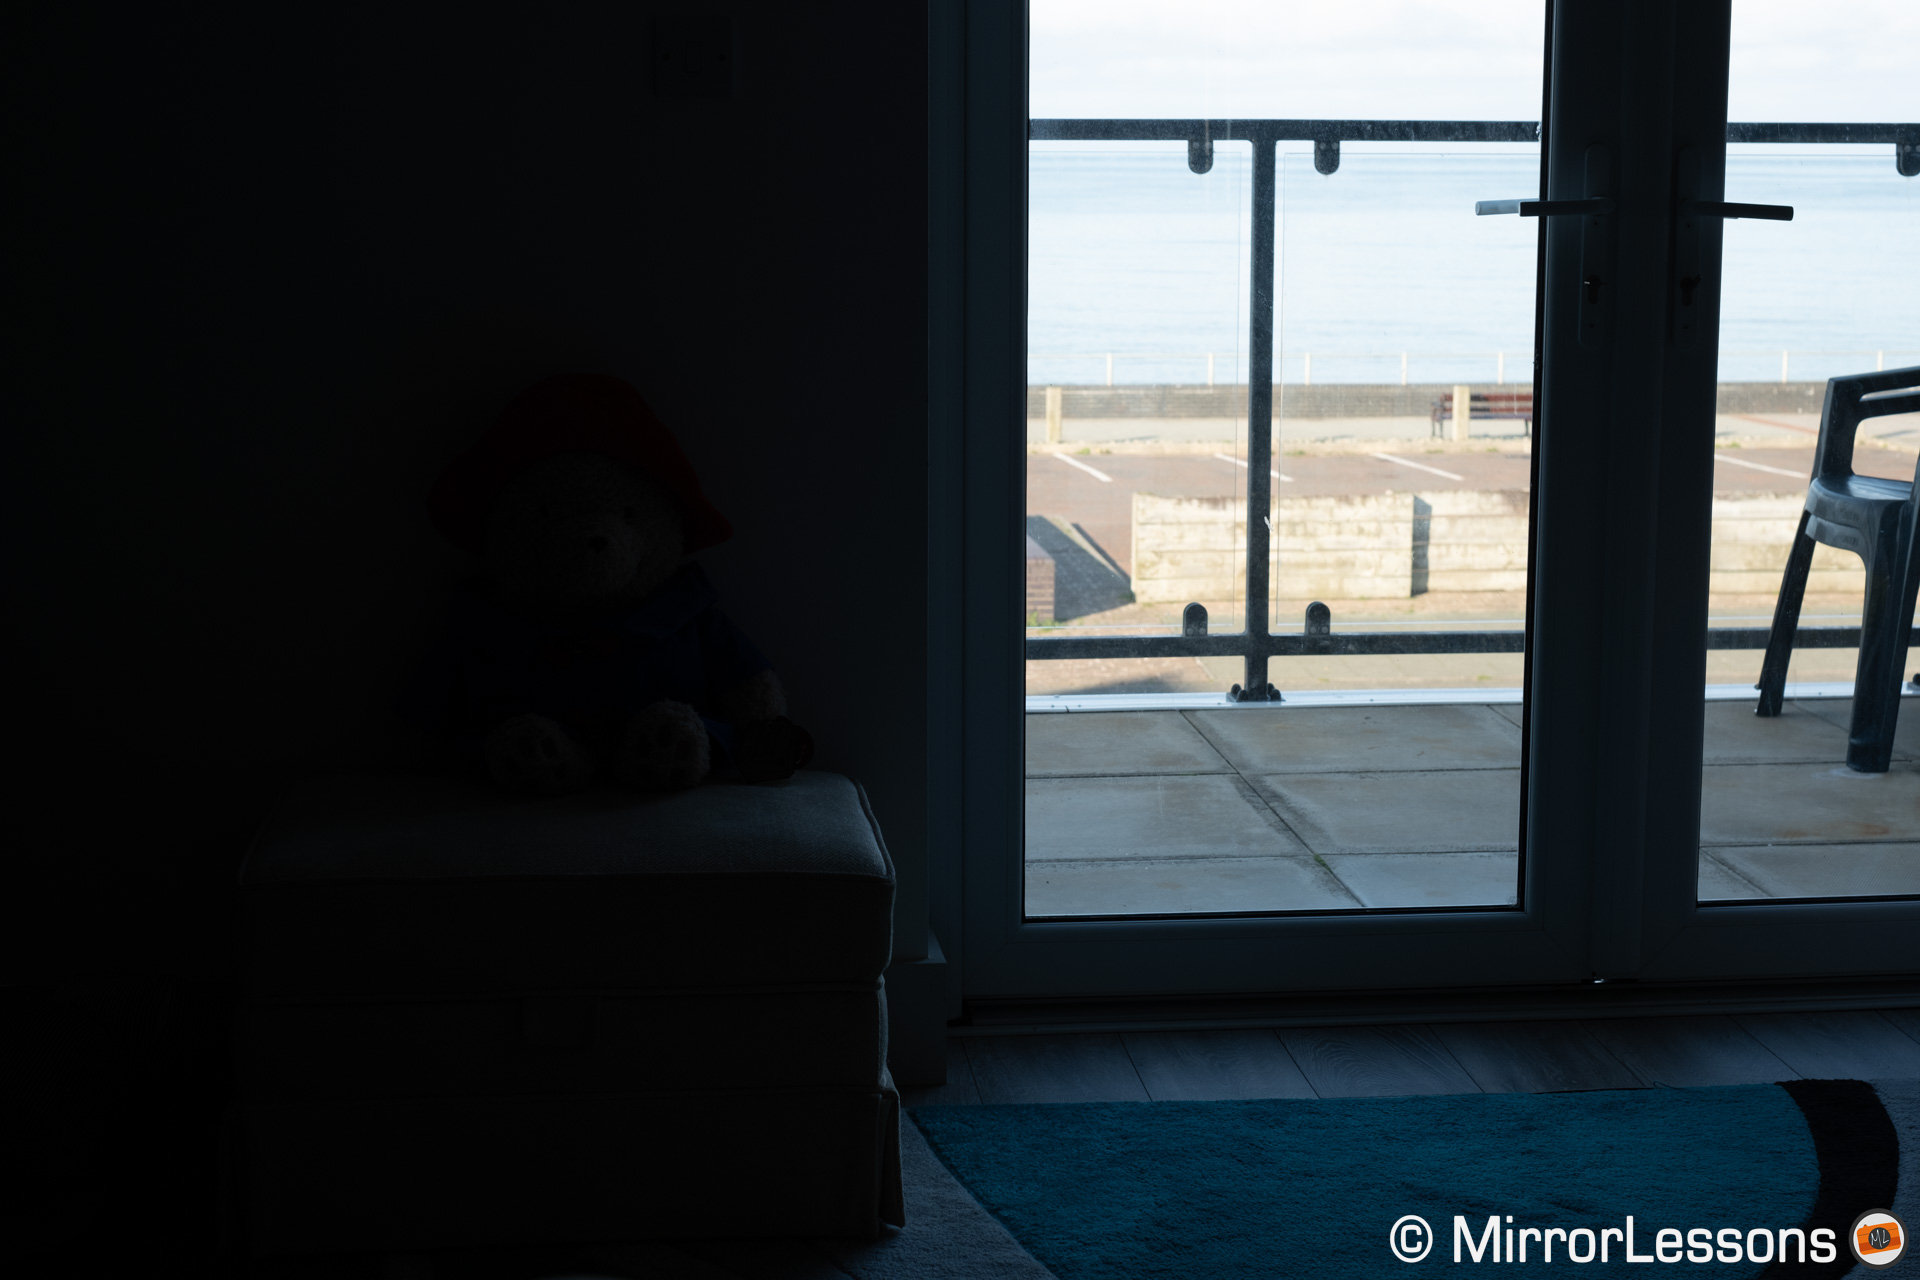
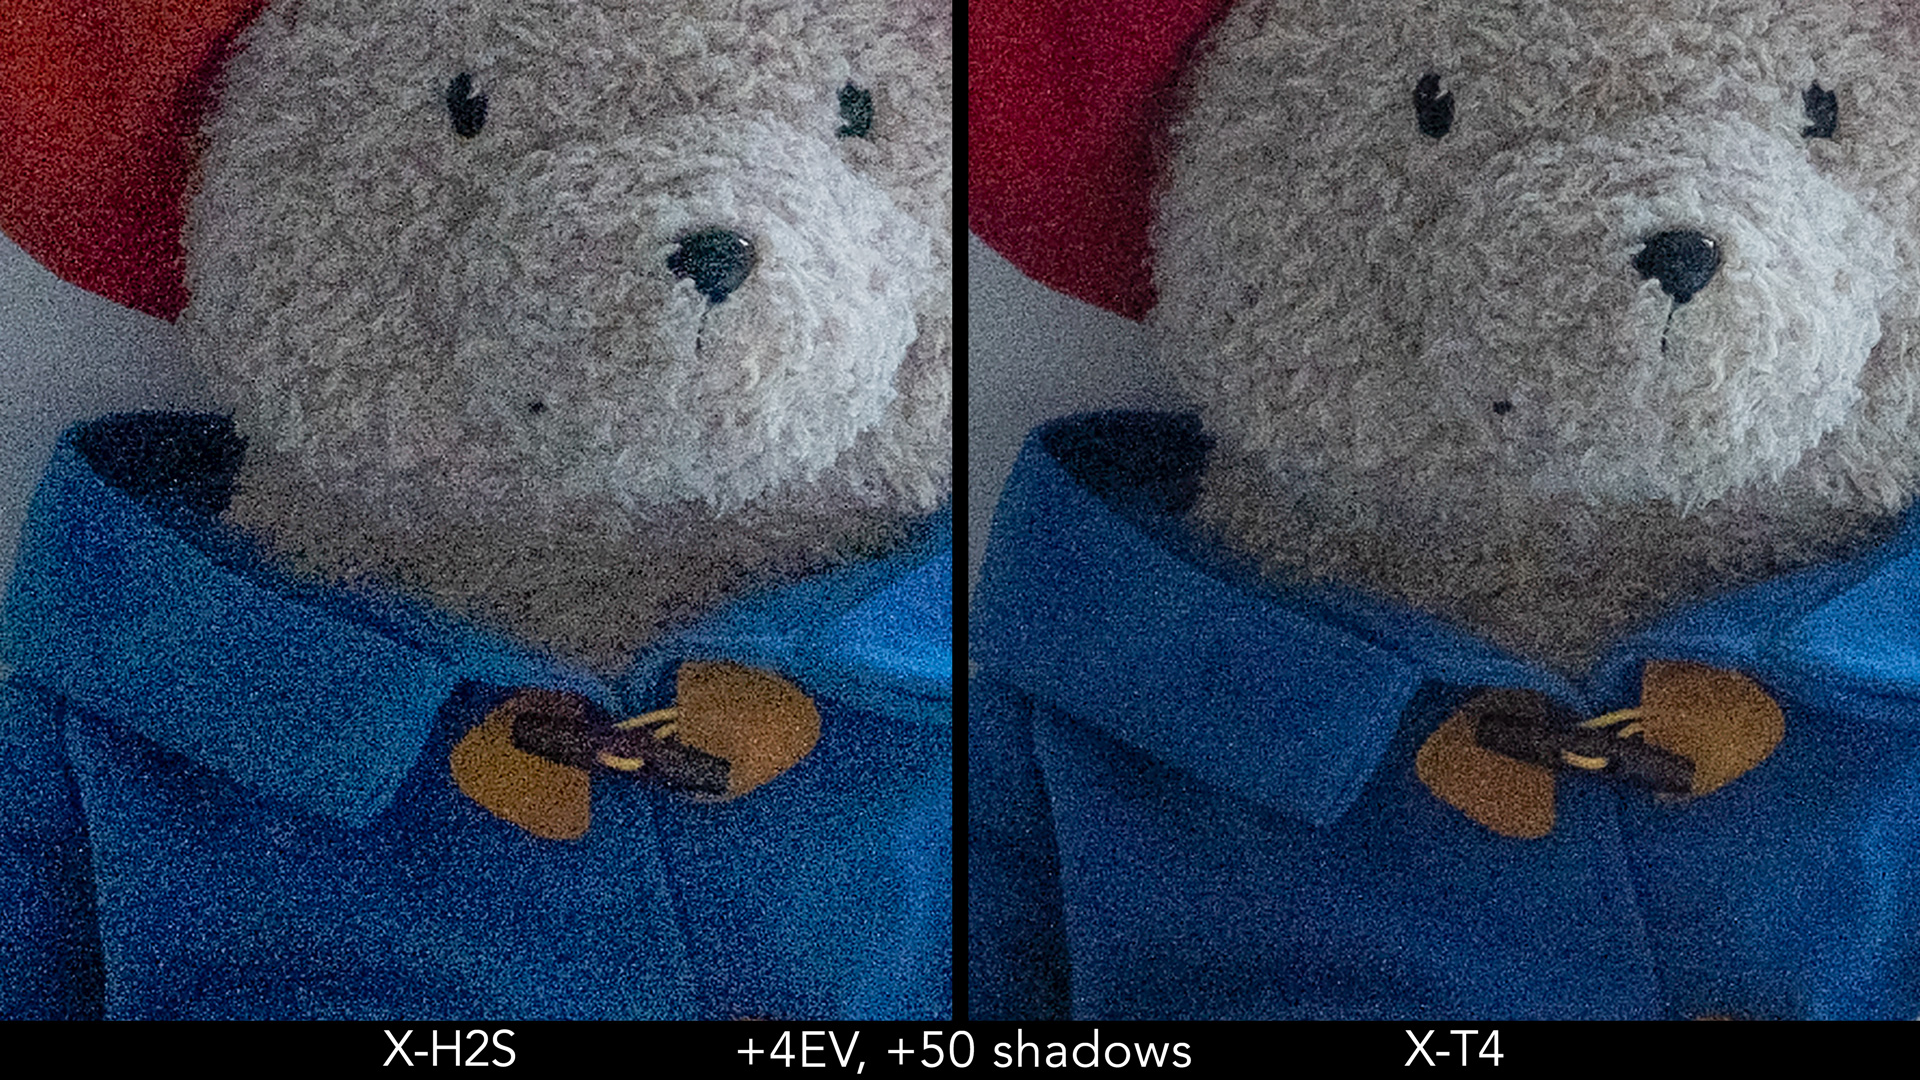
A closer look at the neck and blue coat of the stuffed toy stresses the loss of detail on the X-H2S image. So there is your first difference, but hopefully you won’t ever need to recover the exposure that much.
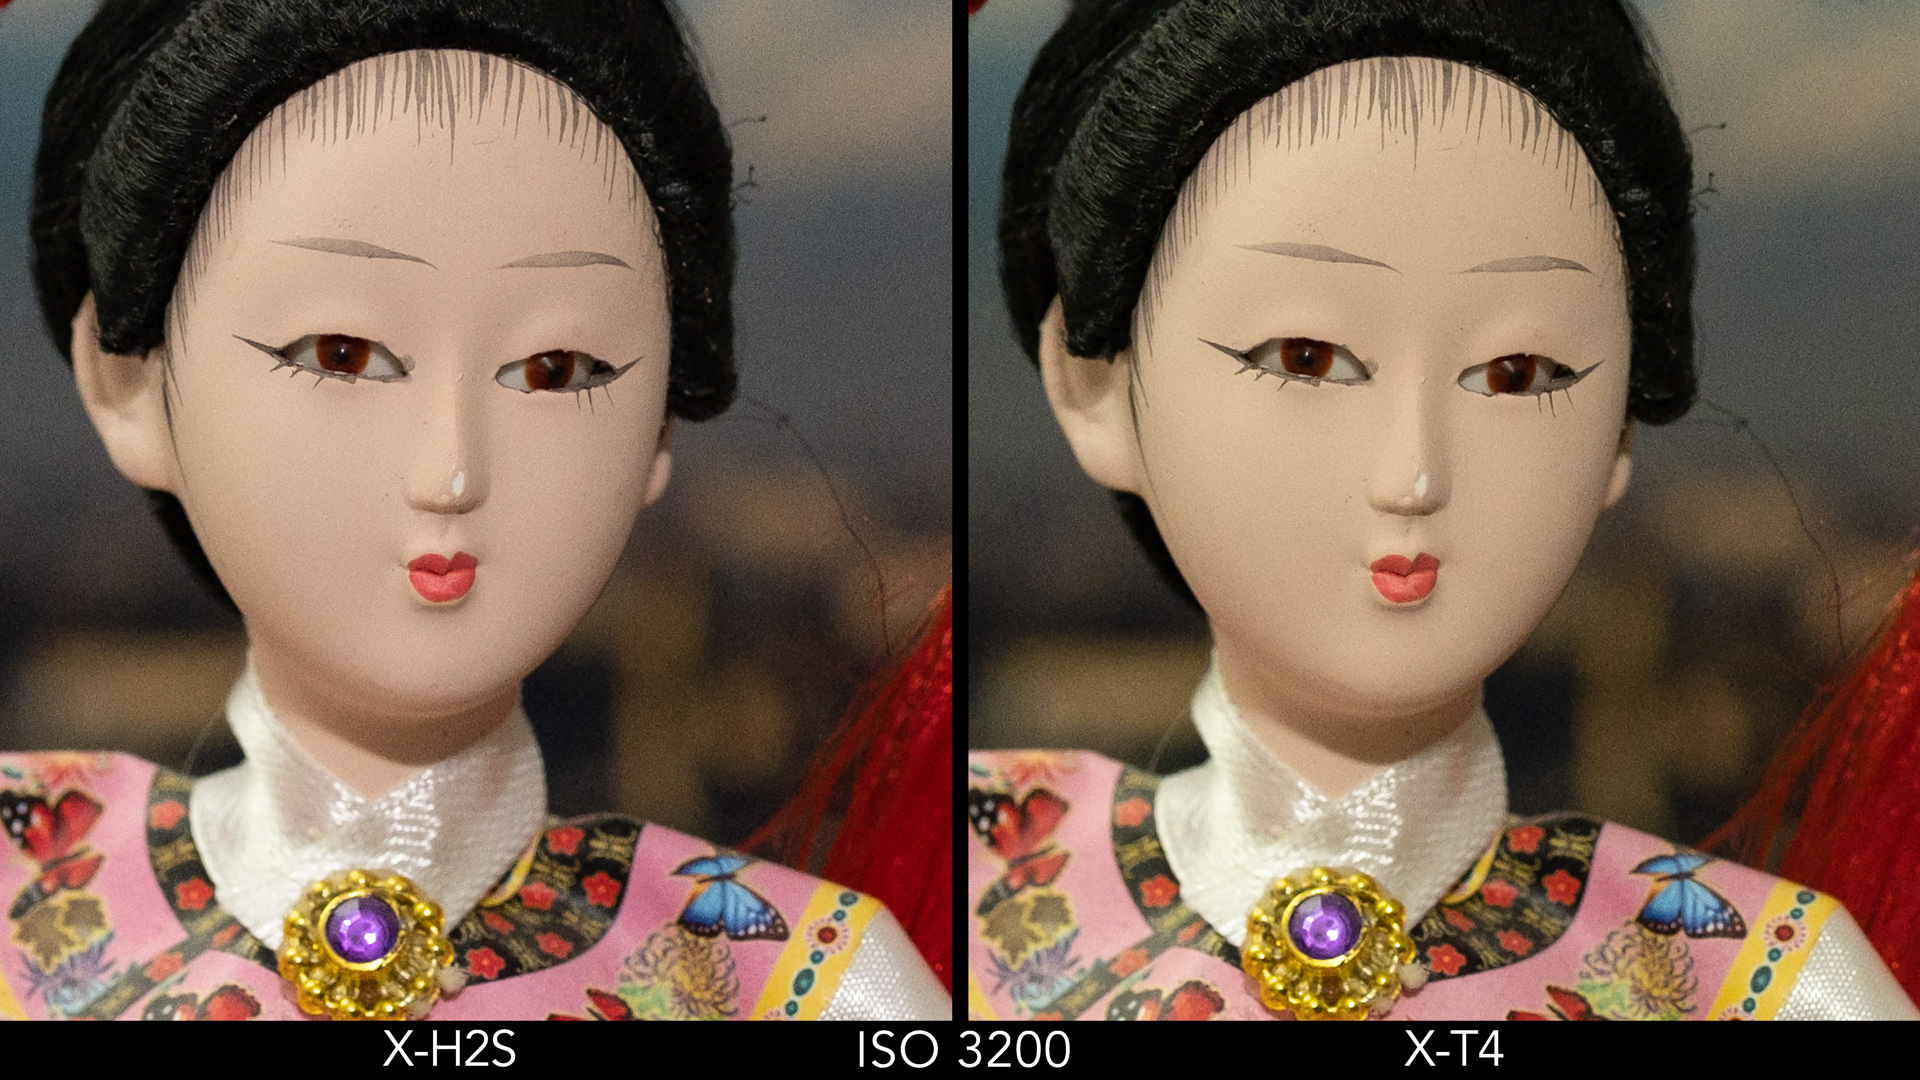
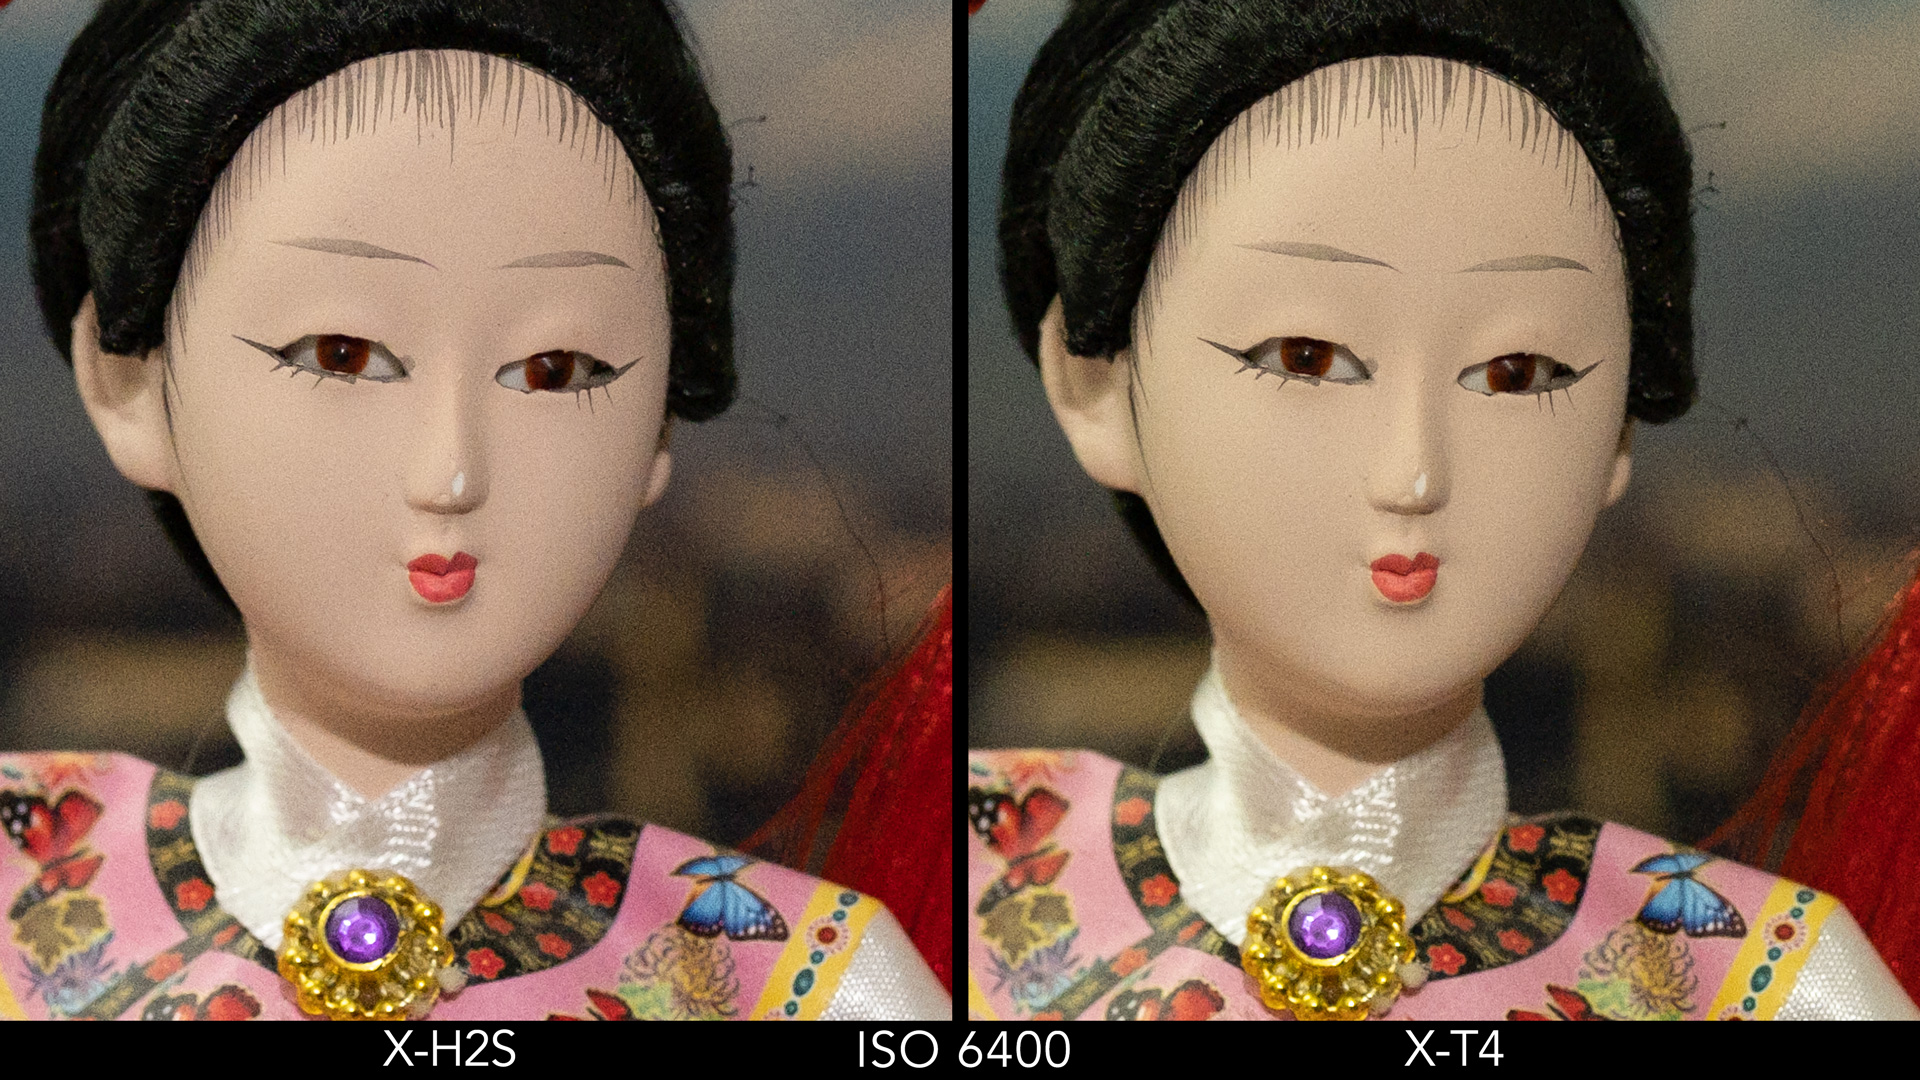
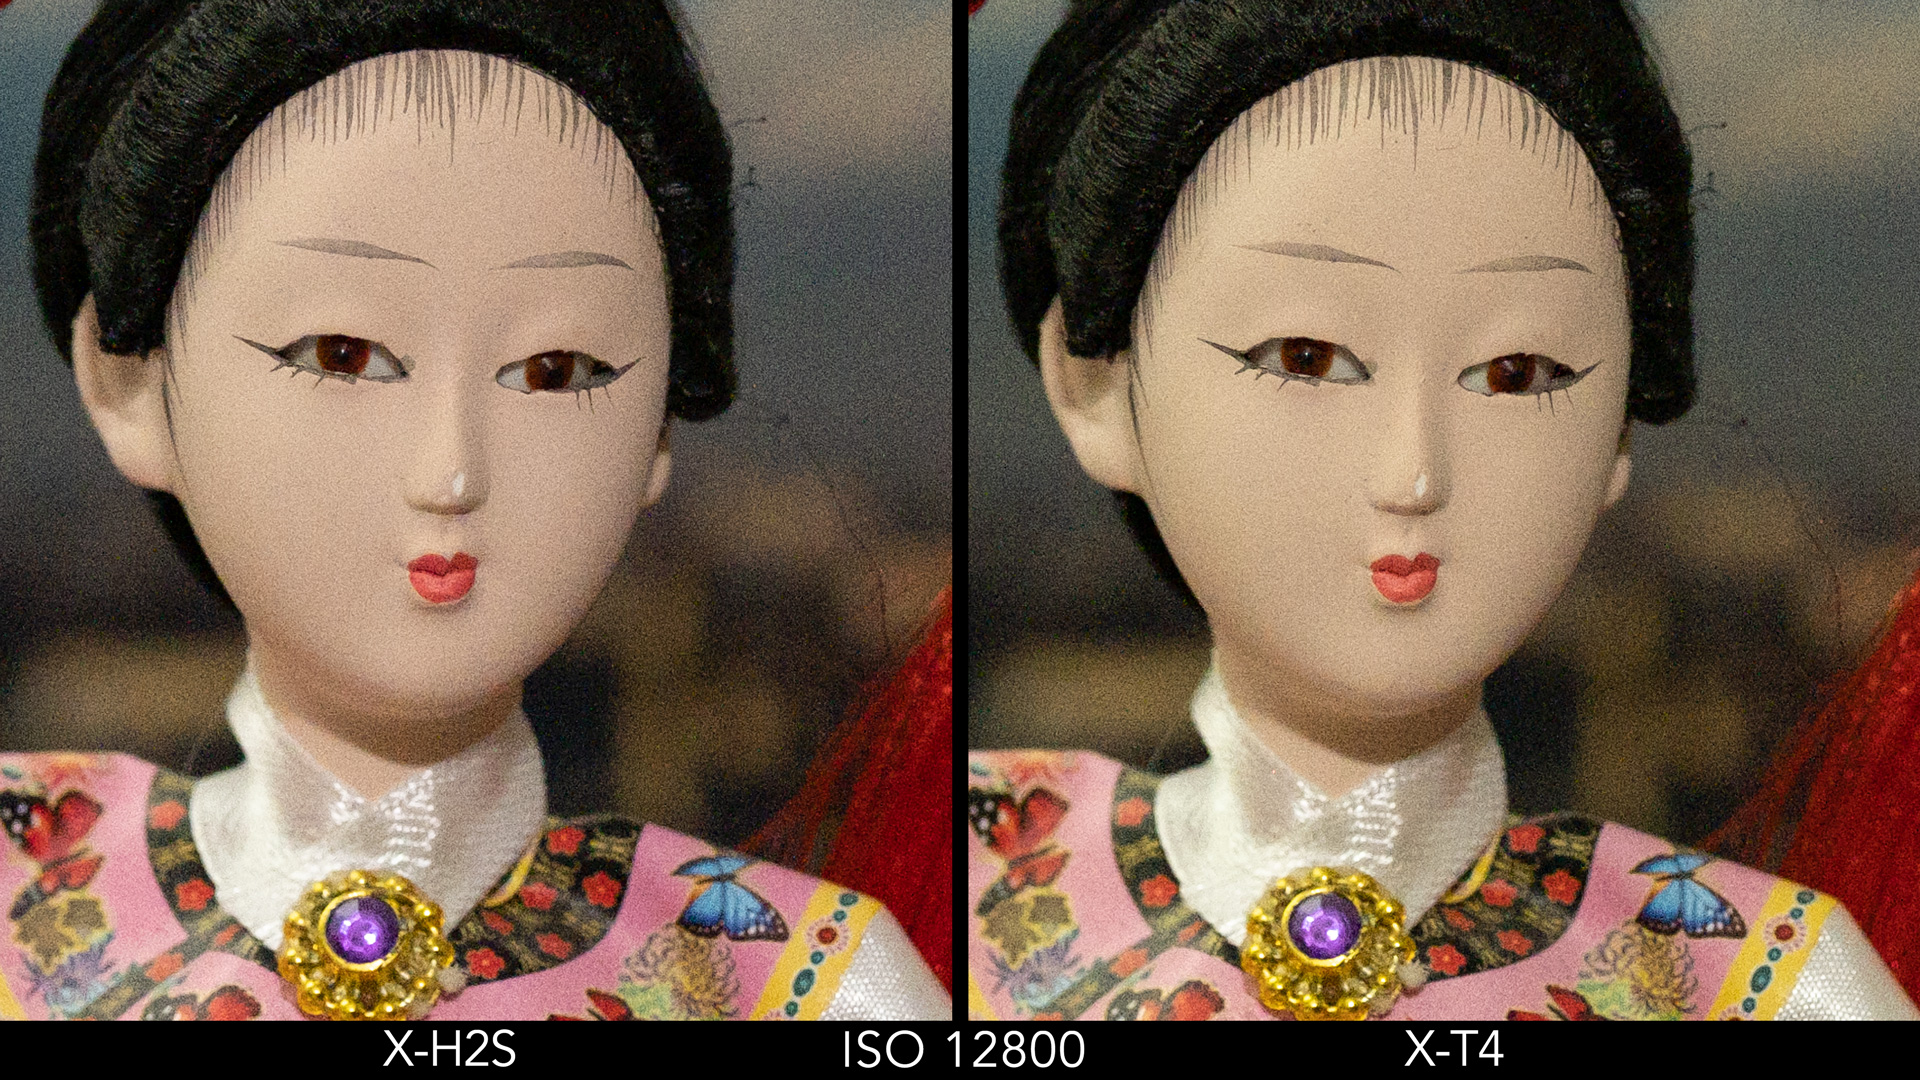
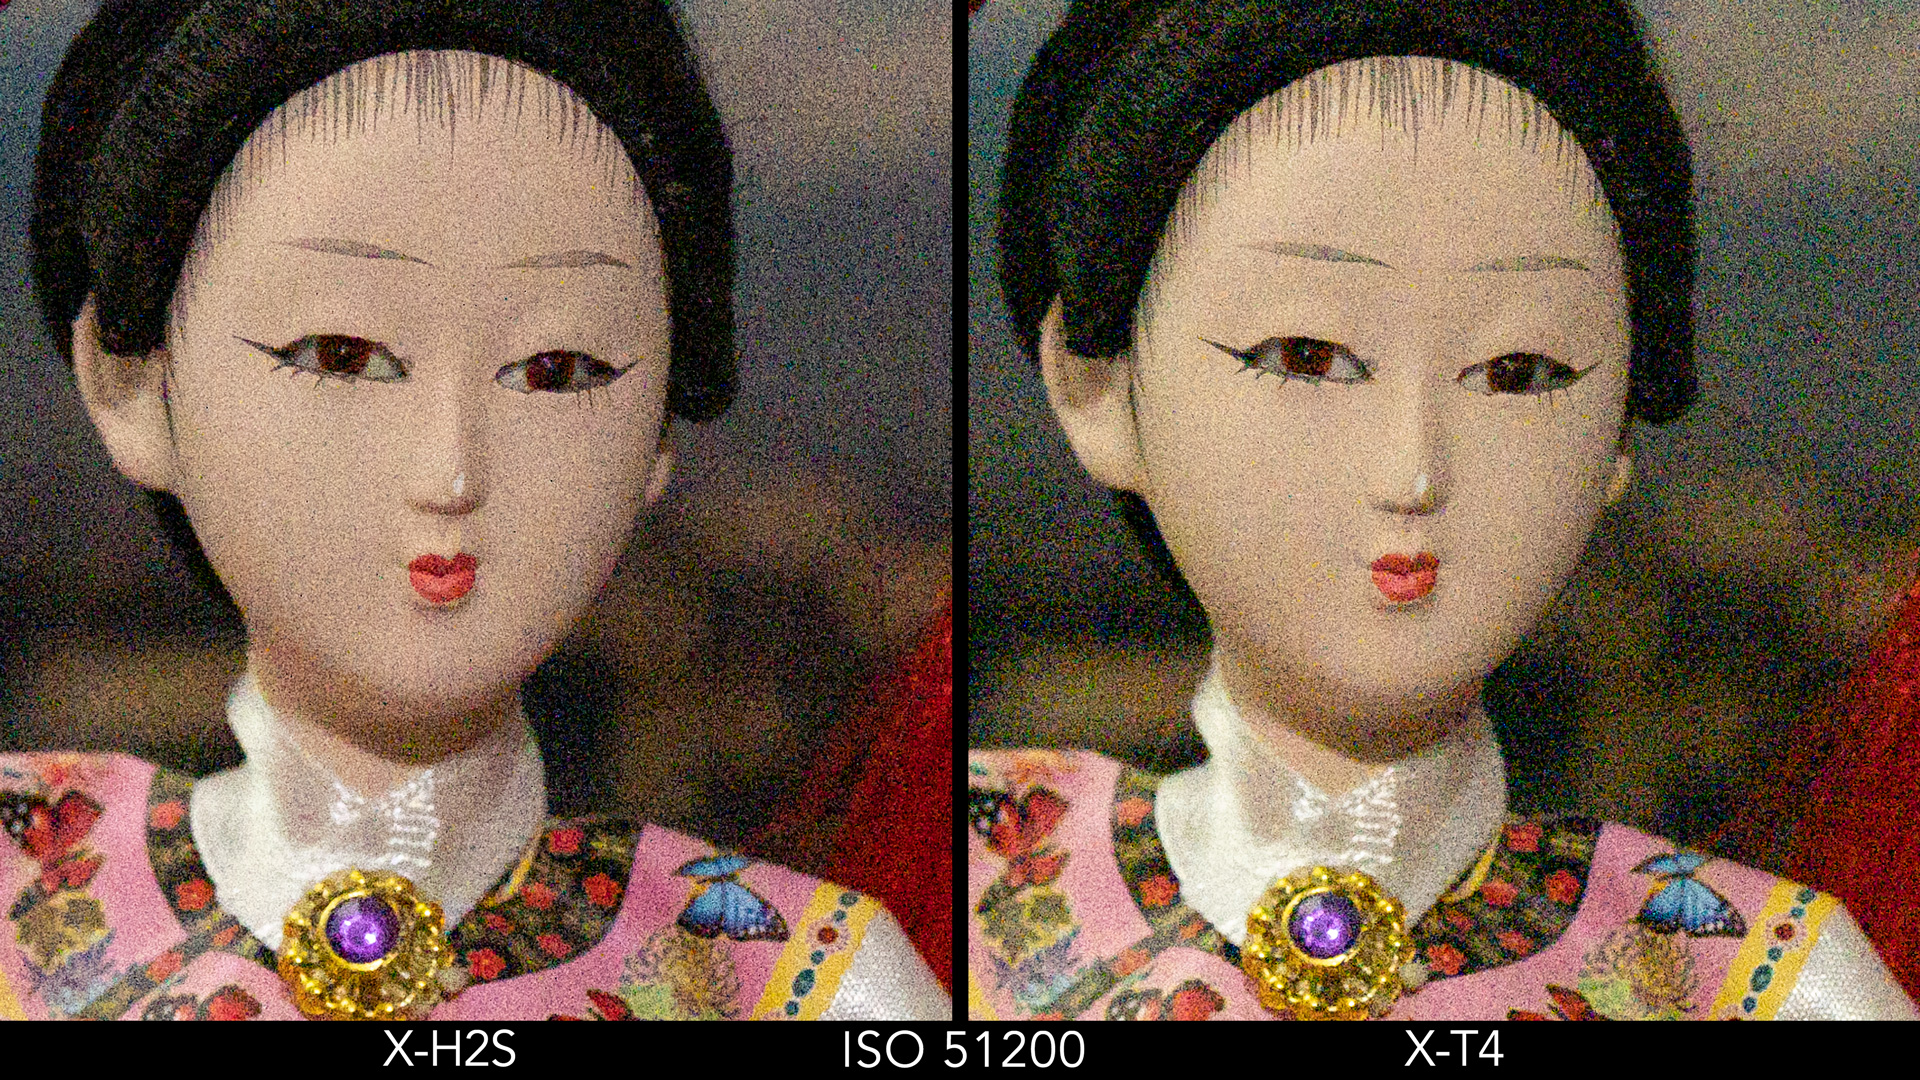
At high ISO, the results are comparable up to 12,800. Noise on the X-T4 appears slightly thinner and smoother, but it’s a small difference.

Note that I kept colour noise reduction on Lightroom to the minimum (5). You can also appreciate a difference in colour, with the X-T4 having a greener rendering. The two RAW files have the same Adobe Colour profile and WB/Tint values. As always, being RAW files, you can easily edit the result and colours will also be influenced by the profile or software used.
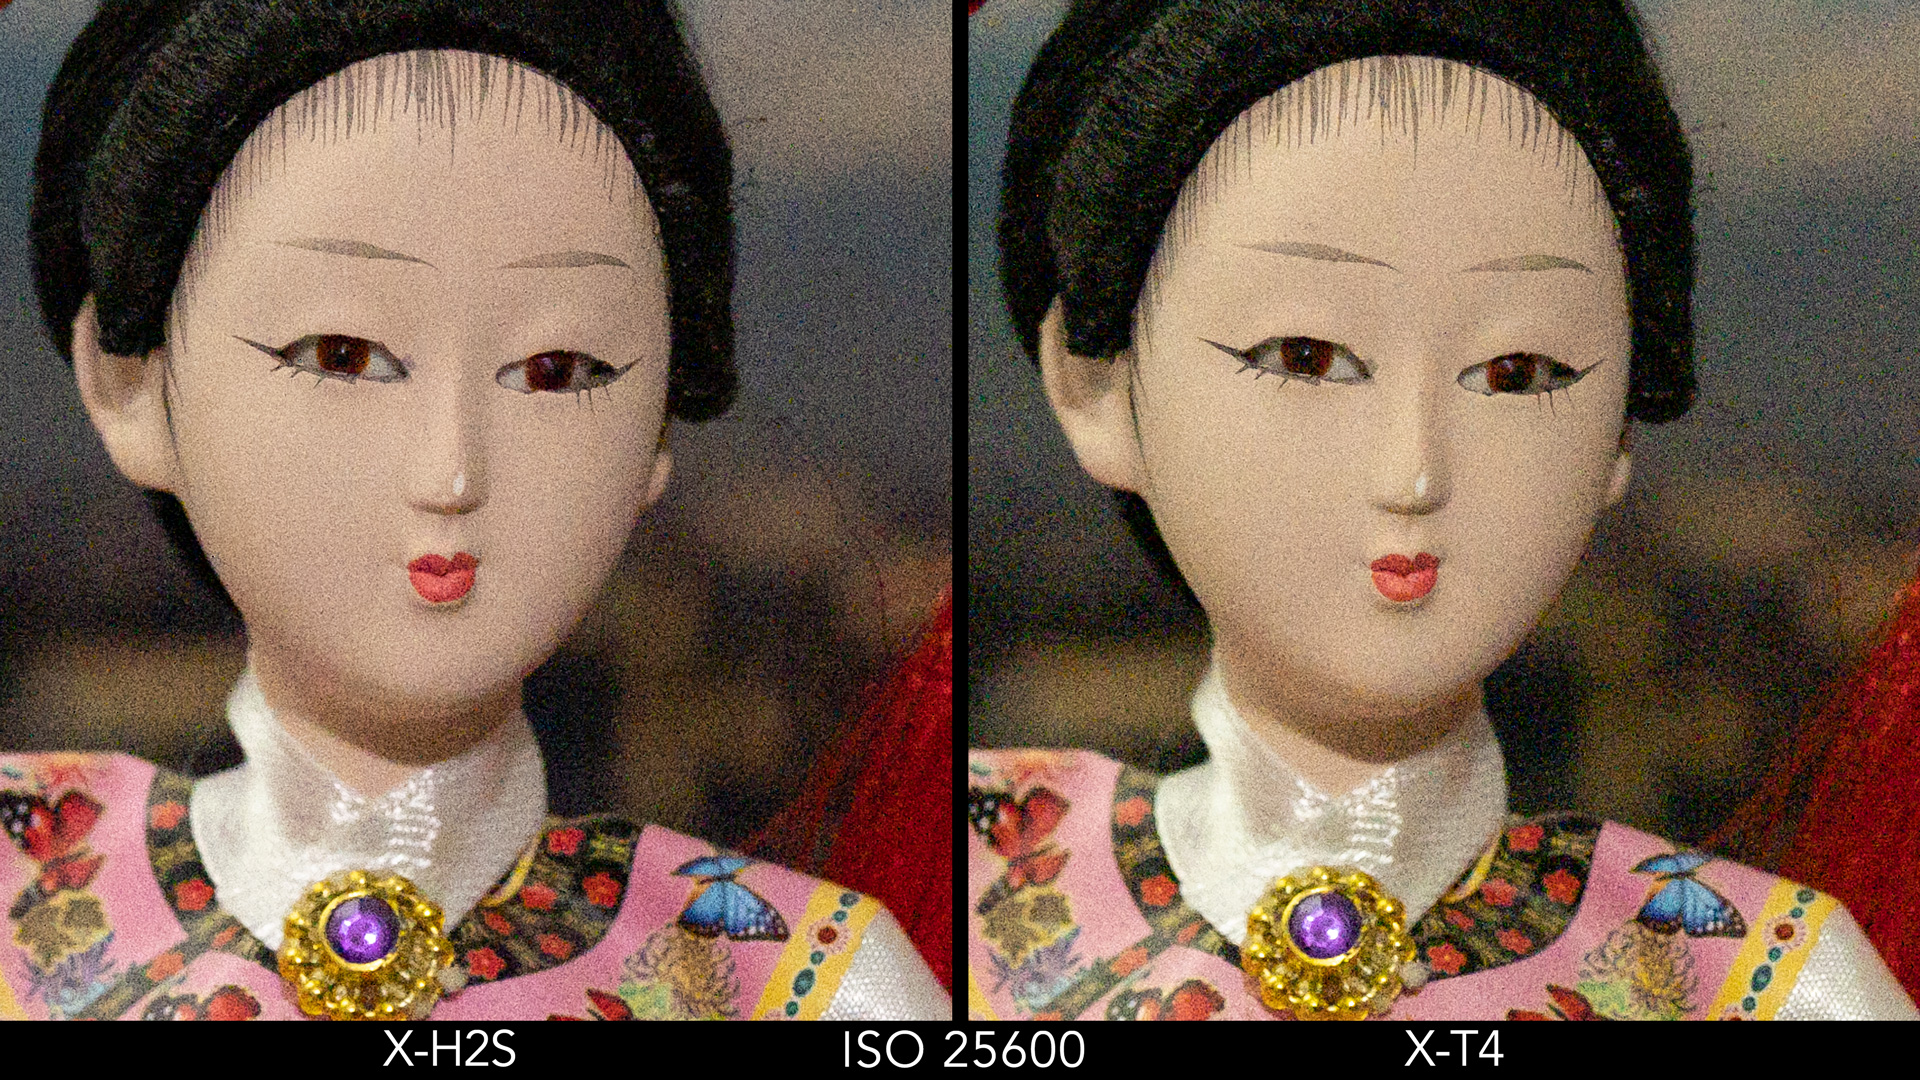
With the extended ISO values, the X-T4 shows more colour noise, and would require more noise reduction than the X-H2S. Extended ISO levels are influenced by the image processor and software, so it’s no surprise that the latest version of the S model does better in comparison to the older X-T4.
Drive Speed and Buffer
The X-H2S can shoot up to 15fps with the mechanical shutter, and no fewer than 40fps when selecting the electronic shutter.
The improvement over the X-T4 is not only about the increased maximum speed (40fps vs 30fps), but also the fact that the new camera doesn’t crop the sensor by 1.29x when using the fastest burst.
The X-H2S can work with live view and no blackouts when shooting with the electronic shutter. Although this is no news, as many Fuji cameras share the same capability, it is nevertheless a nice feature that make following fast and erratic subjects easier.
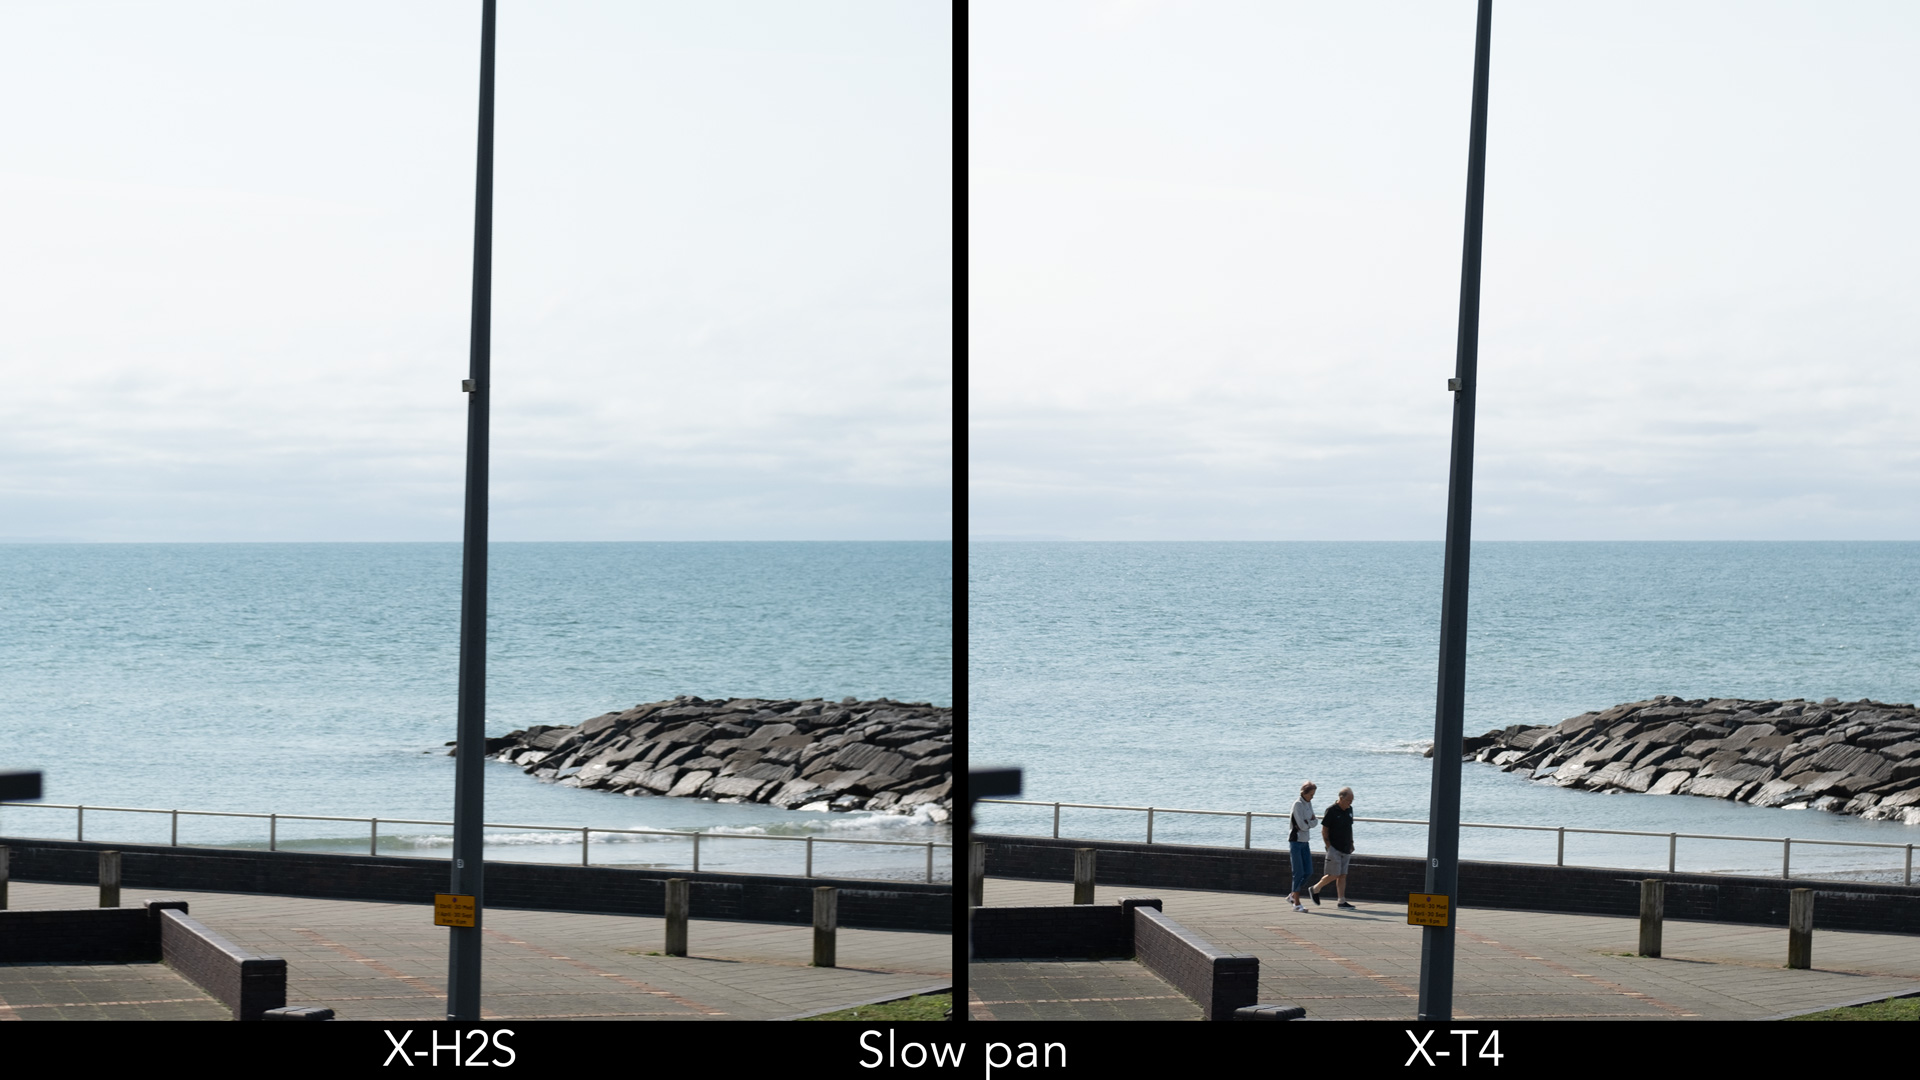
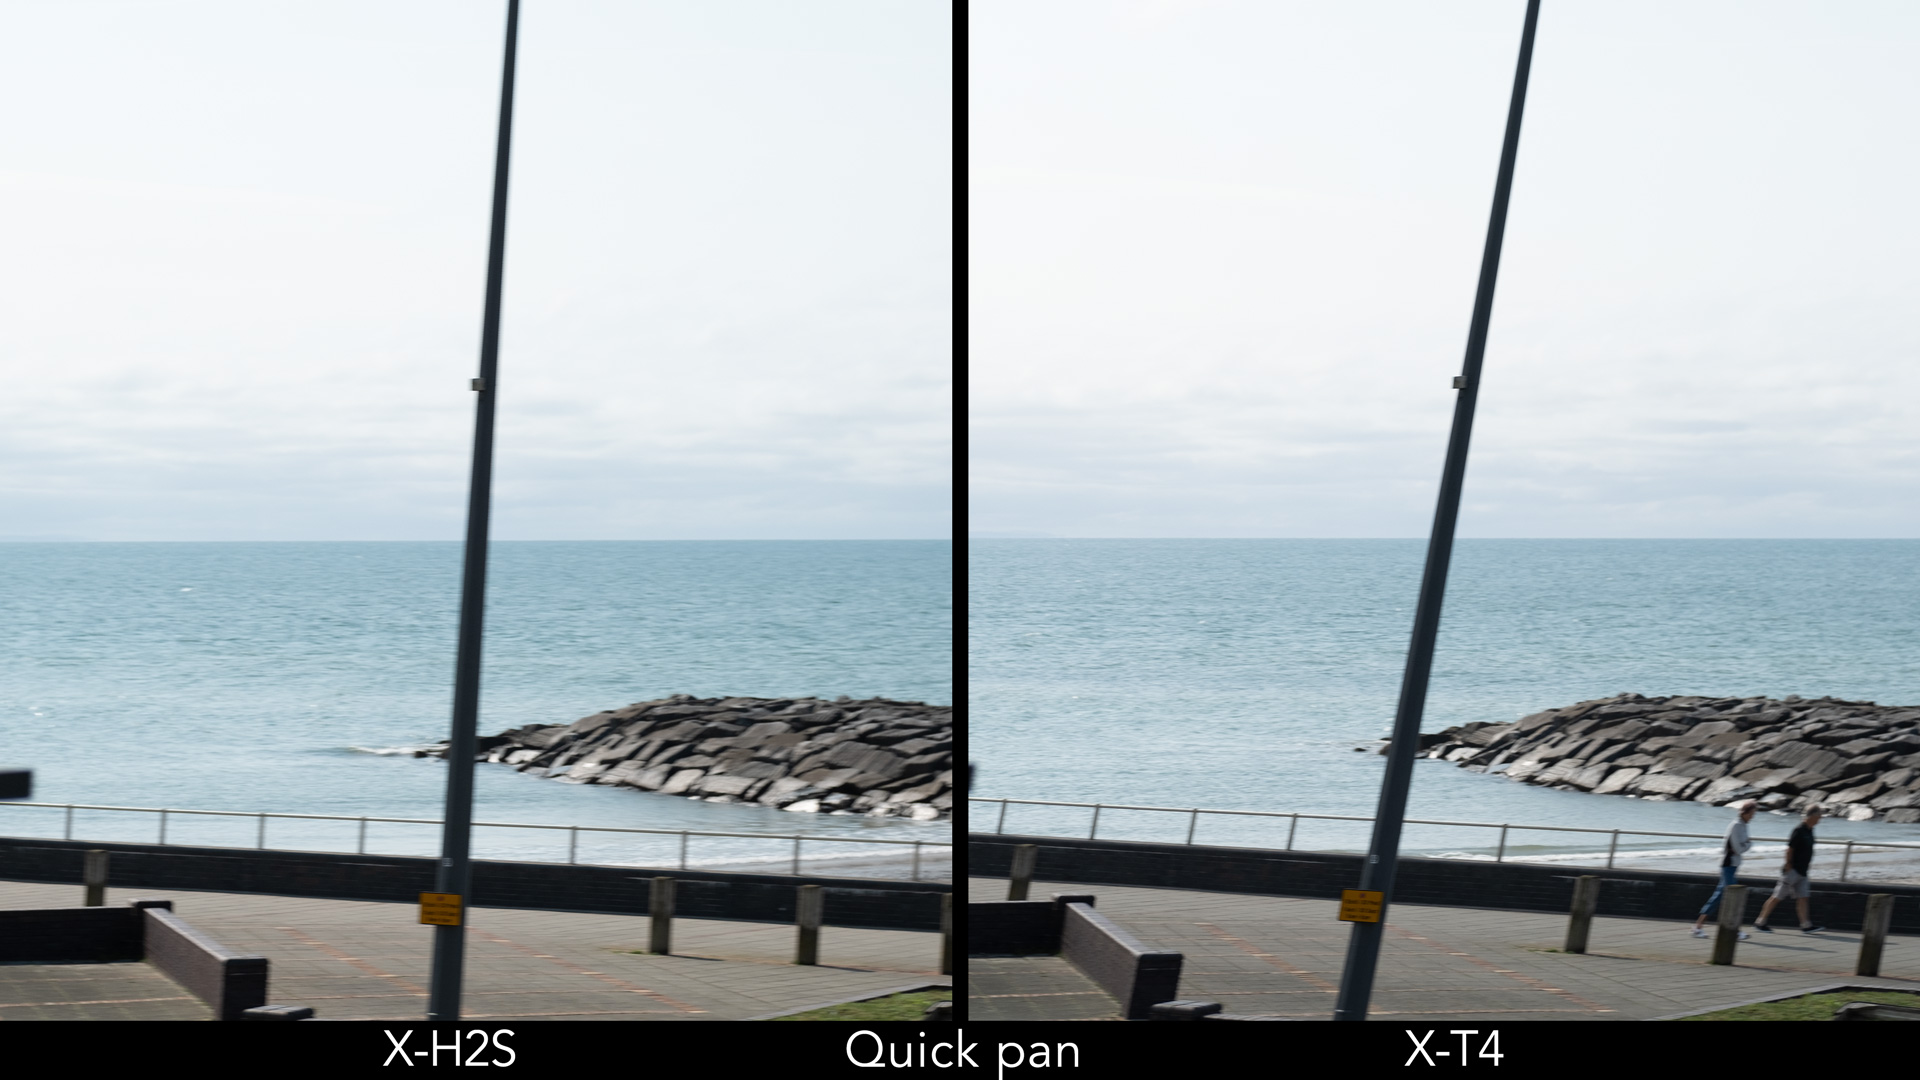
One big advantage of the stacked sensor appears when panning quickly using the electronic shutter: the distortion (rolling shutter effect) is less severe, as you can see below. This benefit also applies to video recording.
Now it’s fair to say that, in general, rolling shutter is not always a concern, provided that the sensor is fast enough. A street lamp like the one above is an easy target to show you the difference, but animals and their more complex shapes make distortion more difficult to detect. I’ve taken many images of birds in flight with the X-T3 and X-T4, and never found this to be a problem.
There are other advantages to this of course: for example the X-H2S can sync flash up to 1/125s with the electronic shutter, unlike the X-T4 where flash functions are disabled.
The X-H2S has a Pre-Shot mode where the camera saves a number of images while the shutter button is half-pressed. Like Pro Capture on Olympus/OM System cameras, this allows you to catch moments that are difficult to predict.
The X-H2S can save a higher number of frames before the shutter button is fully pressed, in comparison to the X-T4, as reported in the table below.
X-H2S
Pre-Shot Mode
Shutter button
half-pressed
Shutter button
fully-pressed
40fps
40 frames
buffer capacity
30fps
30 frames
buffer capacity
20fps
20 frames
buffer capacity
X-T4
Pre-Shot Mode
Shutter button
half-pressed
Shutter button
fully-pressed
30fps
20 frames
20 frames
20fps
20 frames
37 frames
Finally, we have buffer, on in other words, how long the camera can record at full speed before slowing down the frame rate. Here I’m going a bit more in-depth than usual, so bear with me.
As I said at the beginning, the X-H2S can use CFexpress Type B and SD cards. Fujifilm has published a list of cards tested in-house (as also reported by Fujirumors).
The list confirms these cards work correctly with the camera, and also highlights when there might be limitations, for example if you want to record video at the maximum quality. It doesn’t mean others cards not mentioned on the list won’t work, it simply means that Fujifilm hasn’t tested them.
The CFexpress list also specifies, among all the cards mentioned, which ones gives you “no compromise” in performance, and that includes extending the shooting time in burst mode.
CFexpress cards are expensive, so I was curious to understand what kind of advantage a card with “no compromise” would give over another one, as well as see where a card with a faster writing speed could be more useful.
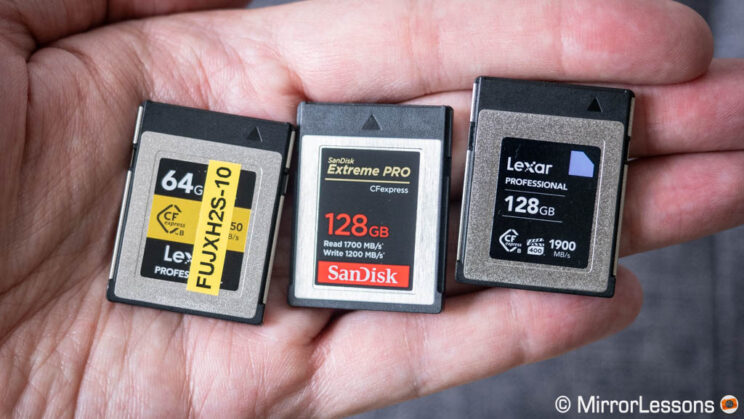
I tested three CFexpress cards:
- Lexar Gold 64GB (1000MB/S declared writing speed)
- Lexar Diamond 128GB (1700MB/S declared writing speed)
- Sandisk Extreme Pro 128GB (1200MB/S declared writing speed)
According to Fujifilm, only the two Lexar cards guarantee uncompromising performance. And what is interesting about this is that, on paper, the Sandisk has a faster writing speed than the Lexar Gold.
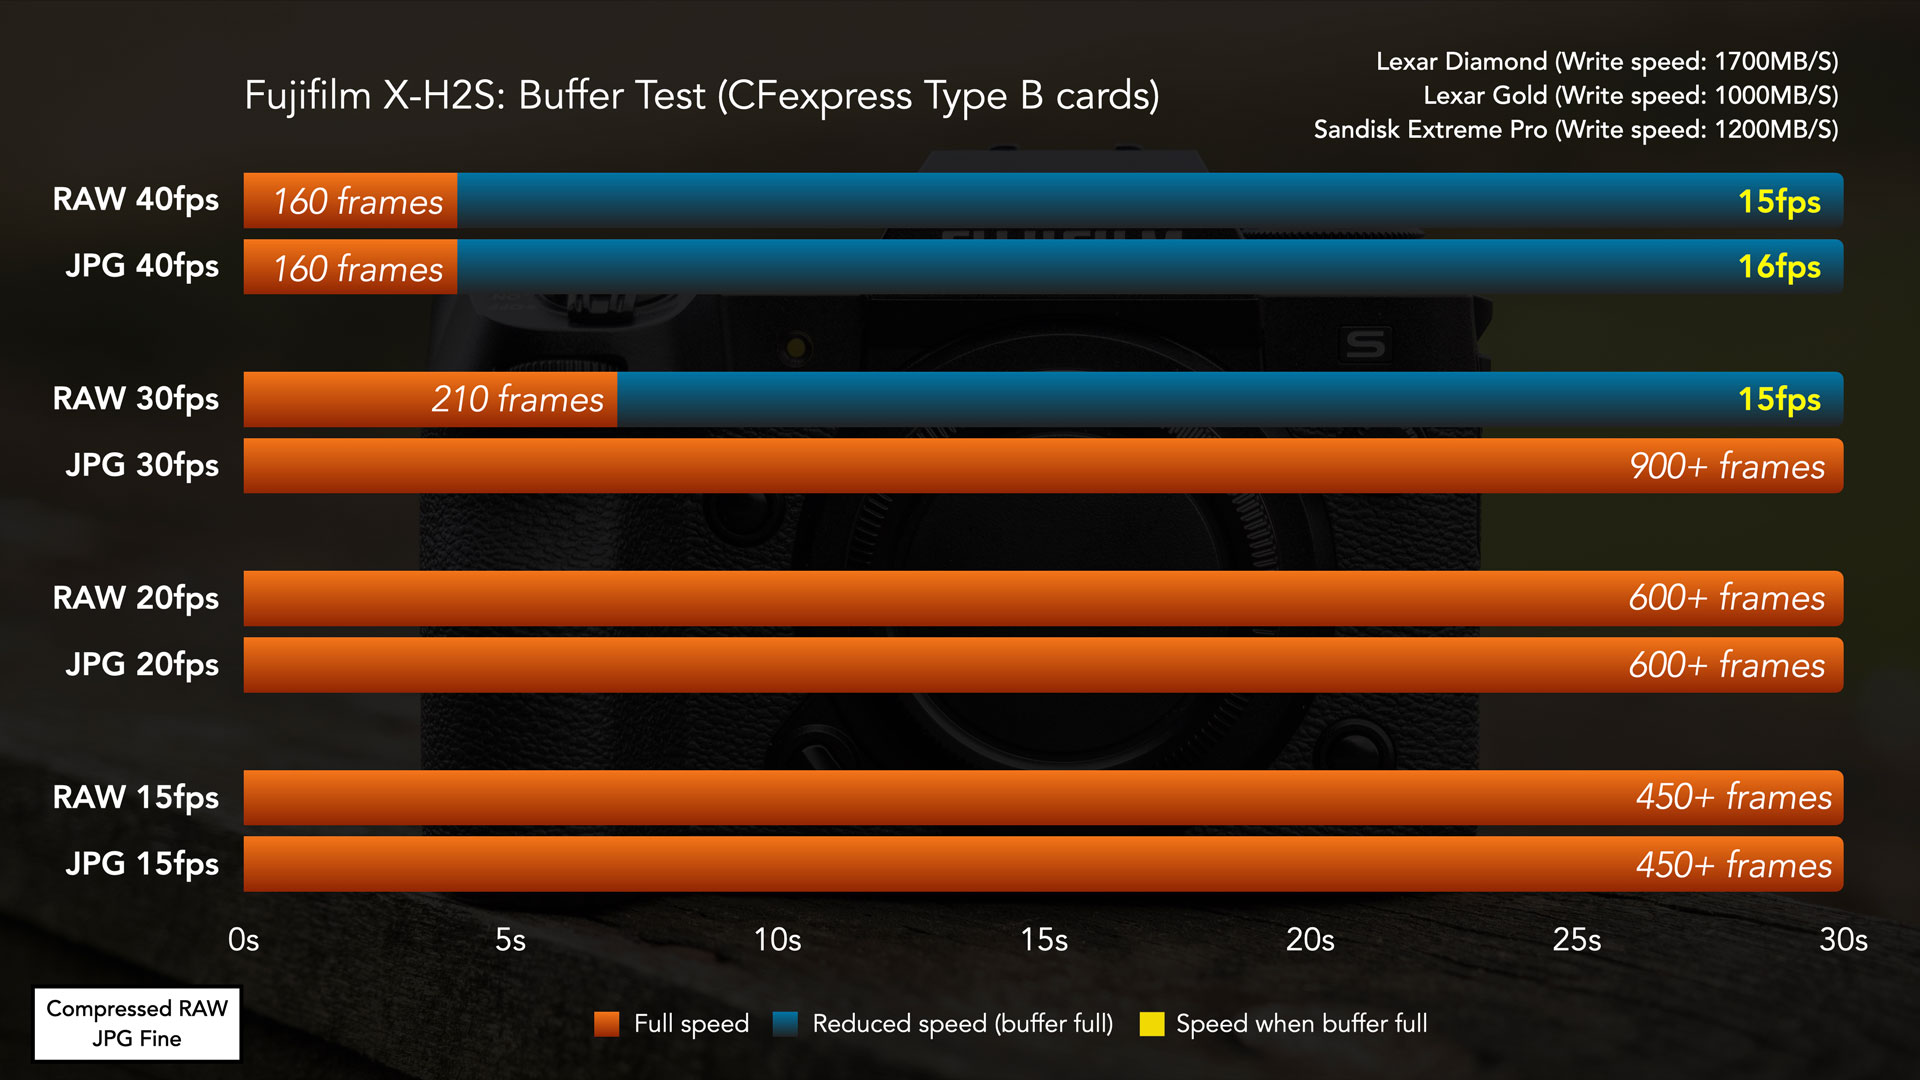
In my test, I found very no difference worth sharing between the three CFexpress cards when shooting Compressed RAW or JPGs.
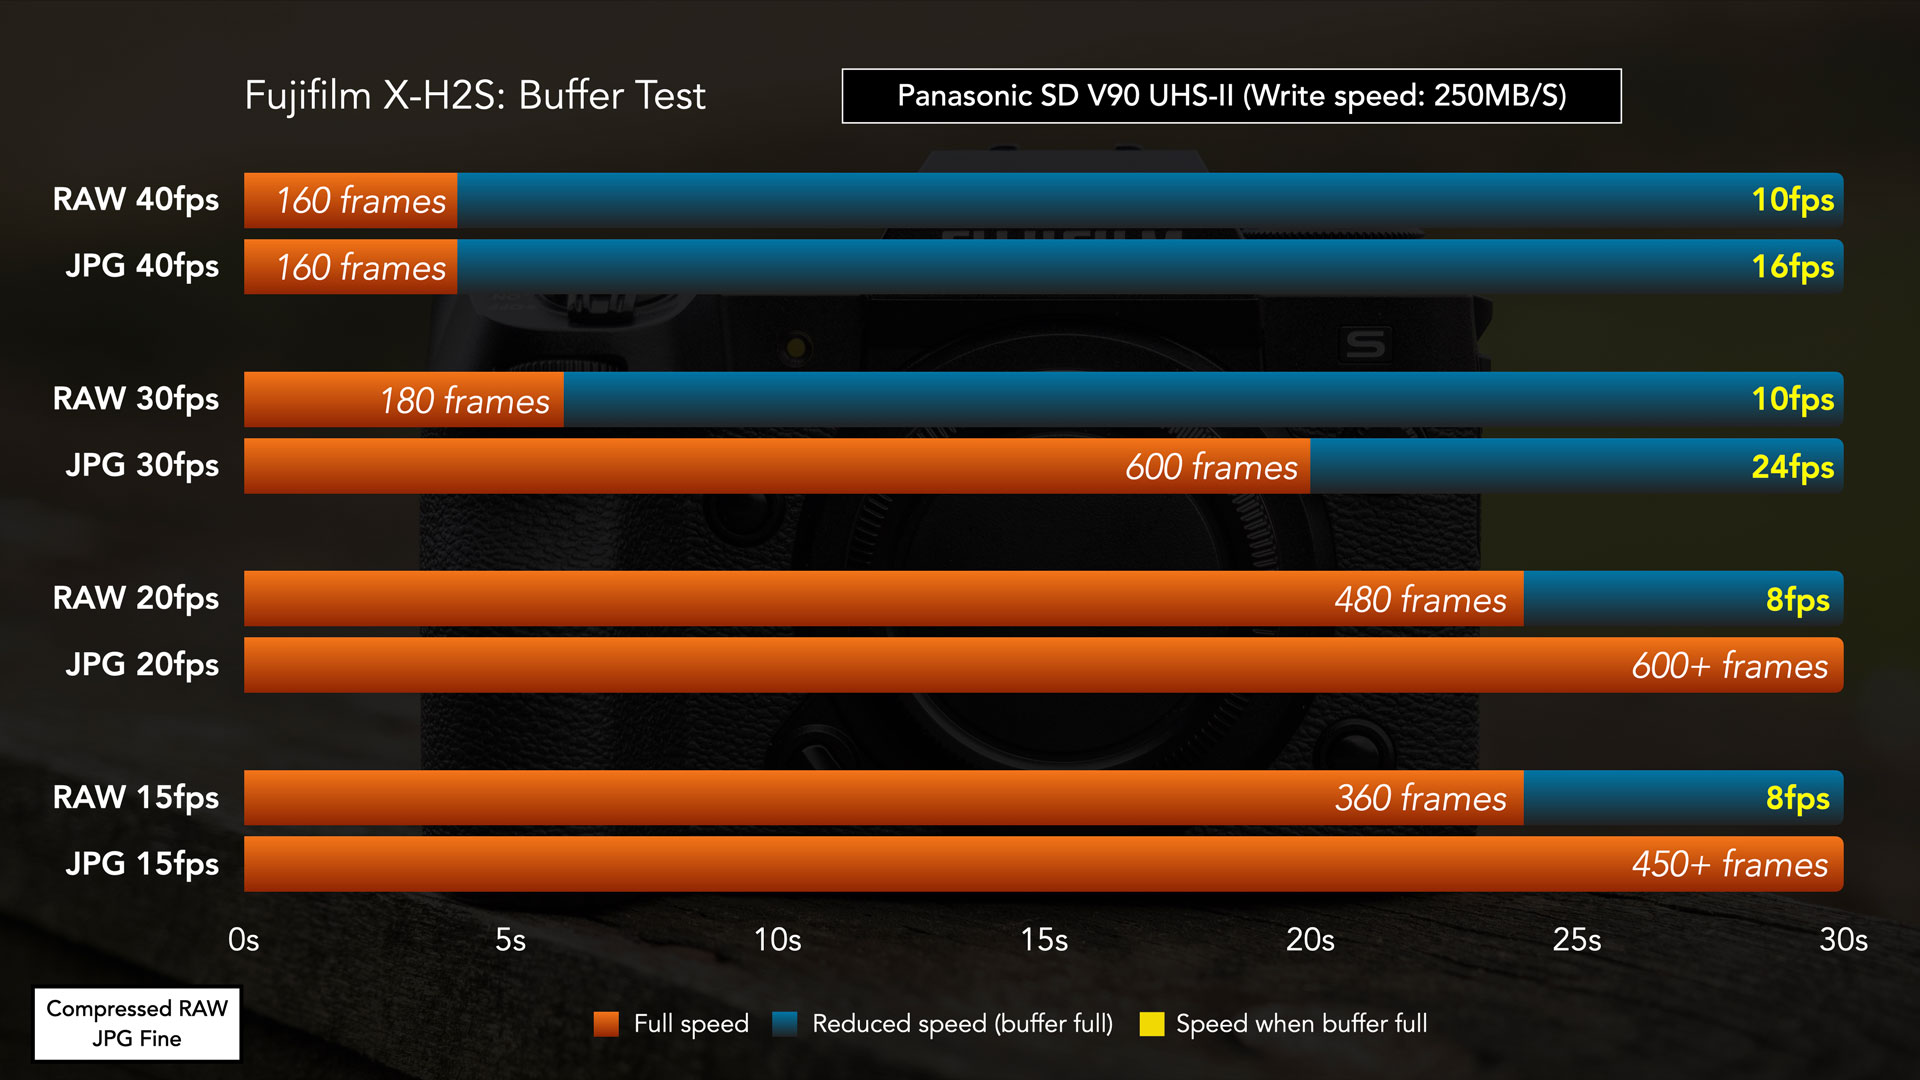
With each one of them, the X-H2S was able to maintain the full speed of 40fps for 4 seconds (160 images in total), before slowing down to 15fps (when shooting RAW) or 16fps (when shooting JPG).
At 30fps with RAW, the buffer holds for 7 seconds before slowing down to 15fps. If you select JPG at 30fps, or any slower FPS with either file, the X-H2S works at full speed for more than 30 seconds.
These findings are valid for lossless compressed RAW as well, with the only difference being that the speed is slightly slower once the buffer is full (around 14fps).
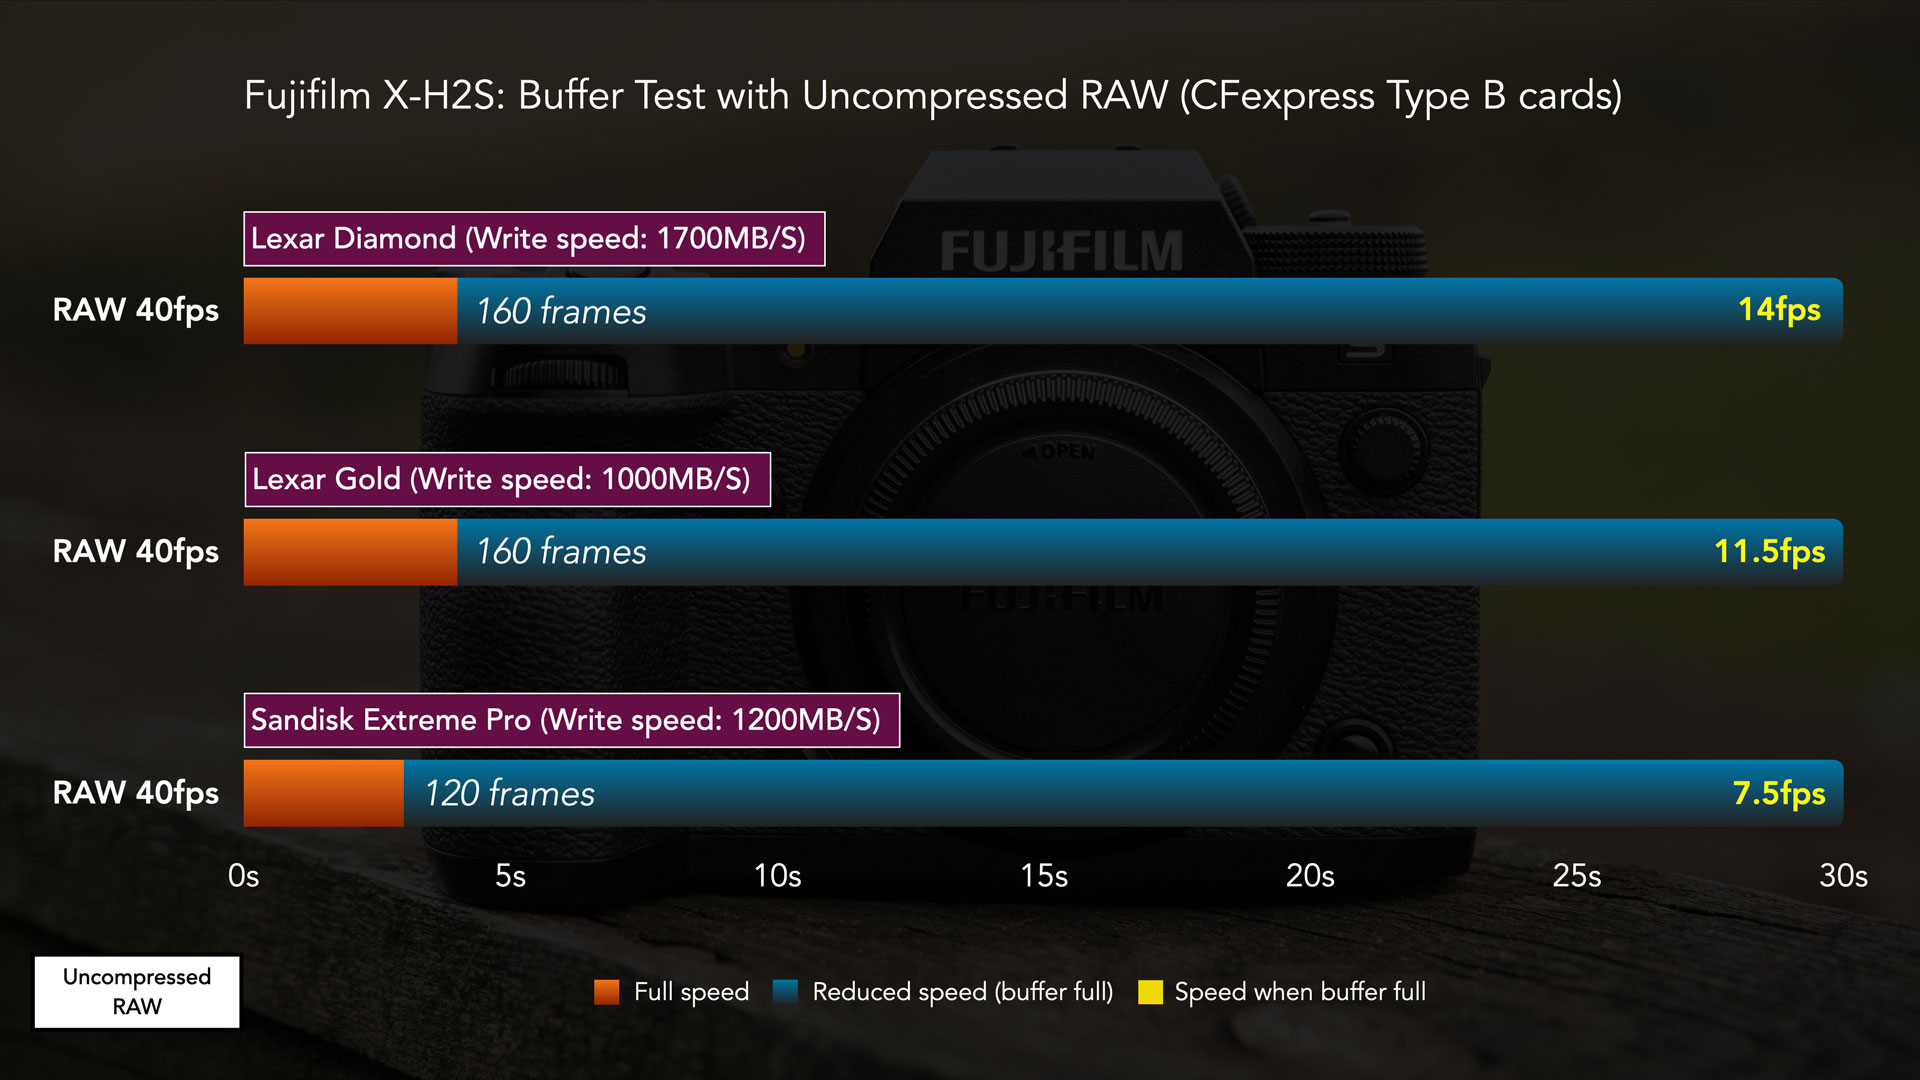
The only concrete difference I could find was when shooting Uncompressed RAW.
With the two Lexars, the camera managed to hold for 4s at 40fps, then slowed down to 11.5fps with the gold card, and 14fps with the Diamond card.
With the Sandisk, the buffer only lasted for 3 seconds (meaning a total of 120 images) and the speed was much slower afterwards at 7.5fps.
Of course, I couldn’t test all the cards out there, so I’m not saying they will all perform in the same way, but hopefully this test can give you a better idea of where the differences really lie. Unless you need to work at 40fps with uncompressed RAW, you should be fine with a wider variety of cards.
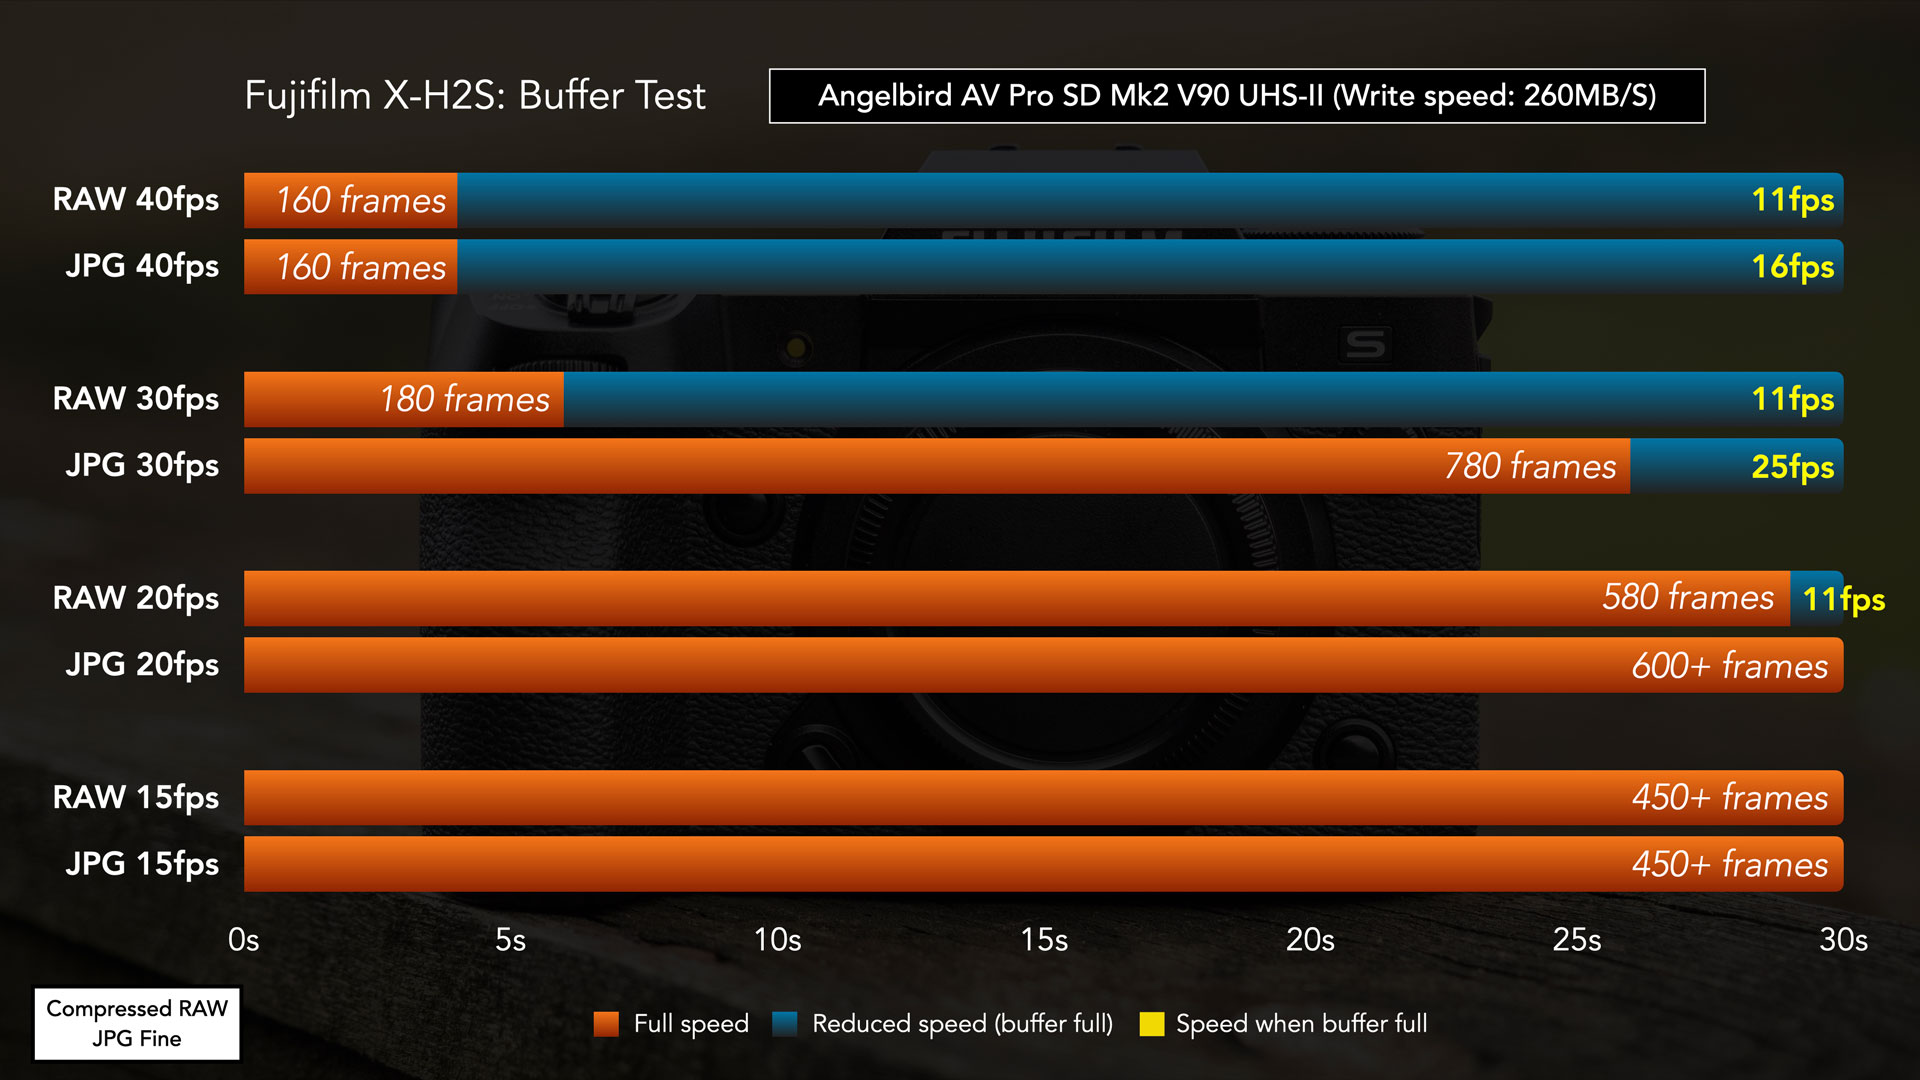
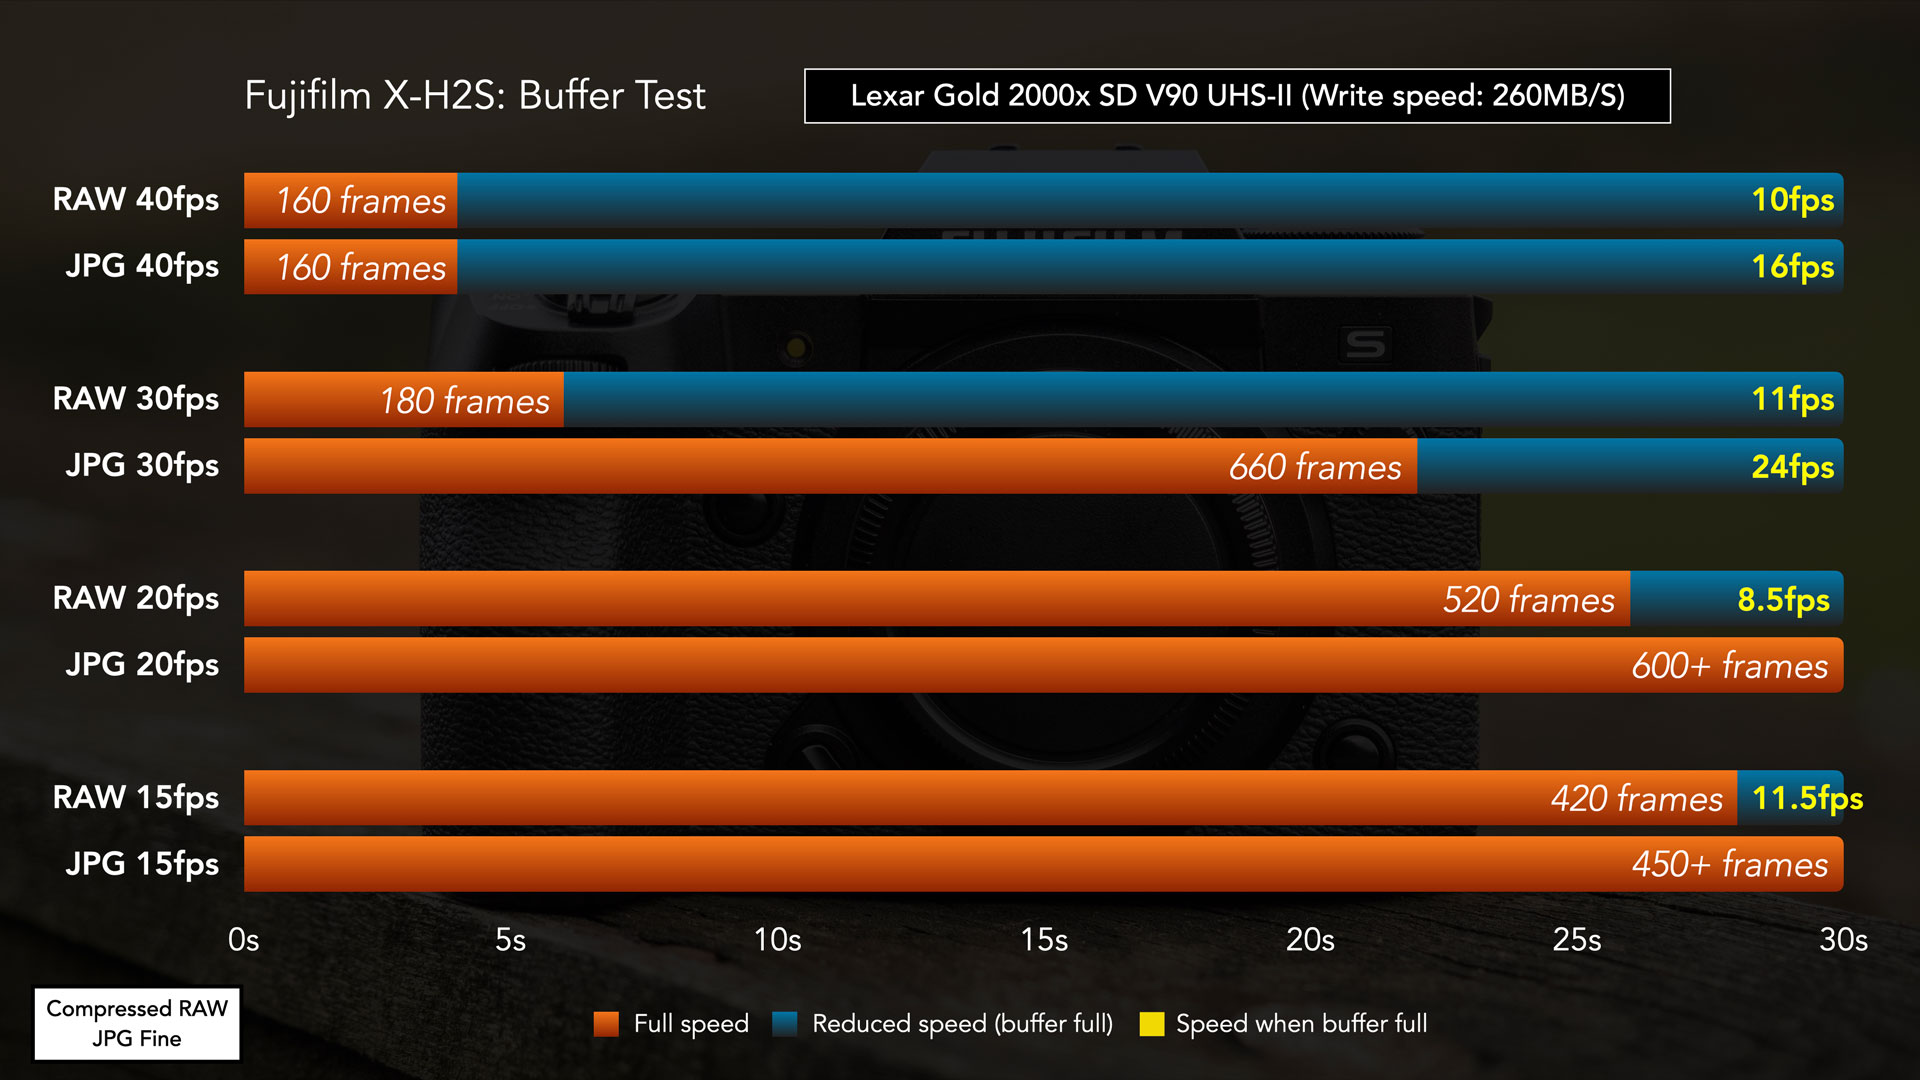
I did the same test using three SD cards as well. This gave me the opportunity to upgrade some of the cards I own that are getting a bit older now.
- Lexar Gold 2000x 128GB (260MB/S declared writing speed)
- Panasonic V90 64GB (250MB/S declared writing speed)
- Angelbird AV Pro SD Mk2 128GB (280MB/S declared writing speed)
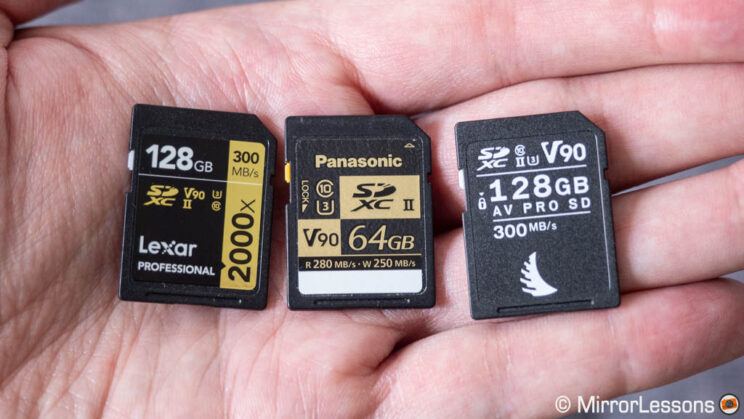
The three cards didn’t match the performance of the CFexpress cards, but they were not too far off. They performed in a similar way at the fastest speed but, with slower speeds, the Angelbird allowed the X-H2S to maintain a longer buffer in comparison to the other two. The Panasonic card is older and much more used than the other two, so naturally it came up third in the test.
Note that the Angelbird and Panasonic cards are not in the Fujifilm compatibility list, yet they performed well, especially the Angelbird.
Subject Detection
Note: firmware 3.0 has brought a good improvement concerning subject detection and static or slow moving subjects, with less erratic behaviour and fewer mis-focused images.
The X-H2S is yet another mirrorless camera to add subject detection capabilities: it can recognise animals, birds, bikes, cars, planes and trains. In this article, I’ll focus on animals and birds.
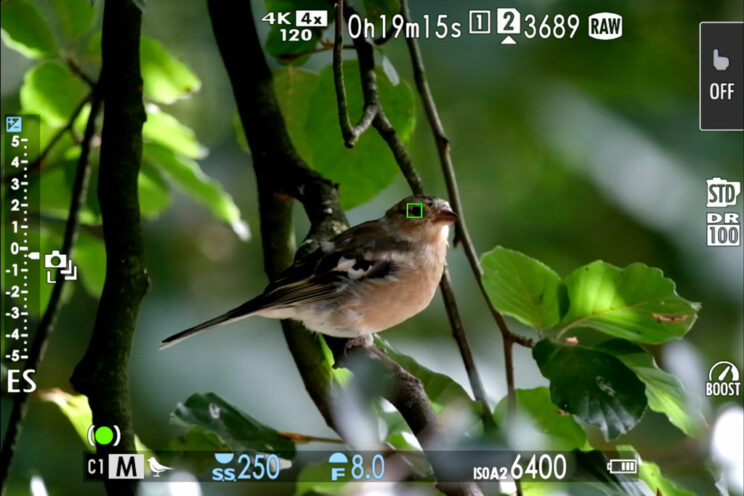
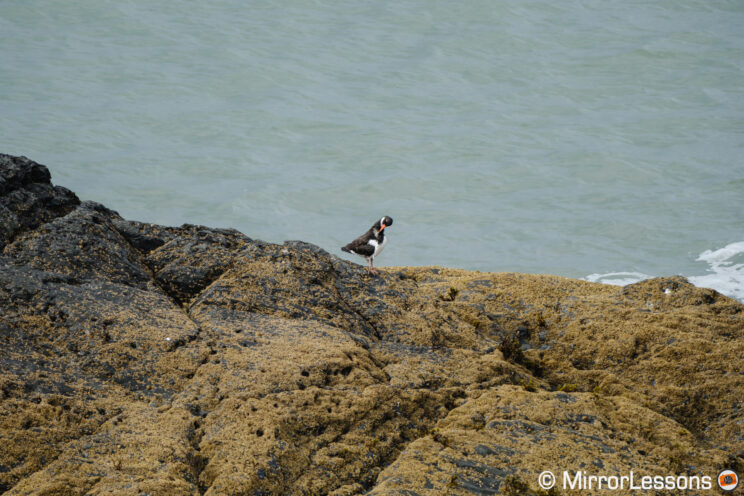
I first had a chance to test this at a farm in Cardigan. Animal detection works well at first glance: subjects are detected right away, even if they are at a distance. Below is an example where the camera recognised the oystercatcher instantly, despite it being quite small in the frame.
The camera can identify the body, head and eyes of a subject, and will prioritise one over the other depending on the distance and light conditions. For the eye to work correctly, the animal needs to be close enough. If it is too dark, or positioned in the shade, the eye might not be detected and the camera will focus on the head instead. If the subject is far off, it may switch between head and body depending on the position.
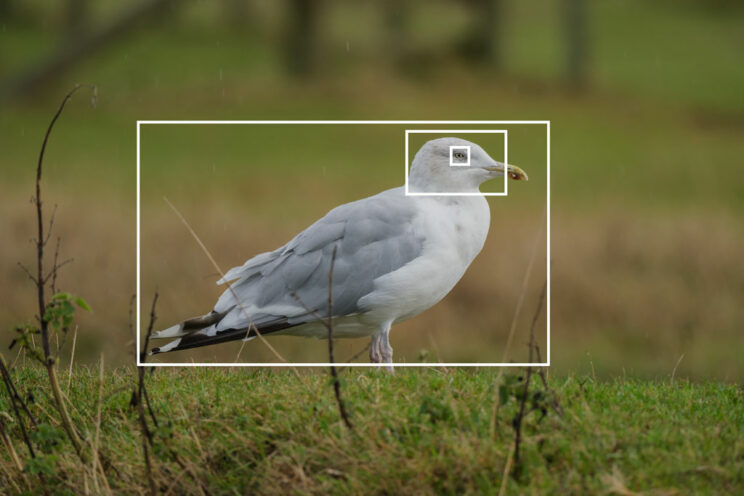
Subject detection can override any AF area you have selected, as well as its position. You can start detecting an animal within one AF area (for example 3×3 zone), but then the camera will continue to track the head or eyes throughout the entire frame.
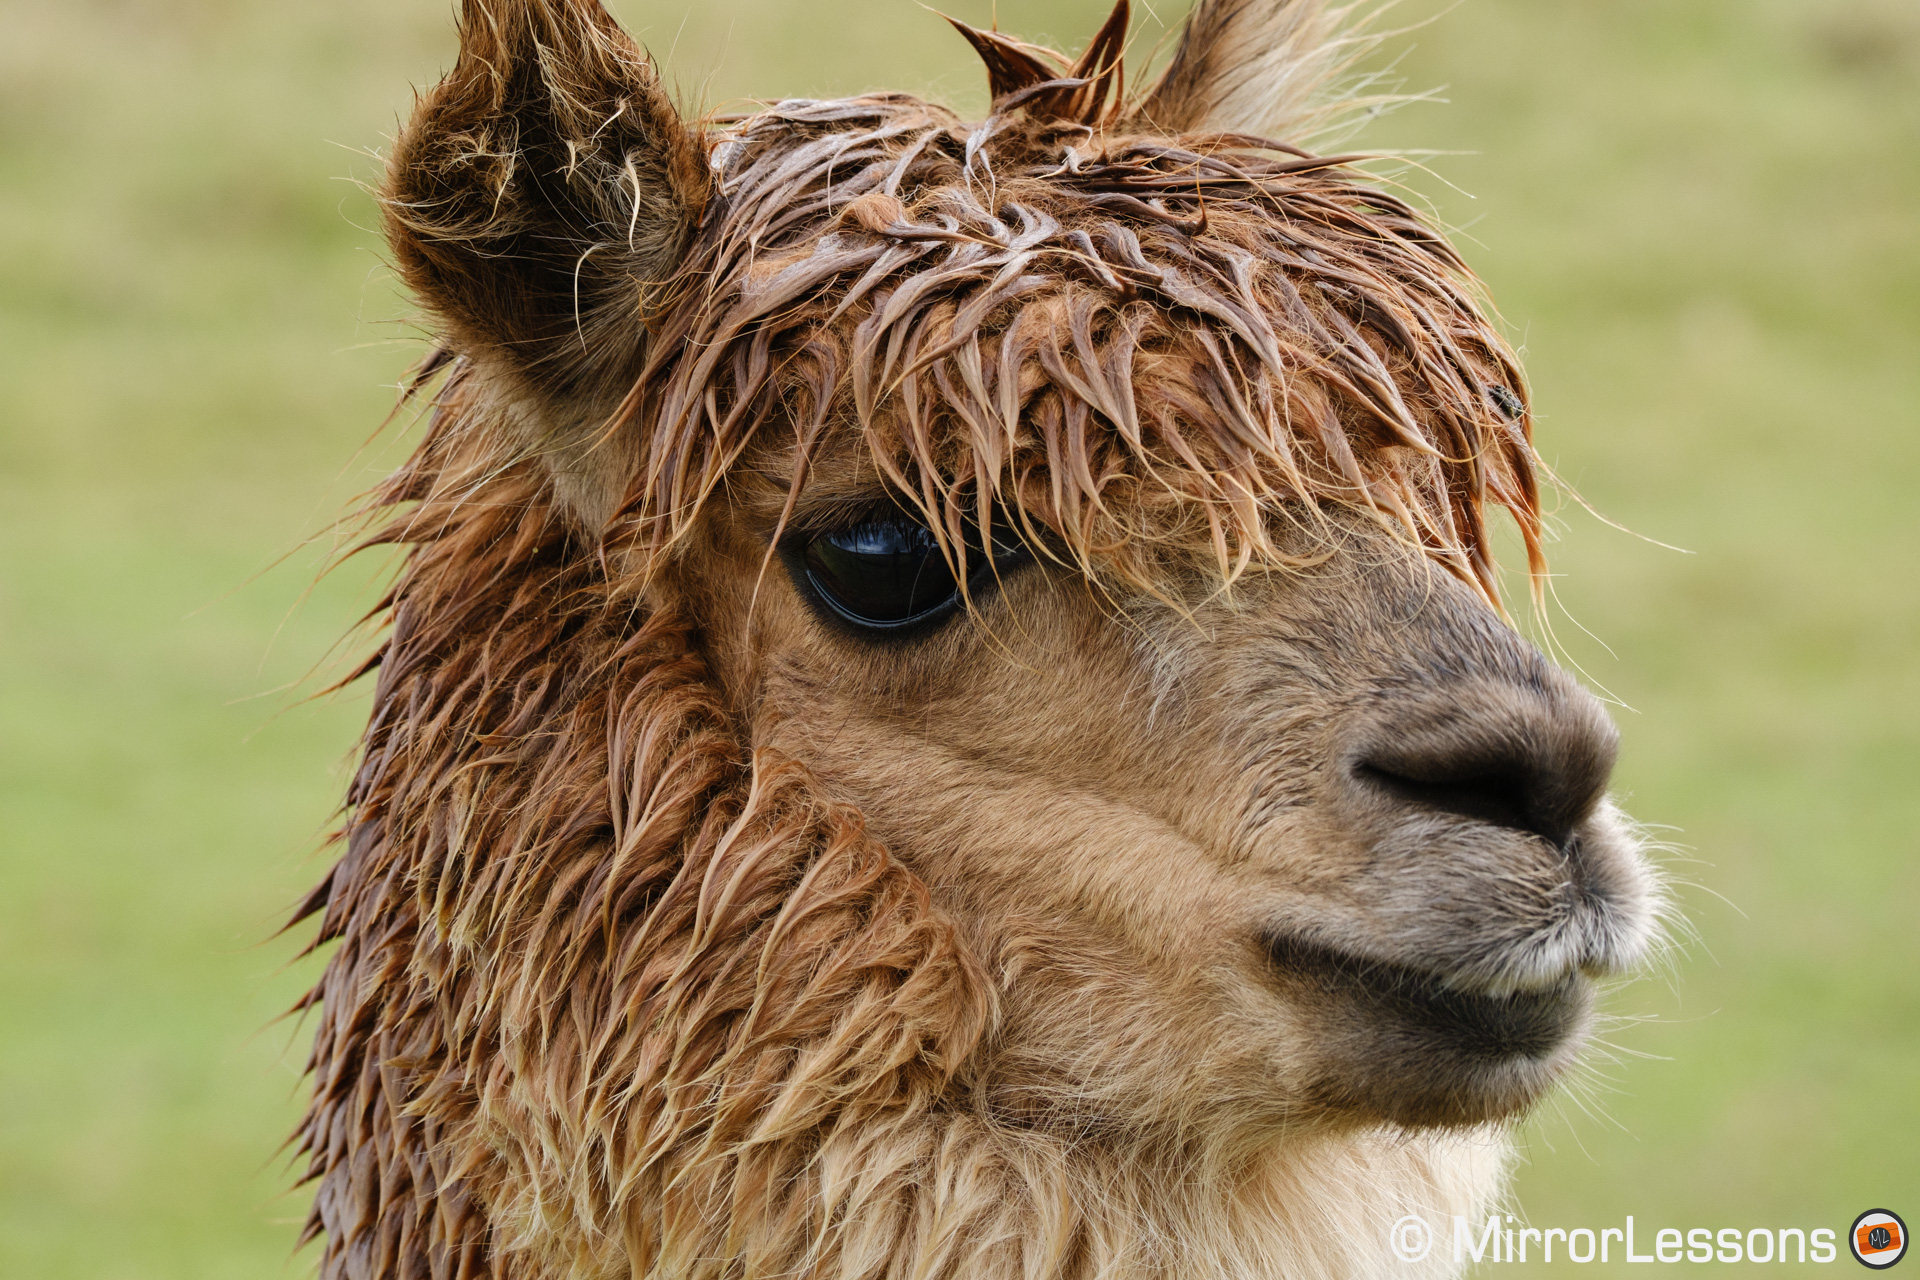
At the farm, a few animals like the llama below were not recognised at all. The camera reverted to the AF area selected, which in that case was the 3×3 Zone.
Focus is not always precise. On more than one occasion, I found the head of the animal to be slightly out of focus, with the camera focusing a bit too far. This happened with distant subjects especially. Firmware 3.0 minimises this negative behaviour.
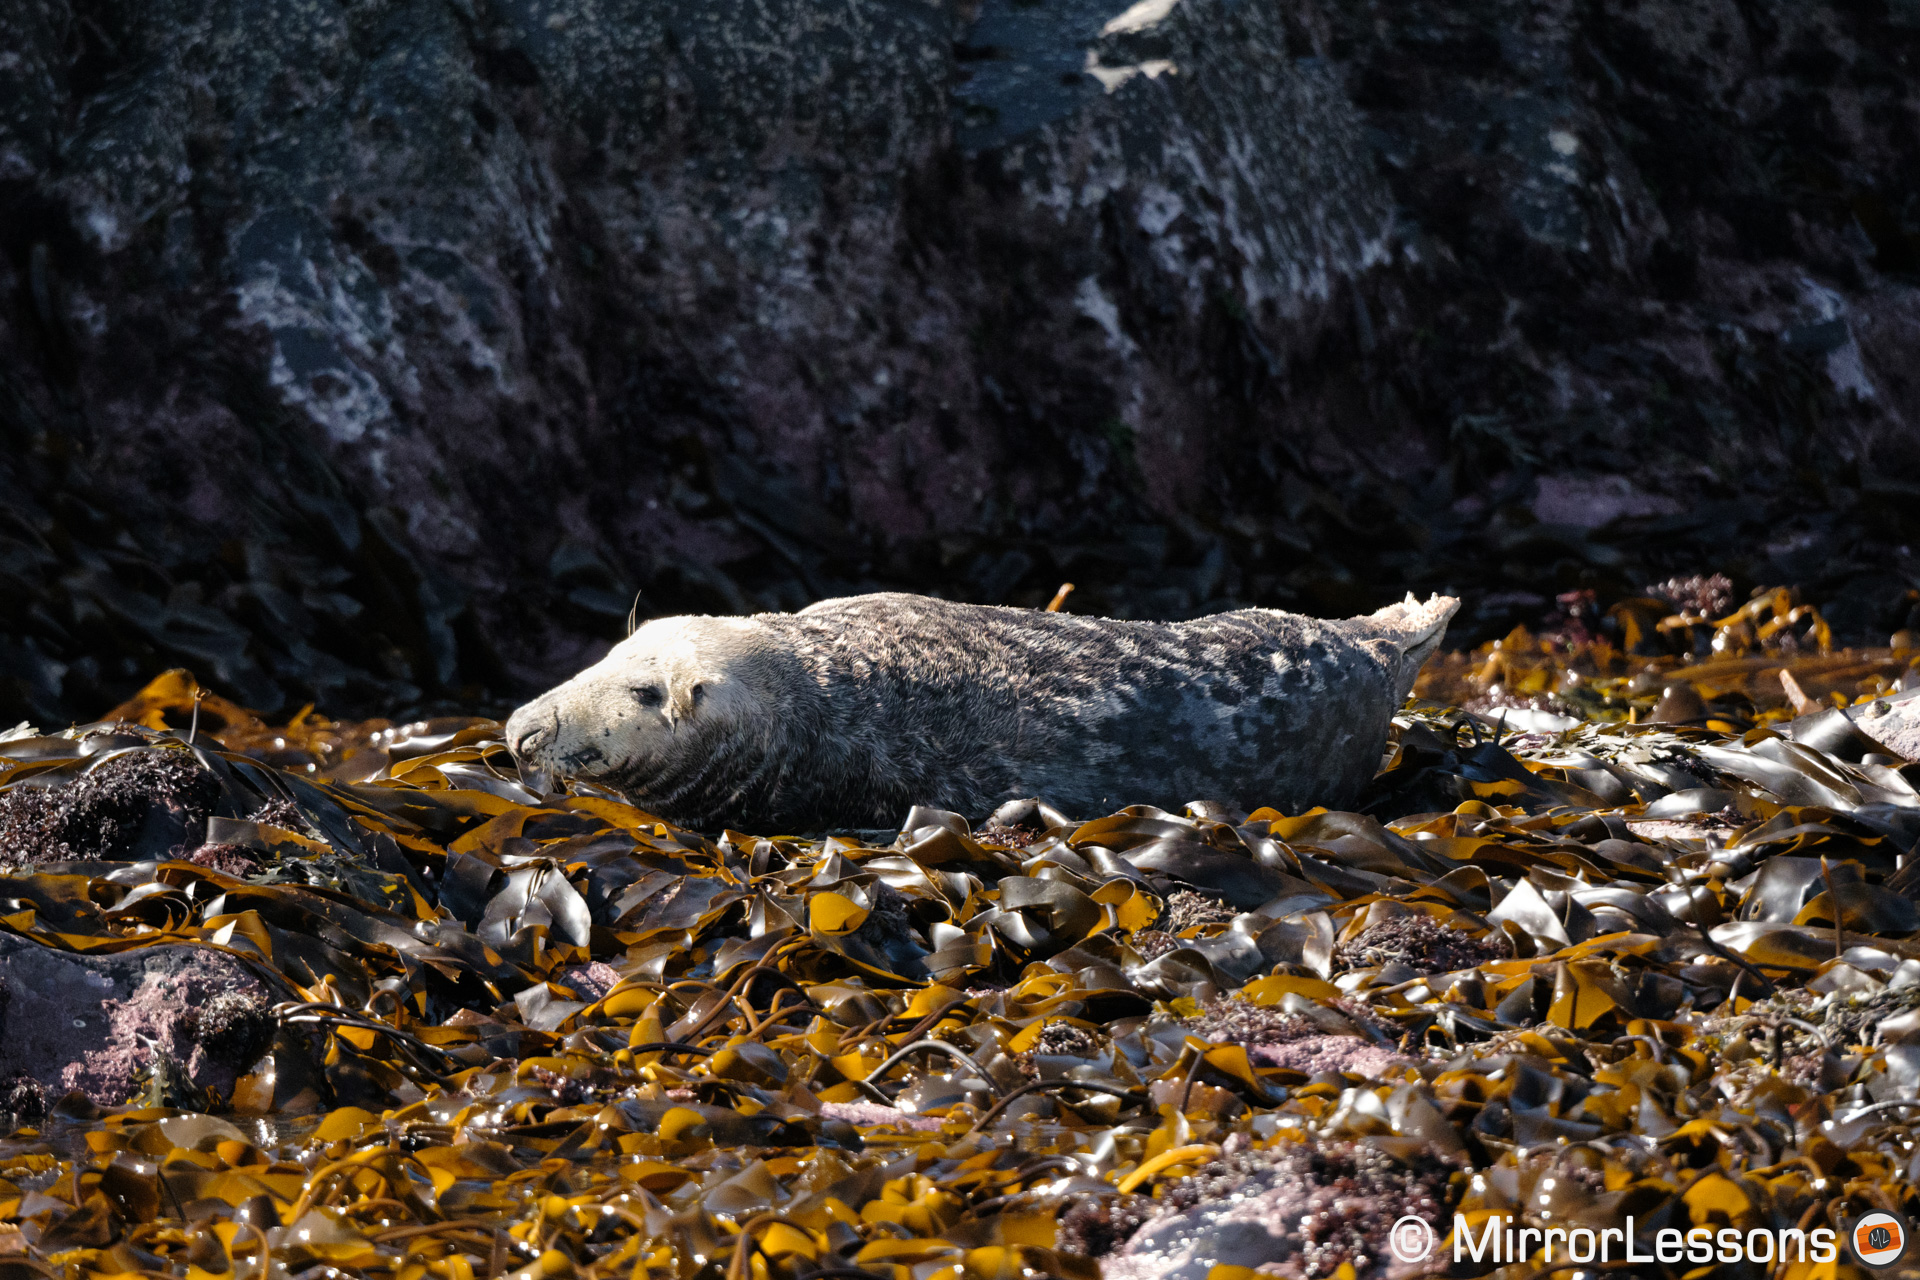
The second test was during a boat trip around Ramsey island, looking for seals and pups.
The X-H2S had no problem recognising all the animals we found, and on more than once occasion it surprised me. Seals can blend in easily with the colour and texture of the rocks around them, but the camera managed to detect the animal most of the time.
It wasn’t always perfect however, and on a few occasions, it confused the seal with a rock or other natural elements nearby, like in the example below.
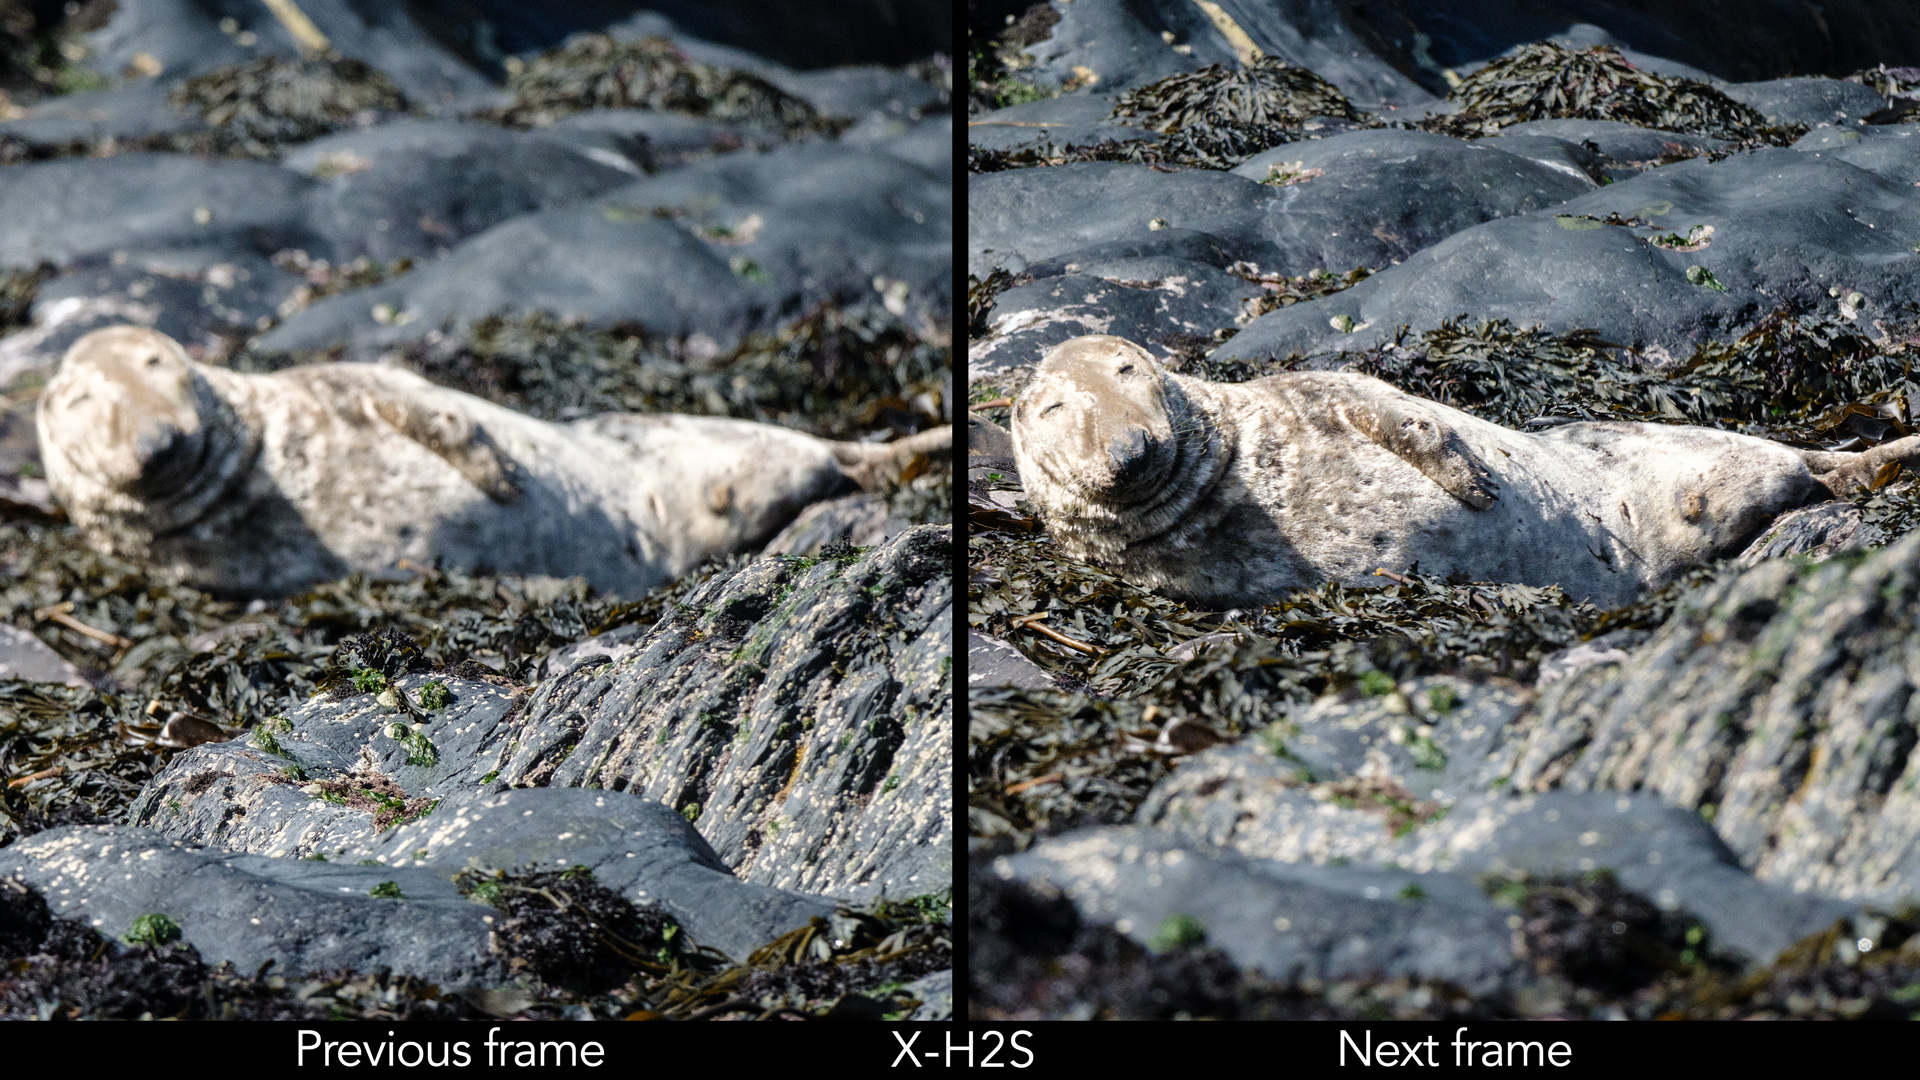
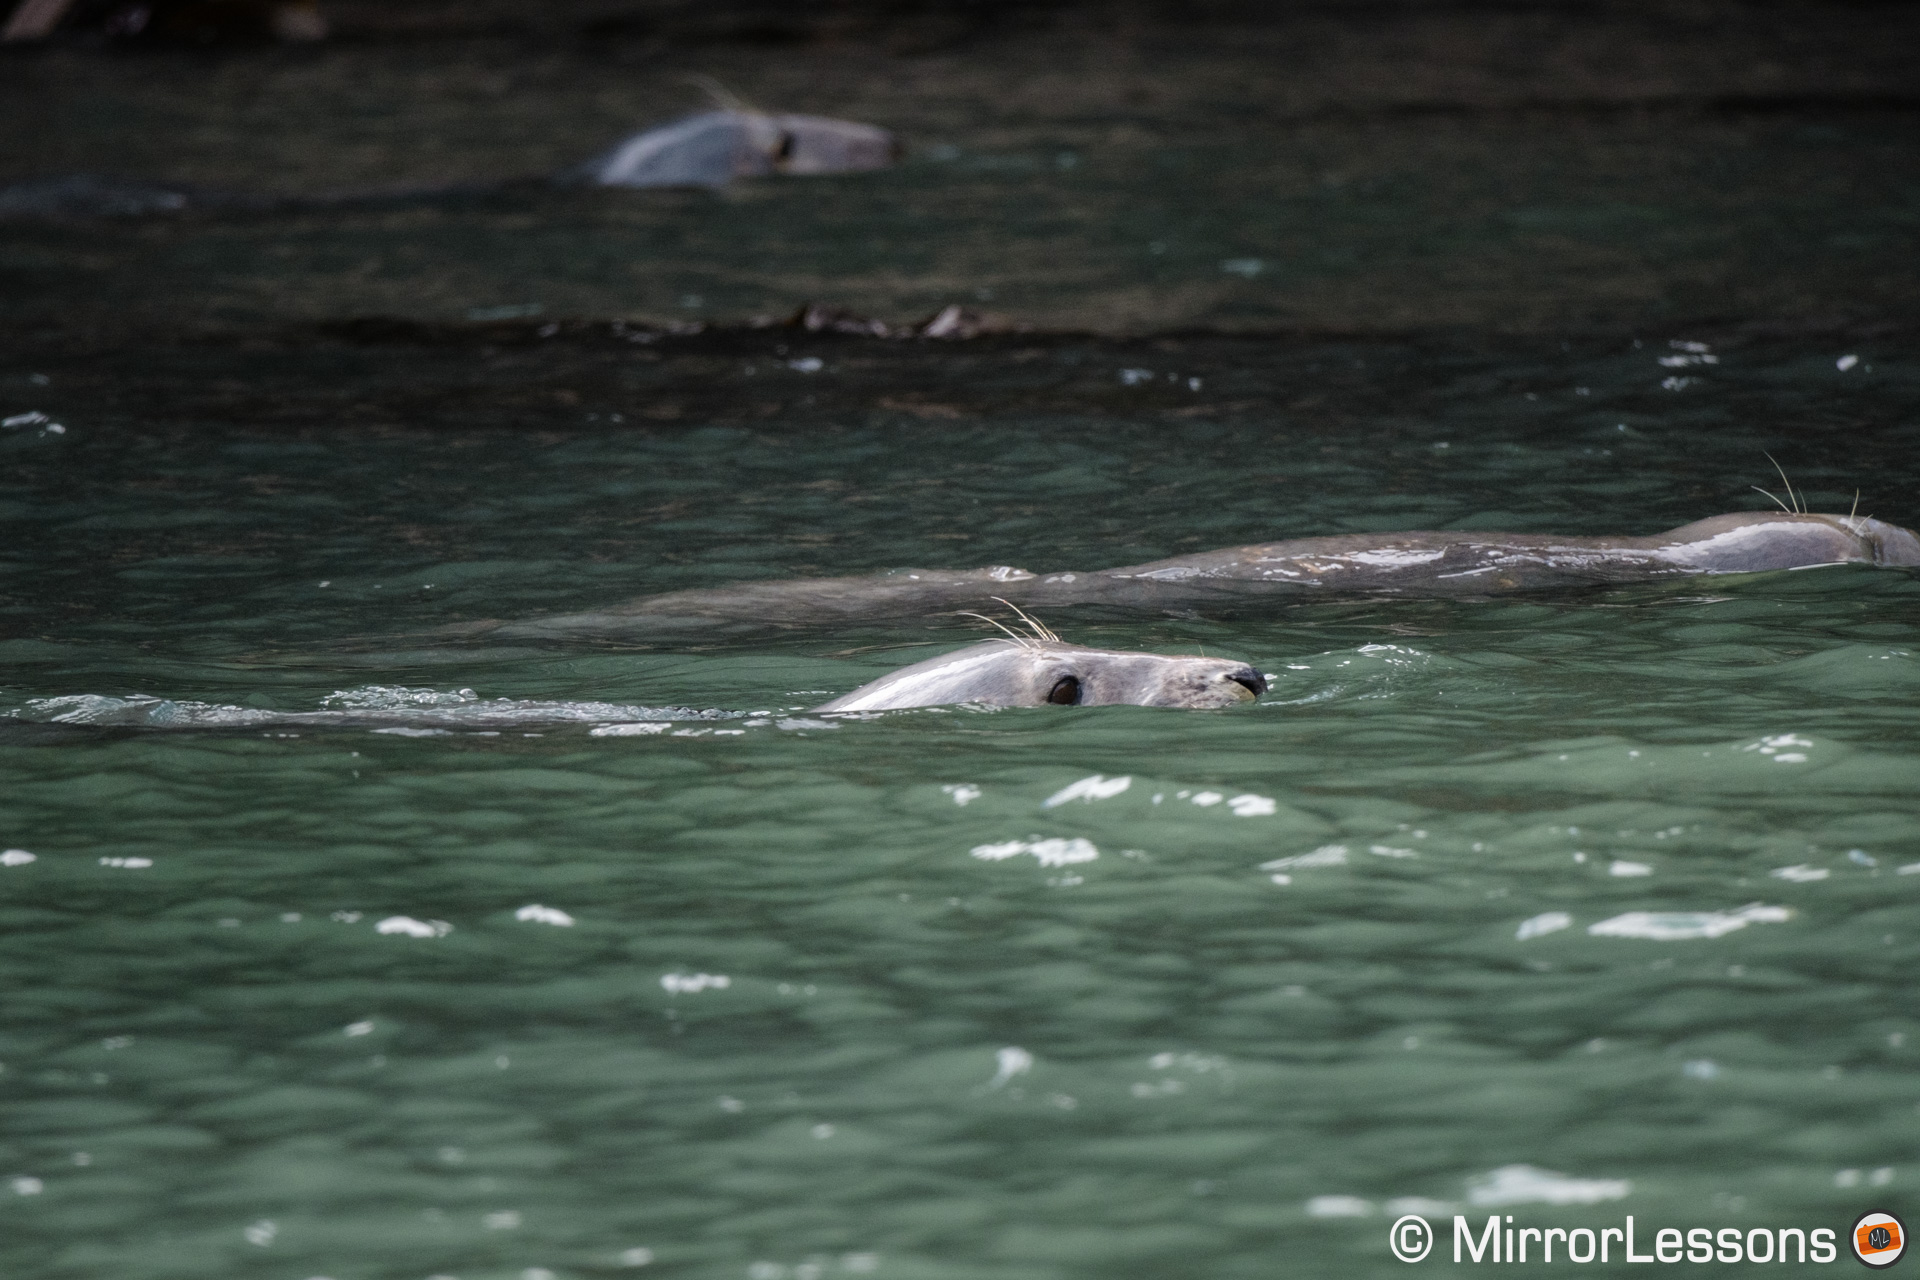
The X-H2S also did a good job of tracking these mammals when only a small part of their head was above water. I rarely lost sight of them, or mis-focused completely because of the lack of details and contrast in the scene.
If you have two subjects (or more) in the frame, you can’t jump from one to the other directly, but you can move a small AF point near the one you want the autofocus to prioritise, as you can see in the simulation below.
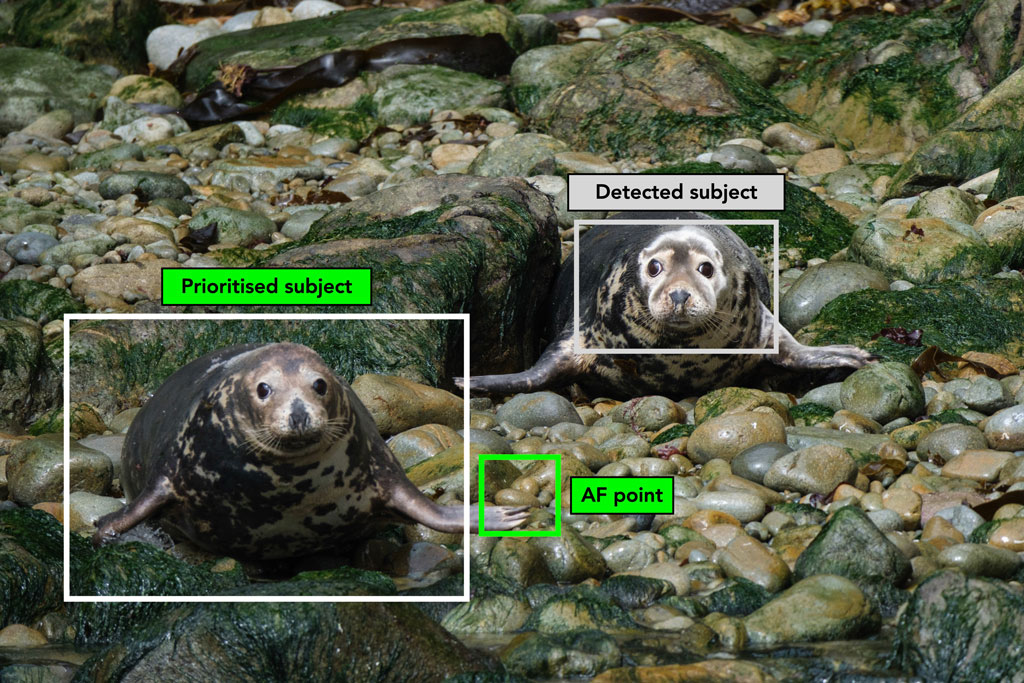
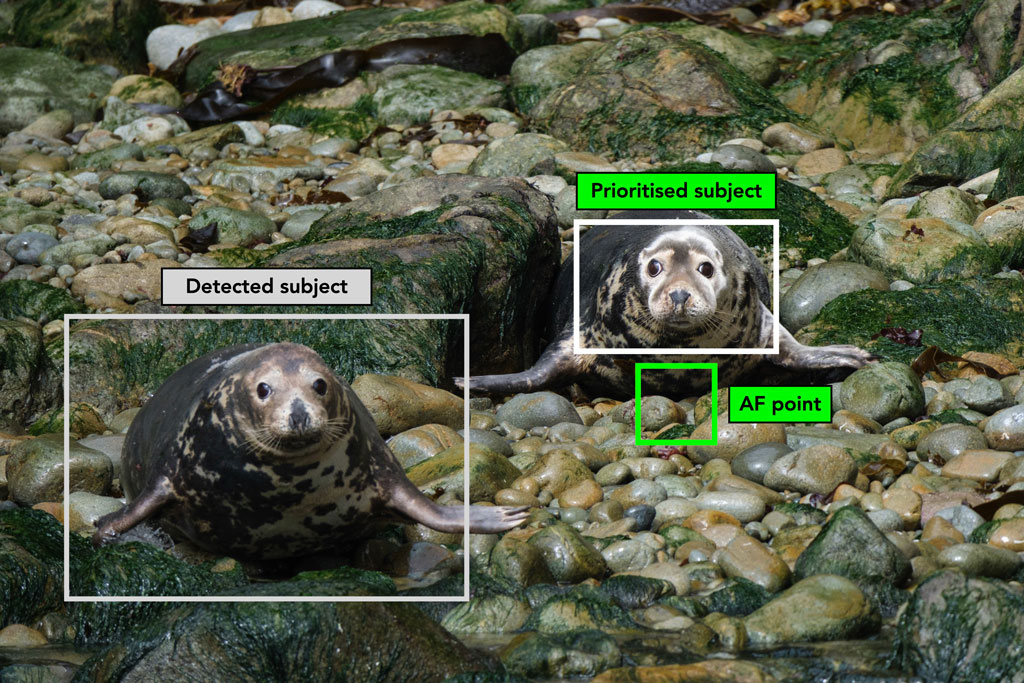
Another point is that animals and birds have two separate settings. The boat trip gave me the opportunity to spot sea birds as well as seals, and I had to manually change the type of subject to track each time.
To be honest, you don’t need to change the setting all the time. I captured a shot of a distant oystercatcher with the animal setting on, and the camera simply reverted back to my 3×3 zone, and focused successfully. It won’t always be a problem, but it would be easier to have one setting for all types of animals.
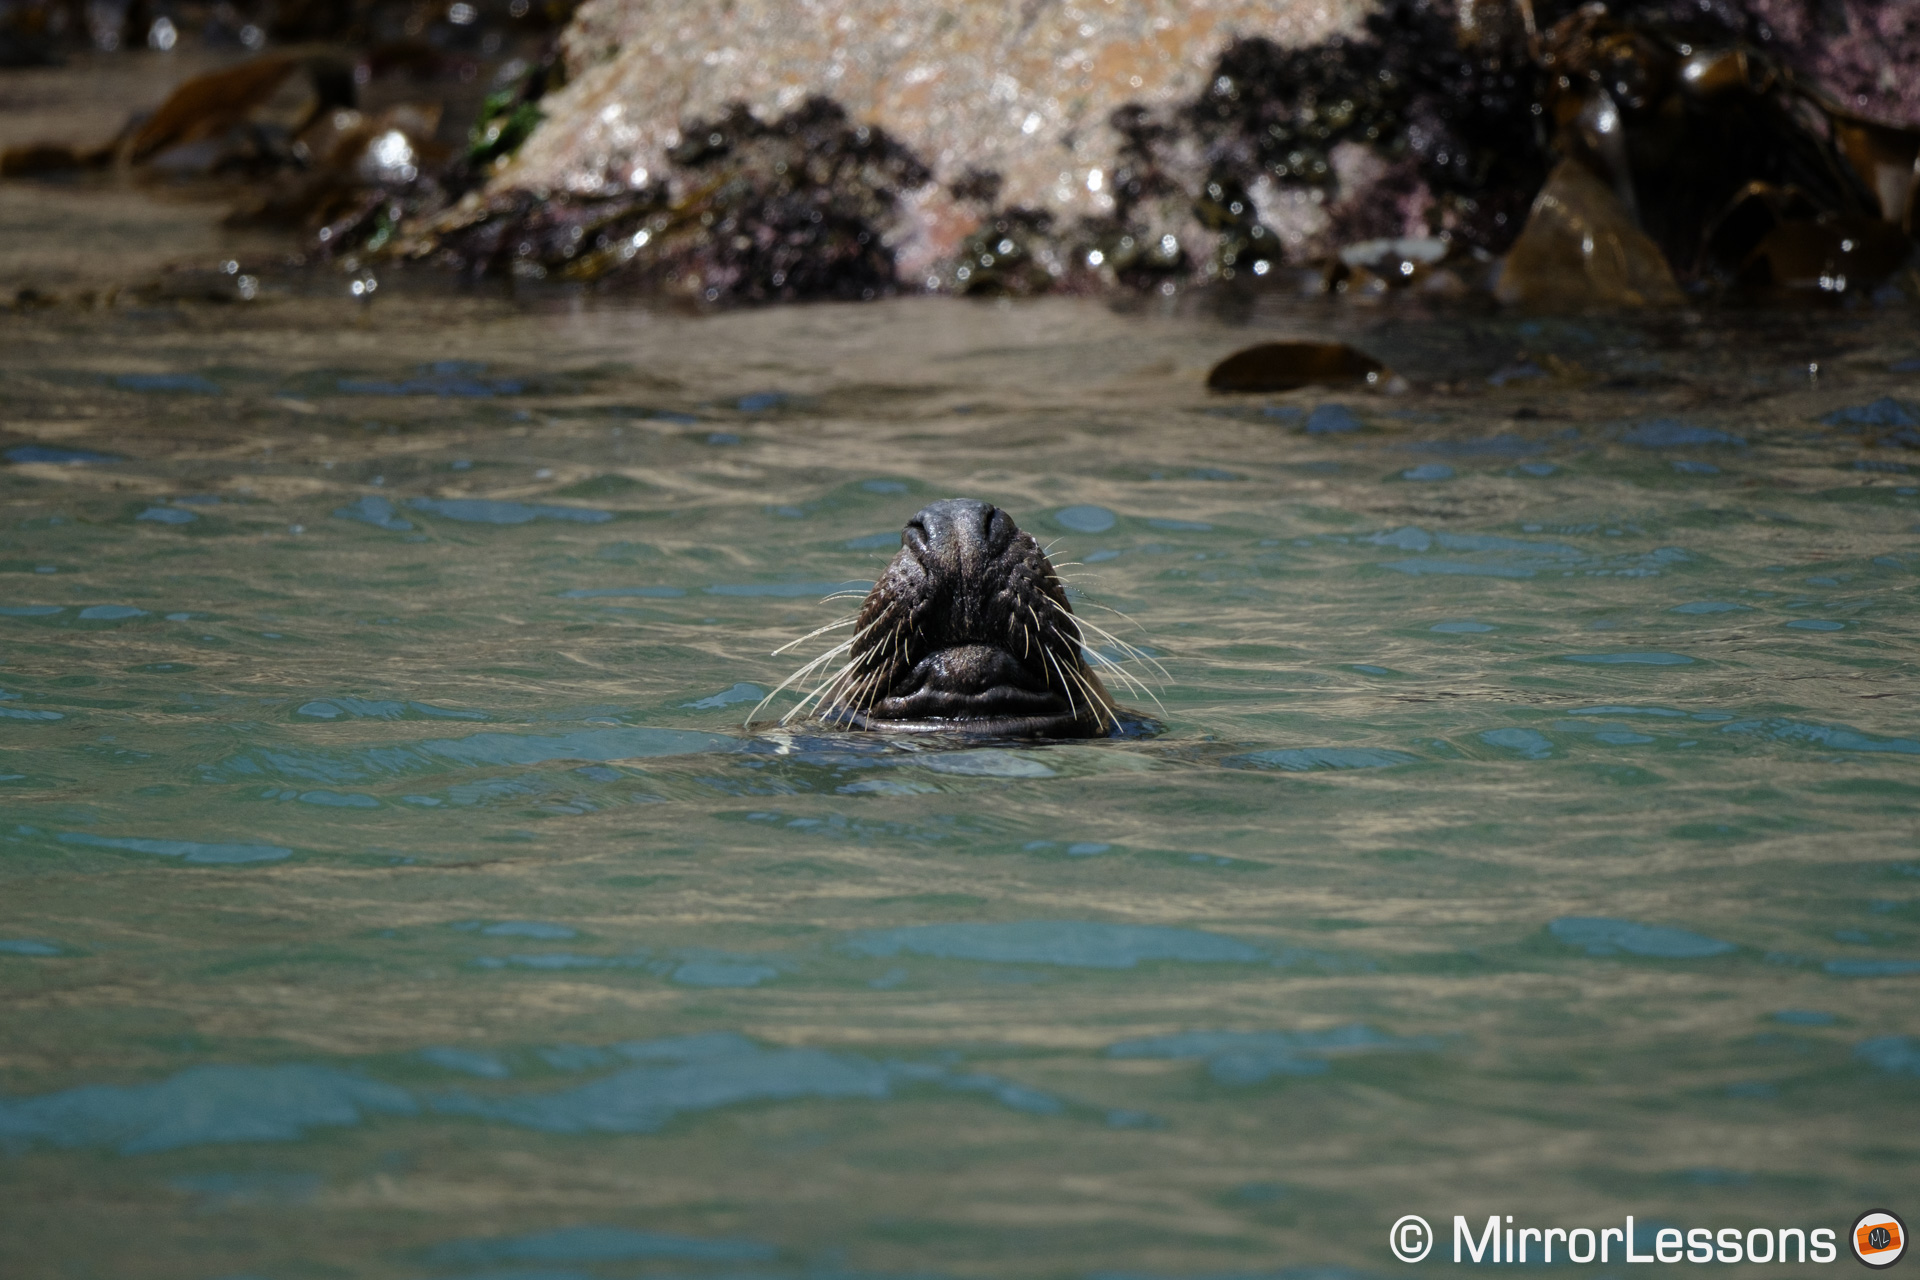
The wrong setting might still work occasionally. The seal in the picture below was taken with bird detection rather than animal detection, but the camera misinterpreted the seal head popping out of the water for a bird. Most of the time however, bird detection will only work with birds, and vice versa.
The third test was with small birds perched on a tree, a regular scene I try to photograph with each camera I test.
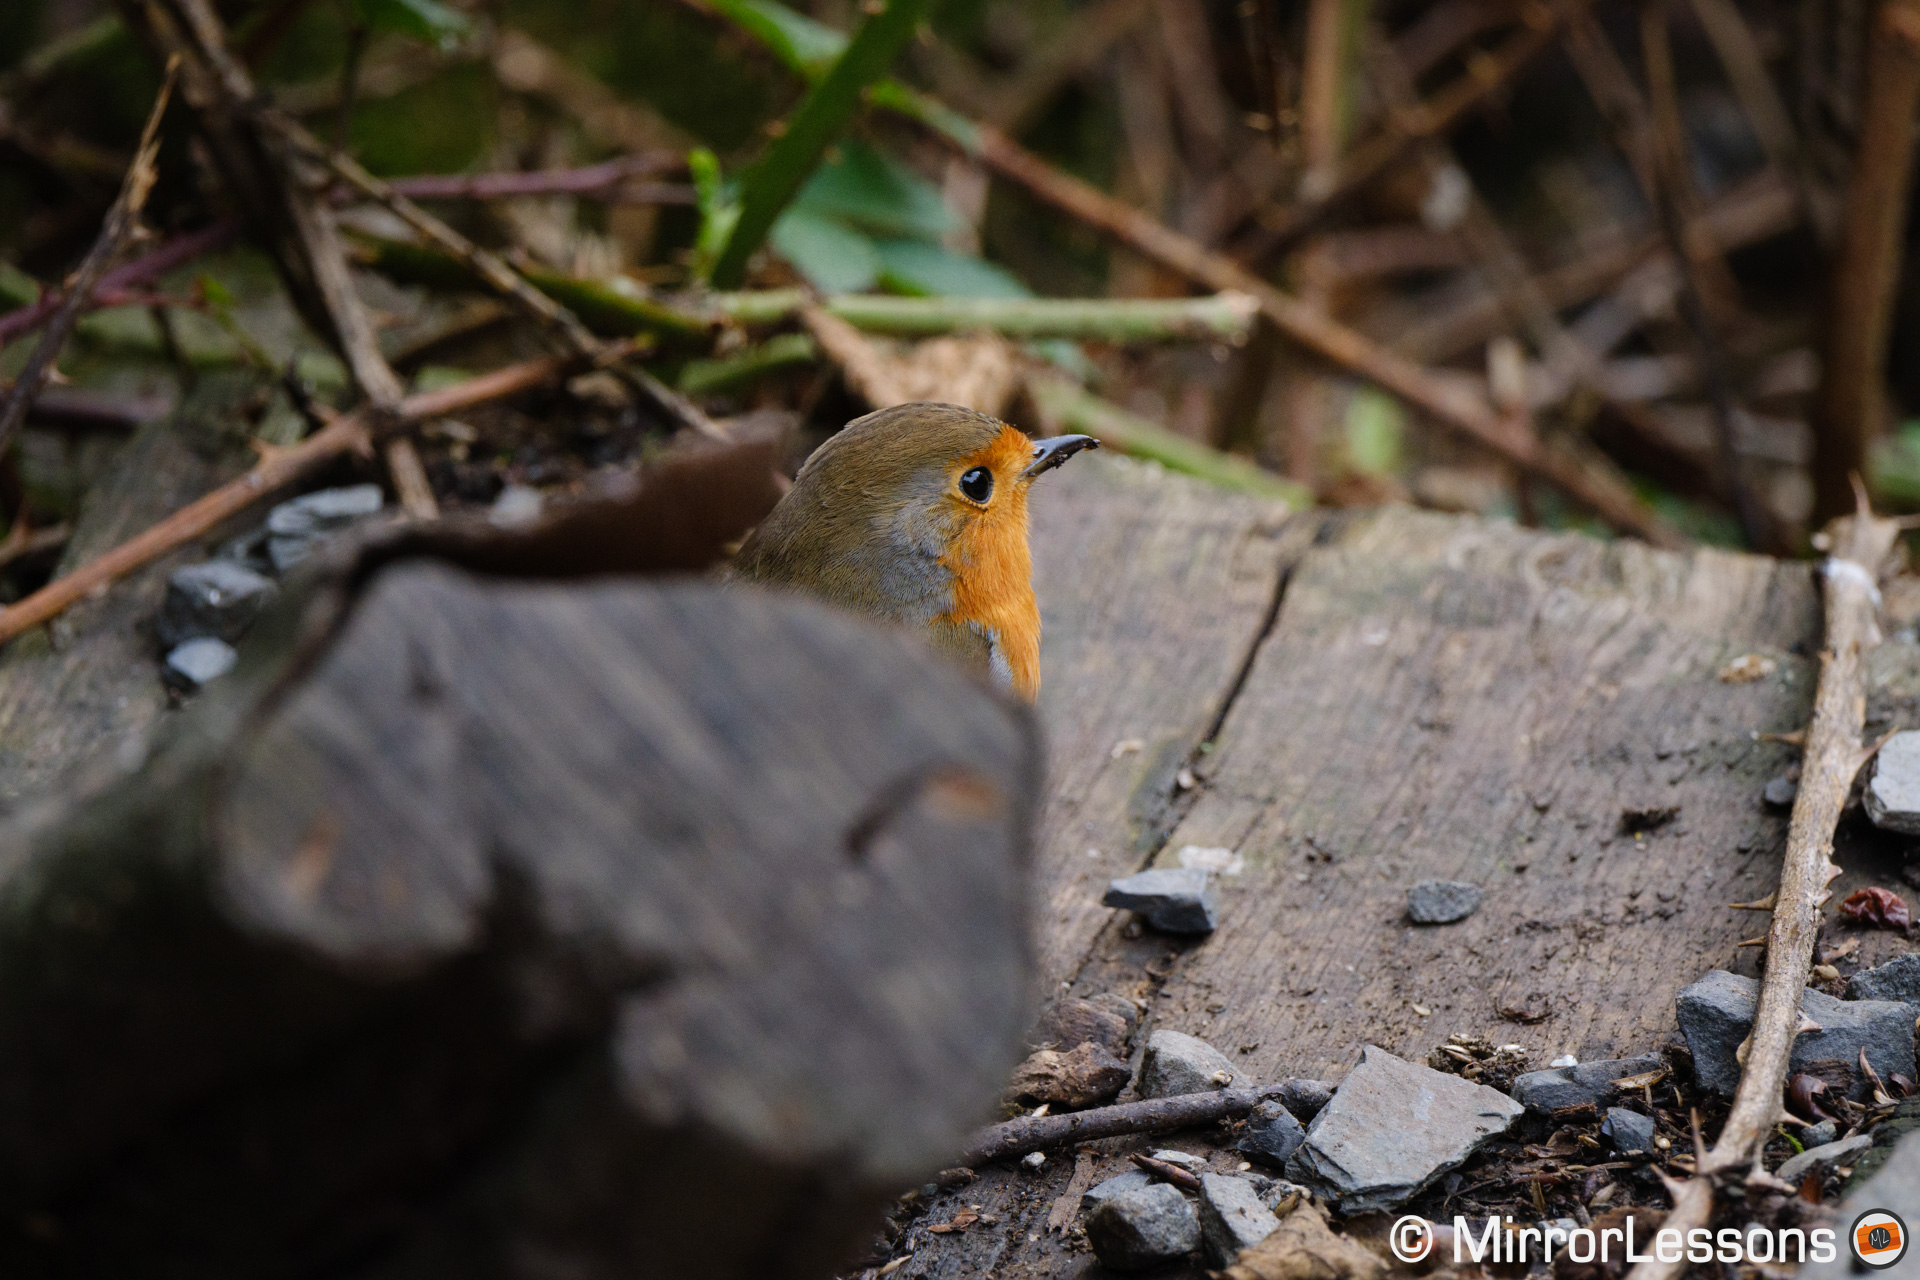
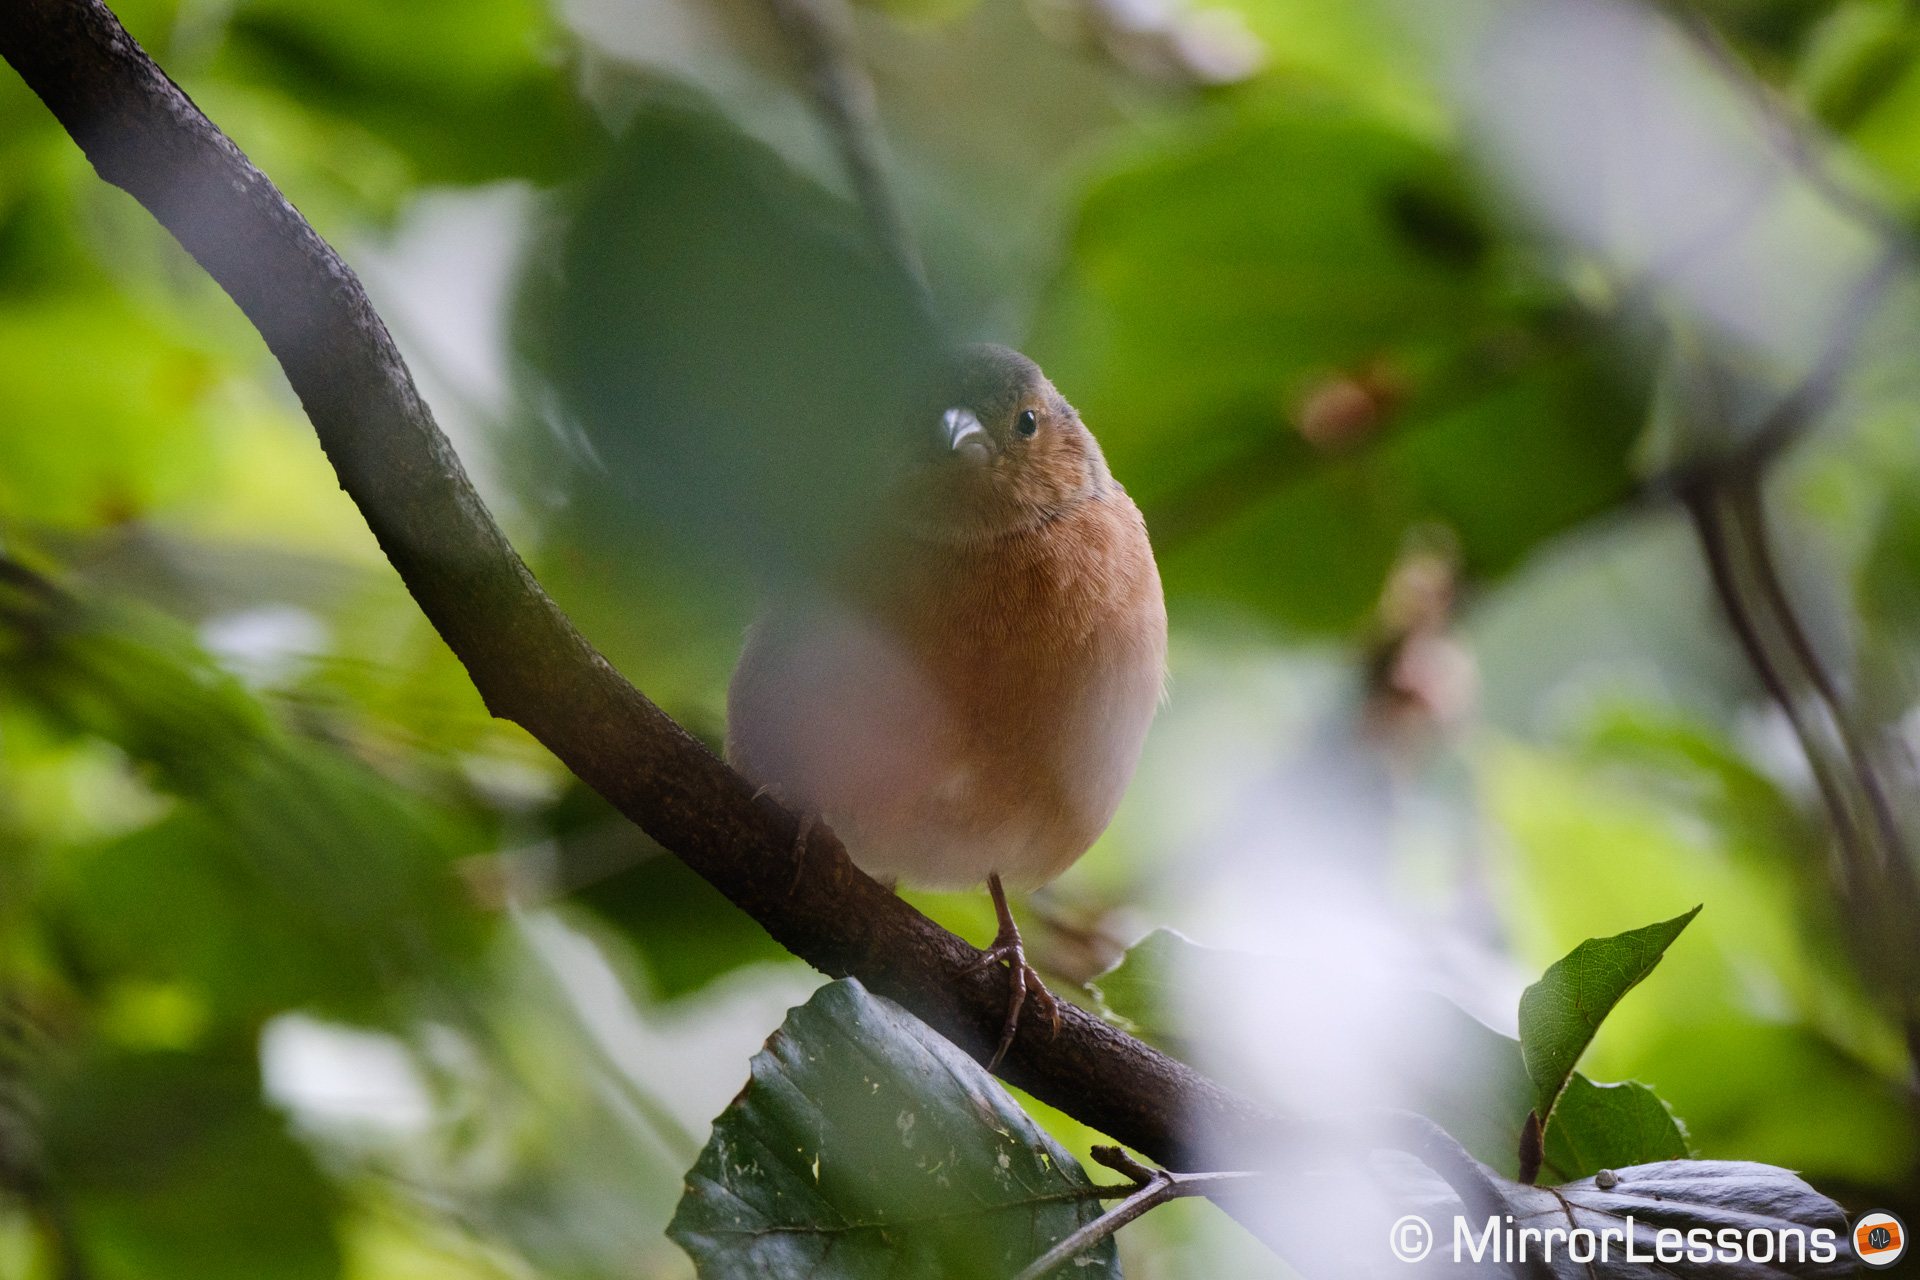
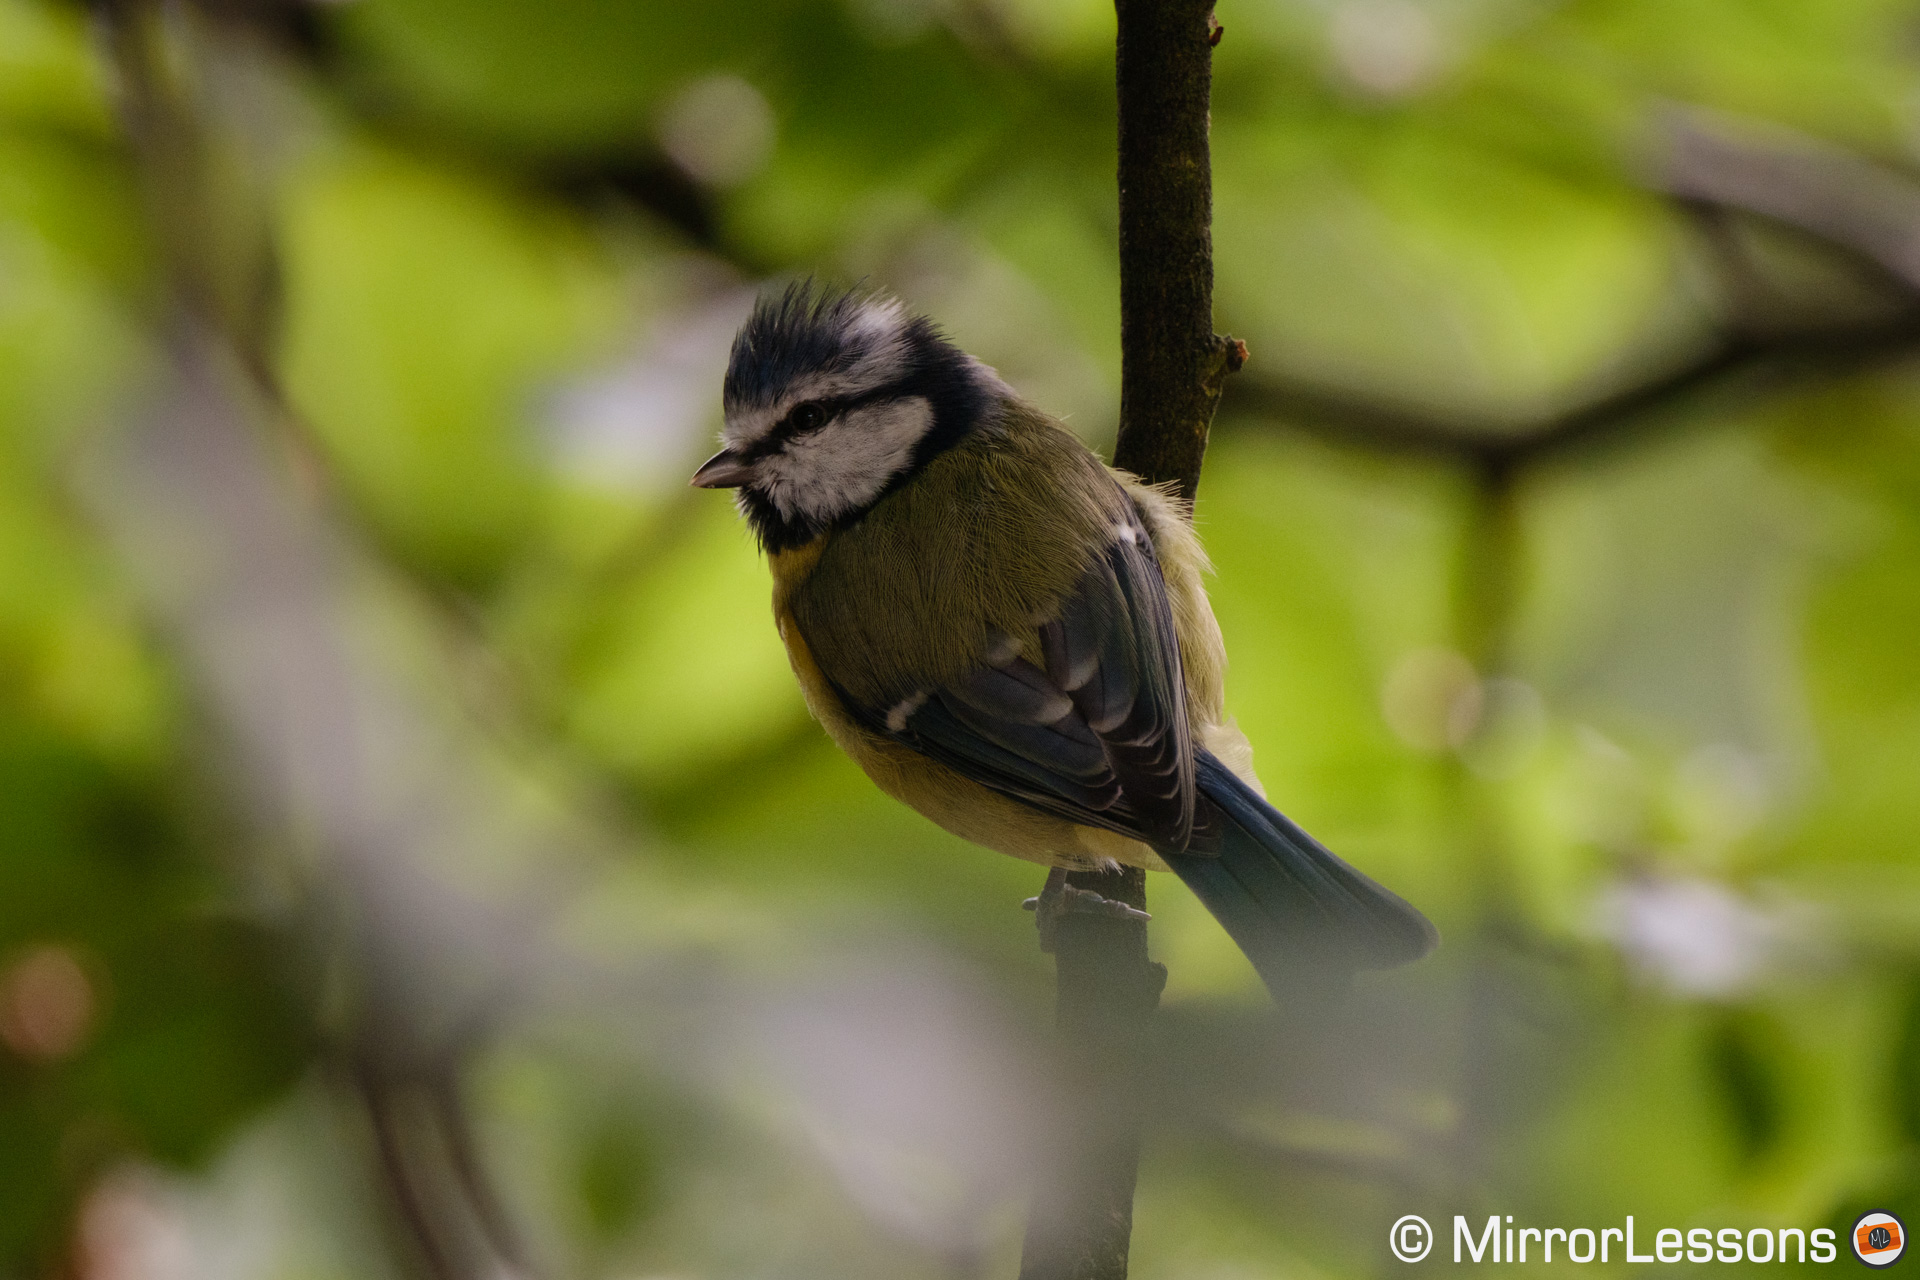
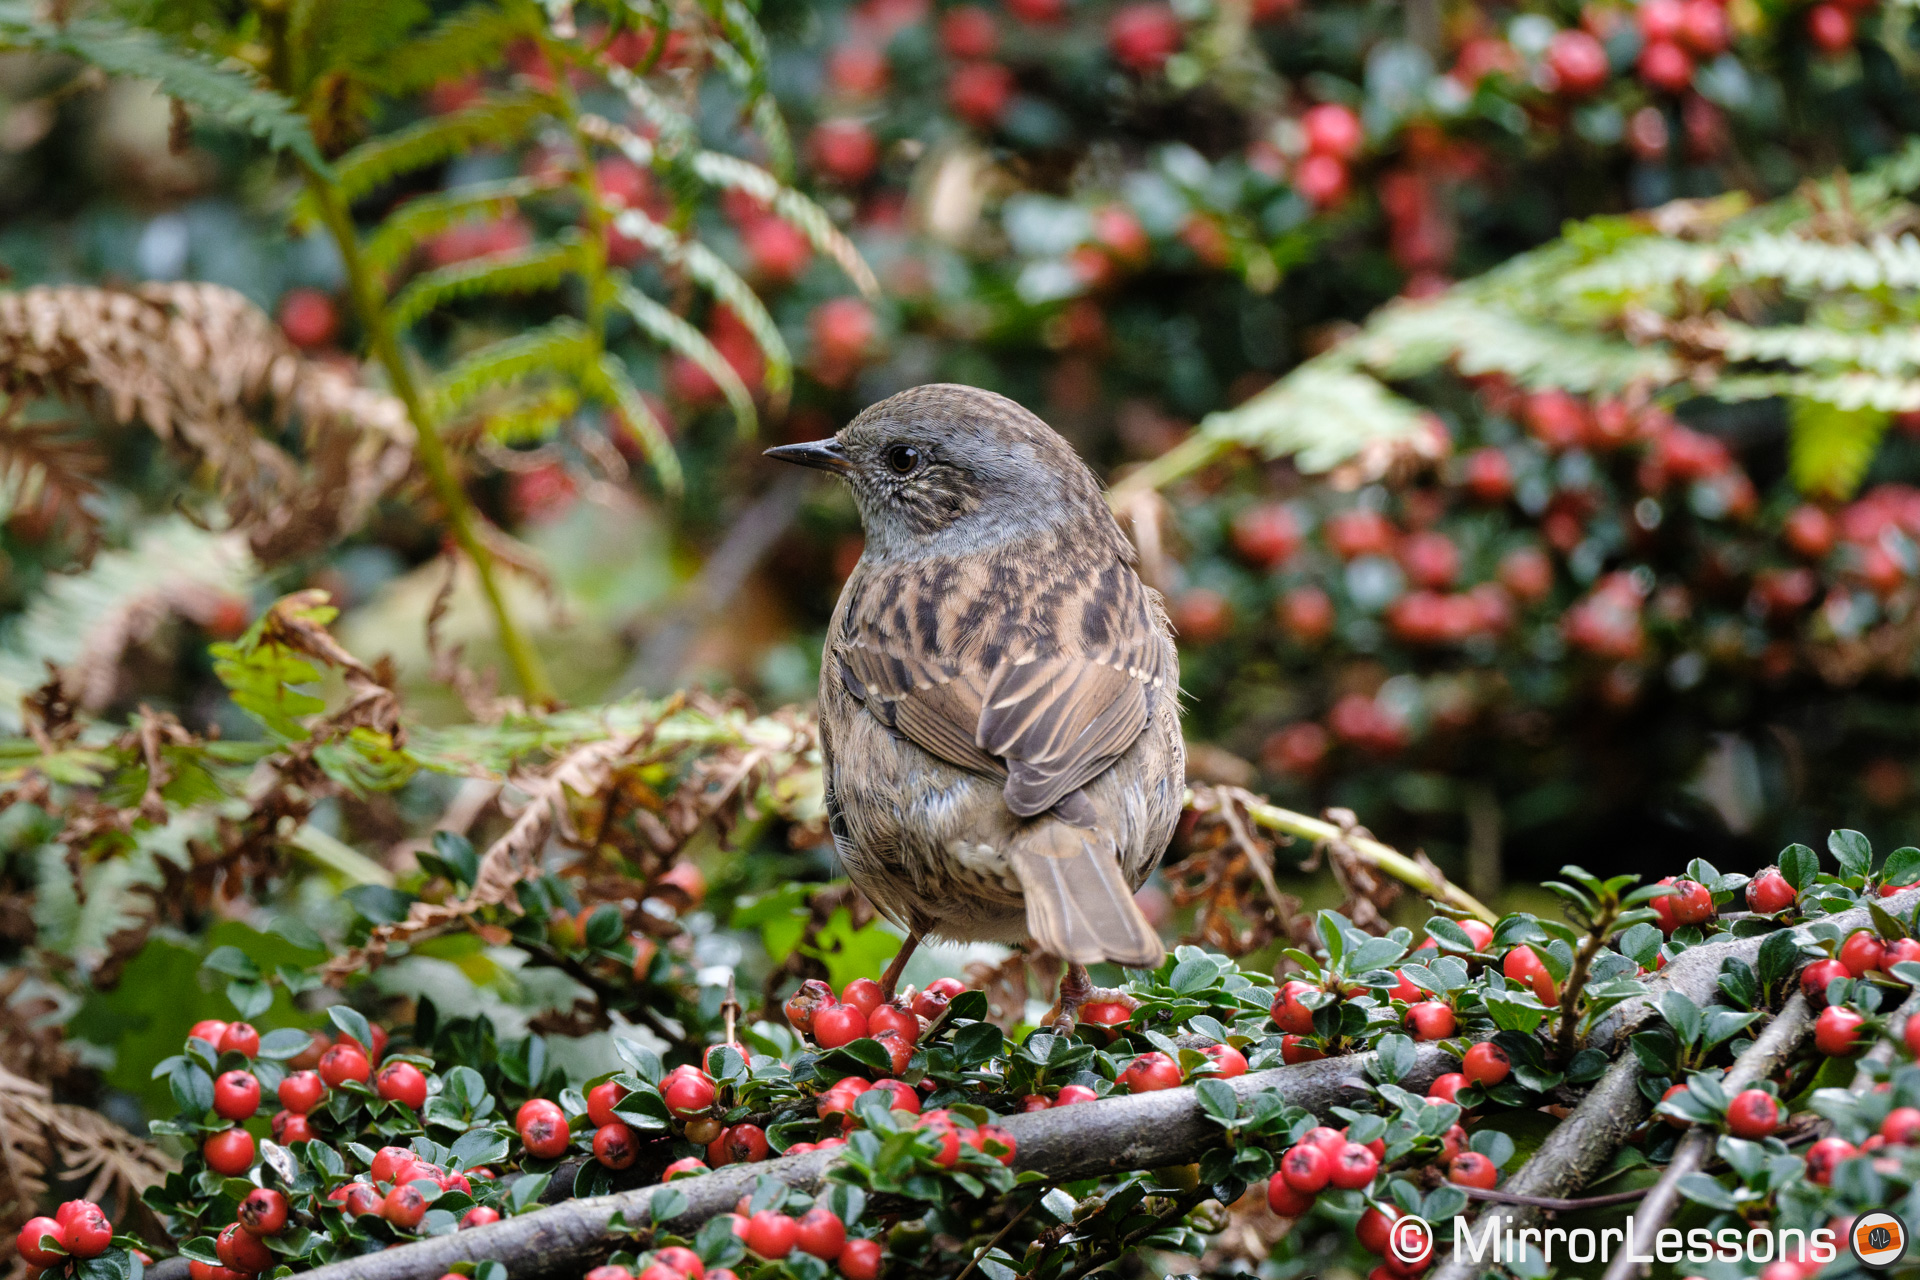
Like many other cameras with the same functionality, bird detection becomes very useful when you have branches or other elements that can interfere with your subject. The X-H2S successfully focused on the eye of a robin popping out from behind a small log, as well as various birds surrounded by out of focus leaves in the foreground. The camera did well with subjects in the shade too.
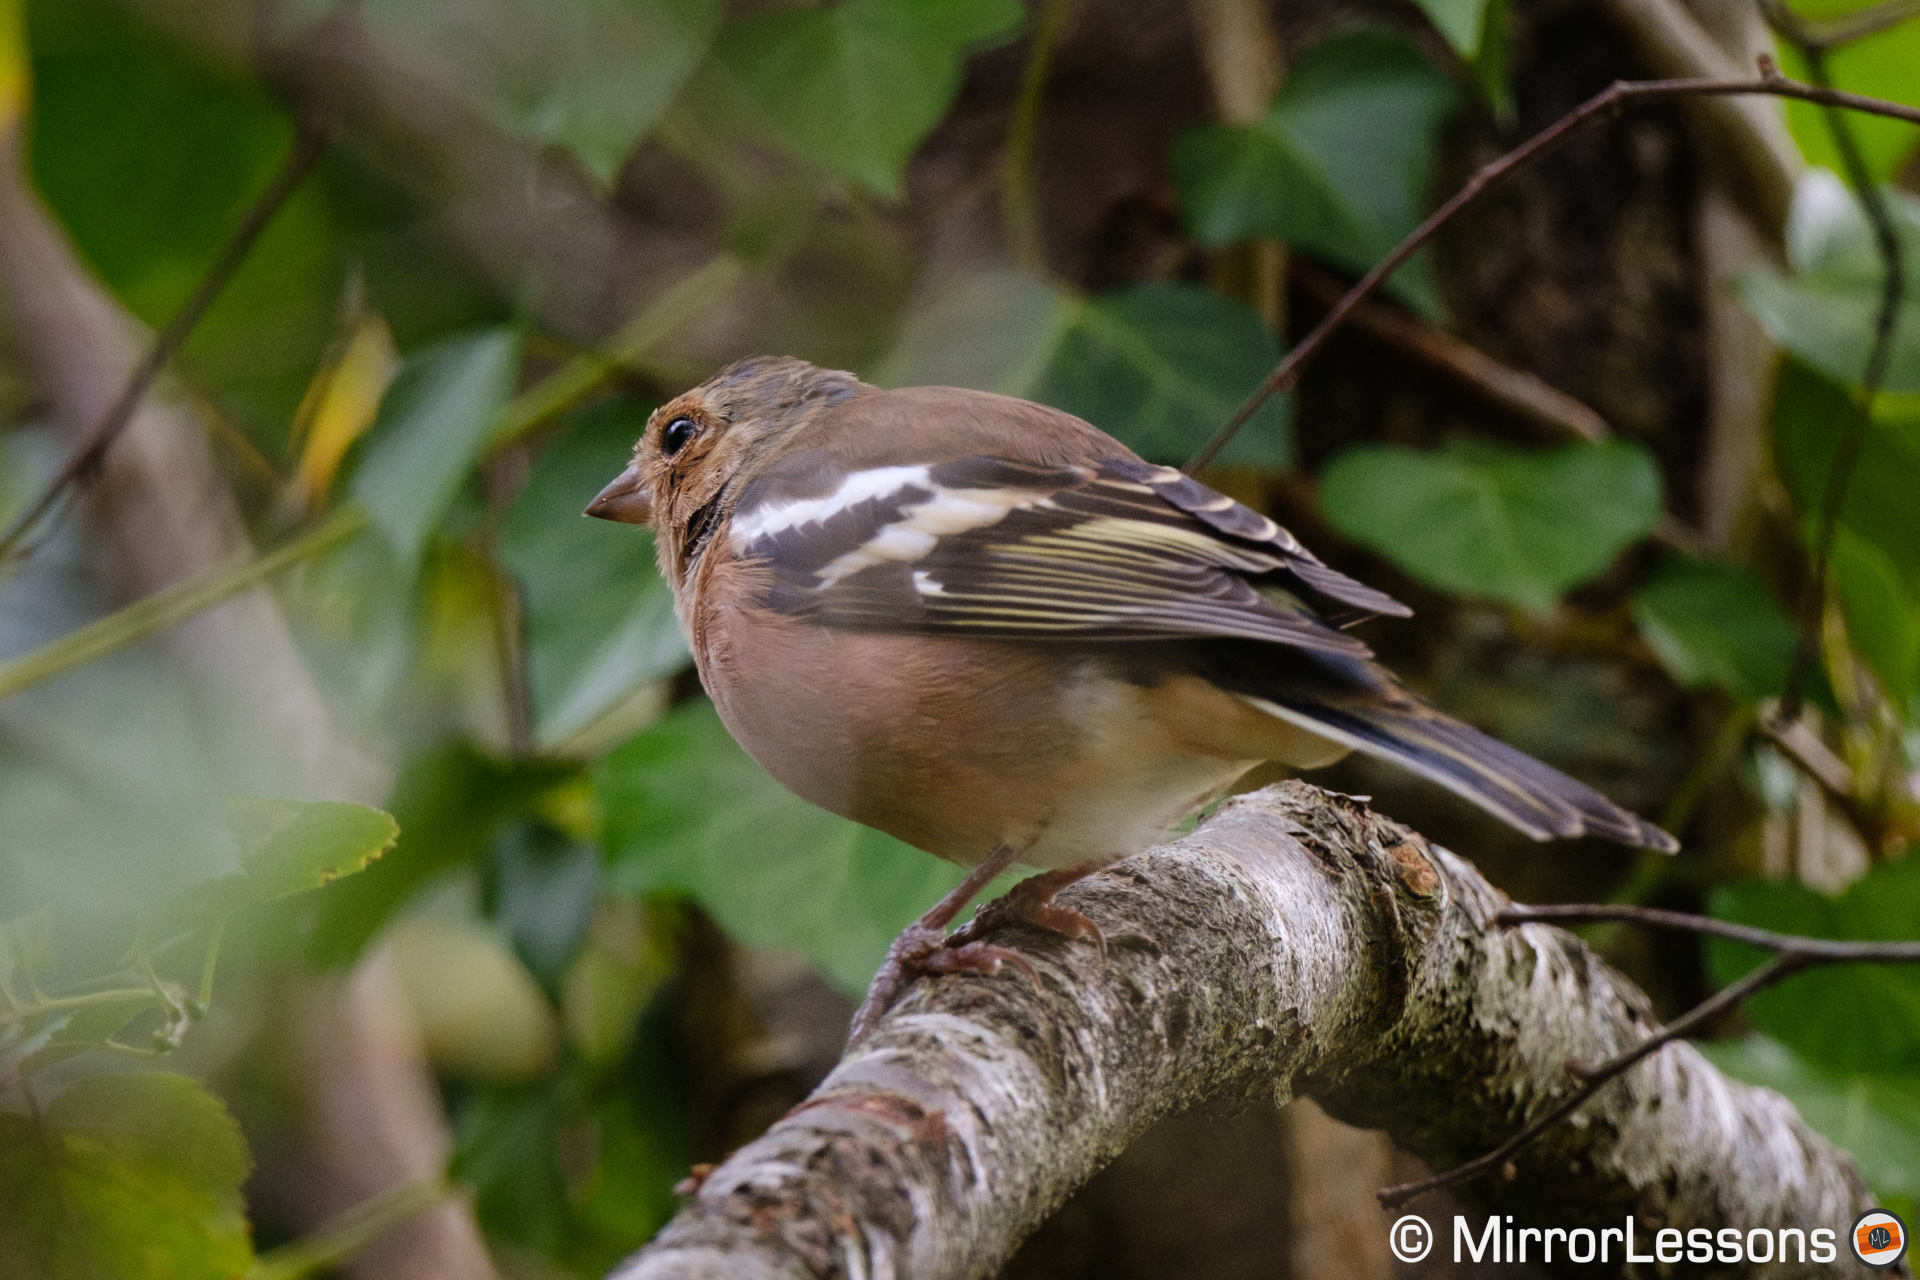
You can also see in the photo below how the camera kept the head and eye sharp, while the larger body is sligthly soft. If I had used a normal single AF point, the result would have been the opposite.
Birds in Flight
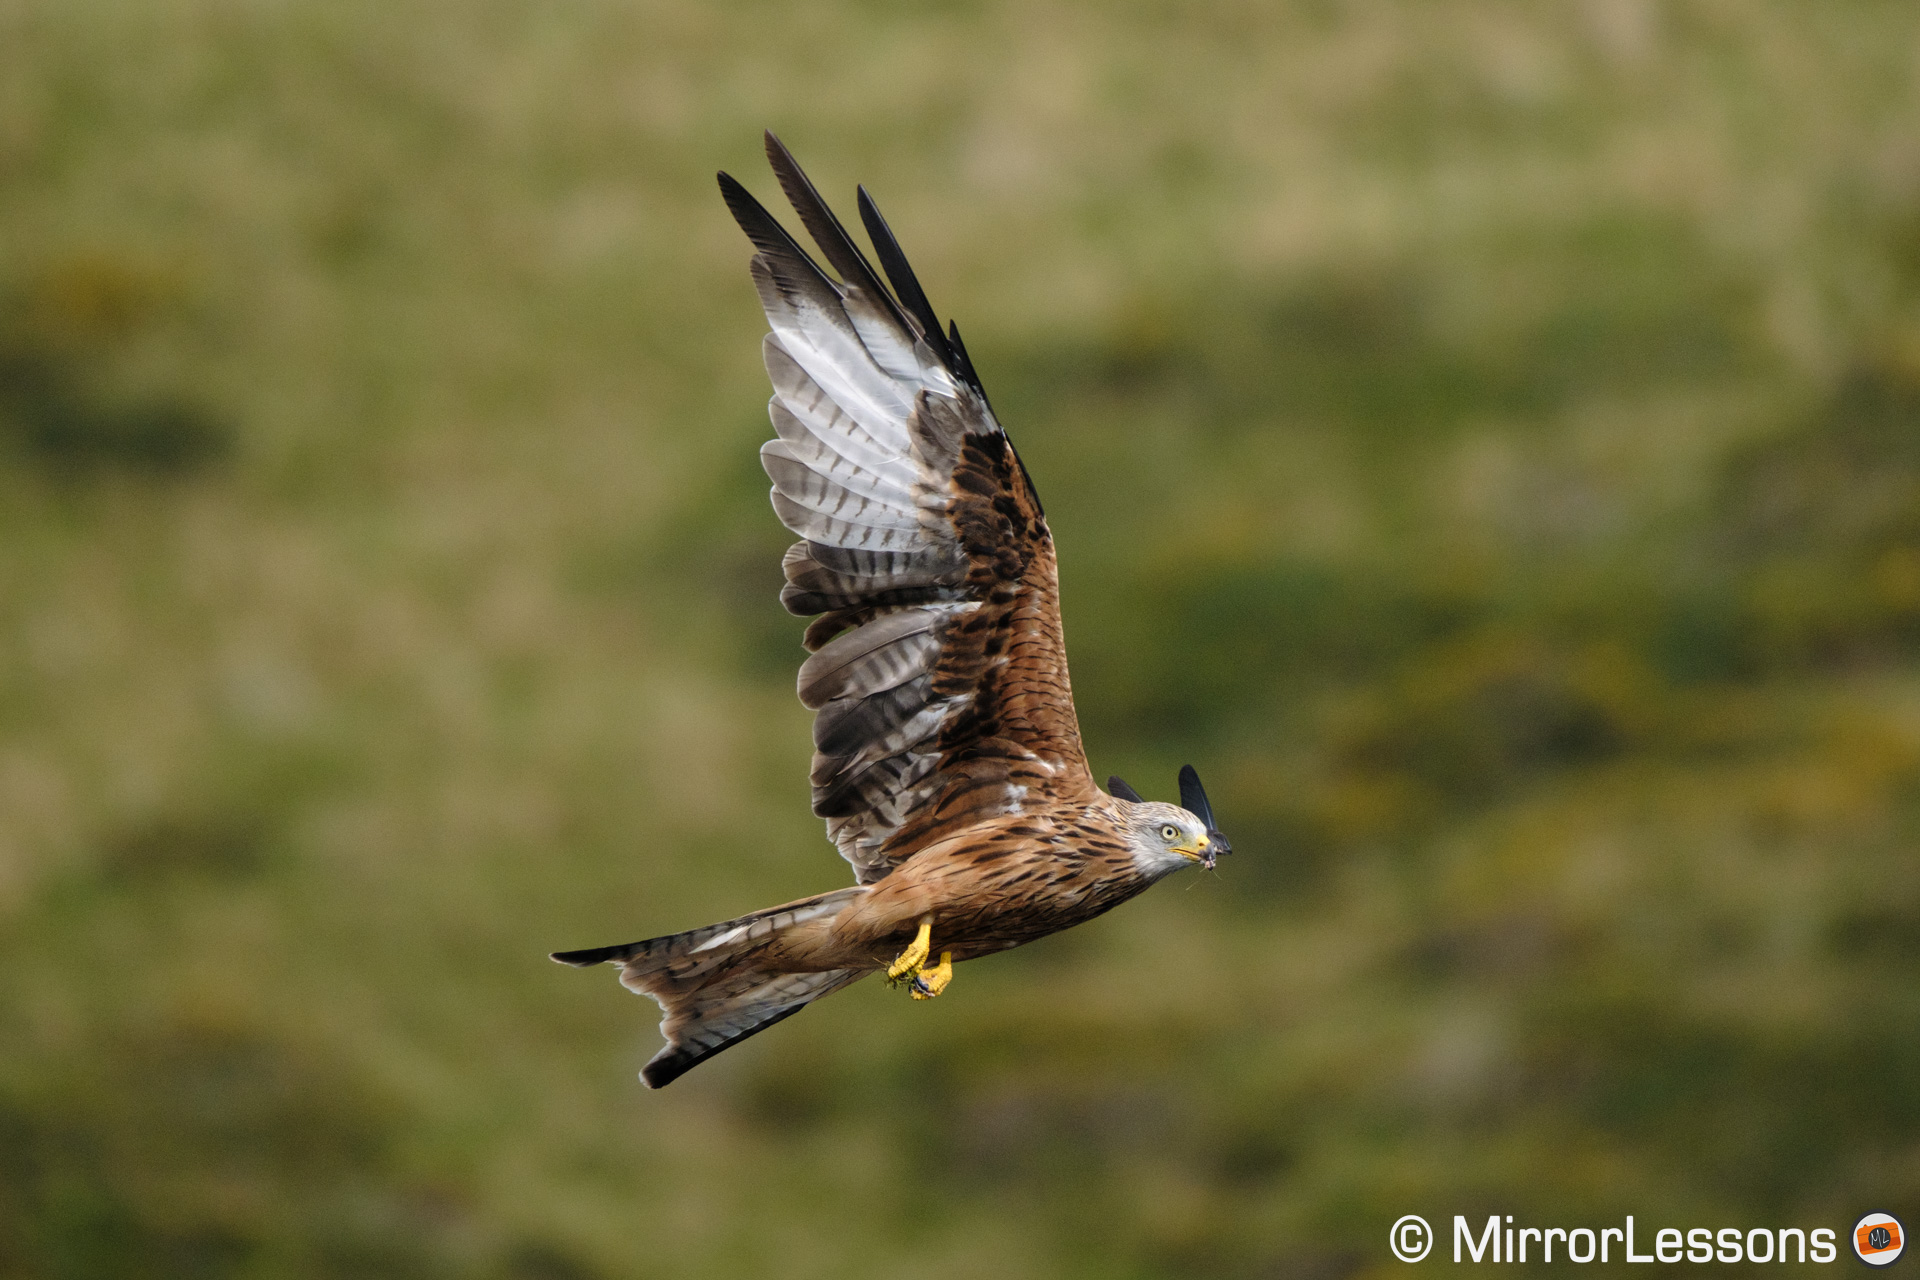
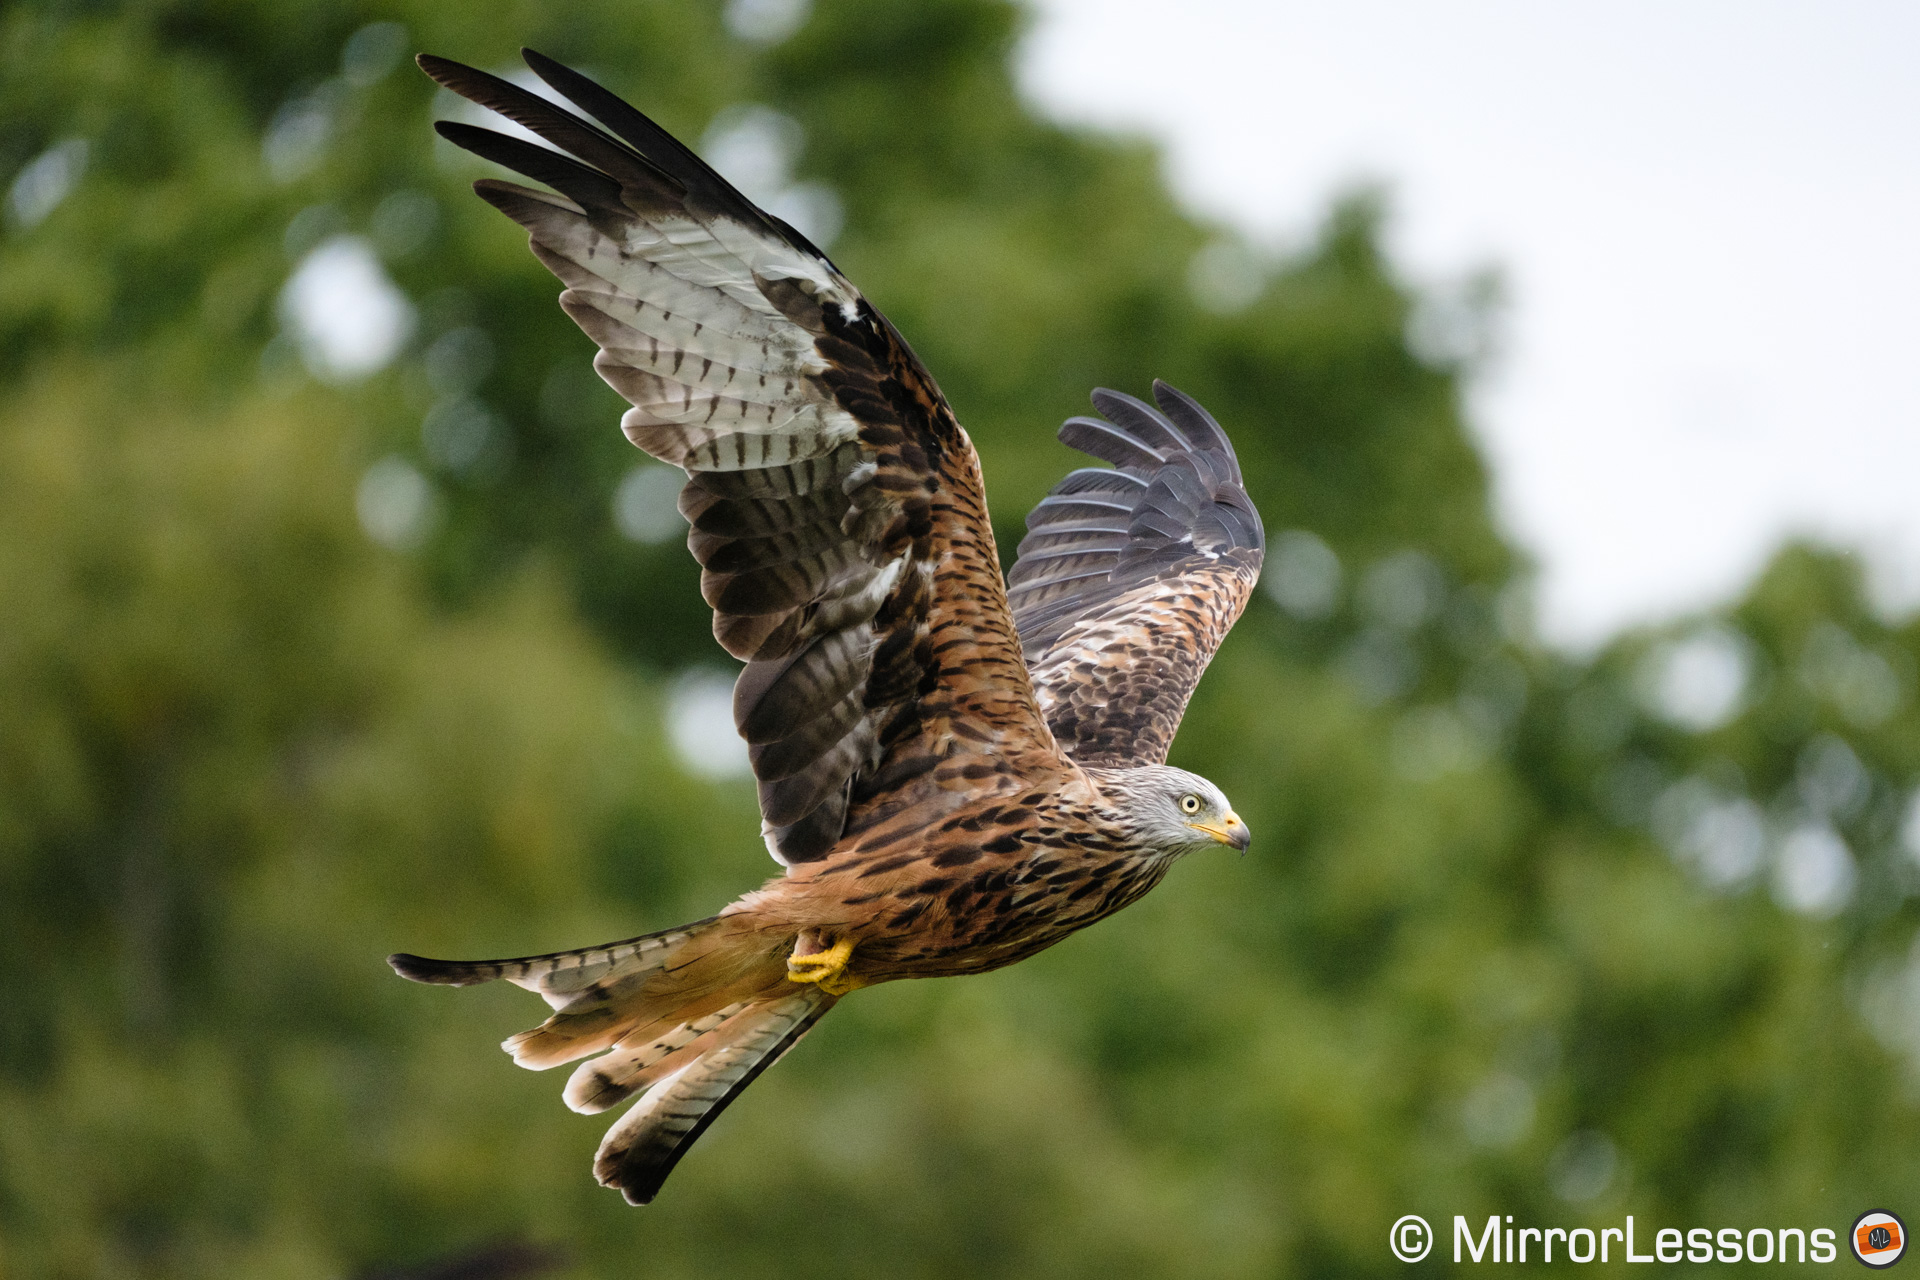
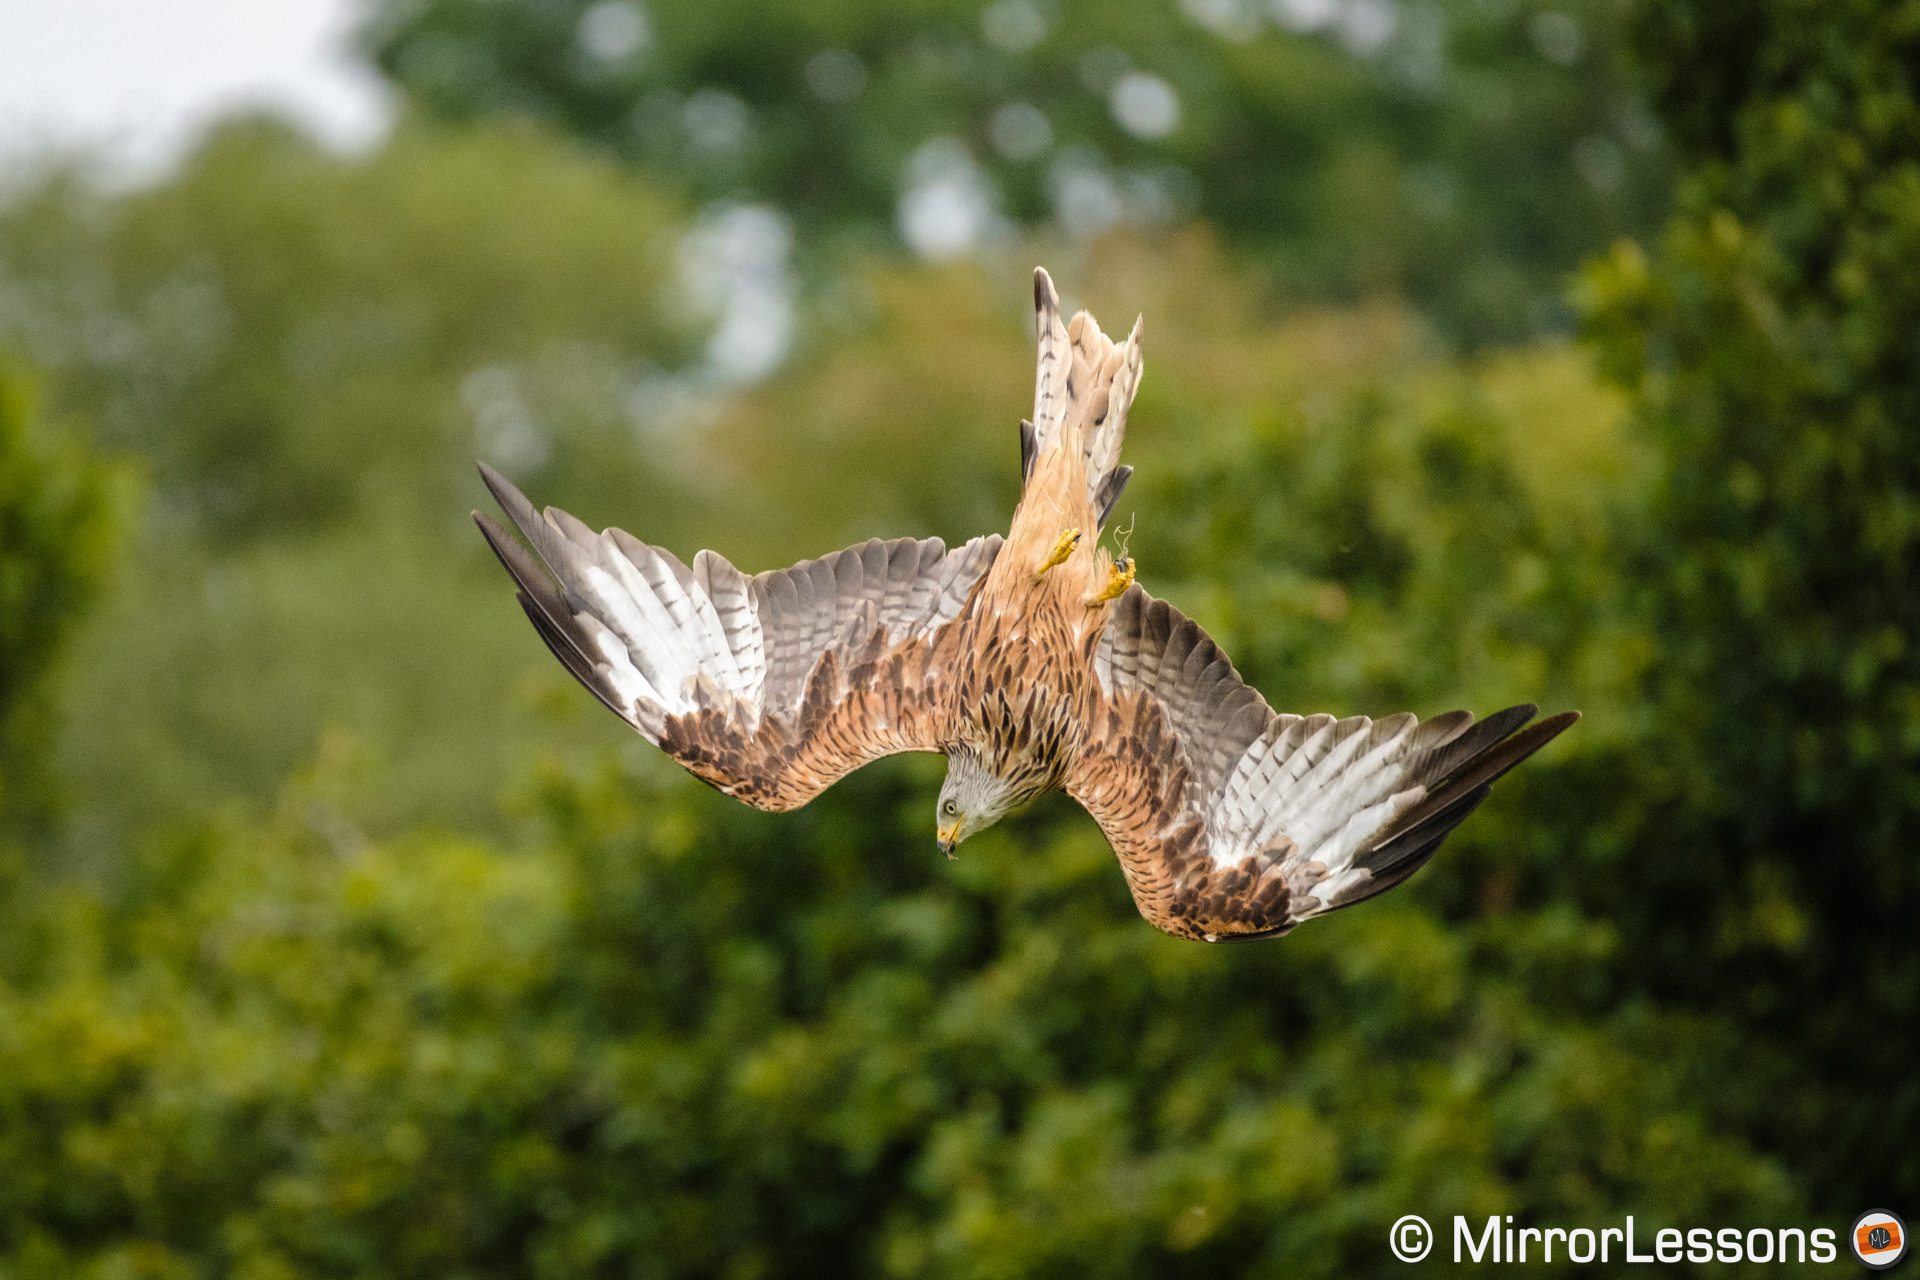
As always, I went to my two favourite red kite feeding stations to test the X-H2S with the new XF 150-600mm, as well as the XF 100-400mm that I’ve used many times.
I took a lot of pictures with different settings, and then analysed how many photos are in focus, how many are slightly soft and how many are out of focus, determining which settings give the best result. (You can read more about my birds in flight test in this separate article).
I can tell you right from the start that the X-H2S doesn’t bring a substantial improvement over the X-T4. Here is the best score I got with the camera, and how it compares with other Fujifilm models.
X-H2S
82%
97%
X-T4
81%
96%
X-S10
78%
94%
Let’s break down these results.
First of all, the best score is valid whether you shoot at 20fps or 40fps, which is a positive thing.
The substantial difference in keeper rate depends on the background. With a plain background (blue or cloudy sky), the X-H2S does well in terms its keeper rate. But as soon as the birds fly in front of trees, bushes, fields or you name it, the performance is inferior.
Sky background
84%
96%
Busy background
69%
84%
Average score
The main problem with a busy background is that the camera gets confused about what to follow, and often ignores the kite in favour of trees, fields or other natural element. It happened many times, with different settings and in the two different locations I visit.
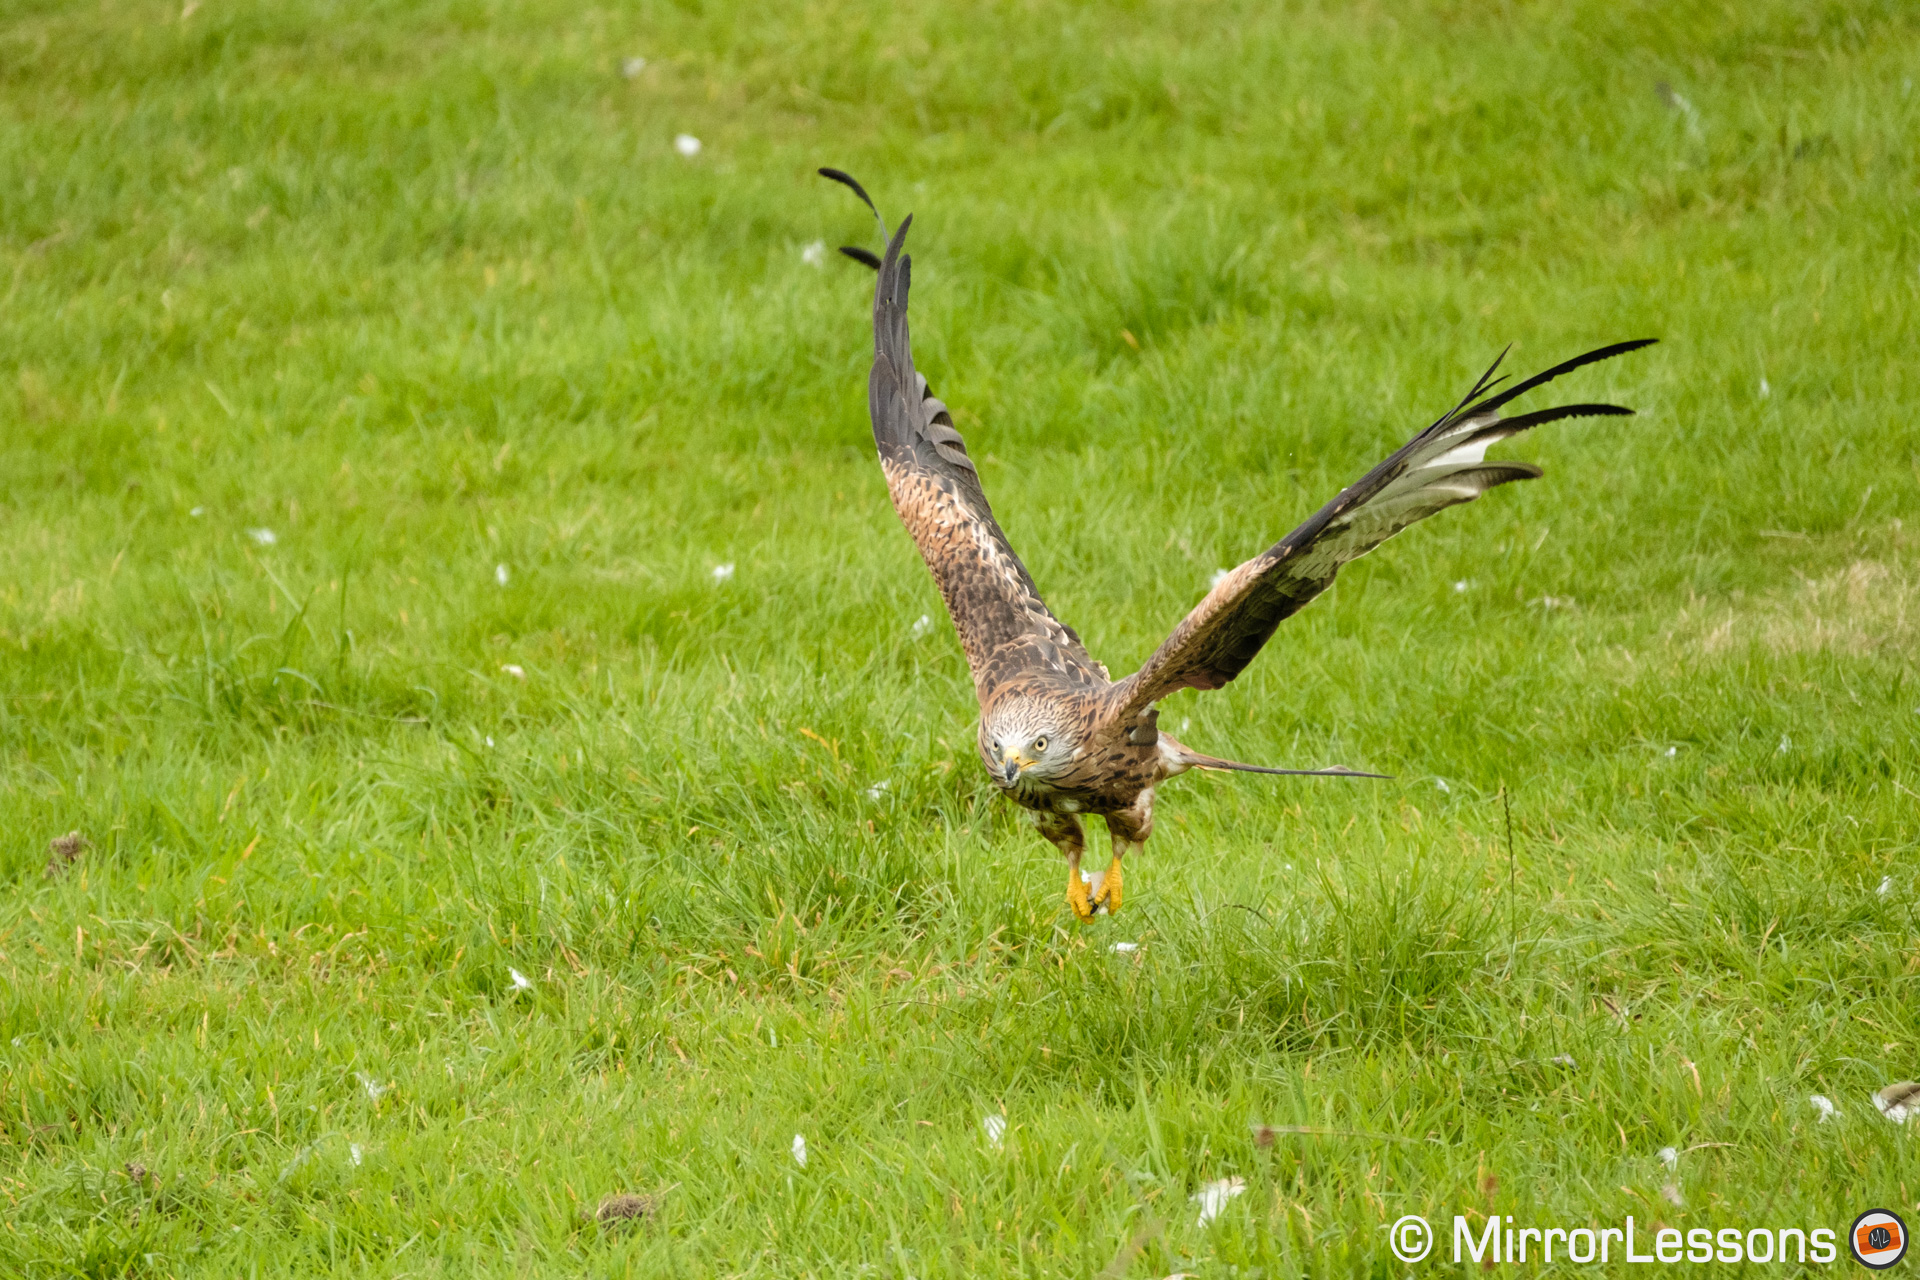
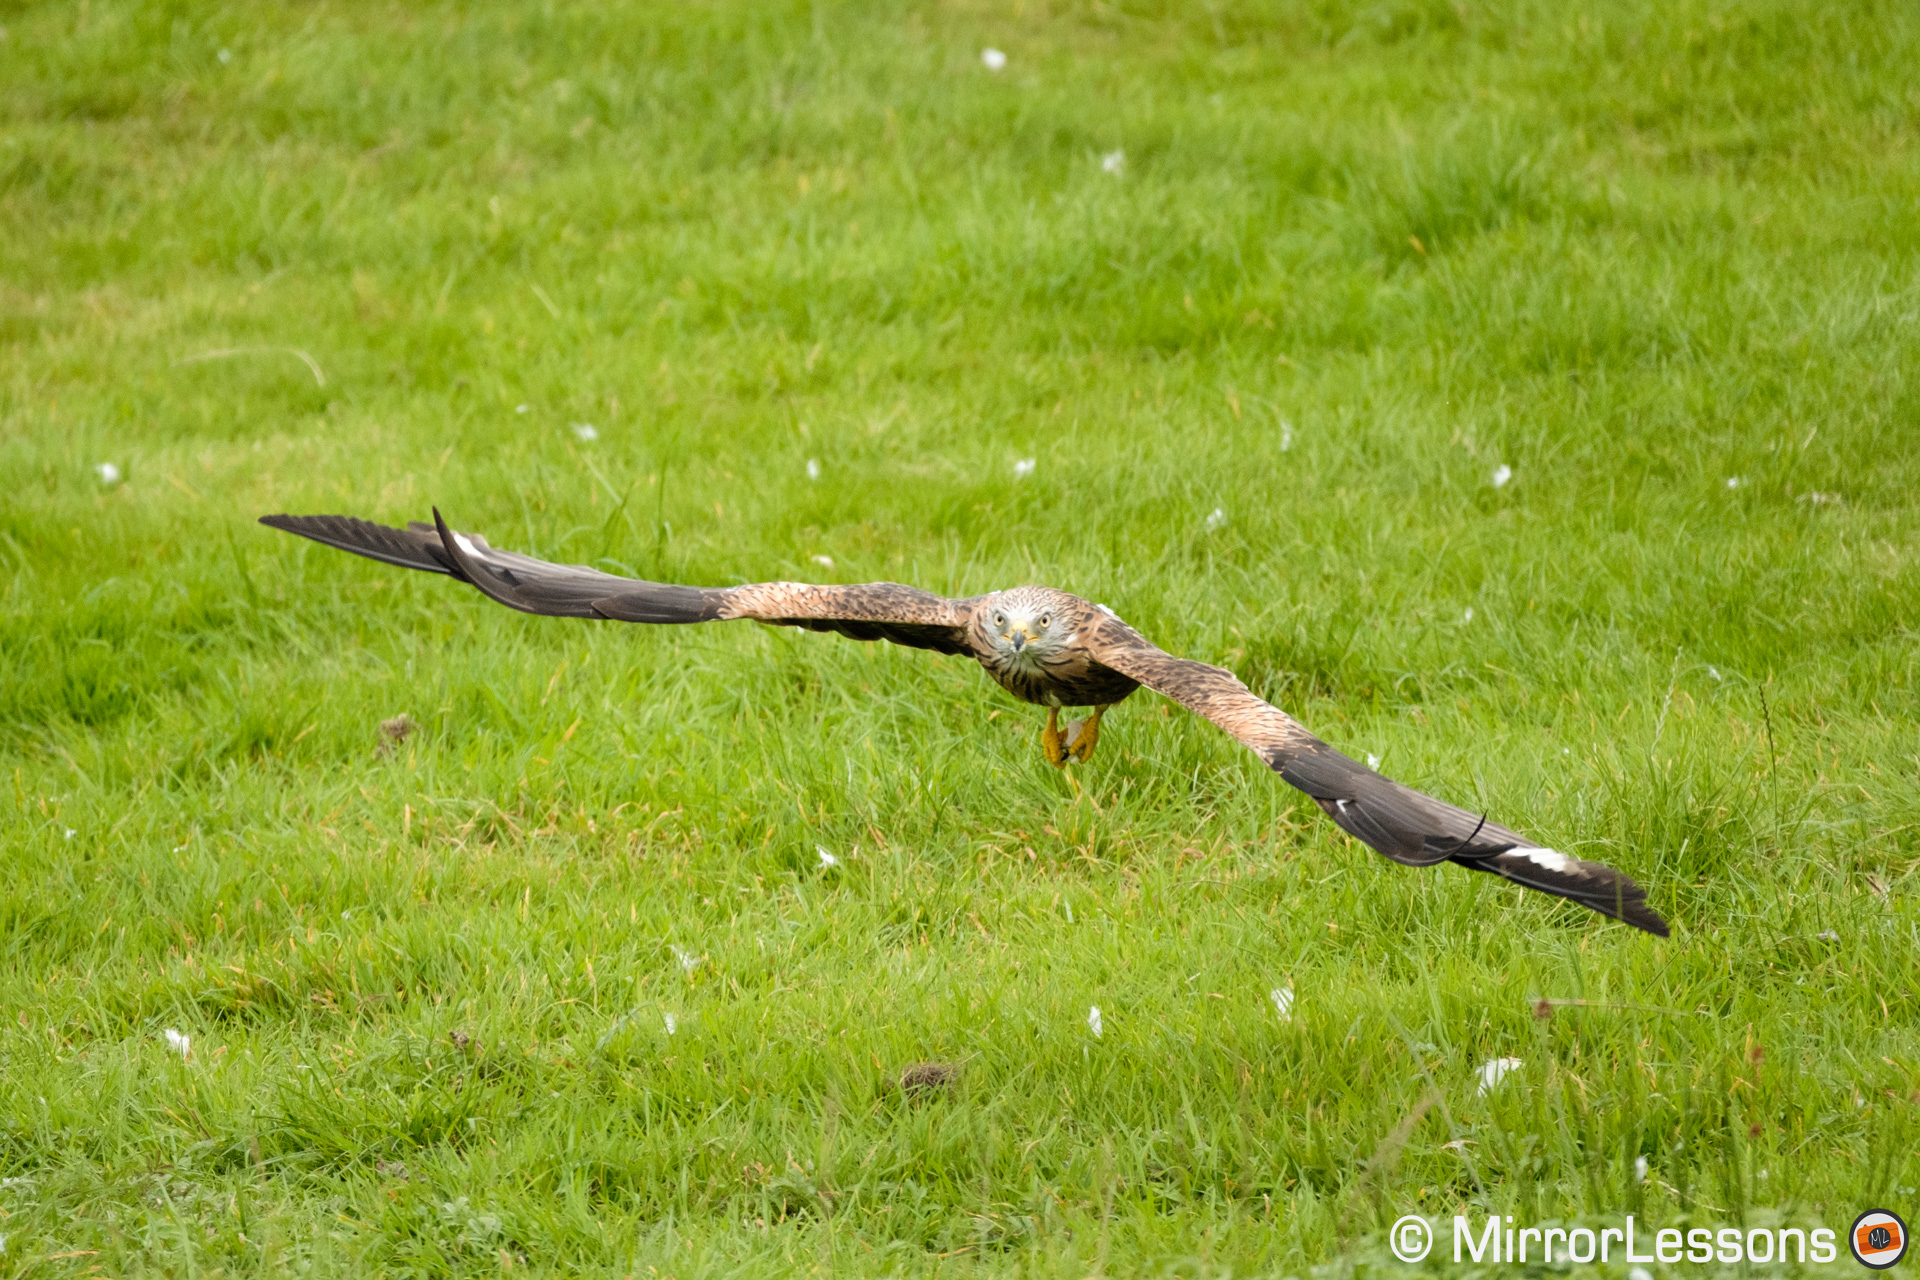
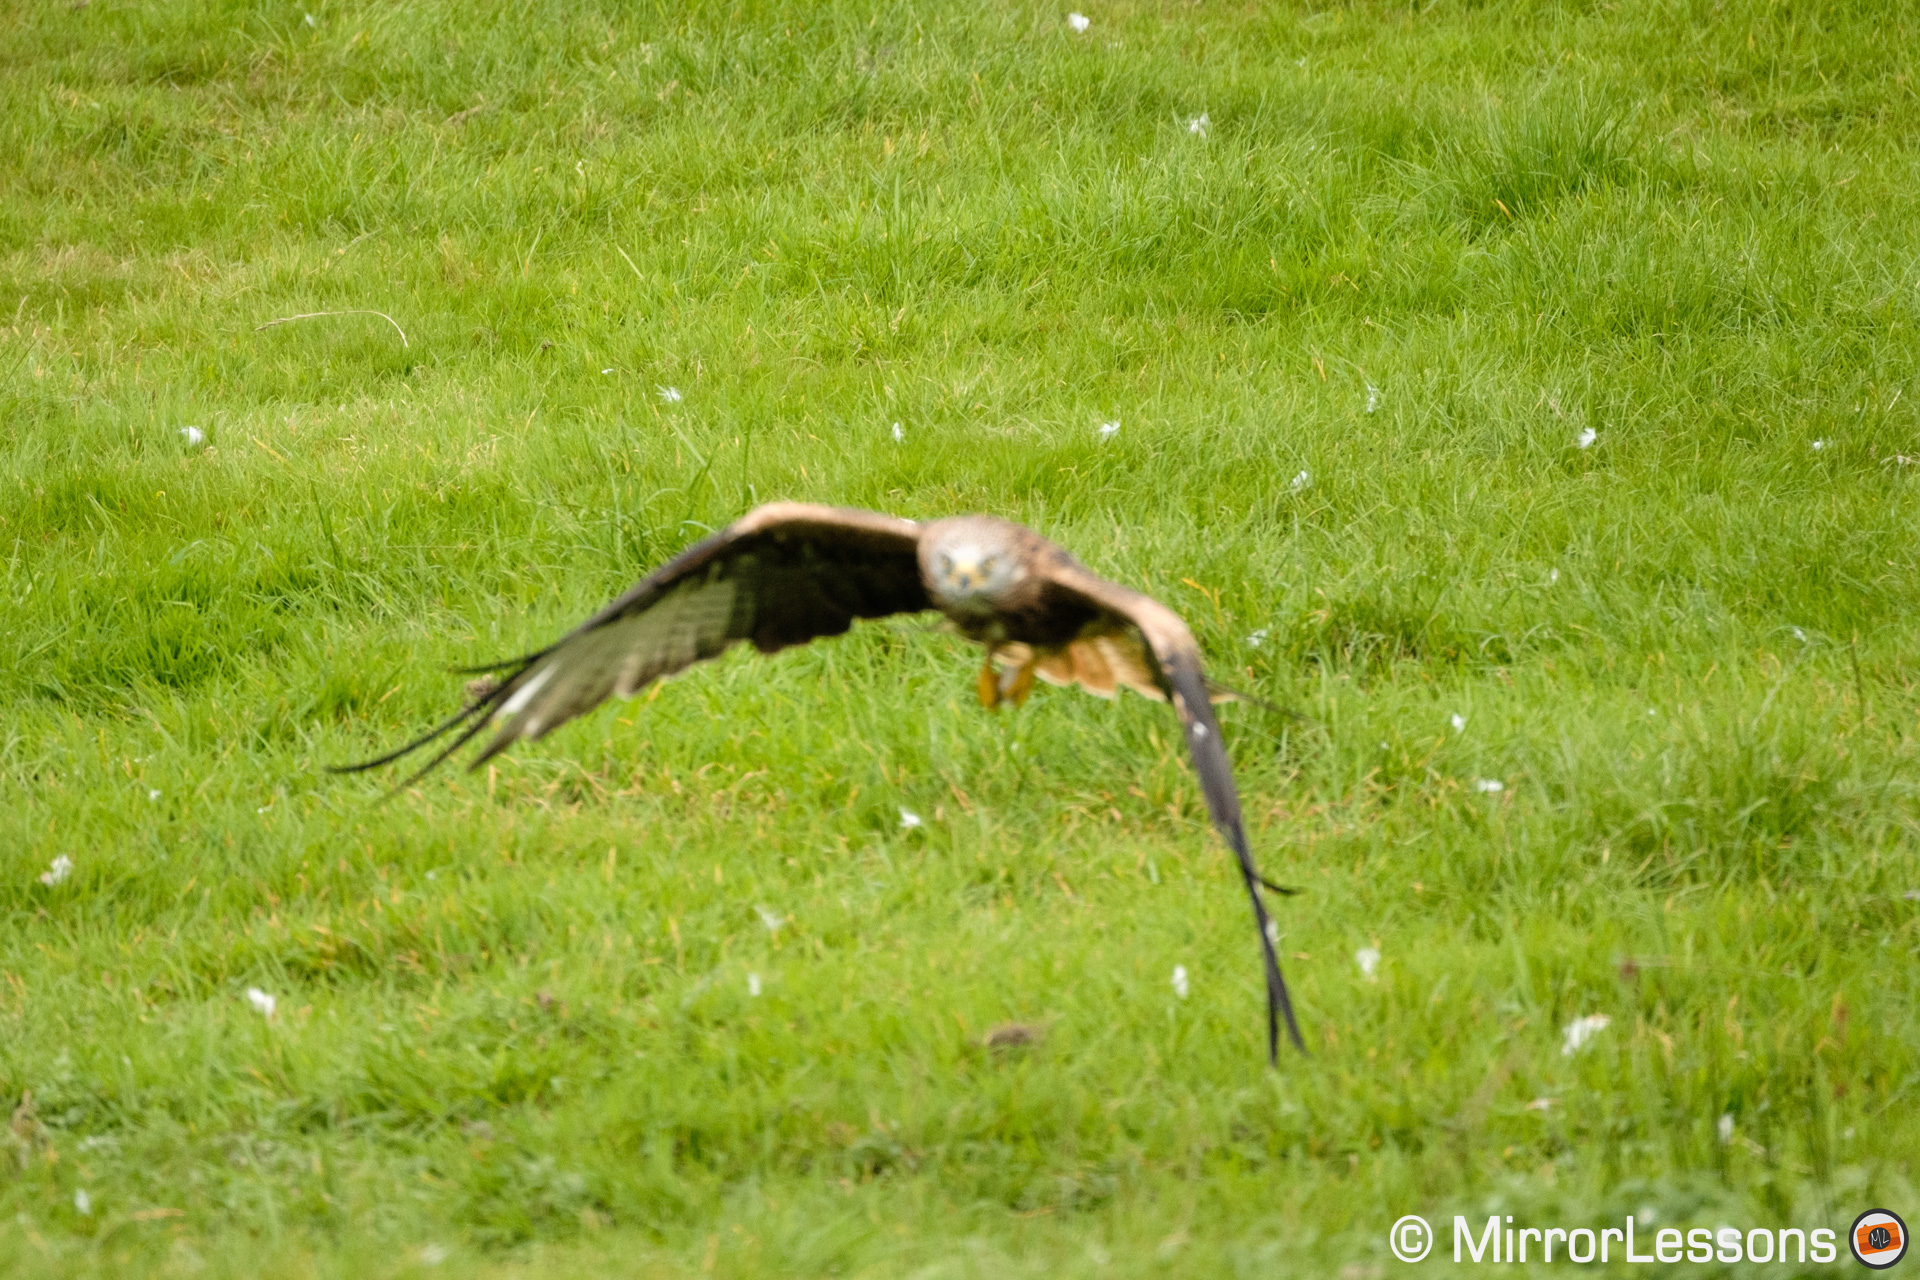
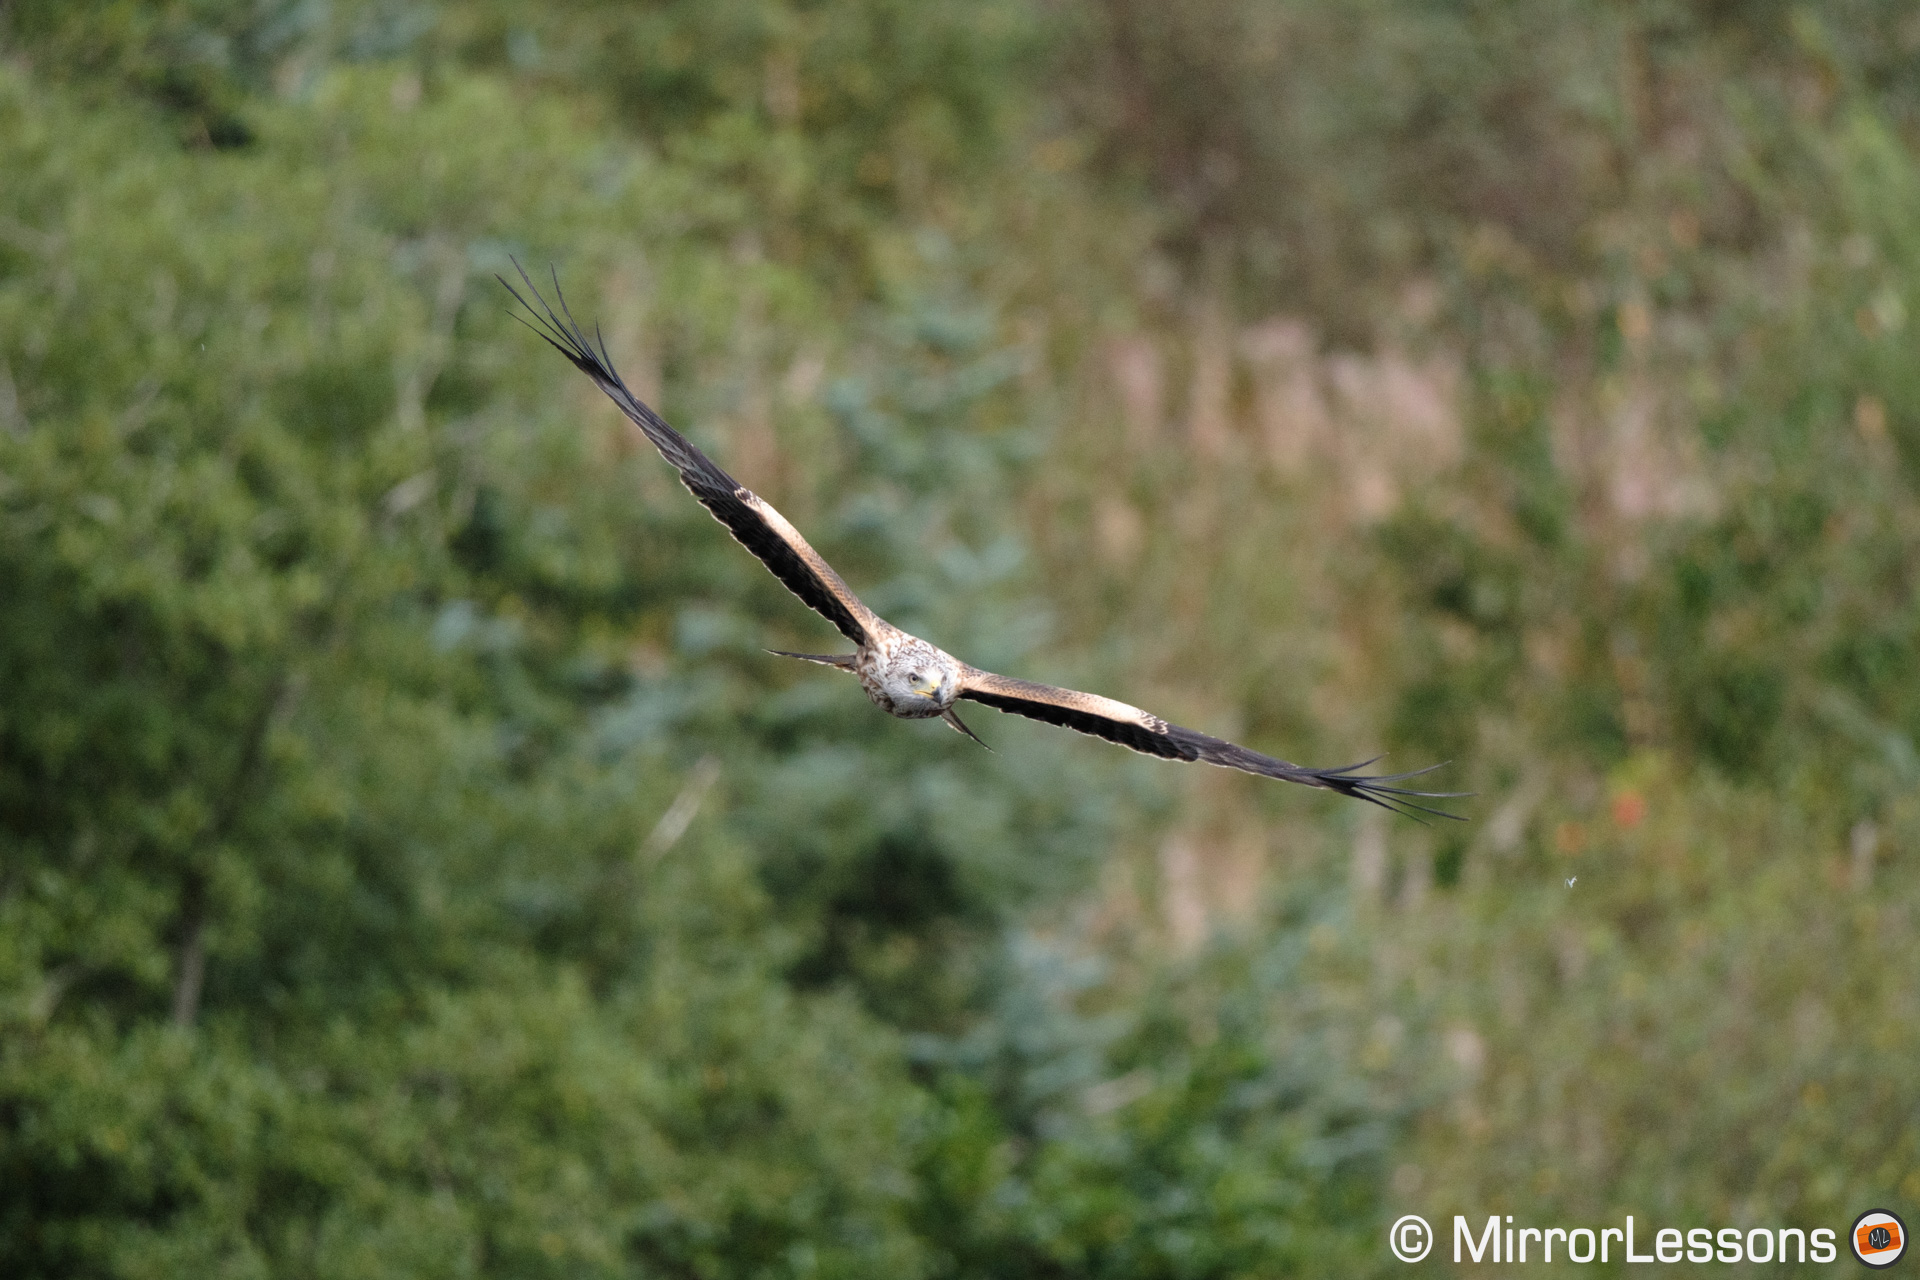
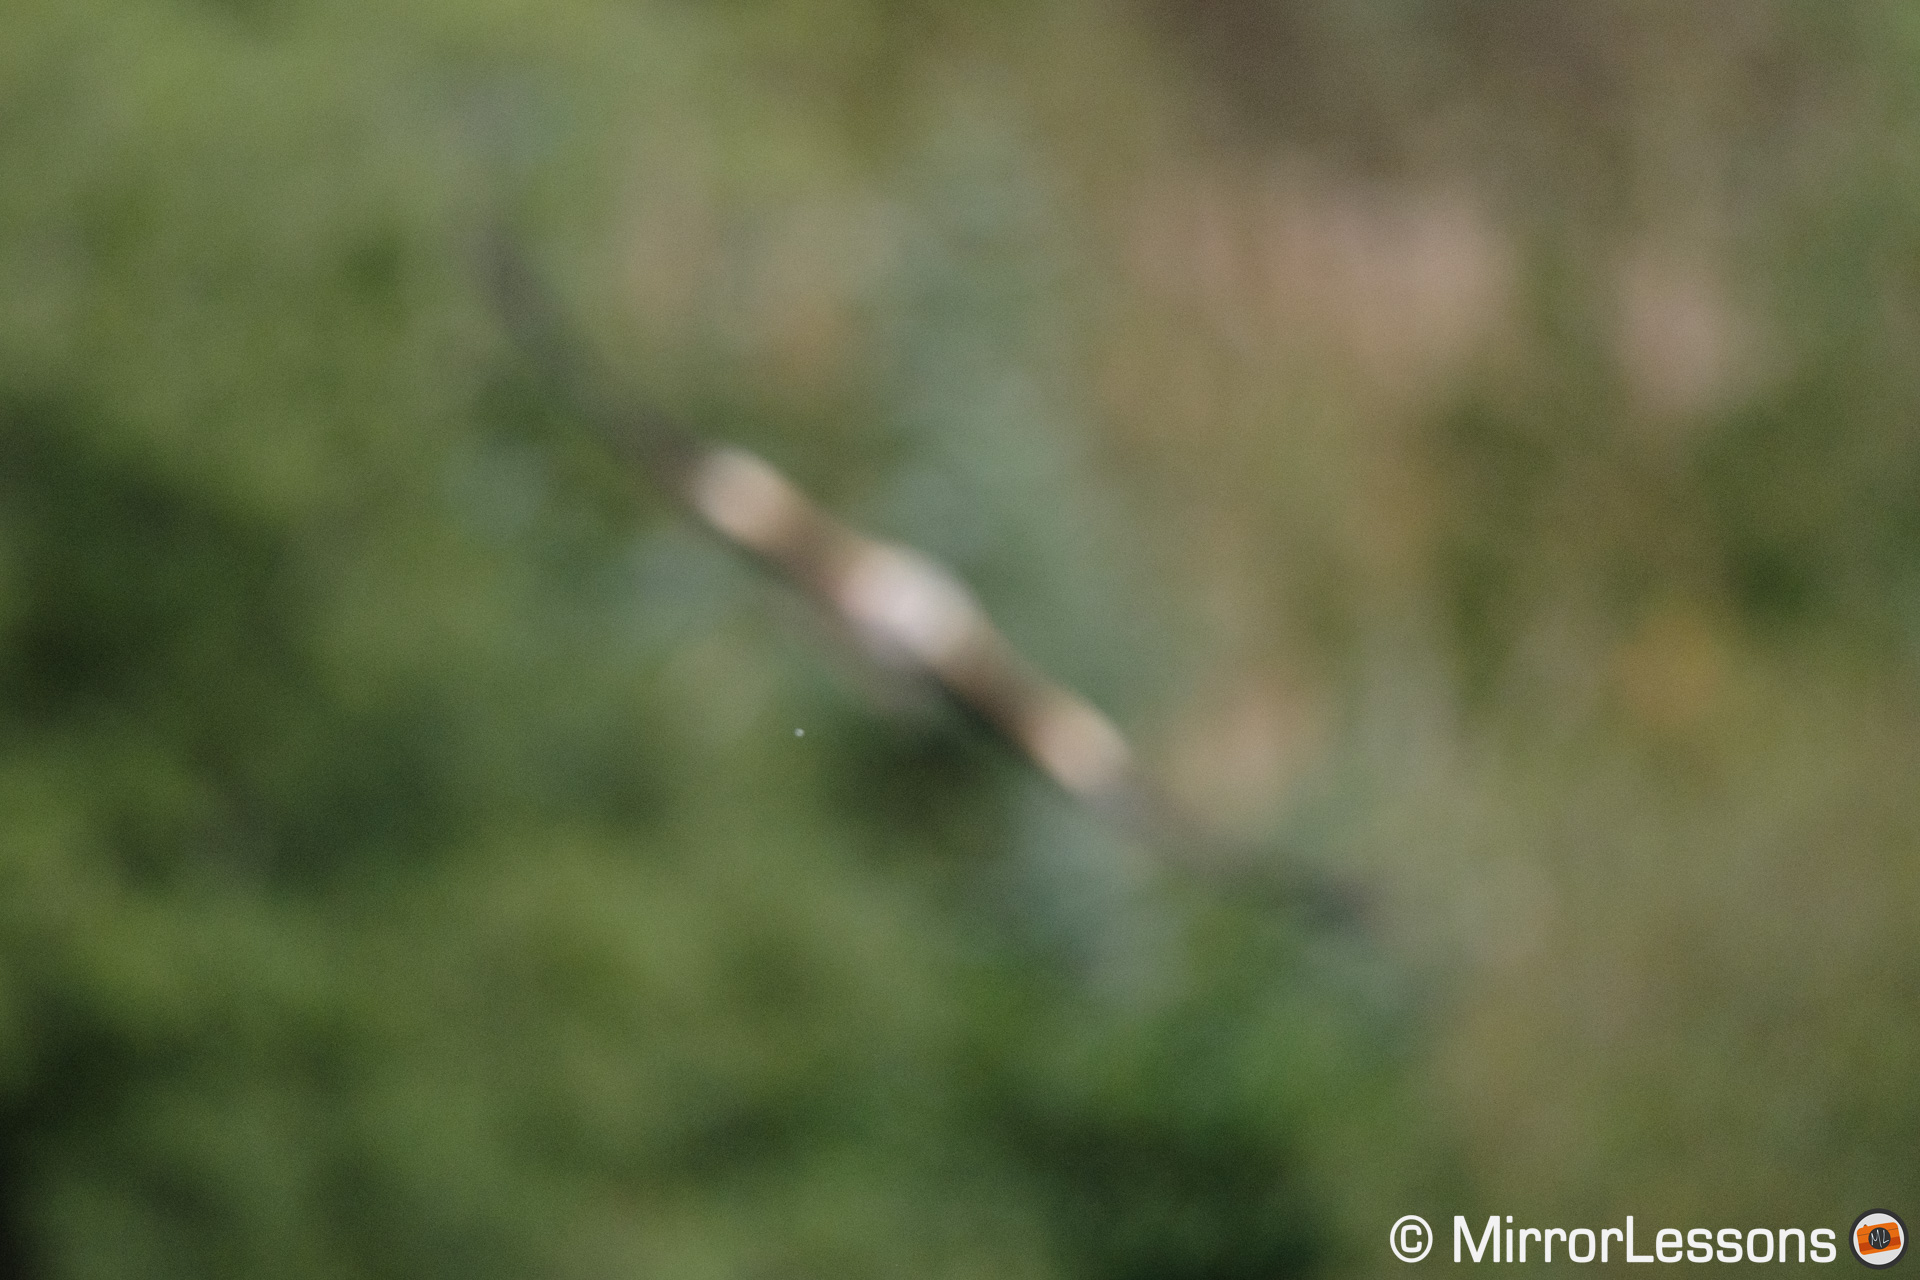
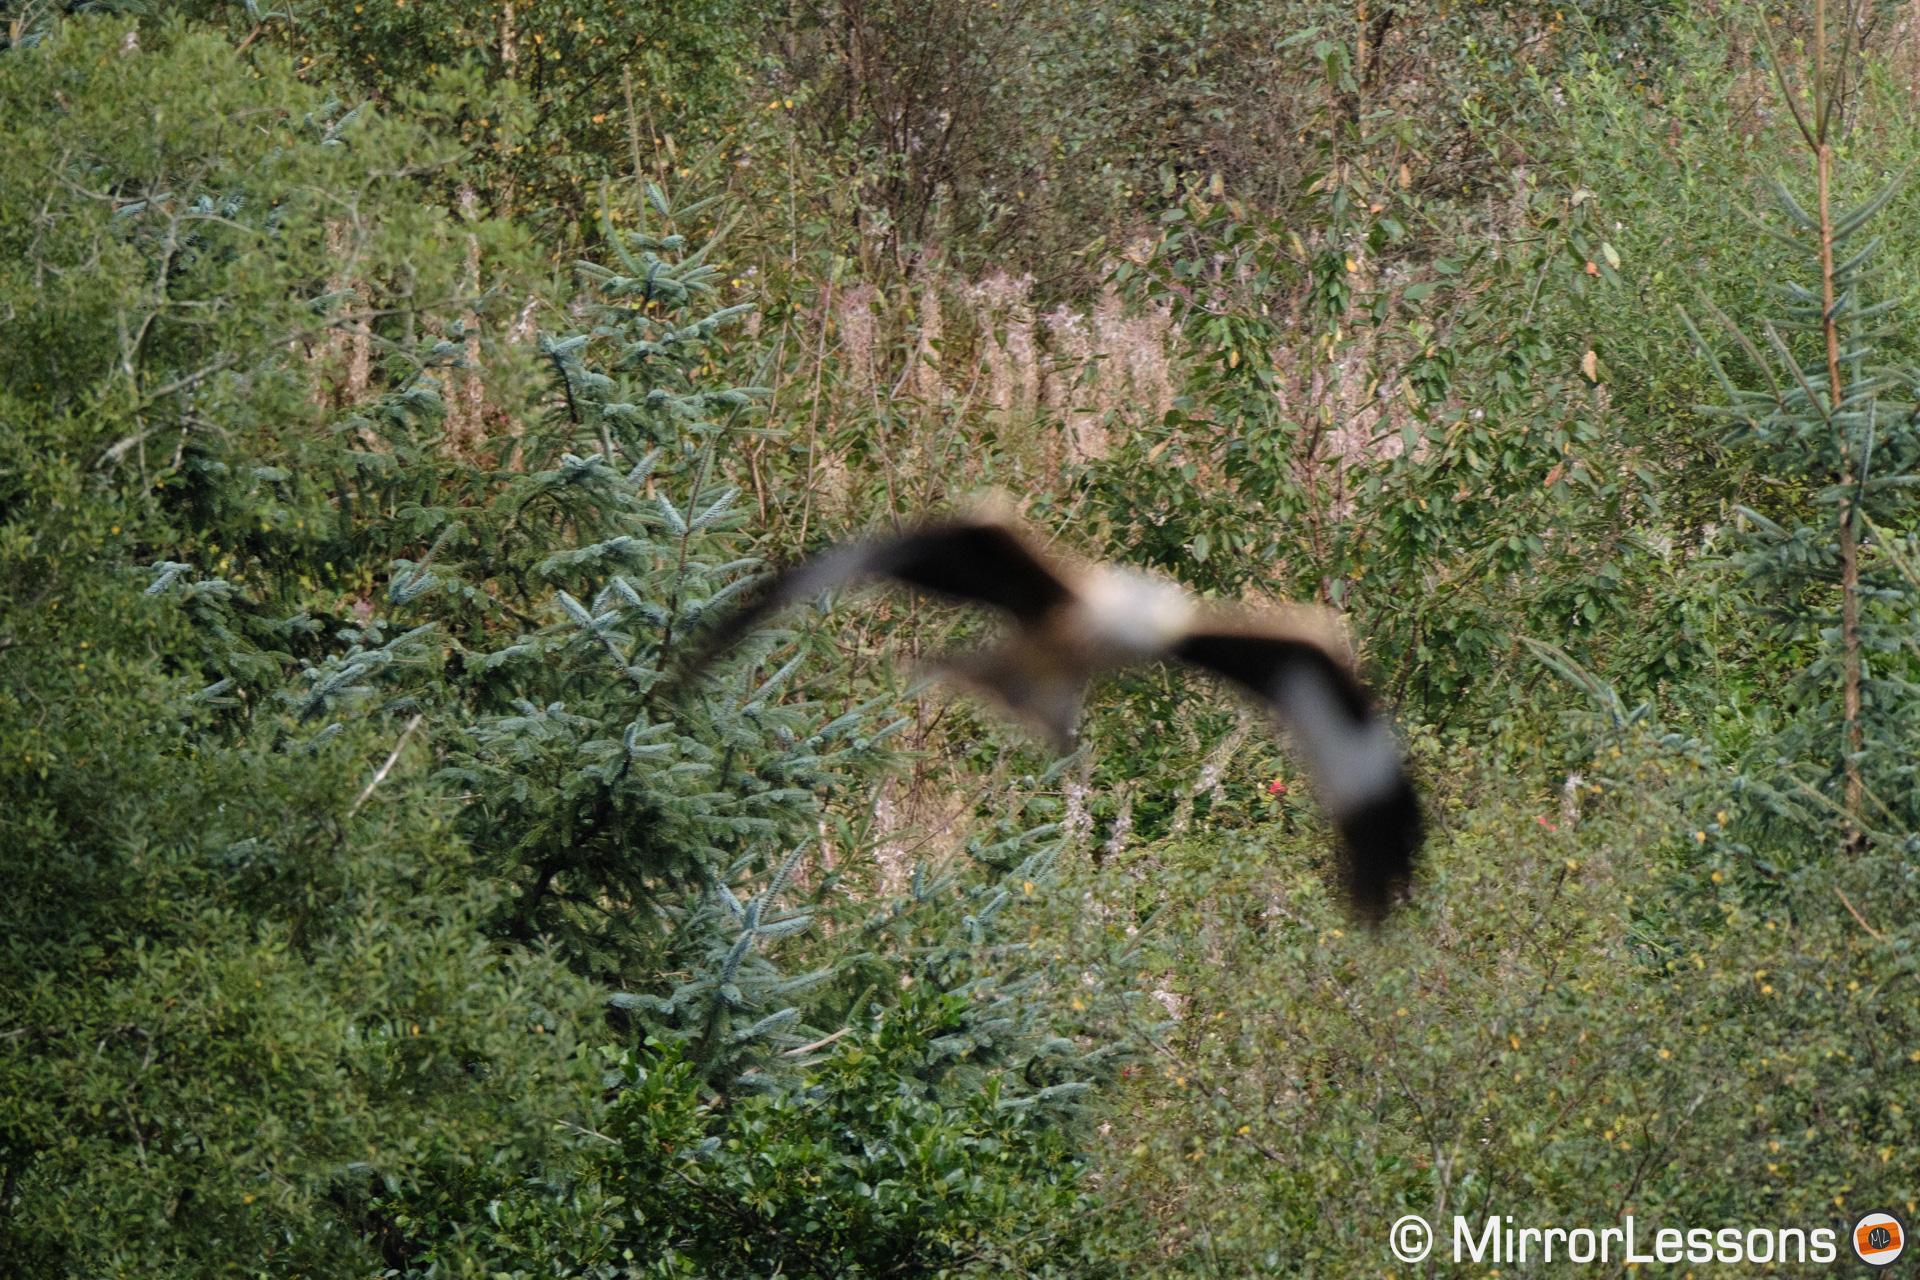
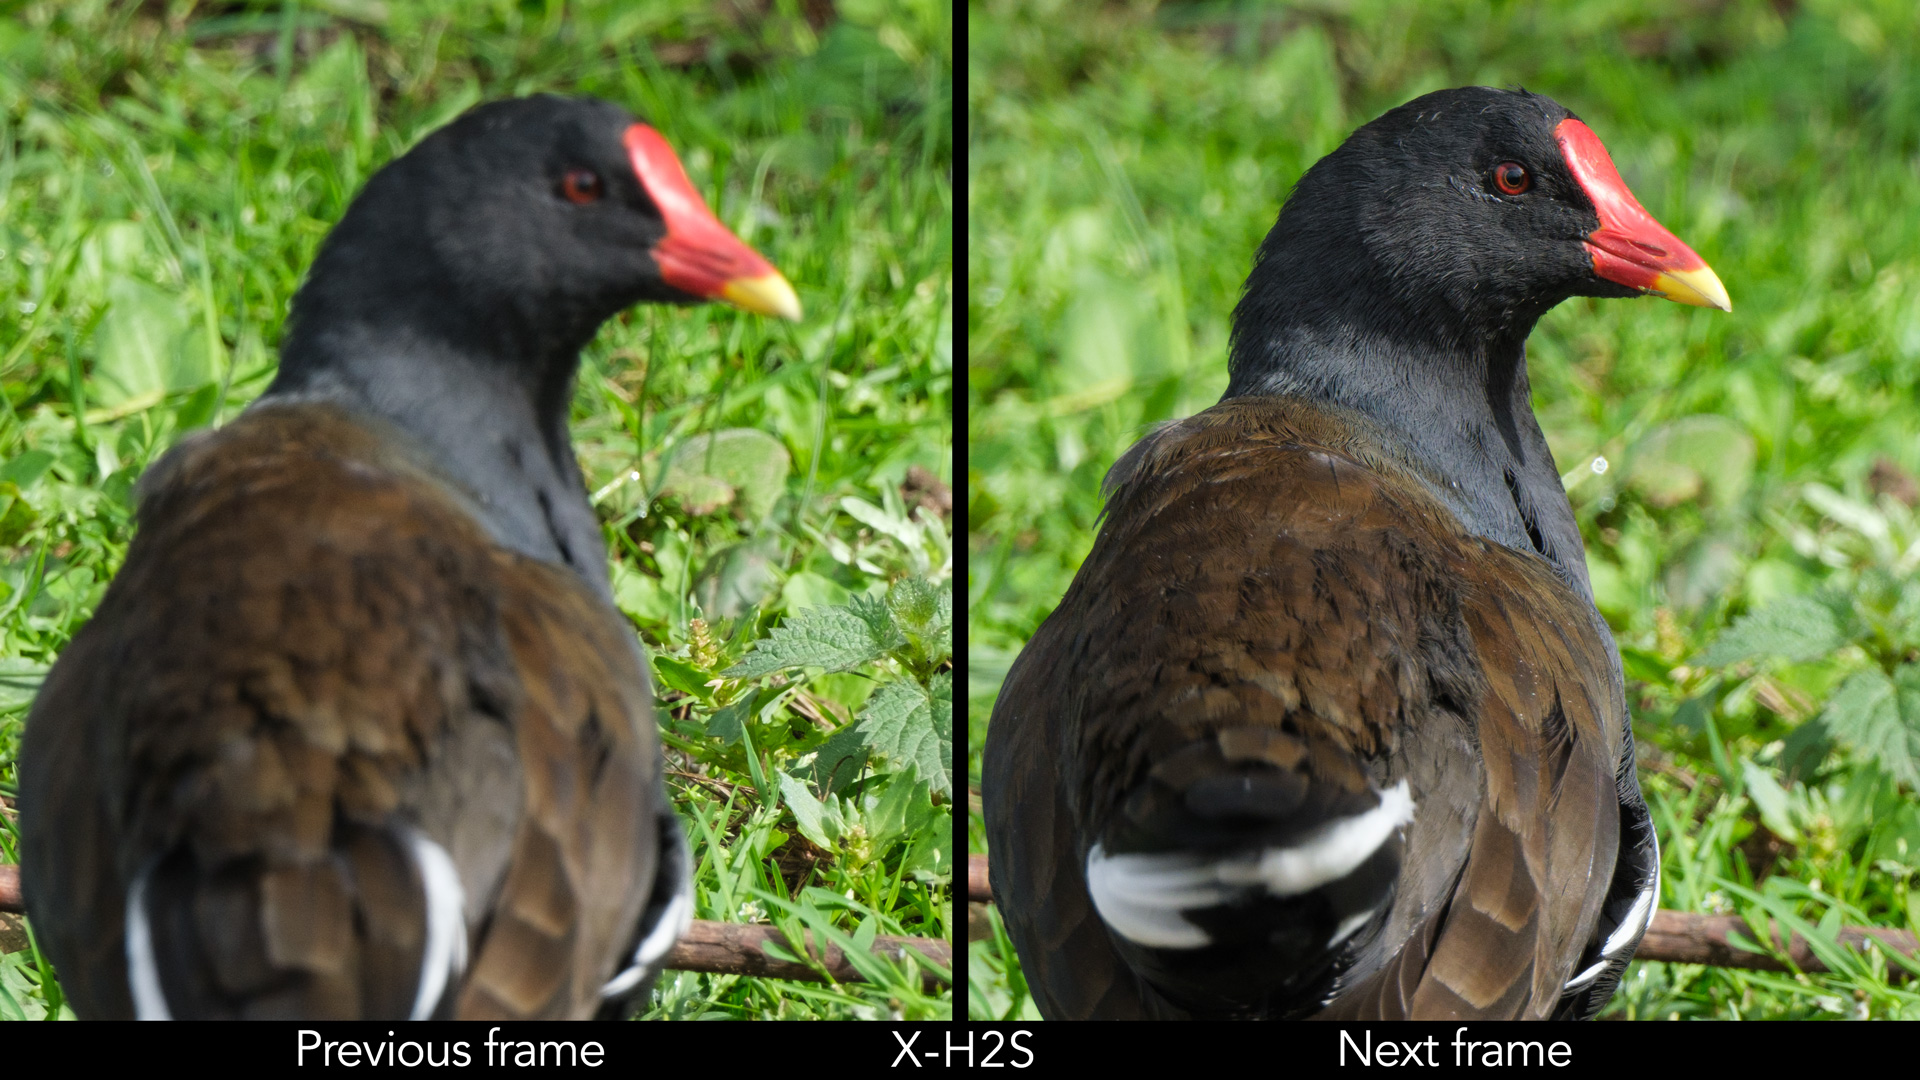
Often the camera will start with the bird in focus and the lose it in the middle of the sequence. Other times, it started with the bird already out of focus, and it doesn’t always manage to correct focus quickly. Occasionally, the camera misses the focus entirely, so the entire image will be blurred rather than just the animal.
I was hoping bird detection would improve the performance since it is one of the major new features of the camera, but it actually made things worse. The best results I got were all with this setting turned off.
Bird Subj. Detection On
65%
80%
Bird Subj. Detection Off
80%
93%
Average score
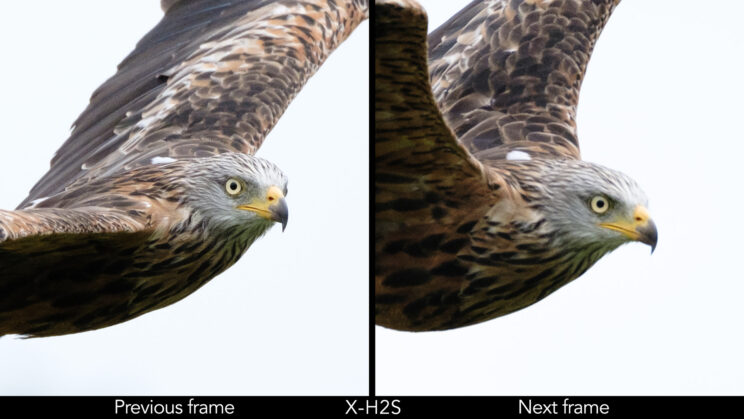
It really is a shame because in the nearly 10,000 photos I captured, I took many that I really like, and I also have a few examples of a nearly perfect long sequence of images, where the camera followed the bird from start to finish with little trouble. But the performance is unpredictable: you can get a great sequence, then in the next one it mis-focuses after the first few frames.
The other issue with the X-H2S, just like previous Fuji cameras, is the number of slightly soft results. The camera struggles to keep optimal sharpness on every frame.
I tried all sorts of setting combinations. I even decided to start from scratch, thinking that perhaps Bird Detection required a fresh approach to find the optimal settings in comparison to my previous experiences with Fuji cameras, but unfortunately I couldn’t find the magic combination, and to be honest, I don’t think there is one.
So overall, the stacked sensor and the more advanced AF algorithm don’t bring a substantial boost in performance to the X-H2S, unlike what happened with other products. Here is how the Fuji compares to other mirrorless cameras on the market.
A7 IV
94%
99%
R6
93%
97%
OM-1
89%
98%
A7 III
86%
99%
X-H2S
82%
97%
A6400
80%
93%
Some of you might point out that the X-H2S may have a lower AF score, but it takes more images per second than, say, the A7 IV (40fps vs 10fps is a big difference). It’s a fair argument, but it doesn’t tell you the whole story.
This birds in flight score gives you an idea of how precise the autofocus is and, ultimately, how much you can rely on it.
The A7 IV may do only 10fps, but I can trust its autofocus at all times. It rarely mis-focuses on the background, the performance is always consistent, and there are fewer settings to worry about.
Sure, 40fps can be handy in specific scenarios, especially when combined with the Pre-Shot mode (something the Sony doesn’t have), but otherwise, I would not hesitate to pick the Sony over the X-H2S if AF precision is what I care the most about.
I’ll finish with a list of recommended settings. I should point out that among the many groups of images I took with the X-H2S, one stood out with a 90% / 100% keeper rate with the bird against the sky. However, the next group of shots was not as good, even without changing settings, which shows that there is a lack of overall consistency in the performance.
Fujifilm X-H2S recommended settings for birds in flight:
- Zone AF 7×7
- Subject Detection off
- Focus Priority
- AF-C Custom Settings, Set 6 (4, 2, Center)
- Boost Performance 120fps
- 20fps, 30fps or 40fps with the electronic shutter (depending on your needs)
- IBIS / OIS Off
If you’re only photographing birds in the sky, you can try Bird Detection with Wide/Tracking – it doesn’t do as much damage as with a busy background.
Movie Capabilities
The X-H2S offers a substantial upgrade in the video department, packing a set of features that you won’t find on a lot of mirrorless cameras (including more expensive ones). This is certainly the biggest difference with previous Fuji APS-C models.
In short, you can record:
- 6.2K (3:2 open gate, meaning using the entire surface of the sensor)
- 4K at 120p (with a 1.29x crop)
- 10-bit 4:2:2 internally, as well as Prores (LT to HQ)
- high bitrate up to 720Mbps (excluding Prores)
- 12-bit RAW via the HDMI port (and compatible recorder)
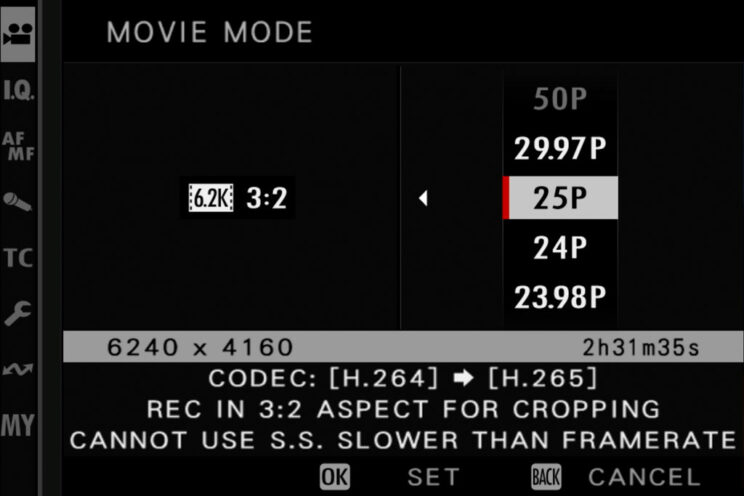
By comparison, the X-T4 does a maximum of 4K at 60p (with a 1.8x crop), a maximum of 400Mbps, 10-bit 4:2:0 internally and no prores.
For this article, I’ll just share some useful information related to wildlife and birds.
First, the 6.2K resolution can be very useful when inserted into a 4K timeline, because you can zoom in on your footage while retaining excellent details and image quality.
The option of recording 4K 120p is useful to appreciate animals in slow motion. The 1.29x crop might not be welcomed by everybody, but for wildlife it can allow you to get closer to the animal.
In Full HD, you can record up to 240p with a more severe crop (1.38x). However the quality deteriorates, even in comparison to the normal Full HD mode.
Subject detection works during video recording, but here as well the results are inconsistent. There are moments where the performance is decent (if the background is not too busy), but the camera struggles to maintain the subject razor sharp. With busy surroundings, it hesitates more, going back and forth frequently between the background and the subject.
The stabilisation can be very effective for static shots, especially if you add Digital IS (not available in 6.2K). I recorded with the new XF 150-600mm, and while the optical stabilisation certainly does more than IBIS on the camera with such long focal length, the results are very usable, even at 600mm!
For any camera movement however, you want the lens attached to a solid and professional video tripod to get smooth and stable results.
You can watch sample footage recorded with the X-H2S in my youtube review below.
The camera has HLG, F-Log and the new F-Log2 profiles, in addition to the excellent built-in film simulation modes such as Eterna, which I really like for video.
A note about CFexpress cards (adding to what I already said in the Drive Speed chapter). Fujifilm recommends only a select number of cards to record Prores HQ, claiming for example that the Sandisk Extreme Pro that I have cannot record that format. However, I successfully recorded Prores HQ on that card, although I only tried for a brief time (a 128GB card will record no more than 9 minutes with that setting anyway).
The camera seems to do well with overheating too. I recorded 1 hour and 50 minutes in 4K 50p before the battery died. The overheating symbol appeared after 1h10, but the camera never stopped.
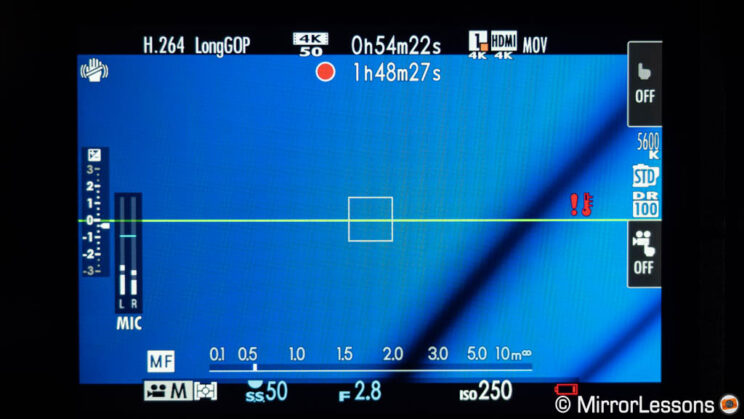
You can also push the limits by setting Auto Power Off Temp. to High, or by attaching the optional fan to keep the camera cooler.
Firmware Updates
On September 29th 2022, Fujifilm released firmware 2.0 for the X-H2S. In January 2023, they released firmware 3.0 in what looks like a more substantial update for the autofocus and the subject detection algorithm.
I tested the camera again (with version 3.01) and unfortunately, I didn’t find an improvement for birds in flight (my AF score was even lower than before). I did see better performance for perched birds and static animals in general. Subject detection is more precise and less erratic than before, and it has become very reliable now. But for fast moving birds, more work needs to be done.
Video Reviews
As always, you can watch a video version of this article here or directly on my YouTube channel.
There is also a comparison between the X-H2 and X-H2S.
Conclusion
I won’t hide it from you: I was expecting more from the X-H2S. On paper, this camera is the most advanced APS-C model on the market at the time of writing (alongside the X-H2), packing a lot of interesting specs and promising top-notch performance. The reality, having viewed all the images on my hard drive, tells a different story, especially when we consider the high price.
My main disappointment has to do with the autofocus: the improvements are smaller than expected. The results for birds in flight are no better than those of the X-T4. Even the X-S10 is on the same level. Sure, the Subject Detection mode is a great addition for static shots, but I’m not sure it’s worth spending the money just for that, also considering that it is not 100% reliable and can even make things worse for fast moving animals.
The stacked sensor and faster image processor increase the maximum drive speed, get rid of the sensor crop and minimise the rolling shutter effect when using the electronic shutter. The buffer is also much better. Granted, these are all welcome improvements, but I wouldn’t consider them game changing, just a natural evolution you come to expect from such a high end product.
I don’t want to sound overly negative: the X-H2S has other strengths, like excellent ergonomics, lots of customisation, a great viewfinder, and impressive performance for video. Indeed, the latter is what makes this camera stand out more than anything else.
But going back to the main subject of this article, which is wildlife and bird photography, I can only say the X-H2S is not the killer APS-C we were waiting for. And if the ergonomics, viewfinder and subject detection mode are enough for you to upgrade, then the cheaper X-H2 could be a better deal for you.
Reminder: the links below are affiliate links. If you decided to buy something after clicking the link, we will receive a small commission.
Check price of the Fujifilm X-H2S on
Amazon | Amazon UK | B&H Photo | eBay

